When you click on links to various merchants on this site and make a purchase, this can result in this site earning a commission. Affiliate programs and affiliations include, but are not limited to, the eBay Partner Network.
OK, some progress. Swapped the light housings side to side, problem followed the housing indicating the chassis is OK. Swapped the AFS module, problem stayed in the housing indicating the AFS module is OK. Looks like I'm pulling the housing apart. This is good news.
Lamp is apart, took about fifteen passes with the heat gun set to high, lots of grunting and plenty of cussing. The lens adhesive sort of lets go wen hot but doesn't mind grabbing again once you move to another section. Ran into some trouble getting over the hump at the top. Did I mention lots of cussing? That was pretty miserable.
The lamp module is held on with three clips. Two are white 1/4 turn to releases clips at the top and the elevation motor needs force to pop the ball loose from the catch (bottom inside). The little wiring harness exiting to the right goes to the lamp module. It has a quick clip that holds the harness close. Pop it loose with a small screwdriver and the black control wiring will unravel allowing some more room between the module and the housing.
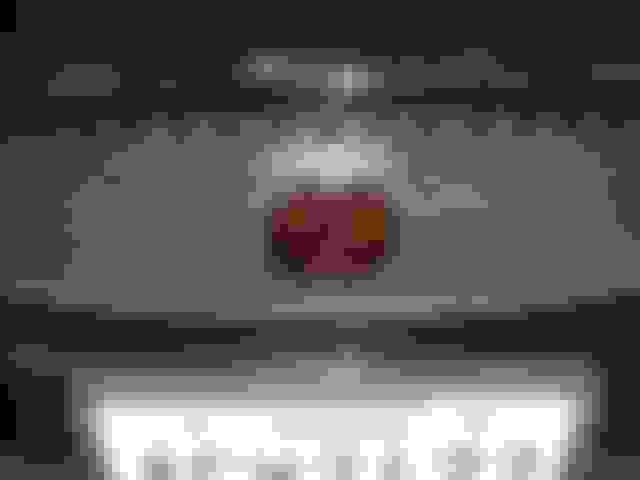
When I unwrapped the module this little guy said 'Hey, look at me'. Yeah, another broken wire.
It goes up here, into a harness that goes to the steering motor and high beam shutter. High beam worked and I don't have the steering option on my car so it's kind of pointless but needed for the warning lamp to go away.
So now once I regain my composure I'll take the module apart and repair the wiring. I was surprised that there's no lube where the AFS module moves on the housing at the bottom.
OK, moving forward. Made a trip to the local Lowes hardware store and picked up a 18-1 combo tool with miniature torx bits so I could take the rest of the AFS module apart.
Once back together I wiped my finger across the face of the lens and it left a clean spot. Of course I wiped it the rest of the way clean before thinking to take a picture so you're seeing the same deposit on the back side. Alcohol and cotton ***** cleaned it up. To get this far you need to remove the poorly chromed ring that simply snaps in place and unbolt the module from it's lens mounting frame. Once dry I can almost see through it so I hope it projects like well now.
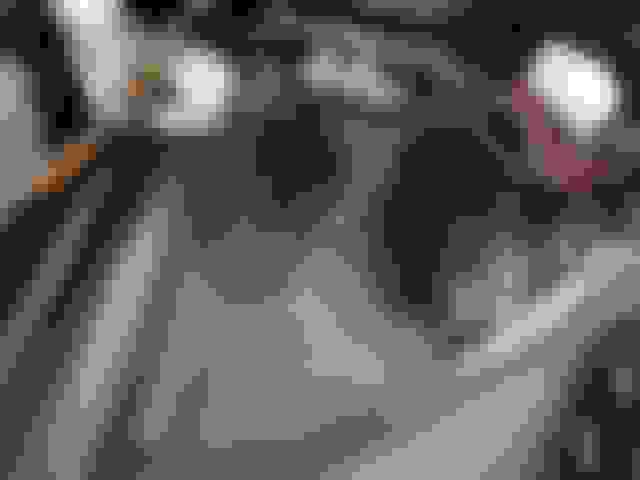
The shutter door was also bent enough that it was rubbing the housing. The reflector in the back looks pretty good. I've seen pics of them that looked like the surface of the moon. Shiny projects good light but I was scared to try and clean the reflector. The wavy opening is what determines the light pattern on the ground. Some gentle tweaking on the shutter stop should give me some longer range projection.
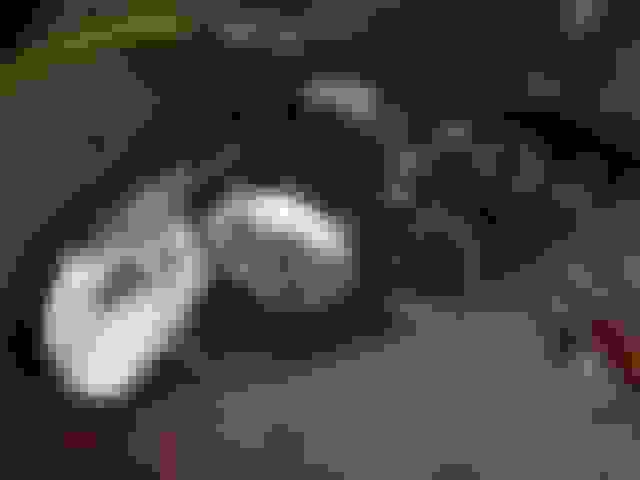
AFS module back together.
PTFE sprayed where the AFS module and wiring is rubbing on the housing floor. I can only assume that's what caused my wire to break.
Here's two fixes I need to perform. The small lamp has the insulation pealing away. in fact there's a lot of cracking insulation. I guess the HID light is causing it to decompose. The front housing bracket is broken as well. I think I'm just going to drill through the vent hole and bolt an length of angle there to hold the lamp steady.
No pics but I'm going to dig the old adhesive out of just use windshield tar and the clips. It'll be more than sufficient and will come apart in the future for further repairs. Once that's done, the lens needs cleaned, polished and cleared. Perhaps I'll do the film like suggested up thread.
OK, spent a couple hours cleaning the butyl glue off everything, well most of it. Popped the AFS module back in the housing and plugged it into the car. Both lamps homed correctly. I still have an AFS fault on the dash but the darned thing is working correctly again. It's also much brighter than the other side. Of course it doesn't have a lens on either.
Back on the workbench I put it the rest of the way together before remembering that I forgot to fix the broken mounting tab...
My fingers hurt and I only stabbed myself twice digging the goop out. I'm going to finish this lamp and do the other one next week if I feel up to it. I have almost a full day into getting this one apart and working correctly.
I'm still tinkering with the DLR idea but running out of steam this go around.
...................... Once that's done, the lens needs cleaned, polished and cleared. Perhaps I'll do the film like suggested up thread.
If you don't like the super-out-of-place shiny "Bug-Eye" look, maybe try some 10% tinted headlight film. It still has the UV block, but it also tones down the horrendously too-shiny headlights during the day with nearly no ill effects at night, especially on darker cars.
If you don't like the super-out-of-place shiny "Bug-Eye" look, maybe try some 10% tinted headlight film. It still has the UV block, but it also tones down the horrendously too-shiny headlights during the day with nearly no ill effects at night, especially on darker cars.
Maybe... I haven't seen the bright bug eyed thing yet since mine are so trashed. My friggen hands and fingers hurt this morning. Shifting gears and polishing up the lens. It's one of the rougher ones I've tried to restore. Really deep oxidization, almost like someone put the wrong chemical on it. The Meguiars kit I got uses a ring and hook style pad and they are difficult to hold. Might go find a DA adapter for my DA sander and have a go with that. Painful is not fun but we'll get there.
Well, progress was made. Lens is about 80%. Naturally the pics don't do the effort justice. Started with the Meguires kit that needed the orbital sanding drill attachment. Went to Autozone and that dang thing was $60. Next to it was a 3m kit with everything for $30. I burned my $20 card and it came home with me.
Before it had a lot of damage, really heavy hazing on the sides and some yellowing. I was more concerned about the spots in the hazing that looked like the lenses had been sprayed with something that ate into them.
Once sanded I chose to spray them with the Meguiar's sealer vs. use the 3M wax. It turned out OK but there's still a couple spots that need attention. I'm out of time for this weekend so this will do for now. 99% of the spots are gone and all of the yellowing. They aren't as polished and as consistently polished as it should be but is 100 X better than before.
I've moved on to the broken front supports while the lens cures. Trying to be clever with a chunk of aluminum angle so we'll see what turns up.
I have some, I just need time and ideas on mounting them. Getting the lamp apart was the first step. Here's three of the pics I was able to upload.
Bracket in place.
Plenty of room for hardware.
I wrapped the lamp washer in some of the carbon fiber vinyl I got from China. It really helped that odd shaped chunk of chrome to blend in. The housing looks stunning from only a foot or two away.
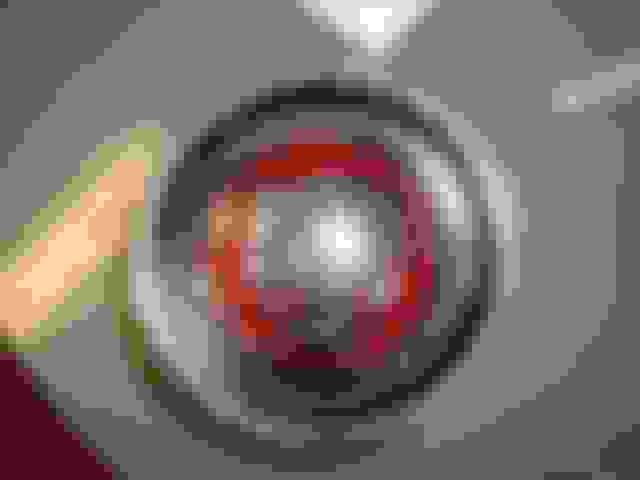
Side by side? I know what I'm doing next weekend. Hard to see it in the pic but the HID 'eye' is much clearer and you can make out what's behind it vs. a foggy glow.
Finally on the car. I'm really happy with the results. Makes the car look like it's worth a couple grand more than before. I think I'm going to mill a little more off my bracket so the front of the lamp housing to the top of the bumper gap is smaller. Otherwise I'm happy with the fit.
I only used one strip of windshield tar to seal the lens. It'll probably leak but I plan on going back into the housing sooner than later. I found that a soft towel was best to clean the chromed plastic. Even something as benign as alcohol lifted the chrome. Water was almost as bad so a gentle dry polish was the limit.
Fired the car up and the renewed lamp is indeed a lot brighter and projects a clearer light than it's mate. Aim is a good bit higher, a combo of the front bracket needing tweaked and my tuning of the shutter flap stop I think. Once the passenger side is done I'll manually aim them. Really happy with the results so far.
Ranchero50,
The headlight difference is astonishing, and I've done them before as well. I can't tell you how much i've enjoyed reading your adventure, it's inspiring, amazing, and entertaining. Thank you for letting us enjoy it vicariously.
Ted
Did some work on my grill emblem the past couple days. Tonight after work I popped it in the mill and drilled the two mounting holes. For some odd reason Jaguar casts the top hole off center (I guess so you can't install the emblem upside down) so I slotted the top grill hole horizontally.
I had intended to paint the inner sides a dark bronze but that paint sputtered. After cleaning up that mess I tried a flat black with similar results. Then I tried a dark iron textured paint and it turned out a mottled grey with brown spots. Finally just cleaned the damn thing up and left it alone. I wanted a thin paint that would give the growler some depth. I will try again tomorrow. The metal did polish up nicely and looks good on the car.
Sadly one of the last things I did Sunday evening was clip the upper radiator cover in place. Yep, it needs pulled to install the emblem...
My 2012 was getting some weird peeling on the cover last year, so Jaguar sent them out to get sanded, and instead of re-clearing the lens, they applied a clear film instead. Superior rock chip protection + UV protection. So yeah, I recommend that too.
So, good and not so good. I finished up my emblem but I need to pull the nose off to mount it. Kind of a PITA but oh well. I cut off some 6mm stainless bolts to make stud and locked them into the plate then set it in the mounting holes in the grill. I really, really like it.
I ended up painting the surround a semi gloss black. It's a little shinier than I'd like but it does make the emblem look bigger and helps the chromed part stand out. In the pic I still have the sharpie dots that helped me line the emblem up with the mounting studs. Tricky stuff that needs to be 'right'.
The blanket is there to catch the emblem. Picture doesn't show it well but the driver lamp is much clearer vs. the other one.
It was hard to get a picture that looked nearly as good as it does when walking around the car.
So, now I get to pull the nose off again. I don't think I can get to the grill with a headlamp out and I'm just not articulated enough to put washers and nuts on the studs from the bottom.
In other news, my coworker said my car is ridiculously loud when I'm on it hard. He heard me getting on the interstate from almost a mile away when he was getting fuel after work last week. Said it sounded good but way loud so I may look into a 2 in, 2 out cross flow muffler to mount between my pipe stacks and use that for a cruising setup and the current ones on the valves.
 05-05-2017, 11:02 AM


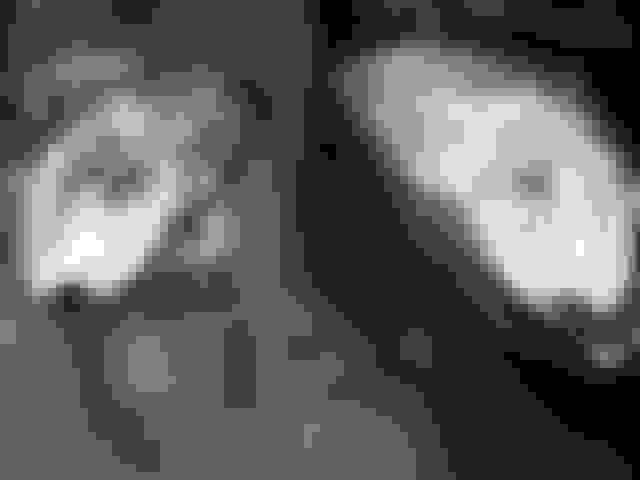


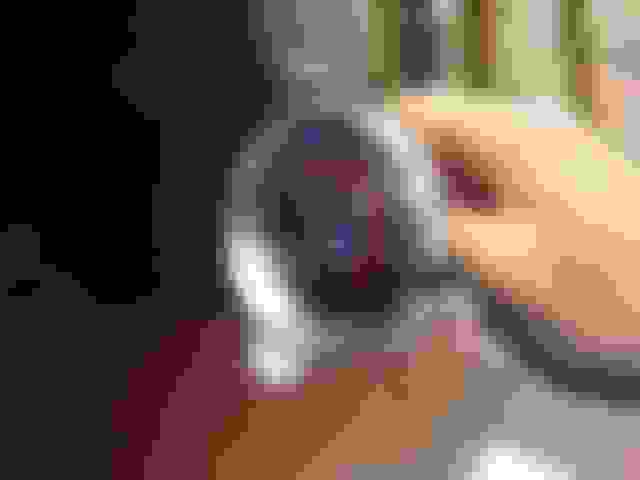


 Picture doesn't show it well but the driver lamp is much clearer vs. the other one.