When you click on links to various merchants on this site and make a purchase, this can result in this site earning a commission. Affiliate programs and affiliations include, but are not limited to, the eBay Partner Network.
Been a while since I posted my ABS rebuild. My XJ-S had to be in storage. Well, it's in my new garage and I've about completed a complete restoration of the front subassembly. I'll post the complete process with lots of pics and lessons learned, sourcing parts and tricks to make it easier over the next few weeks. Here are a couple stages. Everything in the middle to come over the next few days.
It's good to be back!
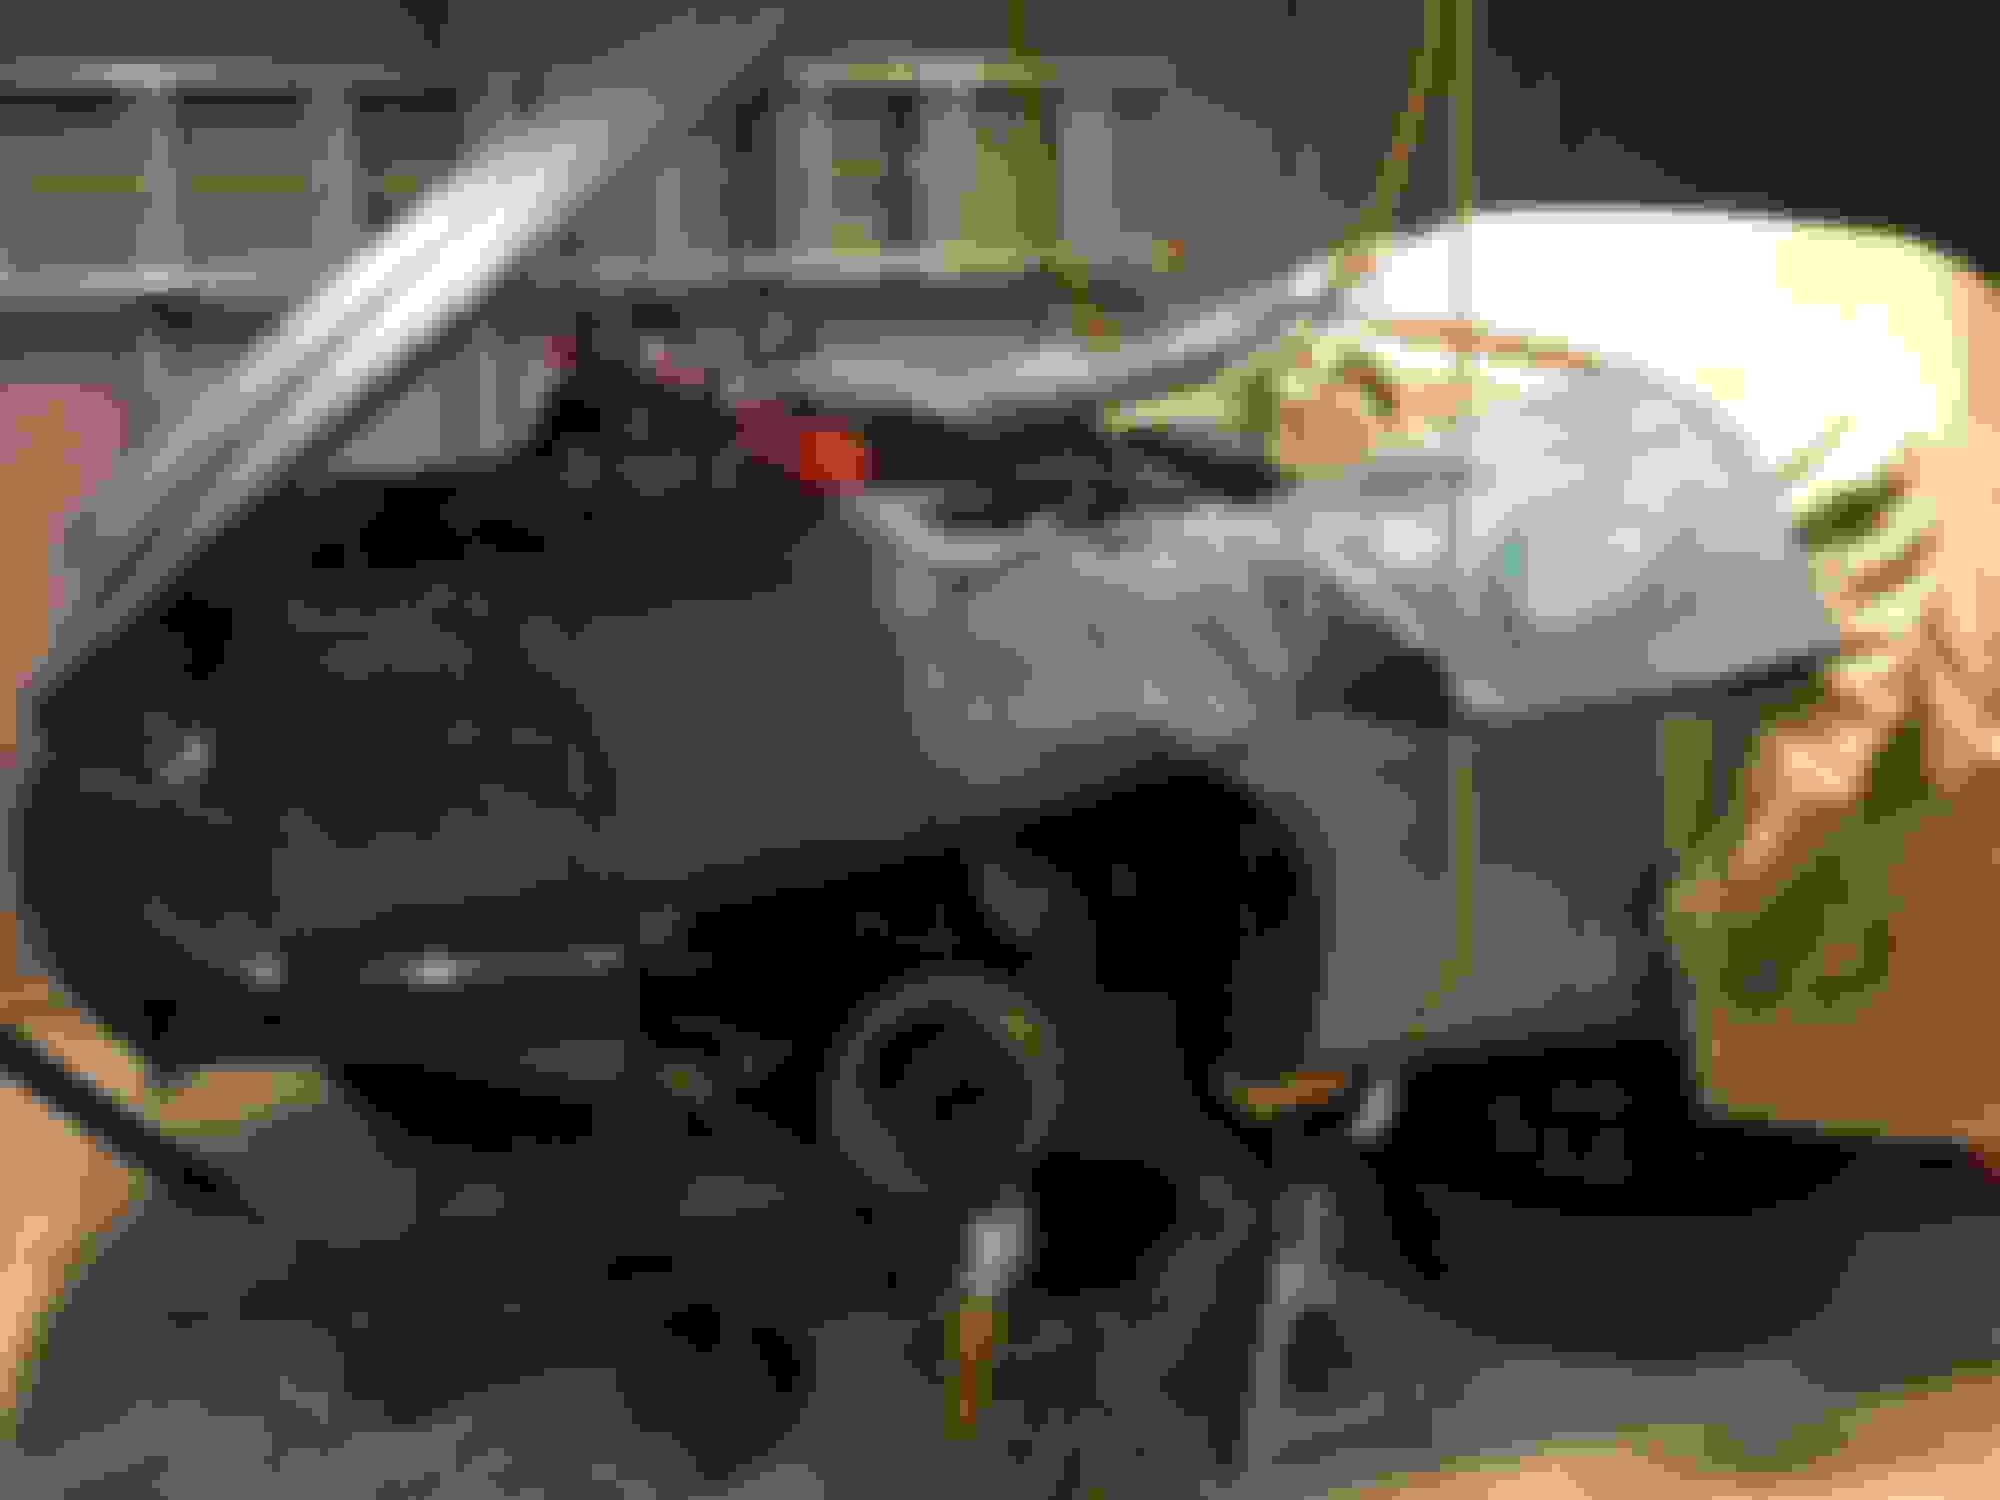
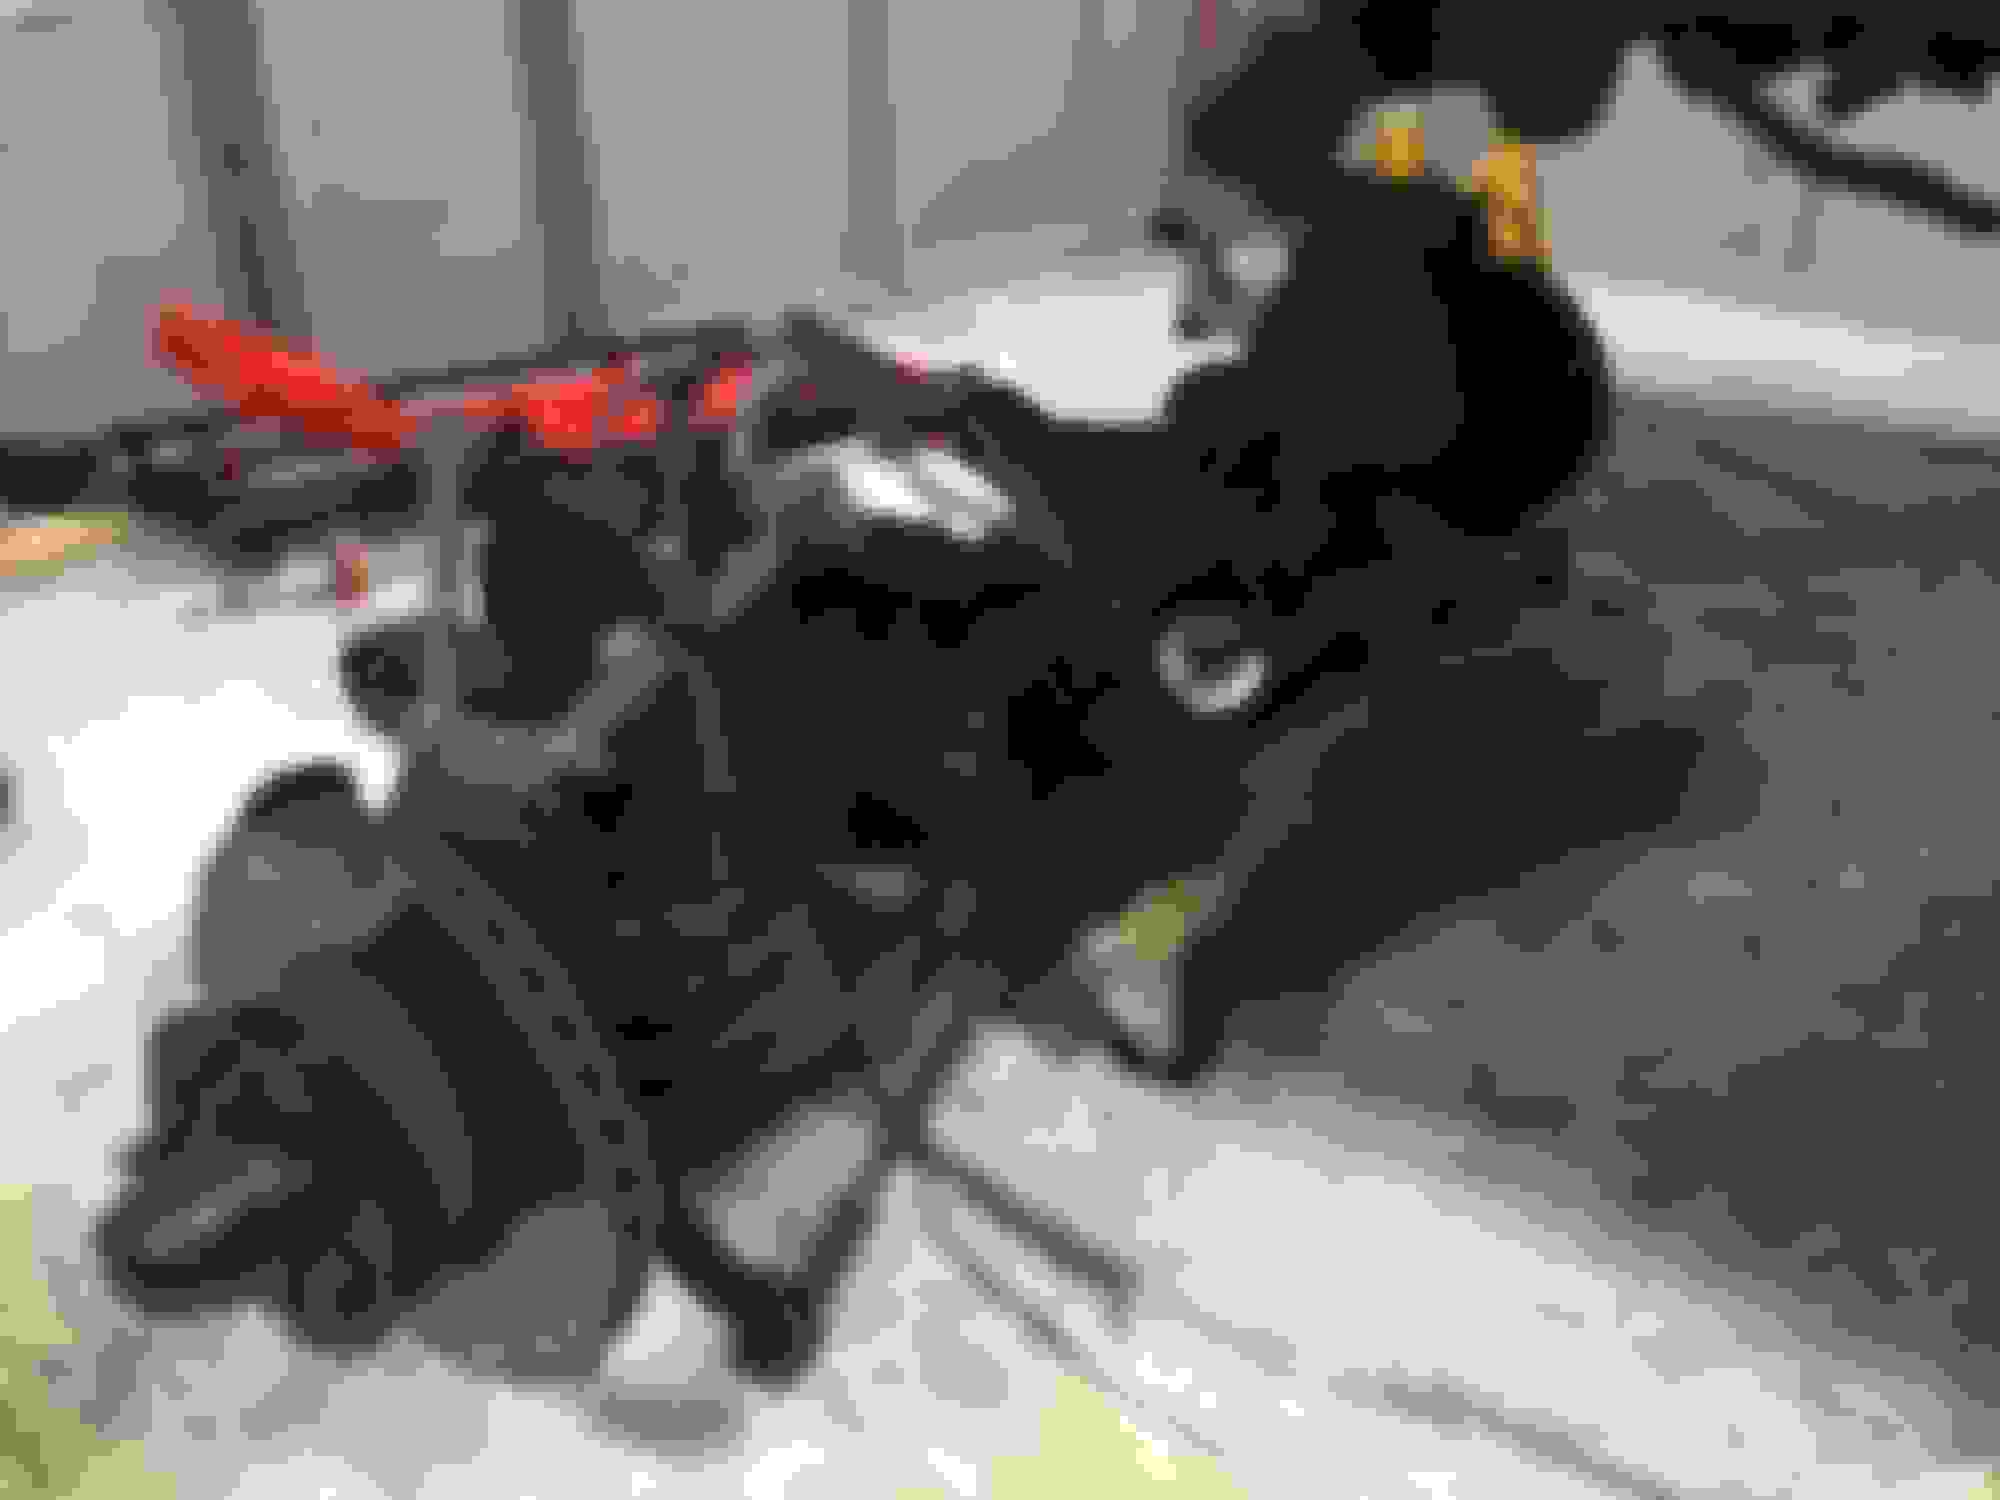
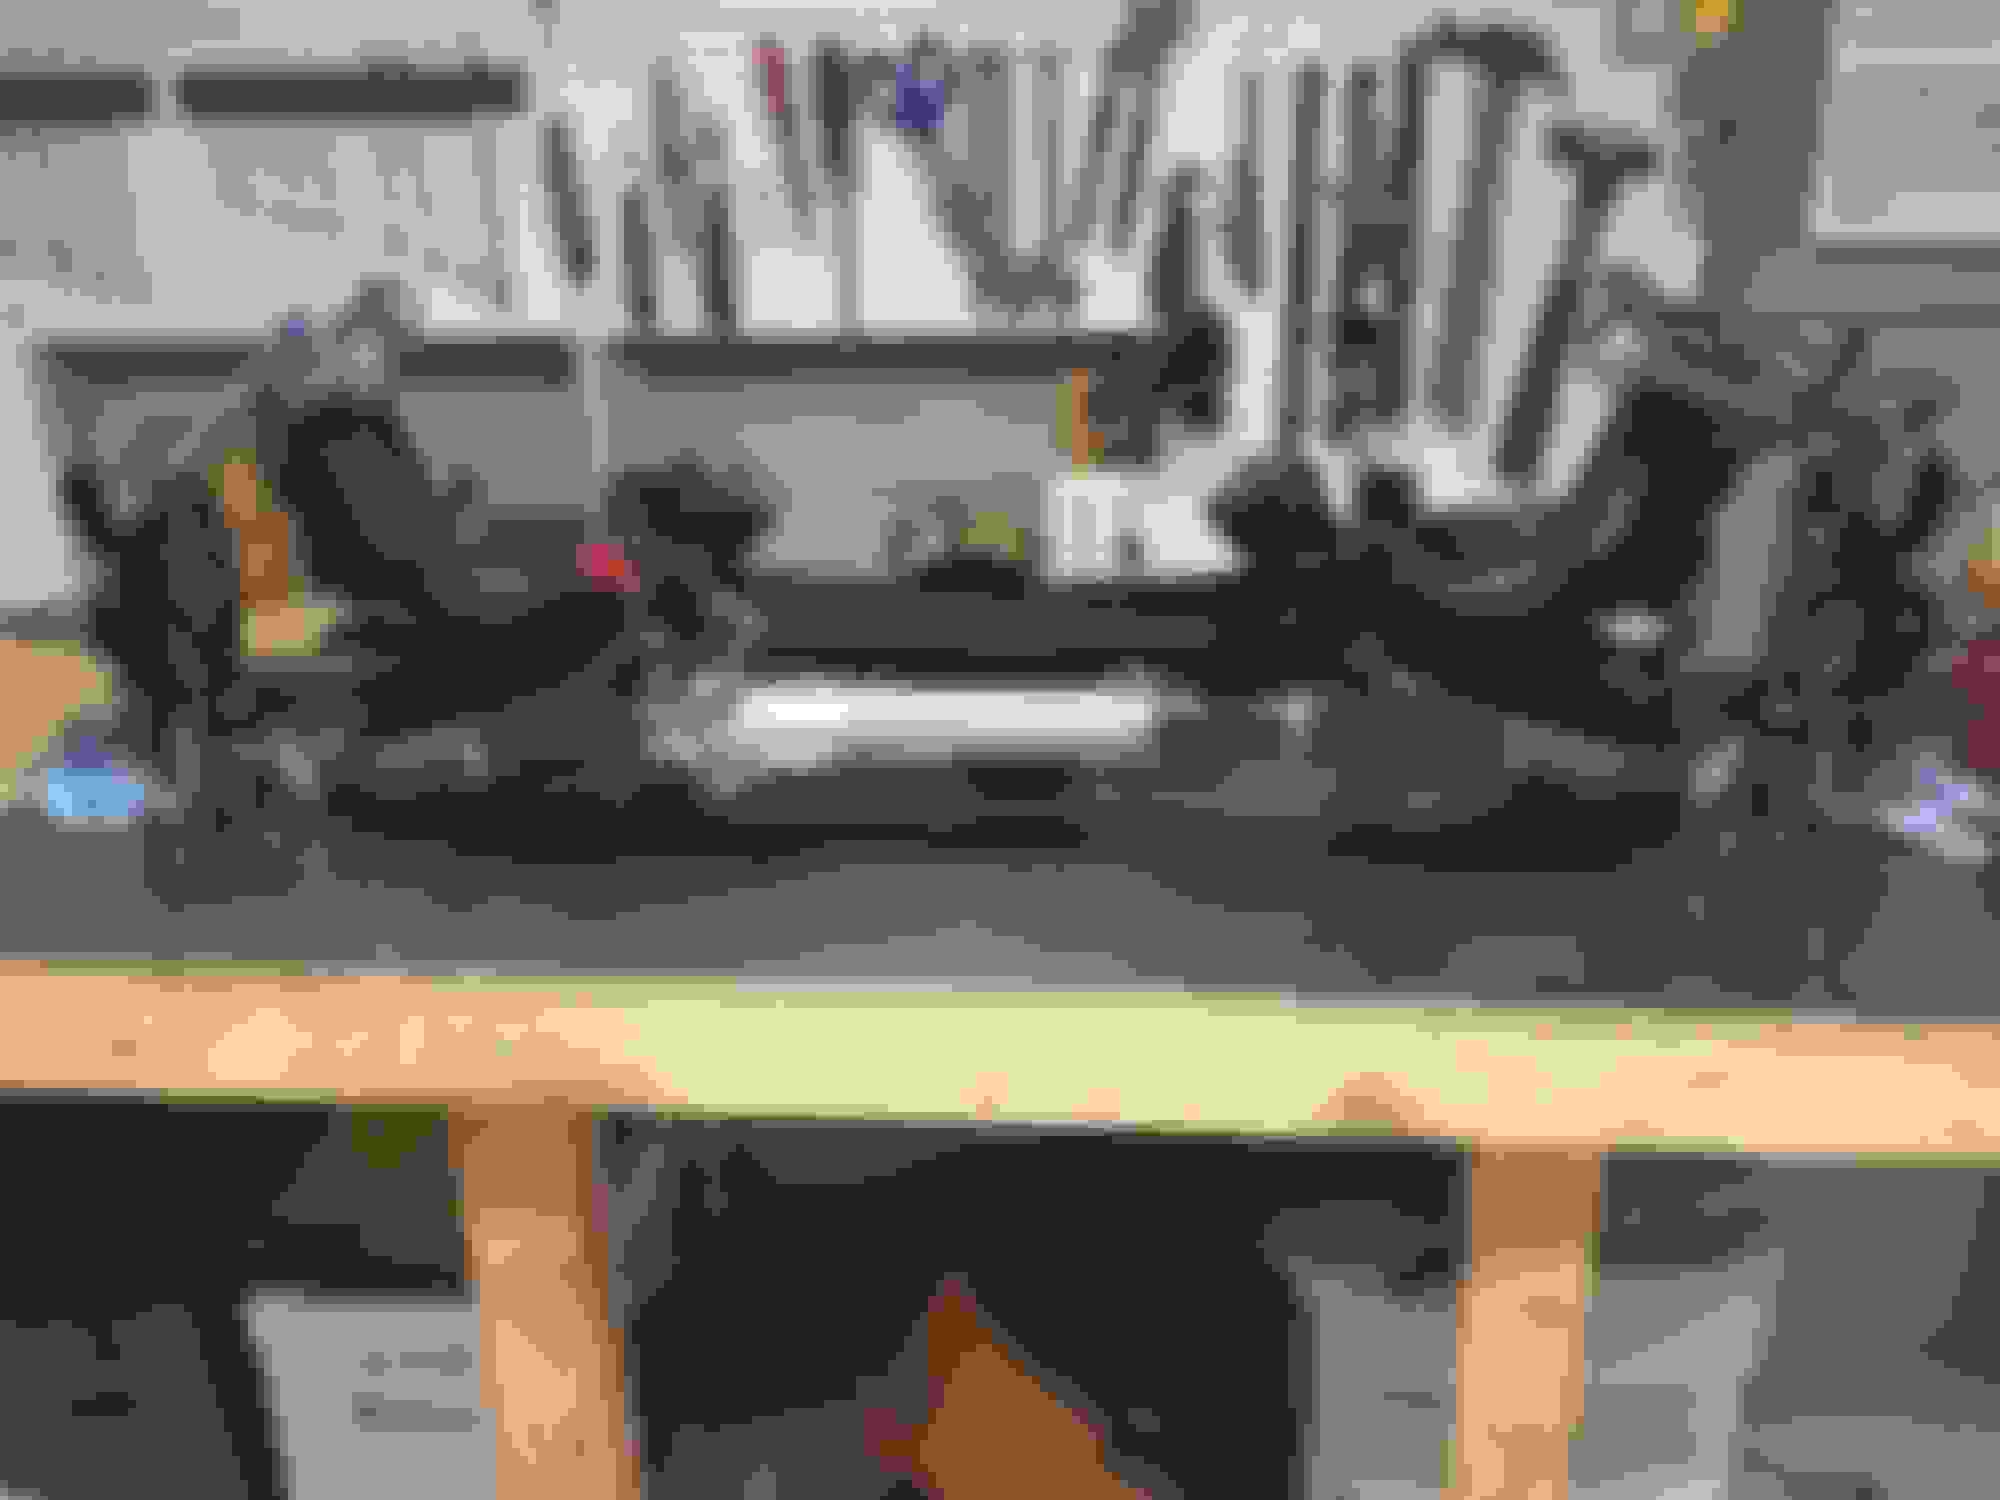
Just starting with the car all up in the air and a custom dolly I made to support the subassembly. Also have the top engine support installed. Removed Complete on the bench
Thanks! Not yet. I'm taking the high pressure pwr steering hose to a hydraulic shop this week to have the hose replaced to the original metal fittings. Aftermarket ones stink and are expensive. It's only $75 to have the original hoses rebuilt by a professional.
I've seen threads about sourcing new aftermarket high pressure hoses with poor results.
Homemade spring compressor using grade 8 fine threaded rods. Center was used as safety backup and I used course thread. Less turning and I wasn't using that one to compress, just turned by had in case one of the others broke the spring wouldn't have gone anywhere.
Last edited by djinaustin; 07-27-2017 at 01:01 PM.
Reason: Adding text
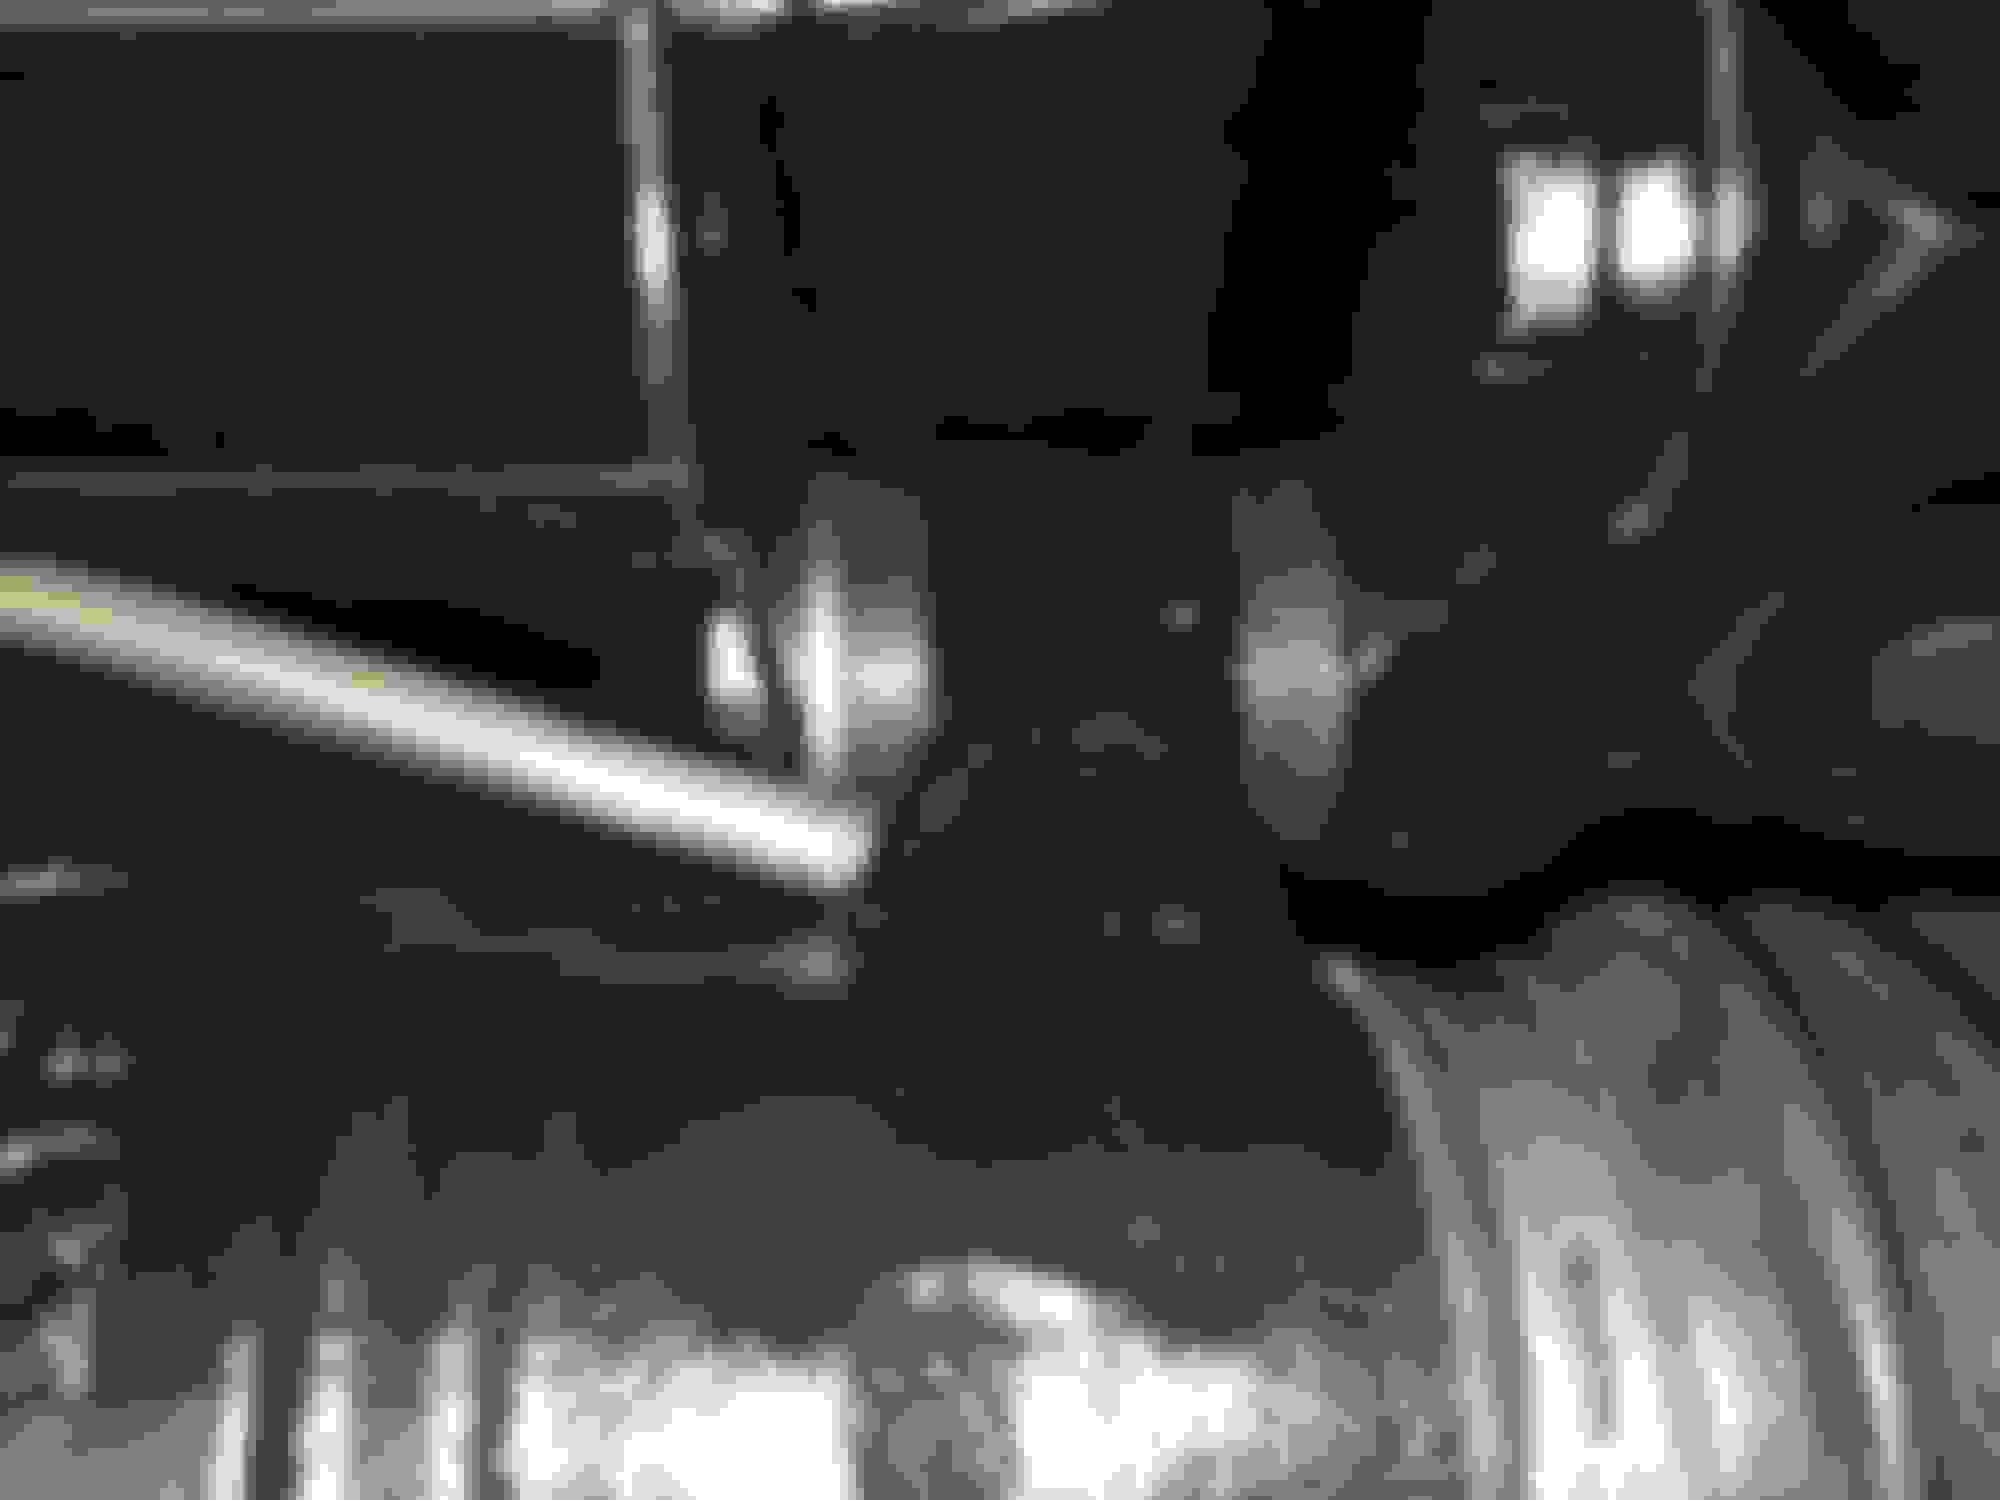
I installed new rack bushes and fender washers as spacers. Here is a great tech note on the Jag Lovers site (http://www.jag-lovers.org/books/xj-s/21-Suspmods.html). Also centered the rack in the two slotted screw mounts at .050" centered.
Then I removed the centering screw and put a drift pin to feel the center hole. It literally was only maybe one mm off, so I centered it by turning the pinion just a hair and put the screw back in.
Also a couple of images.
Last edited by djinaustin; 07-29-2017 at 10:41 PM.
Reason: Additional info
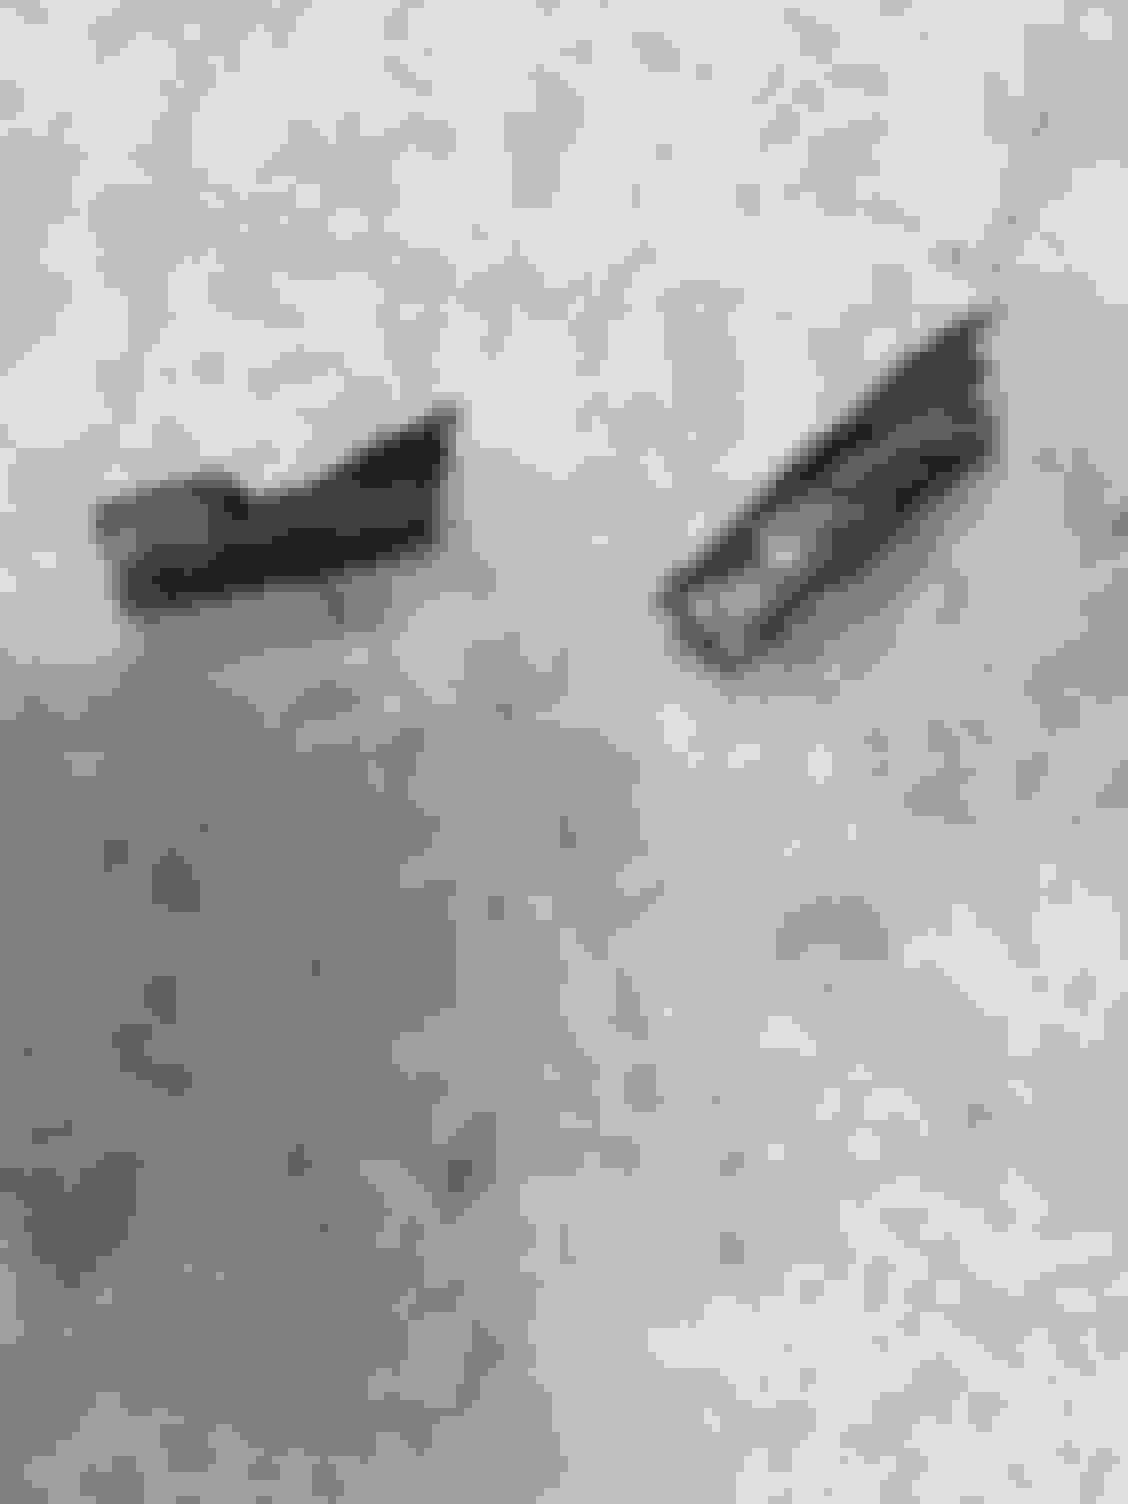
I ran into an issue replacing the v-mounts. Both fastener heads snapped off on one side. I have never seen an easy out work and that's still the case. I tried it, drilled holes in the bolts but no go. I ended up drilling a larger hole, and spraying a bunch of penatrent up the hold so it would fall around the top threads. Then used a torch to try and burn the rust and loosen up what was left of the bolts. Eventually it worked and I can clean up the existing threads with a tap. Here are two images. One with the bolts still in with holes drilled in them and the second is the bolts removed (what was left). The threads still are in good shape.
Last edited by djinaustin; 07-30-2017 at 10:10 PM.
Reason: Sp
I cleaned the threads I saved after drilling out what was left of the fasteners with a 3/8 fine thread tap. Worked well. Here is the new mount torqued down.

 07-25-2017, 10:02 PM