When you click on links to various merchants on this site and make a purchase, this can result in this site earning a commission. Affiliate programs and affiliations include, but are not limited to, the eBay Partner Network.
Went down to Marco Mufflers and had the center muffler removed. Added straight pipes and and cross pipe. Can only notice the difference under moderate to heavy acceleration. Didn't get as much growl as I was wanted but it does sound good. Can always cut more down the road.
Also tightened up the throttle cable. It had more than a 1/2 inch slack!
I found the XKR a bit uncomfortable as I couldn't find a good spot for my left foot and leg. The footrest is way, way back there! I could touch it with my foot, but it certainly wasn't in an ideal spot. After looking at how others modified theirs I did a similar thing but followed the "design as you go" school. I removed the old assembly altogether and cut and fit a wooden block to lift the pedal approximately 5" (125 mm) from the carpet, replacing the old plastic riser. It's still a bit lower than the brake pedal and a bit closer to it than stock, but I like it. It's close enough to where it's very difficult to get your foot between the footrest and the brake pedal, which is a good thing, I think, from a safety standpoint.
Easily done: remove the old rest, unbolt the base, disassemble the actual footrest from the underlying plastic and reassemble using a shaped wooden block. The wooden block has holes drilled all the way through it to give access to the bolts that hold the original base down and is screwed to the base from the back with pan head wood screws. Other wood screws then hold on the plate that your foot actually rests on to the wood block, covering the big holes that are bored through the wooden block. Block is painted semigloss black so it "disappears".
Base plate
Floor with everything removed
Wood block added, still needs wedge under part of plate
Finished installation
Last edited by Wagon Willie; 07-01-2017 at 09:42 AM.
Reason: Photos too big
I replaced my crankcase breather hose that was repaired many times.
I was able to source 90 degree Norma V2 connectors and another member has uprated flex hose that he attached. My XKR was actually one side 90 degree the other side straight but with a bit of extra slack in the hose it connects fine with the two 90s.
DIY - Nav to 3Gauge conversion - done, step-by-step photo's
Hi Guy's and Ladies,
share some experience from replacing my old crab Nav to 3Gauge,
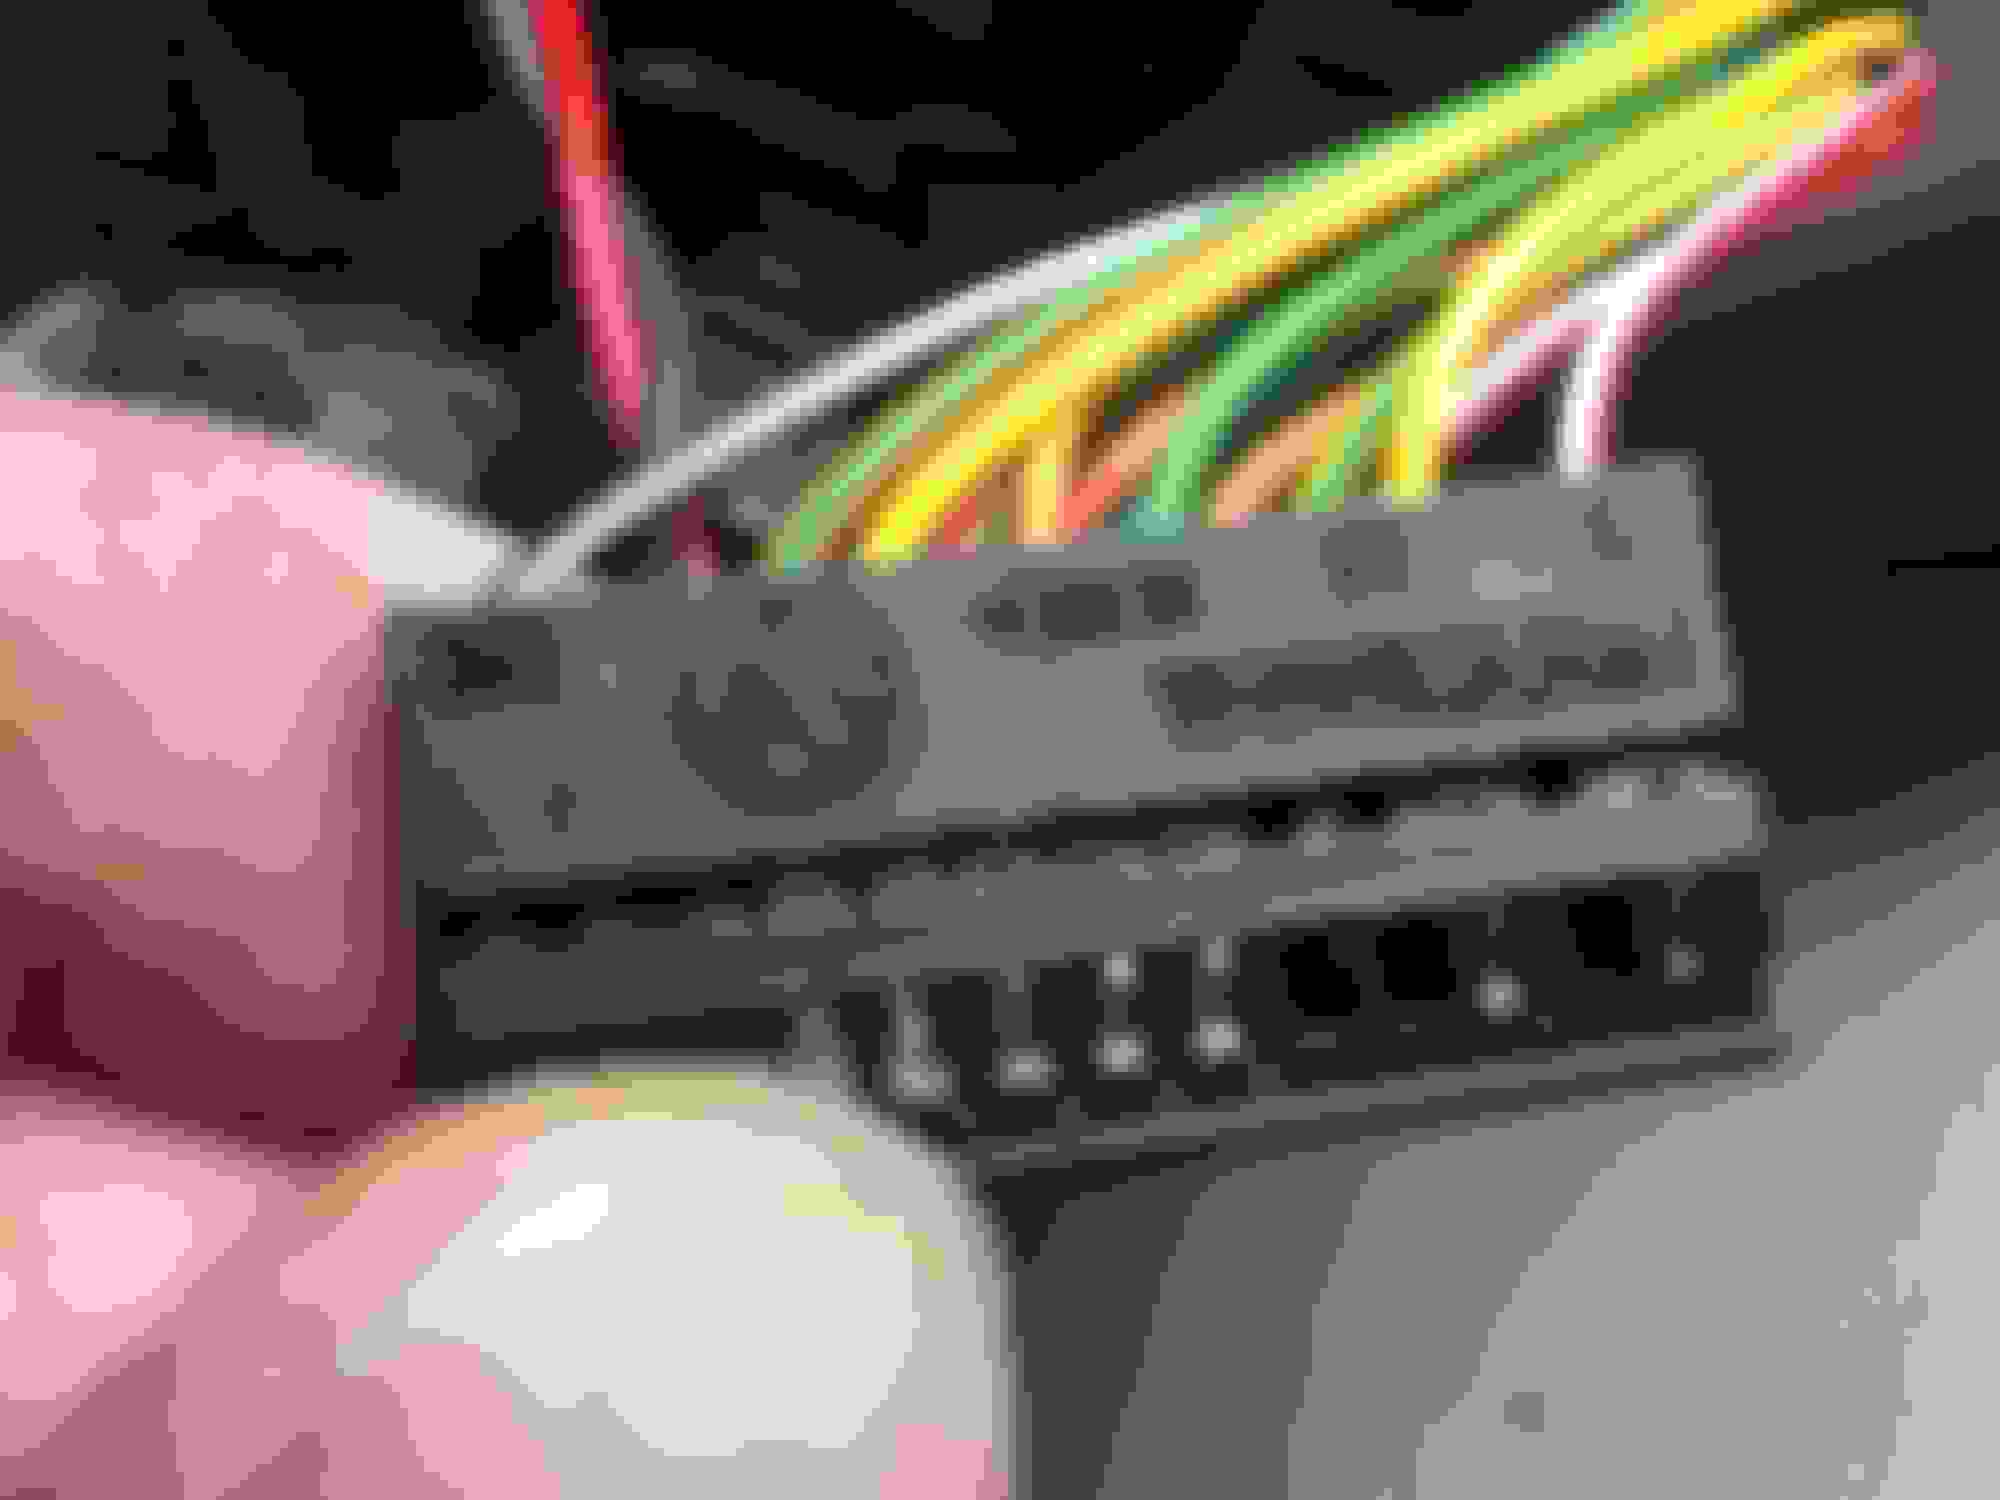
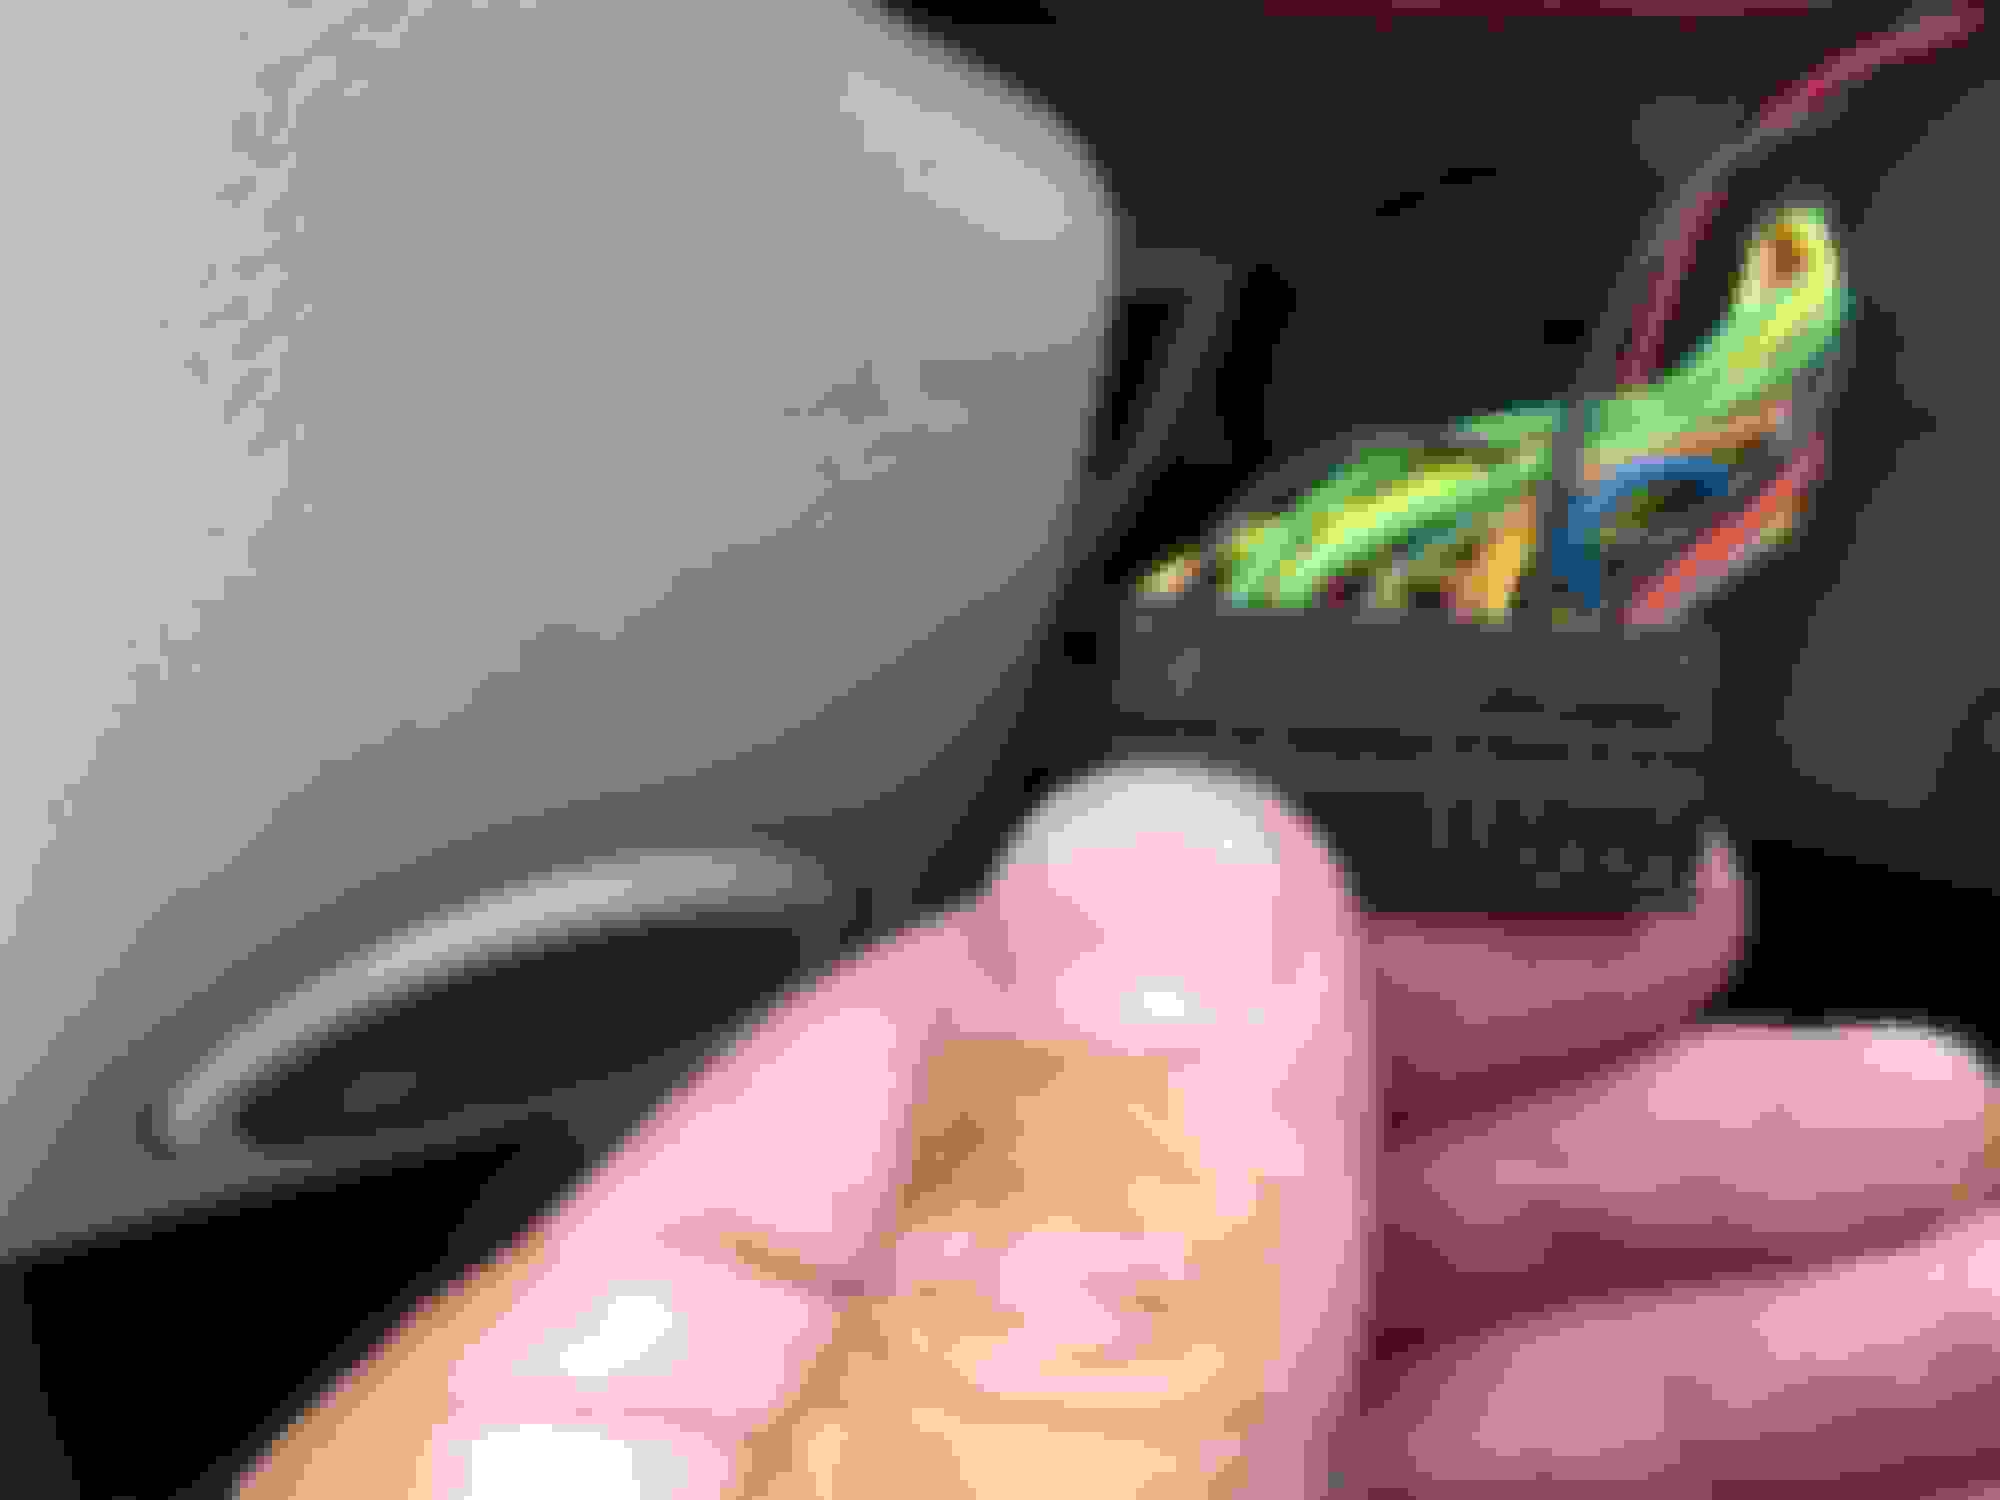
the instructions from Steve ie TheJagWrangler where great I just got confused when it came to open up the main connectors for the main dash board ie
"pry off the hood retainer gently with a pair of pliers."
see me pic's below, it explains how these "hoods" are made and how to open them - if it helps someone who want to this by themself I be happy to share.
You need; 3Gague, Center wood piece, wiring harness, instructions+ patience
old Nav
Triple Check the Wiring !!!
XKR - 3Gauge - final result, Elm wood panel
XKR - 3Gauge - final result, Elm wood panel
Last edited by Salo; 07-03-2017 at 04:37 AM.
Reason: added wiring photo's
Finally got around to installing the trans dipstick from M Euro Sport. A real PITA when you don't have access to a lift and very little room to work. It was a real struggle for this 70 yr old.
After installing, I have a small drip where the tube attaches to the adapter. I may have installed the compression sleeve in the wrong direction.
Last week I wanted to get my Black Cat up in the air to get wheels off to make them and Calipers spotless, before the big Jag show here on Vancouver Island.
The Car has The Handling Package so it's lower then normal XKR's.
My Floor jack was going to fit under but the Jack handle would not lift the car...just too low and no room.
So I decide to cut some 2X8s and make 4 ramps...drive the car up all at once so ALL 4 tires roll up at once. You need to have a few feet to get going ...inertia...but slowness is important, so the back tires don't scoot the 2X8 out behind the car..did that once.
Think I will glue thin rubber under the 2X8's next time as they tend to slide on polished concrete floor of my garage.
Now I can get Jack under the front... but in 2005 & 2006 there is no place from the front of the car to use a floor jack
Previously I watched Reverend Sam Video
Back to the Garage... and get the front up and jack stands in place. You need to put the floor jack on an angle ...cup towards the engine to the lift point, handle under front door so you can get the jack stand just behind the factory jack lift point inboard of the rocker panel where there is solid metal .
Then tackle the rear...Drat! the Jack goes under and with a block of wood on Cup but now there is no room to pump it up....Double drat...hits trunk[boot] floor
So I put a piece of 2X6 under the front jack wheels[see arrow] and now I can pump it up using the Reverend Sam video... center point [three bolts] as there is enough room for short pumps as trunk floor is low
Car was in the air in about 2 hrs of trials and errors and on Jack stands!!
Last edited by Wide_Tyres_2; 07-30-2017 at 05:04 PM.
Reason: typ0
Installed a remanufactured ABS module from ASI this morning, great thing was I didn't get the Incorrect Part Installed message, no trip to get it coded to the car. Fixed all the issues. CEL "C1137 code", ABS Indicators and TRAC & ASC Not available Message, it is a good day.
Finally wrapped up a horrid water pump job on my daughter's car and decided it was time to bring the e-type out of a 10 year cold storage for some long overdue love. That's my son's 08 R in the background. The e-type type is his when finally finished.
I purchased a rebuilt throttle body from ASI and had it installed today. We had a glitch in removing the old one and a connector from the pedal position sensor disintegrated upon removal. Had to make a run to a scrap yard to find a replacement; that was installed today and the car is running great! Thanks to all who recommended ASI. Great service, reasonable price and they answered the questions of my friends who installed it for me. Thanks everybody! I'm a happy driver again.
Next up, hydraulic hoses..... Already got the new ones, just waiting my turn...
Replaced front left wheel bearing, bought full hub from eBay and did a swap, will now replace the bearing in my original once my rotor nut tool turns up.
Interestingly once completed had a DSC/ABS fault showing till I realised the eBay hub was pre 2003 so had old non PWM sensor. Quick swap sorted it and my wandering front end is no more
 06-25-2017, 09:21 PM


 as there is enough room for short pumps as trunk floor is low