When you click on links to various merchants on this site and make a purchase, this can result in this site earning a commission. Affiliate programs and affiliations include, but are not limited to, the eBay Partner Network.
Autozone rented the retract tool kit. I did need to drill the pin holes out to .250" for it to fit though.
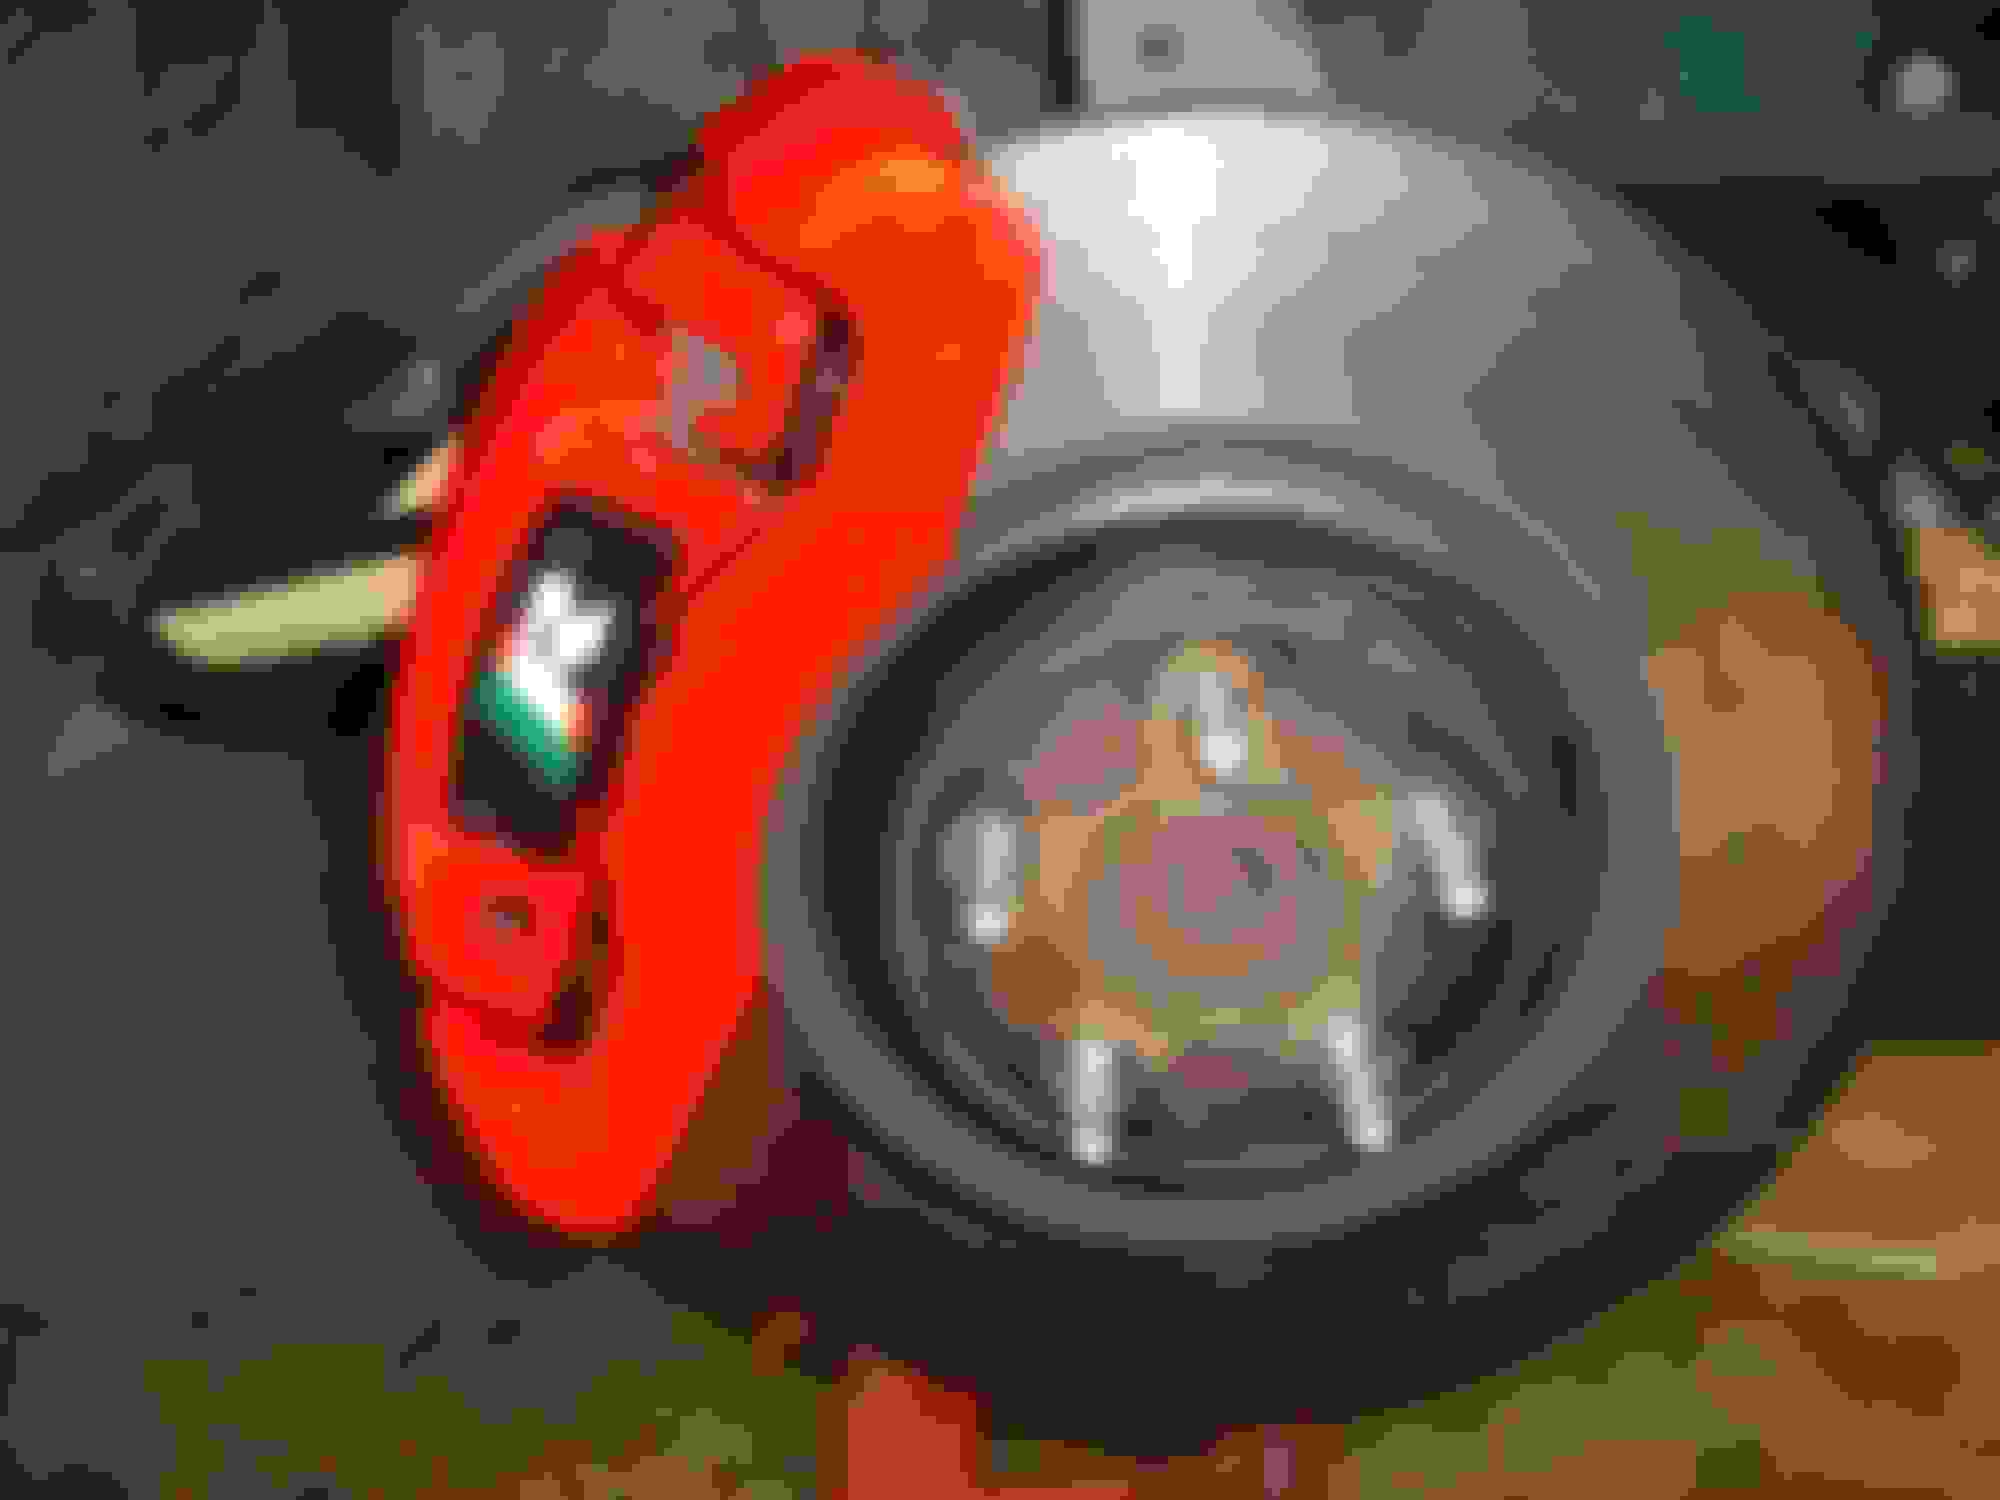
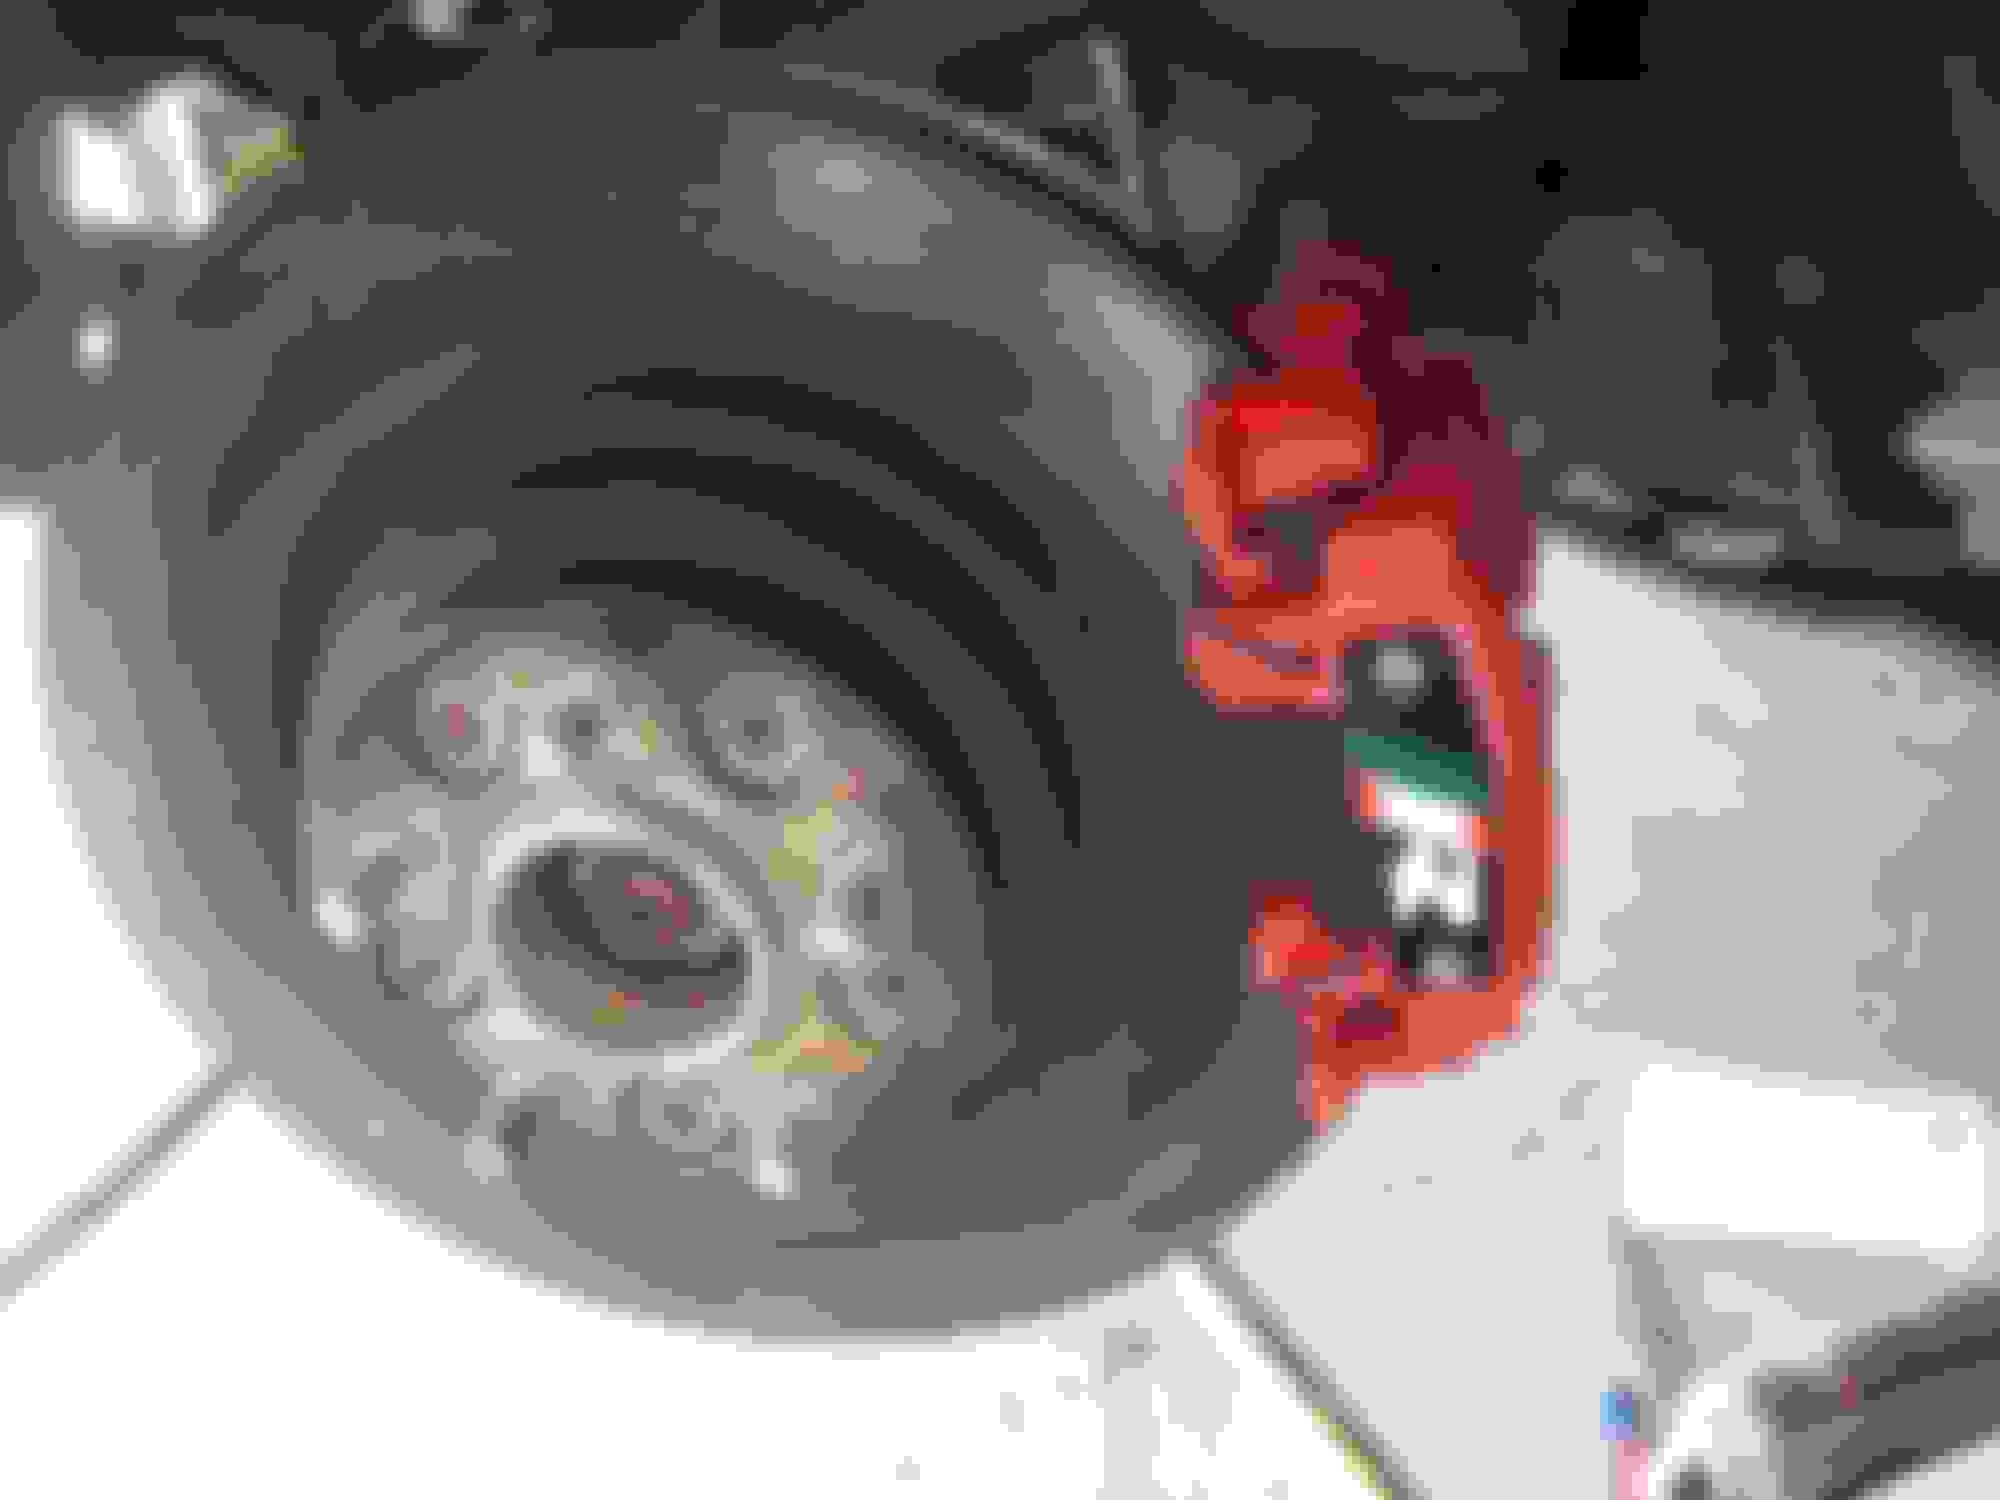
Gratuitous pic time. Springy things for the front and just covers for the rear. I chose black because of the red in the //R logo and I think it looks better vs. a chunk of solid red.
Still need to do some touch up on the red but for some dumb reason we are out of cue tips (again)...
I still need to pump the brakes a couple times and reset the e-brake. I also guess I'll need to cover the calipers with some rags while mounting the tires now. Such is the cost of being 'cool'.
And done. Ran out of time and made a simple 'chin strap' out of 1" x 1/8" aluminum flat stock that's screwed into the bottom of the bumper and is caged by the belly pan and bumper at the two front mounting points. It's surprisingly stiff up front now.
While messing with all that I decided to replace my dysfunctional horns. Ended up 'borrowing' the pair from my '93 Stang who were made by the same folks as the XKR's. Sounds a lot better than the dead duck that was up there. Needed to convert the wiring to a single female spade. Kept the original stuff tucked out of the way.
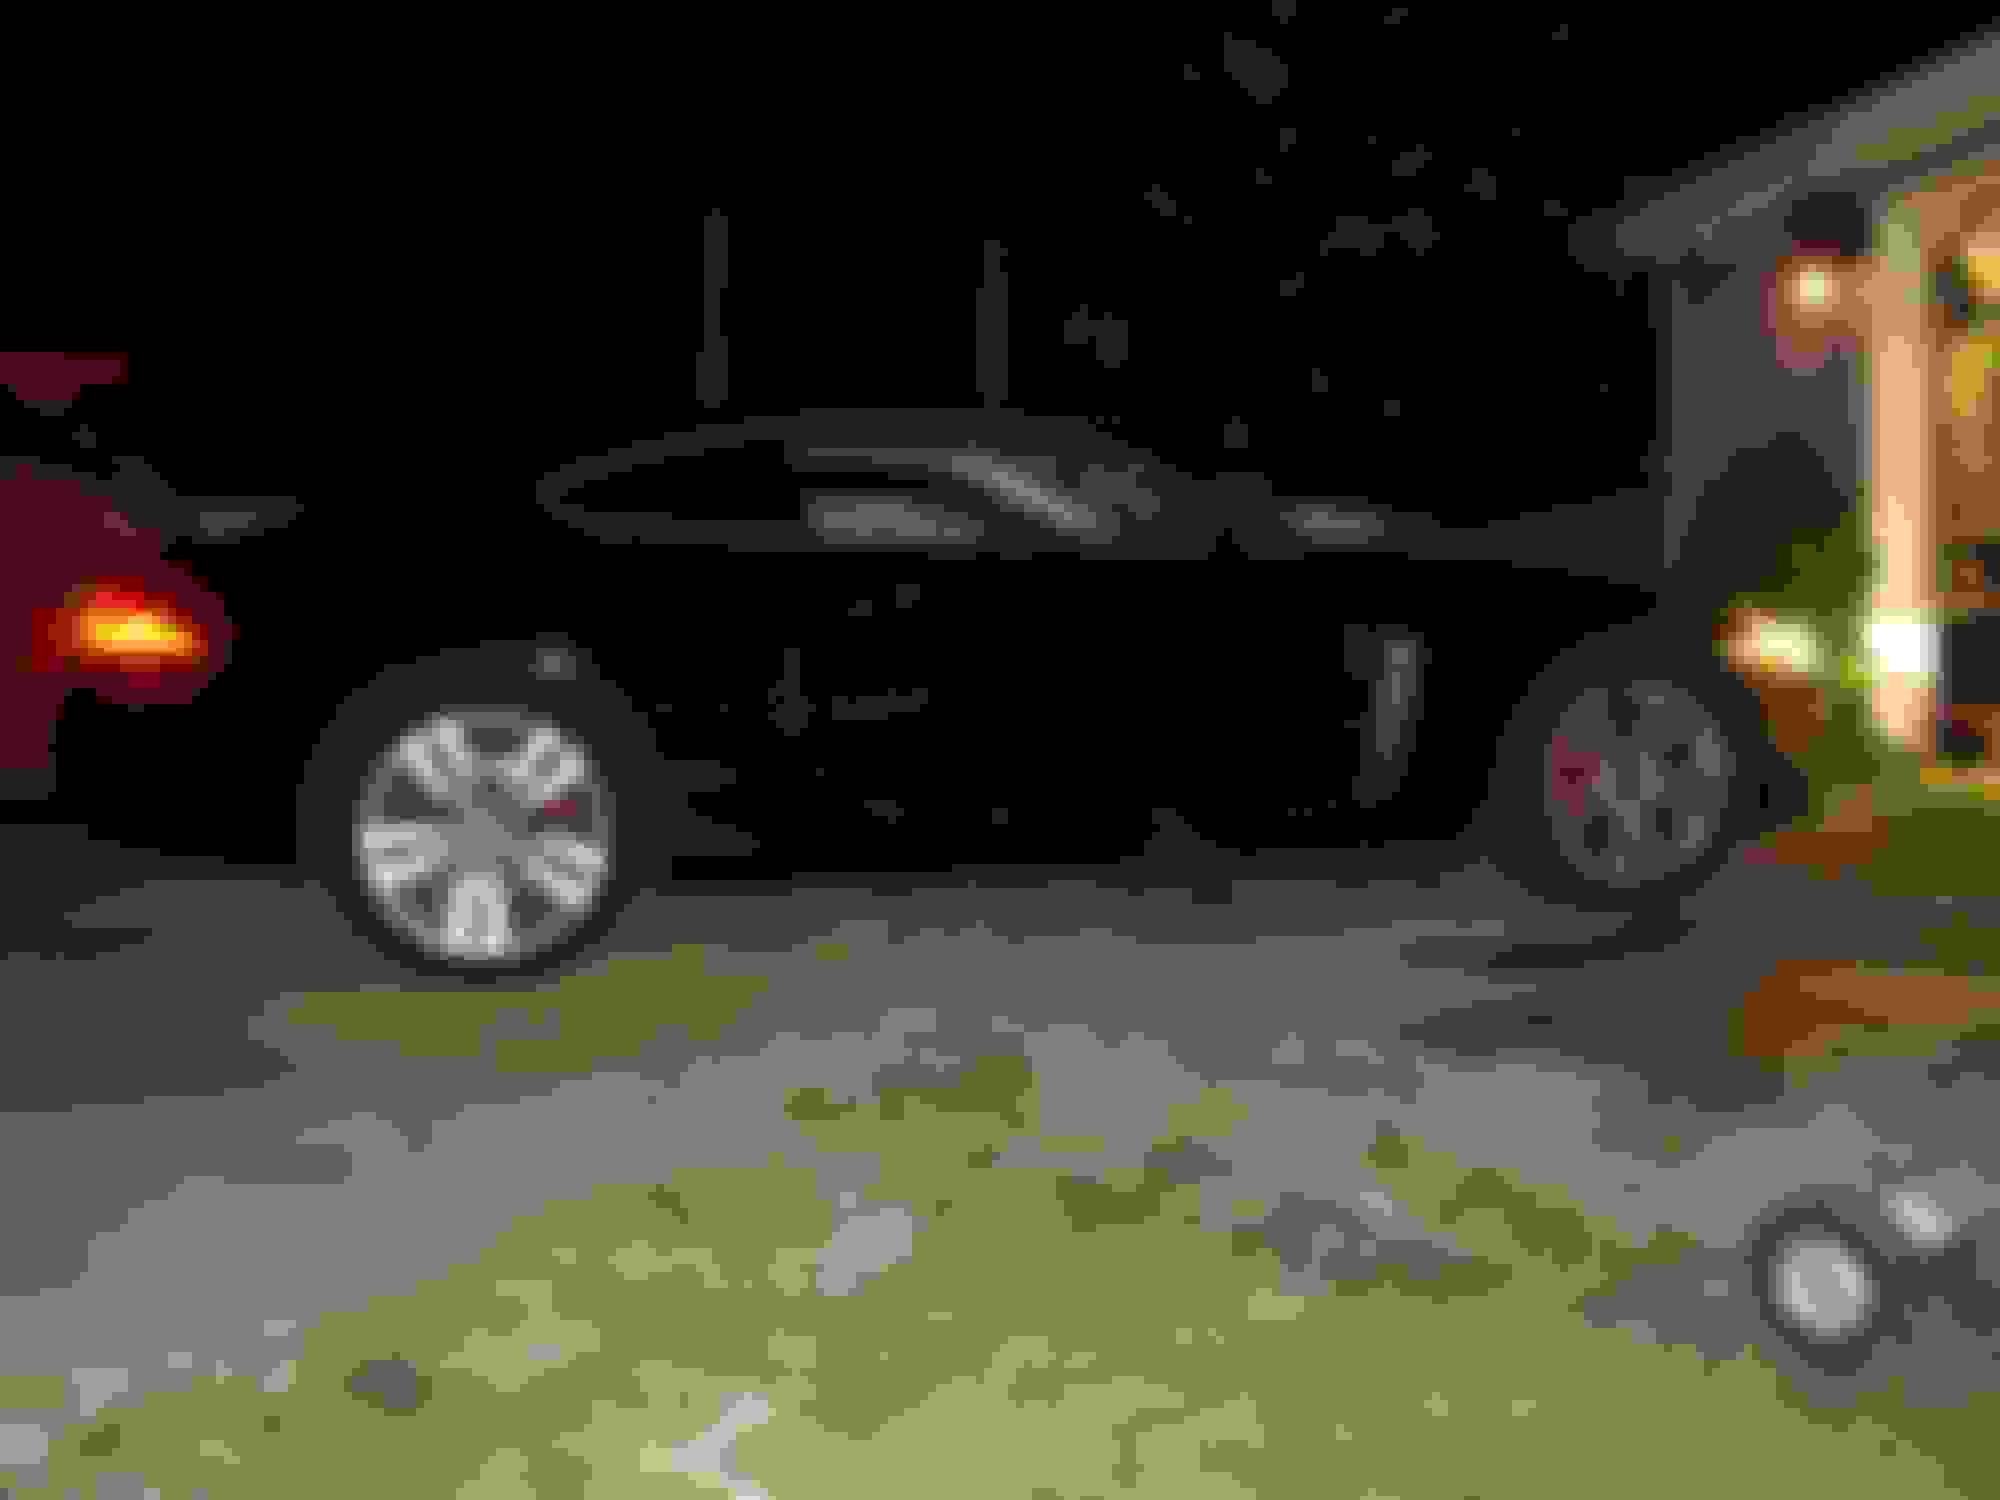
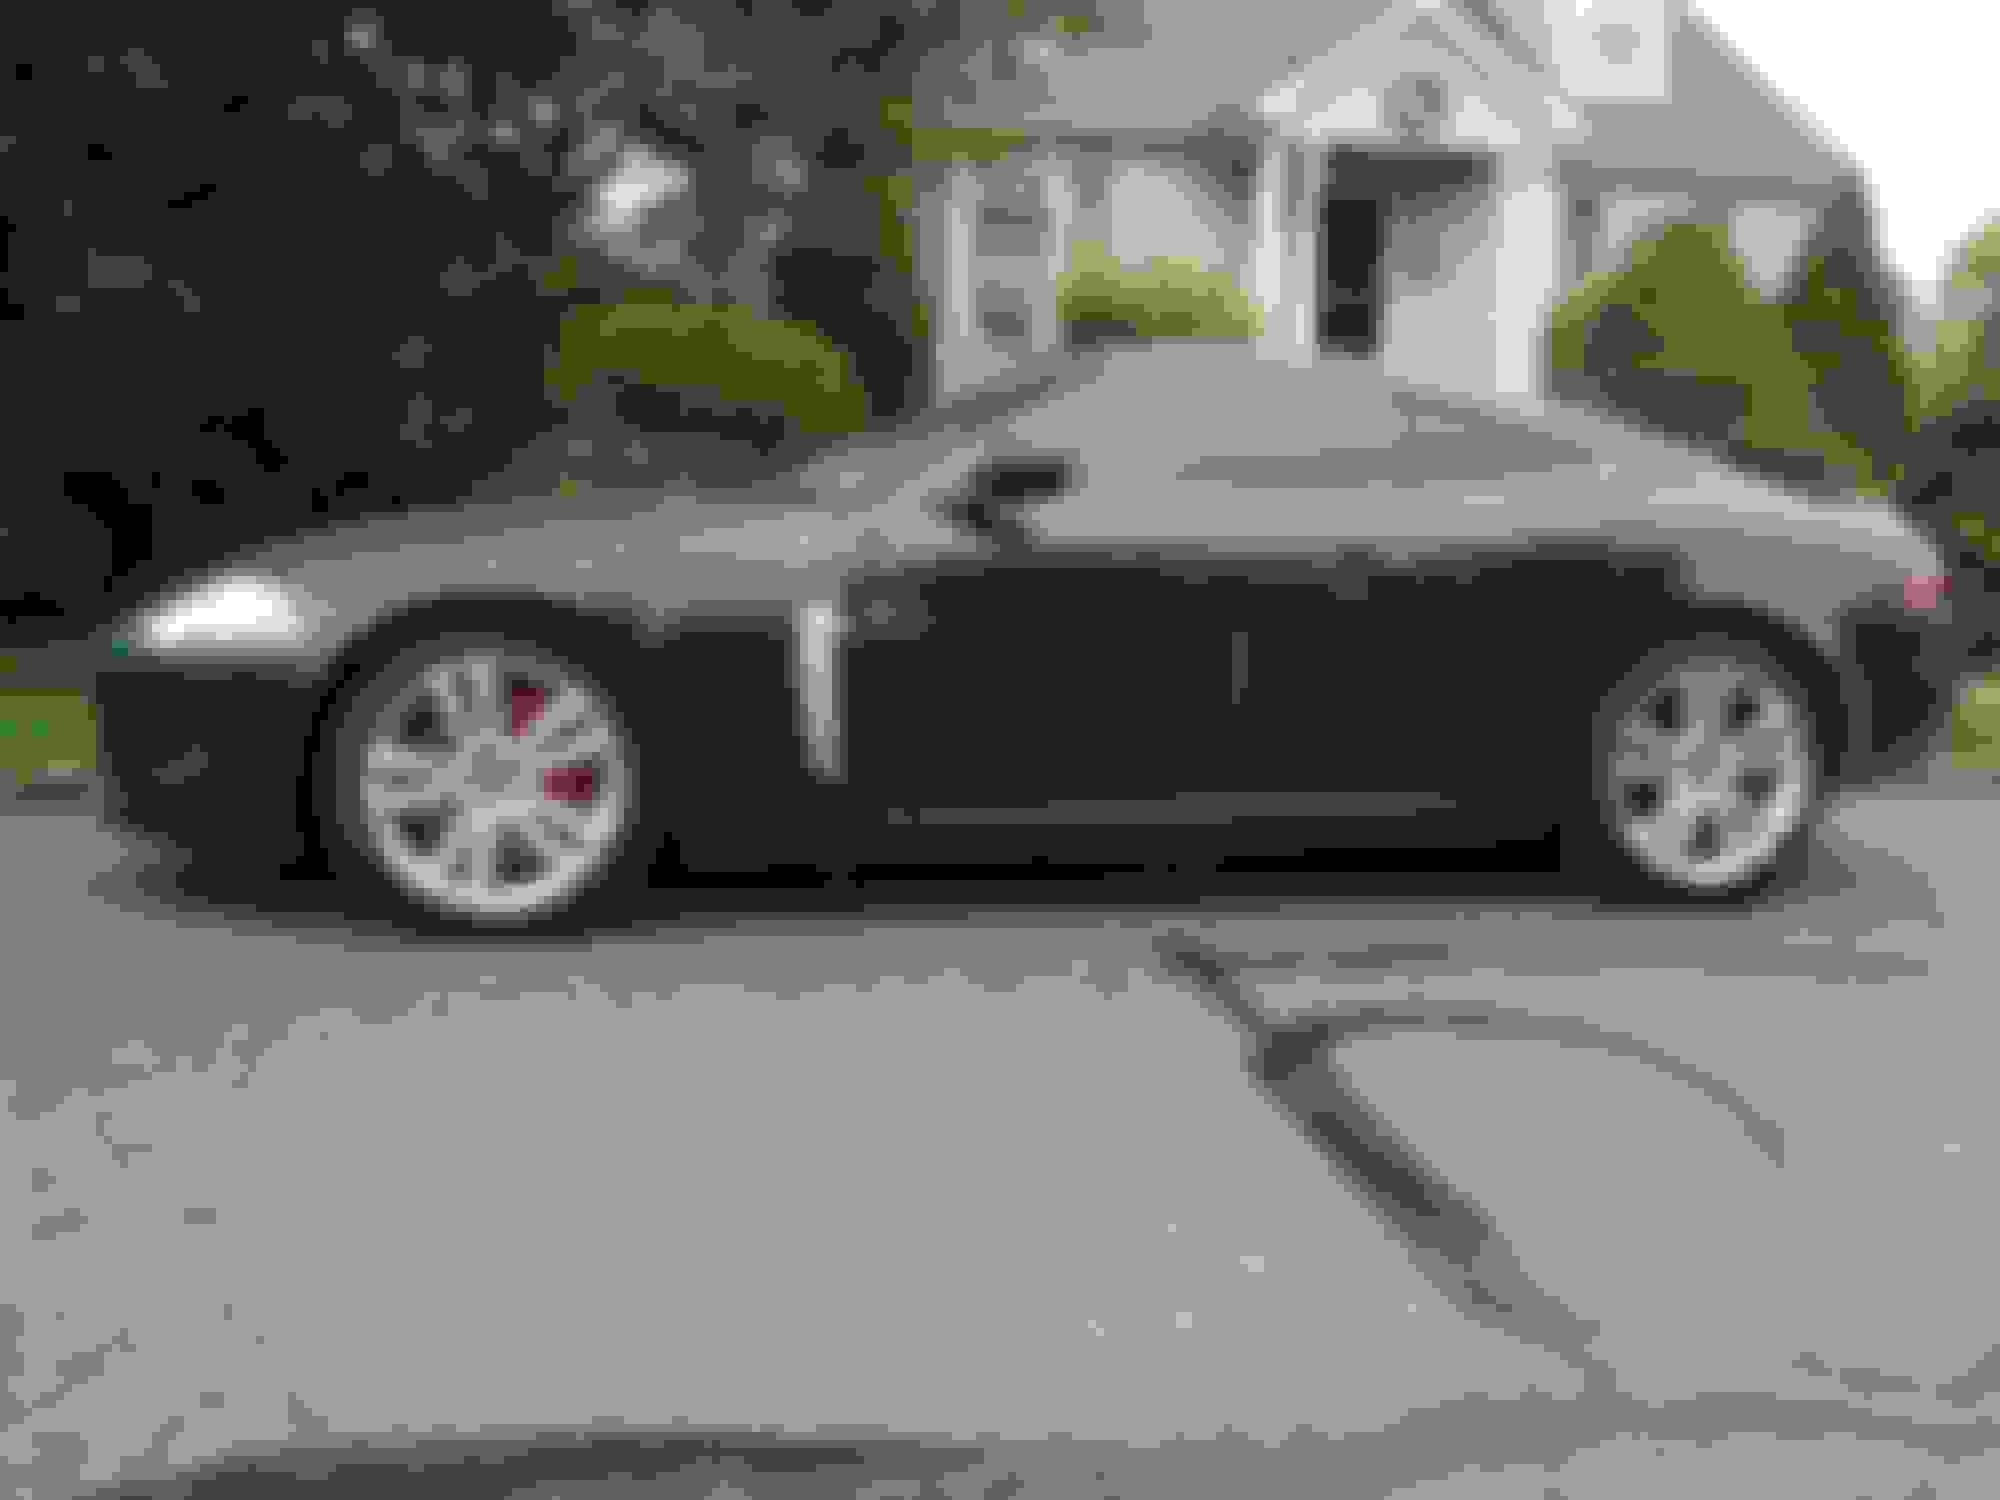
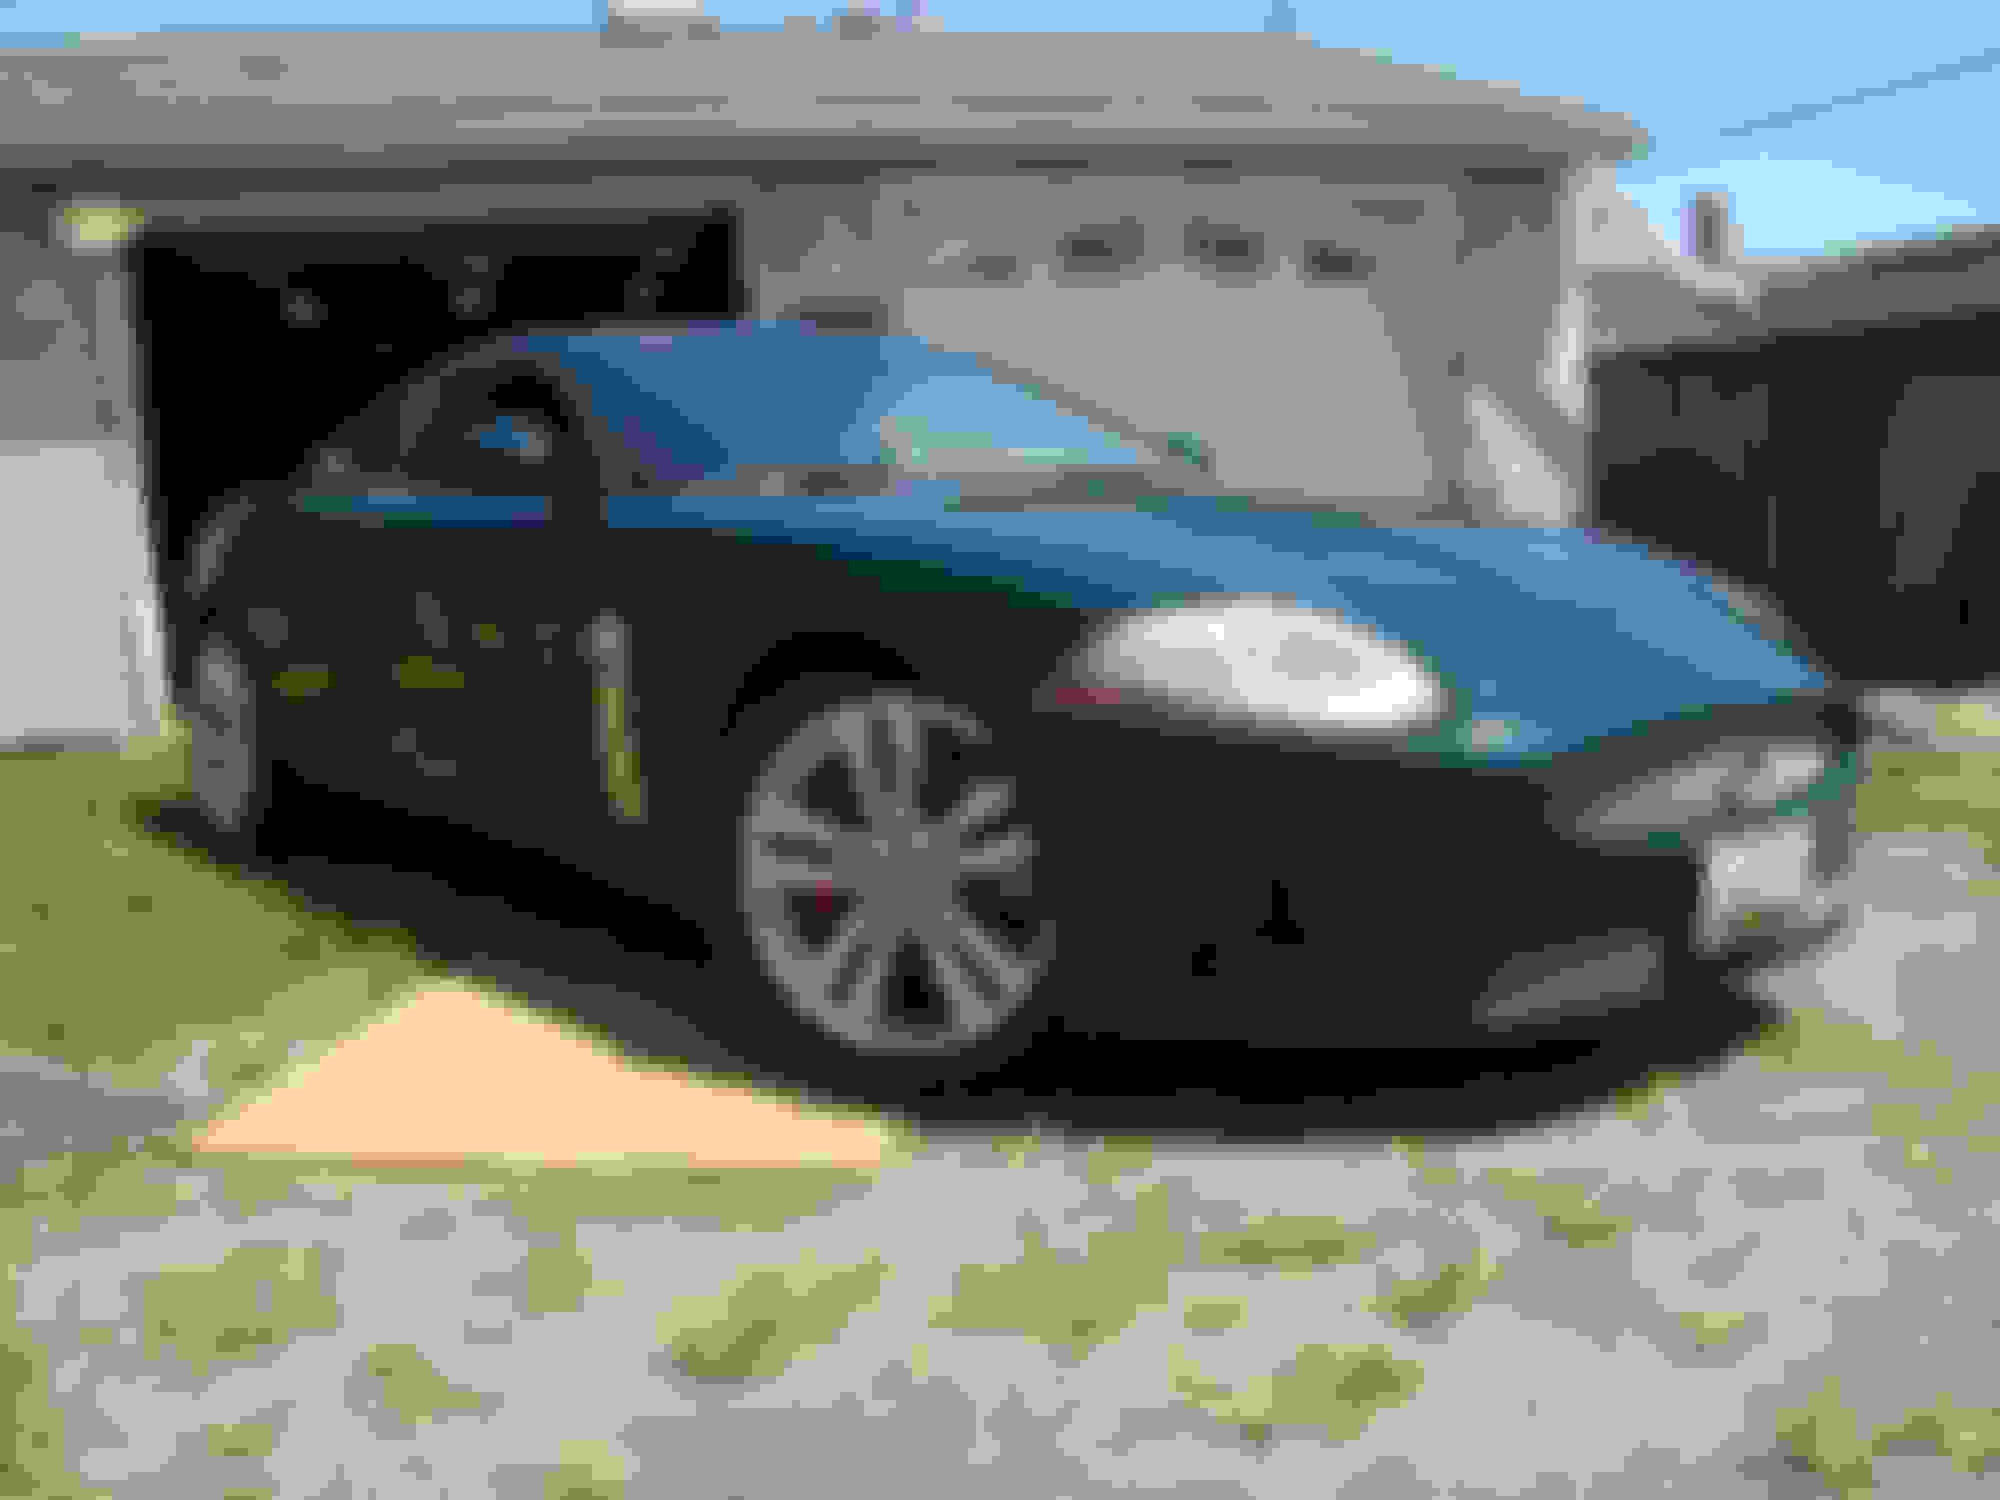
And outside. Red calipers look good with the green / black. I think better than yellow would.
So, ran the car to work today and for sure the snorkel removal didn't hurt the cars performance at all. The car seemed to have more of a growl but it's all too subjective. The red painted calipers on the other hand just scream BADASS and make the car 'look' amazing. Smelled them curing once I got to work. The ride home was great, picked up some sweet corn and was wondering how much of the dust from the farm lane was going to stick to the car. Mother nature came to the rescue...
It's neat watching the rain at speed because the water beads start out really small at the front and get really big at the back before getting sucked under the rear edge. Oh yeah, no more sagging chin either.
So, for painting the caliper, difficulty of 3-4 just because you need to put it on stands and pull the wheels. The brakes themselves come apart pretty easily. The springs can be difficult to reinstall without scratching the paint. The VHT paint is pretty good stuff so far. No primer and minimum wire brush and dawn soap bath prep. Paint laid out nice and no fish eyes. Tools were a decent sized flat blade screw driver to pup the springs, a #50 torx for the front caliper bolts and a 15mm socket for the caliper to hub bolts. Left the hydraulic lines attached and other than the E brake fiasco it went well.
Results are pretty stunning. The red screams look at me and they kicks the cars image up at least on notch on the cool scale. The //R emblems look good but I might go with another rim center cap, either a green growler or a black and silver leaper since I don't care for two //R emblems side by side.
That 'yuck' paint looks pretty good since you've mopped it.
That's why you shouldn't test drive a car in the rain.
Originally Posted by McJag222
I must admit I like the racing green - looks sharp
Me too. very few of these shot are done in the sun where the car is a very obvious green. The ones from the farm show it best. Totally different looking car in green vs. black...
So, one last adventure before wrapping up this weekend's adventures...
ever since I got the car I wanted to do 'something' about the sagging rear valance. it's original dark grey has faded to molded striping lighter grey. Back to black wipes haven't done much for it either so it'll eventually get pulled for paint. In the meantime here's what it looks like.
Rummaging around my aluminum stash I found a length of 3/4" a 1/8" angle and thought this would work well to stiffen the bottom so it wouldn't sag any more. I mocked it up upside down and thought it had potential there vs. with the vertical hidden behind the panel so...
Drilled a bunch of 6mm threaded holes to mount some pan head screws in place and I think I like it. I did run the visible edge across the polisher to give it some shine. Makes me want to paint the 'grill' similar to the front but I'll need to do it by hand since the mesh isn't open in the back.
Done. Hard to see but one cue tip and a spritzes of aluminum in the lid and the grill is done to match the front.
OK, off to bed for another four night 'week' of night shift...
So, another week gone by. Been enjoying the car as much as possible. The work spent on the brakes last week was well worth the effort. The red calipers have given the car and totally different look. I just got back from getting dog food in it and noticed a lot of folks looking at it.
My youngest son and I put @ 340 miles on it this past Thursday running up to a big steam engine show in Lancaster PA. Car ran fine but the seating arrangement was pretty miserable after an hour or so. Definitely lifting the front of the seat to support my long legs. Did it to my '93 Mustang and it made driving the car much more pleasant.
We did have one run in with the law when I chose to pass an old CV police interceptor that happened to still be in service. Jag went from 45 to 85 mph by the time I went around him and once past the car he was following he came around it too, lit up. We both had a pretty good chuckle about it thankfully. The warning ticket says speeding 70+ in a 50 mph zone.
Some pics...
One note, with 75 lbs of dog food in the back it's not nearly as liable to squawk the tires.
So, mind pretty blown from the 160 mile trip up with my pipe droning away. It was actually worse with the vanity cover out of the hatch. Did the swap in place, took about fifteen minutes including farting around with the vacuum lines (T was broken). End results are entirely too quiet with or without the valves open. The 160 mile ride home was much more enjoyable without the drone so I'm kind of torn between running the loud pipes and playing with them some more around town and running the quiet box for longer trips. OEM box has 5000 miles on it.
Great day and pretty decent traffic. Left at 9:30 am and got home at 4:30 so it was a pretty long day in the office.
I don't know. I would so love to find one of these smashed up bad and cut it apart to see how the interior is chambered. I had pondered the thought of cutting the 'L' off between the muffler and valve and boring through the dividers until I got to the inlet pipes but it become difficult to reverse if needed. I had also thought about putting the 200 cell cats back on but that job sucked both times I've done it.
For now I'm thinking active valving on my resonator pipe at the 'L'. and / or a pair of Helmholtz resonators, probably different lengths on each pipe. We'll see. The stock box gives me more freedom to play with my design without getting aggravated.
I went back to stock equivalent cats from a 2011 5.0 Mustang. The 200 cells were just too raucous.
Been schooling myself on Helmholz and 1/4 wave branch circuits. Basically I need to find out my resonance frequency. For a 1/4 wave V8 at 2k it should be around 130 hz but I want to record it and analyze it to be sure for my application.
A calculator for the frequency but it really doesn't go into the amplitude of attenuation so I think if my neck pipe is too small it won't work as well. a large neck needs a really large chamber though. Trade off...
Seems to me that the OEM XKR rear muffler offers what you want - no drone at low rpm and reduced restriction and noise on demand. Just wire the muffler to a cabin switch. As for internals of the OEM mufflers (XK & XKR) check the cd shop manual for Jaguar which has cut-away drawings of both mufflers.
Consider also doing A/B dyno testing on your exhaust mods. There are several aftermarket cat back systems being sold, but, to date, I have never seen documented A/B power testing, which makes me wonder.
I think the extra cost high performance exhaust sometimes offered by Jaguar consists of just an X pipe plus the usual oem muffler - someone please comment on this.
As for Helmholtz sizing, this is probably "brute-force engineering" - drone is very low frequency, meaning a larger Helmholtz chamber. In this case maybe "bigger is better."
Exhaust drone is a huge problem for mfgs striving for performance exhausts. I think Jaguar and GM using an "active muffler" represents the best engineering currently available. Note that Ford is offering an active exhaust on its 2018 Mustangs.
Found it but I don't think it's telling the whole story. On mine the exhaust exits with authority even at idle. With the OEM one it's really diffuse, even with the 2nd path covered. The OEM box is just too quiet by a couple orders of magnitude.

 08-10-2017, 02:02 PM