When you click on links to various merchants on this site and make a purchase, this can result in this site earning a commission. Affiliate programs and affiliations include, but are not limited to, the eBay Partner Network.
Putting New Brakes and Calipers on 'The Ice Princess'
Having dragged 'The Ice Princess' kicking and Squealing out of the Garage so I had a lot more room to work
It was time to take the Old Calipers off and put the New Calipers on, where I know from past experience that this can turn out to be the Job from Hell
As the Bolts can seize in the Steering arm and as such be almost impossible to undo and had to cut the Steering Arm off the last one
The Caliper Bolt was seized solid and after a week of trying every trick in the book, following 'Greg's' suggestion I cut the Steering Arm off
This time though I had a Secret Weapon! in the form of an Electric Impact Wrench, which cost me around �30 on ebay
And absolutely worth its weight in Gold, even if you buy one to do just this one job, or you could be there forever getting nowhere like I was
Surrounded by Breaker Bars and Broken Spanners
But first I had to take the Steering Arm off
In order to take the Old Caliper off, I had to disconnect the Steering Arm
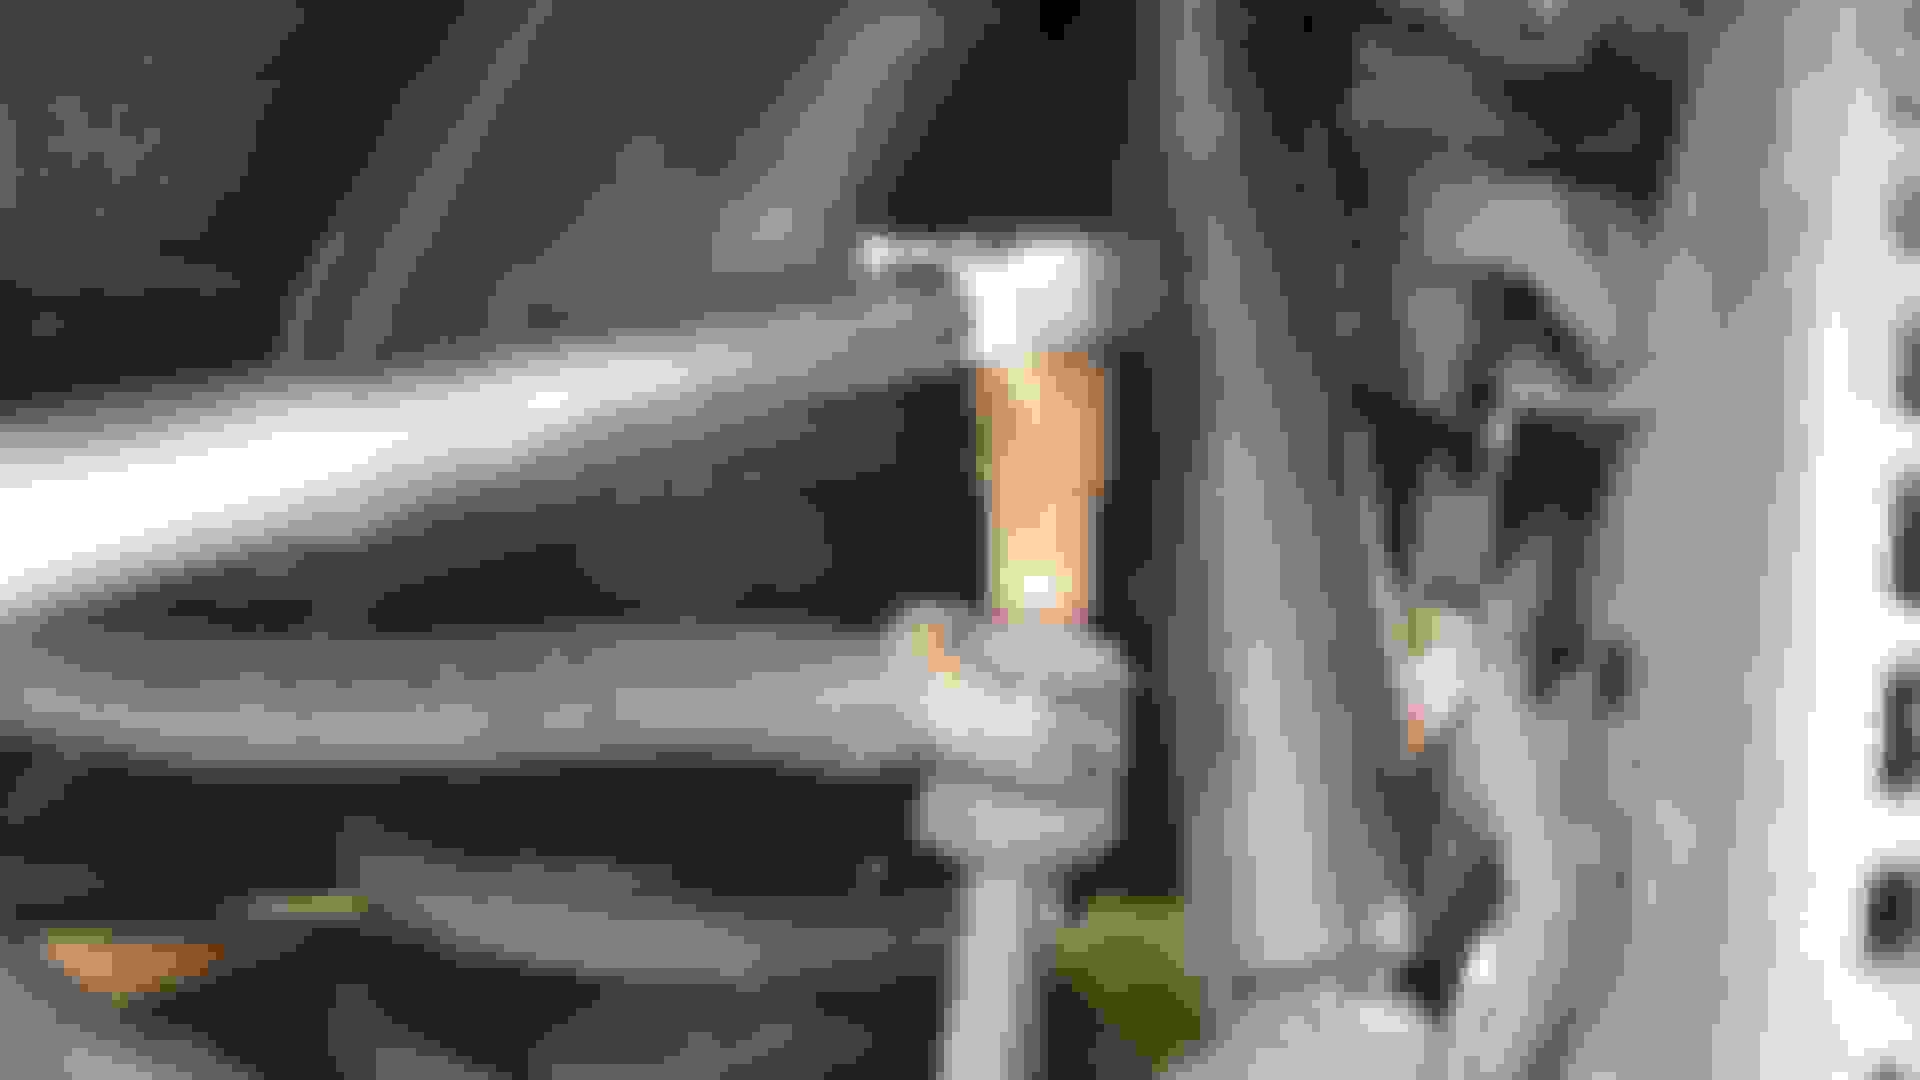
I've got lots of Ball Joint Breakers but chose this one for the Job
Ball Joint Separator to take off the Steering Arm and this one undid easy for a change!
Having got that one out of the way, it was time to undo the Caliper Bolts which were seized solid in the Steering Arm
When nothing else will do the Job then you need the 'Nuclear' option and this Electric Impact Wrench has to be the best thing since they started slicing slided Bread
Here's a Video of it in Action doing exactly the same job on one of my other Cars
These Caliper Bolts were Seized Solid in the Steering Arm but my Electric Impact Wrench soon had them undone
I think that the Previous Owner may have had these Calipers replaced at some time as they didn't look Stock
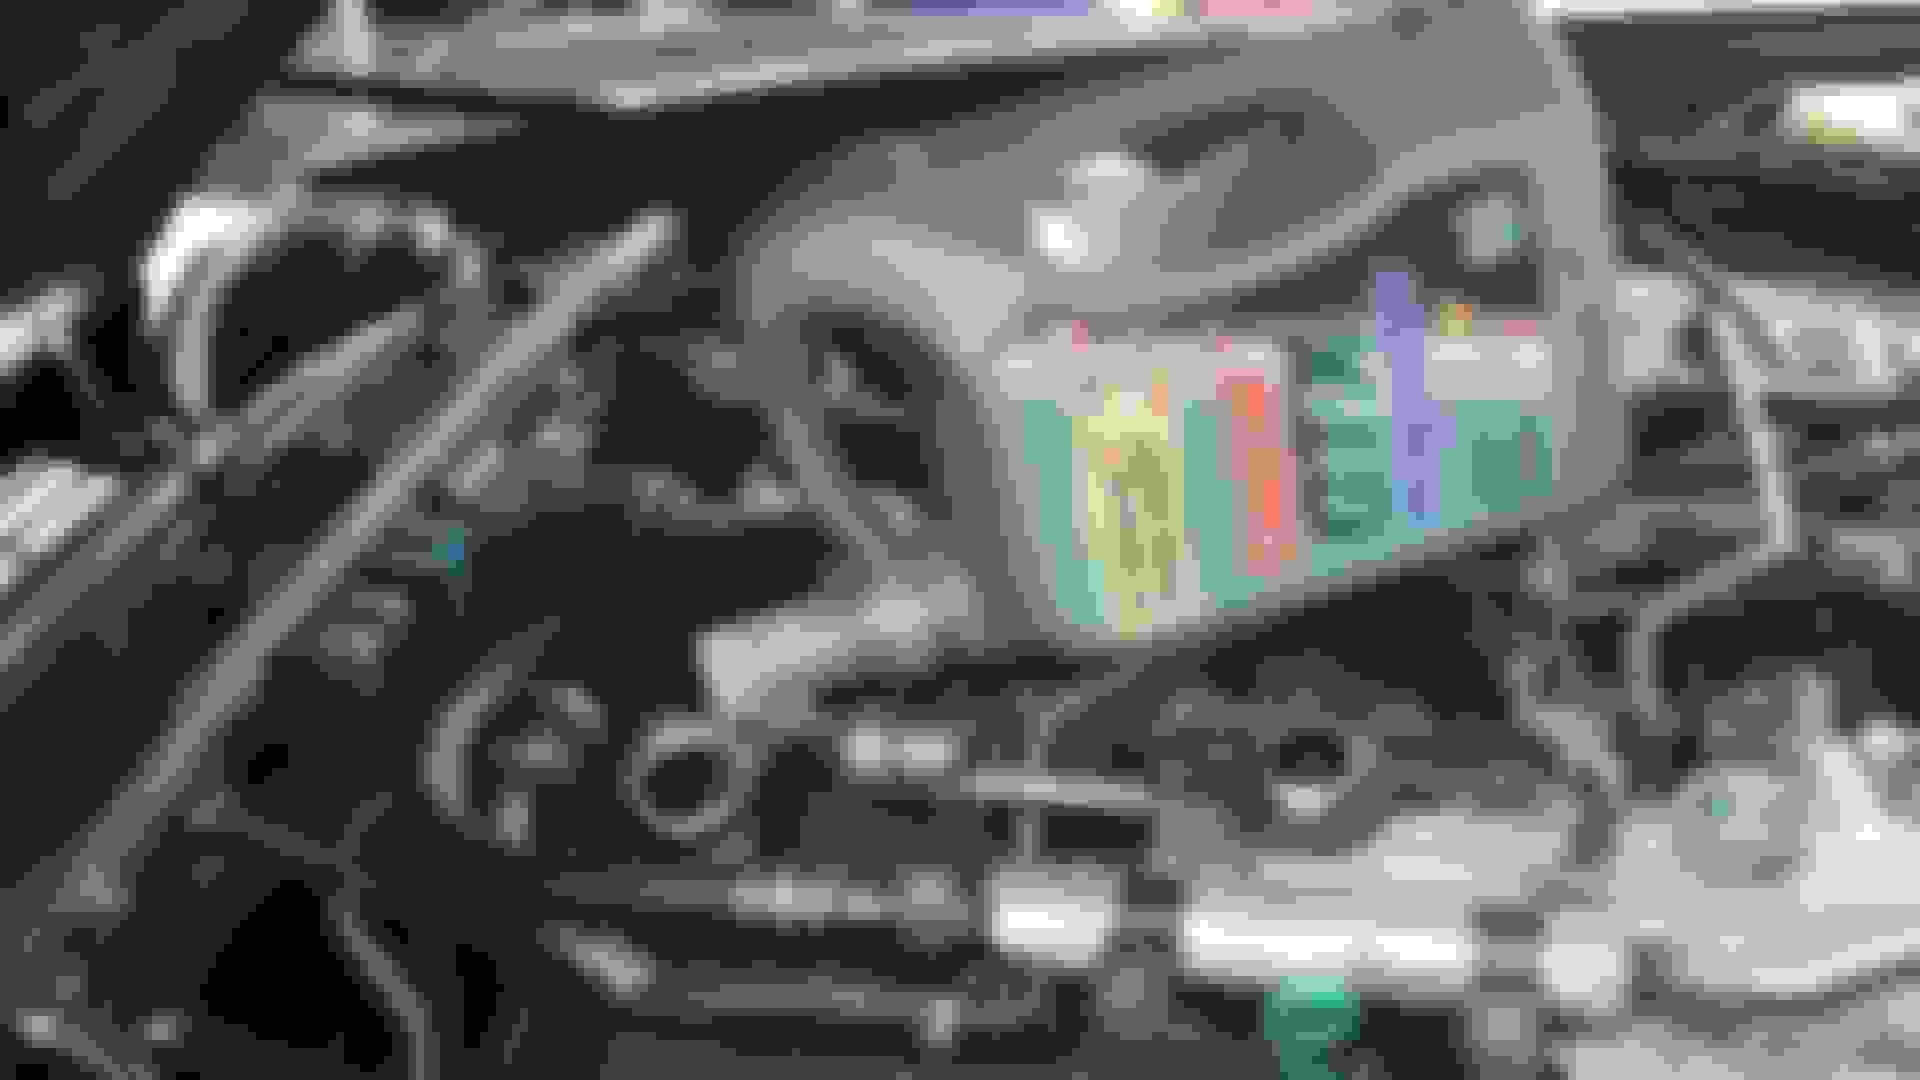
But Check this out for a Bodge up! and one of the reasons why I always do my own repairs
Not a neat way to wire up the Caliper Bolts
There are also times when only a FBH will do!
There are times when only a FBH will do
Now it was time to put the New Calipers on, which is usually easier than taking the Old ones off
Except for just one thing!
And that is refitting the 'Shim or Shims' between the Caliper and the Arm
This is one of those little jobs that can drive you crazy, as just as you are going to insert the Bolt, the Shim falls out!
I've spend as much as almost a day struggling with that but Not any more!
But why do you need to bother with those Shims anyway?
They are quite important, as they are needed to fill the gap, to avoid putting any strain on the Steering Arm
In order that you can measure the Gap for the amount of Shims you are going to need, just trial fit the Caliper and then 'Nip up' the Bolts but not too tight
Then use a feeler Gauge to measure the Gap
In my Case the Caliper needed Two Shims which are usually Mega Awkward to fit because they seem to drop out the moment that you try and put the Bolt in
One of the Shims that is needed to fill the Gap between the Caliper and the Steering Arm
So how do you Stop the 'Shim' falling out, just when you are trying to put the Bolt back in?
Offer up the Caliper and then put a screwdriver in the hole instead of the Bottom Bolt which will give you a little bit of 'Jiggle' room
Then and this is the Secret put a little bit of a Bend in the Shim or Shims, then as you insert them into the Gap
Because they have a slight bend you should be able to Jam them into the Gap as if they were a Spring Washer
If you need 2 Shims then jam them in one at a time on top of each other
Having done that, then insert a Screw driver through the Caliper and the Shims and then remove the Screwdriver from the Bottom Hole and put in the Bolt finger tight
Then use the Screwdriver at the Top (that you put through the Caliper and the Shims) to slide the Shims around the hole until they are in position
Where the 'Slight Bend' that you put in the Shim, should hold it in place while you then take the Top Screwdriver out to put the Bolt in
Which seemed to work a treat at least for me
Then it just a Question of Tightening up the Bolts and then once having done so Wiring them in place, hopefully much neater than they were before.
New Calipers on and time to make up the Brake Pipes
Last edited by orangeblossom; 04-07-2018 at 12:59 AM.
Having just put the New Calipers on 'The Ice Princess' which still need a final Torquing up before I put the Locking Wire on the Caliper Bolts
It was time to make a New Set of Brake Pipes, which I do with a DIY Brake Pipe Kit which I bought a few years ago for around �30
I've used this Kit so often that its paid for itself time over, although like many other things it does require a 'knack' to get it right
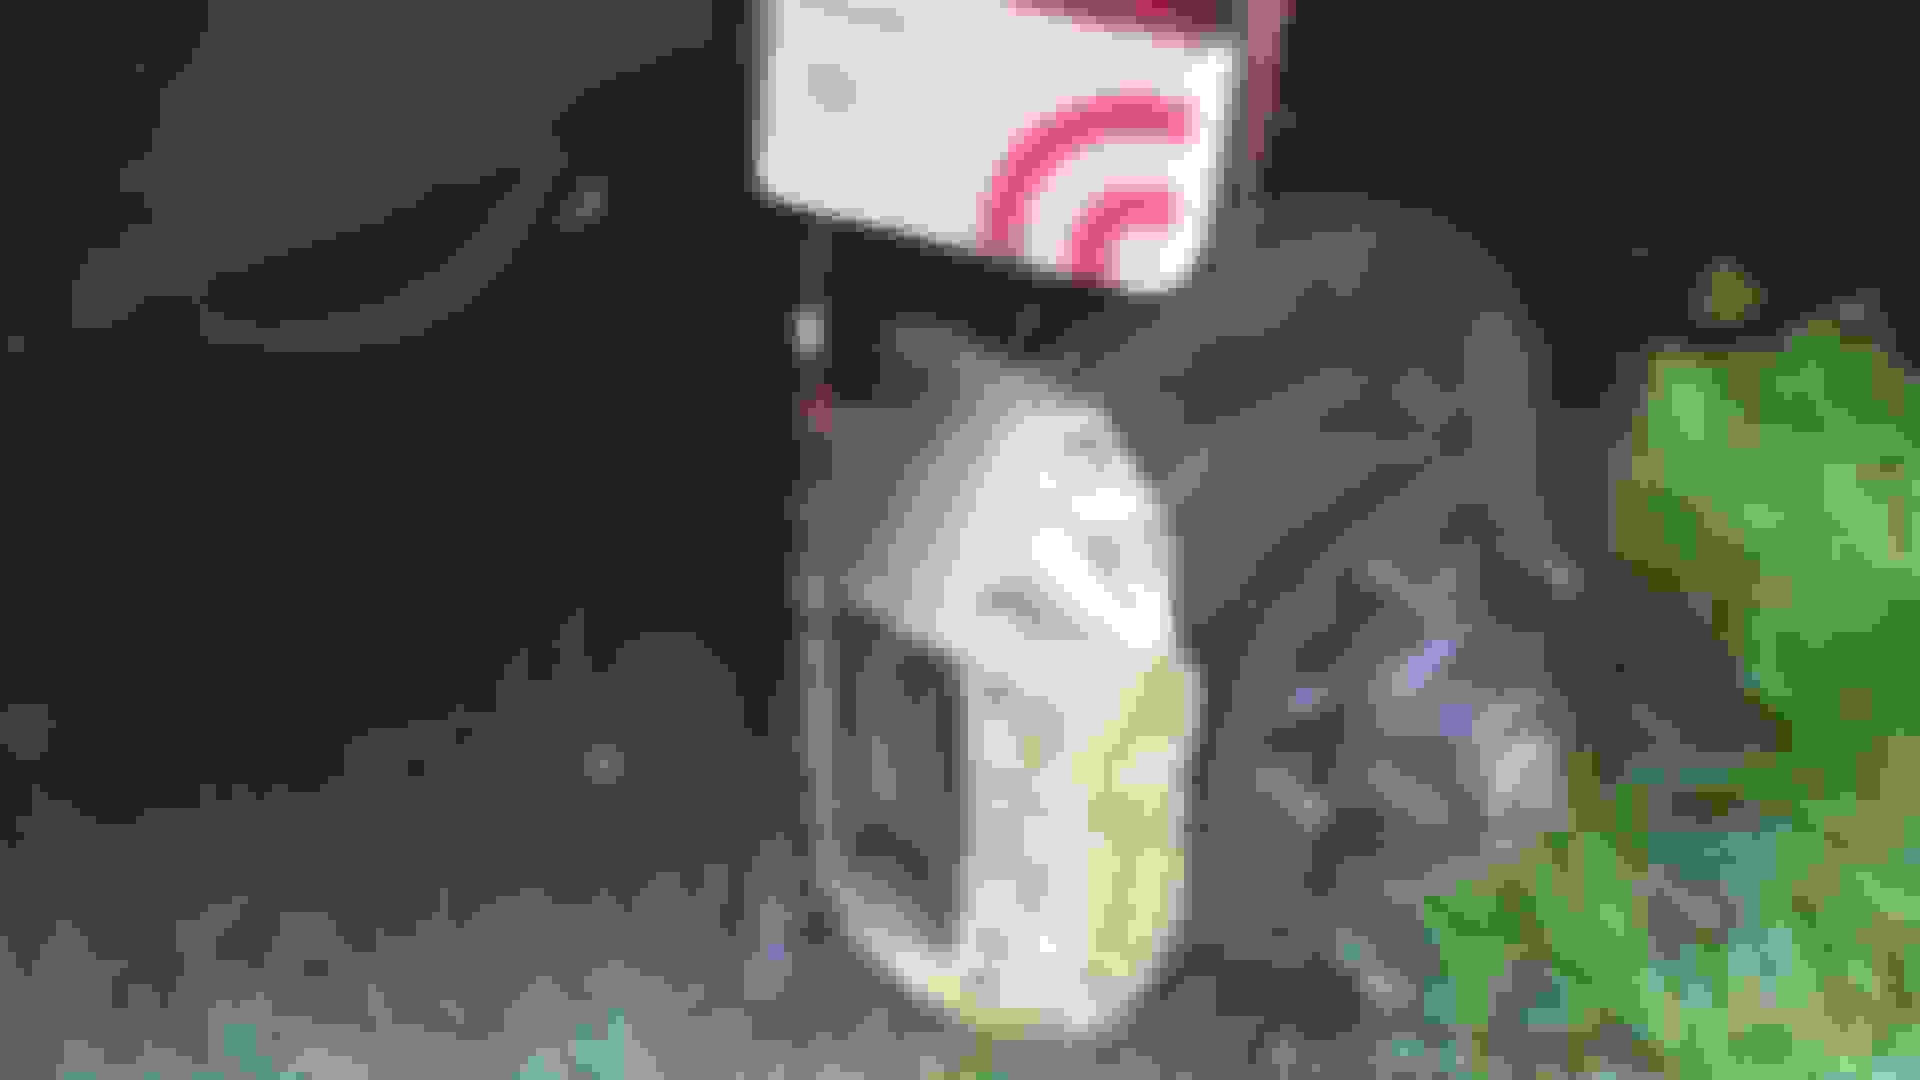
My DIY Brake Pipe Kit has saved me a fortune and is worth its weight in Gold
The First Job is to cut the Pipe to length and in my own case found 10 ins best
The Cutter supplied with the Kit does a very nice job and keeps the ends square and as for length my preference is 10 ins
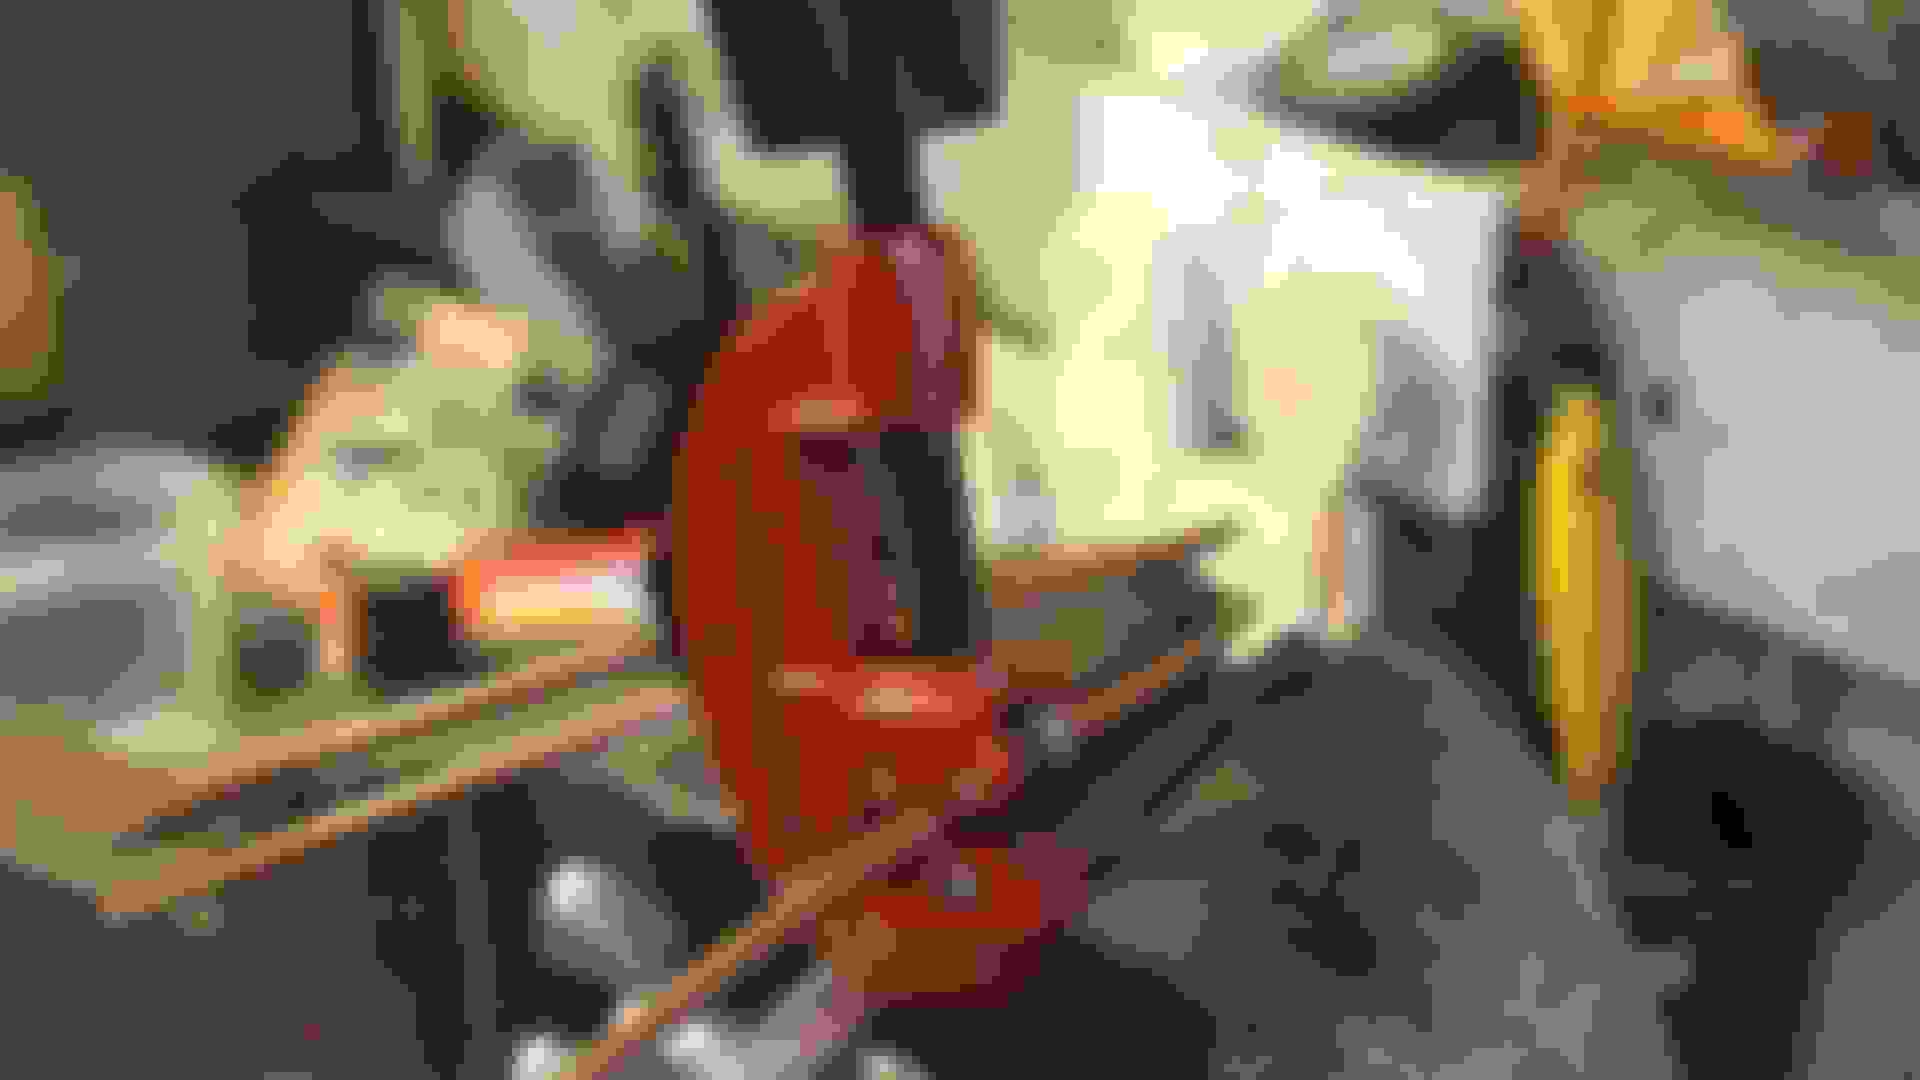
Having Clamped the Brake Pipe maker firmly in the Vice, the next job is to Clamp the Pipe into the Brake Pipe Jaws where the amount of pipe protruding out is absolutely critical or it won't pass 'Quality Control'
The length of Pipe protruding is absolutely Critical or it will not pass your quality Control 'Practice Makes Perfect'
Next insert the right size die in the Tube and lube with grease
Die in the Brake Pipe already for Forming the Fitting
Forming the Fitting this requires a bit of practice or it could all go 'Pear Shaped'
Looking Good! and time to take it out
That looks pretty much perfect and should do the job nicely
Don't forget to put both of the sets of fittings on before you go and do the other end!
Don't forget to put on both sets of Fittings before you go and form the cup on the other end
Forming the extrusion on the other end of the Brake Pipe 'Refer to the Instructions' to Form the Shape you need
Refer to the Instructions to Form the Shape you need to fit your Brake Pipe as they are not all exactly the same
I decided to double Flare the other end but refer to the Instructions in case your Brake Pipes need a different shape
The next job was to do a Trial Fit on 'The Ice Princess'
Trial Fitting the Brake Pipe on 'The Ice Princess'
Looking good but needs some final adjustment
Nearly there but now I'm going to take it off before I wire up the Caliper Bolts
Already to give the Calipers a final Torquing up before I go and Wire up the Caliper Bolts, except there was a Problem as I could not remember where I put the Wire!
OMG! Where did I put that Stainless Steel Locking Wire!
As it wasn't indoors or in my 'Shop' or even in the Boot/Trunk of my other Car 'Cherry Blossom'
There was only one place it could be and that was in the 'Cubby Box' behind the Seats of 50 Shades my Grey XJS
Which then presented yet another even bigger problem, as 50 Shades was still wrapped up for the Winter
Though as it turned out this was something of a 'Blessing in disguise' as my ultimate Goal was to get 50 Shades out of Winter Mothballs
Then put her in my 'Shop' with 'Cherry Blossom' although on 'Paper' maybe not as easy as it sounds
Because I hadn't Started '50 Shades' since I laid her up for the Winter, in October last year and didn't even know if She would go
And even if She did Start there were lots of other Cars to move around but maybe most important of all, I needed my Car Lifter Free
Which '50 Shades' was sitting on, so I could get to the Rear Brakes of 'The Ice Princess' to Bleed them, when it got to that stage in the game
But even if I got that far I still needed that 'Locking Wire' before I could continue working on 'The Ice Princess'
'50 Shades' My Grey XJS Taken Out Of Mothballs After The Winter
Before I could do any more to Restore my Arctic Blue XJS 'The Ice Princess' I had to find the locking wire to wire up the Caliper Bolts
Where having looked everywhere that I could think of, I came to the conclusion that it must be in the Tool Box that I keep in the 'Cubby Box' of 50 Shades my Grey XJS
Except of course for just one little problem, as 50 Shades was on my Car Lift all wrapped up for the Winter and had not been Started since October last year
And so apart from hoping to find the lost locking wire, this seemed to be as good a time as any to see if She would Start
Then hopefully drive her off the Lift and Park her next to 'Cherry 'B' which was already safely locked up in my 'Shop'
With the added bonus of having my lifter free, so that I could get underneath 'The Ice Princess' to bleed the rear brakes
It was going to be complicated as I've got lots of Cars all over the place, including my XJR Supercharger which I'd forgotten about
Though right at this very moment in time the only Car that I had on my mind was my Grey XJS '50 Shades'
And was wondering if She might possibly Start after being left for all this time, where as such it was now time to take the Covers off and have a look
She may look quite good in this photo but close up She looked a mess!
The reason She looked so awful was that when I put her in Mothballs for the Winter, I put Polish on her but I didn't Polish her off!
Thinking it may provide her with some extra protection when leaving her outside during the Winter
50 Shades my Grey XJS covered in a residue of White Polish and as such looked nothing less than blinking awful
That Photo was taken just before I laid her up for the Winter but as of now the question was would She Start?
Just like 'Cherry Blossom' my red XJS, 50 Shades was also fitted with a Battery Discarnect Switch to isolate the Battery
Where much to my delight, I turned the Discarnect Switch and the Boot/Trunk Light Came on!
Looking good all the Lights came on in the Boot/Trunk, so hopefully She might Start
But before I turned the Engine over I had to do the usual pre-flight checks, Oil/Water/Power Steering/Brake Fluid etc
All of the Fluids were up to the mark but just to help her along, I poured a Quart of Magnatec down the filler cap to lube the Chain and whatever else was down there
I poured a Quart of Magnatec down the filler cap to lube the Chain
Having done that I opened the door, got out the Key and sat down on that Connelly Hide, She just felt so special that the memories of last Summer came flooding back
But even if She did Start we weren't going far, as I hadn't Taxed her yet because the Weather of late had been so awful
So as I slipped the Jaguar Key into the ignition, I turned it to position One and all the lights came on!
And then onto position Two where the Engine just spun like a turbine, as She Started on the button
With Oil Pressure in 3 Seconds as She sat there on the Lifter 'Purring' like a little Kitten or should I say a roar!
Although to be quite honest I was much too excited to care, as I snicked the Shifter into reverse and very carefully backed her off the Lifter
With lots of White Smoke to begin with, as it was such a Cold day although within about 5 minutes after the AAV closed down
All you could see was a jet steam of almost invisible red hot gas coming out of the Tailpipe of the Exhaust
But with no Sunshine on offer, we weren't going anywhere today and so grabbing a New Tea Cloth, I decided to Polish her off
Polishing off the Polish that I'd left on from last Year!
By the time I had finished with her She Shone like a Star, so time to put her in my 'Shop' alongside 'Cherry 'B'
But first I had a look to try and find the 'Locking Wire' for the Caliper Bolts on 'The Ice Princess'
Where much to my shock horror, the Caliper Locking Wire just wasn't there and so I'd have to get some more of the stuff in the morning
An unintentional 'Moody Shot' of '50 Shades'
To be Continued...........
Last edited by orangeblossom; 04-11-2018 at 05:57 PM.
I think it probably is, I bought a reel of it years ago for about �10 and found it very easy to use and also ideal for the job
Where my main motivation was when my Merc failed its MOT because of rusty brake pipes, although this really was no more than a bit of surface rust
In order for them to put this right, they quoted me an 'eye watering' sum of money to do the job and so I thought I'd have a go myself
It takes a bit of practice before the flares are good enough to pass your self inflicted Quality Control, until I accidentally stumbled on the Secret
Which is to Screw the 'die' down about half a turn, then back it off and then 'Rinse and Repeat' taking it down a little bit more each time
Until its tight but not too tight or the 'die' might cut it through and weaken it
Having put all new Pipes on the Merc, I took it back to the Garage, where it passed with flying colours where after that I have been making all my Brake Pipes ever since
You can buy a Coil of Pipe on ebay or at most good Car Accessory Shops, where you can also buy the fittings to go on the end
Where the Kit itself, is around �30 (UK) which was peanuts when compared to the price that the Garage were quoting to do the job
When The Torquing Had To Stop
Out Of Luck And Locking Wire!
The only reason for getting '50 Shades' My Grey XJS out of Mothballs was to try and find the locking wire that I needed for the Caliper Bolts on 'The Ice Princess'
Which I was convinced was in the Toolbox in the 'Cubby Box' of '50 Shades'
Where much to my amazement, I found it wasn't there and what was worse if it could get worse was that I could not think of anywhere else that I could look
The lack of locking Wire was a big problem, as without it I couldn't get on with fitting the Calipers
And so the only job I could do was try and loosen the Bolts on the Anti Roll Bar, as the Rubber Bushes were completely shot away
Undoing the Bolts on the Anti Roll Bar, they were really hard to undo but the Rubber Bushes were completely Shot Away
Having done that work came to a halt, as without the Locking Wire I just couldn't get on and so the search was on to try and find some
But after a few phone calls I manged to track some down, so sent the GF out to go and get some
Where being a Zen Master or maybe that should be Zen Mistress in the Art of Flirting, She managed to pick up a Coil of it for Free!
'Bird got the wire!' She does have her uses sometimes and got all this for Free!
Now I'd got the Locking Wire, at last I could Torque up the Bolts that hold the Calipers
Torquing up the Caliper Bolts on 'The Ice Princess'
Having Torqued up the Caliper Bolts, it was time to put on the Stainless Steel Locking Wire, using a Twisting Device that I bought in a Yard Sale (50p!)
The Wire Twisting Device that I picked up in a Yard Sale
It may not have been the right tool for the job but it certainly did the business and made a very neat job of Twisting the Locking Wire
Twisting up the Locking Wire for the Caliper Bolts
When that was done and dusted I put in some New Brembo Brake Pads and Locking Pins
Brake Pipes fitted as well as a New Set of Brembo Brake Pads
That was as far as I could get, as it was as Cold as November and wouldn't stop raining
Although at this stage in the game, the mechanical side of things was done and well out of the way
But the next part was going to be a little bit Tricky, as the next job was to Bleed the Brakes and get all that side working
At which point I then ran into what could be quite a big problem, as when 'The Ice Princess' was in my 'Shop'
I had to try and get underneath to pre-loosen the Bleed Nipples on the Rear Calipers
They were really awkward to get to and what's more they were seized and wouldn't undo
So that was one of the reasons why I decided to Tow her out of my 'Shop'
Then once I had got the New Front Calipers on, the next thing would be to try and drive her on to my Car Lifter
Which would then give me a lot more room to work underneath but this is a bit of a 'Catch 22' Situation
As I need Brakes to get her onto the Car Lift but She needs to get onto the Car Lift in order to Fix the Brakes
In a worst case Scenario, I may have to trust the Hand Brake but that's not a set of dice I want to roll
But I do have a Plan that might work
The XJS has two different Braking Systems that both work in unison together
Where the Front Brakes are Bled Conventionally, like many normal Cars by using the Pedal
While the Rear Brakes are Bled with the Brake Pump with the ignition on
But I can't Bleed the Rear Brakes as I can't undo the Bleed Nipples (at least not yet)
So the Plan is to Bleed the Front Brakes, so that I would have Brakes at the Front though not yet at the Rear
Where just having Front Brakes should be enough to drive her onto the Car Lift
And then if I can manage to do that, I will have more room underneath in order to try and free off the Rear Brake Caliper Bleed Nipples
So that I am able to Bleed All the Brakes
Which may or may not be, as easy as it sounds
At which point I think that I should add a note of Warning!
That if you ever need to Bleed the Air out of the Rear Calipers (which is done with the ignition on)
On No Account let the Brake Pump run for more than 30 Seconds, or you could burn out the Brake Pump
If 30 Seconds isn't enough, then after 30 Seconds turn off the Ignition and then allow 2 Minutes for the Brake Pump to Cool Down
Before you turn the Brake Pump On, to let it run for another 30 Seconds
Then 'Rinse and Repeat' as required
To be continued........
Last edited by orangeblossom; 04-13-2018 at 06:35 PM.
Brake Pump Fuses Keep Blowing On 'The Ice Princess'
Well I was certainly getting there, until it all went wrong! as having Towed 'The Ice Princess' out into the Open to give me more room to work
I'd put on the New Calipers and Wired up the Caliper Bolts and then made up New Brake Pipes and fitted those as well
Have already previously had The Master Cylinder Actuator professionally rewired for just a few pounds
Rather than spend around �1,500 on a New one! not that I could if I'd wanted to as they are NLA
Before I even Started her up, I pulled the 2 X 30amp Fuses on the Brake Pump and the ABS to prevent the Pump from running dry
Moving her around on just the Hand Brake but then as I have mentioned before, I couldn't get the Rear Caliper Bleed Nipples loosened off
Because this Car has been Standing unused for 15 Years! and so I suppose Corrosion could be part of the problem
As such it would be easier to try and sort this out, once I was able to get her on my Car Lifter
But didn't want to take a chance of driving her onto the Lifter, just using the Hand Brake only
And so the next thing I did was bleed the Front Brakes, for which you do not need to have The Master Cylinder Actuator running
During which time I stumbled across an 'easy peasey way' to Bleed the Front Brakes, which I'll write up later with some Photos
Though it might be worth mentioning, that this Brake Bleeding method gave me the Best Front Brake Pedal feel that I have ever had
Which I think may be worth a little Post all on its own, as Bleeding the Brakes on an XJS is something that can be the stuff of Nightmares
But anyway back to the Plot:
Having got the Front Brakes Bled and working, better than they ever did before
I was able to drive her up on the Car Lifter, although I had to push the Brake Pedal hard because as previously mentioned
I'd taken the 30amp Fuses out of the Brake Master Cylinder Actuator, which took away all power assistance from the Brakes
Once She was on the Car Lift, I put those 30amp Fuses Back in the Brake Master Cylinder Actuator
Then Turned on the Ignition, fully expecting to hear the Brake Pump run, except instead of doing that, it just Blew both those fuses!
Maybe I have got a trapped wire, where the insulation is broken down and it is shorting to earth?
Or maybe I need a New Brake Pump, which could be Very Expensive but either way the very first thing that I need to do
Is to try and undo the Bleed Nipples on the Rear Brake Calipers, without snapping them off
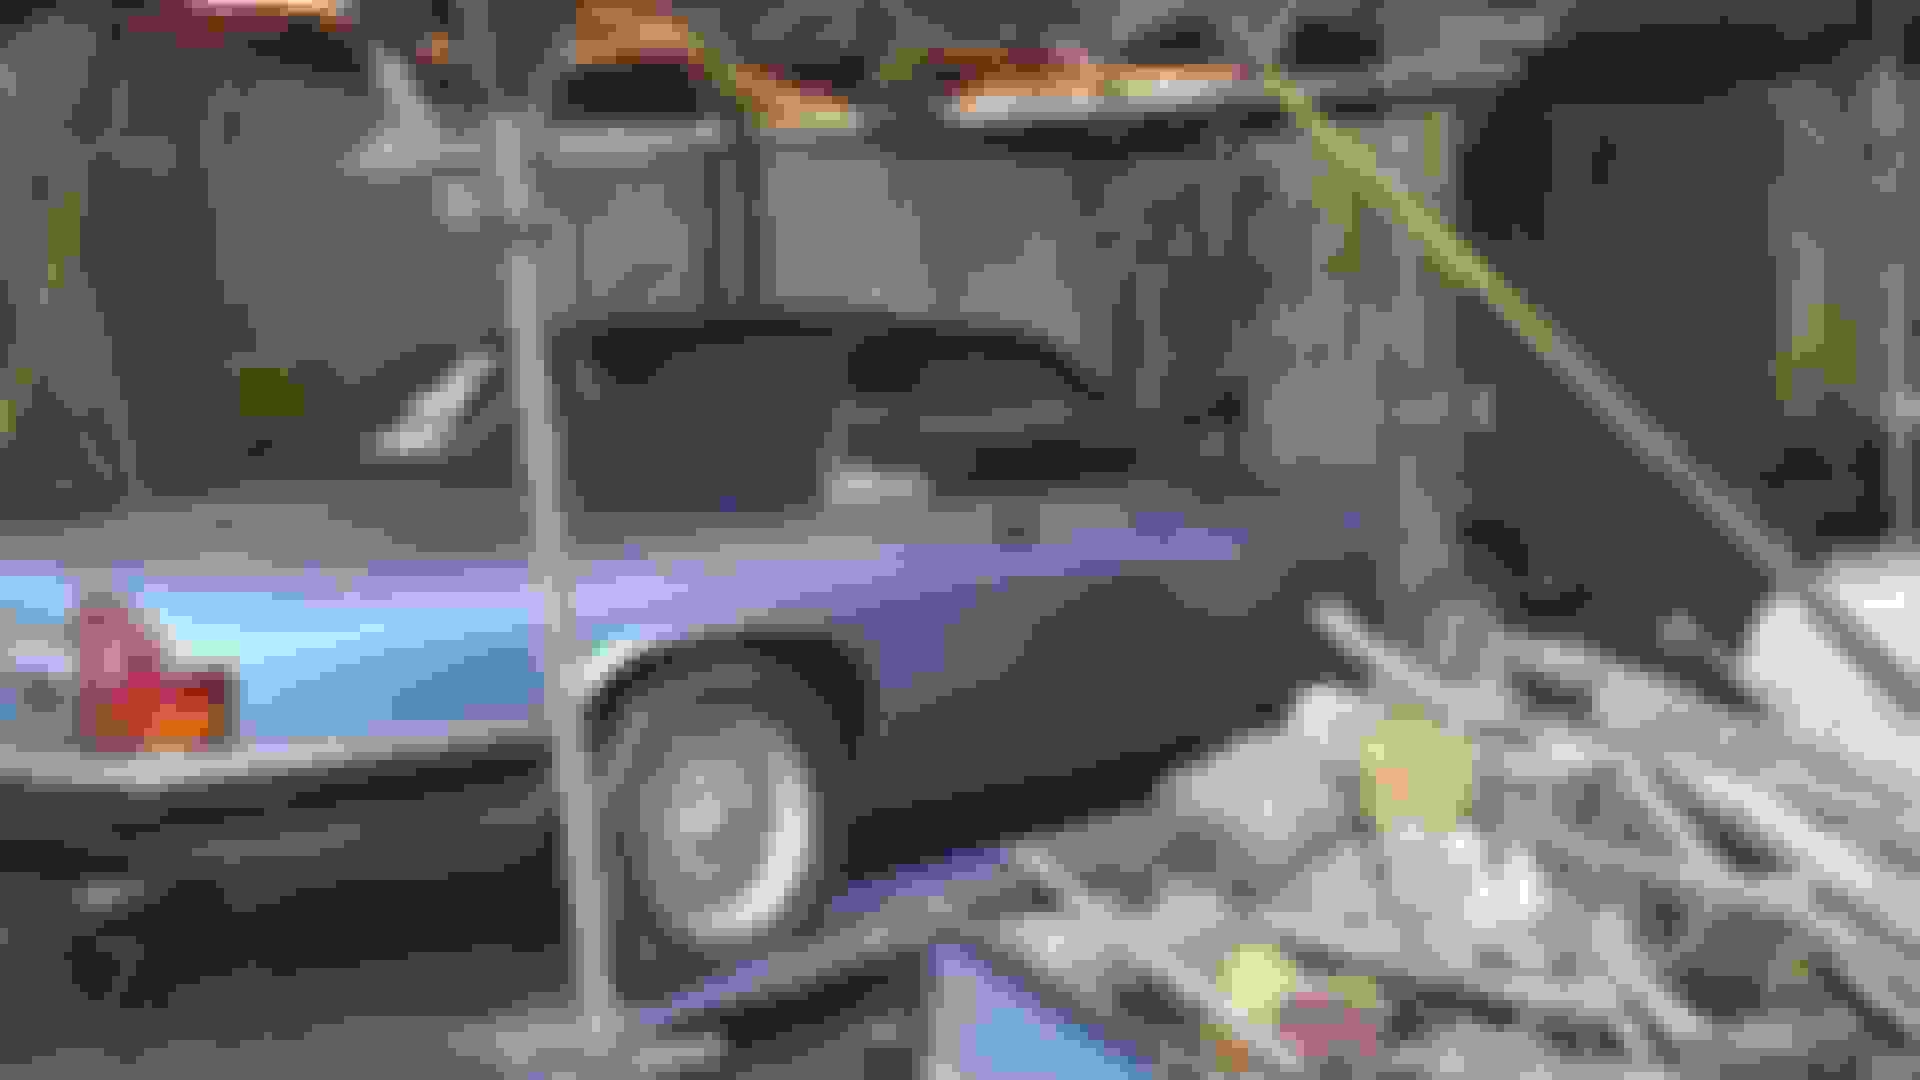
With only the Front Brakes working, I managed to drive 'The Ice Princess' back onto the Car Lift
Isn't She lovely and She hasn't been Washed or Polished for over 15 Years!
This is exactly the way She looked when I took off her Car Cover and though I originally purchased her from a Jaguar Dealer
She came with a big problem that at the time I didn't know how to fix, which was a massive leak on the Power Steering, which needed to be topped up after ever single trip
This is something which I never got around to fixing and as such is still on 'The to do' List
But if that wasn't bad enough, very soon after I purchased her the 'Oil Cooler' burst
This was one of the first mechanical jobs that I'd ever done on a Car and hadn't got a clue what I was doing, so maybe not surprising that it took about a Month for me to fix it
And in case I forget to mention it, also cost me what I considered a fortune but nothing like the eye watering sum that a Garage wanted to do it
Though with the Oil Cooler leaking, there was really no way that I could take her there, so all I could do was buy the parts and have a go myself
But before I go any further, as already mentioned, I've got a couple more problems to sort out
(1) Try and free off the Rear Brake Caliper nipples
(2) Find out why the Brake Pump keeps on Blowing Fuses and if She needs a New Brake Pump, then I'm going to be tempted to go 'Retro' and take out the ABS and replace it with a Brake Booster
Why does She keep blowing Fuses?
Good job I have got a few Spares
Why does She keep blowing fuses?
Good job I've got a few spares!
Last edited by orangeblossom; 04-17-2018 at 06:00 PM.
Good luck with the nipples OB. I have no suggestions... but just spannering them will almost certainly sheer them off. Someone must know what to do, maybe the "mixture" for a few days?
I cannot wait for the bleed hack! I HAT bleeding brakes and none of the gadgets I have tried ever work reliably.
Some days you just can't buy a goal, no matter what you do and today was just one of those days
The Brake Pump was blowing fuses as soon as the Ignition was switched on
Even though the Brake Pump wouldn't run
So I decided to swap the Brake Pump for the one that was on my Parts Car and that one wouldn't run either although it didn't blow any Fuses!
Swapping out the Brake Pump for the one that was on my Parts Car
The Brake Pump from my Parts Car wouldn't run either
It was either sheer coincidence that neither Brake Pump would run, or there was something else that was wrong somewhere
As while the Original Brake Pump kept blowing fuses, every time the ignition was turned on
The Brake Pump from my Parts Car did not blow any fuses
Does anyone know if there is a Brake Pump Relay anywhere, as it could be that?
The other problem is to be found underneath the Car, as I cannot undo the Bleed Nipples of the Rear Calipers (at least not yet)
Although I've doped them up with the 50/50 Mixture and then will give them another try tomorrow, as its pointless throwing money at her on
maybe a New Brake Pump If I can't undo the Bleed Nipples on the Rear Calipers
Good luck with the nipples OB. I have no suggestions... but just spannering them will almost certainly sheer them off. Someone must know what to do, maybe the "mixture" for a few days?
I cannot wait for the bleed hack! I HAT bleeding brakes and none of the gadgets I have tried ever work reliably.
Hi Greg
While I am not claiming to have reinvented the Wheel, as I'm sure that many people have bled their Brakes this way
I accidentally came across this method for myself, which in my own case happened to work spectacularly well
And gave me the best pedal feel that I have had to date
Where without the use of 'Gadgets' Bleeding the Brakes has traditionally been a two person job, which can often have some mixed results!
Depending on how much in 'Sync' you happen to be with your assistant
Which in my Case was going to be the GF and so before I went to find her to enlist her help, I thought it would be a good idea to prep the job in advance
Where for this I was going to use my home made bleeder, which was basically nothing more than just a Tube and a Bottle, with no non return valve on the end
So I set the job up by putting the Free end of the Tube on the Bleed Nipple, which I then opened just enough to have the Brake Fluid 'Very Slowly' dripping into the bottle
After which I left it dripping while I went to find the GF who had made a pot of Tea to have with a Dough Nut
Plenty of time to have that before we did the Brakes (or so I thought!) but when we eventually got to the Car
The Bottle was half full of Brake Fluid and the Tube was also still dripping, although now submerged in the Fluid with no sign of Air Bubbles!
So thinking that I might be onto something, I closed off the Bleed Nipple, Topped up the Reservoir and then did the same thing on the other side
Which then meant another Dough Nut and another Cup of Tea!
Then when the Bottle had half filled up as it had done on the other side, I closed off the Bleed Nipple and then I tried the Pedal for the Brakes
No Sponginess whatsoever and the Pedal feel was perfect!
And while it might be a Slow way of doing the job (took about an hour for the front two) the results I got just spoke for themselves
I just happened 12ft of Pipe on my Home made Bleeder which I didn't want to cut, although as long as the Tube is long enough to go from the Bleed Nipple into the Bottle
Then I cannot see that this would make any difference, although it is essential that the Tube going into the Bottle is always submerged in Brake Fluid
To keep any Air from going back up into the Calipers
Gravity Bleeding The Brakes on 'The Ice Princess'
Note: This only works on the Front Brakes as my Car has ABS which means that my Rear Brakes need to be Bled by using the Brake Pump with the Ignition On
Additional: Never let the Brake Pump run for more that 30 Seconds at a time, without turning off the Ignition to let the Pump cool for 2 Minutes, before you 'Rinse and Repeat' or it could burn out the Pump
Last edited by orangeblossom; 04-21-2018 at 12:47 AM.
 04-04-2018, 06:51 PM