When you click on links to various merchants on this site and make a purchase, this can result in this site earning a commission. Affiliate programs and affiliations include, but are not limited to, the eBay Partner Network.
Hello all. 1990 XJ40 VIN#616525
I am about to remove the rear shocks (non SLS) to replace the bushings because I have a noise at the right rear when going over rough surfaces.
The shocks are in good condition.
Prior to dismantling, I want to get some opinions on the parts I purchased just in case they are the incorrect parts.
Here is a list of the parts I purchased from Motorcarsltd:
Rear
CBC 2257-60A x2
CBC 2933 x2
CBC 2255-A x2
Front
CBC 2220/50 x4
I also read a post which states that Part #2255A has to be installed in a particular way but I can't seem to find the post.
Can anyone lead me to the post and confirm that I purchased the correct parts.
Thanks.
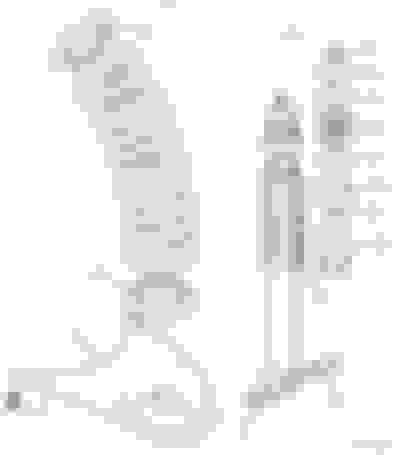
For the benefit of others, rather than just addressing your part numbers, I'm going to post the part diagrams and the part descriptions as well as part numbers:
For the rears, you need the following, 1 for each side for a total of 2 each:
Part 15 Isolator (yellow foam rubber) CBC225760
Part 13 Mounting isolator (yellow foam rubber) CBC225455
Part 14 Guide Bush (hard rubber, commonly called the "Top Hat" bushing) CBC2933
Part 5 Spring Isolator (yellow foam rubber, commonly called the "Donut") MMD3565AA
For the fronts, you need the following:
Part 9, Shock Absorber Isolator, CBC222050 / CBC5956 / MMD2144AA (oldest part number at left, latest superseded number on right), 2 per side for a total of 4;
You may also need part 14, Buffer, CAC9428, 1 per side for a total of 2 (these fit inside the accordion gaiter):
An extra letter like A or an asterisk * after the part number typically indicates it is an aftermarket part.
These part diagrams and part numbers come from jaguarclassicparts.com, the parts service of the Jaguar Daimler Heritage Trust.
@ Don: Thank you as always for your timely response.
As it stands, I have Part 13,14 and 15 in the diagram for the rear, one for each side.
I am missing Part #5. I do not want to disassemble the shock only to realize that part 5 (MMD3565AA) is also needed so I am going to purchase those before I proceed.
Since the front is so much easier, I will go ahead and replace Part #9(CBC 222050) and if I find that the buffer (part 14) is needed, I will purchase those.
Hi sanchez,
Those part 5 "donut" bushings may look OK when you get them out, but over time the foam rubber hardens and compresses and as a result you lose rear ride height, so I highly recommend that you have new ones on hand and replace them while you're at it.
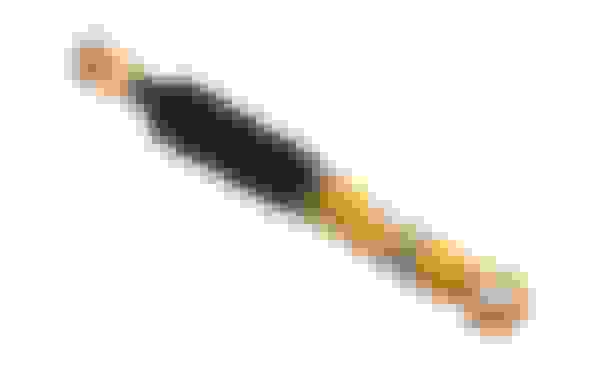
Part 13 is basically just a cylindrical yellow foam donut, but the upper and lower surfaces are not flat. One end is beveled so that it is raised in the center, the other end is beveled or dished inward toward the center. If I recall correctly, the end that is raised in the center goes up. Here's a photo courtesy of SNG Barratt that shows the end I believe goes up:
Who is correct?
Part #15 looks like the one that has convex and concave sides. See diagram in Post #2
Member 1. Part 13 is basically just a cylindrical yellow foam donut, but the upper and lower surfaces are not flat. One end is beveled so that it is raised in the center, the other end is beveled or dished inward toward the center. If I recall correctly, the end that is raised in the center goes up. Here's a photo courtesy of SNG Barratt that shows the end I believe goes up:
Member 2. Part 13, mounting isolator (note that the concave surface goes up as shown; and part 14, the guide bush (you can see why it's called a "cowboy hat")
#1 says the Convex (raised) side goes "up"
#2 says the Concave (dished) side goes "up"
Anyone?
Are we talking about part #13, part #14 or part #15 as shown in the diagram in post #2
Part #15 Isolator (yellow foam rubber) CBC225760
Part #13 Mounting isolator (yellow foam rubber) CBC225455
Diagram (post #2) shows Part #15 with the concave side up and the washer #16 with the convex side facing down. Is the diagram correct or not?
I certainly don't trust my own memory on this. In the past, I have installed new bushings that came with new Boge, Sachs or Bilstein shocks, and I've just installed the bushings in the order and orientation in which they came on the shafts of the shocks. Since you are not going to purchase new shocks, you won't have that point of reference.
Jaguarclassicparts.com doesn't show photos of those particular bushings, and I can tell you from experience that it is not always possible to rely on the diagrams for accurate depictions of individual parts.
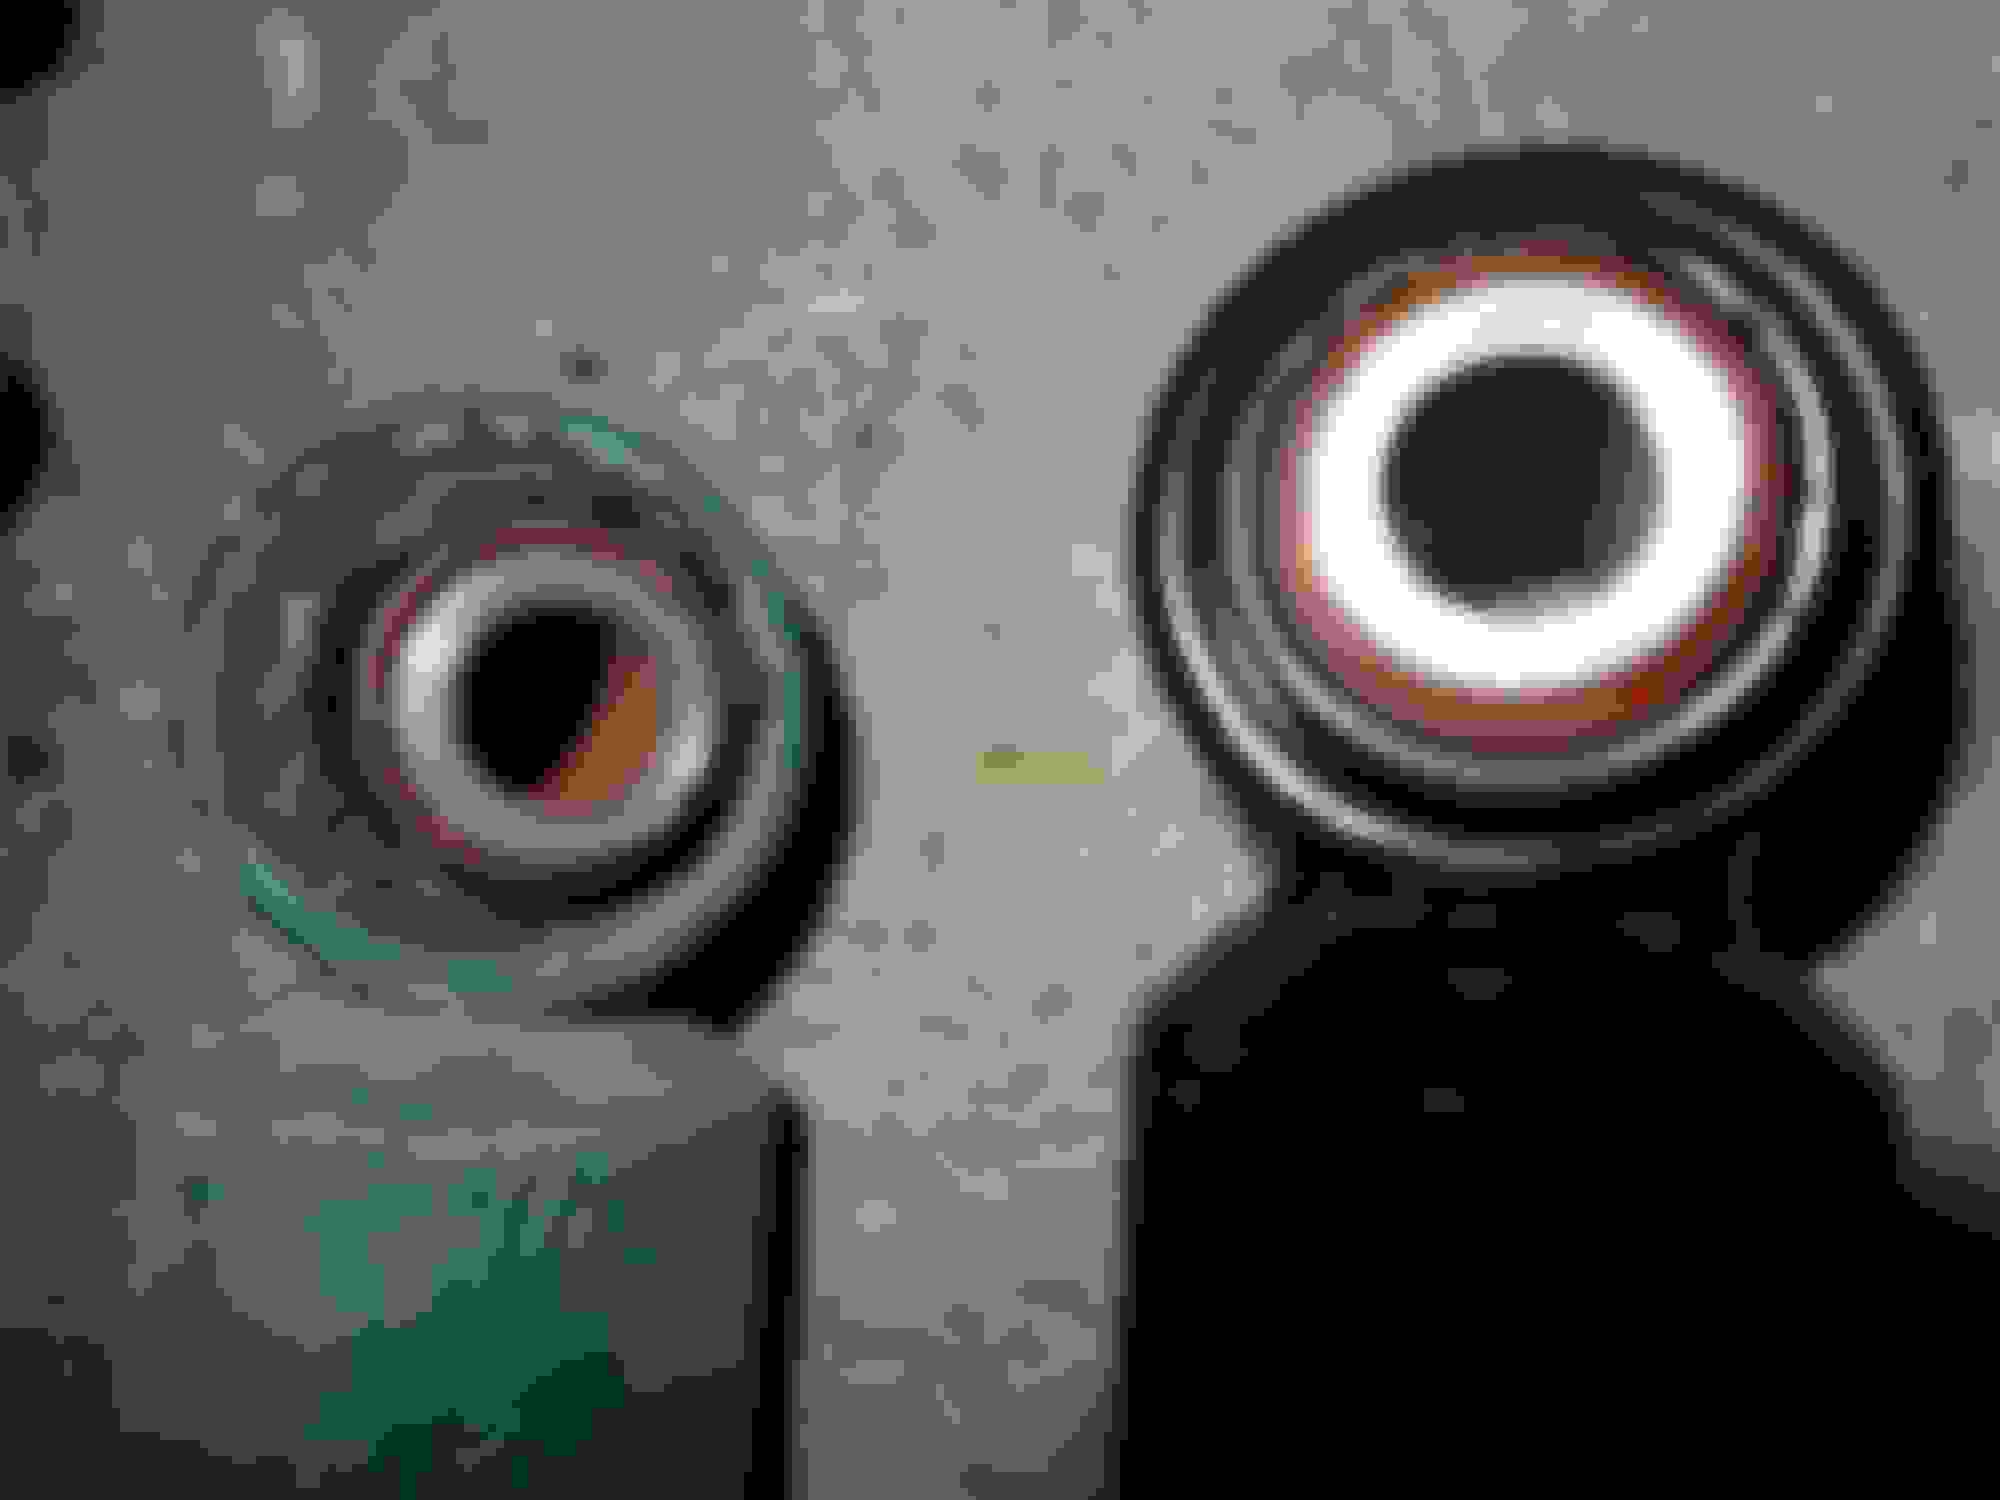
It could make sense for the bushing with the concave end to go on top with the concave surface up against the dished washer, part 16. However, the photos shown at SNG Barratt disagree. Here again is their photo of Part 13, CBC225455:
And here's their photo of Part 15 CBC225760:
This photo of a new Bilstein rear shock shows the thinner bushing goes on bottom, but doesn't show which end goes up:
I doubt you will be able to tell from your old bushings, which will be squashed flat.
Sorry I can't be more helpful - hopefully someone else will have a definitive answer for you.
@ Don B: No worries. Common sense will prevail as I take things apart. I have never done one of these on an XJ40 before, hence my questions. As they say, "experience is a great teacher", so I posed the questions for clarity.
I just received part 5 (MMD3565AA) so tomorrow is the day when I take things apart.
I now have all the bushings for the front and rear and the hubs. So, off to work I go
I will post some pictures and comments as I take things apart and as I put them back together.
Thank you.
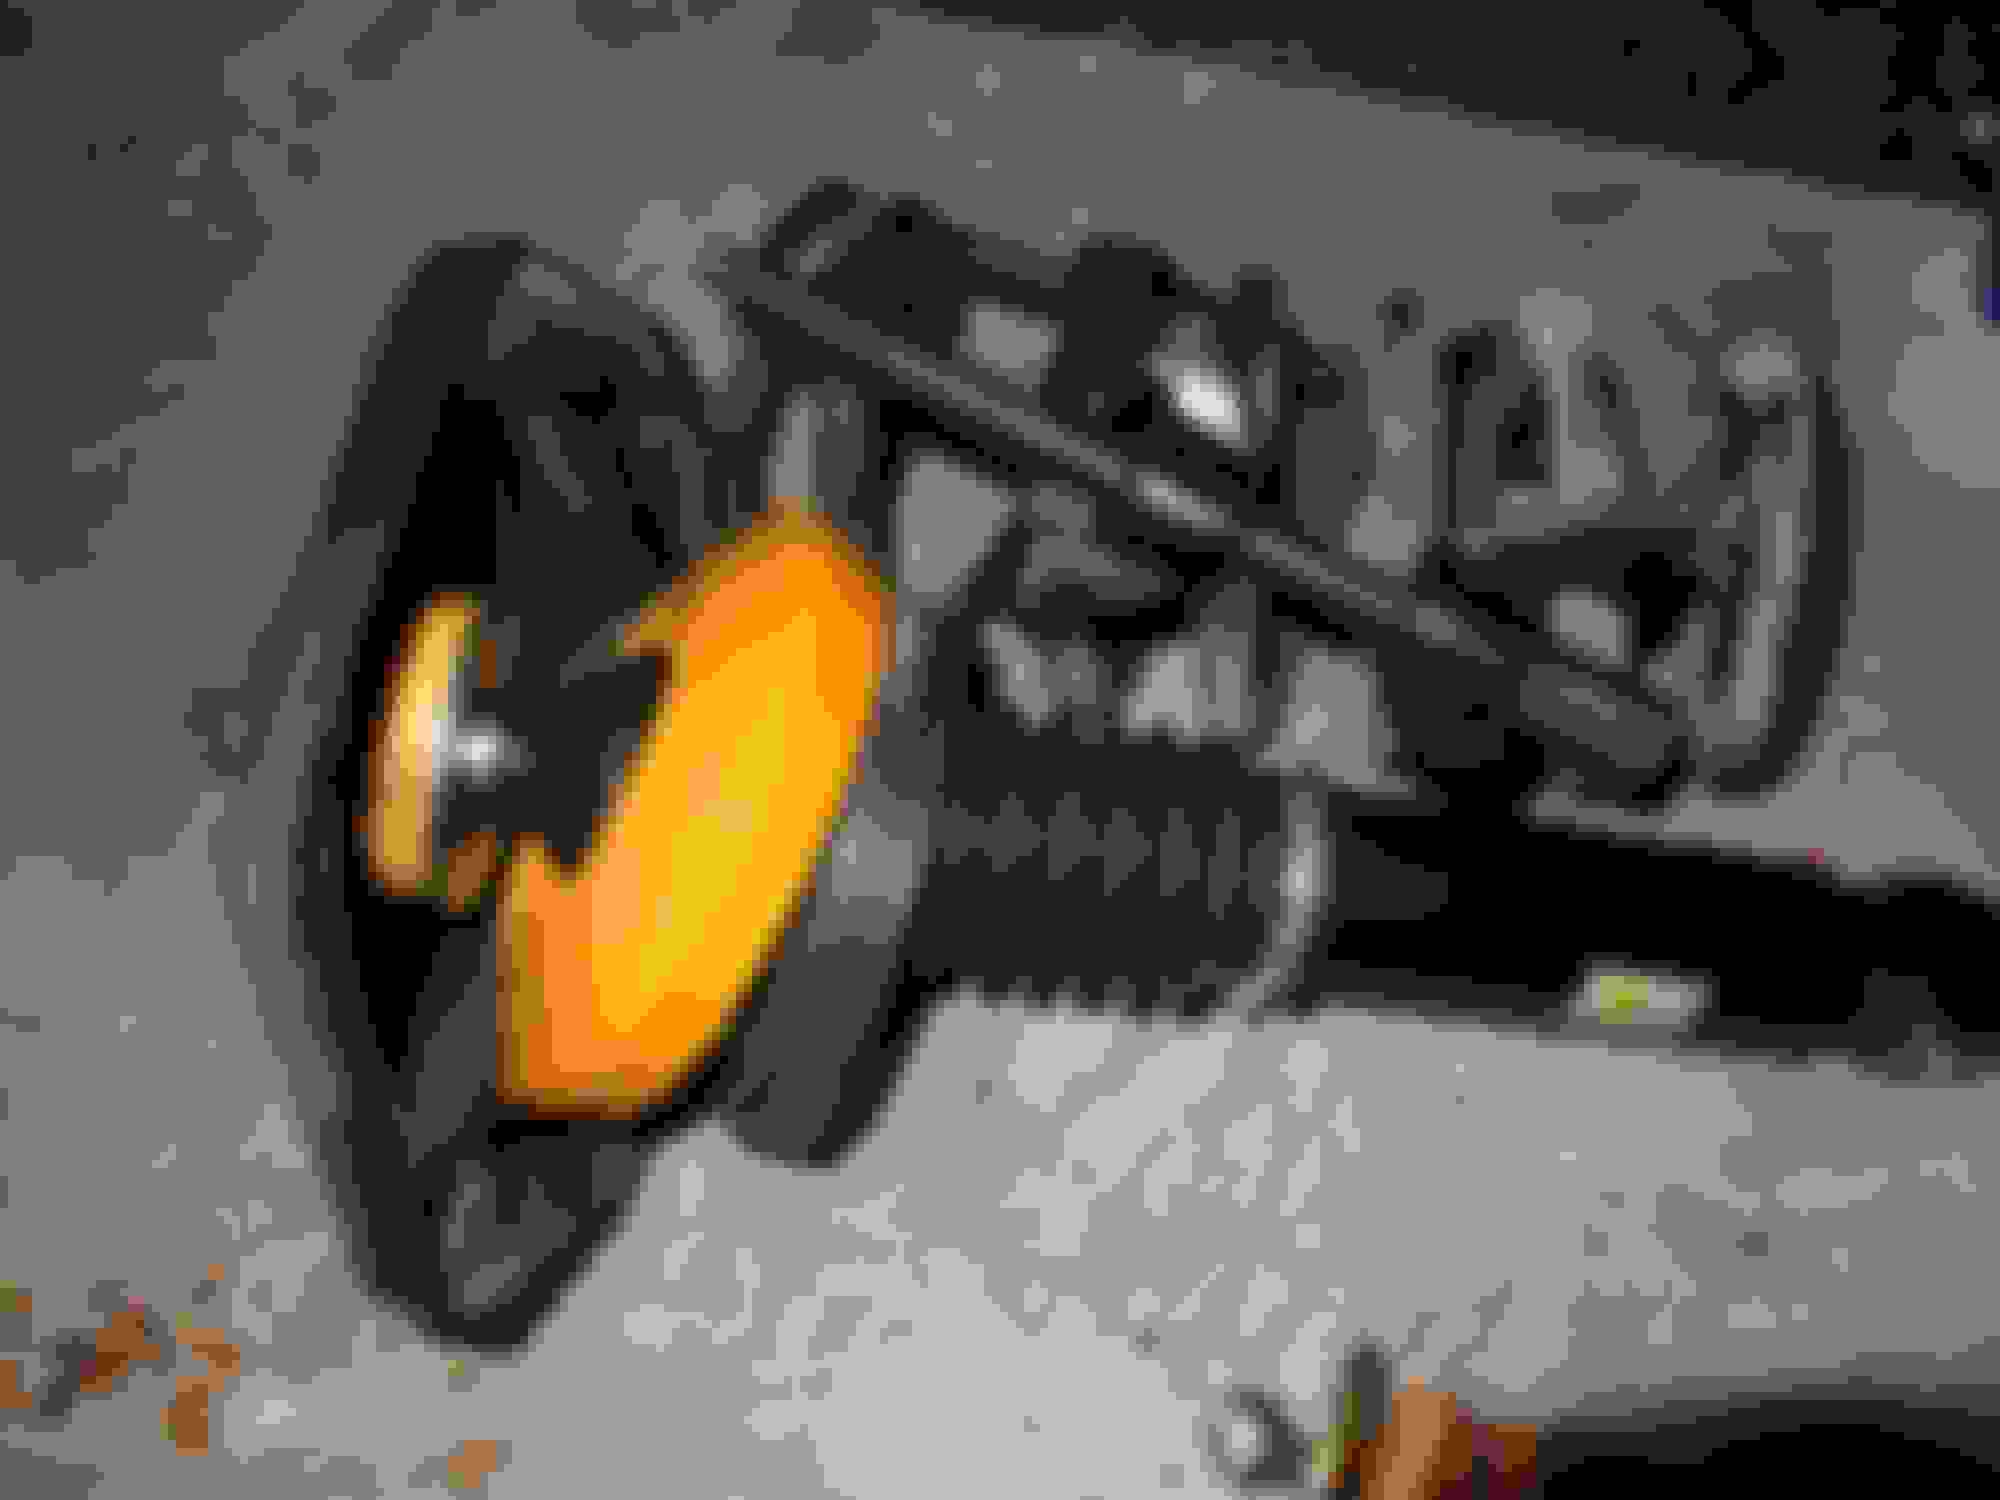
Here are some pictures and my finding for my 2000 XK8. I took quite a few detailed pictures of the removal and install process if anyone has questions?
New shock assembly.
Original rear shock.
Upper shock spring seat. New on top. <br/>New and old shock on right.<br/>
Good pictures but unfortunately the OP's rear shocks have an entirely different arrangement!
The late 1994 XJ40/XJ81 cars have the same system as yours but on cars without cast wishbones, (all prior year models) the spring sits on the shock absorber collar rather than on the wishbone.
In the early system the upper isolator bushing arrangement is quite different to late cars and the X300/XJ8.
I have a set of Sachs 170-122 rear shocks waiting to go into my car when I find the time. My suspension does not have the cast wishbones. Anyway the shocks arrived in the box with the convex side of that bush facing down for what it's worth.
Here are some pictures and my finding for my 2000 XK8.
In addition to the lower control arm mounting difference Larry mentioned, the X300s, X100s, X308s and possibly the last XJ40s have a different upper mounting plate that does not require the "tophat" bushing.
Don, just to clarify, from the factory the late 40's used the same upper arrangement as the earlier cars, stock cowboy hat etc, ...however these cars can also use the later (improved) upper bushing system per X300, X308 etc. as I describe in the linked thread above.
The rear shock lower "spherical joint" bushing for cars with cast wishbones is a different bolt diameter than the lower bushing on the pre-94 models.
I have a set of Sachs 170-122 rear shocks waiting to go into my car when I find the time. My suspension does not have the cast wishbones. Anyway the shocks arrived in the box with the convex side of that bush facing down for what it's worth.
Excellent! Exactly what sanchez needed to know. Thanks, Paul!
Success:
I replaced the rear shock bushings yesterday. No more noise.
Now just the front to do.
On another note, I noticed that the lower shock (Bilstein) bushing is a flex type, not solid as one would expect.
Thinking that the bushing was bad, I went to my NAPA store which had the XK40 Bilstein shock in stock. To my surprise the new shock bushing flexed ( a little less than mine) as well.
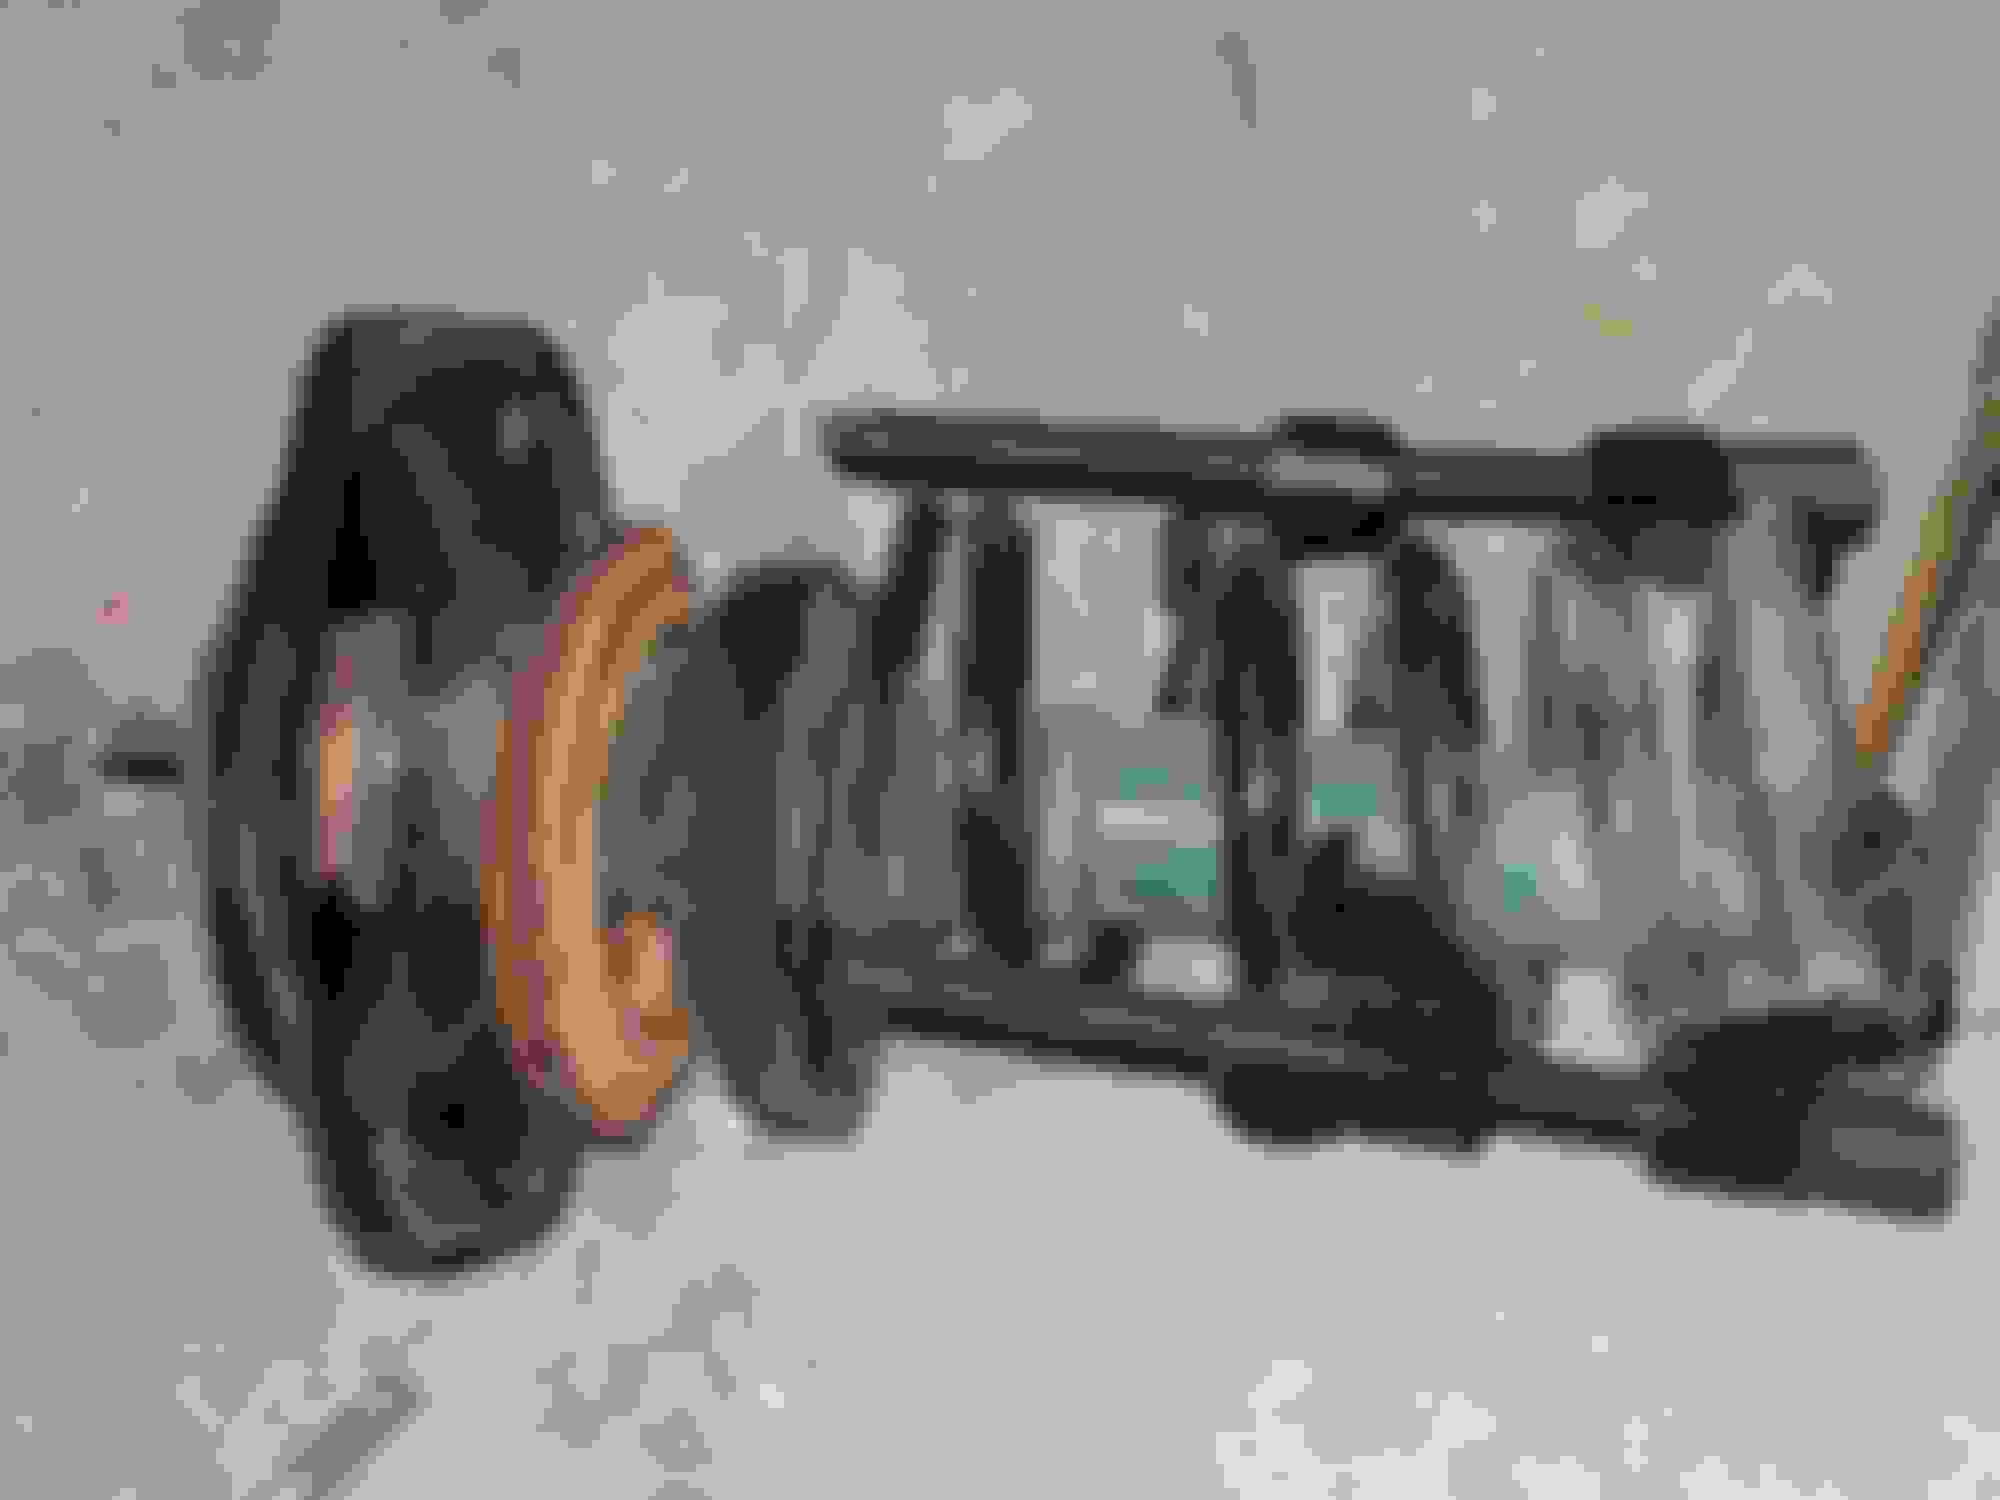
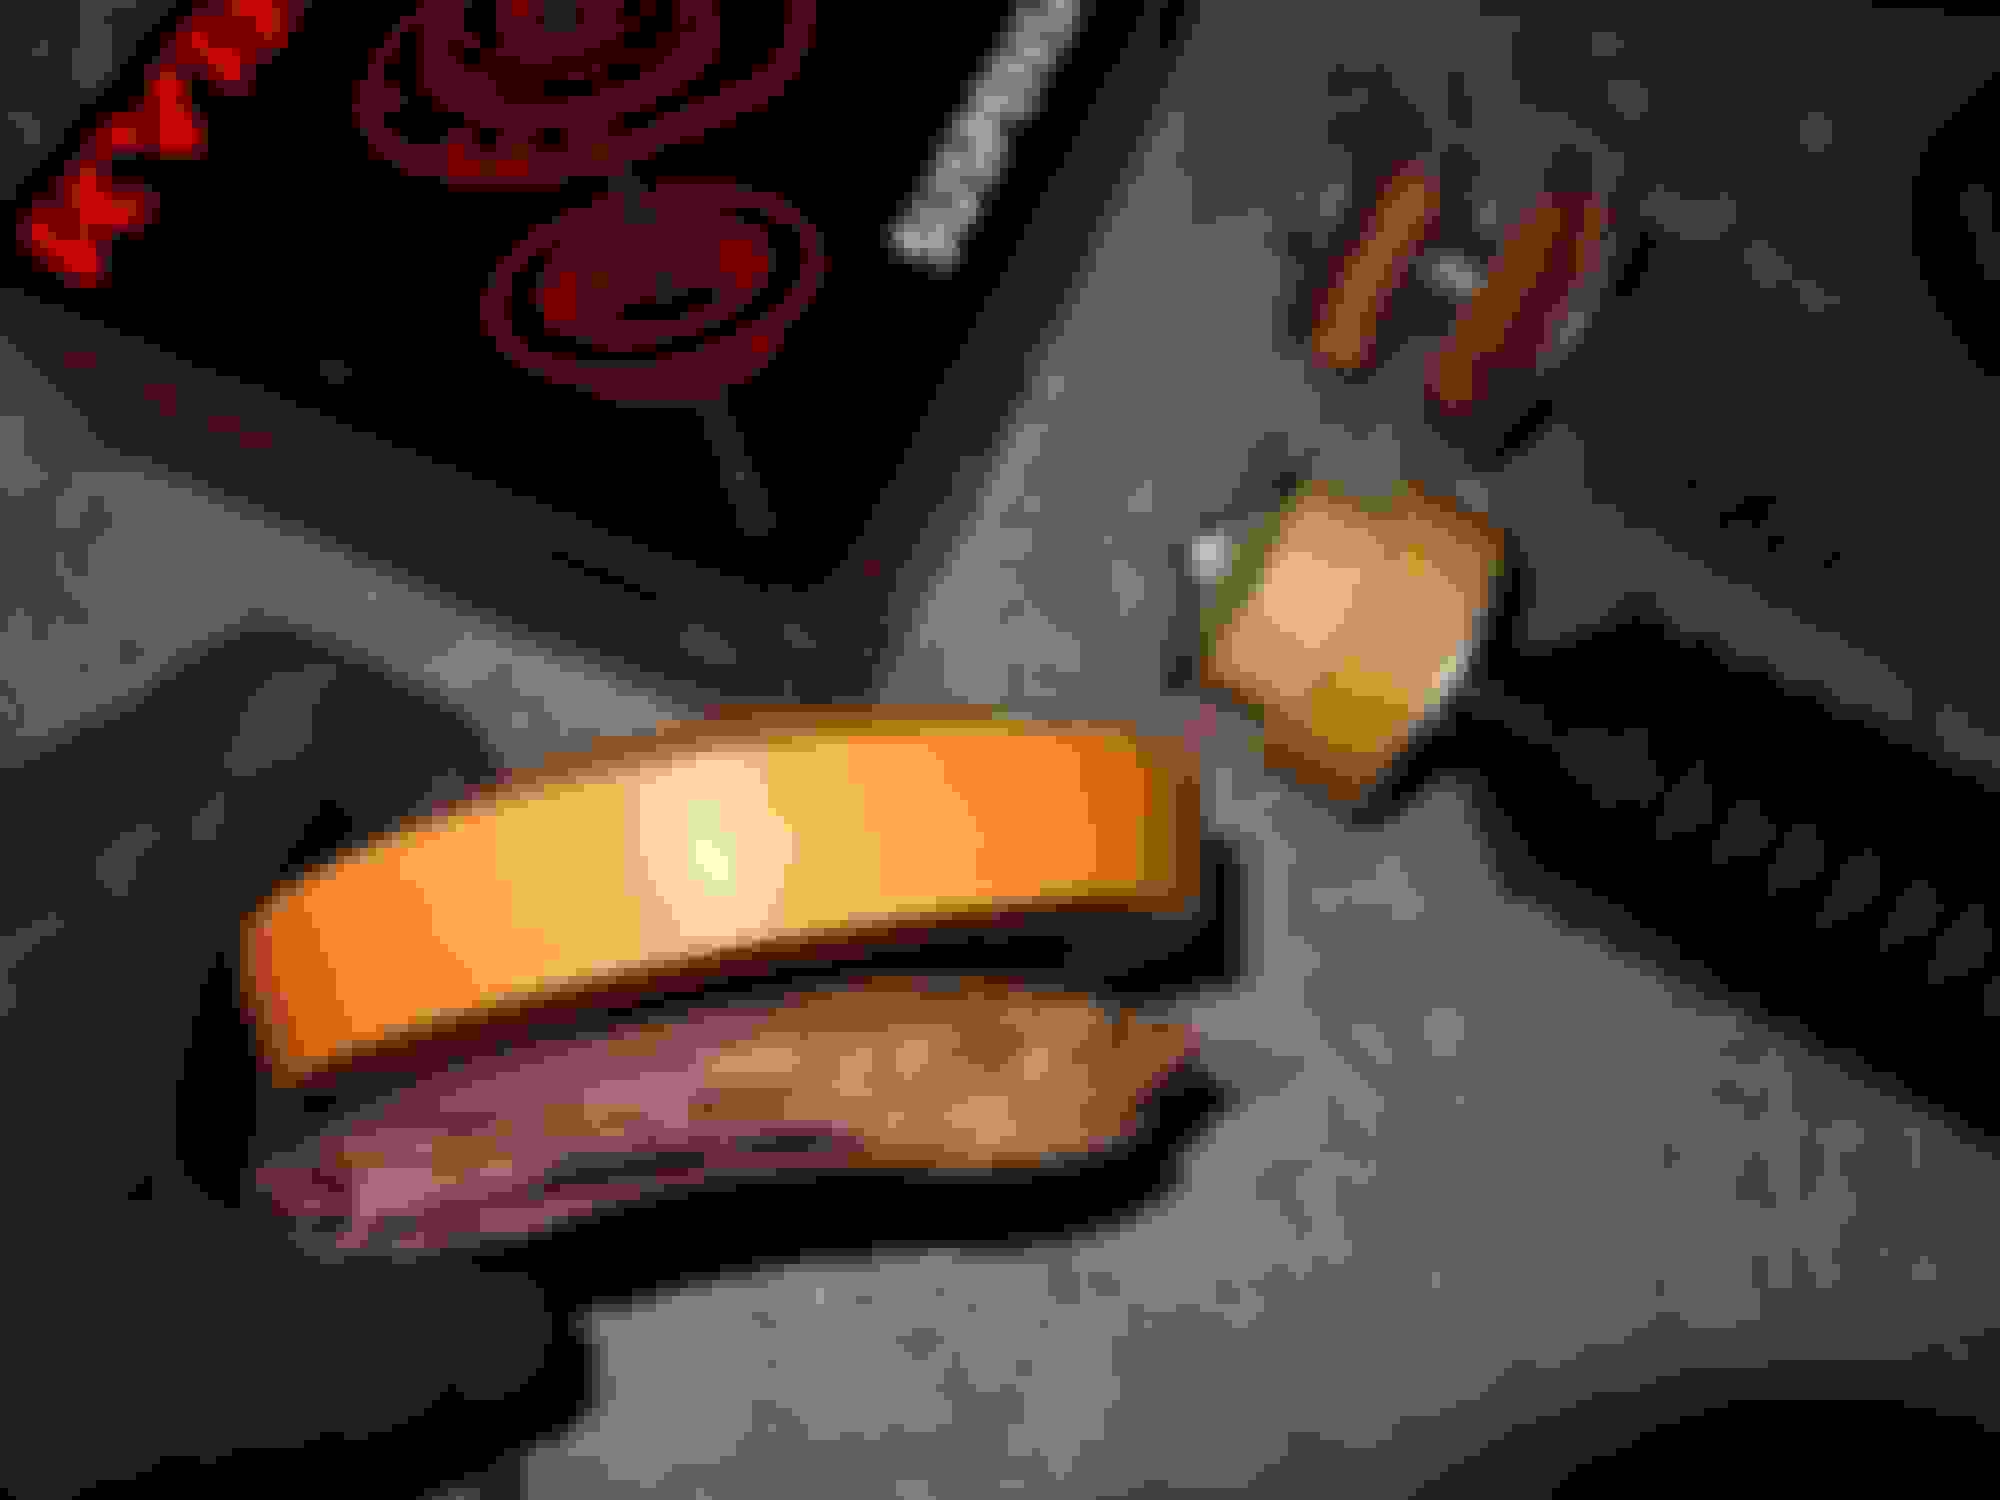
Also, please note that Part B in pic must be installed with the convex side facing down.
I tried it with the convex side facing up and it did not look right. Part B in pic was also found to be installed previously with the convex side facing down.
Only Part D in pic showed any sign of damage.
Attached is a pic of the old parts removed.
Thank you all for your help with this job.
Last edited by sanchez; 05-26-2018 at 06:52 AM.
Reason: add info/pic
 05-21-2018, 02:34 PM