When you click on links to various merchants on this site and make a purchase, this can result in this site earning a commission. Affiliate programs and affiliations include, but are not limited to, the eBay Partner Network.
Another update with a lesson: Don't forget the rating of your engine stand when trying to undo stuck coolant drain plugs. Yes, I should've done this before I'd built the engine up but honestly i'd forgotten about it for a while. I have an AC-powered torque gun but it's not particularly powerful, so I tried with a breaker bar. On a cheap, 1000lb engine stand, this went about as well as you'd expect:
BAD.
VERY BAD.
Sadly due to the weight, this necessitated the purchase of an engine crane and leveler to rescue the engine in it's current predicament:
Definitely an OH SHyt! moment, Get a refund for that stand..lol
New Coolant and PAS header tanks. OK, I admit it - these were literally purchased to look good in the engine bay. But they can be found cheaper than you'd think.
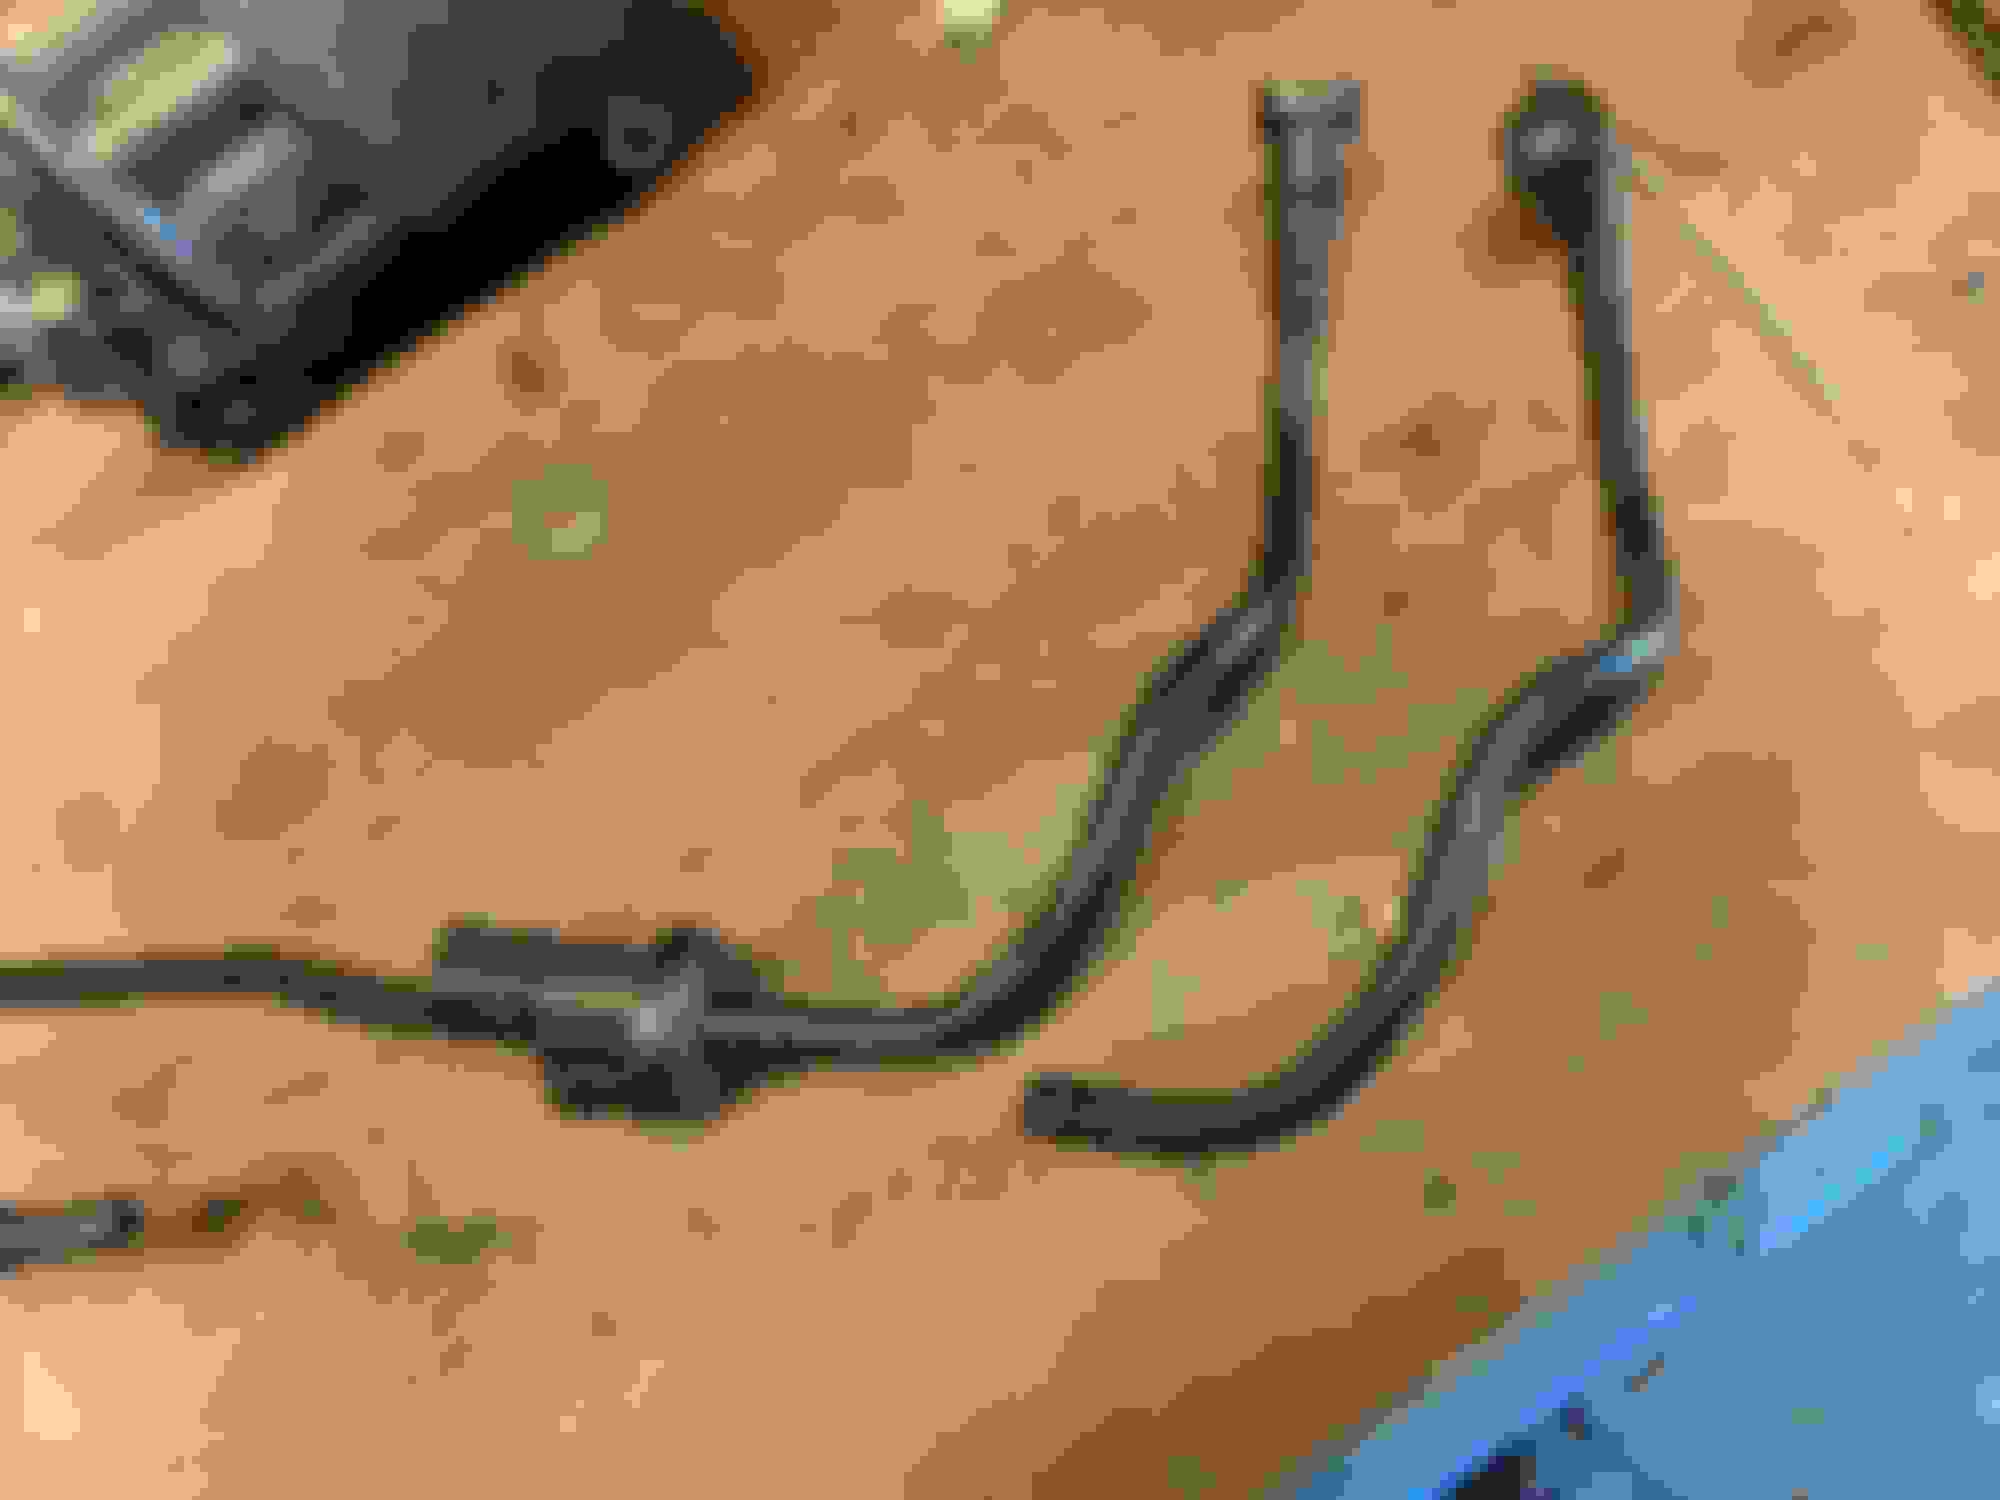
The new vacuum solenoid (might as well, right) I purchased came with a differently shaped pipe on it. Fortunately I could swap it with the old pipe using a heat gun to release and then refit the pipe.
Cleaned up the supercharger symposer, fitted new vacuum hose and solenoid.
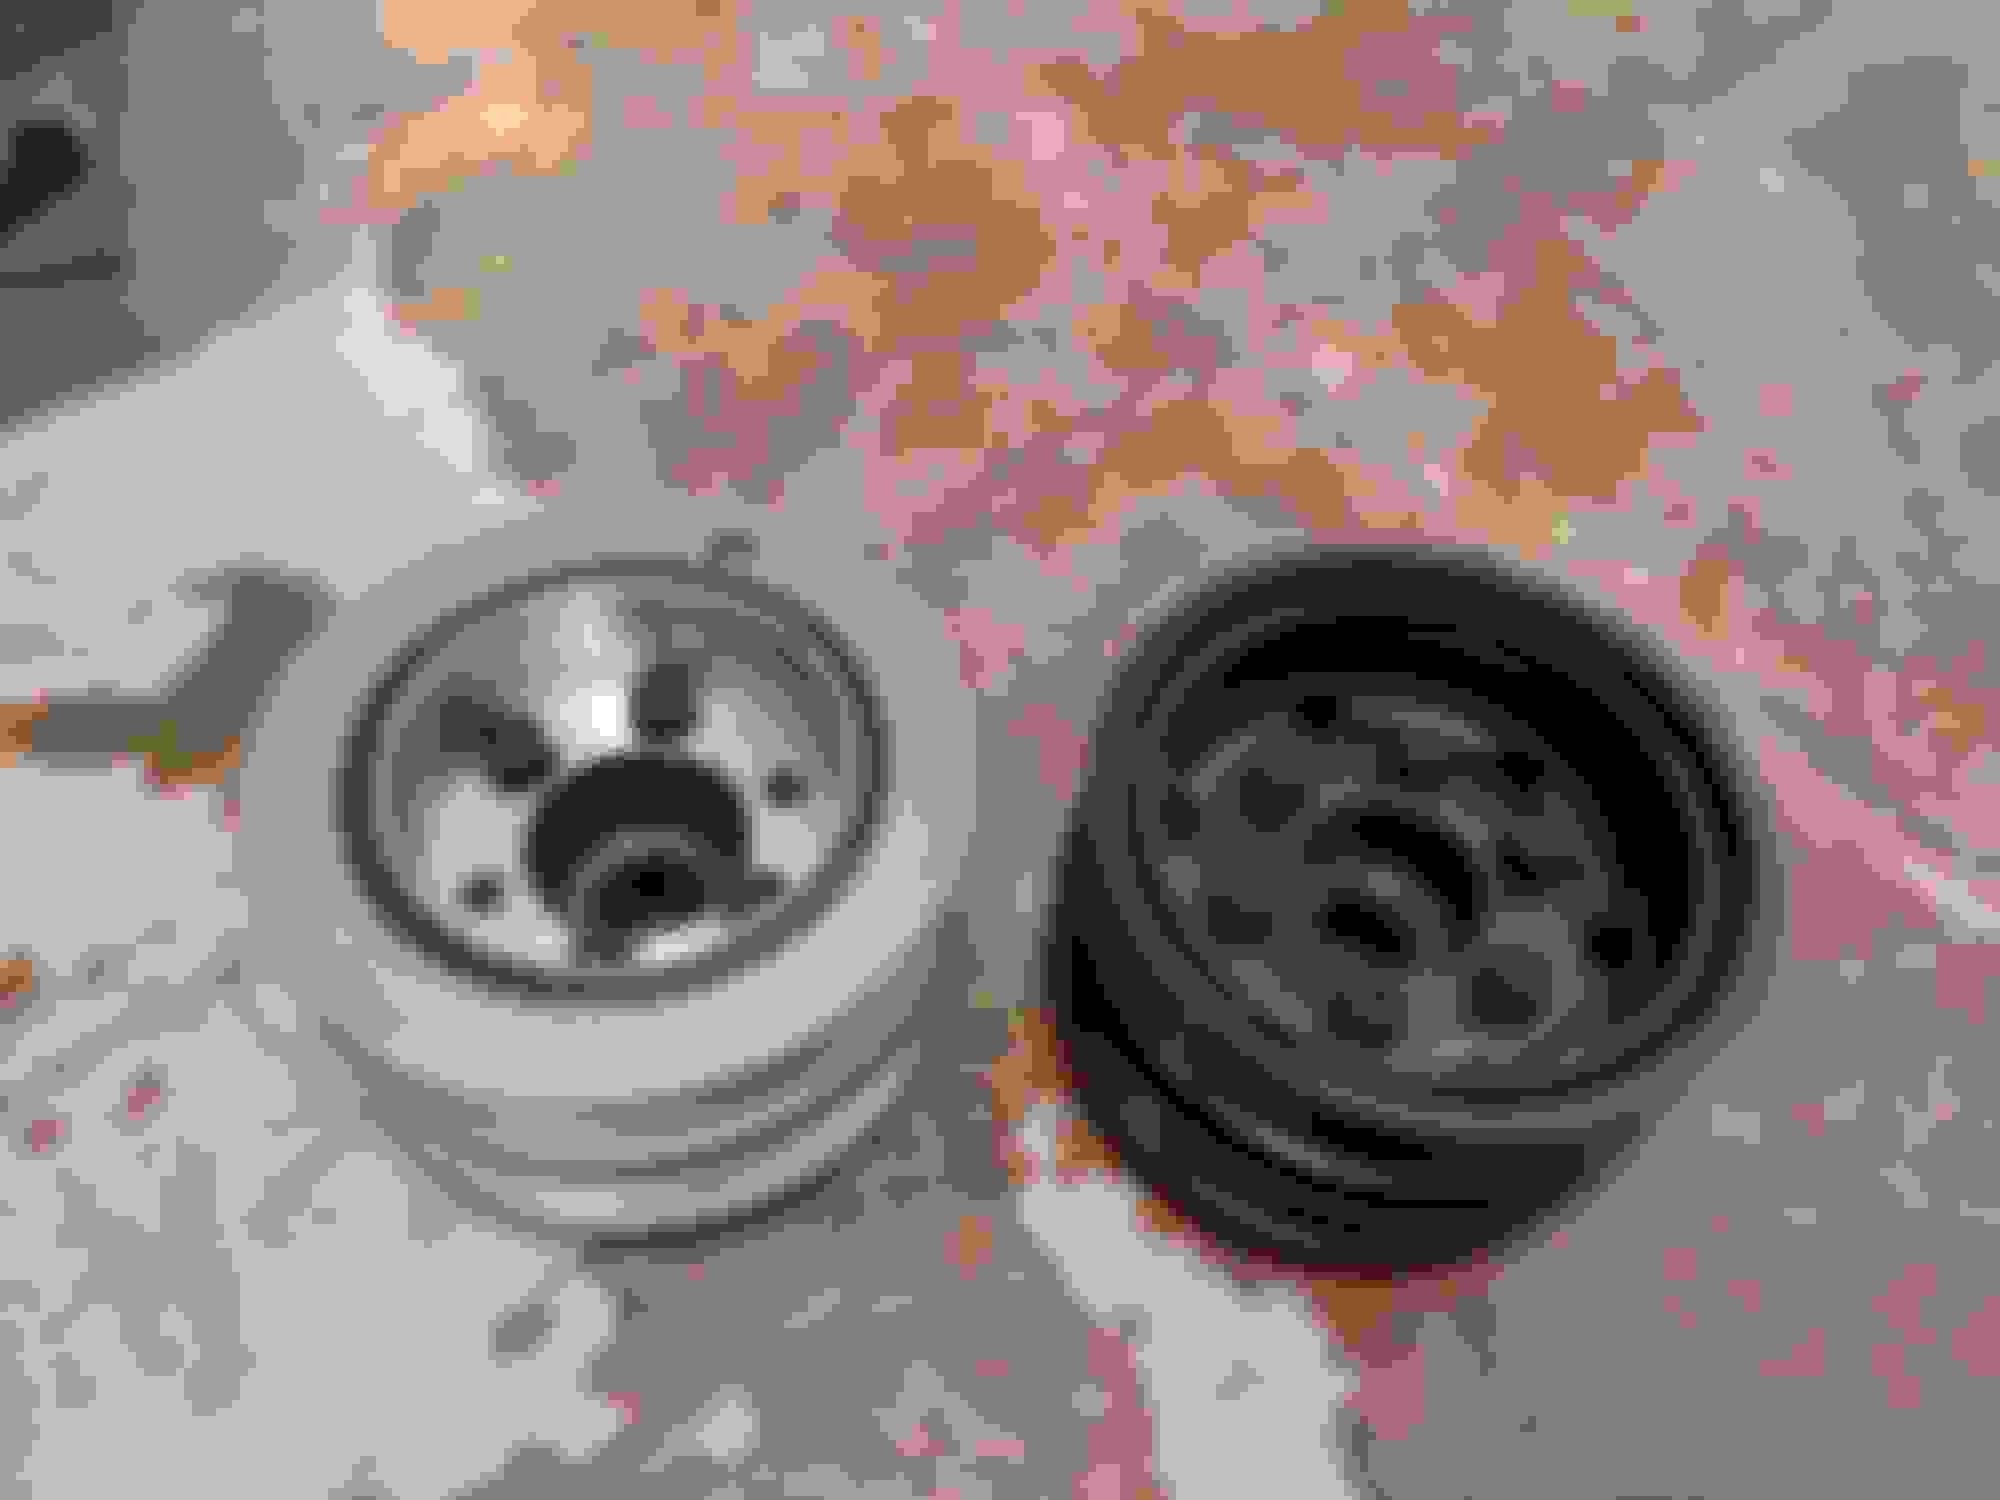
New crank pulley. I did this for two reasons: firstly, the old pulley was slightly damaged when removing as I hadn't spent out on the proper tools for removal/refitting at that point, and it also contains a rubber damper which I was pretty sure had worn/gone hard at this point. I plan on eventually fitting the larger supercharger pulley for this but given the tools I've had to purchase just to complete this job (and fit the pulley back on) it makes sense to use a new pulley.
Here's one of the said tools (though it's a copy off eBay rather than an official one) - it's used to hold the crankshaft pulley (and therefore crank) while you're tightening the crank pulley bolt. Still wasn't cheap for something I'll use once, but hey. Maybe I should start an XF tool rental club once this rebuild is finished
And the engine's pretty much ready to go back in. I've got a tow truck coming tomorrow to take the car down to the shop, and then I'll take the engine transmission down in a van. Sadly work has been and will be on hold for the next week or two as I'm moving house...
Tibbsy, about the crank pulley.
Firstly, in pic above of the old and new pulleys side by side, they seem to twice as thick as I remember with a blank bit in the middle of the ribs! Or have you stacked two pulleys of each on top of each other?
Secondly, when I had a larger crank pulley installed on my F-Type (admittedly a measly V6 but it uses the exact same crank pulley as the V8), the mechanic pulled a black rectangular cover about 2" by 1" off the gearbox (underneath and near the front) then fiddled briefly with something (only a few seconds), and when I asked him what he was doing he said "this is how you lock the crank". Although this was on the ZF 8HP70 box not the ZF 6HP28 box that you have so I dunno if this trick would work for you.
When you have a transmission bolted to the engine you remove one of the torque converter bolts and fit a longer one which prevents the flywheel from turning, which effectively stops the crank from turning, then you can torque the crank pulley bolt.
If the engine is on a stand then that won't work and you need one of the special tools.
Take one 1/2" NPT to 1/8" NPT adaptor without a hex head on it (available in this kit), and add a 1/8" NPT to -4AN adaptor...
And you can connect a braided hose to the usually-plugged threaded oil feed hole on the side of the block
This hole T's into the supply pipe straight from the high-pressure side of the oil pump, and it's my suspicion that this hole was originally intended for an oil pressure switch (which as we know is not fitted to these engines), maybe nixed because of the proximity to the exhaust manifold?, but it's possible that it's also used for pre-oiling during initial assembly.
I'll certainly be using this for both - to prelube the engine before initial start but also to tap an oil pressure and temperature sensor to once the engine is installed.
I've also started fitting all the 8mm timing gear:
Here's the new style chain tensioner guide showing hardened metal on the back
8mm chain timing marks line up nicely with all 8mm gear installed
All new 8mm VVTs to go with the chains
Sloooooowwwwwly starting to look like an engine again
Amazing write up.
Dave I have a question about the timing Marks. I know you have to time the chain and cams and guides because they have timing Mark's but as far as the crank shaft goes, theres no timing mark. I set my crank shaft keyway pin to 6 o'clock position and it didnt work.
do you have to set the cylinder 1 to TDC postion?
thanks.
Thank you so much for the reply. I've already tried this but its didnt work for me. It keeps throwing misfires and timing retard codes.
setting the crankshaft pin to 6 o'clock position might be the problem for me.
Thank you so much for the reply. I've already tried this but its didnt work for me. It keeps throwing misfires and timing retard codes.
setting the crankshaft pin to 6 o'clock position might be the problem for me.
anyone here knows how to time the motor if the timing is out.
It's a lot quieter and less "tappy" after I tightened the exhaust bolts and let it run for 10 mins before changing out the oil (which had assembly lube and all sorts of other **** in I'm sure)
Unfortunately there are transmission/torque converter issues which I need to work on, so it's not quite driveable yet, but the main thing is the engine is running.
Amazing write up.
Dave I have a question about the timing Marks. I know you have to time the chain and cams and guides because they have timing Mark's but as far as the crank shaft goes, theres no timing mark. I set my crank shaft keyway pin to 6 o'clock position and it didnt work.
do you have to set the cylinder 1 to TDC postion?
thanks.
Sorry for the late reply - check Item number 1 in the diagram that Kenika65 posted - this is part of the 5.0 v8 timing kit, and it screws into the crank sensor hole. The flexplate/flywheel has one hole that's slightly larger that this tool slots into when you bolt it in - this means the crank is locked in a very specific position - the keyway pin being at 6 is just what it should look like when the timing marks on the VVTs and the chain tensioners line up, but you should use the timing tool to get there. Same with the VVTs - these are locked into position by each cam being locked into the positions shown in the diagram using tool number 8. So basically, you're using the timing kit tools to set the cams and the crank in the correct position before you put the chains on, and then make sure the timing marks line up.
Woo Hoo
But when it initially started it didn't sound like all cylinders were firing, but after a few seconds it smoothed out... whew
================================================== ===========
Understeer is when you hit the wall with the front of the car
Oversteer is when you hit the wall with the rear of the car
Horsepower is how fast you hit the wall, and
Torque is how far you take the wall with you
Woo Hoo
But when it initially started it didn't sound like all cylinders were firing, but after a few seconds it smoothed out... whew
Yeah, the blowing exhaust (as I'd completely forgotten to torque the downpipe bolts!) didn't help the sound, along with the fact that we went through the fuel priming program, but I'd forgotten I'd previously pulled the fuse to the in-tank pump, meant that there wasn't any/enough fuel in the lines so I guess misfires for the first few seconds were expected.
Yeah, the blowing exhaust (as I'd completely forgotten to torque the downpipe bolts!) didn't help the sound, along with the fact that we went through the fuel priming program, but I'd forgotten I'd previously pulled the fuse to the in-tank pump, meant that there wasn't any/enough fuel in the lines so I guess misfires for the first few seconds were expected.
Sounds a lot better now.
Congrats!!! Second video sounds great. I know what an exhaust leak at the manifold can sound like... Can make you question what condition the engine is in.
Hopefully you get the torque converter/ transmission issues resolved in a timely manner, best of luck.
The forum is better off for having this process detailed and documented. Thanks

 06-02-2018, 04:32 PM