When you click on links to various merchants on this site and make a purchase, this can result in this site earning a commission. Affiliate programs and affiliations include, but are not limited to, the eBay Partner Network.
OK so my parking brake motor / actuator need removal, so how do I get it out and replaced as easy as possible? Is there a how to? Anyone done it and got some tips on how to do it?
It needs to come out because the motor is not working, all diagnosed and I have the replacement unit ready to fit.
The Workshop manual says "lower the rear subframe" but I've read on the forums that this isn't necessary and many have done it without this. So I'm looking for any tips, tricks, or easier ways of getting this done on the drive at home please.
Solved it! And it really was a doddle in the end! Looking at the positioning of the parking brake motor, I figured that the easiest way to get at it would be if I cut a hole in the spare wheel well. I got out the angle grinder, and cut a letter box shaped hole at the back, near the top of the well about 8 inches by 3 inches, which gave room, not only to undo the two bolts that hold it in place, but also to remove the complete assembly out via the spare wheel well! Replacement was the reverse of this, in through the hole and bolted up! I then put a lip of aluminium around the piece I'd cut out, and glued and riveted it back into place - job done, and another 12 months of MOT in the bag too
So I got a new electronic parking brake motor mine was bad just installed it trying to hook the cables up I'm not sure if when the car is off the battery is unhooked that the motor is in the brake on position or not but I cannot get the cables to go over the calipers I have one side on the passenger side the driver side it's so close to hooking over the lever but just not enough. I was wondering if I need to turn the key on and hit brake release we're not or if there's a different way of getting the cable onto the lever on the caliper on the driver side thank you
You need to put the electronic parking brake into service mode. There are a couple of different ways to do that. Jaguar I believe use their software. The way I use is to release the park brake with the button and hold the button down whilst switching off the engine and remove the key. You could also then disconnect the battery so the park brake does not accidently engage when you are doing the work. Make sure that you have the car fully secured using blocks or on axle stands before you put the parking brake into this mode as you don't want the car to roll away wilst you are doing the work.
Hi All
As I have benefitted from this and other forum's notes its time for me to return a favour. I too had the dreaded EPB Fault warning on the dash with the Orange brake light lit (2007 XJR). I have 2 diagnostic units, an Autel and a Foxwell and both reported no stored fault codes. Looking at live data I could see there was a Motor movement range fault logged but it never reported as an error. I tried a replacement controller and that had the same issue, EPB worked fine as in set and unset, you can hear the motor move and the park brake held firm but always the error in the dash which meant MOT failure I beleive. If you follow the procedures elsewhere, you can clear the fault on the dash by disconnecting the battery for 10 mins and reconnecting but as soon as you use the EPB it faults again.
So after checking all the plugs and wiring and unable to find anything and ensuring battery was good and stable at 12.8v with engine not running I followed the JAguar Tech Bulletin (Electric Parking Brake (EPB) Actuator DTCs C1784, C1785, C1786, C1799, C1801, C1802, C1803 � Diagnostics) procedure and this appeared to be the tell tale:
5. Check the EPB actuator for wiring continuity to the hall-effect sensor. Do this by measuring resistance between the following pins on the EPB actuator connector: � CV7-3 to CV7-5 (pass value: Above 10 megaohm). � CV7-4 to CV7-5 (pass value: Above 10 megaohm). � CV7-3 to CV7-4 (pass value: Above 10 megaohm). Failures in the tests above may indicate a hall-effect sensor failure inside the EPB actuator. In this case, the EPB actuator should be replaced (see Global Technical Reference GTR Workshop Manual, section: 206-05).
Testing this at the EPB actuator plug gave me readings of around 1Megaohm across 4 pins - as the EPB actuator costs about �600 shipped now, I was nervous I had got the diagnosis wrong but this helped me make the decision to replace it.
Once the replacement arrived it actually only took about an hour to replace the assembly as follows:
1/ Put the brake in Service mode to release the tension in the cables
2/ Disconnect the EPB cable from the O/S rear caliper (RHD car) to free up the cable - when its untensioned it just pops off the caliper
3/ Disconnect the N/S caliper cable where it hooks into the EPB cable assembly just behind the N/S suspension strut
4/ Now you have enough slack in the cable to disconnect the EPB cable assembly from the O/S EPB cable - there is a joining clip just to the left of the O/S rear suspension strut up behind the spare wheel well - you need to twist it round to expose the retaining llug on the join, then you can pop the EPB actuator cable out of this lug.
5/ Undo the electrical connection which sits on the LHS of the diff - there are 2 cables from the EPB actuator that go into a single plug
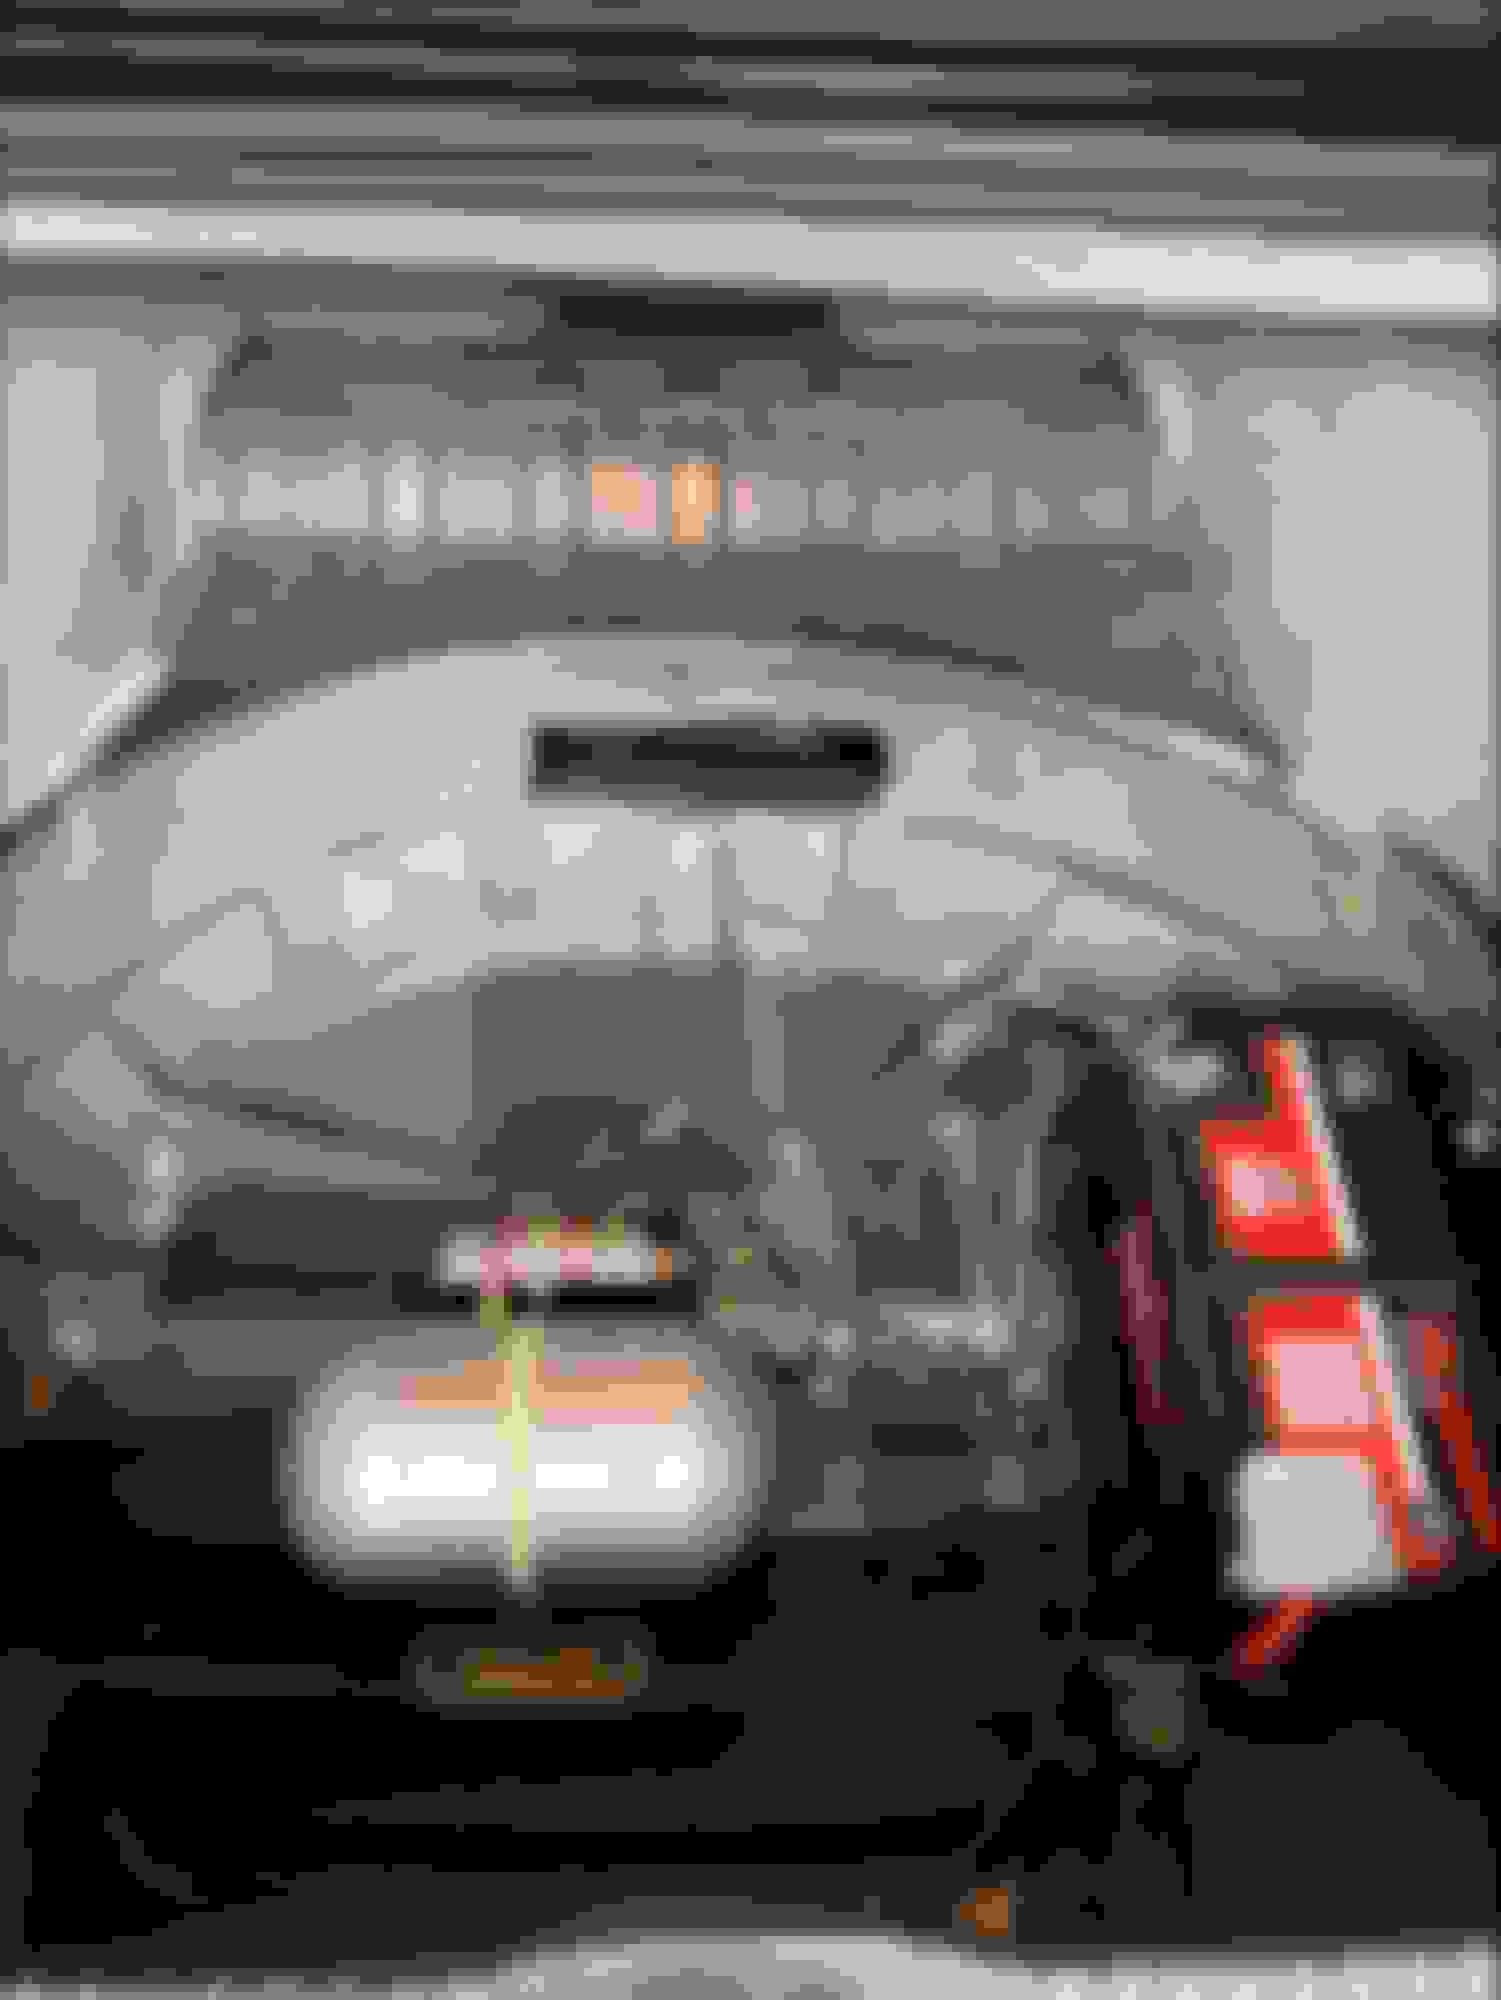
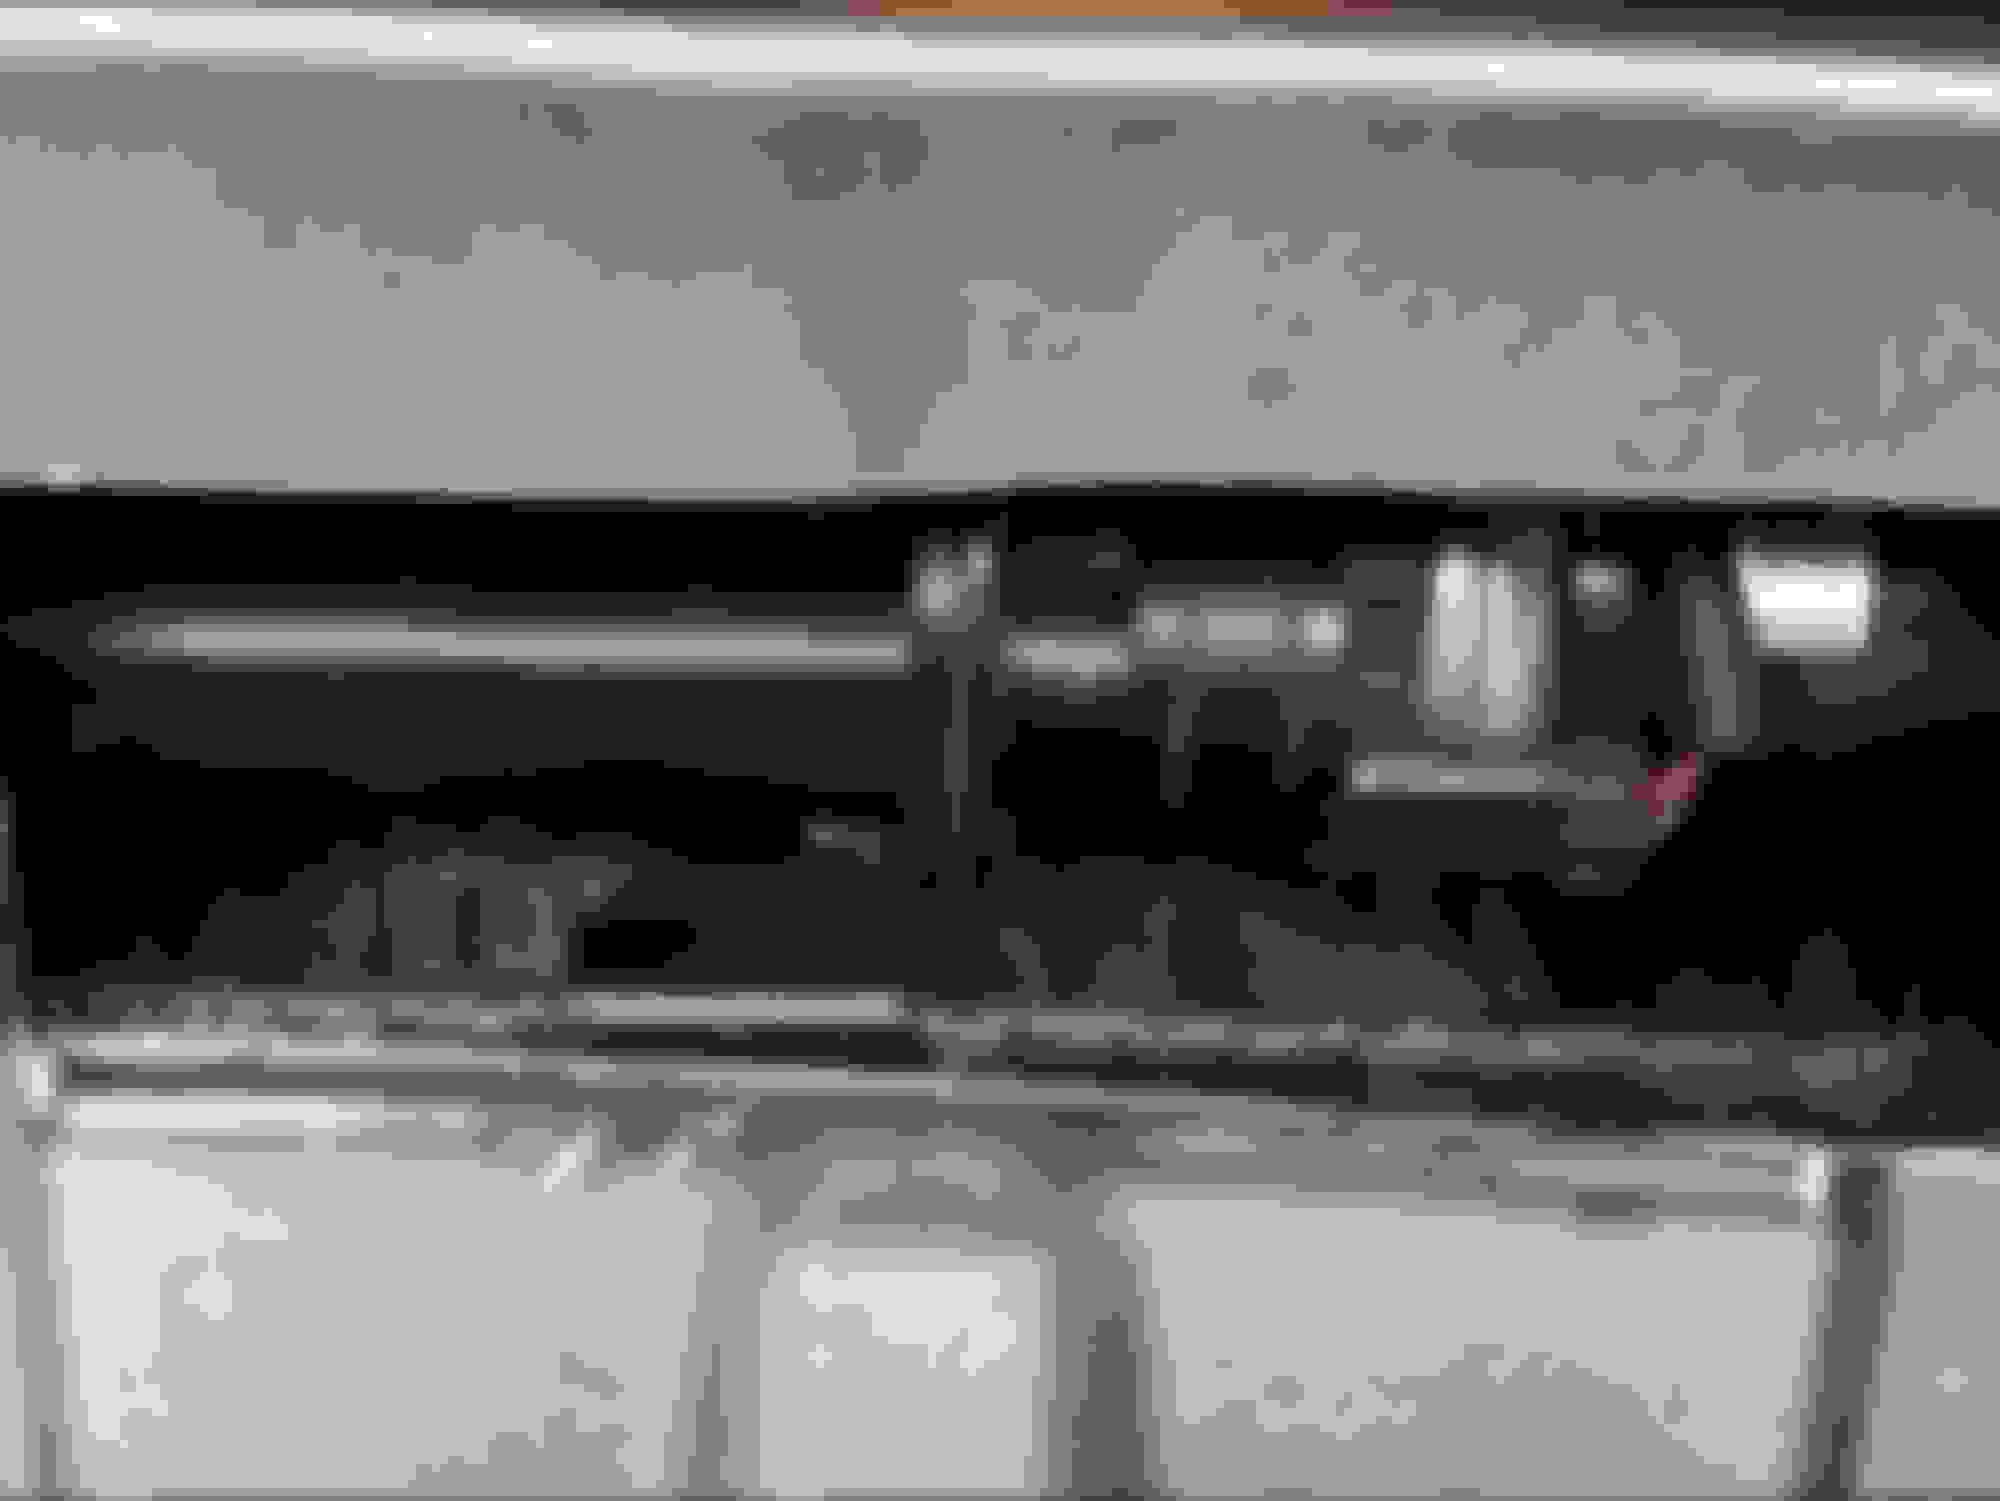
6/ Remove all the stuff in the spare wheel well and angle grind out a slot as shown in the photo below - the metal is very thin and this was very simple to do with almost no sparks for some reason (even so I made sure there was a wet sheet catching all the hot swarf from the grinder)
7/ Undo the 2 retaining bolts that hold the EPB actuator to the rear subframe (I found it slightly easier to do this from below as I have a lift, but it can be done from the slot you just cut of course)
8/ Slide out the EPB actuator from the slot you just cut - you can then see what a crap design it is as its exposed to all the wet from the road and is very poorly assembled. I took mine apart to see if it could be repaired, the worm drive was so badly rusted I was amazed it worked, but I could not see how to easily take the Hall sensor assy apart. That and the motor being badly corroded was enough for me to want to junk it.
9/ My subframe visible through the slot was of course covered in surface rust so wire brushed it and covered in in Waxoyl.
9/ Slide new assy in - I reconnected the caliper cables before bolting it to the subframe to give me as much movement in the cable as possible, as reconnecting both caliper tails was a bit fiddly. Bolted the actuator in place and connected the electrical cable, had to tie wrap it to the upper torsion arm as the mounting clip was broken - you dont want it anywhere near the drive shaft as that is apparently another common problem where the drive shaft movement wears through the insulation.
10/ Reconnected the battery and went through the EPB calibrate procedure - which for me was as simple as putting foot on brake pedal (hard down), turn on ignition, activate EPB and that was it - it calibrated itself and then worked like a dream - such a relief to not see that damn orange warning light with the accompanying Parkbrake Fail message and bong.
11/ I then painted the cut metal of the wheel well to slow down any corrosion
12/ I ordered a small 1.5mm thick aluminium plate from ebay and cut it to size, applied generous slug of silicone seal around the cut out and riveted the plate in place so that the hole was now watertight
13/ Applied a small sheet of stickyback sound deadening (again from Ebay) and looks as good as new with the ability to replace it again next time it fails by just drilling out the rivets.
You will see there are many used EPB actuators for sale on Ebay - but when I looked closely at the photo's I could see they were just as corroded as my old one and decided to bite the bullet and pay for a new one as I didnt really want to have to do this again in a few months...
I hope that helps anyone who has this issue!
Photo's: SLot cut in wheel well here is the little ******* (the new one) Riveted Alu plate in place Applied sound deadening
 10-27-2017, 08:46 AM