Jaguar s type seats help
#2
See JagRepair.com - Jaguar Repair Information Resource for Electrical Guide
Last edited by Don B; 08-25-2024 at 09:47 PM.
The following users liked this post:
Don B (08-25-2024)
#3
jtheredmant, check out: Power seat wiring to make it work Outside the car? - Jaguar Forums - Jaguar Enthusiasts Forum
That should answer a lot of your questions. If that does not help, please state the year of the car that the seats came from. At a minimum, there will be a sticker on the underside of the seat that should start with a 4 character sequence. Give me that whole number (should be 4 characters, 5 numbers, then 2 letters). I can figure out a lot from there. If the seat happens to say if it is say a 10 way seat, that would be helpful too. The more information that you can send my way, the more exact of a diagram I can find and give you exact wires to connect to.
That should answer a lot of your questions. If that does not help, please state the year of the car that the seats came from. At a minimum, there will be a sticker on the underside of the seat that should start with a 4 character sequence. Give me that whole number (should be 4 characters, 5 numbers, then 2 letters). I can figure out a lot from there. If the seat happens to say if it is say a 10 way seat, that would be helpful too. The more information that you can send my way, the more exact of a diagram I can find and give you exact wires to connect to.
The following users liked this post:
Don B (08-25-2024)
#4
jtheredmant, check out: Power seat wiring to make it work Outside the car? - Jaguar Forums - Jaguar Enthusiasts Forum
That should answer a lot of your questions. If that does not help, please state the year of the car that the seats came from. At a minimum, there will be a sticker on the underside of the seat that should start with a 4 character sequence. Give me that whole number (should be 4 characters, 5 numbers, then 2 letters). I can figure out a lot from there. If the seat happens to say if it is say a 10 way seat, that would be helpful too. The more information that you can send my way, the more exact of a diagram I can find and give you exact wires to connect to.
That should answer a lot of your questions. If that does not help, please state the year of the car that the seats came from. At a minimum, there will be a sticker on the underside of the seat that should start with a 4 character sequence. Give me that whole number (should be 4 characters, 5 numbers, then 2 letters). I can figure out a lot from there. If the seat happens to say if it is say a 10 way seat, that would be helpful too. The more information that you can send my way, the more exact of a diagram I can find and give you exact wires to connect to.
#5
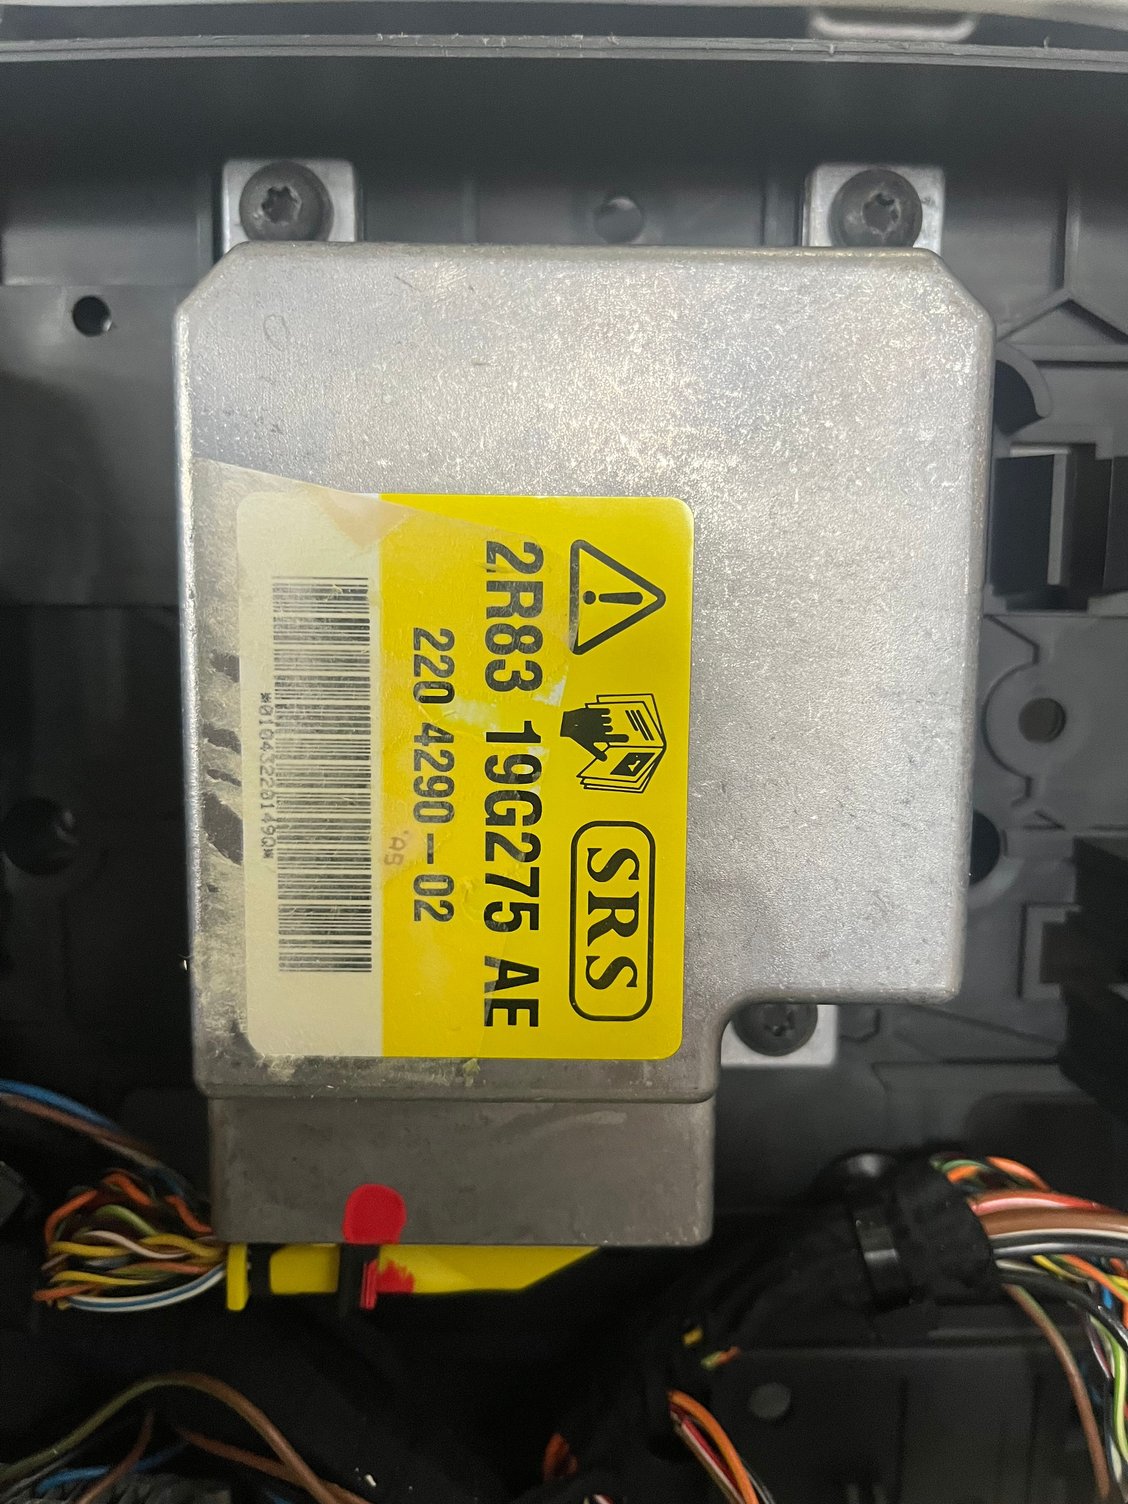
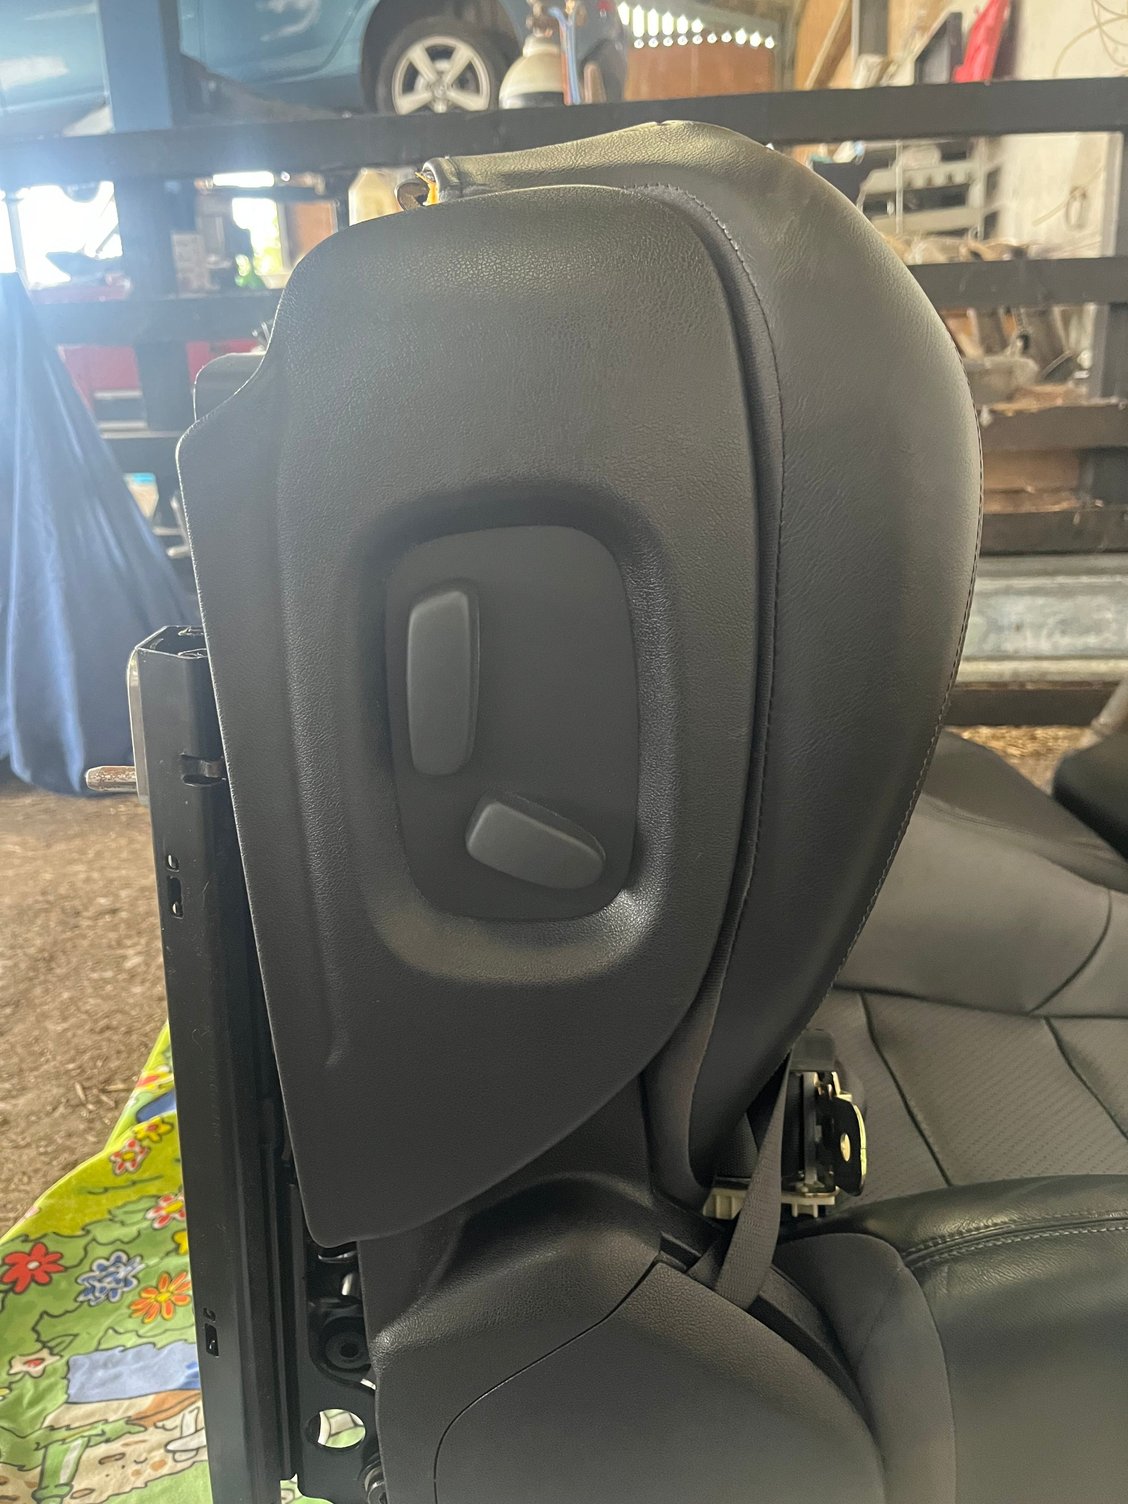
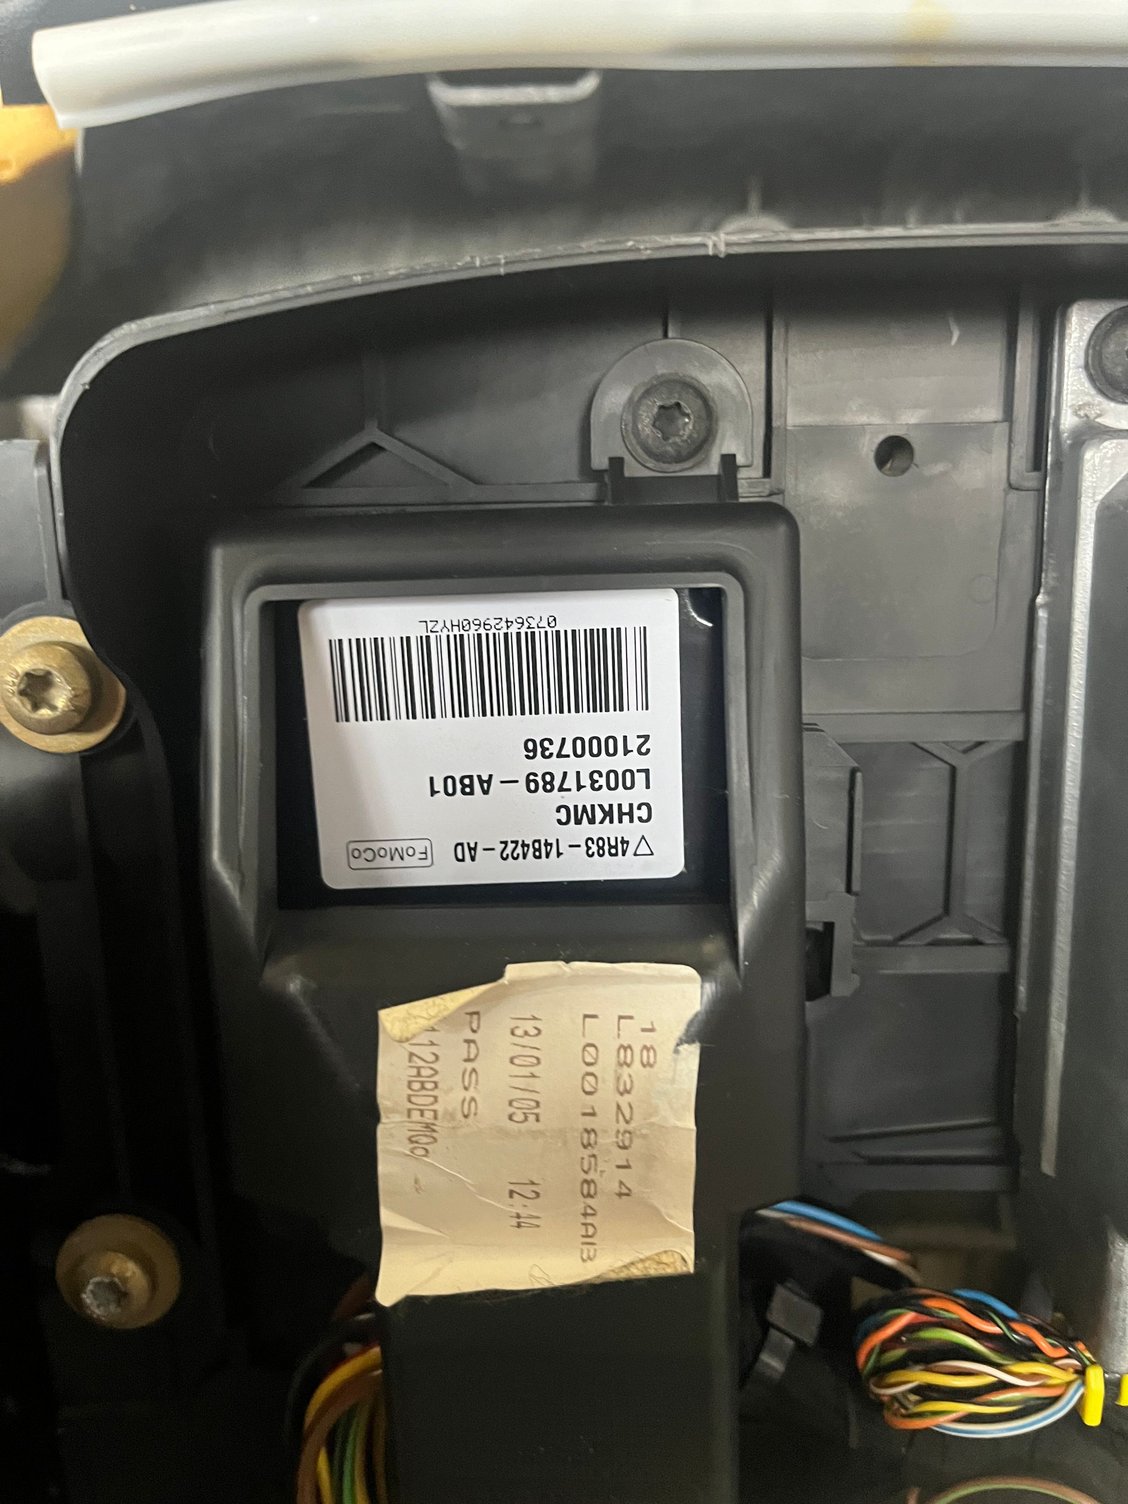
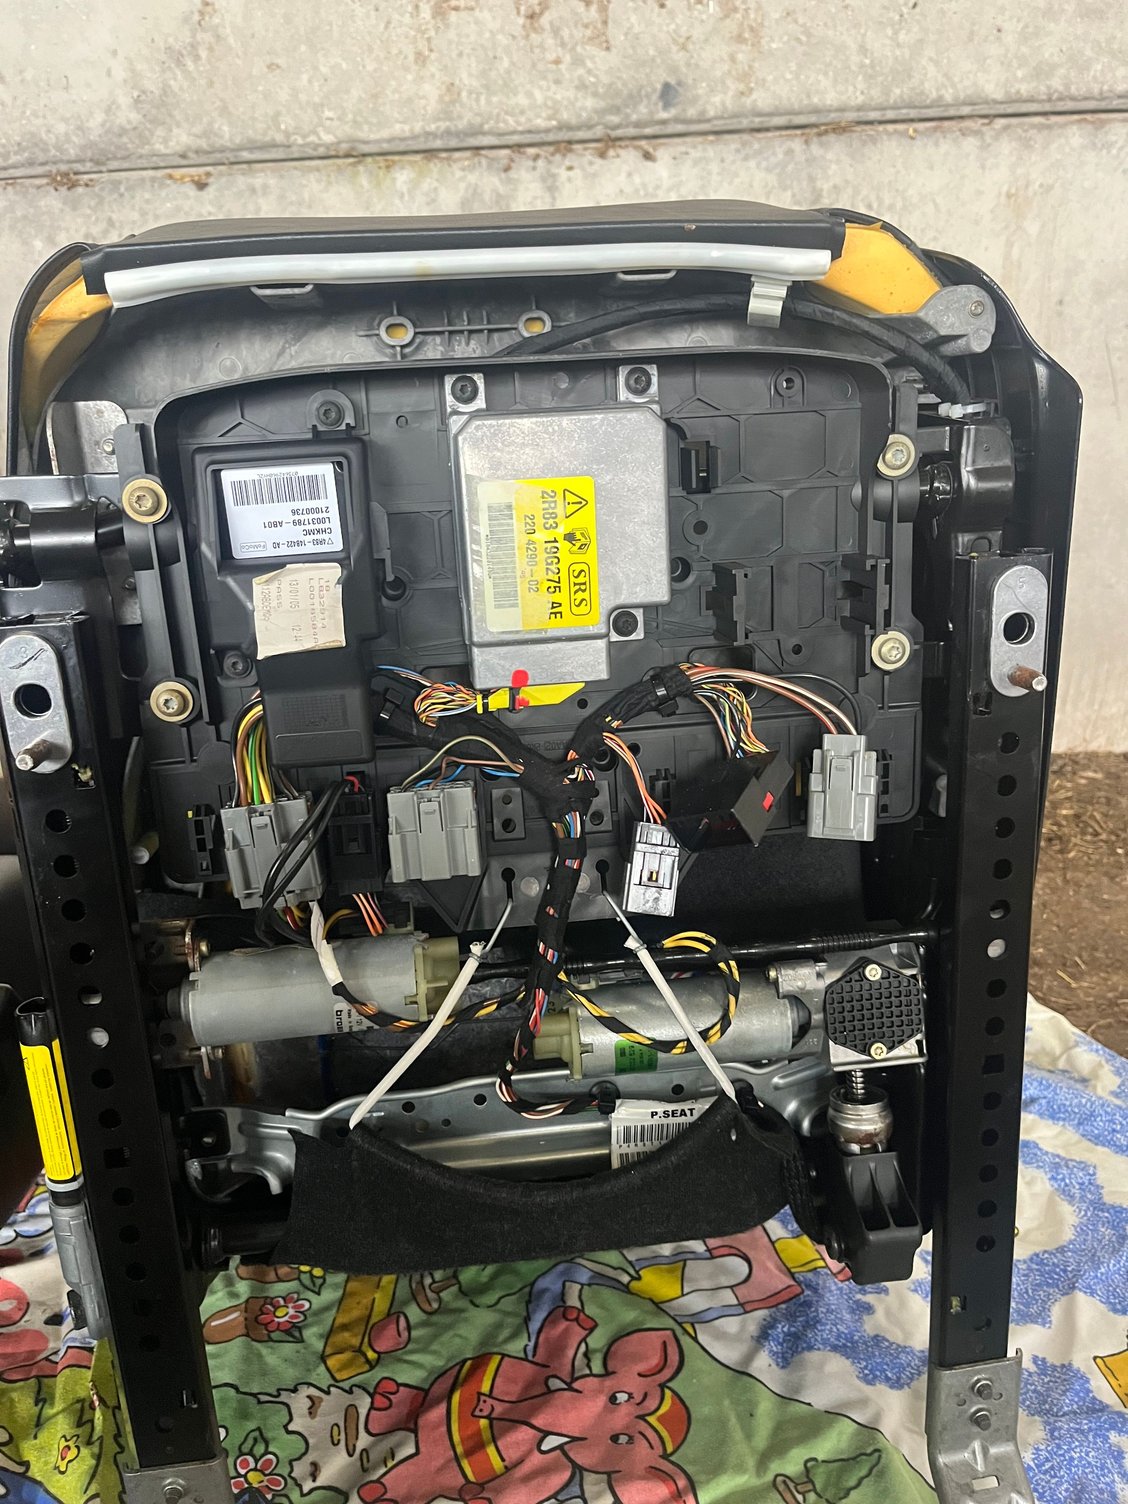
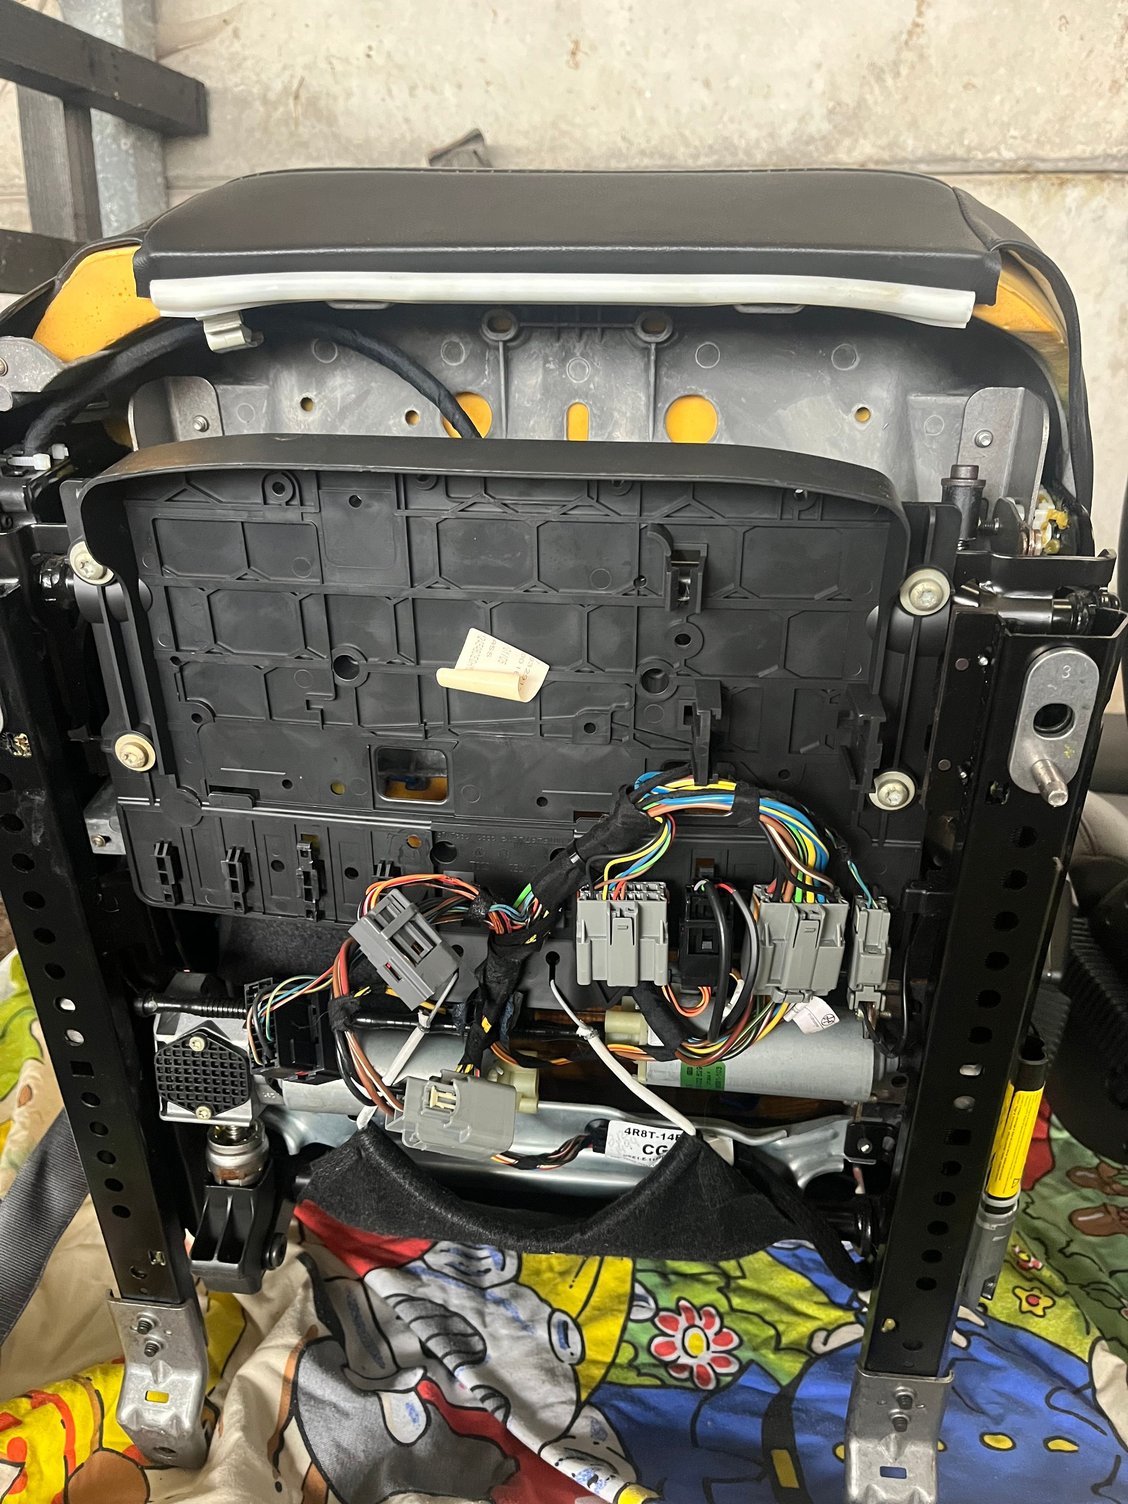
Jtheredmnt, it would appear that you have a 10 way driver's seat and a 6 way passenger seat from what I can tell. Luckily, they are both wired up the same way. So, you figure out one, you are going to figure out the other.
There is a total of 6 wires per seat that you are going to need to locate 4 wires (2 positive, 2 grounds) come off of 1 connector, the other 2 wires (1 positive, 1 ground) come off a second connector. You should be able to locate both of these connectors fairly easily as they will both be coming straight from the switch panel on the side of the seat. Both seats have black connectors for both of the plugs.
The first connector that you are going to want to find is a 12 pin connector. You are going to want to look at the connector. If you look closely, you are going to see numbers written on the connector. They will either be next to the pins or on the outside of the plug next to where the wires enter the plug. Either way, you want to find the following numbers which should have the corresponding wire color entering it.
1 - black wire
6 - black wire
7 - brown wire with a red stripe on it
12 - brown wire with a white stripe on it
The second connector is a 14 pin connector. You are going to want to find the following pins:
1 - black wire
8 - brown wire with a green stripe.
Now, to make the seat work, take all the black wires and extend them to be able to form a common wire and attach this to the negative post of a battery (more on this in a minute). Now take all the brown wires with their different colored stripes and join them to form a common wire to attach to the positive terminal of the battery. At this point, the seat should be able to move in all of its directions.
As for the battery, I recommend using one as 1) it allows the seat to be moveable inside a room and not tethered to a cord, and 2) when moving the seat, the motors can start pulling 10-20 amps (especially if you are leaning against the part that is moving and/or you are moving more than 1 motor at a time). Getting a power supply that can handle that kind of power can get expensive. The battery that I recommend for most people is a 12V 7 amp-hour (AH) battery. It is a small battery that is commonly used. You can pick up a cheap one off of e-bay for like $15. You can then find a small power supply (say a 12V 0.5-1 amp) and use that to recharge the battery when you are not using it. You can even have a quick disconnect to allow easy unplugging/pluggin in of the seat to the charger. This battery will move the seat for atleast 15 minutes non-stop. So, you will have plenty of power to position it as needed.
On a side note, please note that I do not wire up the seat heater. This is a completely different topic and goes well beyond normal wiring to wire in for proper and safe operation. Can it be done, YES!!!!!! But, because of the power the heater draws it will then require the seat to be plugged in when heat is being used and you will need to wire up the safety circuits to prevent the seat from getting too hot and potentially burning your skin. This is where the use of a PWM module is going to be advantageous, but also dramatically raise the price to make the seat functional. If this is a route you want to go down, let me know and we can get things taken care of for you.
The following users liked this post:
Don B (08-25-2024)
#6
Thread
Thread Starter
Forum
Replies
Last Post
Project_Jag1
S-Type / S type R Supercharged V8 ( X200 )
2
05-23-2018 10:11 PM
CD2005
MKI / MKII S type 240 340 & Daimler
6
08-23-2017 10:50 AM
Currently Active Users Viewing This Thread: 1 (0 members and 1 guests)


