When you click on links to various merchants on this site and make a purchase, this can result in this site earning a commission. Affiliate programs and affiliations include, but are not limited to, the eBay Partner Network.
GPS antennae refit 2006 XK8 Part number - C2P24351
I have owned "Kitty" for 3 months, the GPS has a mind of it's own - or not. I found a source of updated DVD's. €40, quite a lot less than the Cat factory. So the DVD reader now has a 2013/14 disc and the disc works. Sadly the GPS sign was still hatched out with a red stripe.
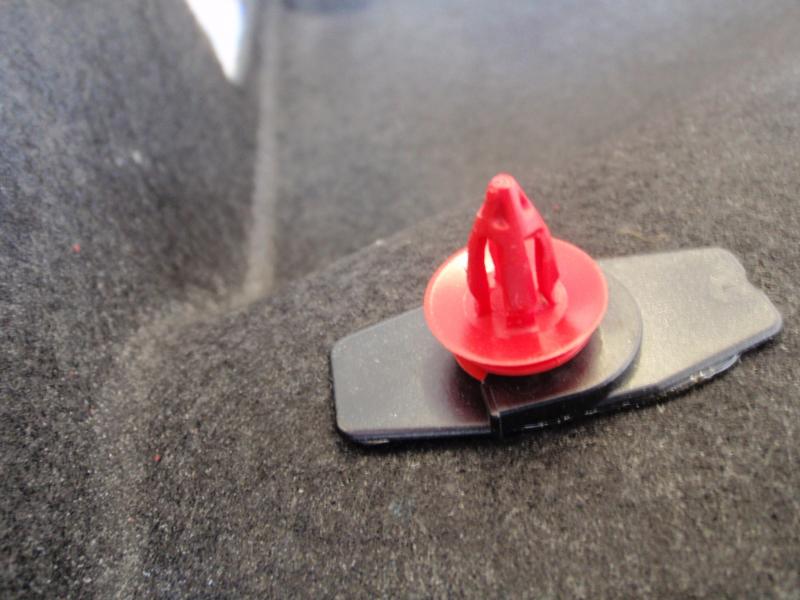
Don't bother removing the rear "parcel" shelf. The rear door black liner is held in place with these red plugs slotted into black plastic plates.
The black material is flexible and may be bent and slid to enable you to remove the cover while leaving the red plugs in place it's designed that way, or not! Nothing is lost if they come out. When replacing the cover remember there's plenty of flexion and fold and tuck it as necessary. There are a further two gray plastic lugs holding the cover in place. They are strong enough to cope with being gently lifted by a flat head screwdriver. Push to replace. Also tap the beige door surround home with a firm side of your fist.
The Beige door surround will probably pop out of it's holding position, perfect, simply slide the cover out to display the interior.
The book of words (BoW) and pictures advises one to remove the two retaining bolts and then lift off the scoop. Murphy's Law was written for this moment.
Mine has about four of these plastic widgits which have a one sided extended prong to help hold the centre of the scoop in position. They were removed by judicious use of a long Windsor screwdriver and a small mallet. They are obviously useful so don't just sheer them off. Alongside the central plug is a metal prong, this helps position the scoop. There are also two ordinary rawlplug type fittings at each end of the scoop. None of this is mentioned in the BoW or any online info I could find.
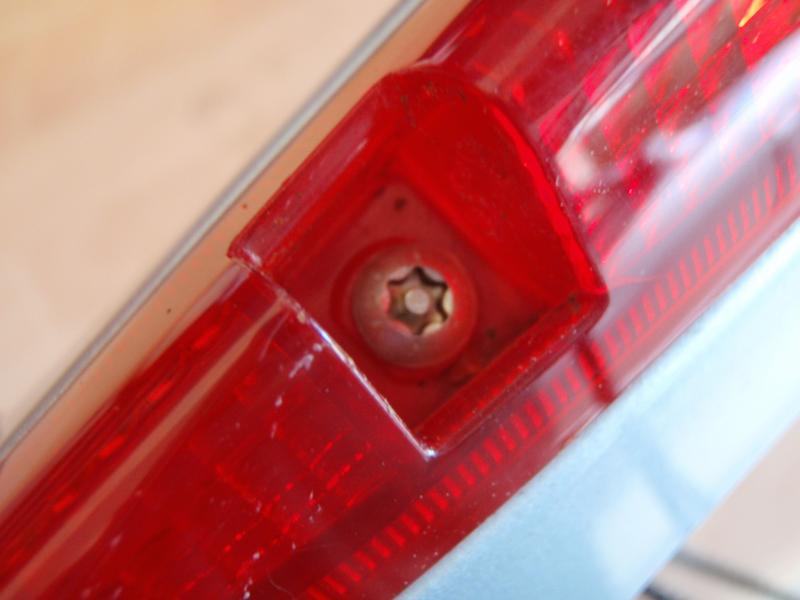
I did find a useful piece of info that told me to remove the third brake light. Simples you may think, except that once you have carefully removed the small piece of red plastic covering the screw you discover a screw head that I have never seen before. It's a star drive but the central core has a metal plug protruding, to stop me and thee being clever. A visit to a tool supplier may uncover the bit I need. There is no need to remove the red cover.
You should now be able to remove the scoop, although it will still be attached by the GPS aerial wiring and the power feed to the brake light. Both may be separated at their appropriate inline plugs, simply press the lock tab and pull apart. (The interior light went off as I pulled the brake light cable apart, a small bonus, saving battery power.)
Have tea or coffee while you wipe away the crud that lived under the scoop. The base of the scoop is surrounded by hard foam which I suppose is intended to be waterproof. In order to return it to a soft state I sprayed it liberally with silicone lubricant.
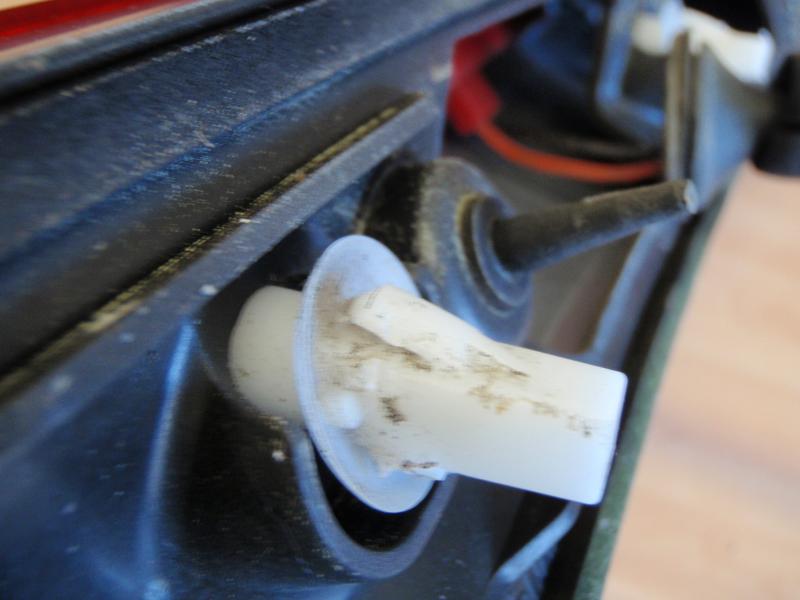
The two plastic rawlplug fittings at the holes third and fourth from left are not mentioned anywhere. They are for the retaining screws that hold the antennae in place.
From left to right. Hole for scoop locating bolt. GPS aerial feed, GPS retaining screws, plastic grommet locator, note the curved lower edge for the prong to "slide" through, centre prong and central locator pin, large hole for tiny power cable to upper brake light, plastic prong and finally right hand scoop bolt. There are also two small holes for rawlplug devices further out from the locator bolts. All the wiring holes have rubber grommets. If you want to copy what I have done it is advisable at this point to plug the GPS retaining rawlpugs with grease or a dot of hot glue, explanation follows.
The reason for the inoperative GPS soon became apparent. The scoop is not watertight, neither is the antennae, the black plastic cover and supposed watertight rubber seal had been pushed apart by rust. I have never seen a PCB with so much crud on it.
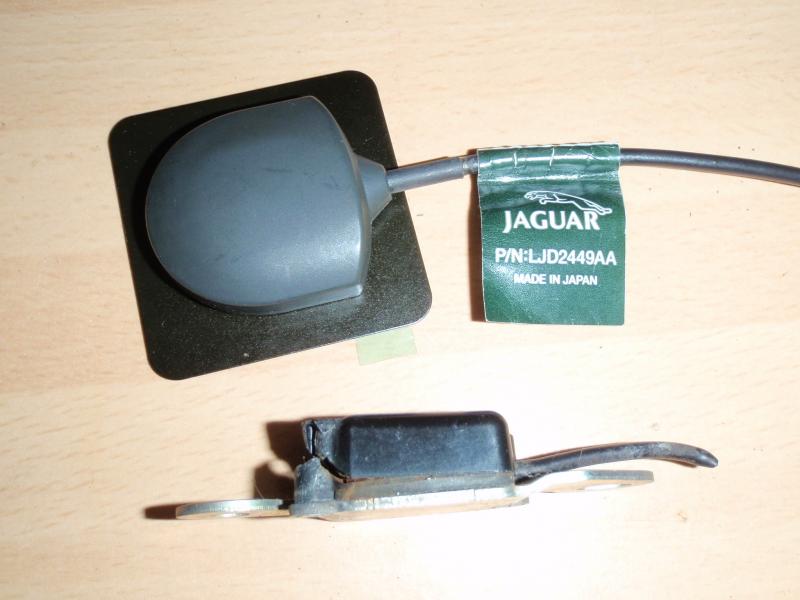
I tried E-Bay etc for a new antennae but there's only used ones around, so being naive I tried the new version. Sadly the leads are not compatible, so I spliced the cables, no luck. The replacement part was sourced by Riders Jaguar within 18 hours, brilliant service. Cost �85.76. I suppose I can claim relief that the DVD saved me some moolah.
The scoop removal was a bit of a nuisance as I'm disabled and created various agonies while fighting the good fight. However the GPS works. So why put the antennae back where it came from, requiring lots of waterproofing? I connected the new antennae and placed it in a T shaped groove on the inside of the boot lid, drove out of the garage and the GPS with cross hatched red line disappeared from view. Result. Using a piece of 2 mil foam with strong double sided adhesive I placed the antennae in it's new home and tie-wrapped the loose wiring away. In future I may be able to retain my sanity if the antennae dies again, at least it's in a dry location.
Now...... why won't the folding wing mirrors fold when I push the left and right buttons down at the same time? The BoW says they should.
Albeit an old post, thanks to Robiz who posted it years ago. Earlier today it saved my sanity (although the wife would argue that point!) trying to use my Torx screwdriver to remove the 3rd brake light on my XKR while replacing the GPS antennae.
Further proof I should be wearing reading glasses while doing such work as I simply did not see the Security Torx bolt (the Torx with the pin in it). From the looks of my bolts, someone had tried (prior to my purchase of the car) to jam a regular screwdriver into the bolt.
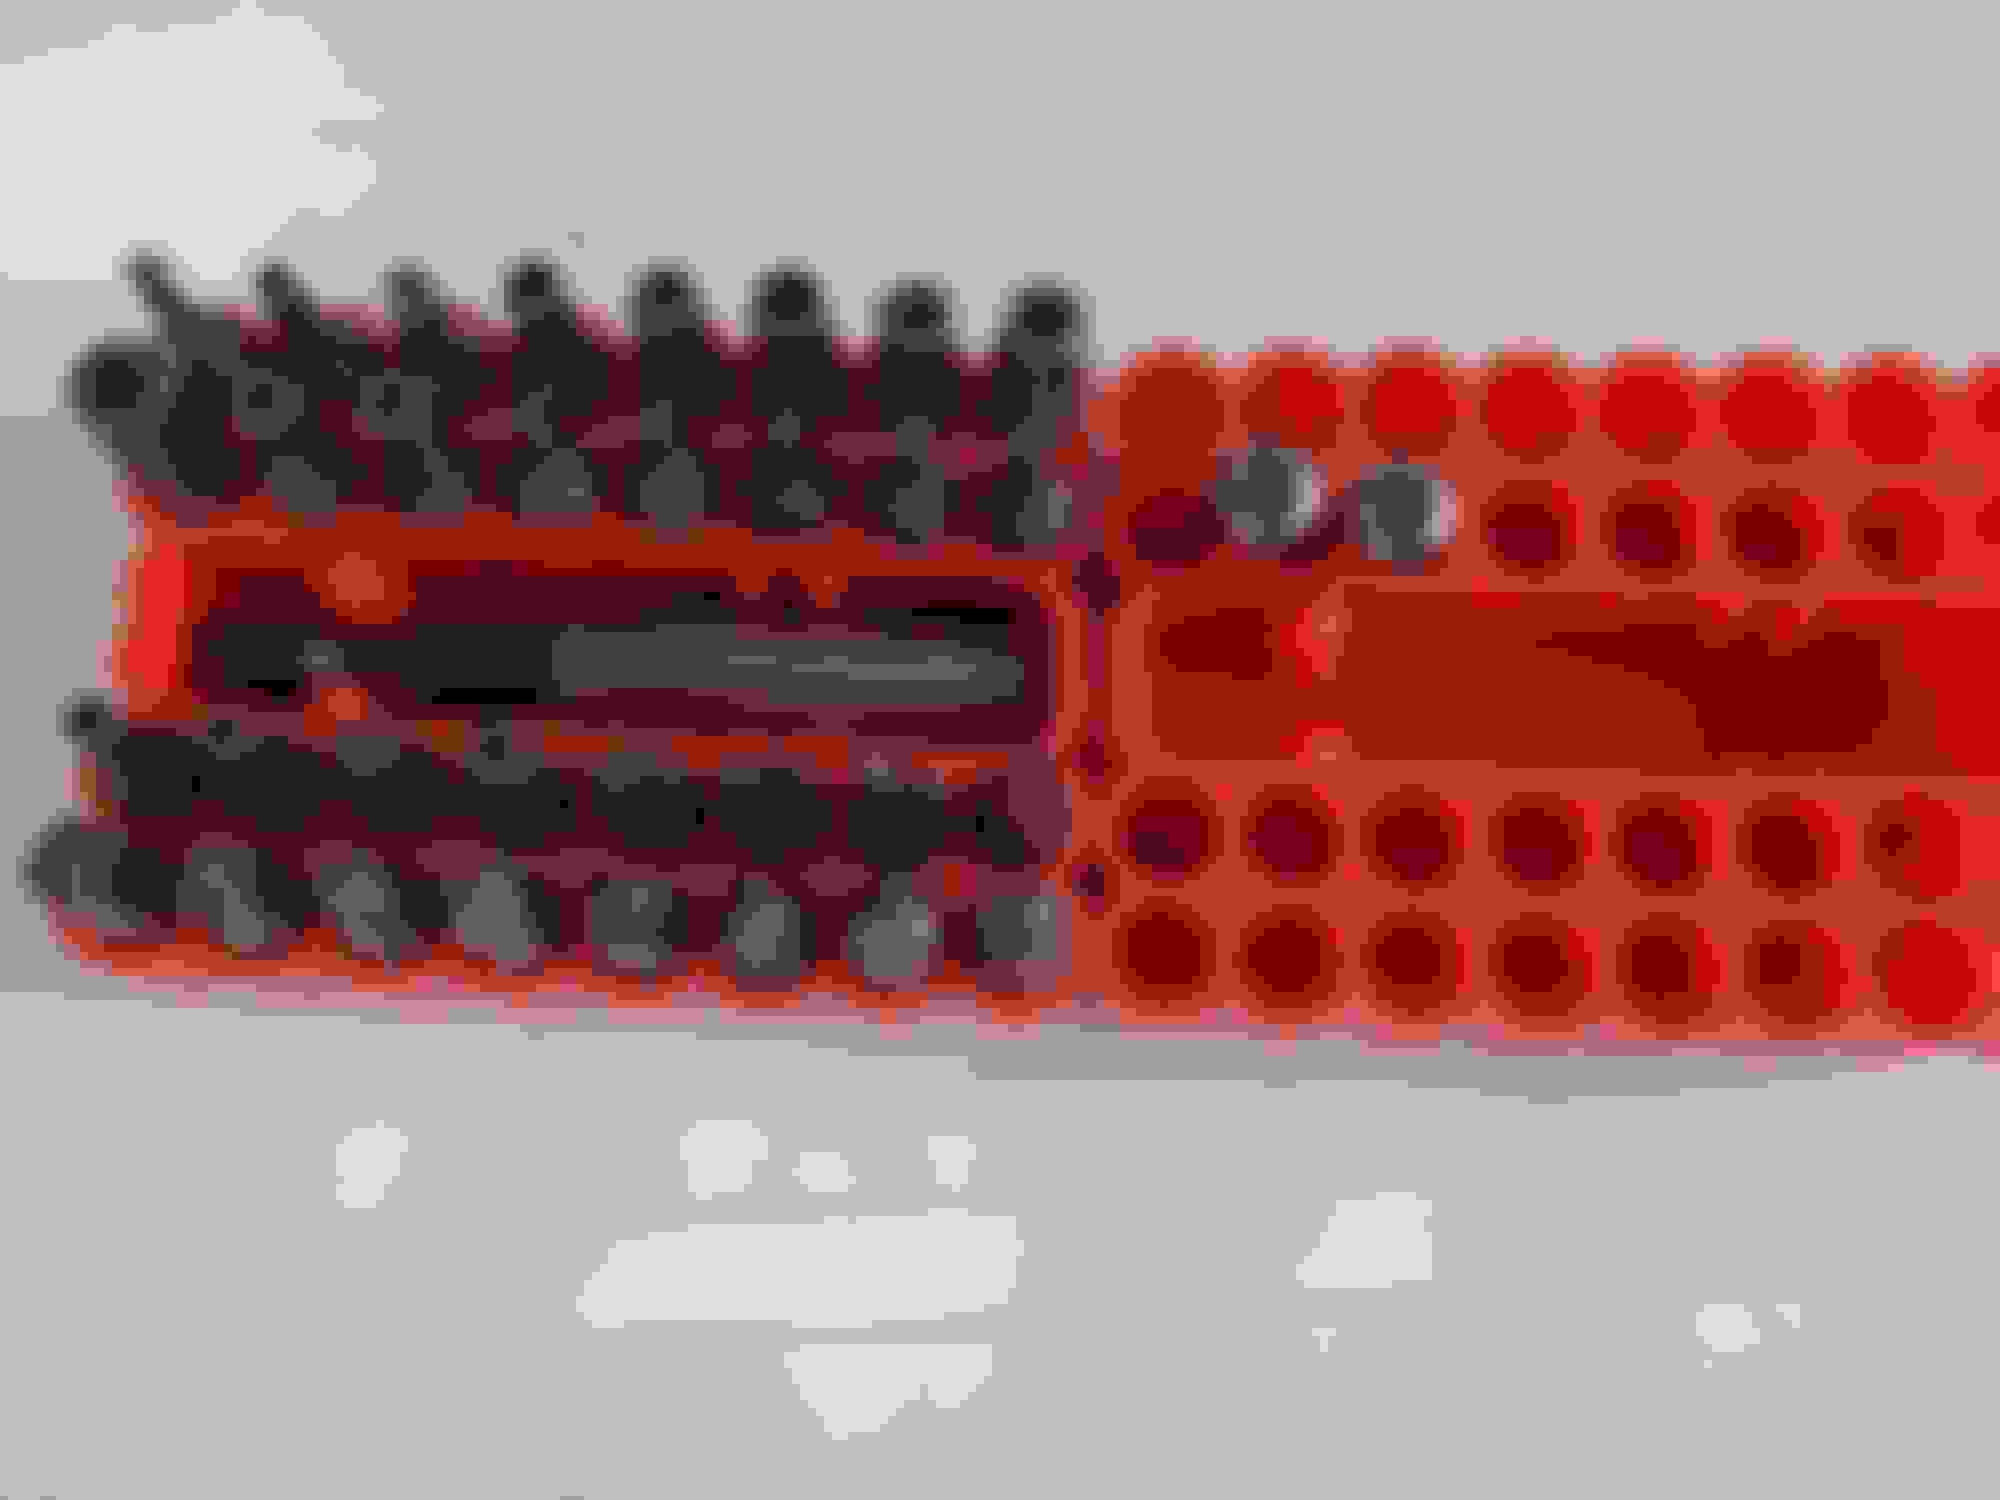
Luckily, once I found Robiz's post (and my readers) I utilized my security driver set (something I had bought years ago and never used) - a photo is attached for those who will suffer a similar fate wondering why their Torx screwdrivers do not work!
Once again, hat's off to the Forum for being truly indispensable and to Robiz for this post from 2014!

 10-11-2014 | 09:08 AM