When you click on links to various merchants on this site and make a purchase, this can result in this site earning a commission. Affiliate programs and affiliations include, but are not limited to, the eBay Partner Network.
DIY Guide: Replace sagging headliner / Replace front dome lamp bulb on Jaguar X-Type
The headliner in that X-Type was not only sagging, it was quite dirty, too, when I bought it, hence I had to do something about it. It was a bit tricky, as that X-Type has a sunroof (Webasto).
Replacing Bulbs in Front Dome Lamp:
And the reason as to why I also wrote in the headline “replace bulb in front dome lamp”: Ridiculously it does not seem to be possible to change a bulbs in the front dome lamp (e.g. when you want to replace the old OE bulbs for more energy-efficient and brighter LED bulbs) without removing at least the front section of the headliner… - the picture below will explain this… - hence: DON’T DO IT, if you don’t want to remove the headliner anyway…
The new Headliner Fabric:
I bought the new headliner fabric on ebay from China - size 98 inch x 60 inch (= 2.5x1.5m). That is the size, which was required to do the job.
I bought beige suede headliner fabric. Sadly the seller folded it and pressed it into a small bag. It was pretty much damaged to the point of unsuitability due to sharp folds all over.
I never thought I would be able to save the material, but I was able to with a lot of effort and time:
I hung it onto the clothesline in the garden and sprayed it soaking wet with a garden hose. I let it dry a bit. Then I placed a huge and thick bed-sheet onto a huge table and transformed the table that way into the biggest ironing board imaginable. Then I used a medium-hot hot-iron to iron it flat again. It worked, unexpectedly.
There are many ads for headliner fabric - most of them are for size 2m x 1.5m. That would not have been enough to also put new fabric onto the A- and C-pillar covers, and they needed new fabric, too.
The Adhesive:
Spray adhesive is required for this job. Oddly enough the most common spray adhesive offer in automotive shops here in Australia is Selleys Kwik Grip... Why??? The only automotive application for adhesive spray, which I can see, is for the headliner fabric - but this product is utterly unsuitable for this application, because Kwik Grip is rated only to retain its adhesive properties up to 70� Celsius - and it gets much hotter inside of cars. I saw a youtube video of someone re-doing his headliner, and he also noticed that Kwik Grip spray it rated only up to 70�C, hence he used instead a can of that same brand and applied that stuff with a brush - it was meant to be very fast drying and offered immediate adhesive strength - the stuff in the can was rated for much higher temps - somewhere above 100�C But the problem was, that that crap just wasn't drying and he was busy for one week to apply the new fabric - and even after that the result was not perfect. Hence I cannot understand, as to why anyone would sell this product (esp. automotive shops) and why anyone would buy it...
After long research I found that for me here in Australia the best option (good stuff and not too expensive) was: "Car Builder's Spray adhesive": 500g for about AU$30, cheaper on special. This stuff is rated up to 120� Celsius. There are other sprays, which would probably work, but they cannot be bought for a reasonable price in Australia - US is a different story. I have a feeling that e.g. 3M might have a suitable product for the US. Check the temperature rating on the product that you intend to buy!
I needed a bit more than 2 x 500g spray adhesive - thus 3 cans.
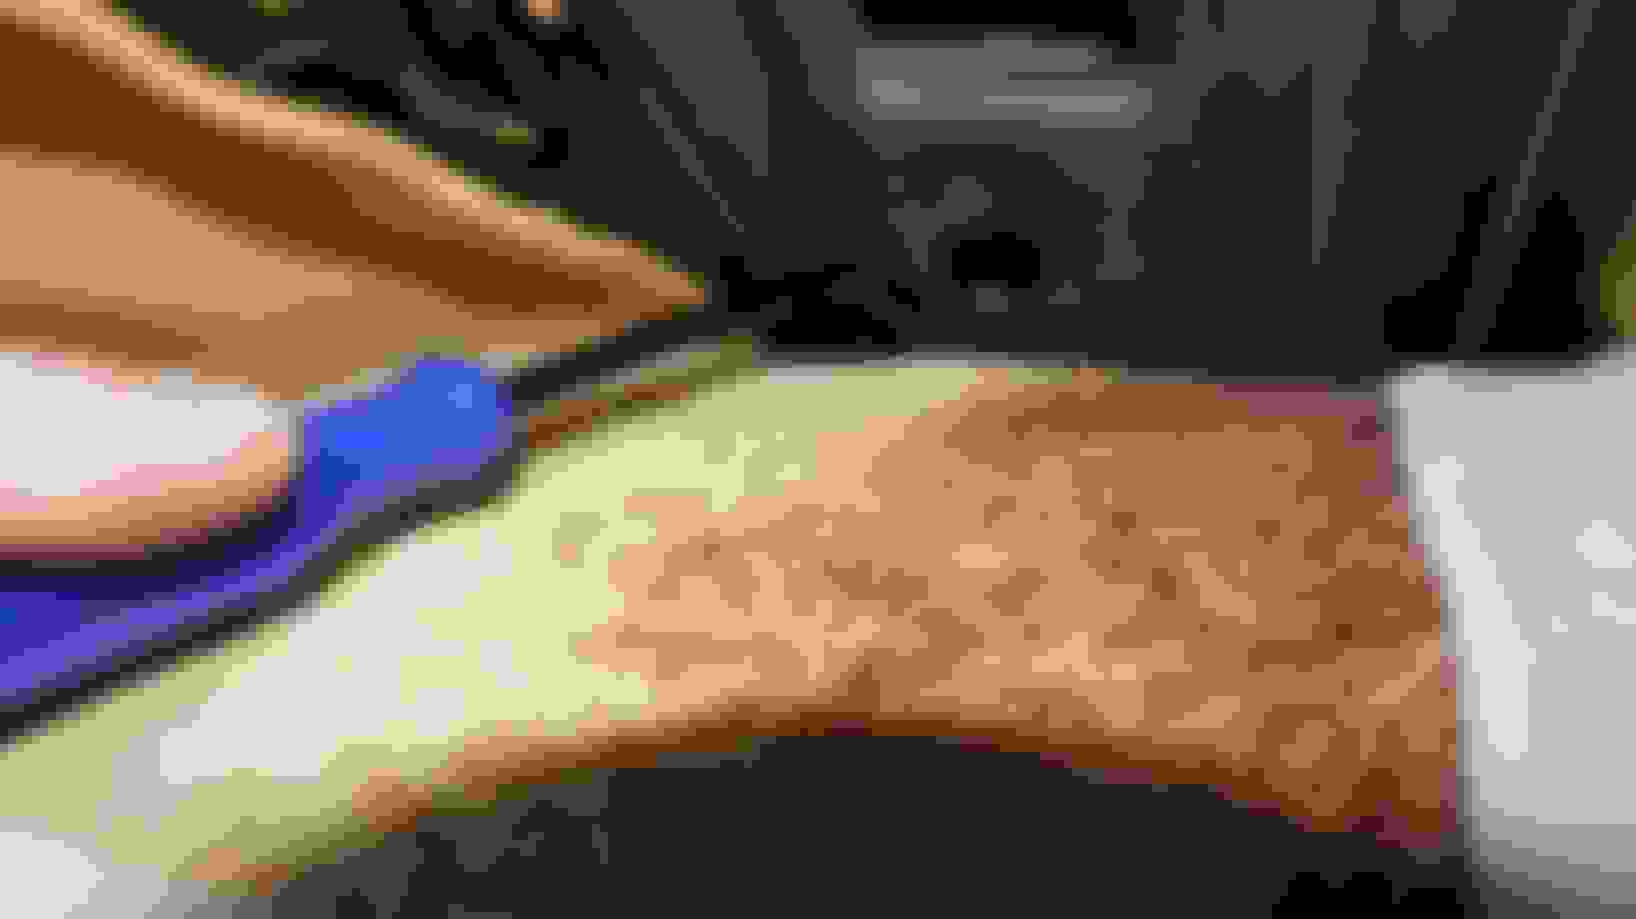
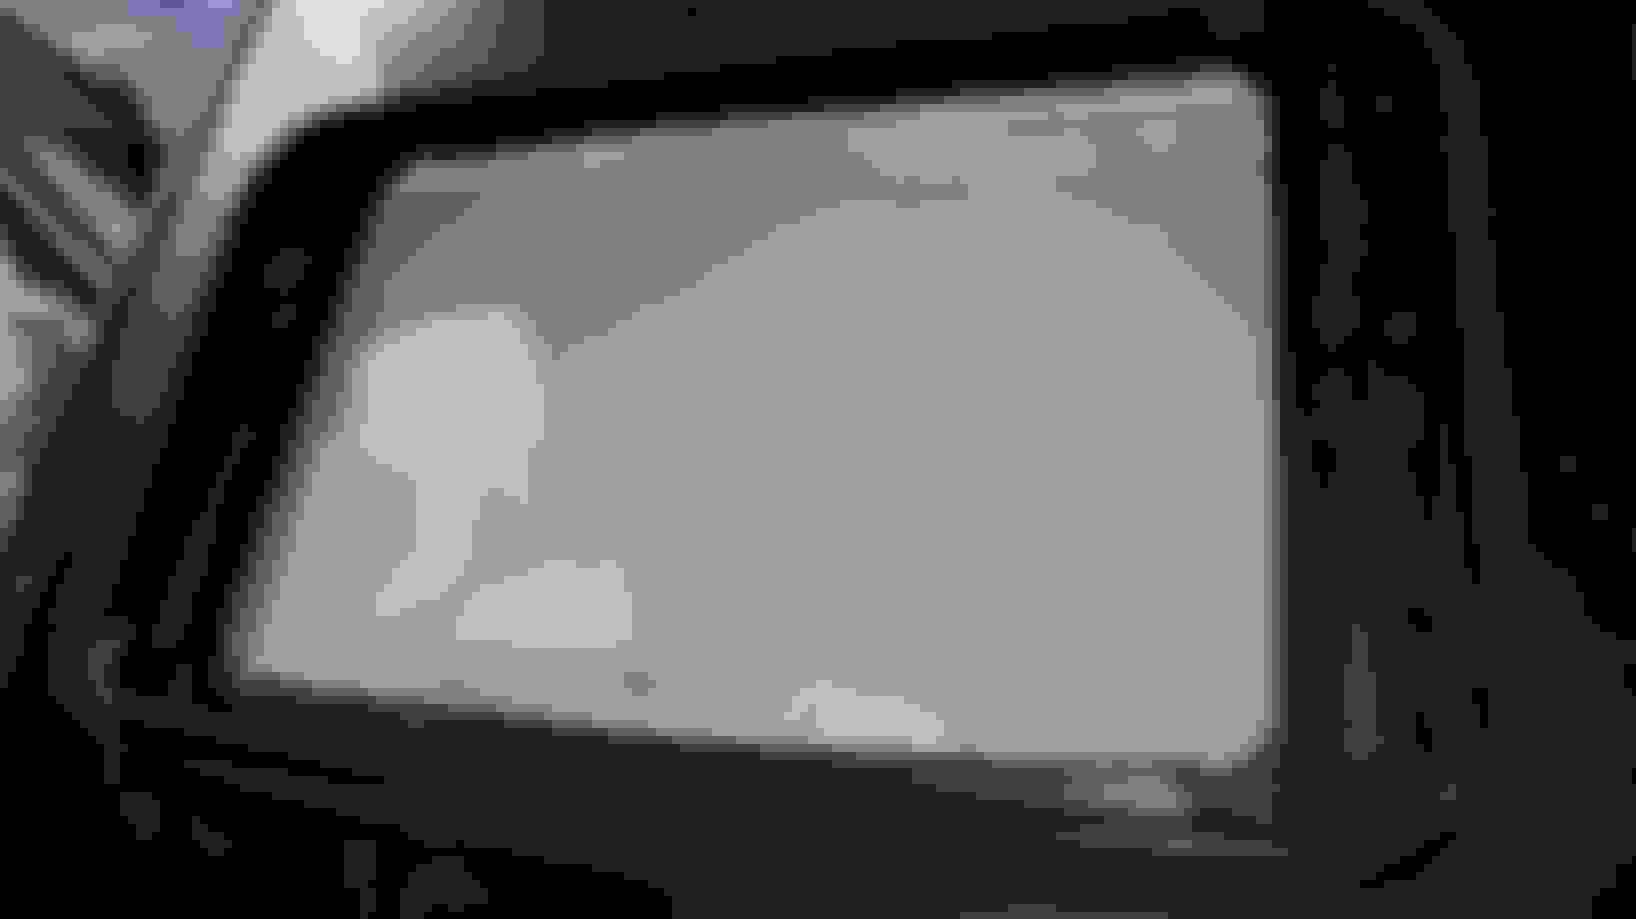
OK then: Out with the old stuff, in with the new stuff - here is the "picture book" telling the story: Old dirty and sagging headliner. Understand the following: If a headliner is sagging, it is not the thin fabric, which is visible, which detached itself, but that fabric was attached to a layer of foam, which disintegrated into foam-dust over time.
The bolts holding the handles are hidden under lids - remove.
The bolts of the sunvisors are hidden under a cover, which needs to be removed first - remove.
3 bolts are hidden under that cover.
If you pull long enough, you'll finally get to the connector of the cable to the sunvisor (cable for the vanity light) - disconnect.
There are three plastic "clips" incorporated into the rear section of the headliner. Try your best to pull them out, but I am afraid, you will rip them off (break them) ion the process and you'll have to think of something new for installation later.
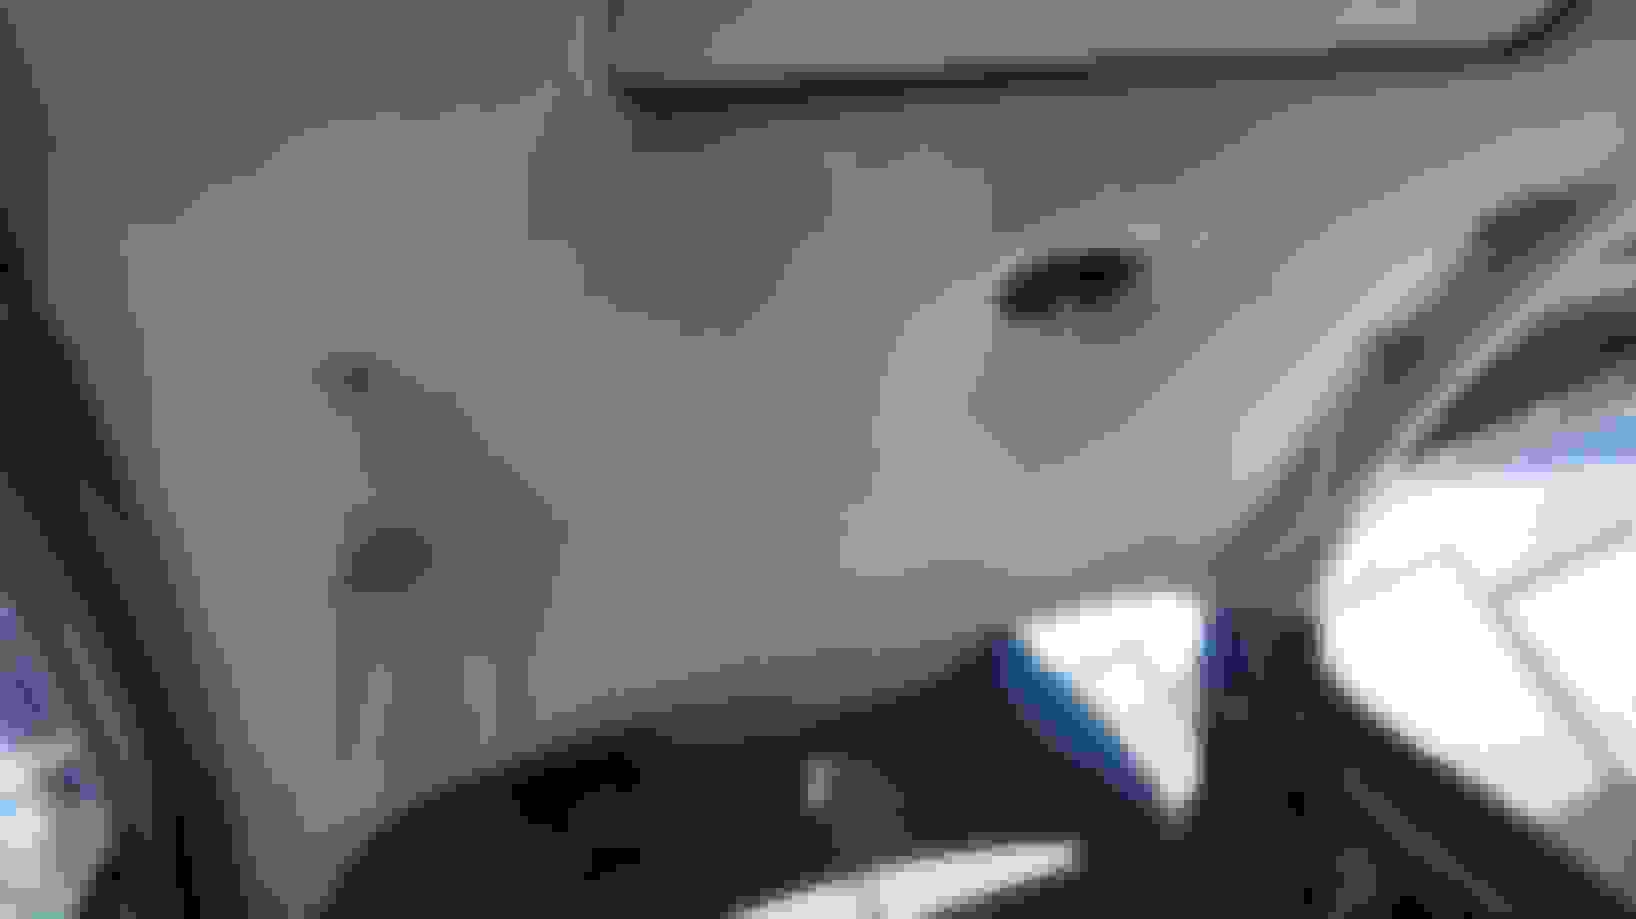
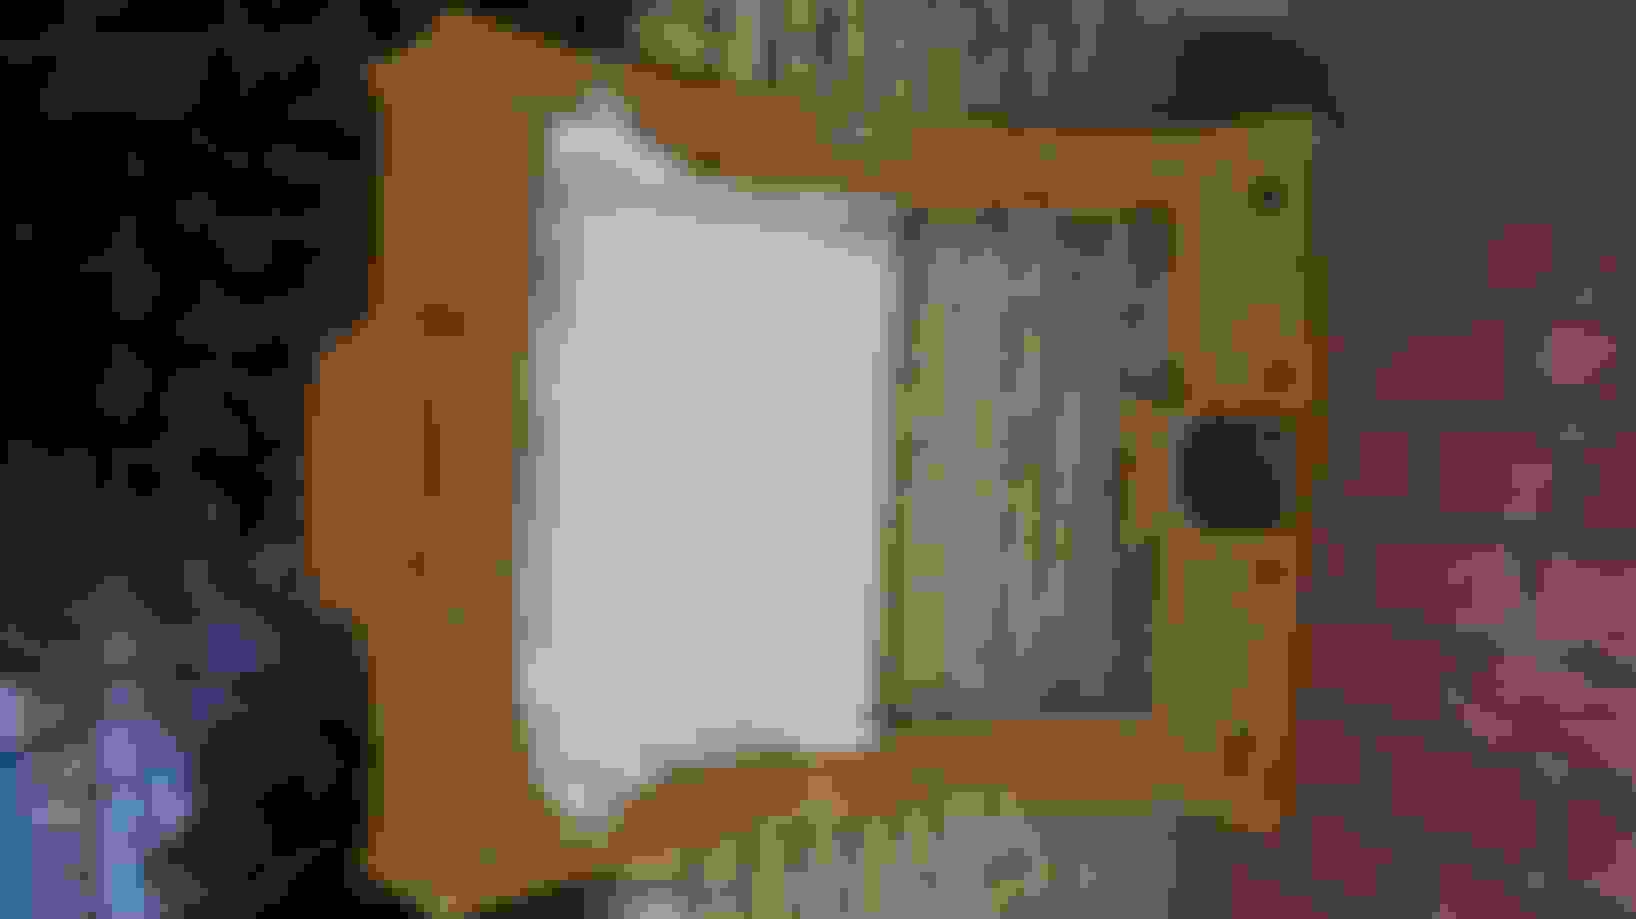
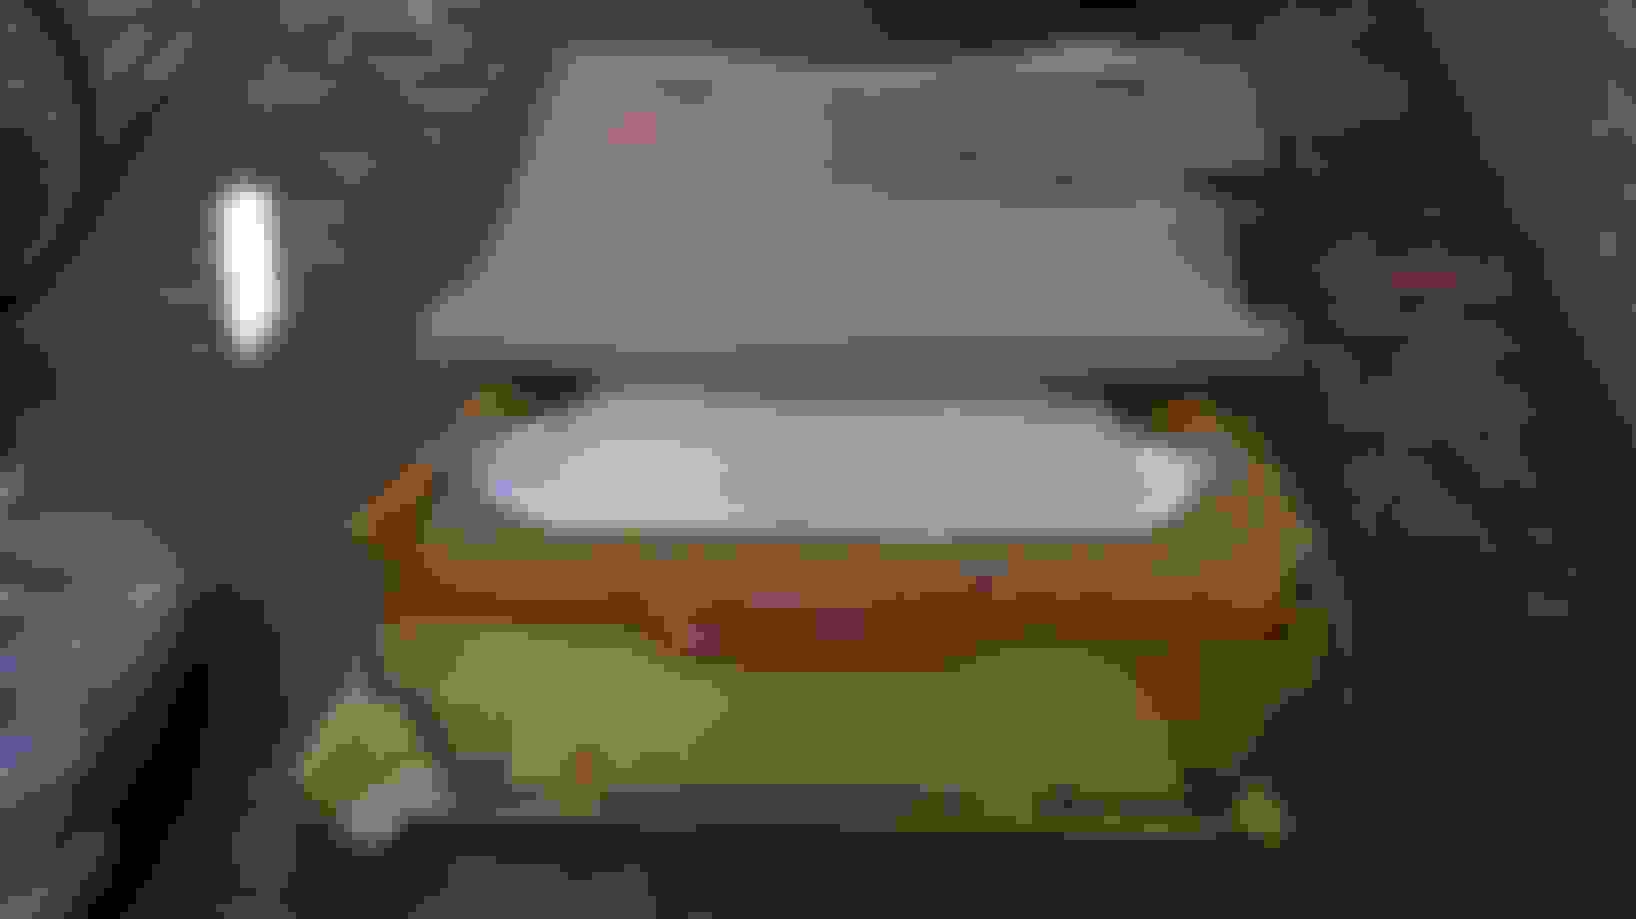
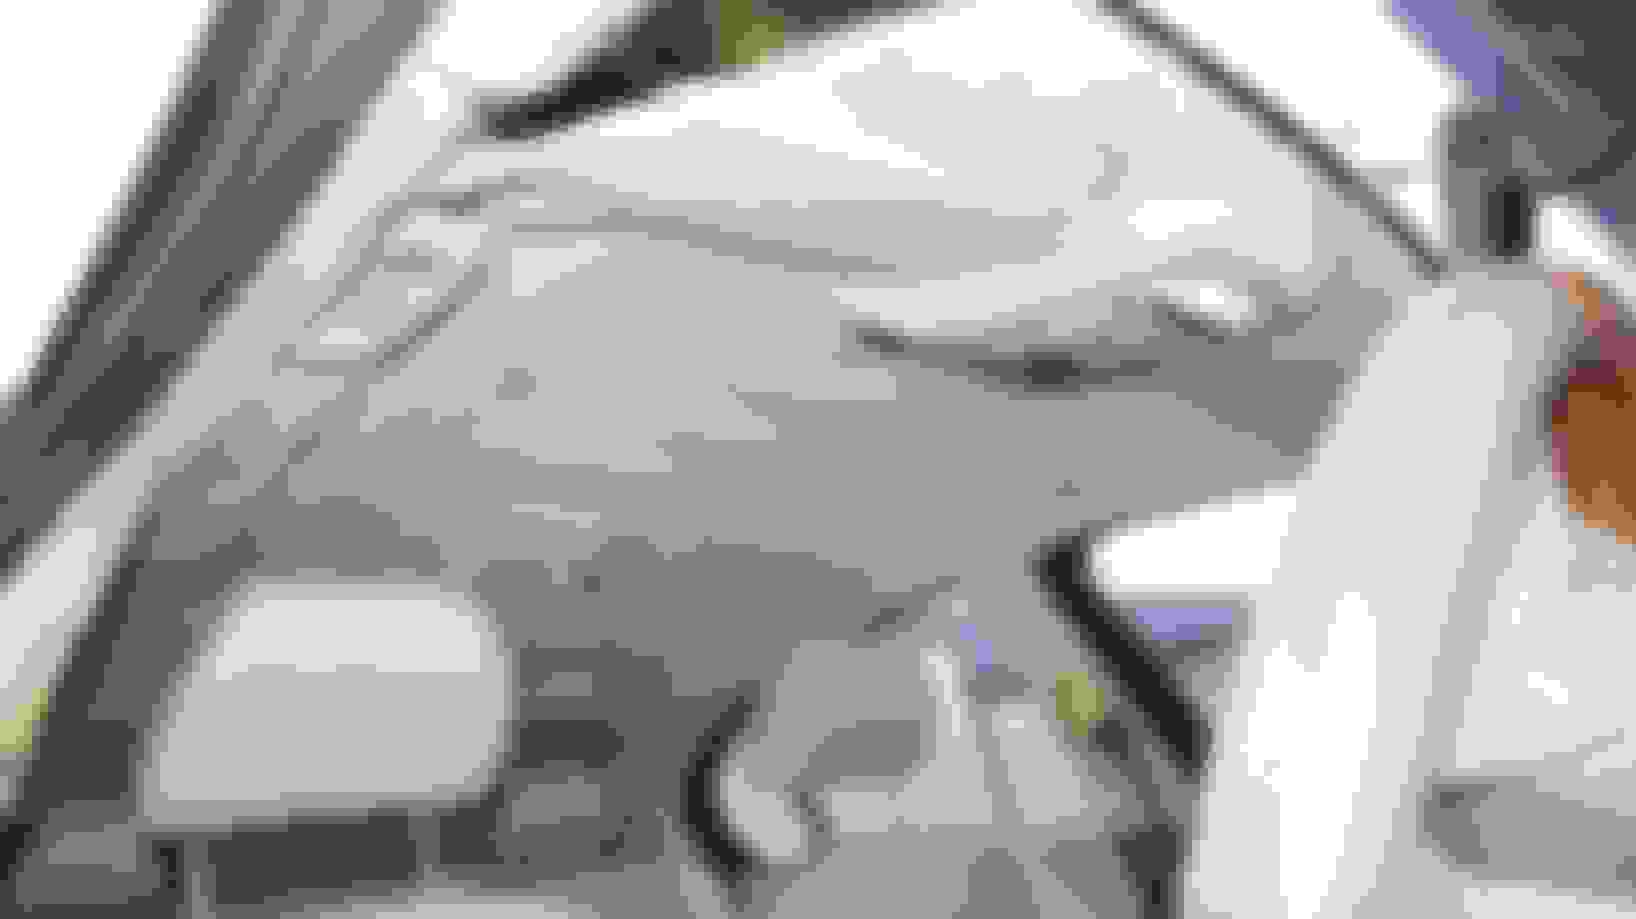
This and the next picture show the problem with the front dome lamp: It is not possible to pull the dome lamp out of the headliner (without removing the headliner first). Also, the lense cannot be pulled out from underneath - hence no way to change the bulb (horrible design). Here (red circle) you see the massive clip of the dome-lamp, which is wedge into the roof, holding the headliner up. Very hard to pull out of the roof.
I hope you can see here the horrible design, which makes it impossible to pull the dome-lamp out from under the headliner WITHOUT removing the headliner first. With the headliner out, you can remove all the screws, etc., from above, and then remove the dome-lamp.
I just could not believe such an inadequate design and tried pulling out the dome-lamp first - I could not remove it, but I broke it while trying, but - no worries: I fixed it before re-installing it.
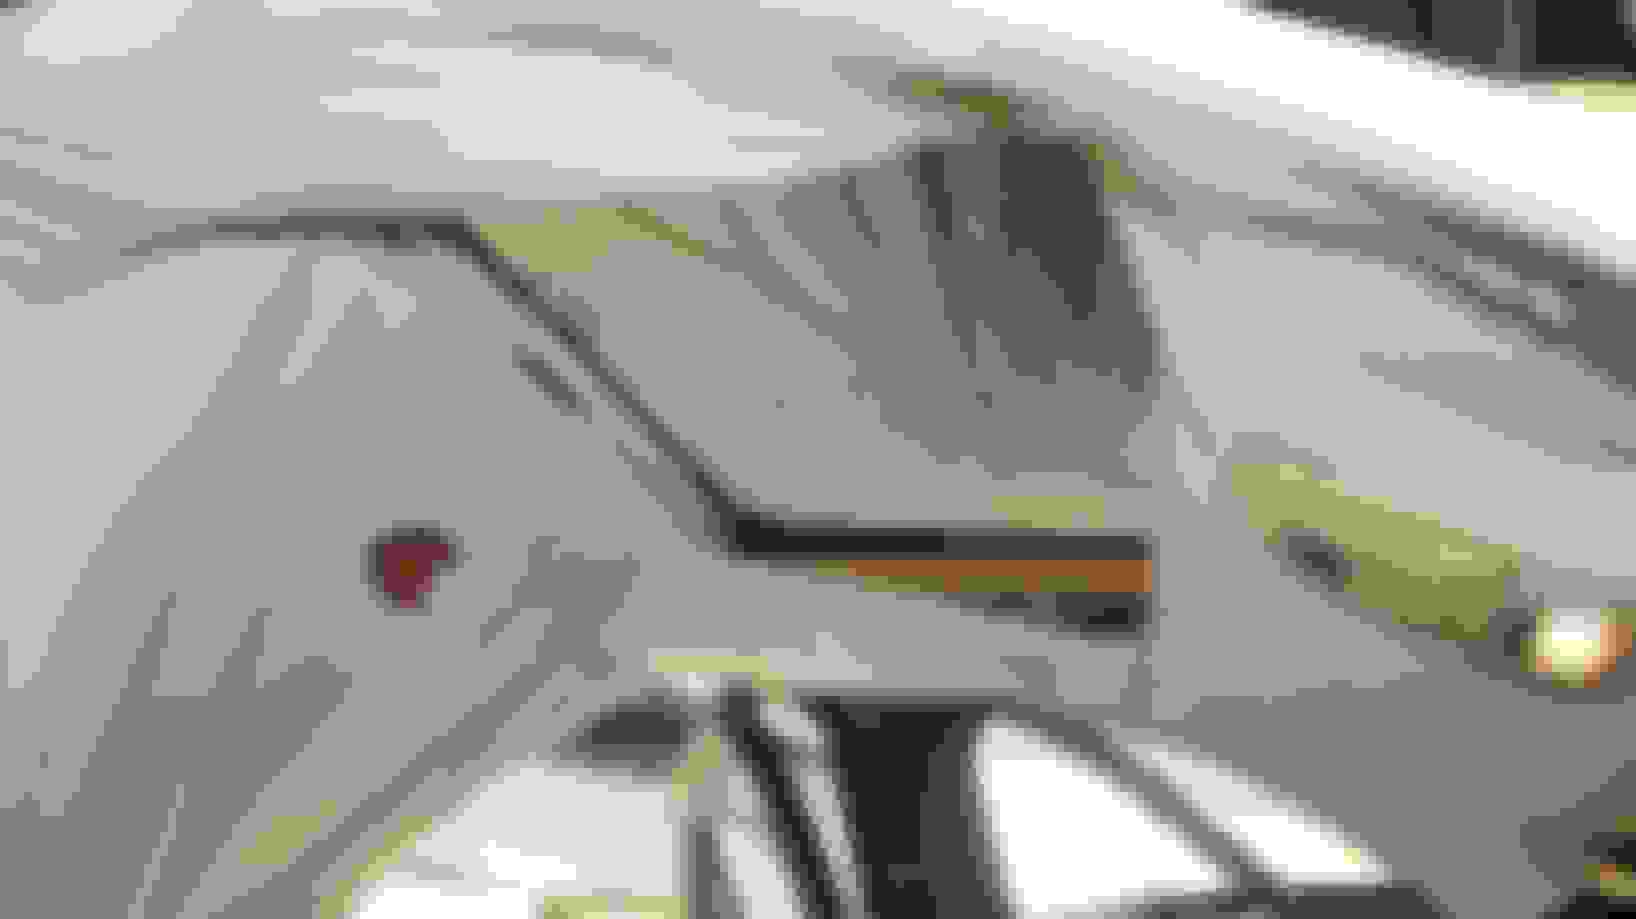
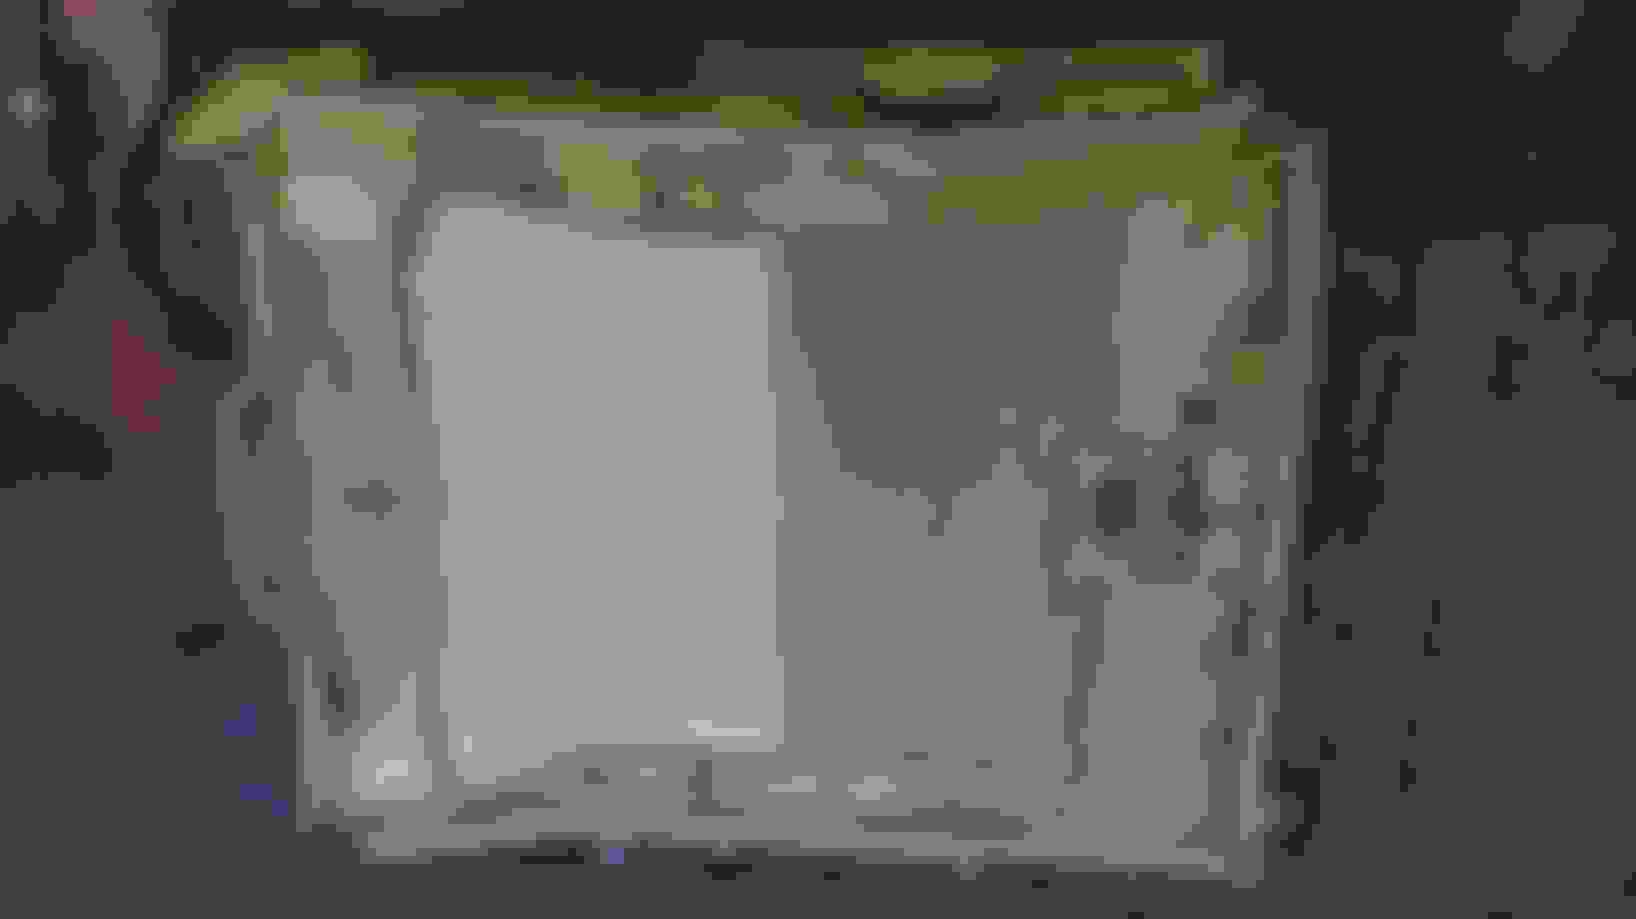
That's the headliner removed at the front and back. Still needs to get detached around the sunroof opening.
That is the previously mentioned "foam-dust" in the floor (Carpet removed for another reason). And that was only the smallest part of the huge amounts of foam-dust, which you can see here - it is a big mess.
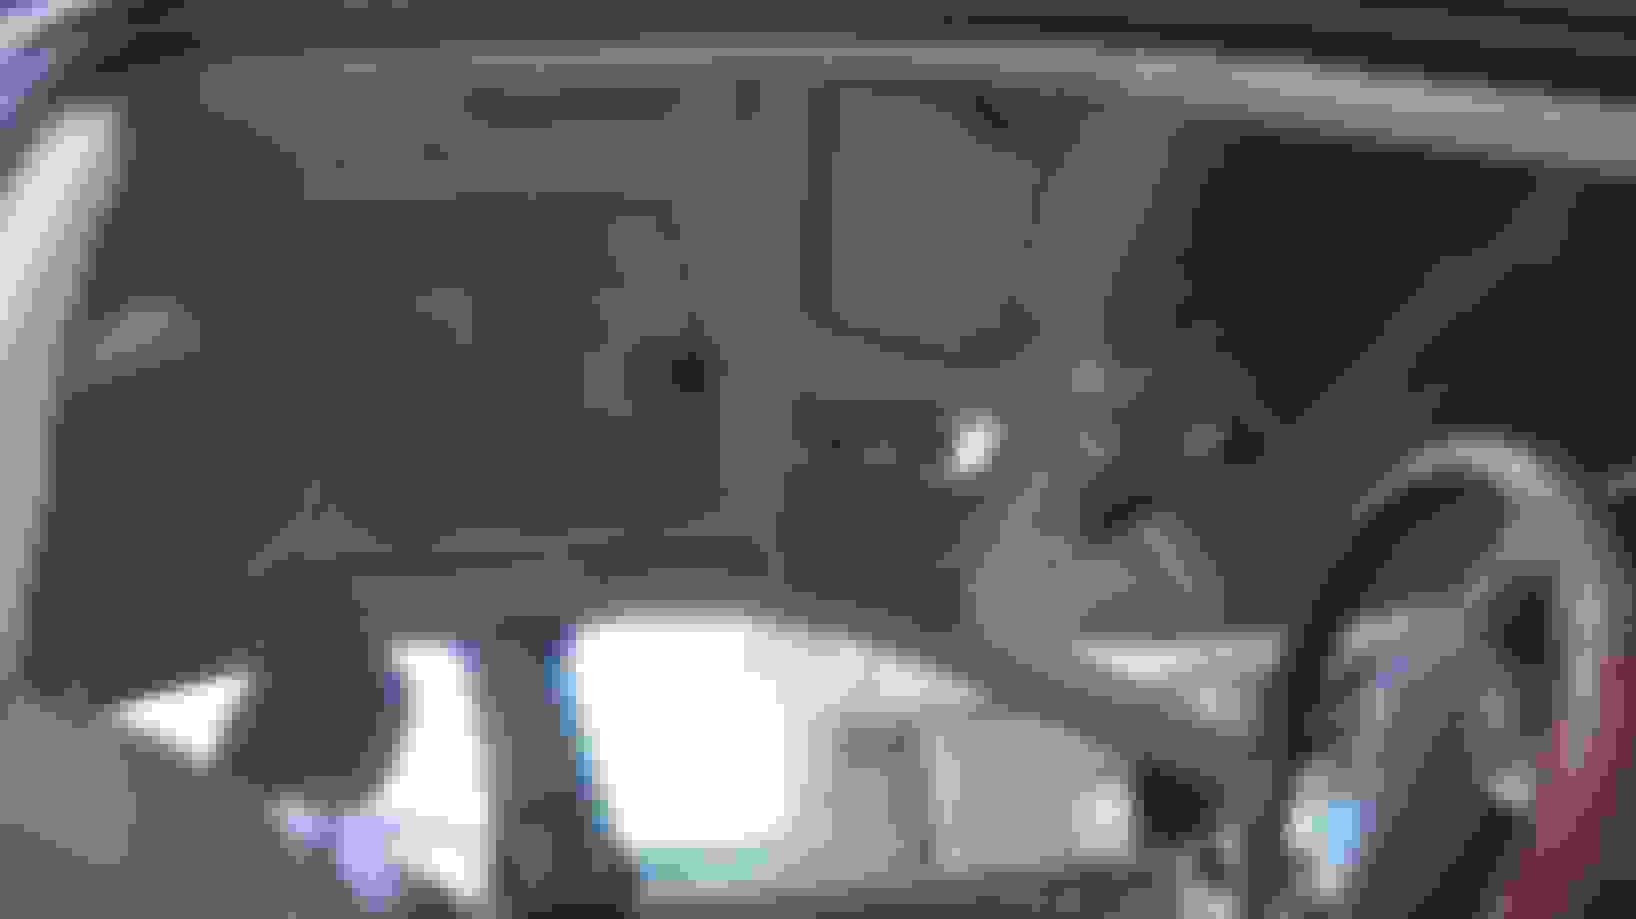
That's the roof seen from inside without the headliner covering it.
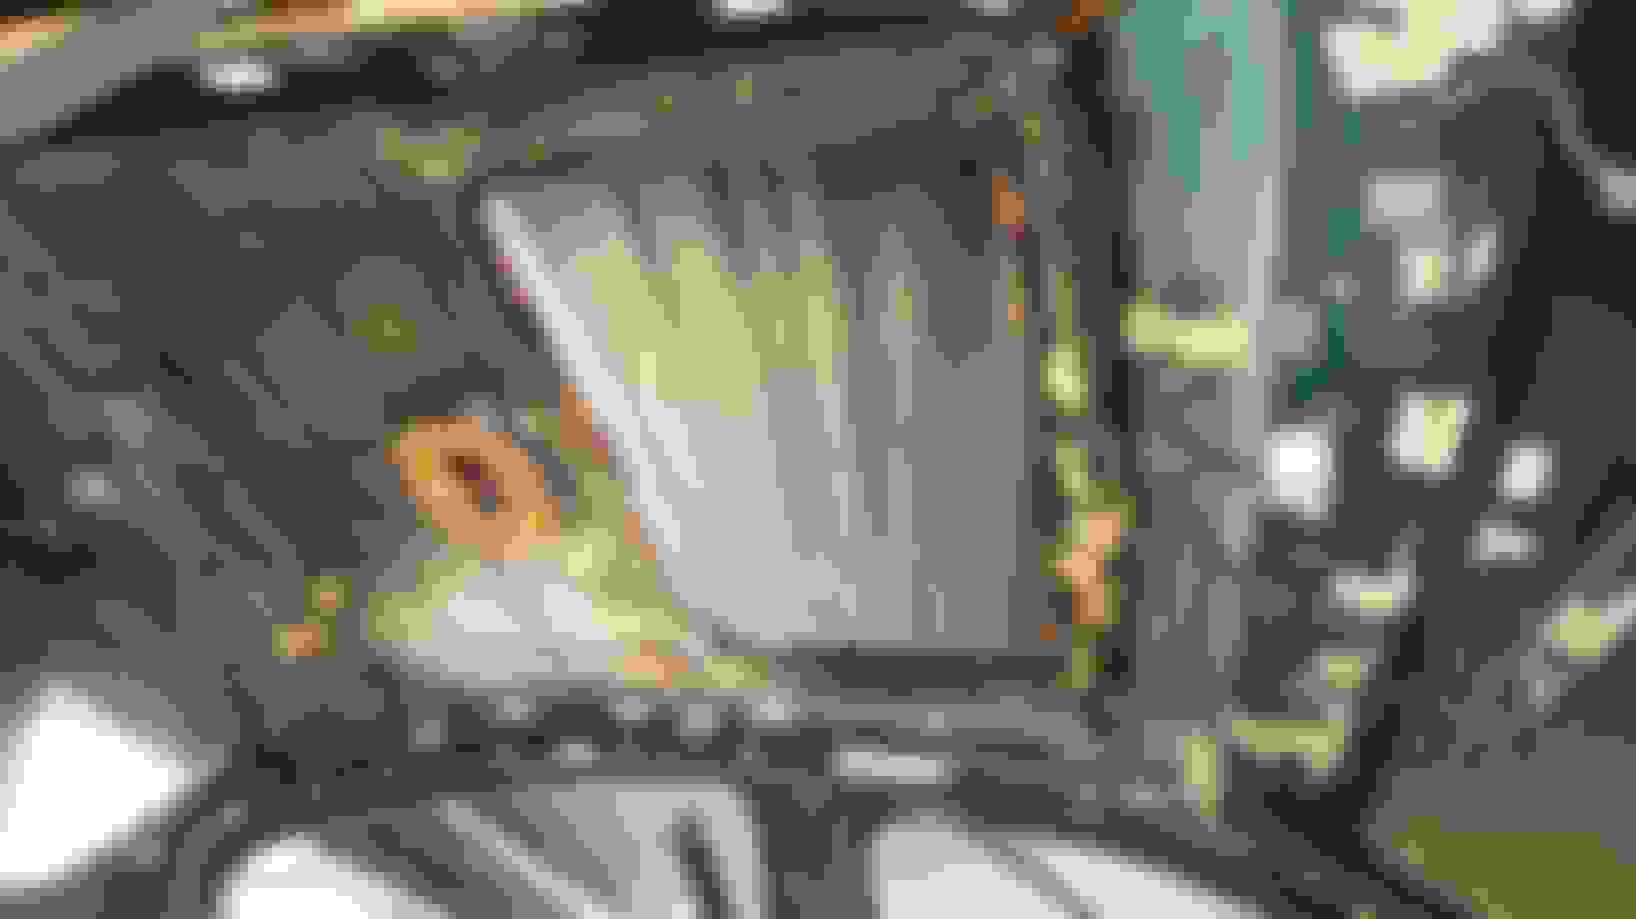
The A- and C-Pillar covers also looked quite poorly. I pulled off whatever I could.
Rejuvenated A-pillar cover - new fabric already applied.
That big centre was also foam - and also needed to be removed. After removing all the "dirty rags" of the actual headliner, I cleaned that headliner off with a water pressure cleaner (and I did the same with the A- and C-pillar covers). That was the easiest way to remove that "foam-dust". I did that on a concrete driveway. When the driveway was dry again, I cleaned off the pile of foam-dust with shovel and broom.
That's the foam centre removed. Plus, what you can see here clearly: Note the "light pink" "body work" along the sides: The structural integrity of the headliner was already severely diminished, especially as this Jag has an aftermarket sunroof, and I think whoever installed it was quite generous with cutting off material from the OE headliner. Thus, to prop up of whatever was left of the headliner, I used cut-out plastic strips (I cut them out of old milk-bottles) and I glued those onto the weak sections with liquid nails (for those, who do not know what liquid nail is: It is packaged just like silicone and is simply called liquid nails, as that is what it is...
I bought new foam and put in into place with "liquid nails" and extra-strong roofing tape.
Then I cut the headliner fabric to size (a bit of overlap) and positioned it as seen above - no adhesive spray applied YET. I protected the ground underneath (from the to be applied adh. spray) with cardboard and even the underside of the rear-seat. Make sure the headliner is positioned correctly (fold it over to test this). Fold it back and start applying adh. spray starting from the middle onto both sides (headliner and fabric). Maybe cover only half of that exposed half with adh. spray, then attach it (about 1 minute after spraying).
And when you are finished with THAT complete half, fold the unattached half back over the finished half. Protect the newly attached fabric from accidentally being hit with adh. spray with e.g. cardboard (but just in case: turpentine will remove the adh. spray again, if you act quickly) and start now again from the middle on that second half (adh. spray onto both sides).
I have also done that second half in two steps. Looked really good.
Then turn it around carefully and prepare the overlap around the outer outline with cutter-knife and scissors. The idea is to spray adh. spray onto the overlap and fold it over, while avoiding doubling up the fabric in two layers (make the cuts accordingly).
That's a wrap...
When I pulled the liner out of the car, I pulled it out by the rear left (passenger) door. All the seats were removed. But as you saw before, the headliner was in a pretty collapsed condition (esp. as I have a sunroof). In the restored condition it was now too big to get back in there.
But I realized that it works, when I cunningly feed it into the car coming from the front - specifically from underneath the front passenger door.
At that stage I needed a "little helper" pushing, while I was pulling.
It will not surprise that gravity wants to pull the headliner down giving me grievances to attached it somehow to the roof from inside. Thus, you can see my solution for this problem: I needed something like 4 garden-rakes or brooms/broom-sticks (one under the headliner, one on top of the roof (roof protected with cardboard), connected with ropes - and that in front and rear.
In the front I poked a little hole thru the centre of headliner, where I will have to cut a big hole anyway for the sunroof - in the back I used strings connecting the broom-sticks on the outside.
I marked up, where I need to spray adhesive - on both sides again. Starting from the rear. Replacing the 3 broken clips in the rear was tricky, but I found a solution (I had spare clips). And I started with the adh. spray from the rear.
It looks seriously good, this faux suede beige headliner material. After application I obviously had to cut all the required little holes for the bolts to come and the big one for the sun-roof. Leave enough spare material around the sun-roof opening as you will have to fold it up there. It takes a bit of time.
That's before I cut the excess material out.
I left the fabric on the rear tray, as I would not be able to change it without damaging it (stupid design again with those moulded-in plastic vents). But the four parts to the left and right received new fabric.
There is only one possible order of assembly of those 4 parts and the back-tray - you'll figure it out (I forgot already).
I just love it.
...the pre-ultimate pic.
...the ultimate pic.
And for you to get an even better impression about how the finished result looks like, I made a very short youtube clip showing the new headliner:
And note aside:
If you compare the very first picture with the sagging headliner with all the other pictures, where the backlite (=rear window) is visible, you will notice that I took the opportunity to put new tinting onto the backlite, while the headliner was off - that is certainly the best time to do it, as tinting it is seriously difficult enough with the headliner out of the way - and more difficult with the headliner in place. The tinting of that backlite is so difficult, because of the extreme curvature of the backlite. You really have to understand every aspect of tinging, when you do that. This is what I leaned in the process (when I did it):
I have a thread on replacing the dome light and the front map and dome light(s) with LED. Another thread on the visor lights which were much harder to find and a small accommodation you have to do to change to LED with the part number of the bulbs.
Dell, I was hoping someone may have found a way to swap the front dome light bulbs, even, if I can't see any possibility (other than described / remove headliner).
I was scanning thru all the posts you started with the keyword "dome", but could not find anything... Where is your post?
About the LED sunvisor lights: I have done that as well on 2 of my Jags - on one with some trickery (fitting bulbs, which were not really the right size), on the second I fitted the right bulbs - the latter one was quite easy. But I will not do that on any further Jags, as this is just not worth it: The sunvisor light never gets used.
Swapping dome and map lights is easy... - once you have access and are physically able to swap the bulbs. There are different kinds of LED bulbs and there are always getting better and brighter.
PS: Dell, I also scanned all your post-headlines now for the keyword "LED". I found your post about LEDs in vanity lights and the post "LED Projector Back Up Bulbs" . Yes, those new super bright LED bulbs for the reverse lights make quite a difference. I have also put them into all my cars. But I still cannot find your post about swapping the front dome light bulbs...
Last edited by Peter_of_Australia; 08-25-2023 at 07:27 PM.
Reason: added PS note
I sorted my sagging headliner in my 99 V8 Sovereign with 1inch long sewing pins that had little plastic spheres on the end. These were pinned in sideways to the felt fabric above the liner in a square pattern all across the ceiling, leaving a not entirely unsophisticated quilted pattern, that saved me hundreds of pounds, which nobody really noticed, and if they did they seemed either highly impressed or extremely polite.
I'd go with: "They were extremely polite".
In my collection is a '98 Ford Fairlane (which I bought for just AU$400), and that has artfully positioned (NOT!) sewing pins in the sagging headliner.
That is a untenable arrangement, and when I get to fixing the Fairlane, this will be rectified.
Also, from the point of view of safety, those pins are also a no-go:
In case you roll over a car that has a headliner spiked with needles and pins, you may find yourself "dressed" in a hedgehog outfit after rolling the car...
Yes, I can see my insurance premiums rocketing due to this undeclared modification! I�d like to think however, that rolling a jag wouldn't disturb my hairstyle.
Mind you , think of the added scrap value in those little bits of steel!
Sadly though, it is no more, as I turned it in to my favourite jag dismantler/recycler as the rust of years was making it hard to justify keep running it to the supermarket.

 08-25-2023, 08:31 AM