
H&R Lowering Spring Install*
#81
 03-20-2014, 11:36 PM

Senior Member
If the engine light is on, but the car is still running normal, I would ignore the p0128 and move on with you work on the suspension. Sounds like you've already got all the parts, and the gusto! The thermostat sends no signal to the ECM, so it must be a "perceived" code gathered from some other info.
Why did you put the seafoam in? I put a Techron fuel injector cleaner in the tank maybe 3 times a year, but I stay away from motor oil stop leak additives, or radiator additives. I either live with the leak, or fix it.
Why did you put the seafoam in? I put a Techron fuel injector cleaner in the tank maybe 3 times a year, but I stay away from motor oil stop leak additives, or radiator additives. I either live with the leak, or fix it.
#82
03-21-2014, 12:03 AM
I just added a bit to the fuel. A few months back I had been using regular gas for a few weeks til my car started to knock and just wanted to declog the injectors and stuff. The check engine light came on right after I put that in, but I think it was just coincidence. The real reason I think is the coolant stop-leak goo I put in after I did the coolant flush. I was trying to do a super great coolant change and added the stop-leak to the fresh coolant and I think it was basically a mistake because now it's throwing that check engine light and may be clogging my thermostat or radiator. I drained some out today and added half a gallon of new coolant mix. Anyways, thanks for the encouragement. I guess you are right... I should give the springs a go. No time like the the present. It's been a busy week though.
PS I love Sea Foam. I run it through the brake booster hose and put some in the gas every now and then. My car probably didn't need it that bad but it did run better after about half a can. It's also good to put some in your oil about a week before you do an oil change. It willl get all the deposits out of your engine and then you can drain your oil put fresh oil in with a clean engine. I did this a couple weeks ago and it turned the oil from a light brown to a dark brown almost black color after a few days, then I drained it out and put in fresh oil. Probably not something you would have to do every oil change but probably good once in a while. I guess the higher mileage oils are supposed to have a chemical in them that does this, but Sea Foam specializes in cleaning stuff out, so you can really do a deep clean then drain it out after a hundred miles or so.
PS I love Sea Foam. I run it through the brake booster hose and put some in the gas every now and then. My car probably didn't need it that bad but it did run better after about half a can. It's also good to put some in your oil about a week before you do an oil change. It willl get all the deposits out of your engine and then you can drain your oil put fresh oil in with a clean engine. I did this a couple weeks ago and it turned the oil from a light brown to a dark brown almost black color after a few days, then I drained it out and put in fresh oil. Probably not something you would have to do every oil change but probably good once in a while. I guess the higher mileage oils are supposed to have a chemical in them that does this, but Sea Foam specializes in cleaning stuff out, so you can really do a deep clean then drain it out after a hundred miles or so.
Last edited by 04xtype04; 03-21-2014 at 12:10 AM.
#83
03-23-2014, 01:01 AM
Oh man, the suspension install is such a gigantic project. It entirely consumed my whole day today, cut up and bruised my fingers, needed to buy a wrench, had trouble along the entire way, only barely got one spring installed, and ruined my lower control arm bushing in the process. They were probably about to go soon anyway but seriously, it's one thing after another. That was seriously like the hardest car project of my life. I would have gladly paid $250 to have had the fronts installed in retrospect. Tie rod end was a little tricky but did get that off once i loosened the back bolt, the front part spun right off after that. When people said the front struts were a bitch I was like ok, ok, sure how hard can it be, but wow. There is nothing simple about it. The good thing is now that I figured out one side, the other side will be easier... in theory.
Last edited by 04xtype04; 03-23-2014 at 01:06 AM.
#84
03-23-2014, 09:27 PM
I was having trouble figuring out how to get the rear springs out. You disconnect the sway bar, which is tricky, then you unbolt and disconnect the control arm right below the spring? I was having trouble getting the bolt all the way out and disconnecting that. I guess the H&R instructions also say you have to loosen the other side of that arm (near the center of the car). After that does the rear spring just slide out? I also thought about using spring compressors to remove it and replace the spring. That would probably make it easier to swap the springs in. Anyways, I was way to exhausted and short on time this afternoon to tackle the rear suspension. Got the front done this weekend. The rears will have to wait. I need my car drivable. Sunday afternoons are not a good time to start major suspension projects. Doing the front springs was PLENTY of car fun for a weekend.
#85
03-23-2014, 11:56 PM
Senior Member
Bravo on what you've done so far. On the first attempt ever, it's an involved, knuckle scraper of a job. I recall the rear springs being of course much easier and quick than the fronts. However, I didn't do it myself, so I have no advice on that.
On the front springs, did you seat the bottom of each spring in the plate on the strut correctly? The bottom of the spring (last loop) sits on the flanged plate that is part of the strut body. There is a stop tab that sticks up from the plate surface (usually a steel tab bent upwards). The last turn of the spring (bottom where the spring ends) should turn into position on the plate (possibly in a groove) and hit the tab, then stop. This is home position for the bottom of the spring.
Btw, I've learned with these type projects, I like to have enough time to do them right. I usually will have a friend that can run me to the auto parts store, and, use PTO if necessary to have a 3 day wknd to totally focus and not stress about getting to work the next day.
Good luck with the rest! Did you take pics of the ordeal?
Last edited by Patterson; 03-24-2014 at 01:57 AM.
#86
03-24-2014, 08:52 AM
Yea I did get them seated on the strut correctly. The first one I didn't have it on right and started compressing it down and realized it was sitting on top of that tab (before I put it in the car), so I had to decompress everything and rotate and put it back together. The second spring I new better, but it still needed to be shifted over a little to get it in place. I didn't take pictures like I thought I might. I wasn't sure if I was even going to be able to install them. I kind of started out slow, got the first one out, had trouble geting it apart, then assembled the new one, then had a bit of trouble again getting it back in the car. It was a really complicated project that's for sure. If I hadn't rigged up that jack press with the handle, there would have never been enough clearance to seat the bottom of the strut into the axle. Then that big control arm bearing was oozing out all its oil so now the car makes a banging sound over bumps. The other side dripped just a little too but not nearly as much. Anyways, I ordered the control arms from amazon, but one was on backorder. I realize now it's not a part I want to wait a long time for. Right now I'm just kind of burnt out and a little frustrated. Got another big weekend of stuff to do, maybe two, and it still needs an alignment and probably some more bushings in the rear.
#87
03-29-2014, 06:27 PM
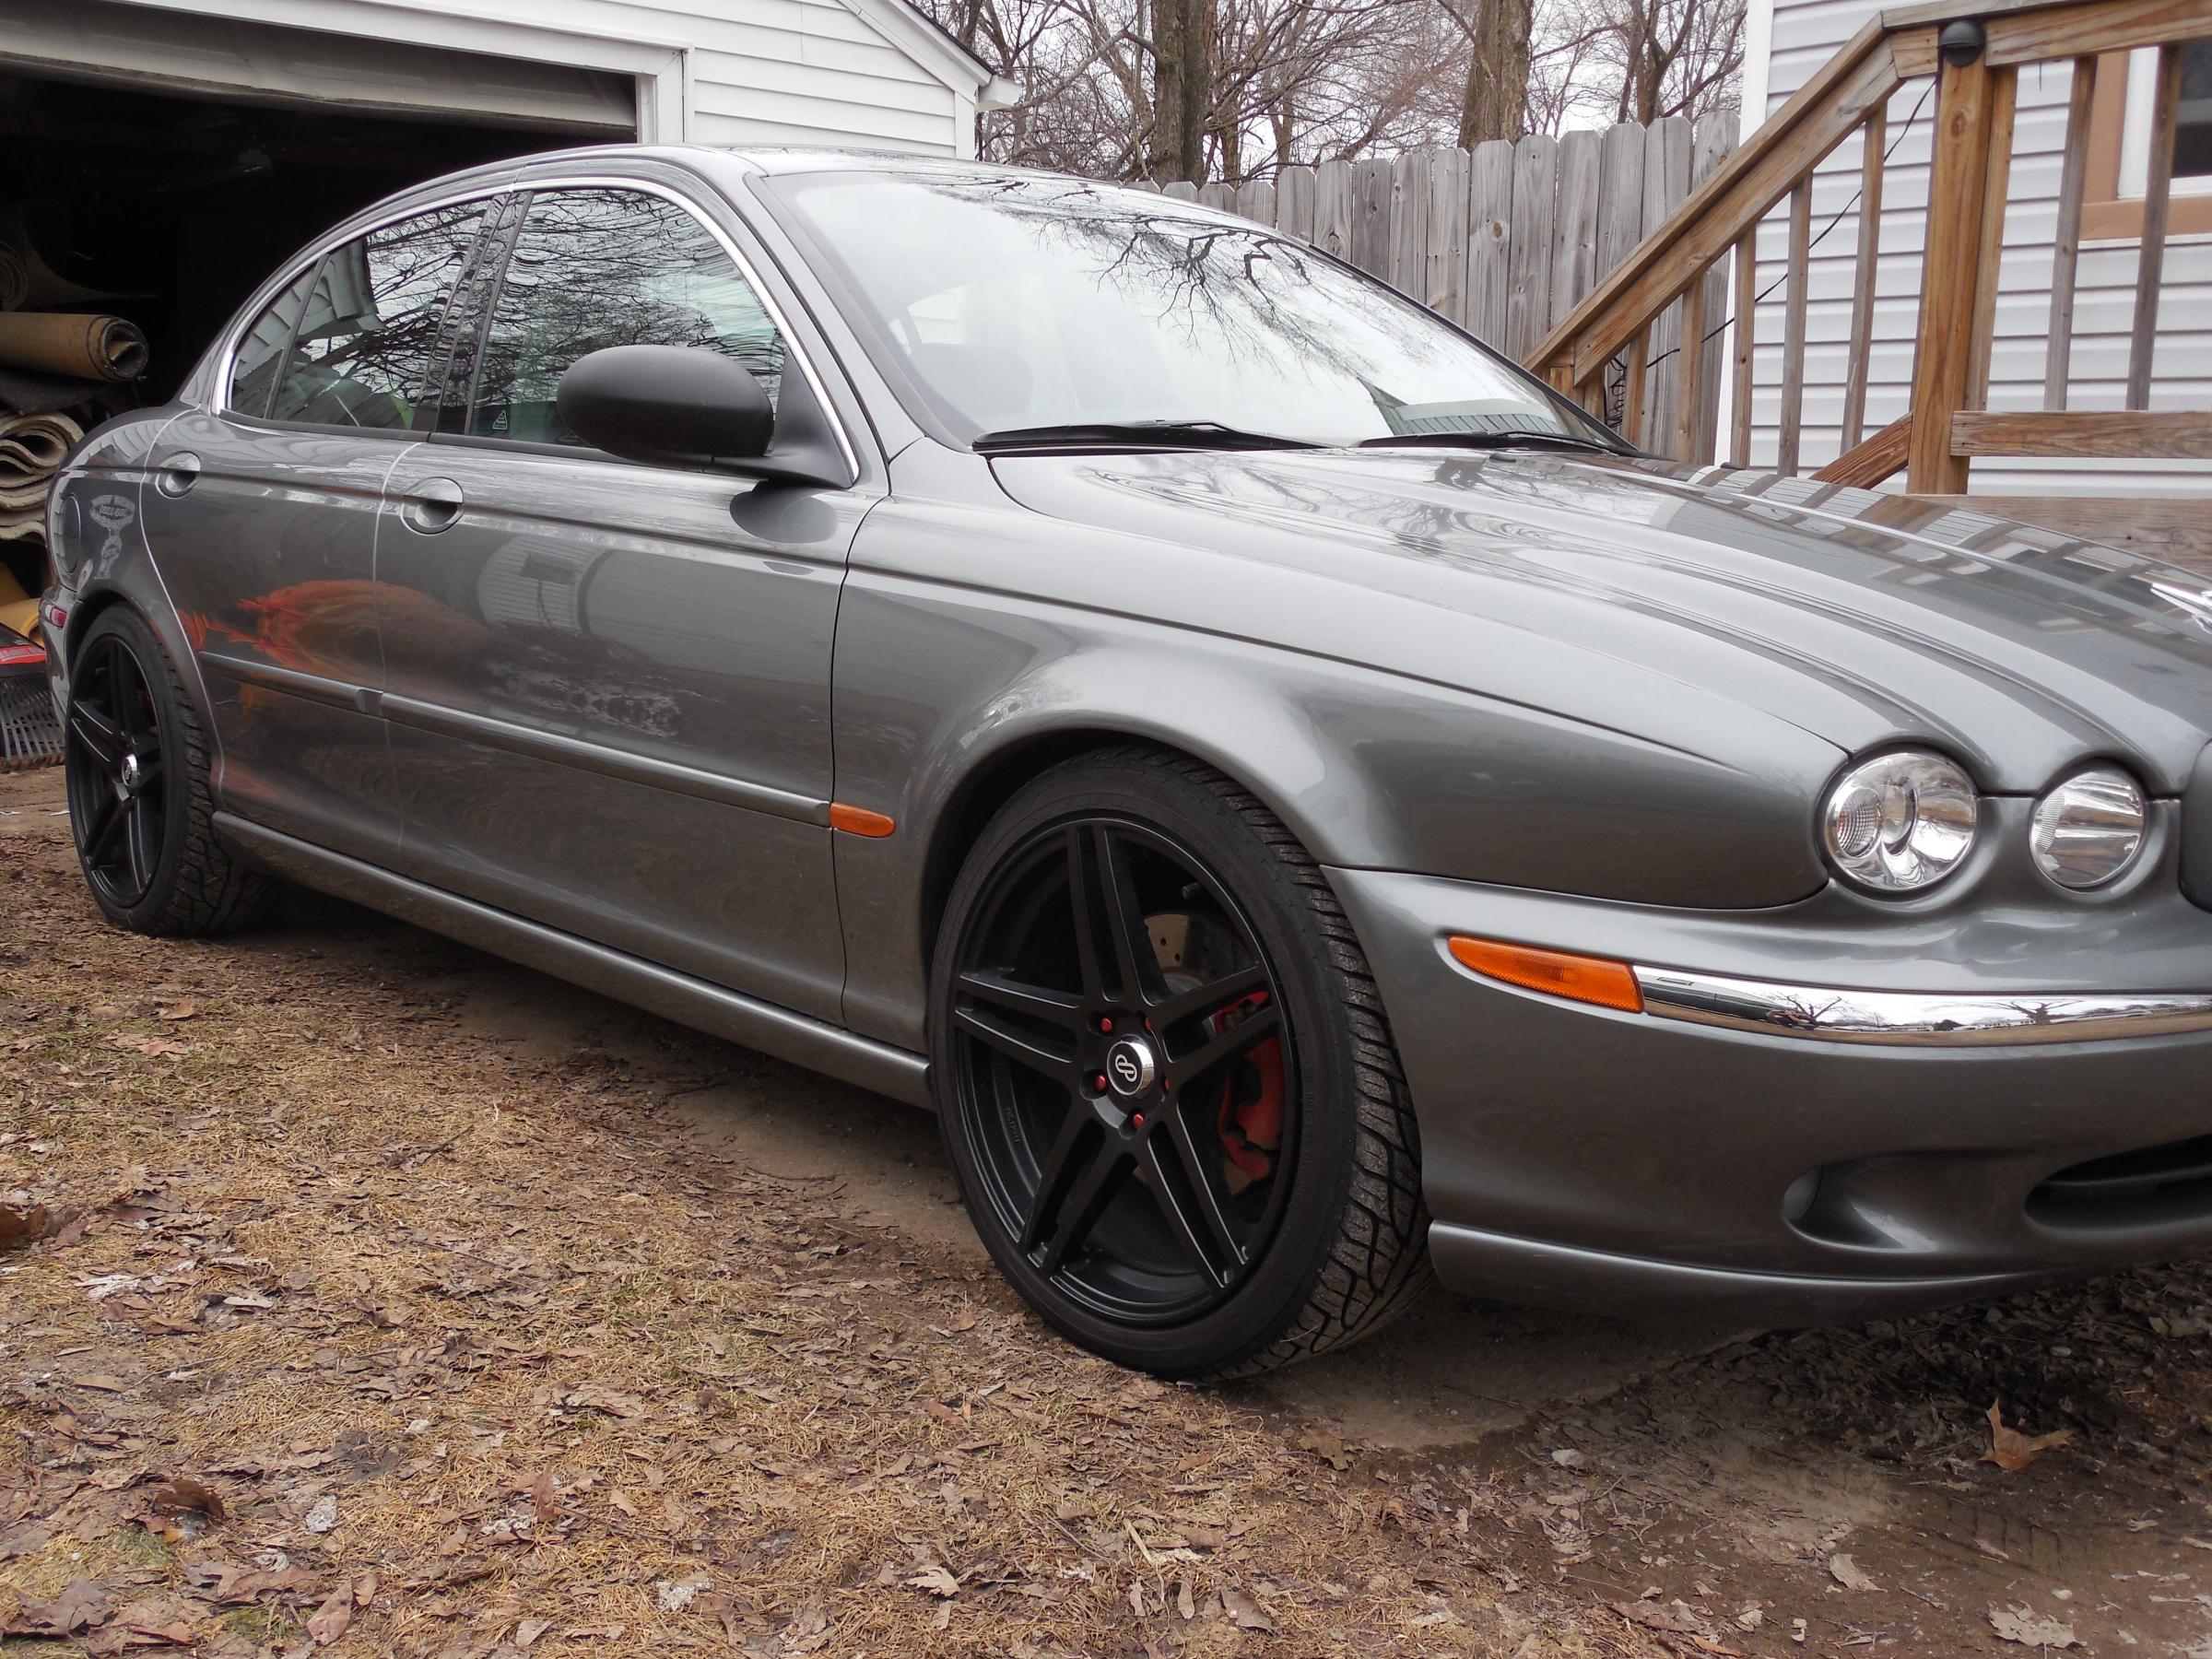
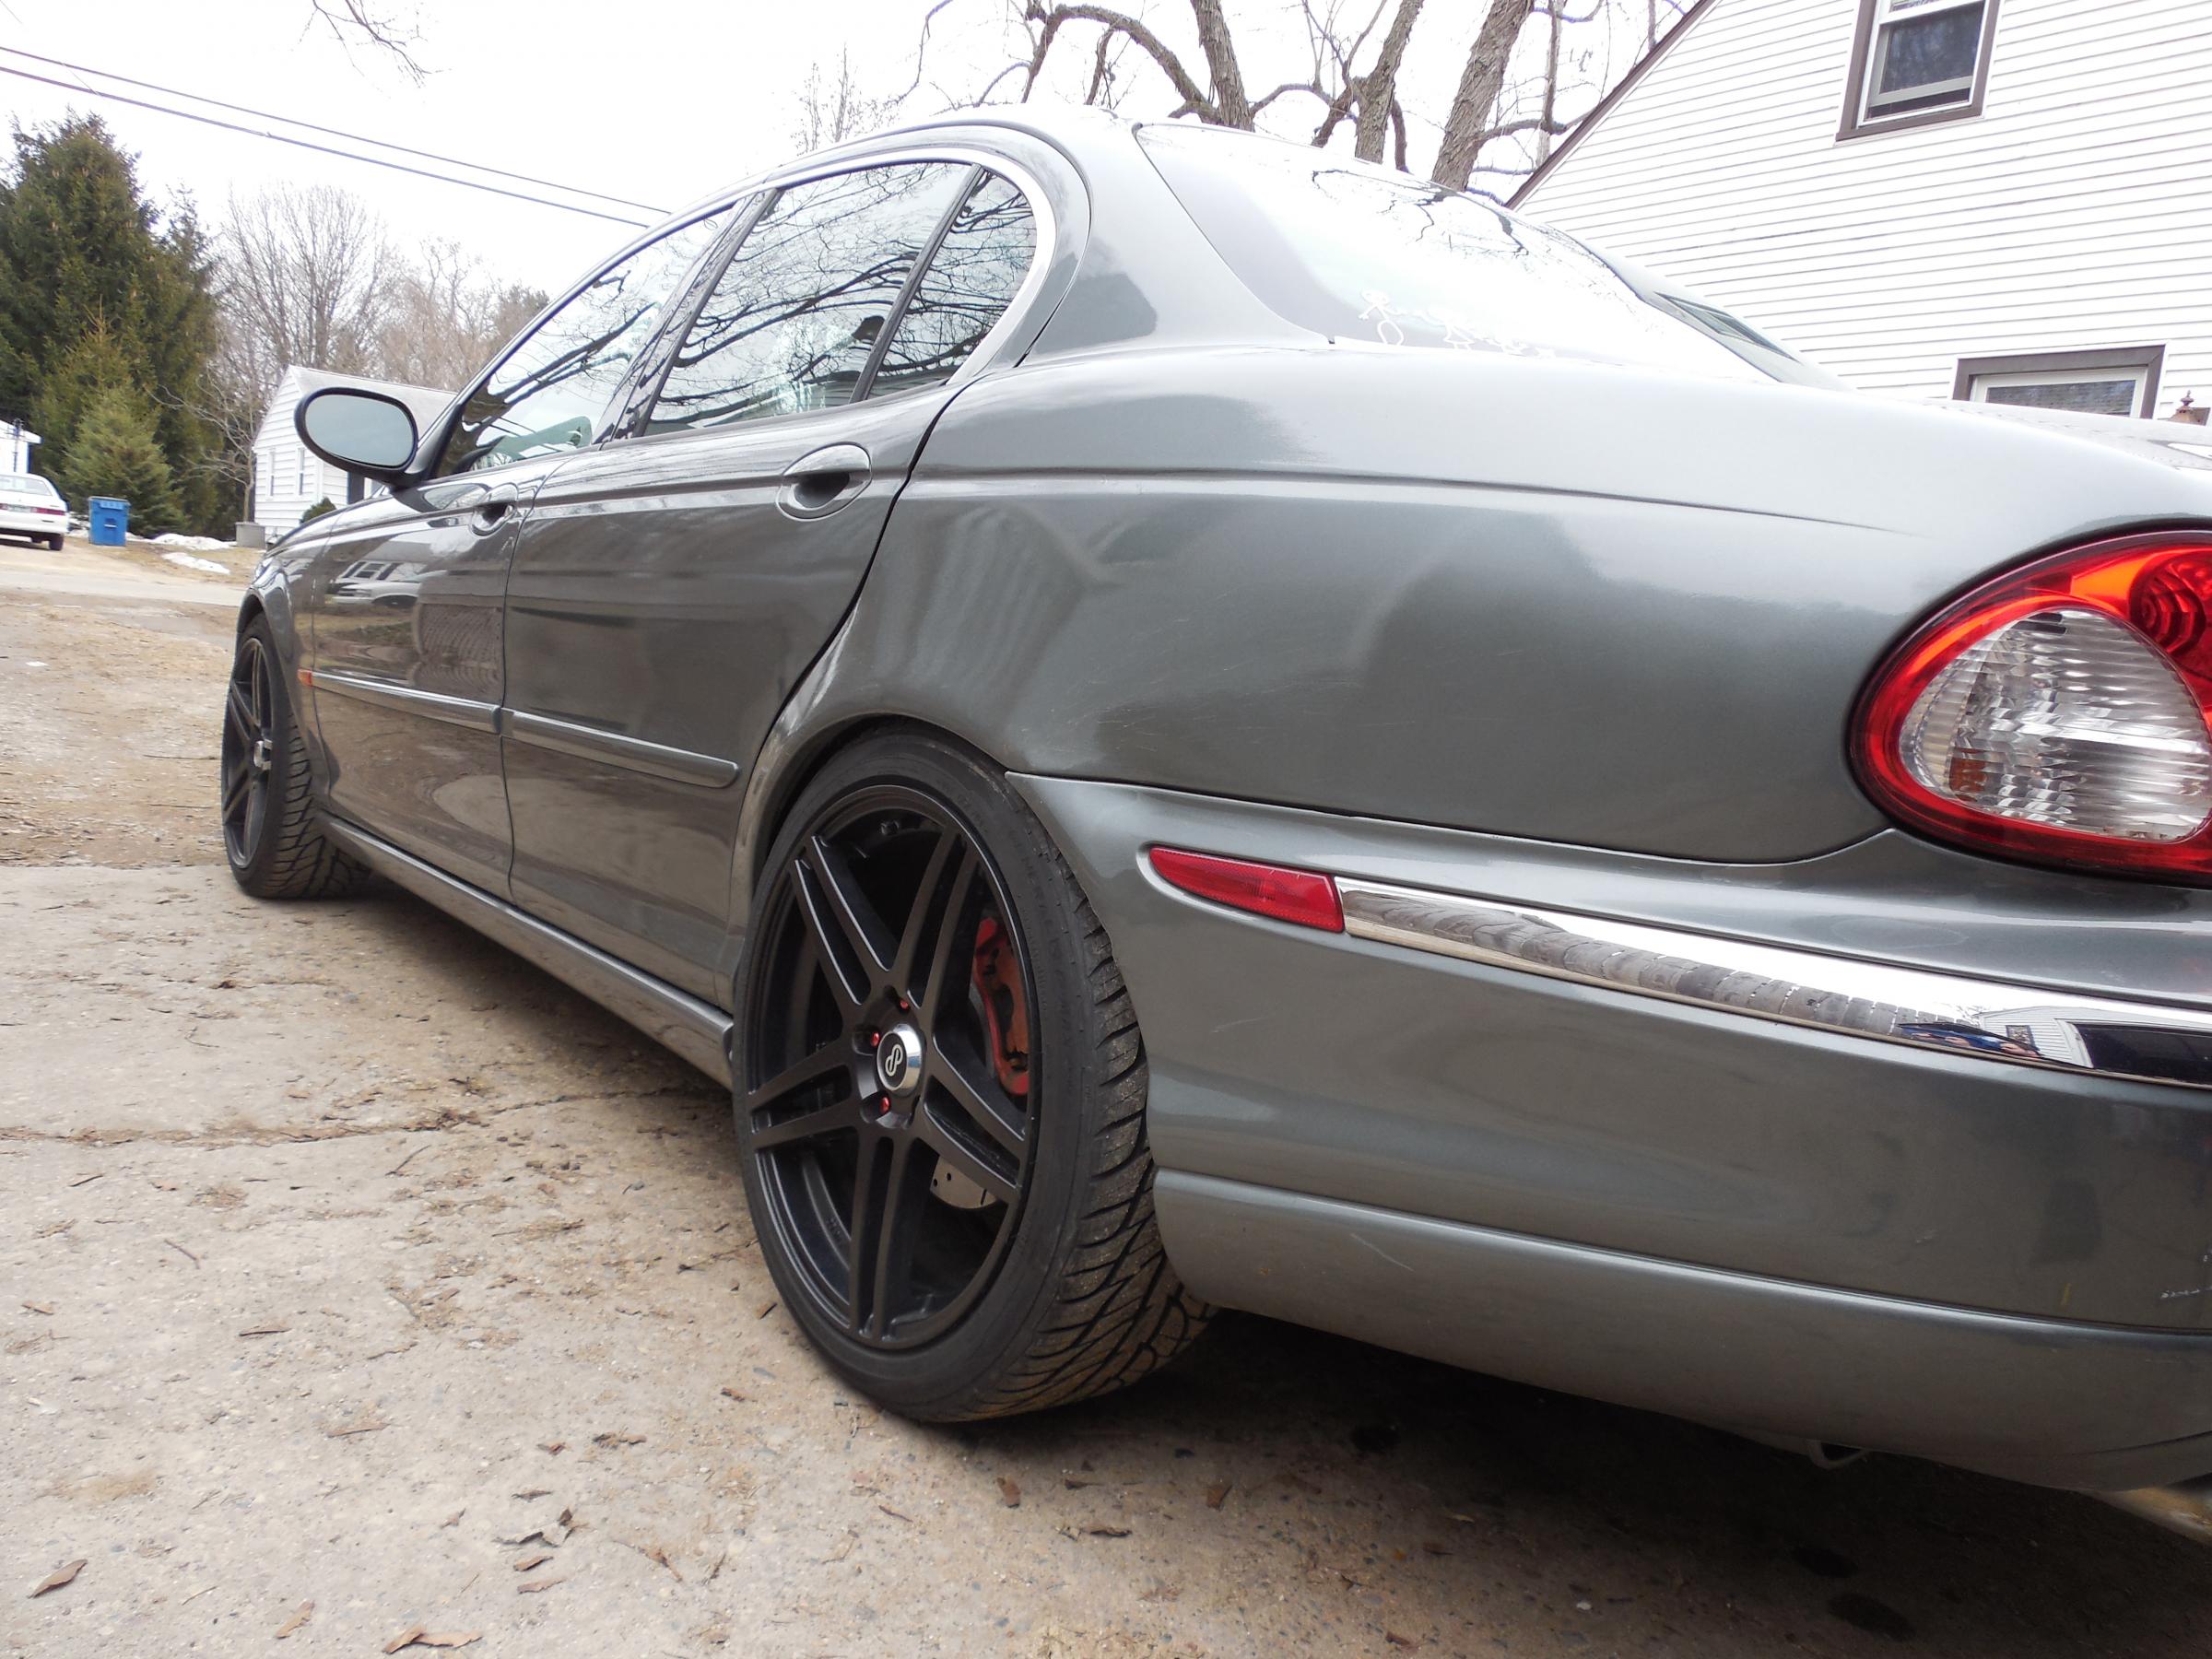
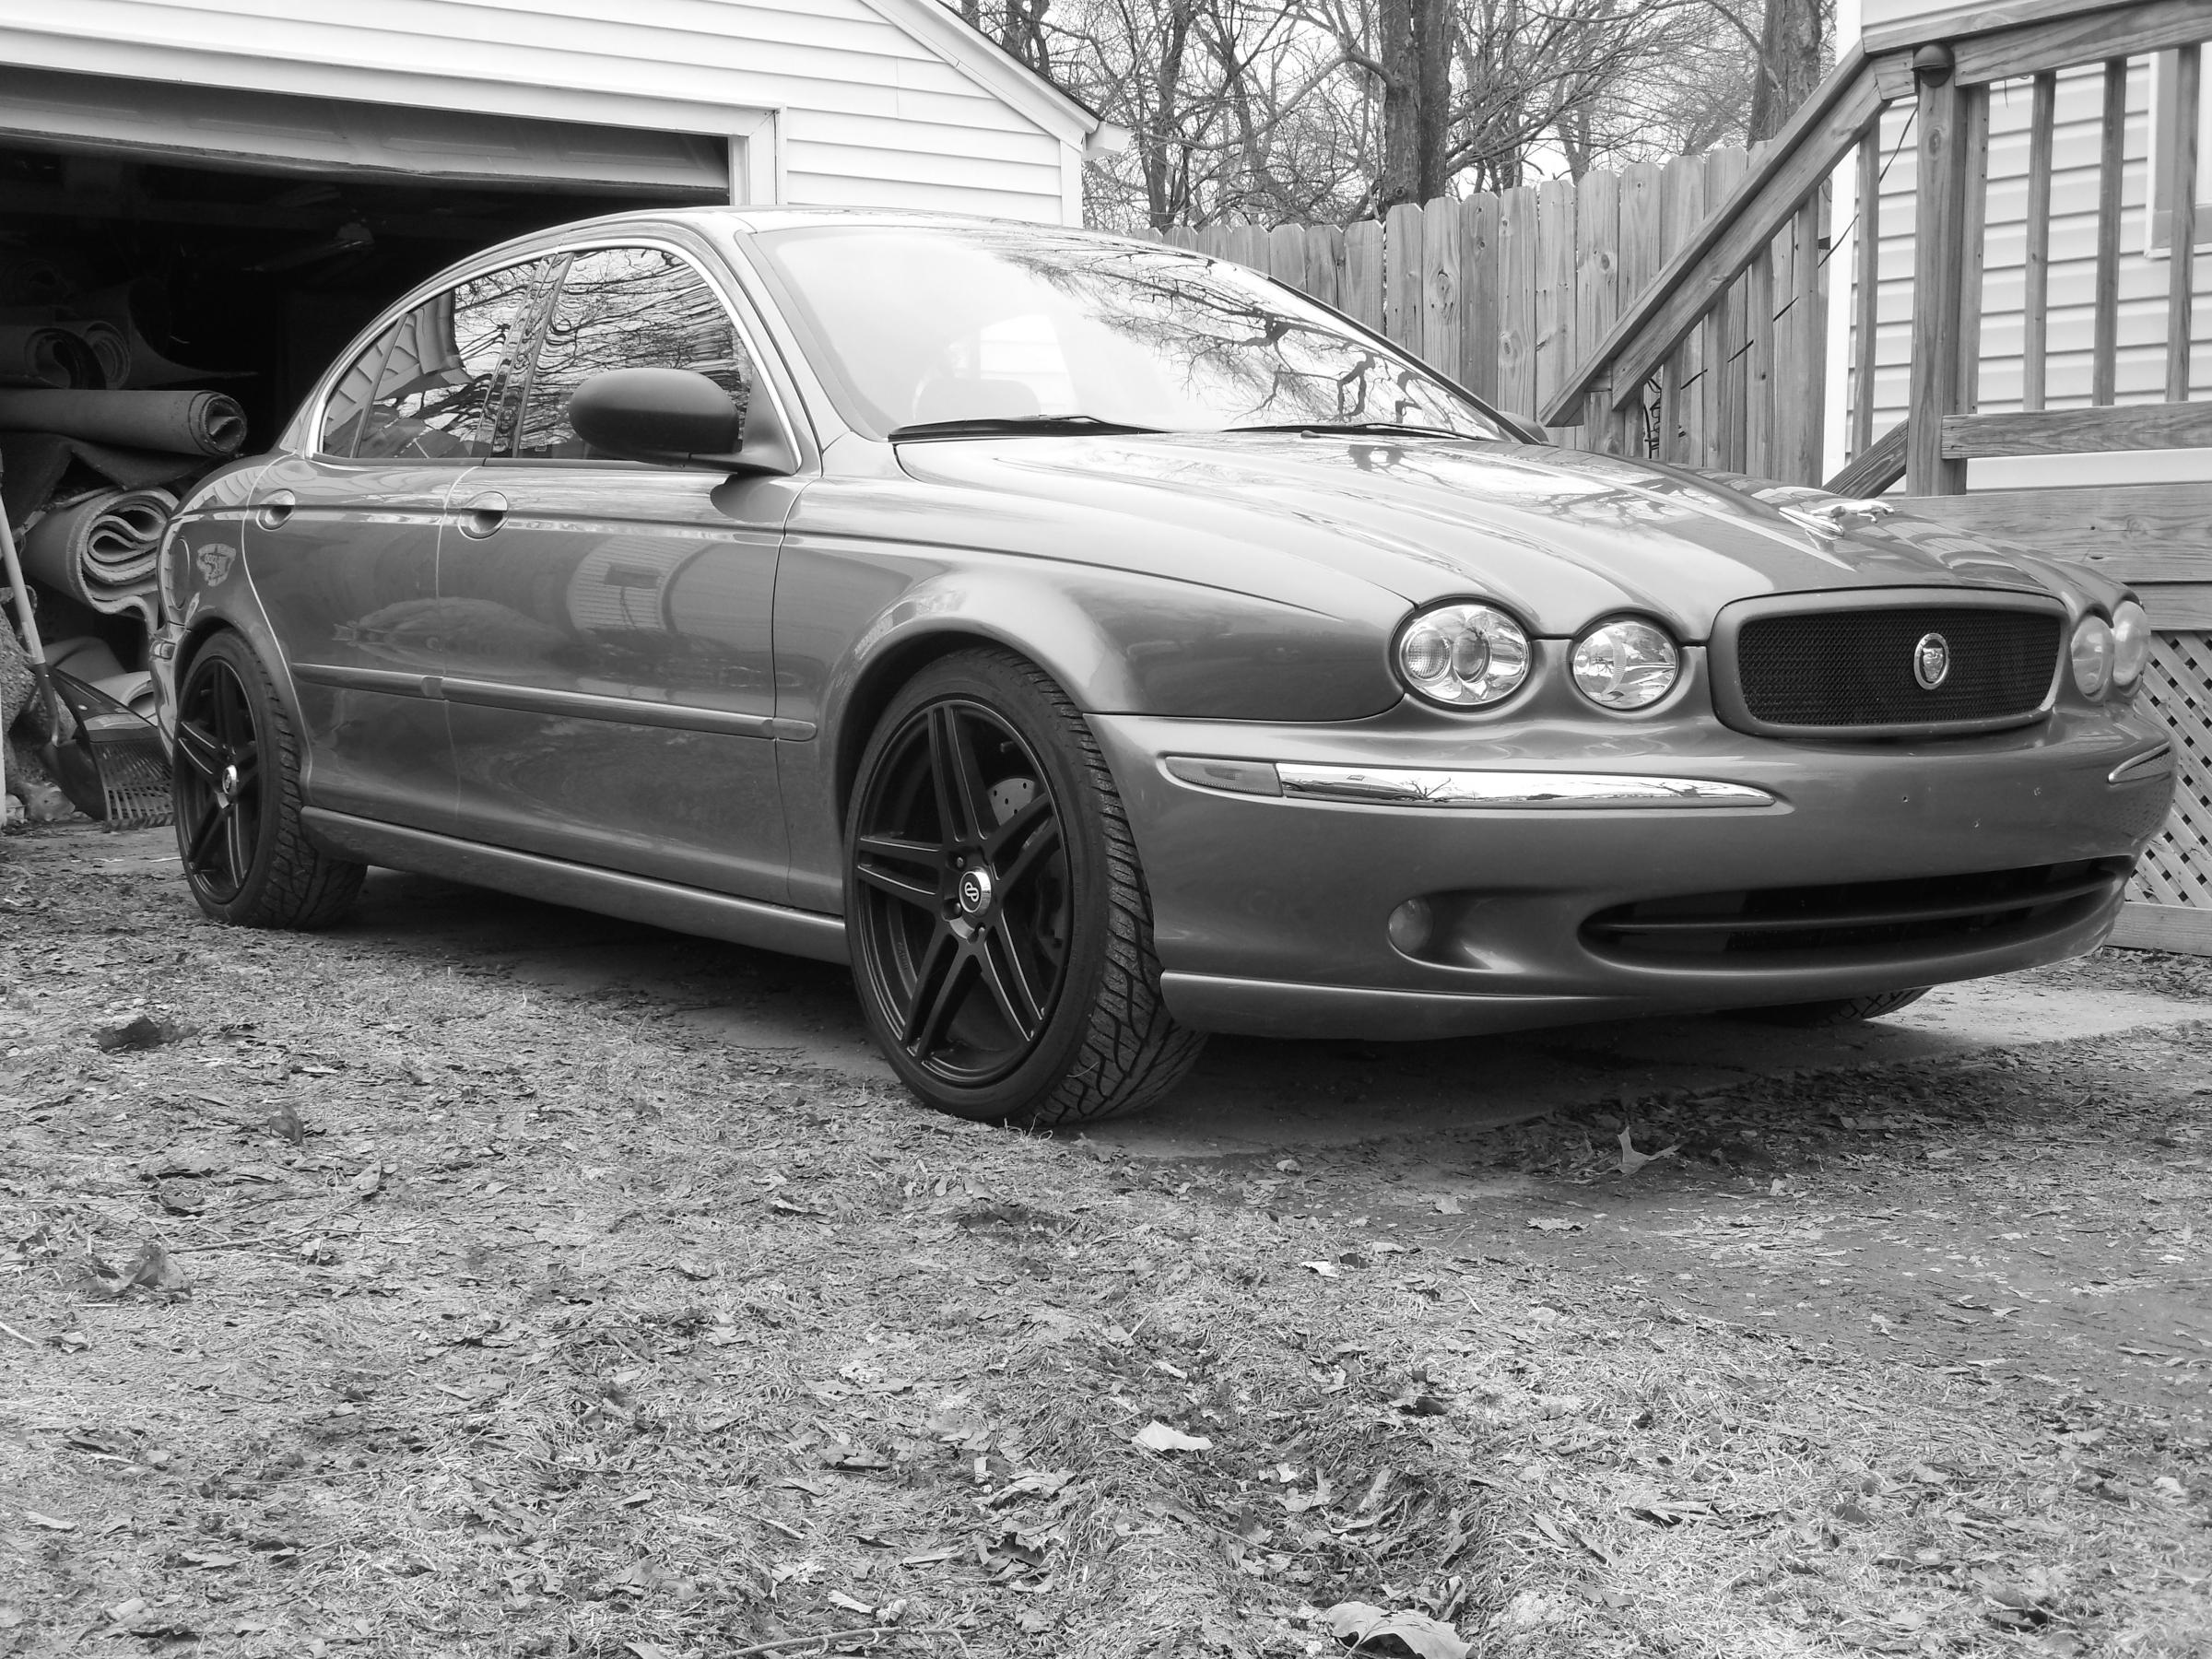
Installed the rear H&R springs today and the sport shocks finally, after having to wait a week for the weekend, driving around with a lowered front and a stock back. Had a little trouble for a while with the rears but finally got it all figured out. Some of the hard part was locating the wrenches and sockets I needed to fit, as most of the ones I needed weren't included in my little tool box. Used an 18mm socket and wrench a lot in this project. I couldn't figure out how to remove the back springs for a while. I got the shocks out pretty much no problem, but I was stuck on the springs. I tried compressing them out but the tools wouldn't fit in the space, so I started following the H&R directions. I was confused though by their drawings. I thought the bolt I was supposed to undo and disconnect was the one directly under the spring, but there was no way to get that to disconnect and drop down without the hub being in the way. Finally after almost giving up I decided to try unbolting and disconnecting the arm part towards the center of the vehicle. I did this and the arm dropped down and the spring slid out. Easy as pie once I realized what I needed to do. The second side only took about a half hour once I had the trick down. Put it back together and took it for a spin around the block and it seems good. The whole car sits a little lower now. It's very subtle, almost stock looking, but sporty. Gives the car a sleeker look rather than the Grandma's grocery-getter it was before. Now just have to install the front control arms when they get here and should be just about good to go... Well and fix my thermostat but that's another thread.
#88
03-29-2014, 08:27 PM
Oh ps... working on suspension is pretty dangerous actually. Be aware what you're getting into before deciding to do this project yourself. I saved a lot of money, but it was 2 weekends worth of work, plus another weekend to replace the control arms (bushing) I broke. Today as I was working on the back springs (before I figured out to drop the inner side of the arm, I was jacking up the springs and trying to move it out of the way of the hub so I could pull the springs out. I had a toolbox under the rotor to keep some of the weight off the hub. Anyways, I was trying to lower the jack slightly to reposition everything a little better and the entire rotor and hub came down right on my thumbnail and pinched my hand under there. Luckily the jack was near me and I rotated the handle and jacked it back up pretty quickly, but my thumbnail was pretty smashed. I thought I might have crushed the bone but it's not that bad, just a little sore now. But anyways, it's a pretty dangerous job, especially when you're not exactly sure how to do it. The springs are under a lot of pressure and the car is really heavy and with exhaustion, crazy things can happen, so I was trying to be extra careful making sure the car was safe with jackstands and tires and the jack, in case any of the jackstands slipped or anything while I was wrenching on it. It all turned out alright but man it was a big project. Especially the fronts. Prying those things in with the jack and the jack handle is about the most dangerous repair type of thing there is. Disconnecting the hub and axle and ball joint would have been the way to go, but I didn't know as much about it as I do now and I read this wasn't necessary, but I think it is. As you can see I ruined my control arms in the process of manhandling them in there. If I had removed the hub and kept the weight off the control arms, they probably would have been ok now. Anyways, $150 for new control arms is not that bad but not knowing exactly what I was doing, I could have done more damage than good. Probably worth the $400-500 to get them installed just for that fact alone, although it's a lot of money. For the money I've saved doing it myself, I've probably worked that hard to earn $400-500. It wasn't an easy job.
#89
03-31-2014, 07:36 PM

Senior Member
#91
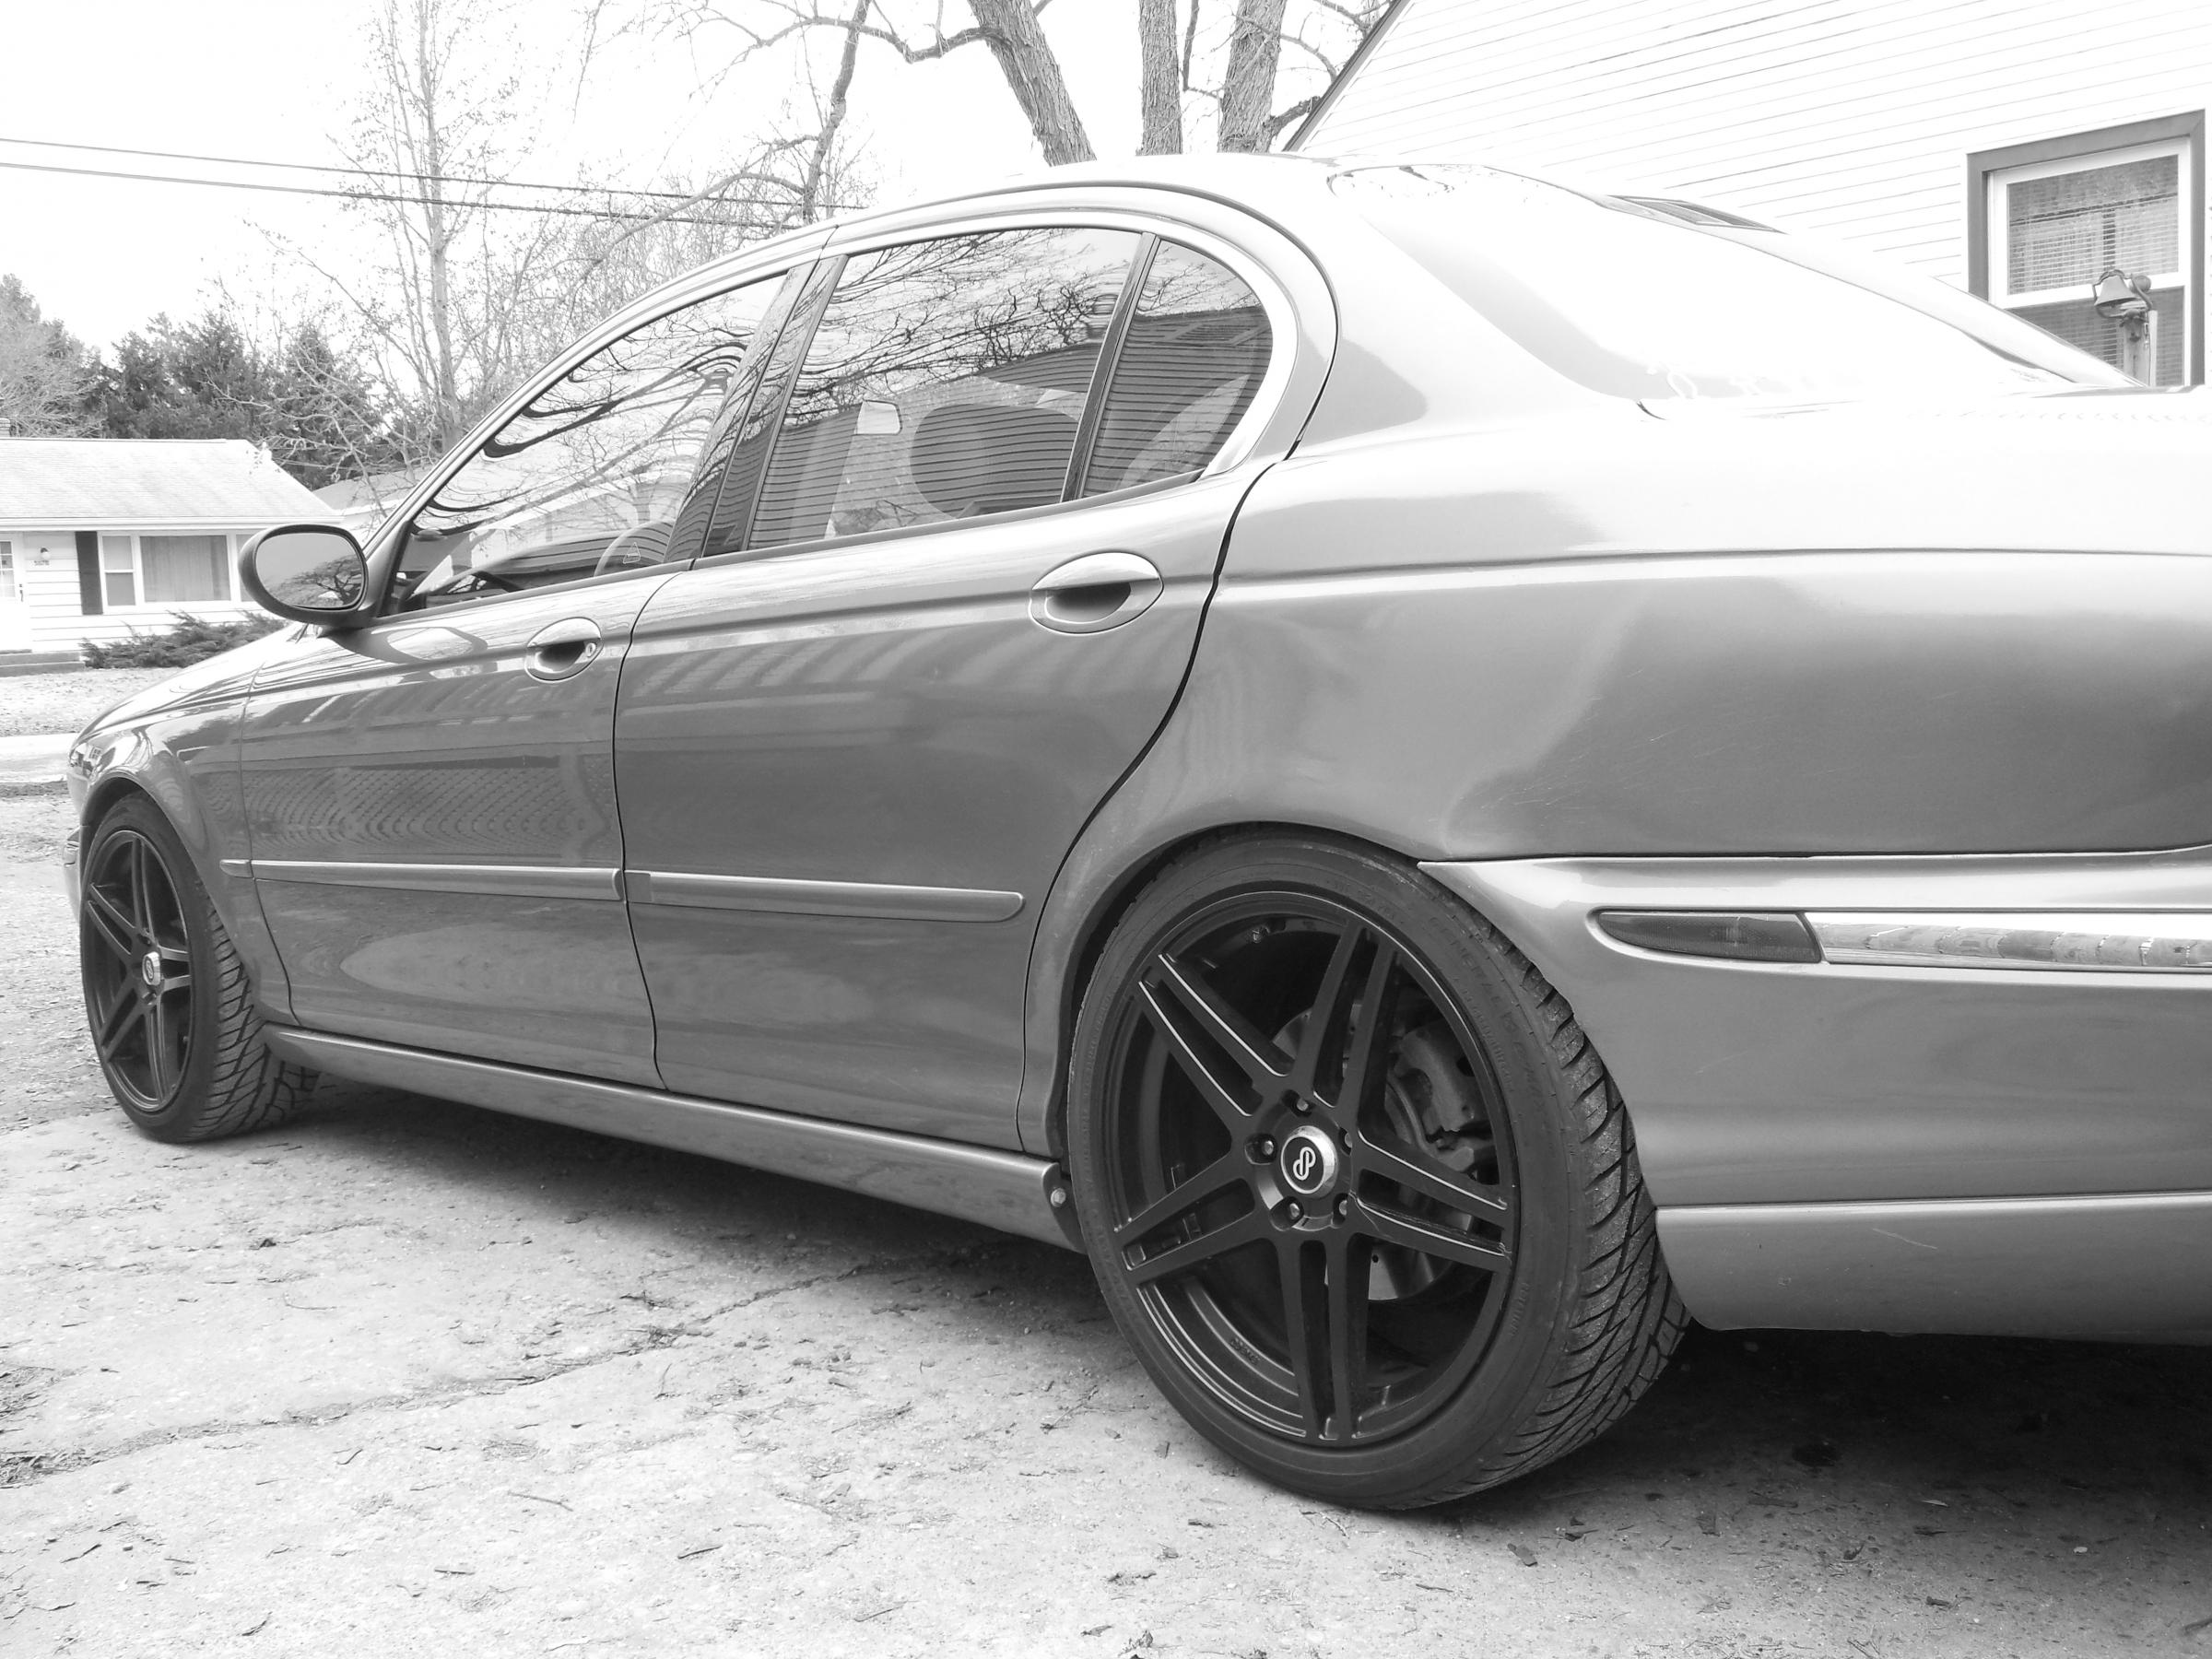
03-31-2014, 09:40 PM
Yea I like that last shot. I just got my springs installed and I think they make the x-type look amazing. I was embarrassed today how nice my car looked as I was walking up to it. Can't wait to fix the control arms to get rid of the rattle, but I got home today to find a damaged box and a damaged new control arm in it. Very upset and now my project is delayed another couple weeks as I get this sorted this out.
#92
04-01-2014, 10:46 AM
Senior Member
Yea I like that last shot. I just got my springs installed and I think they make the x-type look amazing. I was embarrassed today how nice my car looked as I was walking up to it. Can't wait to fix the control arms to get rid of the rattle, but I got home today to find a damaged box and a damaged new control arm in it. Very upset and now my project is delayed another couple weeks as I get this sorted this out.
#93
04-04-2014, 08:49 AM
#94
04-06-2014, 08:45 PM
Went in and got the alignment done. Handles and drives a lot better now. Doesn't have the drag feel to it anymore and the vibration has gone away. Still clunks a bit over bumps and potholes. Not sure if that is a result of the stiffer springs and sports shocks, or if it is a symptom of something else. Wondering if maybe it's my sway bar. It could just be the springs and struts. I don't know what else it could be. It drives and handles fine other than the occasional noises over bigger bumps. I am glad I got it aligned though. It drives so much better and feels back to normal. He said it was way out of alignment before. He said all four wheels toe in and there isn't any adjustment on that car, and no one made parts for it. I told him some people had used Volvo and Ford adjustable arms for the rear but I hadn't heard of anything for the front. Inner tire will wear out a little faster but it drives good and it kind of has a race car stance so that's kind of cool.
#95
04-06-2014, 09:28 PM
After doing some reading on the forums from other jaguars, it looks like it is either the sway bar bushings or the top strut mount bushings (which I'm not going to attempt to bother with since my struts are already in there). I may get a set of the poly sway bar bushings for the front and rear and maybe the front end links when I am feeling up for another project.

Thread
Thread Starter
Forum
Replies
Last Post
FS[NorthEast]: HOT Black/Black '07 S-Type R w/55k miles for sale!
08Z06
PRIVATE For Sale / Trade or Buy Classifieds
2
10-24-2015 05:46 PM
Currently Active Users Viewing This Thread: 1 (0 members and 1 guests)