
my x-type projects and installs


#22
 12-05-2008, 05:32 PM

no problem
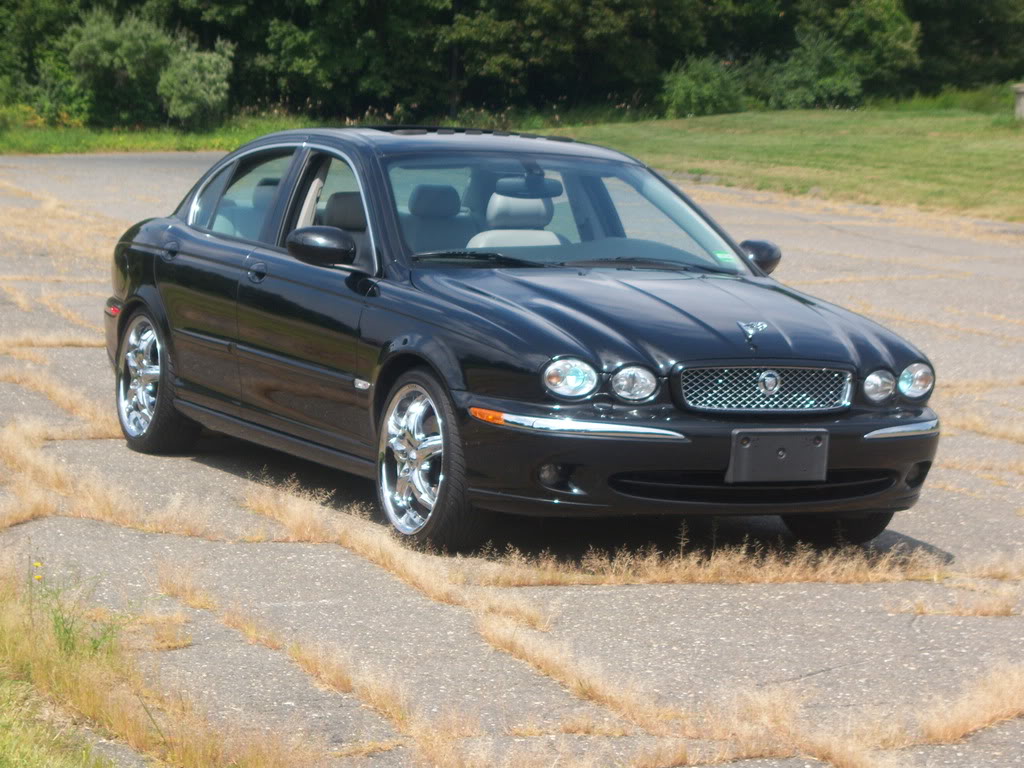
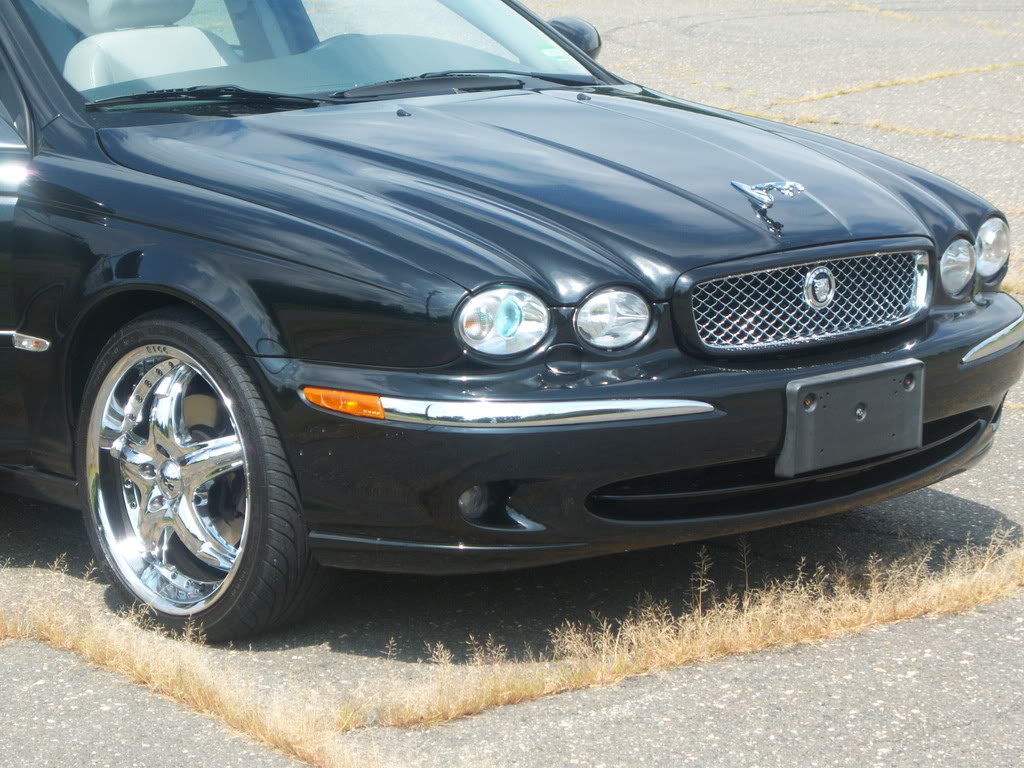
i polished my headlights they came out crystal clear
headlight write up
600 Grit Sandpaper WetorDry
- 1500 Grit Sandpaper WetorDry
- 2000 Grit Sandpaper WetorDry
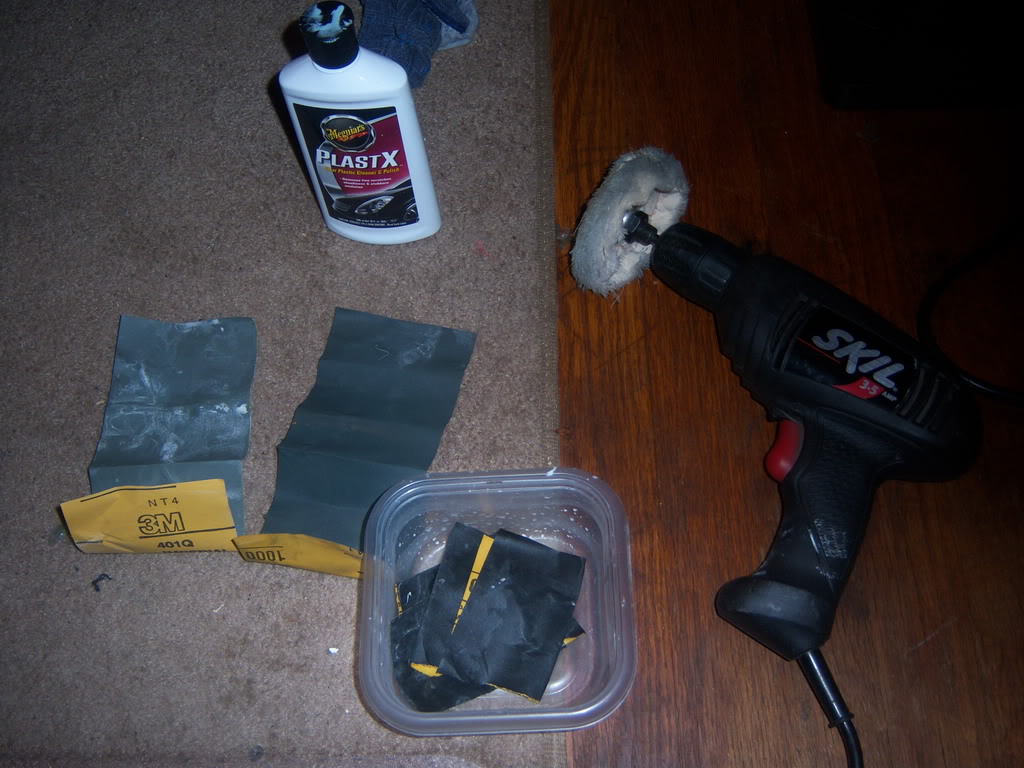
- Turtle wax polishing compound "and scratch remover"
- Meguiar's Plastx Clear Plastic Cleaner & Polish
- 2 Polishing/Buffer Pads with drill (or electric polisher if you have one)
- Clean rags
- Masking Tape
- Water (bottled)
Besides those items, you just need patience and time as it is a 2 hr job.
This is a 6 step process and I did "both" headlights during every step.
It can be messy because it is a "wet' sandpaper job.
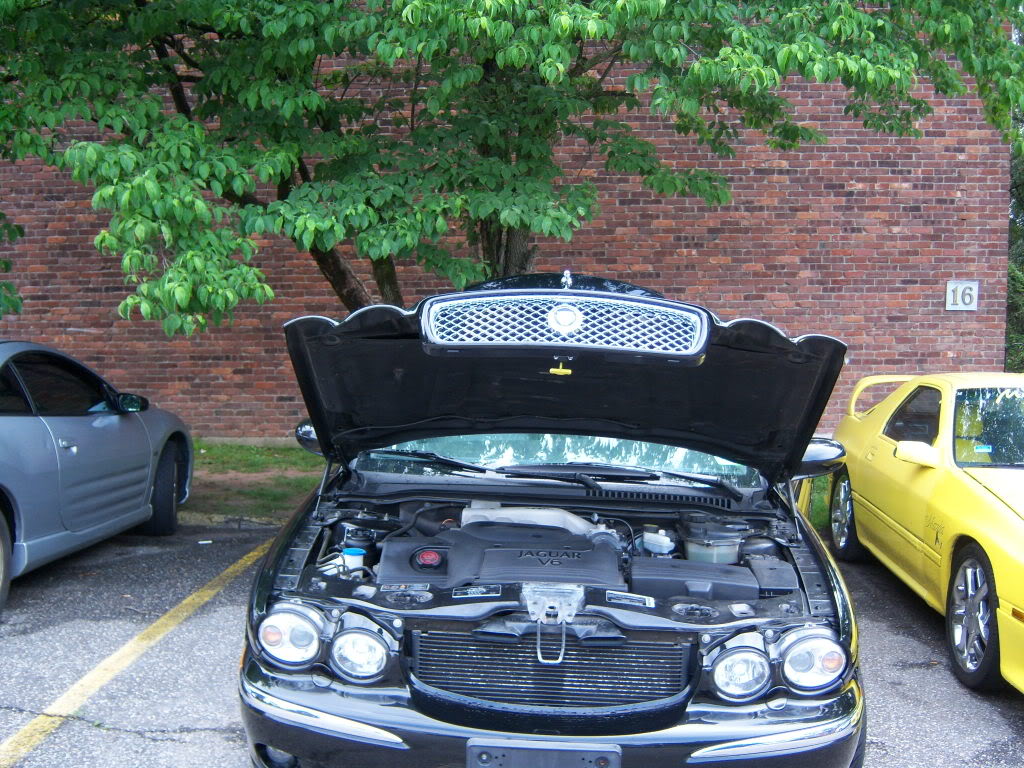
Step 1. "Tape Up"
Get any kind of masking tape, and tape all around the headlights with the hood up so you won't accidentally scratch the paint finish. You can go all the way and cover the bumper but I didn't bother.
Step 2. "Wet sand with 600 grit sandpaper"
Wet the sand paper (don't spare the water) and pure some water over the headlight and start sanding with a bit of force. Why i choose WET sanding is because its less abrasive and you can see results when the headlights are wet. I used side to side strokes instead of circles. Use lots of water, make sure the sandpaper is always wet. I spent probally 10 minutes per headlight. You will noticed that the headlights might of look worse then you started, but thats OK. because we want an EVEN sand, you will get a chalky paste as you sand. Once you get both headlights evenly sanded , proceed to step 3.
Step 3. 'Wet sand at 1500 grit"
First thing is to wet the headlights and wipe of any "chalky paste" from the the first sanding. to be honest, I may of spent 10 minutes on each headlight during this step. Thats because the real time to be spent is the 2000 grit. I used 1500 to speed the process up. So wet the sandpaper and headlight and once again, do side to side strokes . Keep the sandpaper wet at all times. I used 2 pieces of sandpaper per headlight. Sand until you can start to see the inside of the headlight better and less cloudy. After sanding to this point. Once it drys it will turn to a milky color. Don't worry its normal at this point.
Step 4. "Wet sand at 2000 grit"
Once again, wet down the headlight , use a NEW clean rag and wipe the headlights clean. This is a very crucial and time consuming step. Approx 20 minutes per side. You may want to take a break first. You pretty much do the same side to side strokes with LOTS of water as you did in the last 2 steps. The difference here is, that you continue to sand until the headlights become almost new looking or at least close to your desired look (with water applied, it will still be cloudy dry). You know when you done when the lights look pretty clear when theres water on them. Look at the pic below to see when I finished step 4.
Step 5. "Rubbing Compound and Polish"
This is where the real magic happens. This is where your discouragement fades away like mine did. Even after the 2000 grit sanding drys theres still a cloudly look. Thats because theres millions of fine scratches that even the finest sandpaper can't get rid of. Thats where the "Turtlewax" polishing compound "and scratch remover" come in. This white paste will literlly remove the final scratches. I used a regular drill and buffering pad. If you have an actual polisher then use that. After wiping the headlights clean again , I put a bit of the paste on a rag and apply it in circular motions on the headlight until its completely covered with a thin layer of the paste. I then start buffering the headlight until you start seeing the amazing clearity come through. It will amaze you. Can can spend as much time on this as you want. I spent 10 minutes on each headlight. Some things to take note is if you stay in one spot too long it can scratch from the paste itself (just takes longer to buffer it out) and keep cleaning of the buffering pad to get rid of little chunks of paste buildup. Once you have done this ,
Step 6. "Final Polish"
This is the final step before tape removal and wipe down. You may not find it neccessary but I wanted to get a final "polish" done with PlastX by Meguiar. I heard wonders so i wanted to finish of with this. I changed the buffering pad (you probally could of cleaned the other but I had 2 anyways) . I followed the same steps as Step 5 (about 10 minutes each) and volla. Its finished. your x-type looks knew
i polished my headlights they came out crystal clear
headlight write up
600 Grit Sandpaper WetorDry
- 1500 Grit Sandpaper WetorDry
- 2000 Grit Sandpaper WetorDry
- Turtle wax polishing compound "and scratch remover"
- Meguiar's Plastx Clear Plastic Cleaner & Polish
- 2 Polishing/Buffer Pads with drill (or electric polisher if you have one)
- Clean rags
- Masking Tape
- Water (bottled)
Besides those items, you just need patience and time as it is a 2 hr job.
This is a 6 step process and I did "both" headlights during every step.
It can be messy because it is a "wet' sandpaper job.
Step 1. "Tape Up"
Get any kind of masking tape, and tape all around the headlights with the hood up so you won't accidentally scratch the paint finish. You can go all the way and cover the bumper but I didn't bother.
Step 2. "Wet sand with 600 grit sandpaper"
Wet the sand paper (don't spare the water) and pure some water over the headlight and start sanding with a bit of force. Why i choose WET sanding is because its less abrasive and you can see results when the headlights are wet. I used side to side strokes instead of circles. Use lots of water, make sure the sandpaper is always wet. I spent probally 10 minutes per headlight. You will noticed that the headlights might of look worse then you started, but thats OK. because we want an EVEN sand, you will get a chalky paste as you sand. Once you get both headlights evenly sanded , proceed to step 3.
Step 3. 'Wet sand at 1500 grit"
First thing is to wet the headlights and wipe of any "chalky paste" from the the first sanding. to be honest, I may of spent 10 minutes on each headlight during this step. Thats because the real time to be spent is the 2000 grit. I used 1500 to speed the process up. So wet the sandpaper and headlight and once again, do side to side strokes . Keep the sandpaper wet at all times. I used 2 pieces of sandpaper per headlight. Sand until you can start to see the inside of the headlight better and less cloudy. After sanding to this point. Once it drys it will turn to a milky color. Don't worry its normal at this point.
Step 4. "Wet sand at 2000 grit"
Once again, wet down the headlight , use a NEW clean rag and wipe the headlights clean. This is a very crucial and time consuming step. Approx 20 minutes per side. You may want to take a break first. You pretty much do the same side to side strokes with LOTS of water as you did in the last 2 steps. The difference here is, that you continue to sand until the headlights become almost new looking or at least close to your desired look (with water applied, it will still be cloudy dry). You know when you done when the lights look pretty clear when theres water on them. Look at the pic below to see when I finished step 4.
Step 5. "Rubbing Compound and Polish"
This is where the real magic happens. This is where your discouragement fades away like mine did. Even after the 2000 grit sanding drys theres still a cloudly look. Thats because theres millions of fine scratches that even the finest sandpaper can't get rid of. Thats where the "Turtlewax" polishing compound "and scratch remover" come in. This white paste will literlly remove the final scratches. I used a regular drill and buffering pad. If you have an actual polisher then use that. After wiping the headlights clean again , I put a bit of the paste on a rag and apply it in circular motions on the headlight until its completely covered with a thin layer of the paste. I then start buffering the headlight until you start seeing the amazing clearity come through. It will amaze you. Can can spend as much time on this as you want. I spent 10 minutes on each headlight. Some things to take note is if you stay in one spot too long it can scratch from the paste itself (just takes longer to buffer it out) and keep cleaning of the buffering pad to get rid of little chunks of paste buildup. Once you have done this ,
Step 6. "Final Polish"
This is the final step before tape removal and wipe down. You may not find it neccessary but I wanted to get a final "polish" done with PlastX by Meguiar. I heard wonders so i wanted to finish of with this. I changed the buffering pad (you probally could of cleaned the other but I had 2 anyways) . I followed the same steps as Step 5 (about 10 minutes each) and volla. Its finished. your x-type looks knew
#24
01-13-2009, 08:51 PM

i love that plastic stuff! I use it on tail, head, and side lamps. Makes everything look like new! Another good detailing product is Mothers Back To Black. I use it on the exterior black trim and it adds a nice touch to the car.
#25
01-13-2009, 09:25 PM

Senior Member
Man, nice setup!
Did you install the Eibachs yet? Just out of curiosity, why not also upgrade the struts when re-doing the suspension. OEM struts and lowering springs are never a good combination. The grille looks fantastic, as does the interior console. The wheels are not so hot, IMO. Chrome wheels never really appealed to me on an X-type. I have yet to see someone pull off chrome wheels on an X-type effectively.
Did you install the Eibachs yet? Just out of curiosity, why not also upgrade the struts when re-doing the suspension. OEM struts and lowering springs are never a good combination. The grille looks fantastic, as does the interior console. The wheels are not so hot, IMO. Chrome wheels never really appealed to me on an X-type. I have yet to see someone pull off chrome wheels on an X-type effectively.

#27
01-13-2009, 10:01 PM
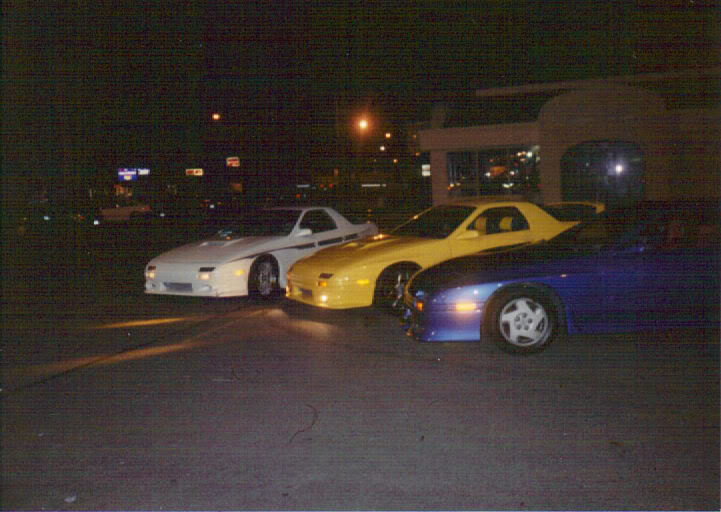
yes i have installed the spings with the stock shocks...they are amazing , i have comfort and handeling in one package i was going to order the shocks too i changed my mind ...it takes corners with ease...i dont drive it to hard i have my turbo mazda rx7 for that which has 385hp


#30
01-14-2009, 02:41 AM

hey i was wondering where u got that dashkit from for the double din deck......i orderded mine off of nexxia.com and its absolutely horrible.......if you could reply with some kind of website or link or whateveri would appreciate it thank u!!!!
#31
01-15-2009, 07:18 PM
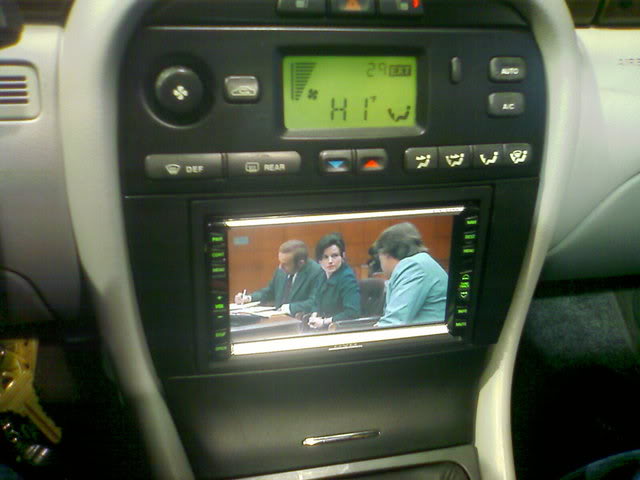
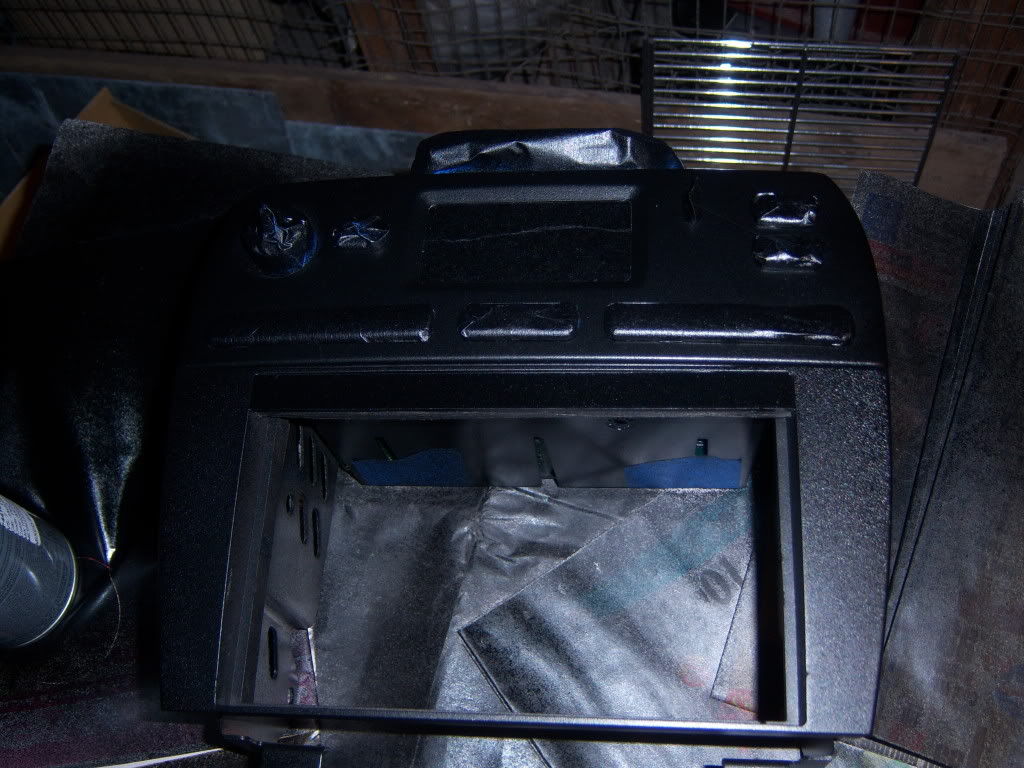
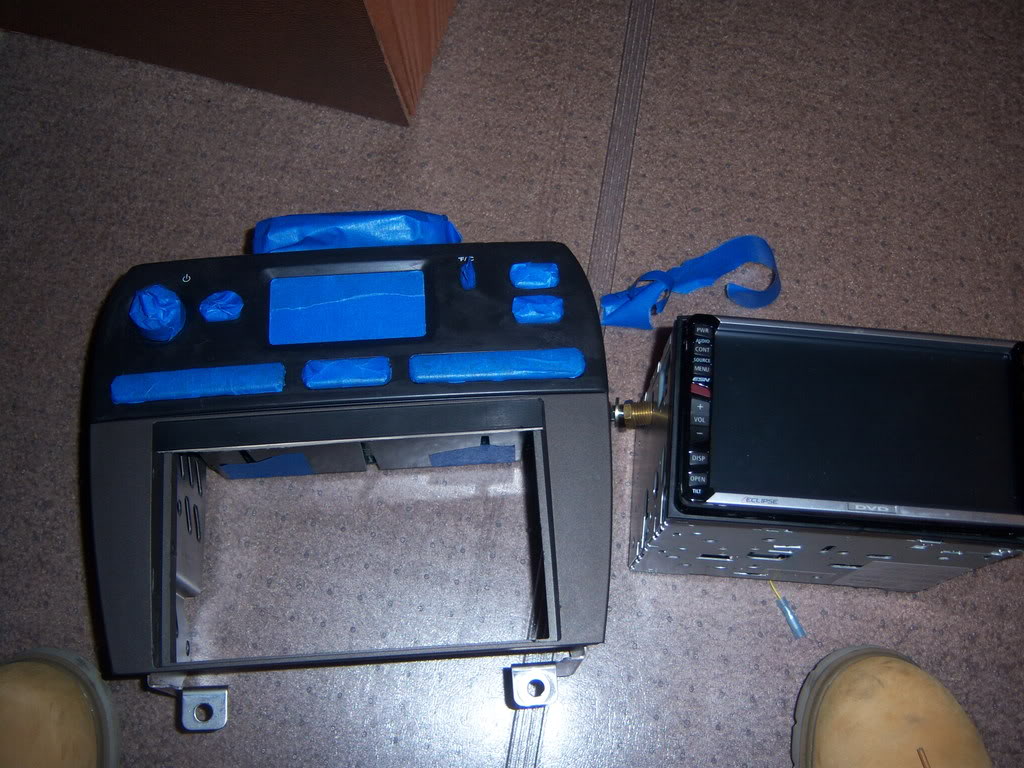
first i taped everthing up
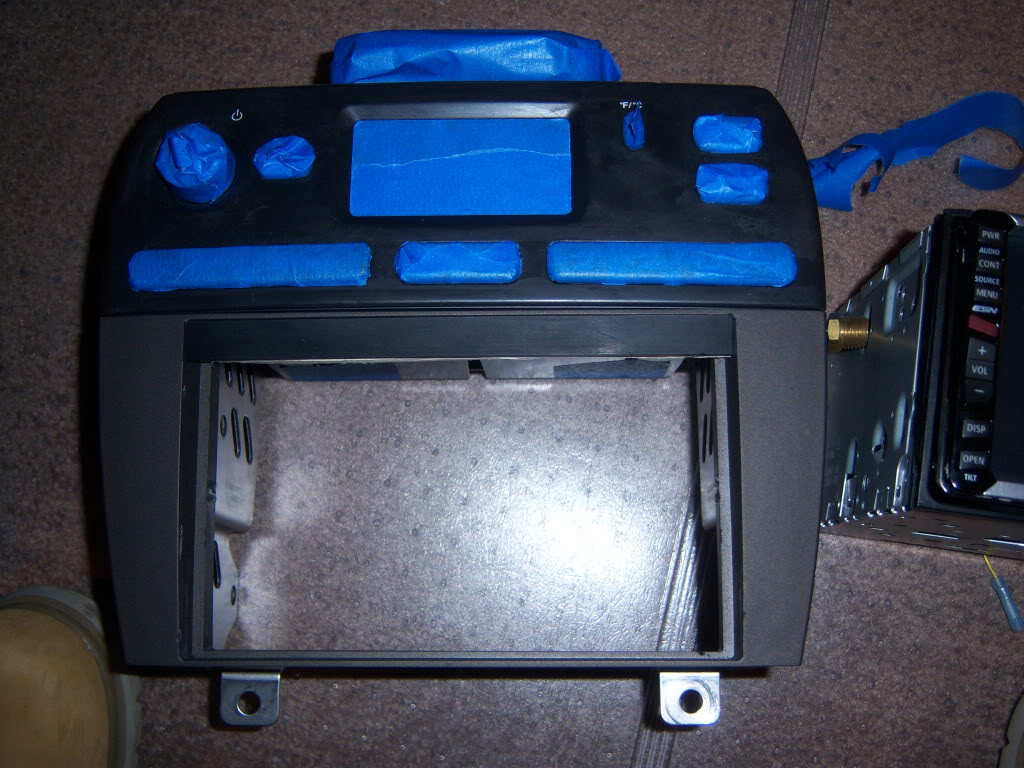
then first coat of pait
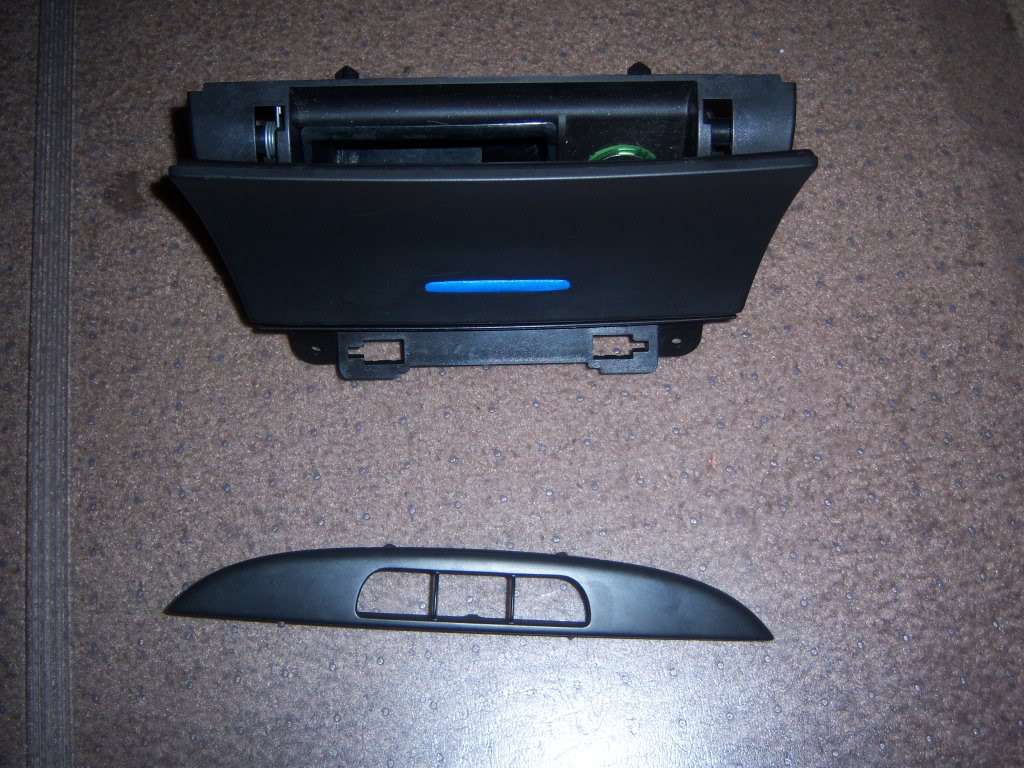
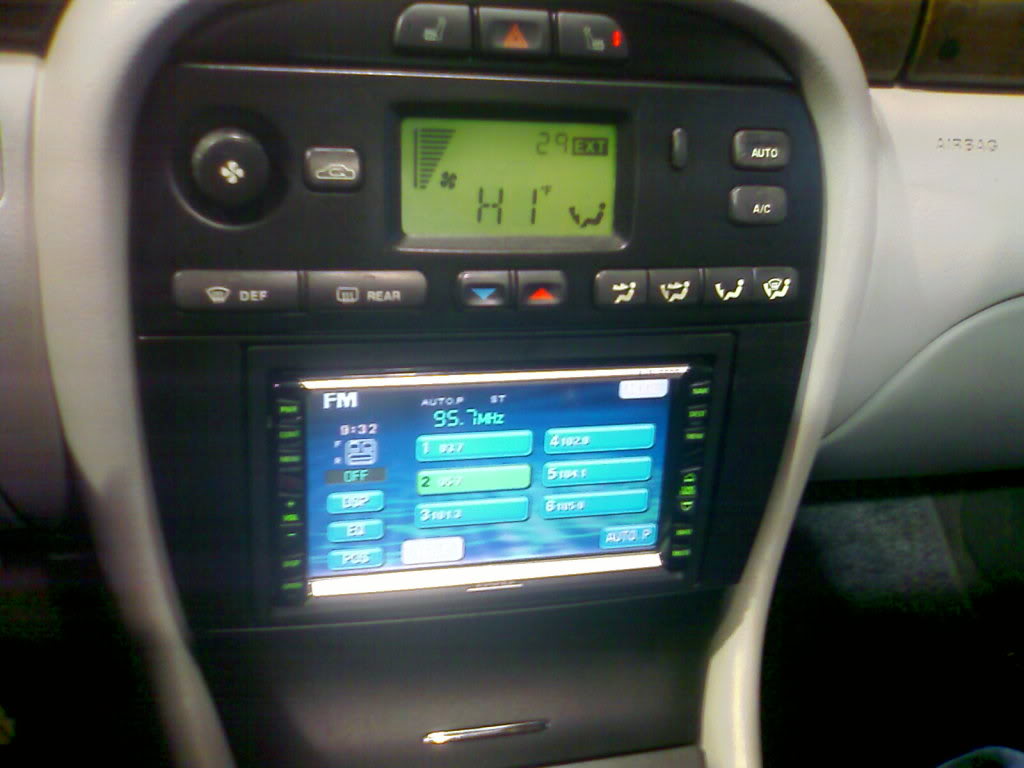
i used the nexxia fascia ,the color did not match so i painted it
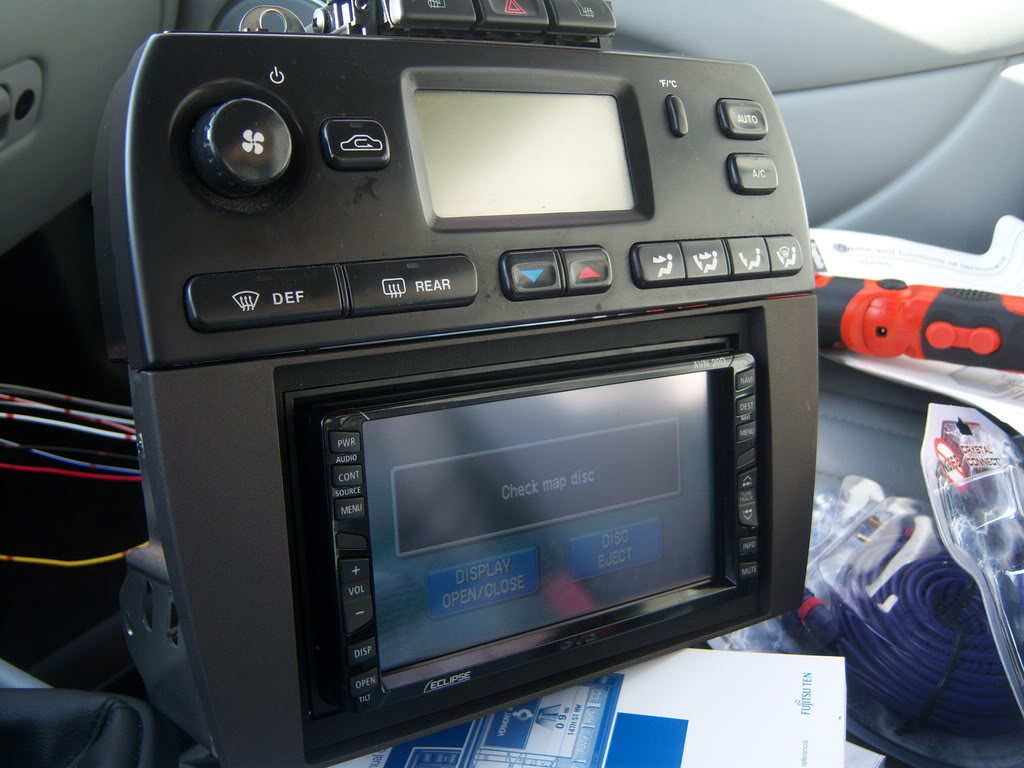
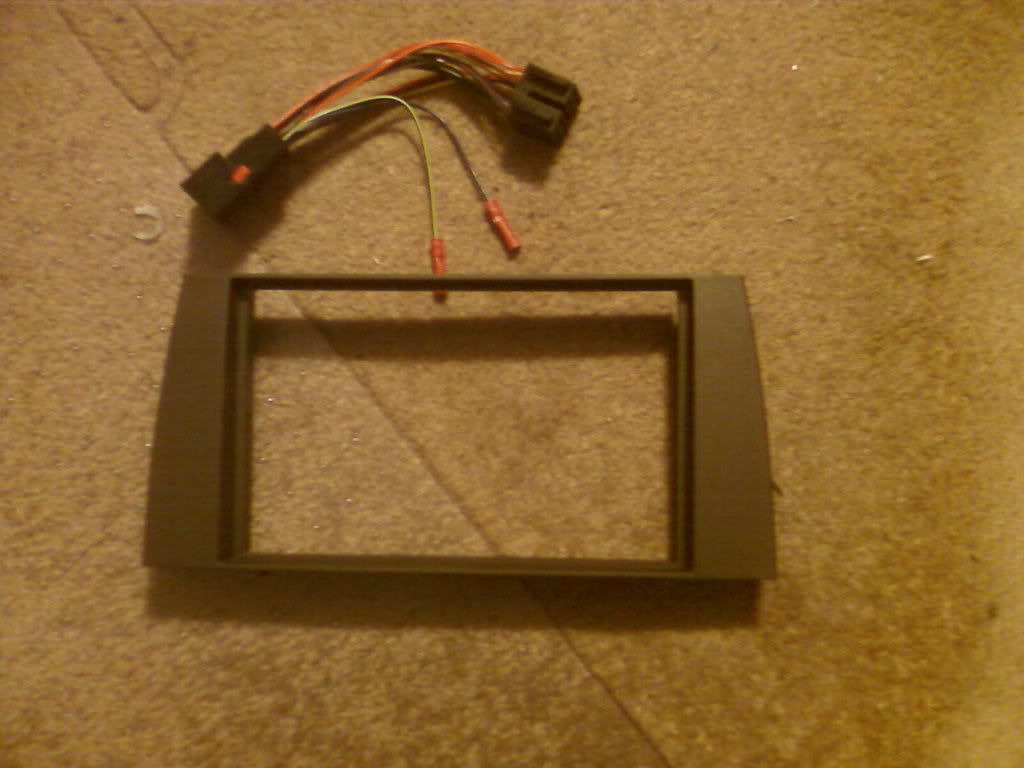
the bezel came from a kenwood deck
then first coat of pait
i used the nexxia fascia ,the color did not match so i painted it
the bezel came from a kenwood deck

#33
01-15-2009, 08:56 PM
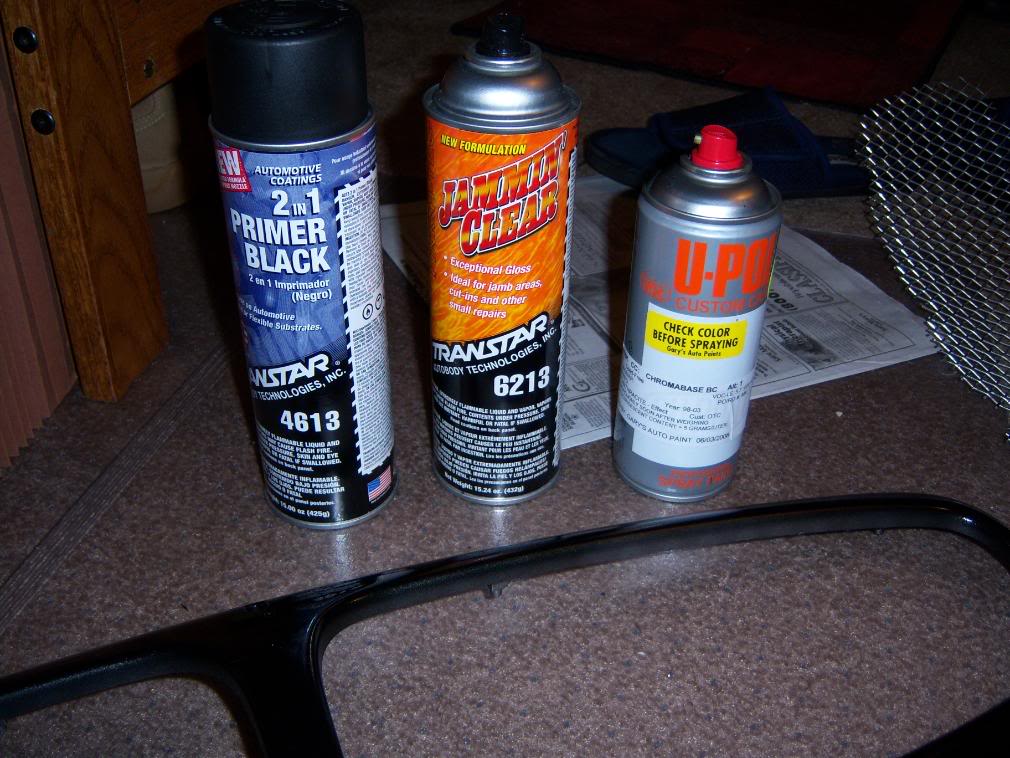
yes it is a nexxia kit i painted it with the stock jag black (ped) in a special pressurized can...the thin bezel came from a kenwood double din
my deck is a eclipse avn5500
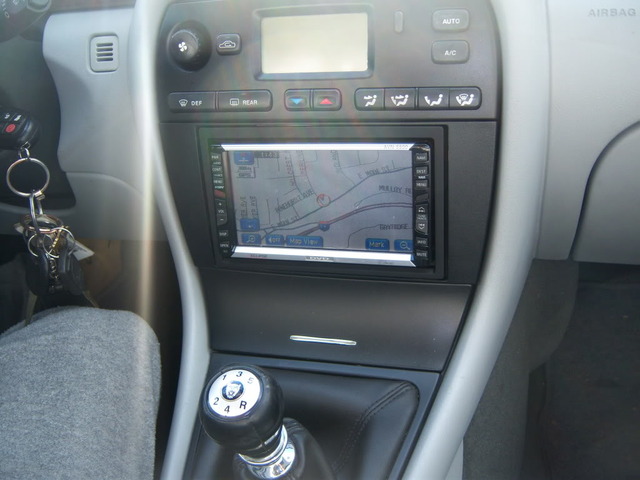
my deck is a eclipse avn5500
#34
01-18-2009, 05:21 PM
my next project is to change the transfer case ...i looked at few methods on this bourd ..anyone reccomend the best method on this bourd
#35
01-18-2009, 07:58 PM
are you just changing the fluid or the whole case? if it is just the fluid, I would hit up wild bill. he has some real nice kits for about $100!

#37
01-19-2009, 06:58 PM
what comes in the kit? do you have one....i just want to change the fluid theres a lot of methods out there ...i just want to make sure i put the right amount in the case
#38
01-19-2009, 07:15 PM
Veteran Member
Join Date: Nov 2006
Location: Glasgow, Scotland UK
Posts: 47,302
Received 9,007 Likes
on
4,113 Posts


check the write up in the X type FAQquick links Dennis

Wild bill will be able to offer you the kit.
Jim
#39
01-19-2009, 07:23 PM

dude thats how I wanted to do my jag. Basically, my jag is silver I was going to paint it BLACK and add that grill onto it. Tint windows Black and add a HID Kit. Nice wow.
#40
01-20-2009, 07:17 PM
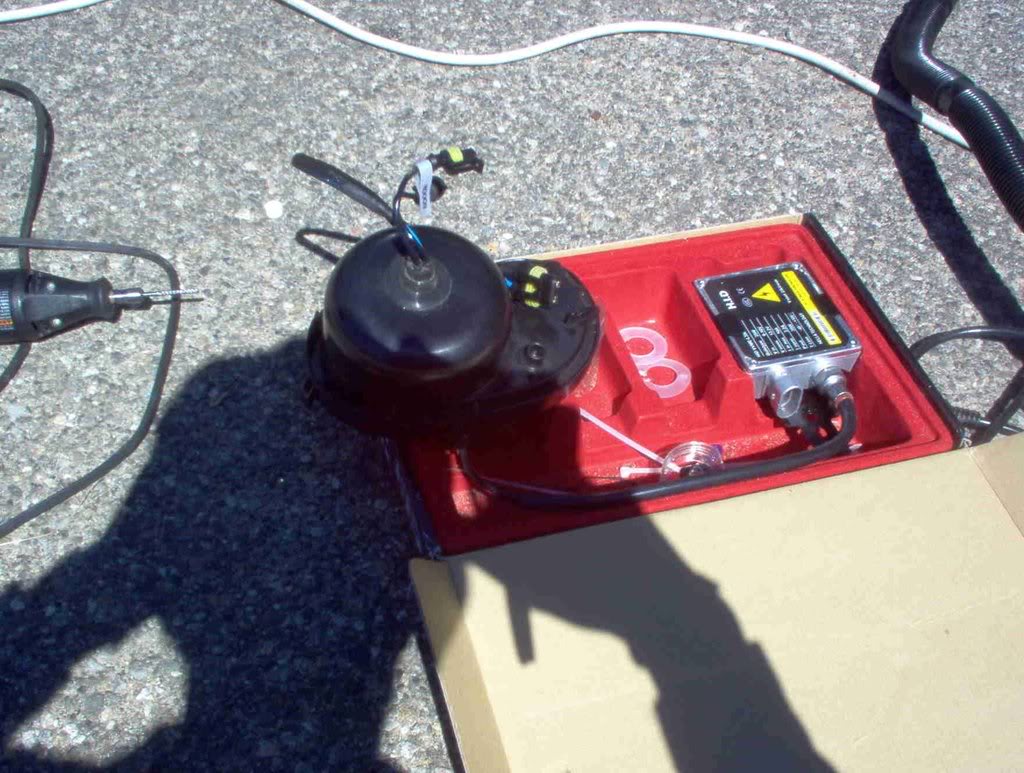
nice hikeman the code for the black is (ped)...the hid kit is easy heres the kit i used ...h1..8000k
thanks jim c...ill check wild bill
thanks jim c...ill check wild bill