
next project well underway
#1
 04-18-2007, 07:34 PM


i have a pair of 10" jl subs in the trunk in a plain old dual sealed box, but the X deserves more than that. decided to make my own fiberglass boxes for them, and a pretty slick mounting system (if i can get it to work) for the amp. have the boxes framed out, and just got the rings today (see below). going to mount them and cover it and lay down the first coat of resin tomorrow. will post more pics tomorrow.
#2
04-18-2007, 09:48 PM

Senior Member
#3
04-18-2007, 10:00 PM
i have the middle system, which i beleive is called premium. 4 door and 2 front tweeters. plenty of mids and highs. i do not have a 'booming' system in. well i guess i do, but it is only getting about ~50rms per sub. i just put them in to deepen the bottom end, not vibrate the trunk.
#4
04-19-2007, 12:17 PM

#5
04-20-2007, 02:09 AM
got a good start tonight. i had the rings and the outer framework already done, so that helped a lot. here are pics:
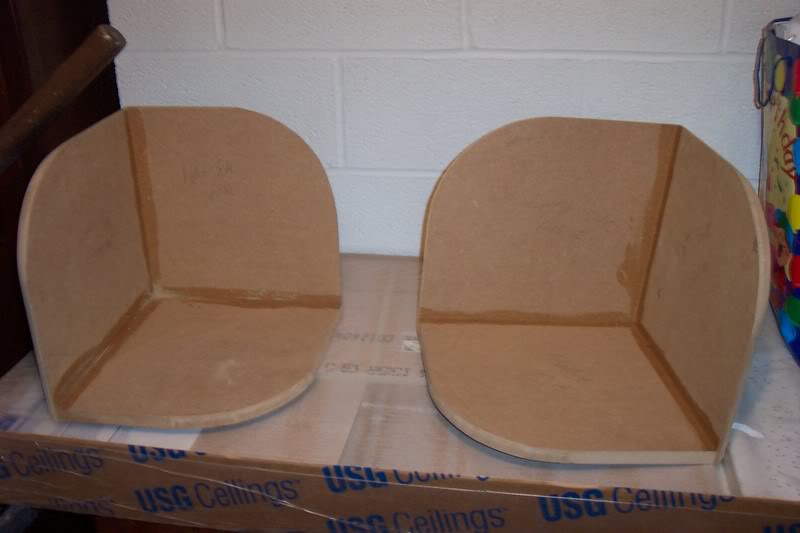
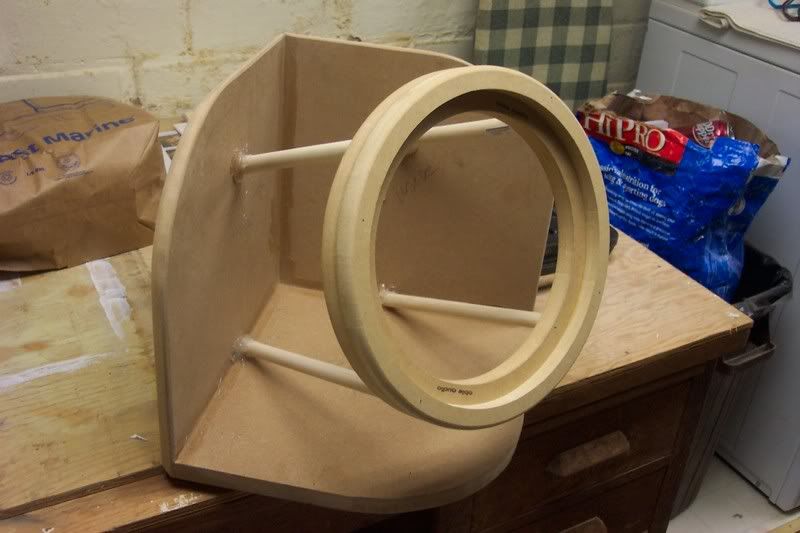
framework (note: these pics are after the first round of sanding. i spent about another hour making all external edges really round and smooth but forgot to take pipcs of them. see the pic below with the ring mounted)
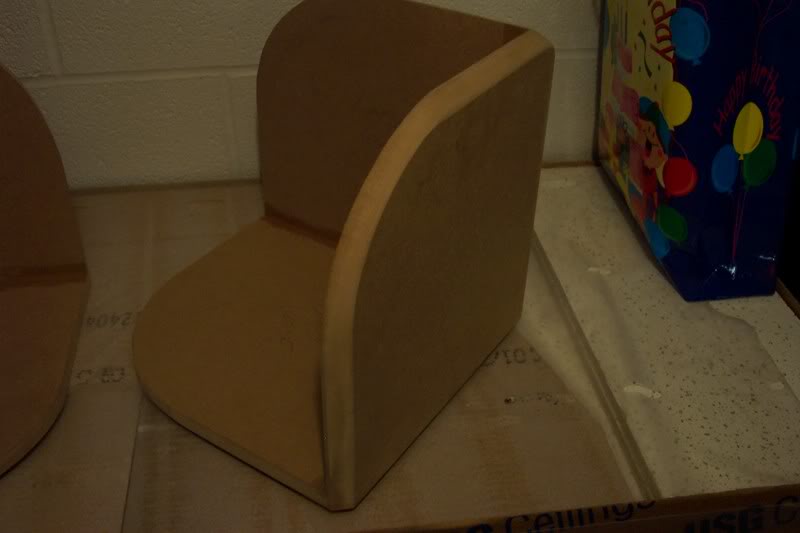
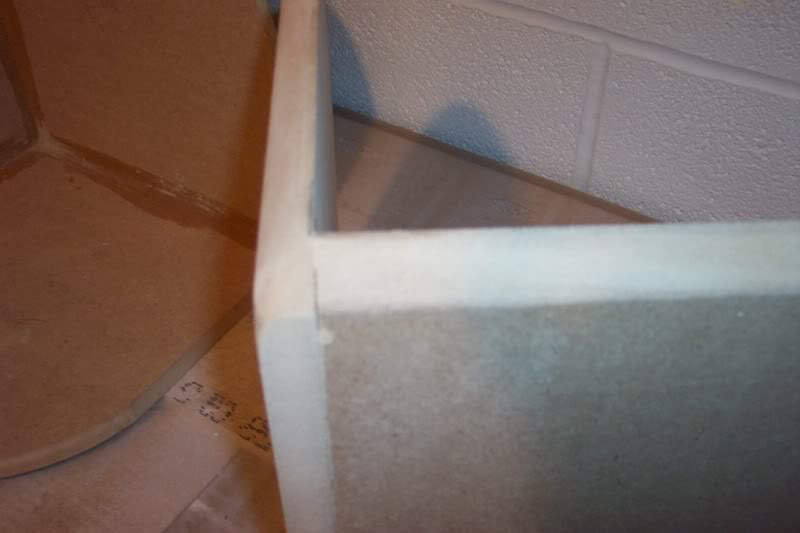
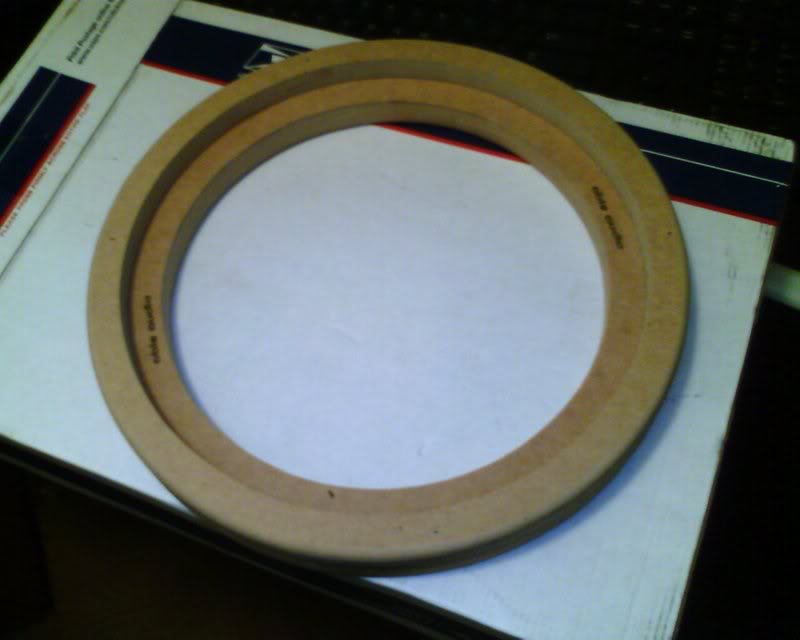
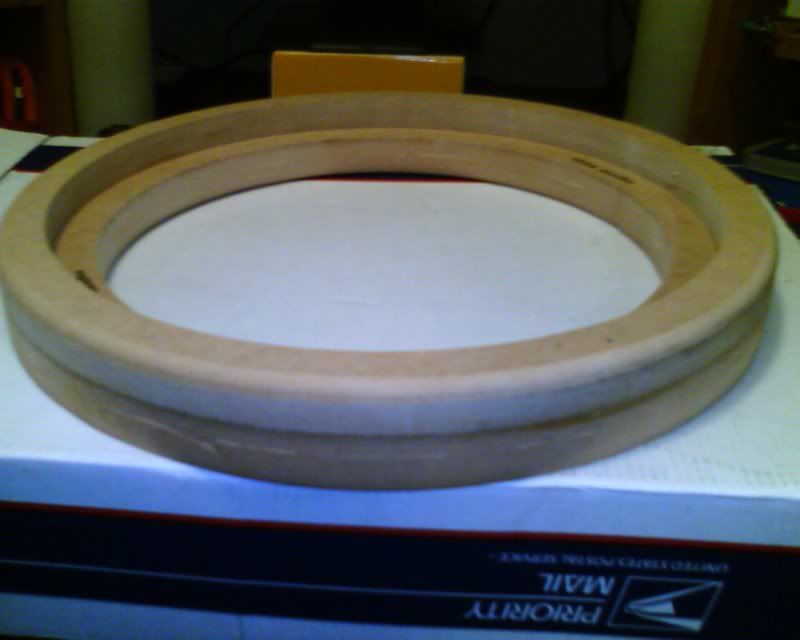
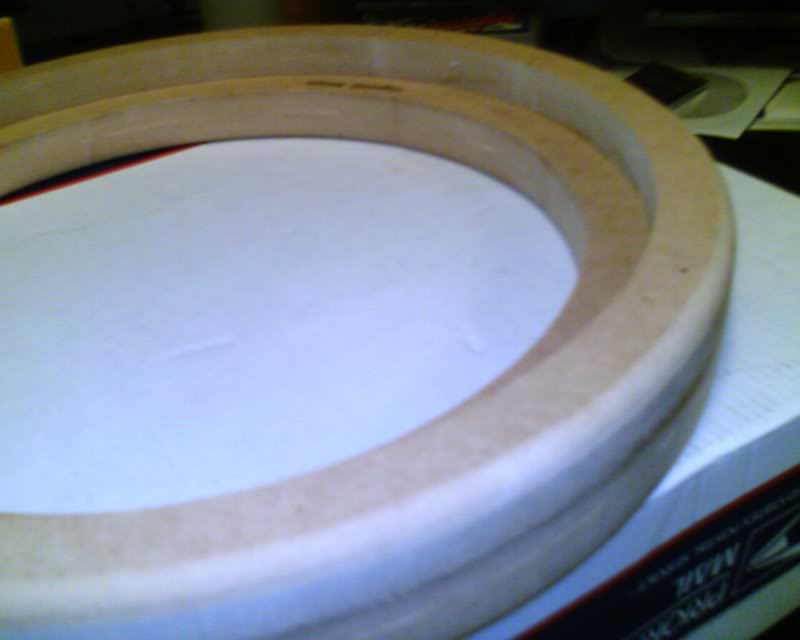
here are the rings. took a drill bit and made some holes for the dowels to sit in to make mounting easier.
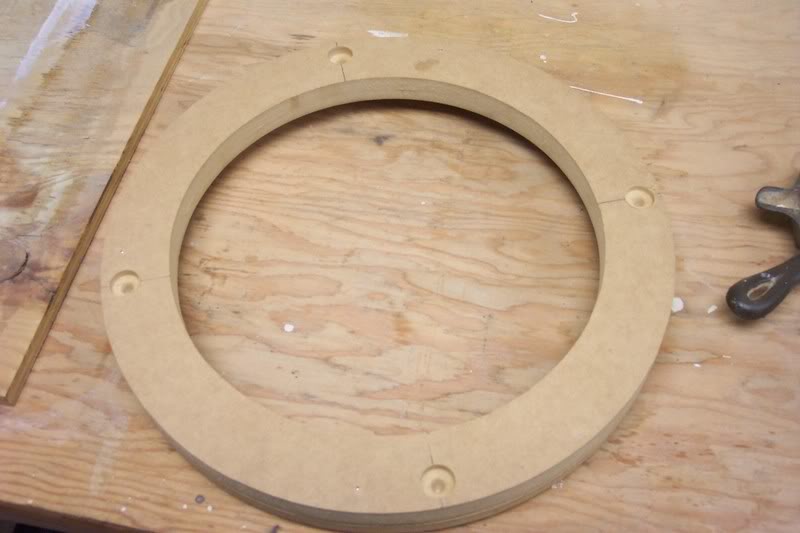
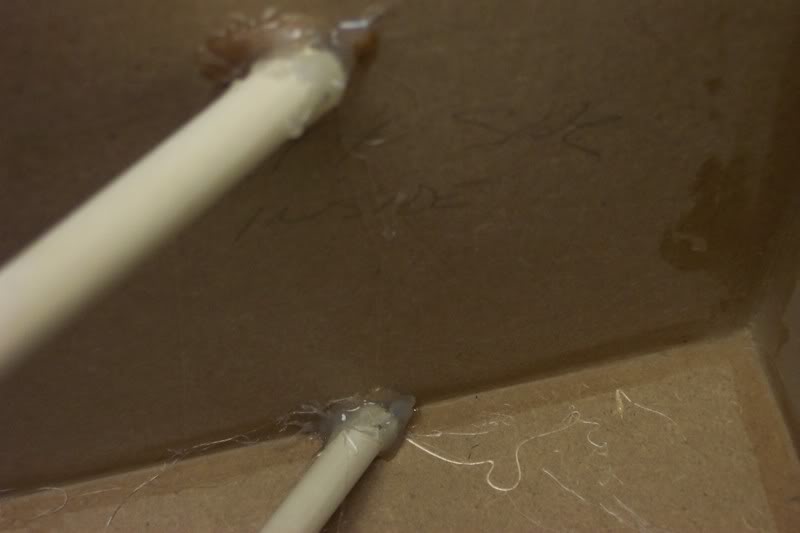
a few dabs of hotglue in each hole and a thin bead around the edge and 5 mins later and the dowels were set for life
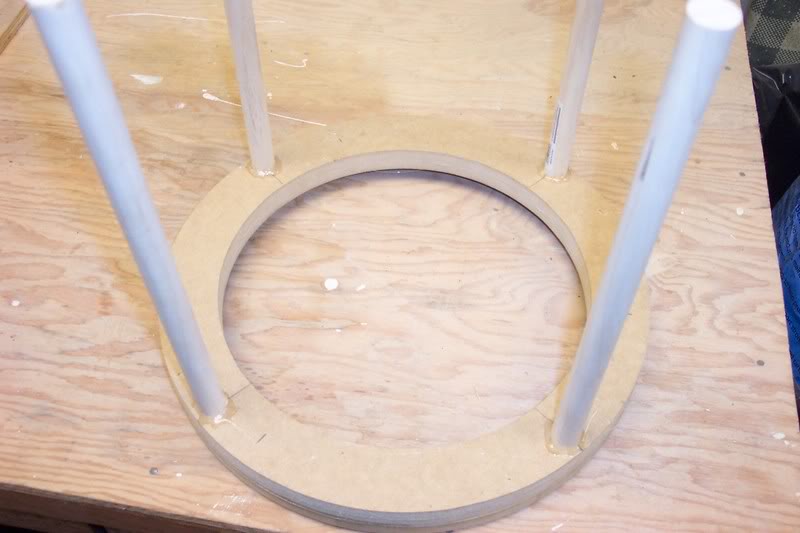
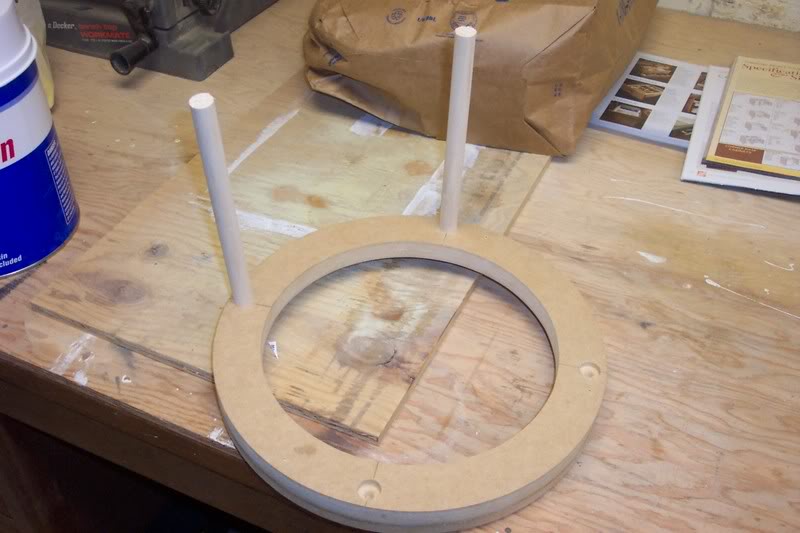
dowels were cut to length, then hot glued and brad nailed into place to support the mounting ring
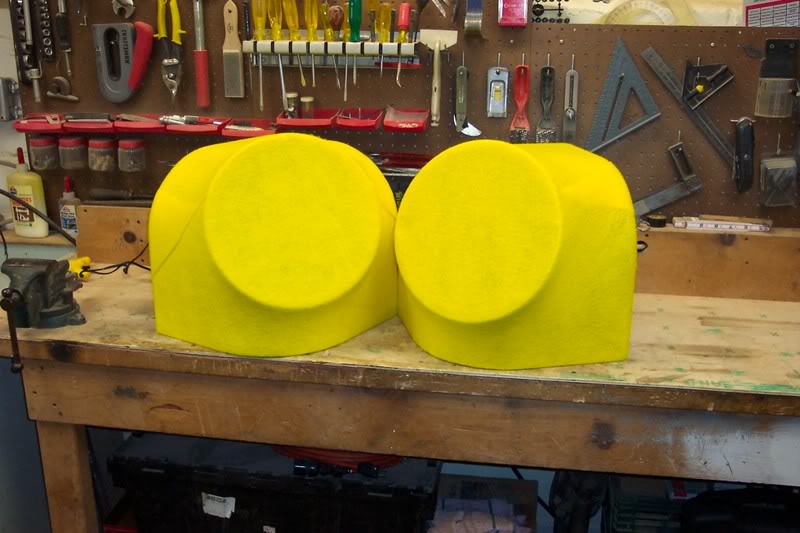
rings and dowels mounted and ready to be covered
the supplies
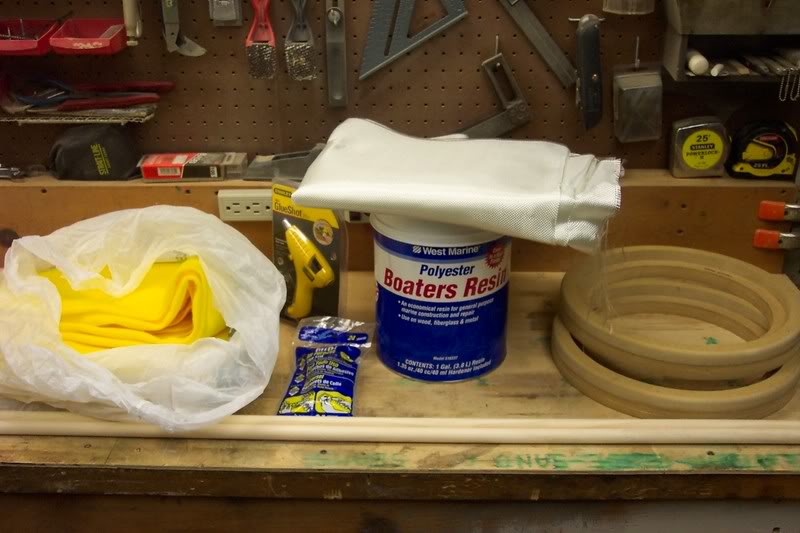
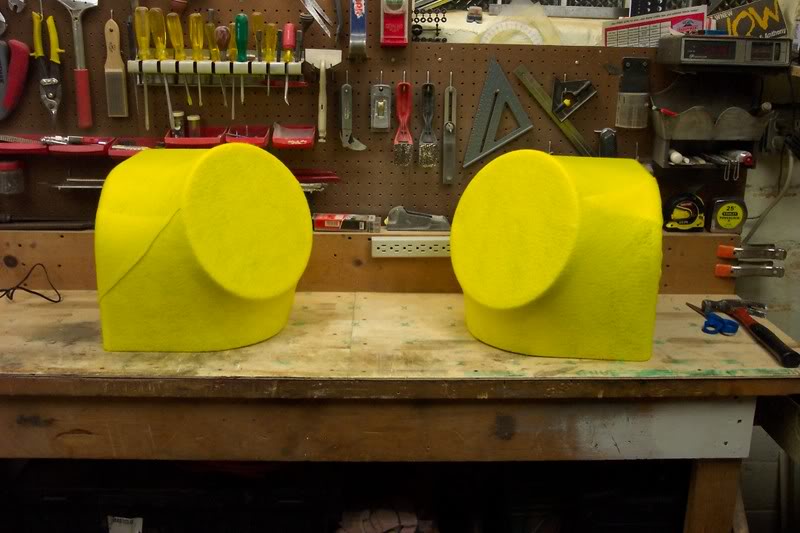
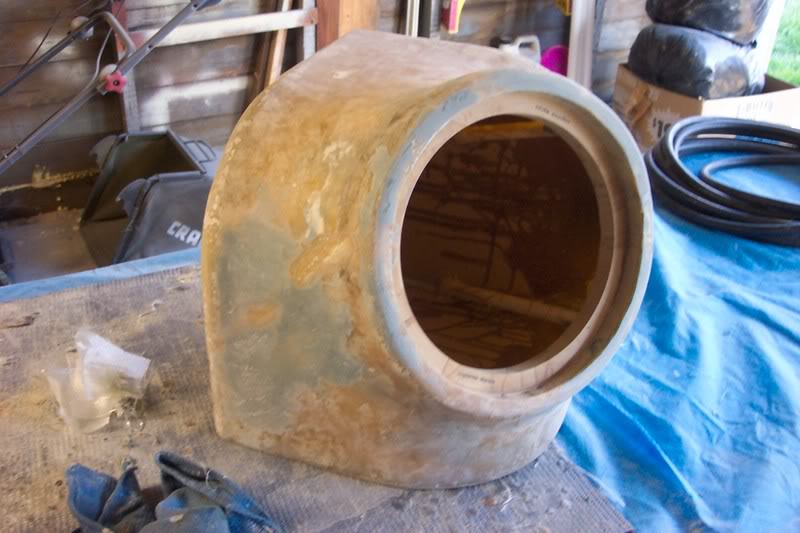
boxes covered in polyesther and ready to be coated with resin
this is sort of how it will look once in the trunk. i have the fold down rear seat which i still want to be able to take advantage of, so each box will sit in the back corners of the trunk with the middle area open. the amp will be suspended between the 2 from the rear deck lid giving me plenty of access to slide things through if the need should ever arise.
coated with resin and drying overnight. this weekend i will lay down a few layer of fiberglass cloth to strengthen it up as well as more filler inside where the ring meets the cloth.
my original intention was to do some presanding and then take it to my body guy to have him to the bondo to a smooth finish and paint, but i think i am going to have them covered in vinyl. it will save me TONS and TONS of sanding time and still have a very nice look to it. plus, due to some of the extreme bends and curves i wanted to make i had to overlap some of the ploy cloth to get it the way i wanted. with a vinyl cover that will go un-noticed once complete.
framework (note: these pics are after the first round of sanding. i spent about another hour making all external edges really round and smooth but forgot to take pipcs of them. see the pic below with the ring mounted)
here are the rings. took a drill bit and made some holes for the dowels to sit in to make mounting easier.
a few dabs of hotglue in each hole and a thin bead around the edge and 5 mins later and the dowels were set for life
dowels were cut to length, then hot glued and brad nailed into place to support the mounting ring
rings and dowels mounted and ready to be covered
the supplies
boxes covered in polyesther and ready to be coated with resin
this is sort of how it will look once in the trunk. i have the fold down rear seat which i still want to be able to take advantage of, so each box will sit in the back corners of the trunk with the middle area open. the amp will be suspended between the 2 from the rear deck lid giving me plenty of access to slide things through if the need should ever arise.
coated with resin and drying overnight. this weekend i will lay down a few layer of fiberglass cloth to strengthen it up as well as more filler inside where the ring meets the cloth.
my original intention was to do some presanding and then take it to my body guy to have him to the bondo to a smooth finish and paint, but i think i am going to have them covered in vinyl. it will save me TONS and TONS of sanding time and still have a very nice look to it. plus, due to some of the extreme bends and curves i wanted to make i had to overlap some of the ploy cloth to get it the way i wanted. with a vinyl cover that will go un-noticed once complete.
#6
04-20-2007, 12:02 PM
#7
04-20-2007, 12:08 PM
Man keep thinking in my head how I've been wanting to make my own box like that as well. My problem is that with a baby and all the trunk is barely big enough! My goal (with much skepticism I'm sure) is to build a box and amp mount in the spare hole in the trunk. Nothing spectacular just something different using fiberglass. I've never done it before with fiberglass but after watching a whole lot of unique whips doesn't seem too horribly bad. Sure I could ask you for help if it was needed!  I have AAA so if I did break down they are a phone call away 24 hrs a day.
I have AAA so if I did break down they are a phone call away 24 hrs a day.
Trending Topics
#8
04-20-2007, 12:49 PM


#11
04-21-2007, 06:24 PM
here are some updated pics from yesterday and today. not much to look at, same thing just covered in a few layers of fiberglass cloth. the first 2 layes were left overnight to cure and then sanded smooth. then 2 more layers were applied and it looked like this:
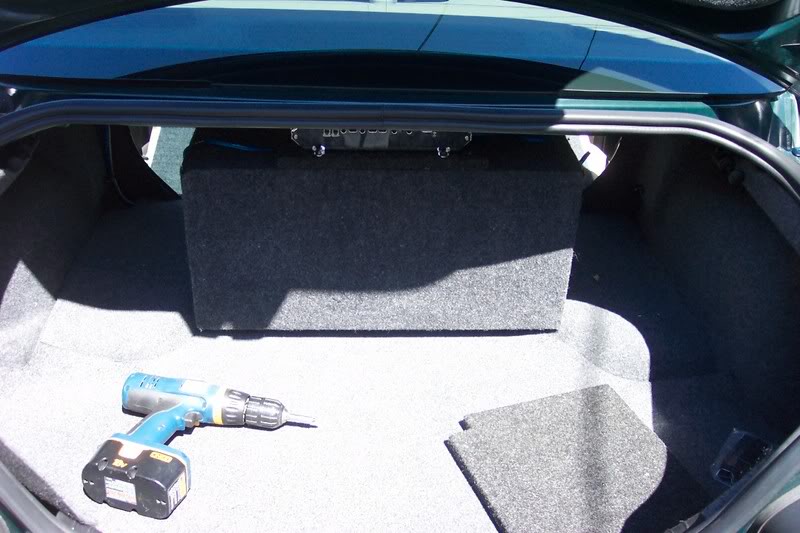
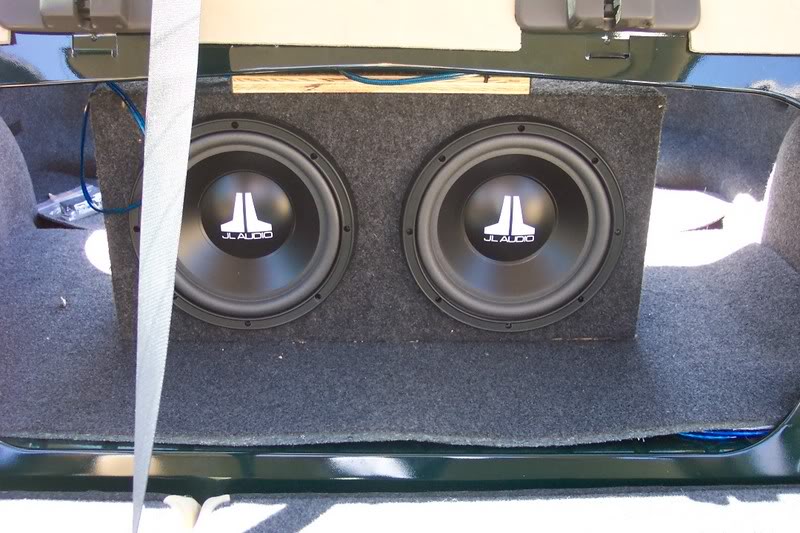
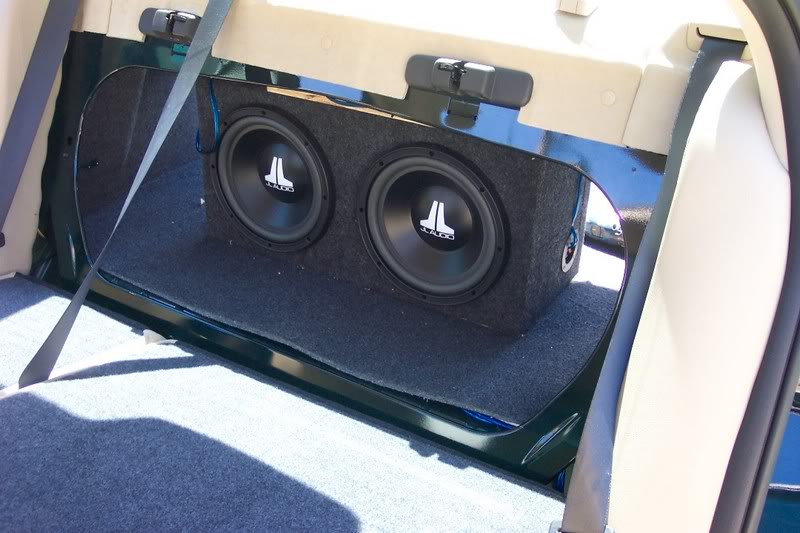
here are some shots of the basic box i have in at the moment. like i said, it is your basic everyday box. should be quite a change once i am done. you can't see it in the pics, but there is a 't' bracket on the front bottom of the box. it was screwed in to the bottom of the box,then a small slit cut into the carpet in to allow it to pass through and another screw to hold it in place set into the trunk floor.
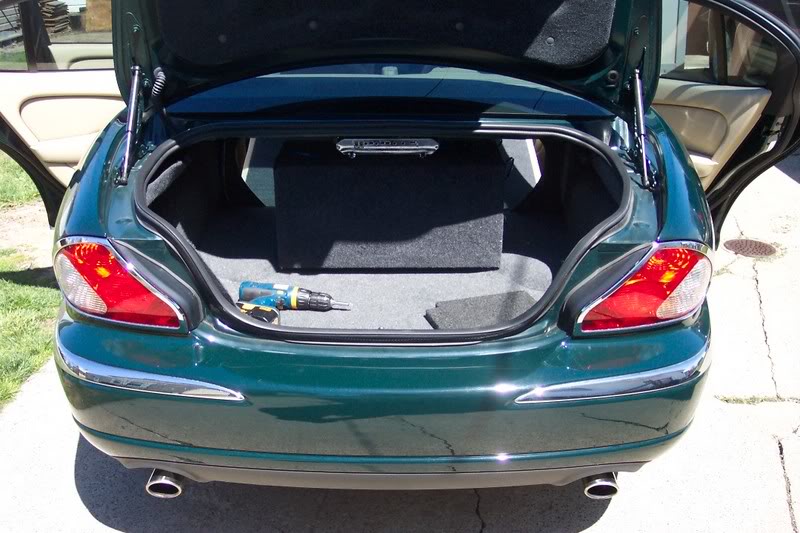
nothing else will be done until monday. going to give it 2 full days to fully cure. more to come....
here are some shots of the basic box i have in at the moment. like i said, it is your basic everyday box. should be quite a change once i am done. you can't see it in the pics, but there is a 't' bracket on the front bottom of the box. it was screwed in to the bottom of the box,then a small slit cut into the carpet in to allow it to pass through and another screw to hold it in place set into the trunk floor.
nothing else will be done until monday. going to give it 2 full days to fully cure. more to come....
#13
04-22-2007, 11:56 AM
#15
04-24-2007, 12:48 AM
monday was a messy day. lots of sanding, and even though i wore long sleeves i can feel the fiberglass itching on my arms.
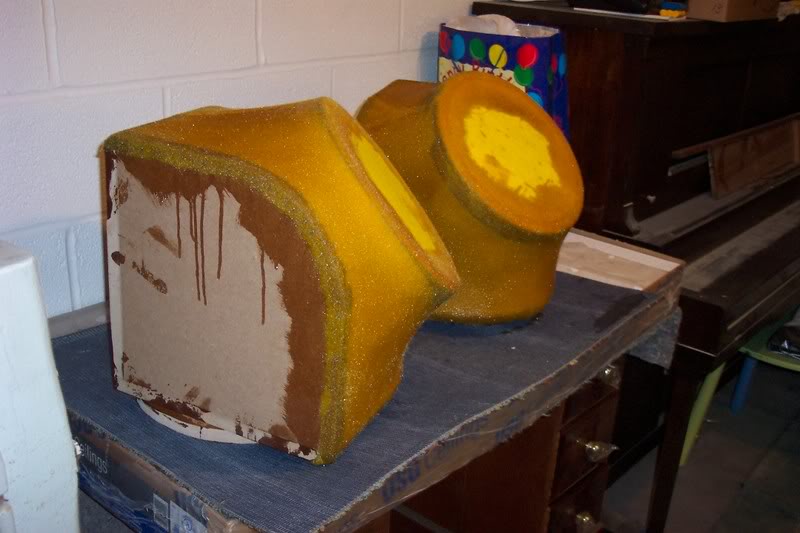
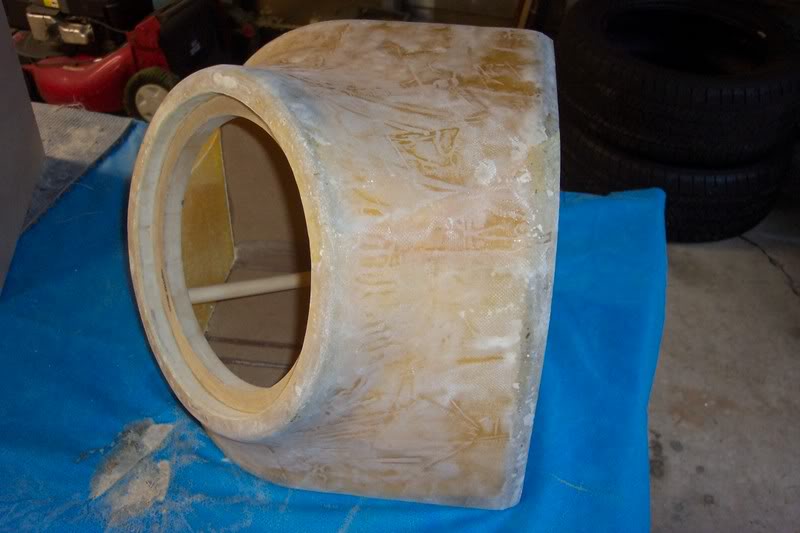
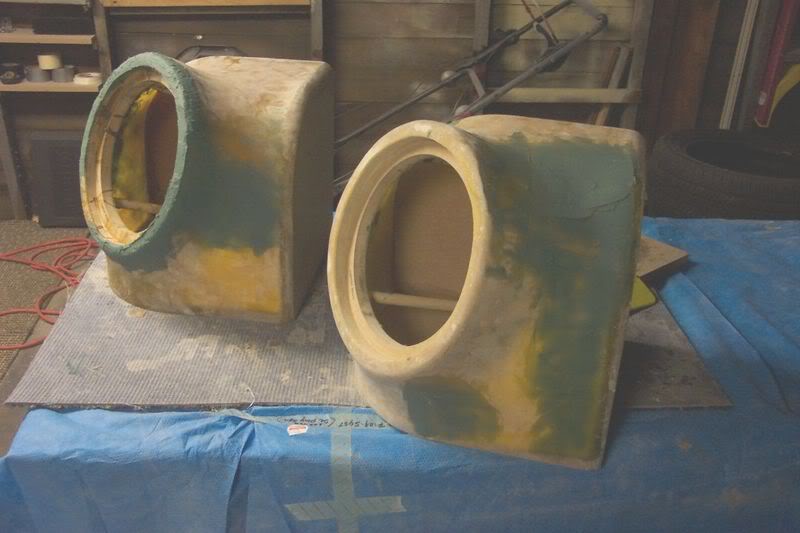
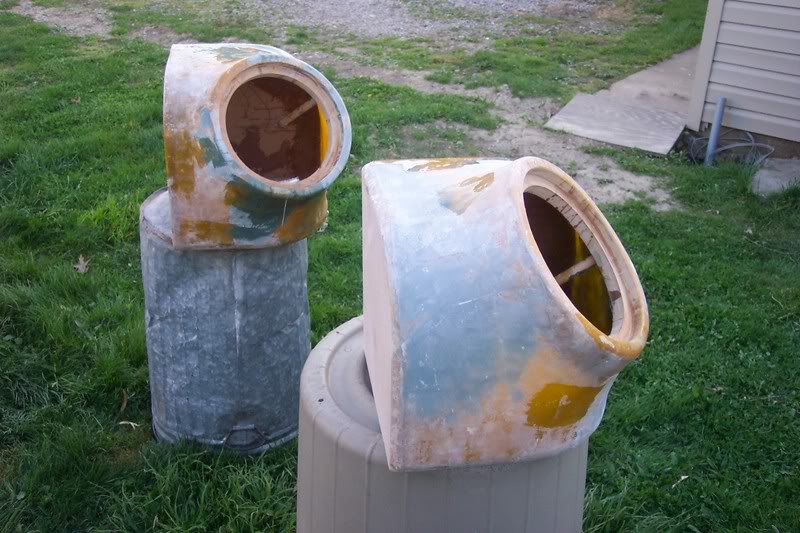
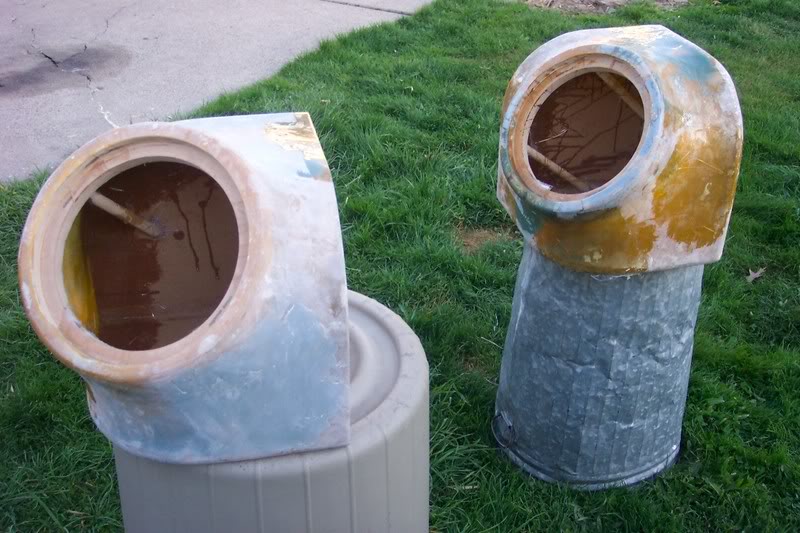
here are the boxes, outer fiberglass done and sides and back belt sanded to be flush with the wood
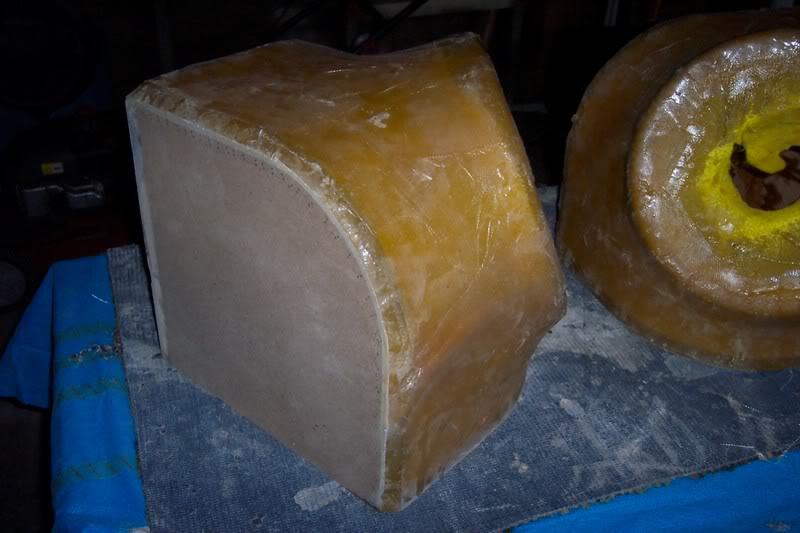
sand, sand, sand, sand, sand..... unfortunately my friend who is helping me wore short sleeves and shorts. he won't do that again ever in his life...
one box done, one to go
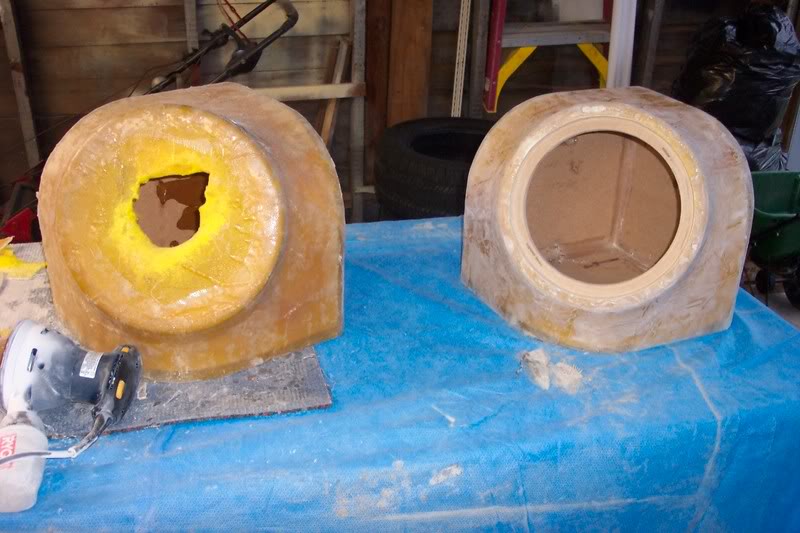
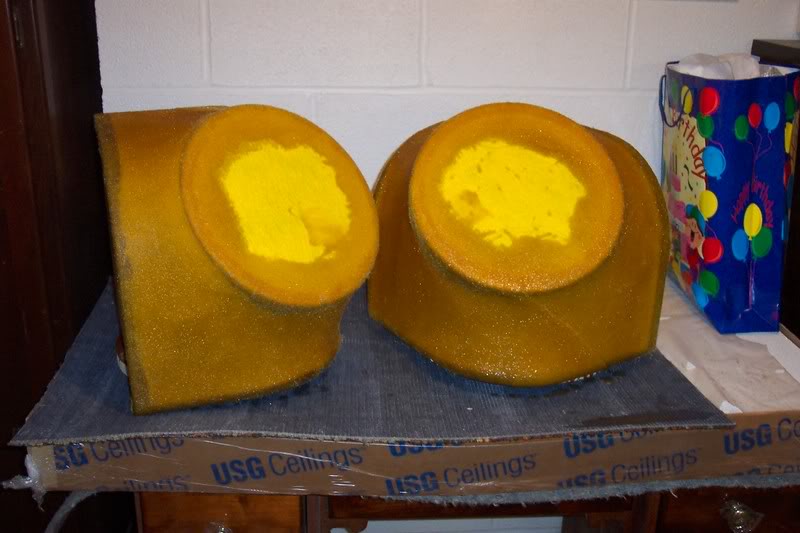
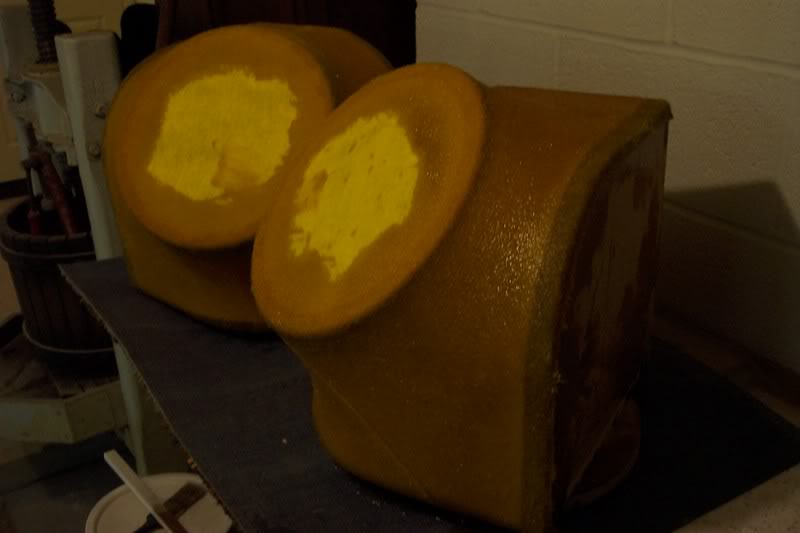
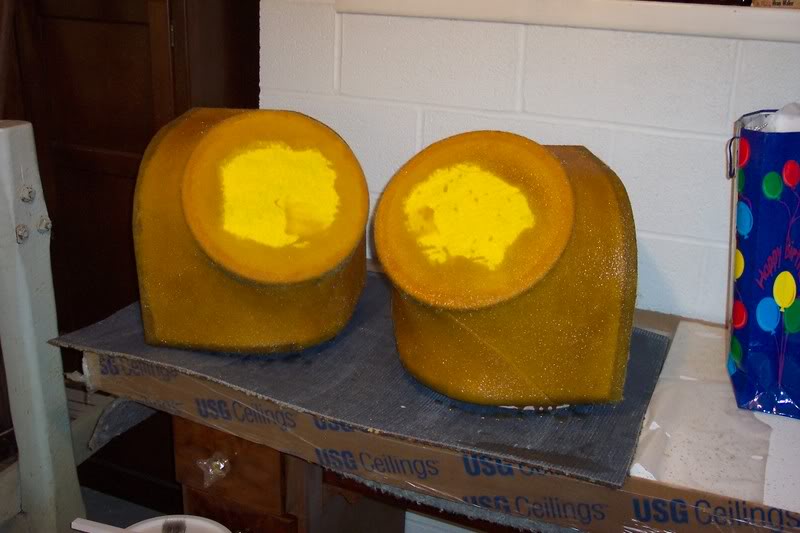
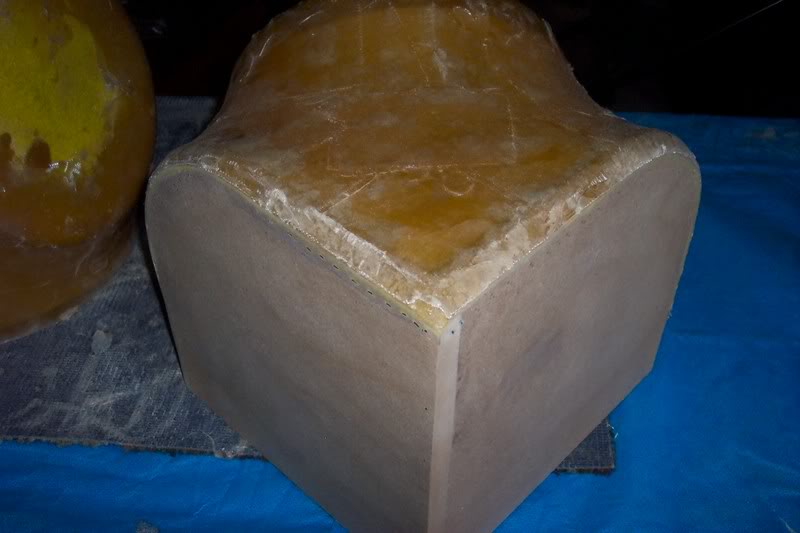
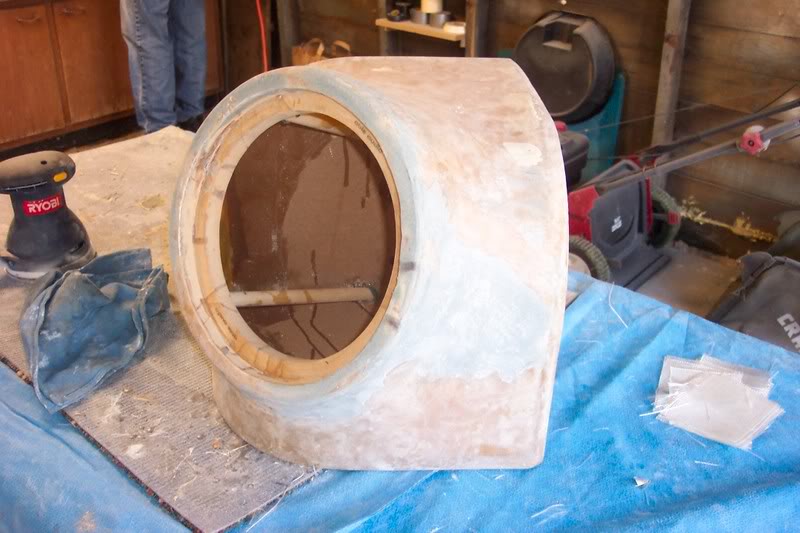
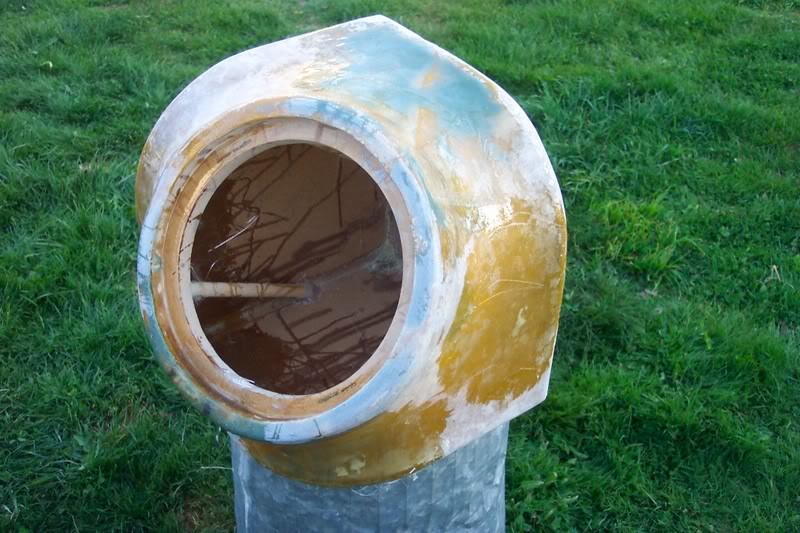
both boxes are sanded and cut open (felt like christmas morning!). used some duraglass to smooth out where the seams were located and some around one of the rings. used a bit too much resin when i was putting the last layer over the ring edge and got some bubbles, which just sanded right off in chunks.

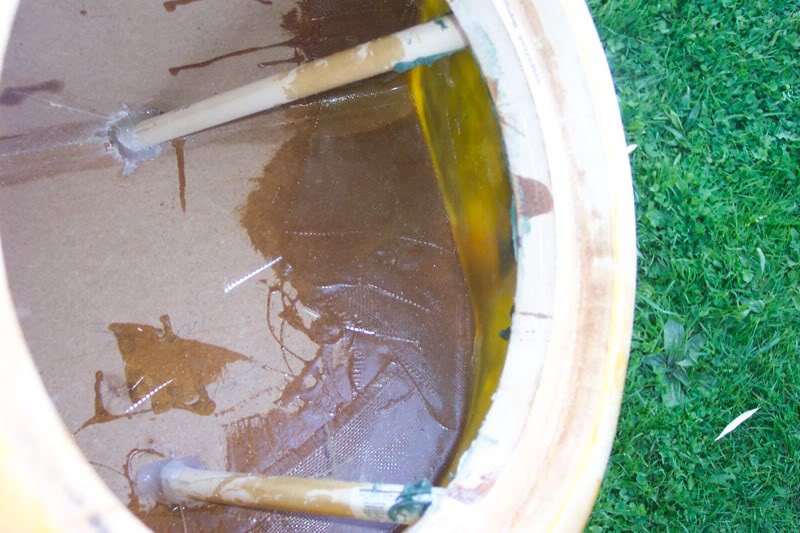
gooped on the duraglass to seam up where the ring meets the fiberglass on the inside
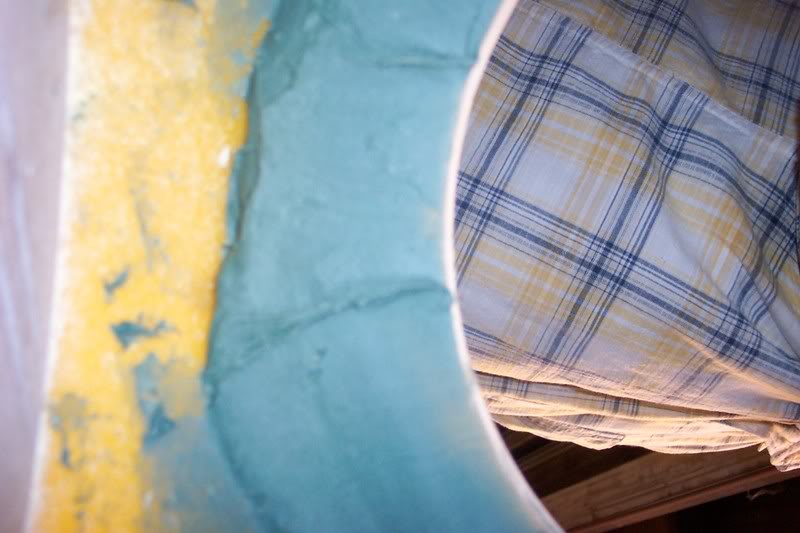
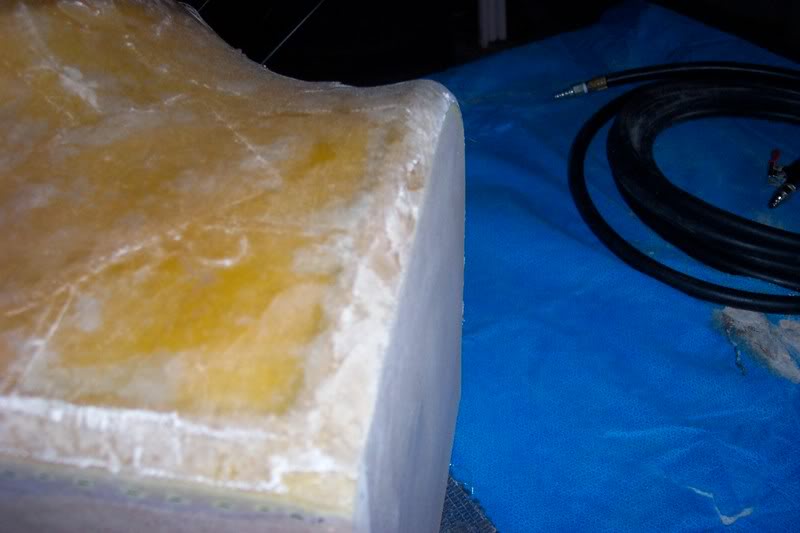
made sure to goop the hell out of where the support dowels were
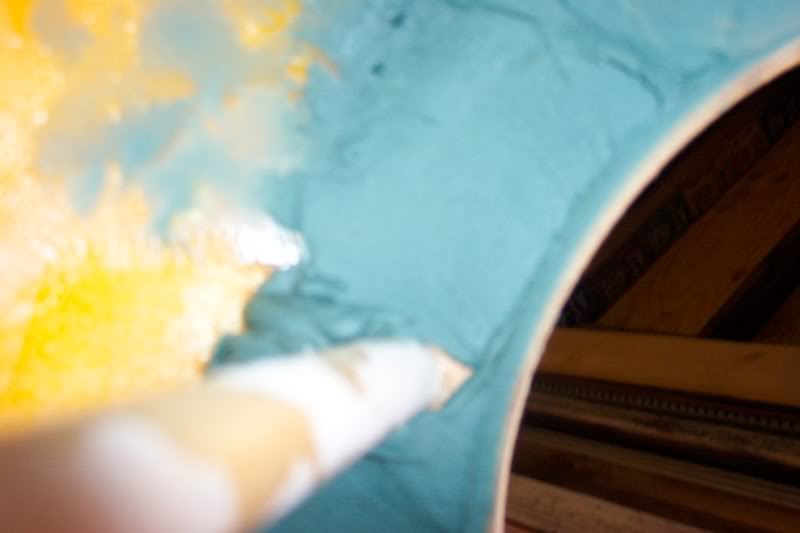
i also layed down a layer of fiberglass cloth and resin on the inside where ever the cloth met wood for extra support. more sanding tomorrow and another layer of cloth on the inside, then it will be ready for the layer of padding and then off to the leatherman.
here are the boxes, outer fiberglass done and sides and back belt sanded to be flush with the wood
sand, sand, sand, sand, sand..... unfortunately my friend who is helping me wore short sleeves and shorts. he won't do that again ever in his life...
one box done, one to go
both boxes are sanded and cut open (felt like christmas morning!). used some duraglass to smooth out where the seams were located and some around one of the rings. used a bit too much resin when i was putting the last layer over the ring edge and got some bubbles, which just sanded right off in chunks.
gooped on the duraglass to seam up where the ring meets the fiberglass on the inside
made sure to goop the hell out of where the support dowels were
i also layed down a layer of fiberglass cloth and resin on the inside where ever the cloth met wood for extra support. more sanding tomorrow and another layer of cloth on the inside, then it will be ready for the layer of padding and then off to the leatherman.
#16
04-24-2007, 04:19 PM
#17
04-24-2007, 06:35 PM
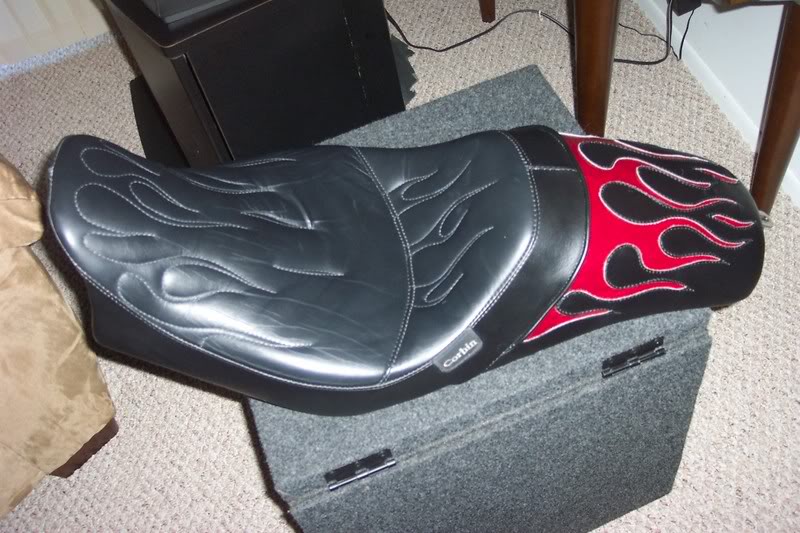
to date, i have about $250 in parts and material alone and over 20 hours of labor, with more labor yet to be completed.after all that is done, i still have to pay the leatherman to cover them for me which is not going to be cheap. it cost me $70 just to havemy motorcycle seat taken apart and one piece of leather (red)replaced on it.
to build another set of these for someone else is something that i doubt i would ever do. i would have to charge youa minimum of $500 for a set of dual boxes like this with no leather, and most likely more than that.
goingto finish the inside build up on the walls and outside sanding now. hopefully post more pics later tonight.
#19
04-24-2007, 11:00 PM
tuesday updates
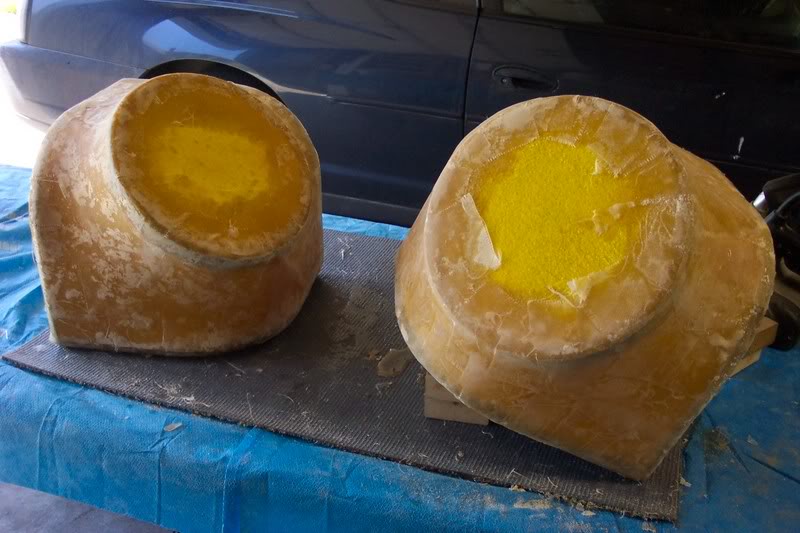
everything dried overnight.
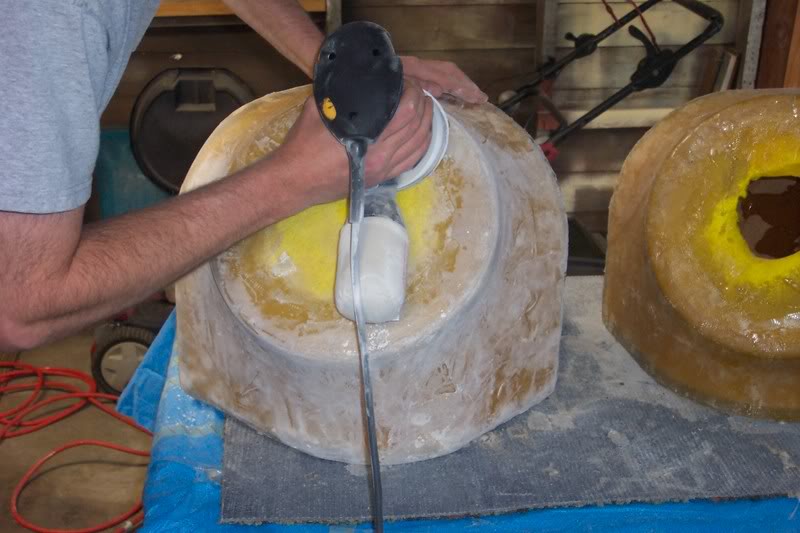
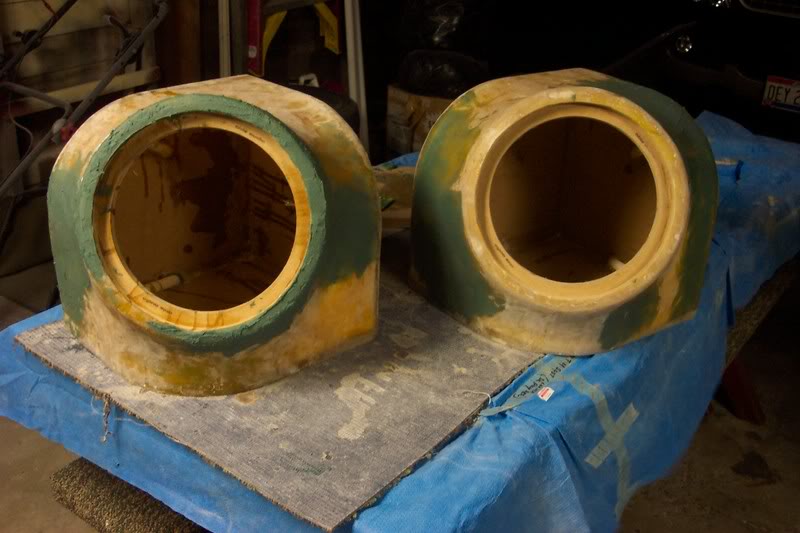
time to get to sanding again. this is what i ended up with
added a second layer inside the box at all wood/fg edges
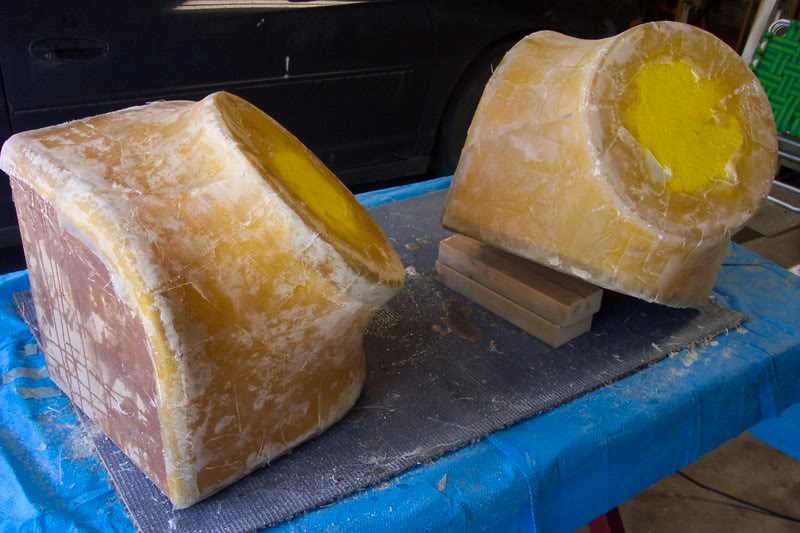
time for the first test fit. i got a bit excited and snapped the pics before i seated the sub all the way into the frame though. found one weak spot on the right side of the sub, so that got an extra 2 layers of cloth later in the pics
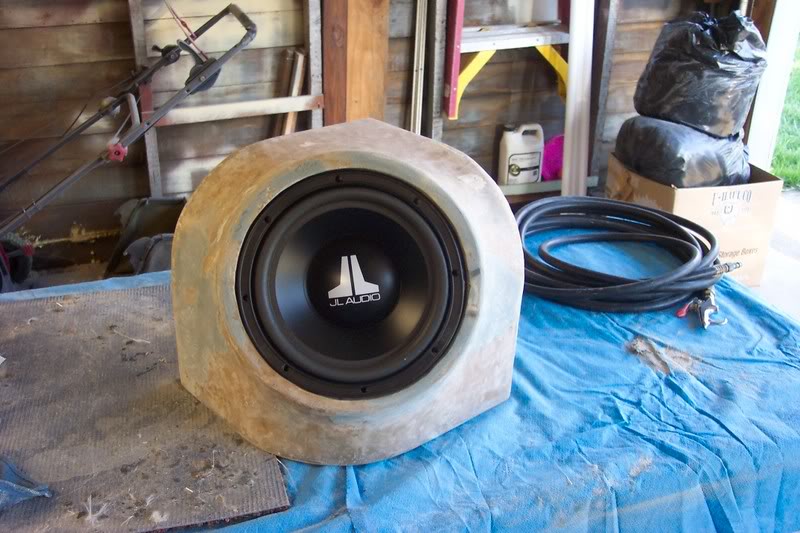
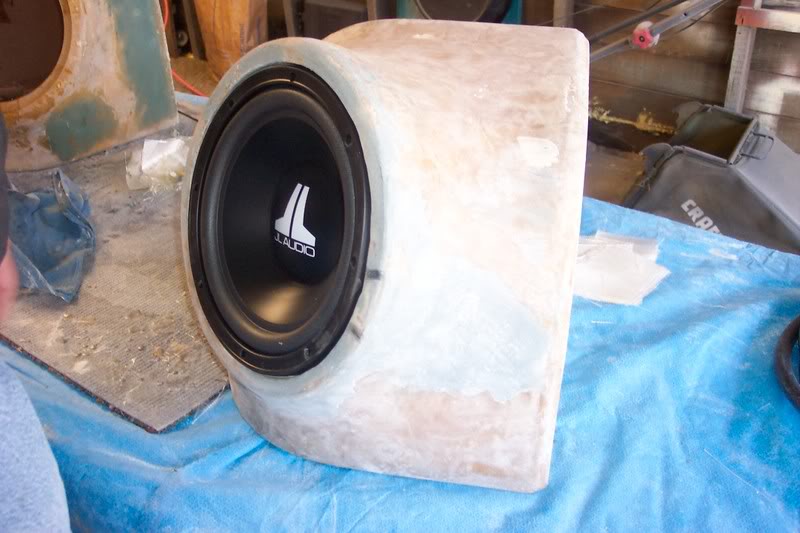
final touch up spots are dealt with for a few small areas and left to dry over night.
will be no updates til thursday night. got tickets for the cavs game tomorrow and i need a break from this anyways. thursday will get the final sanding and then covered with some special rubber padding. friday it goes to the leather man.
everything dried overnight.
time to get to sanding again. this is what i ended up with
added a second layer inside the box at all wood/fg edges
time for the first test fit. i got a bit excited and snapped the pics before i seated the sub all the way into the frame though. found one weak spot on the right side of the sub, so that got an extra 2 layers of cloth later in the pics
final touch up spots are dealt with for a few small areas and left to dry over night.
will be no updates til thursday night. got tickets for the cavs game tomorrow and i need a break from this anyways. thursday will get the final sanding and then covered with some special rubber padding. friday it goes to the leather man.