
Retrofitting HID's
#1
 04-04-2014, 08:44 PM


Yo, I'm new to the forums but I've been reading for like 4 weeks now.
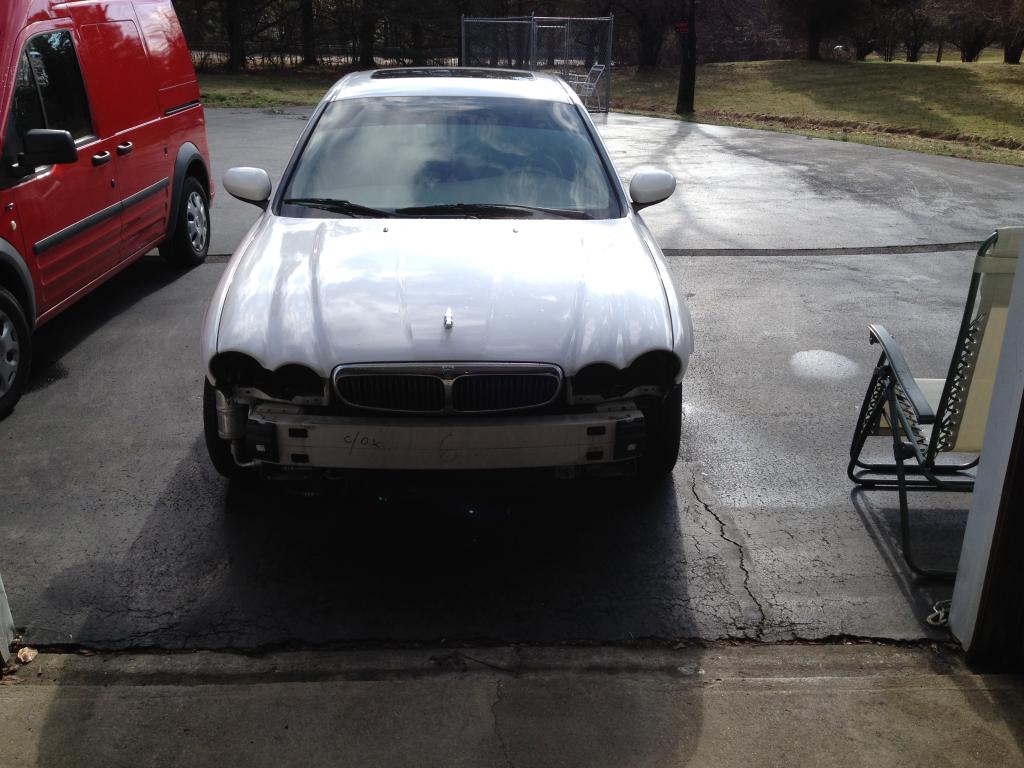
Grabbed a 2002 X-Type from Jersey a few weeks back, 44k miles, White, clean in and out.
Becoming a bigger fan every day.
News: Already had a side marker cut off(connector, bulb, and housing), popular ride, huh?
So far: 15% tints all the way, front windshield strip, I like my privacy and auto-sunglasses, ha.
HID's came in 2 weeks ago. I've done HID's in the past 4-5 cars I've owned that didn't come with factory HID's. I tend to think I know what I'm doing, but most of the time its truly plug-and-play (bulb unplugs, harness plugs directly into ballast, mount and go roll a joint, etc.),
Obviously on our Jag's things are a little bit different with the large assembly multi-plug and each bulb having its own power and ground inside the assembly. I tried installing them in the most logical way I could see, power to power, ground to ground. Low beam first, didn't work. Tried troubleshooting that in the cold weather, got frustrated, called it quits.
Instead I just kept searching and reading the forums trying to diagnose a possible problem or a similar situation somebody else might have experienced.
I read the guides, the installs, the problems, the solutions. I feel like I got to know most of you with your names popping up consistently, hah!
Now I took another crack at it today, pulled the bumper cover off again, this time started with the fogs.
I don't plan to sell the car or ever revert back to halogen so I cut my connectors, just like I did with the low beams but this time.. success!
Success with the fogs, installed the HID bulbs differently than modding the H11 bulb base, they both fire on, nice crisp 3000k.
My high beams are also firing on, 5000k.
My low beams should be a crispy match at 5000k as well but...
The problem came with the discovery that the low beams even after confirming and retrying the correct installation method (red to yellow, black to brown) and checking every silly thing that can occur(backwards HID connectors, I think I remember Thermo reiterating that point a few times, has happened to me too) I still couldn't get light from the low beams on either side. The ballasts are good and the bulbs are good as I tried all 6 on a working power source.
Gave up for a little while and instead got to sealing up the newly modded headlight assemblies and foglight assemblies, so while I'm letting those dry I got back to research. A buddy suggested to hit the fuse box, I'm kicking myself for not thinking of it sooner (remembering then the little spark I made when I was trying to test the HID color). I found only one fuse busted, a yellow 20, in a line of 5, with a space, another fuse and 2 spaces... before finding another little paragraph by Thermo describing a line of 5 fuses a space, a fuse and 2 spaces... and exactly which one of those was the low beam/dip beam fuse.
Guess what the blown yellow 20 was for?
Progress!
So as I type this, sealant is drying, assemblies are becoming finished works of art, and I wait to plug the entire assembly in on both sides and have all 6 lights successfully fire when switched on.
Here we are..
That's how I ended up a member of jaguarforums.com. Bam.
Now if anybody wants to give me a great suggestion for forming a weathertight seal over the back of one of my high beams? The cover must have been loose when I put the assemblies back in and its now road-food.
I can always buy one but the dealer price is probably outrageous and I like working with my hands plus I've got stuff lying around. Obviously not the right forum for this inquiry but I figured I'd do a little more than test the temperature with my toe.
#2
04-05-2014, 02:07 AM

#3
04-05-2014, 07:50 AM

Veteran member
Join Date: May 2008
Location: Great Mills, MD
Posts: 14,411
Likes: 0
Received 3,902 Likes
on
3,206 Posts
DayDhreamz, good to hear that my previous posts helped you come to a resolution with your problems. Sometimes it is the easy things that can kick our butts.
As for sealing up the rear of the high beams, what I would say to do is to get yourself a busted headlight assembly (the inner posts are known to break) and then steal the cover off of that. Odds are, you are not going to be able to get just the cover off of the headlight. Instead you would have to buy the whole light assembly for a pretty nice price.
The other thing that I would suggest is to make a hole in the back of the cover just big enough to slip the wires through and then seal that up with some RTV. That way, even if the cover happens to pop off, it will be retained by the wiring. You can also use a little bit of electrical tape to provide more of a rain hood over the top of the hole and then seal the bottom of the hole with the RTV. This will allow easier access later. The downside is the the electrical tape does not always hold as well as the RTV does.
#4
04-05-2014, 11:36 AM
So, everything works besides the left side low beam.
Tried backwards wires, double and triple checked my splices and connections.
The bulb and ballast were both good when I tested them initially.
Changed the fuse for the low beams and got the right one to fire up, checked fuses again, nothing blown.
Not sure where to look next.
5 out of 6 lights on.
In the meantime:
Going to resurface my headlights today.
Waiting on a replacement passenger tail light from ebay, mine came with a hot-glue-hot-fix.
Ordered my Europlate.
Going to VHT Night/Clear the tails.
I might do an LED conversion.. not a fan of the halogen accent lights.
Looking for: Roof Rack made for an X-Type, eBay has nothing but non-locking junk.
Trying to find clear side markers on ebay but the ones I find for sale don't look anything like an X-Type marker light (no slanted edge and a bulb holder that goes straight into the engine bay, not on an angle). If anybody can point me towards 2 pairs that aren't 60-100$ a pair, I'd be grateful.
^Also on the note of markers, what can I do about a bulb-holder/connector? Do I need a new harness or can I get a bulb-holder separate? Or by chance would the clear markers(if I can find them) possibly come with holders that need splicing?
Going to take pictures of the ride after I resurface the headlights and wash the car.
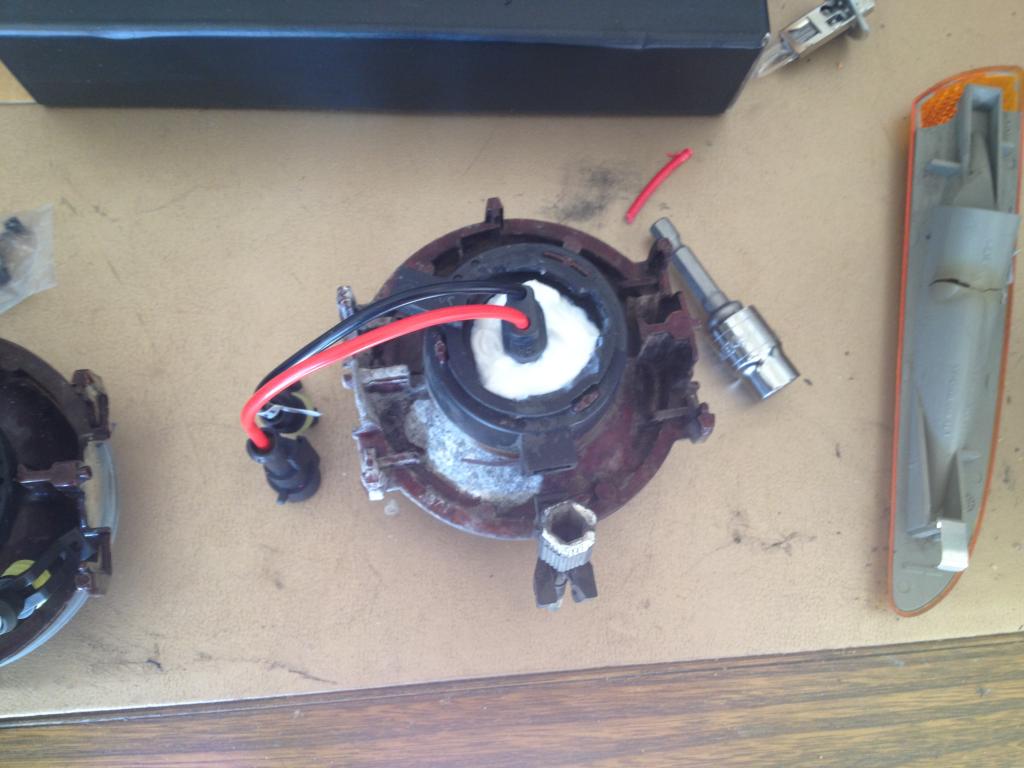
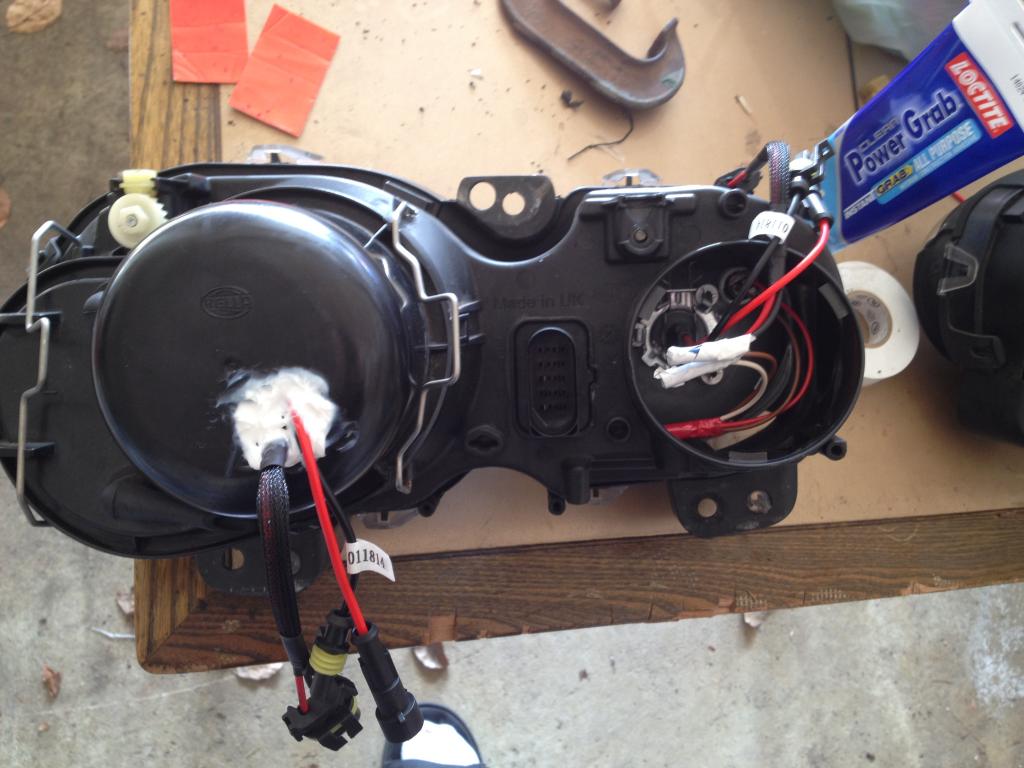
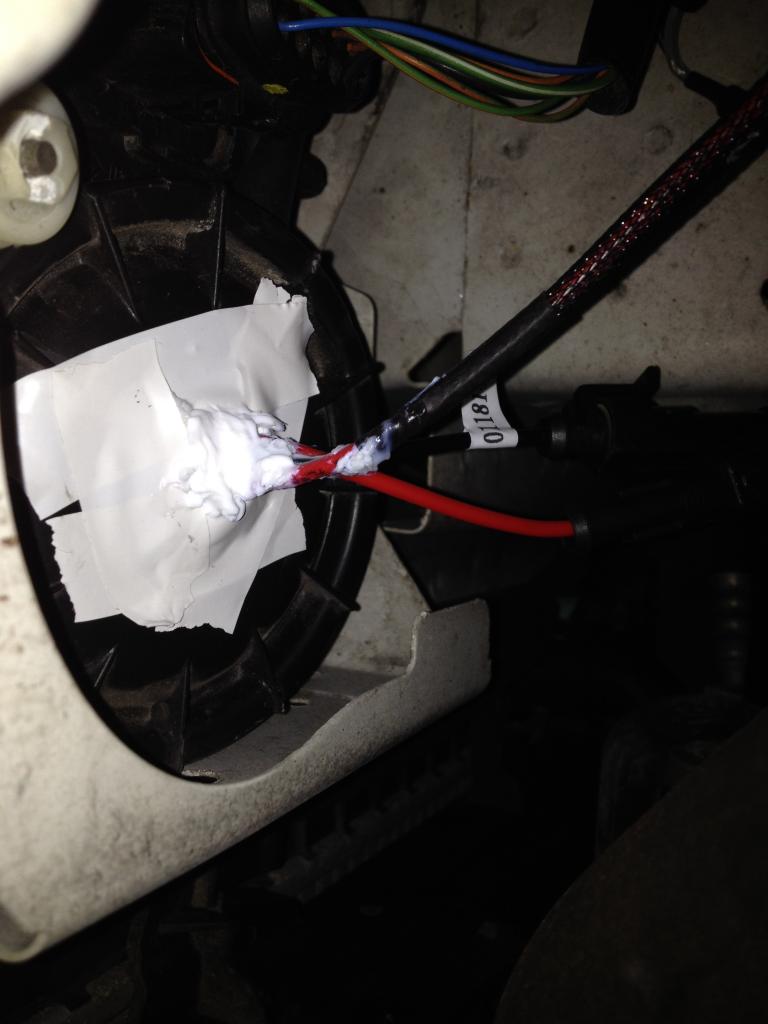
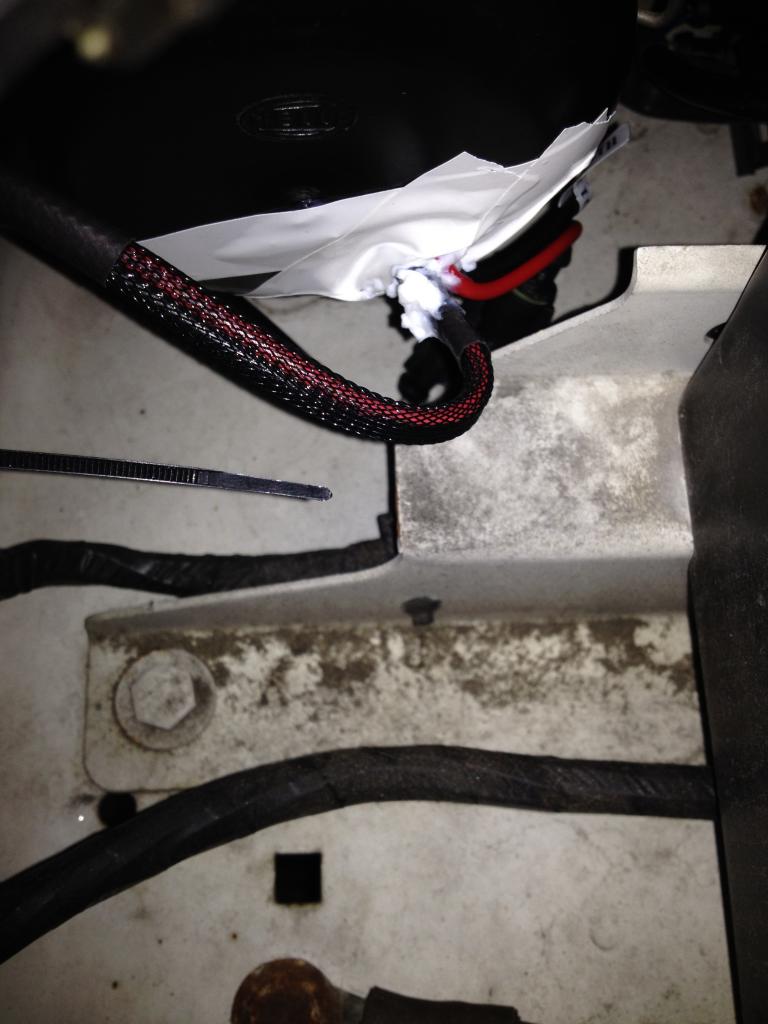
Here are some pictures of my headlight assemblies and mounting points for ballasts.
I went a little sloppy with the sealant but I'd rather it be sealed than look mint for now. Covered up the backs of all the housings with electrical tape for extra protection.

Fog Housings

Headlight assemblies


Taped
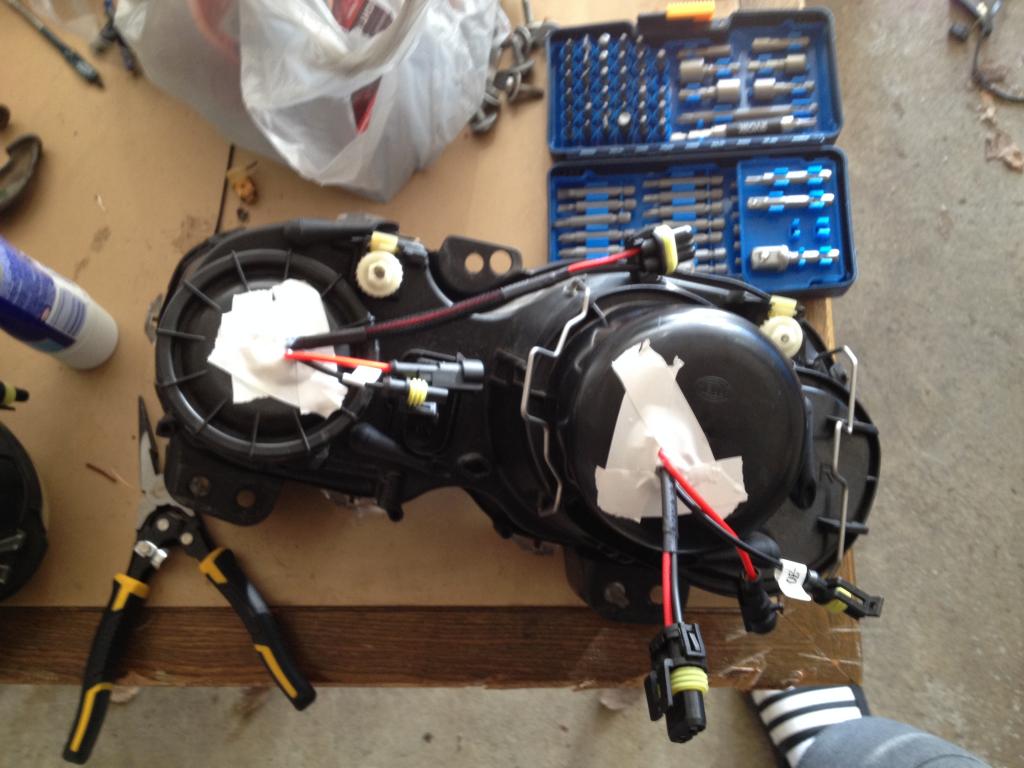


Can't work without it

Foglights taped/finished

The 35w Slim Ballasts make mounting a @#!*% joke. They're light, they'll mount with the double-sided tape or zip-ties and never go anywhere.


Like I said, I'll take pictures of a much more finished product and share with you guys. It'll be a work in progress for a while. If anybody can help with any of the above issues I'd be super grateful!
Tried backwards wires, double and triple checked my splices and connections.
The bulb and ballast were both good when I tested them initially.
Changed the fuse for the low beams and got the right one to fire up, checked fuses again, nothing blown.
Not sure where to look next.
5 out of 6 lights on.
In the meantime:
Going to resurface my headlights today.
Waiting on a replacement passenger tail light from ebay, mine came with a hot-glue-hot-fix.
Ordered my Europlate.
Going to VHT Night/Clear the tails.
I might do an LED conversion.. not a fan of the halogen accent lights.
Looking for: Roof Rack made for an X-Type, eBay has nothing but non-locking junk.
Trying to find clear side markers on ebay but the ones I find for sale don't look anything like an X-Type marker light (no slanted edge and a bulb holder that goes straight into the engine bay, not on an angle). If anybody can point me towards 2 pairs that aren't 60-100$ a pair, I'd be grateful.
^Also on the note of markers, what can I do about a bulb-holder/connector? Do I need a new harness or can I get a bulb-holder separate? Or by chance would the clear markers(if I can find them) possibly come with holders that need splicing?
Going to take pictures of the ride after I resurface the headlights and wash the car.
Here are some pictures of my headlight assemblies and mounting points for ballasts.
I went a little sloppy with the sealant but I'd rather it be sealed than look mint for now. Covered up the backs of all the housings with electrical tape for extra protection.


Fog Housings


Headlight assemblies


Taped


Can't work without it

Foglights taped/finished

The 35w Slim Ballasts make mounting a @#!*% joke. They're light, they'll mount with the double-sided tape or zip-ties and never go anywhere.


Like I said, I'll take pictures of a much more finished product and share with you guys. It'll be a work in progress for a while. If anybody can help with any of the above issues I'd be super grateful!
Last edited by DayDhreamz; 04-05-2014 at 11:40 AM.
#5
04-05-2014, 03:12 PM
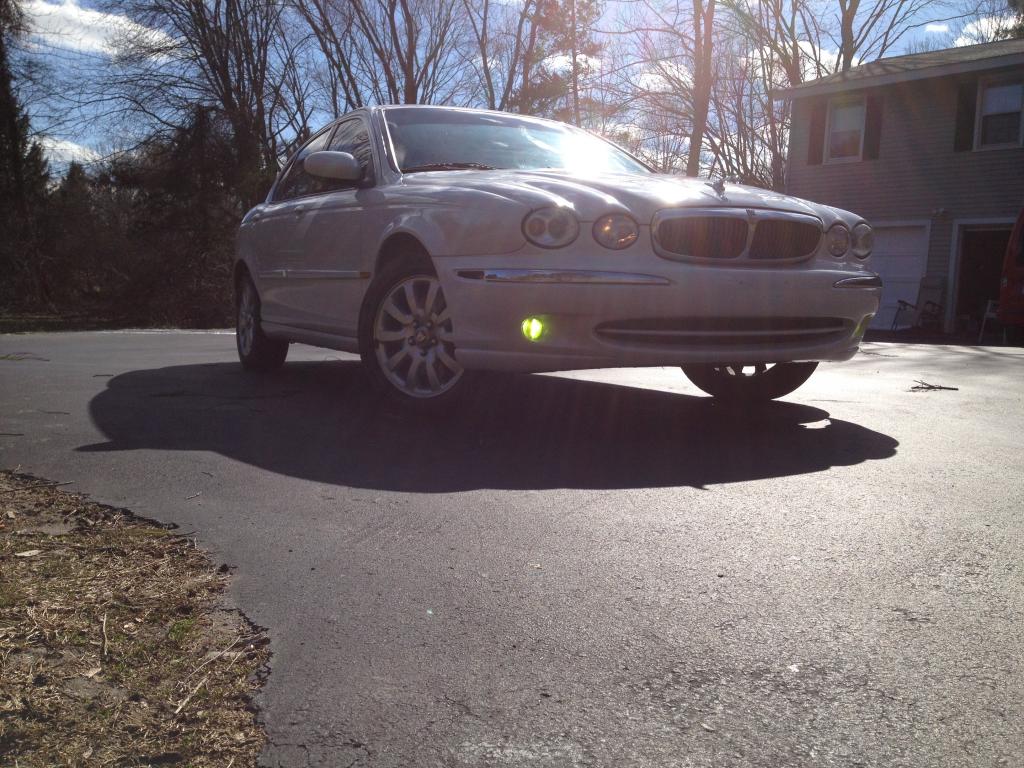
Reinstalled the bumper, resurfaced headlights, thorough wash.
Passenger side assembly Resurfaced but still suffering from condensation


Driver's side looks nice and crispy now

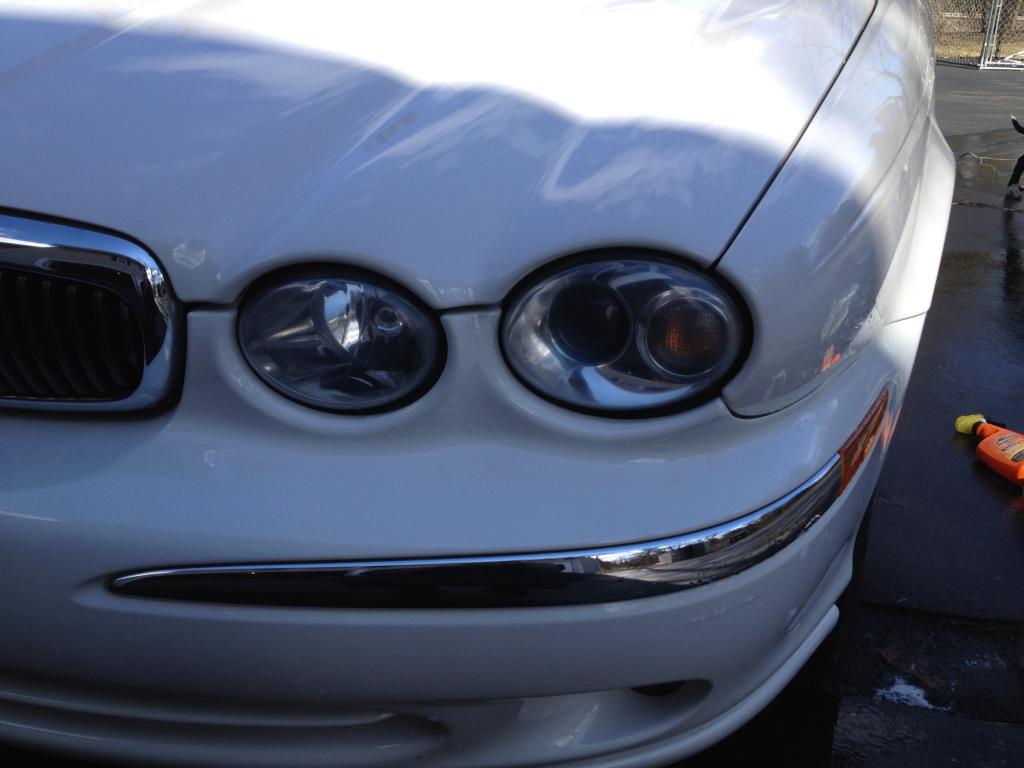
Comparison shot.. errr if it wasn't for the shadow.

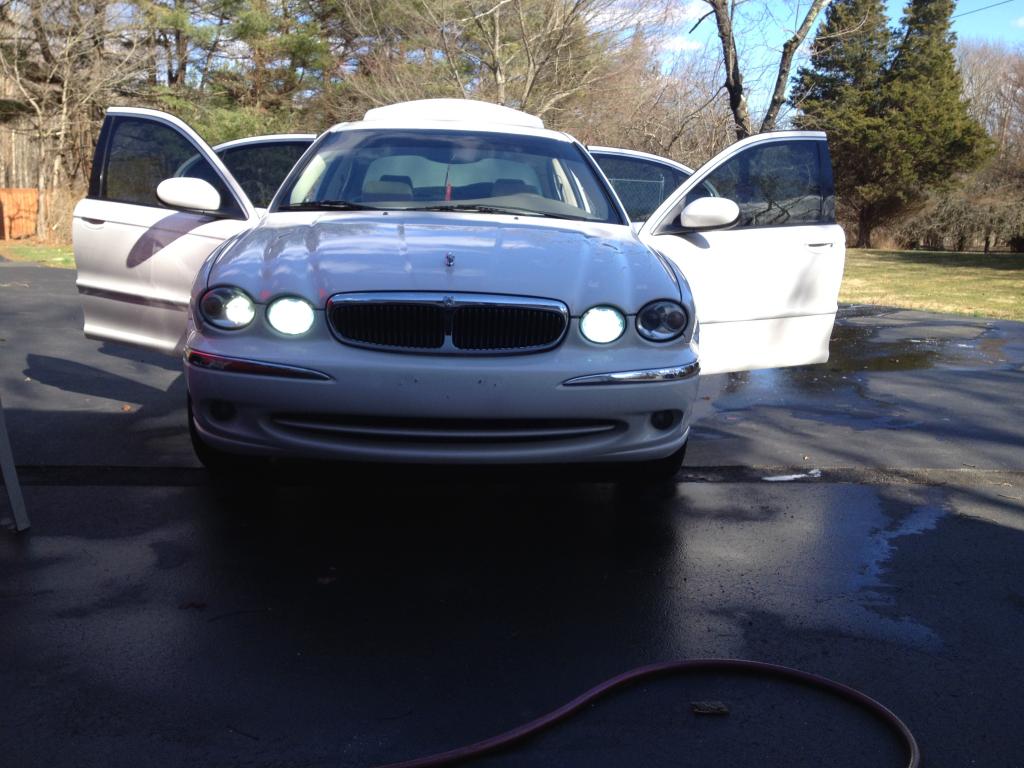
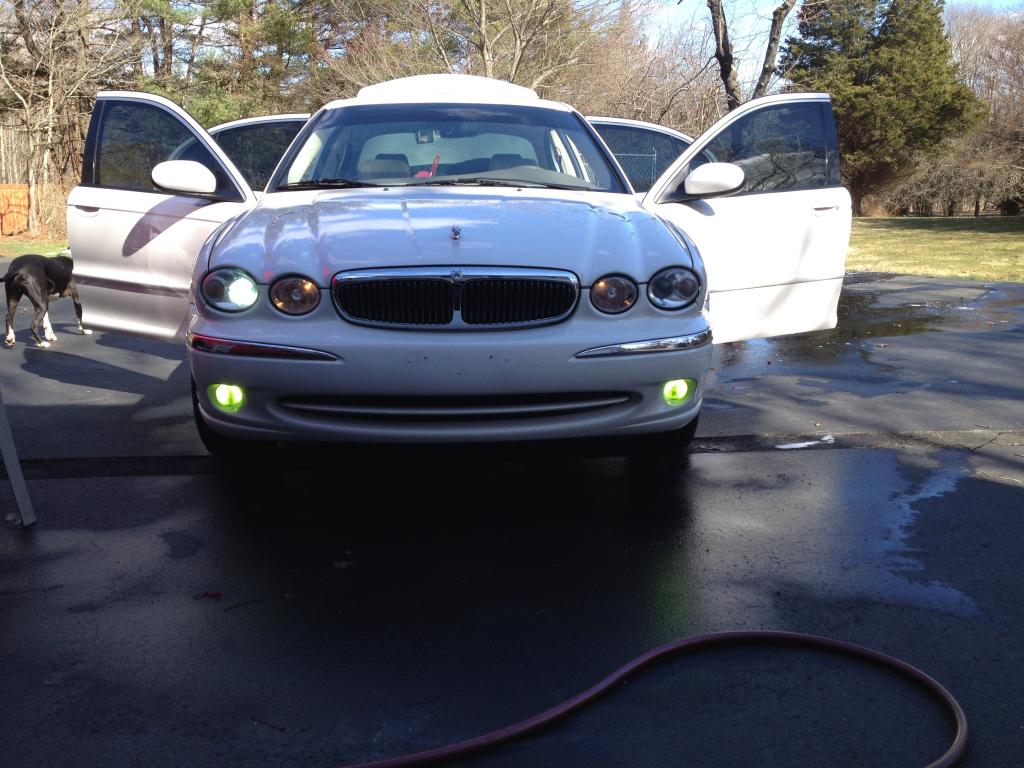
Here's how she looks minus one low beam after some TLC.

^
Highs and lows
Lows and fogs
v
Regarding the DRL's/Accents Is there a fuse I can pull instead of converting to LED? They are glaringly obvious with the HID's installed.
Not sure what I'm going to do about the lowbeam that isn't firing.
Passenger side assembly Resurfaced but still suffering from condensation


Driver's side looks nice and crispy now


Comparison shot.. errr if it wasn't for the shadow.

Here's how she looks minus one low beam after some TLC.


^
Highs and lows
Lows and fogs
v

Regarding the DRL's/Accents Is there a fuse I can pull instead of converting to LED? They are glaringly obvious with the HID's installed.
Not sure what I'm going to do about the lowbeam that isn't firing.

Thread
Thread Starter
Forum
Replies
Last Post
Currently Active Users Viewing This Thread: 1 (0 members and 1 guests)