

Some electric Upgrades
#1
 11-13-2013, 12:06 AM


I have done a lot of upgrades in the car and took some photos thought id post it here. I'll be constantly updating the thread as project is still under way.
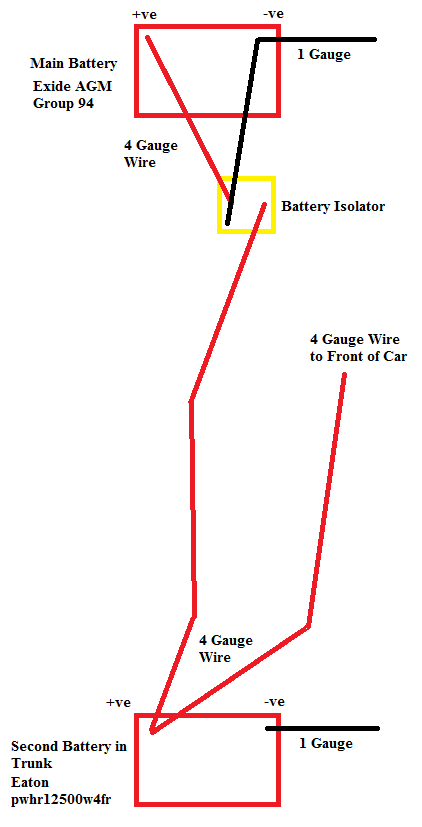
The Big Three Upgrade
Big Three Upgrade mainly includes:
1. Cable upgrade from Alternator Output to Battery Positive
2. Cable upgrade from Battery Negative to Car Chassis
3. Cable upgrade from Engine Block to Car Chassis
I also changed the cable coming from Starter motor to battery positive.

Dual Battery
Power Inverter for Laptop Charging
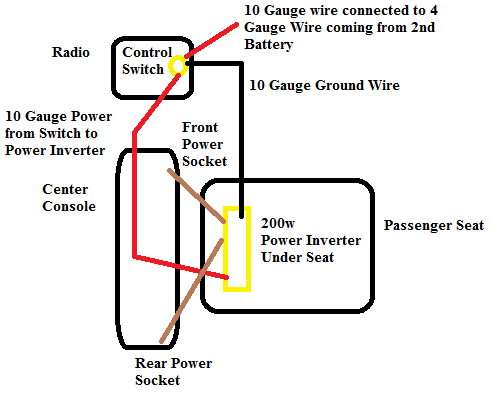
Power Inverter under Passenger Seat

The 2 extension wires going into center console. One in front of center console and one in the rear of center console.
The wires fished out of where the center console is.
New Radio

TV Antenna / GPS Antenna / WiFi Adapter
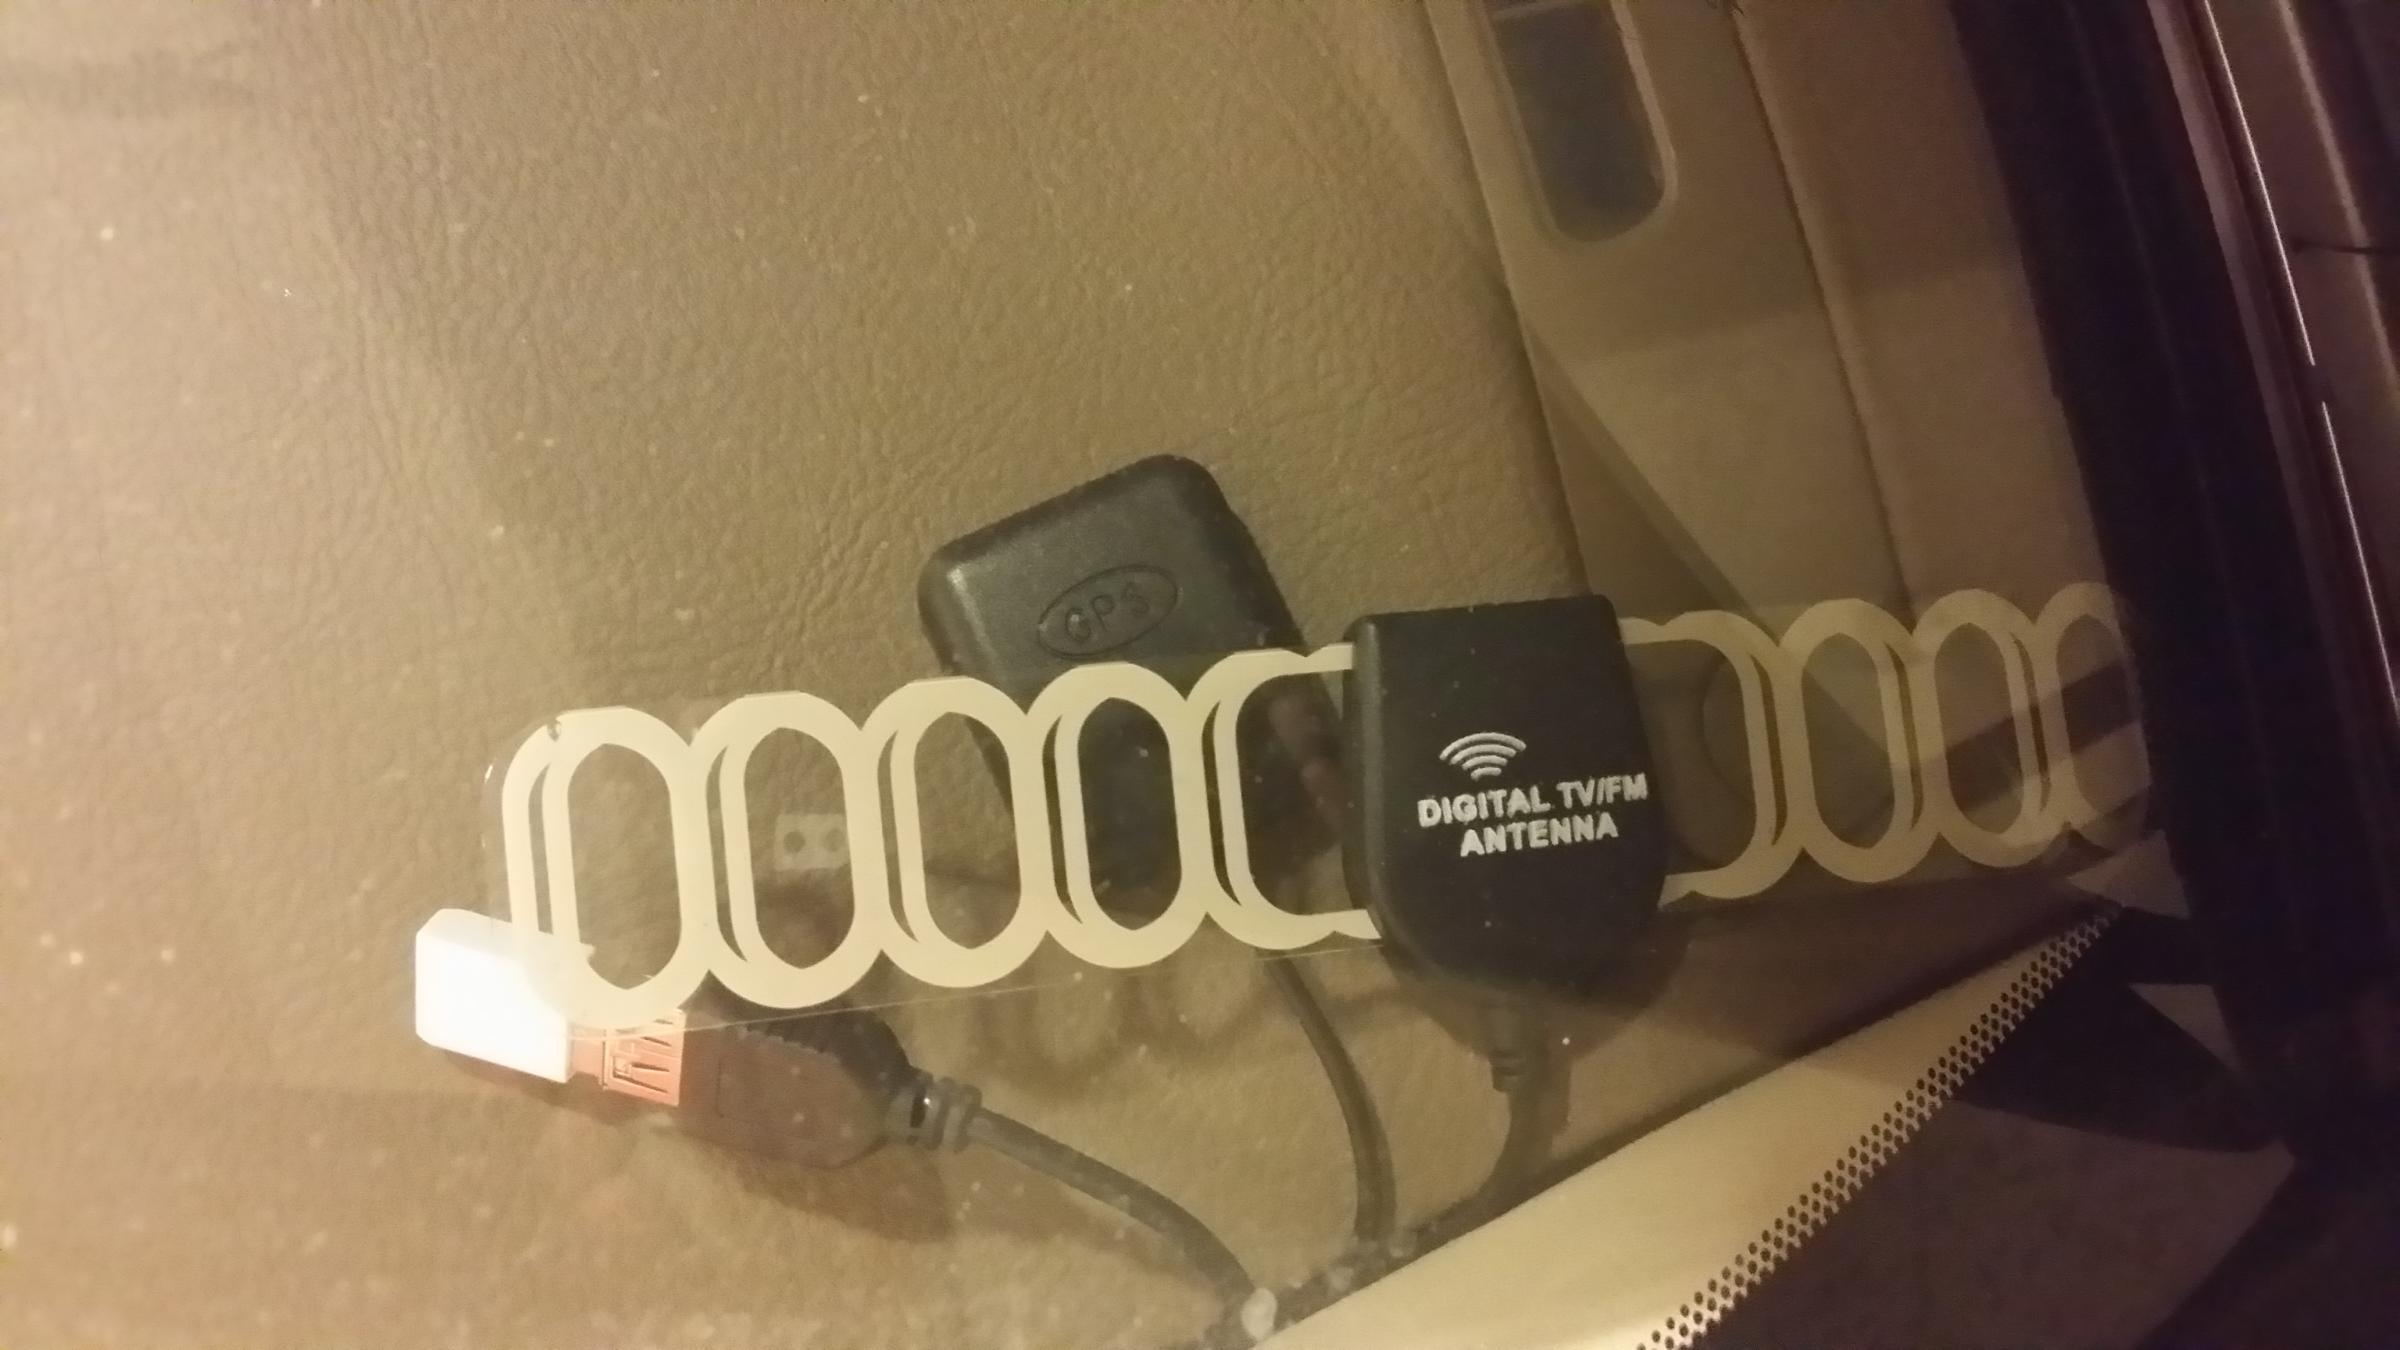
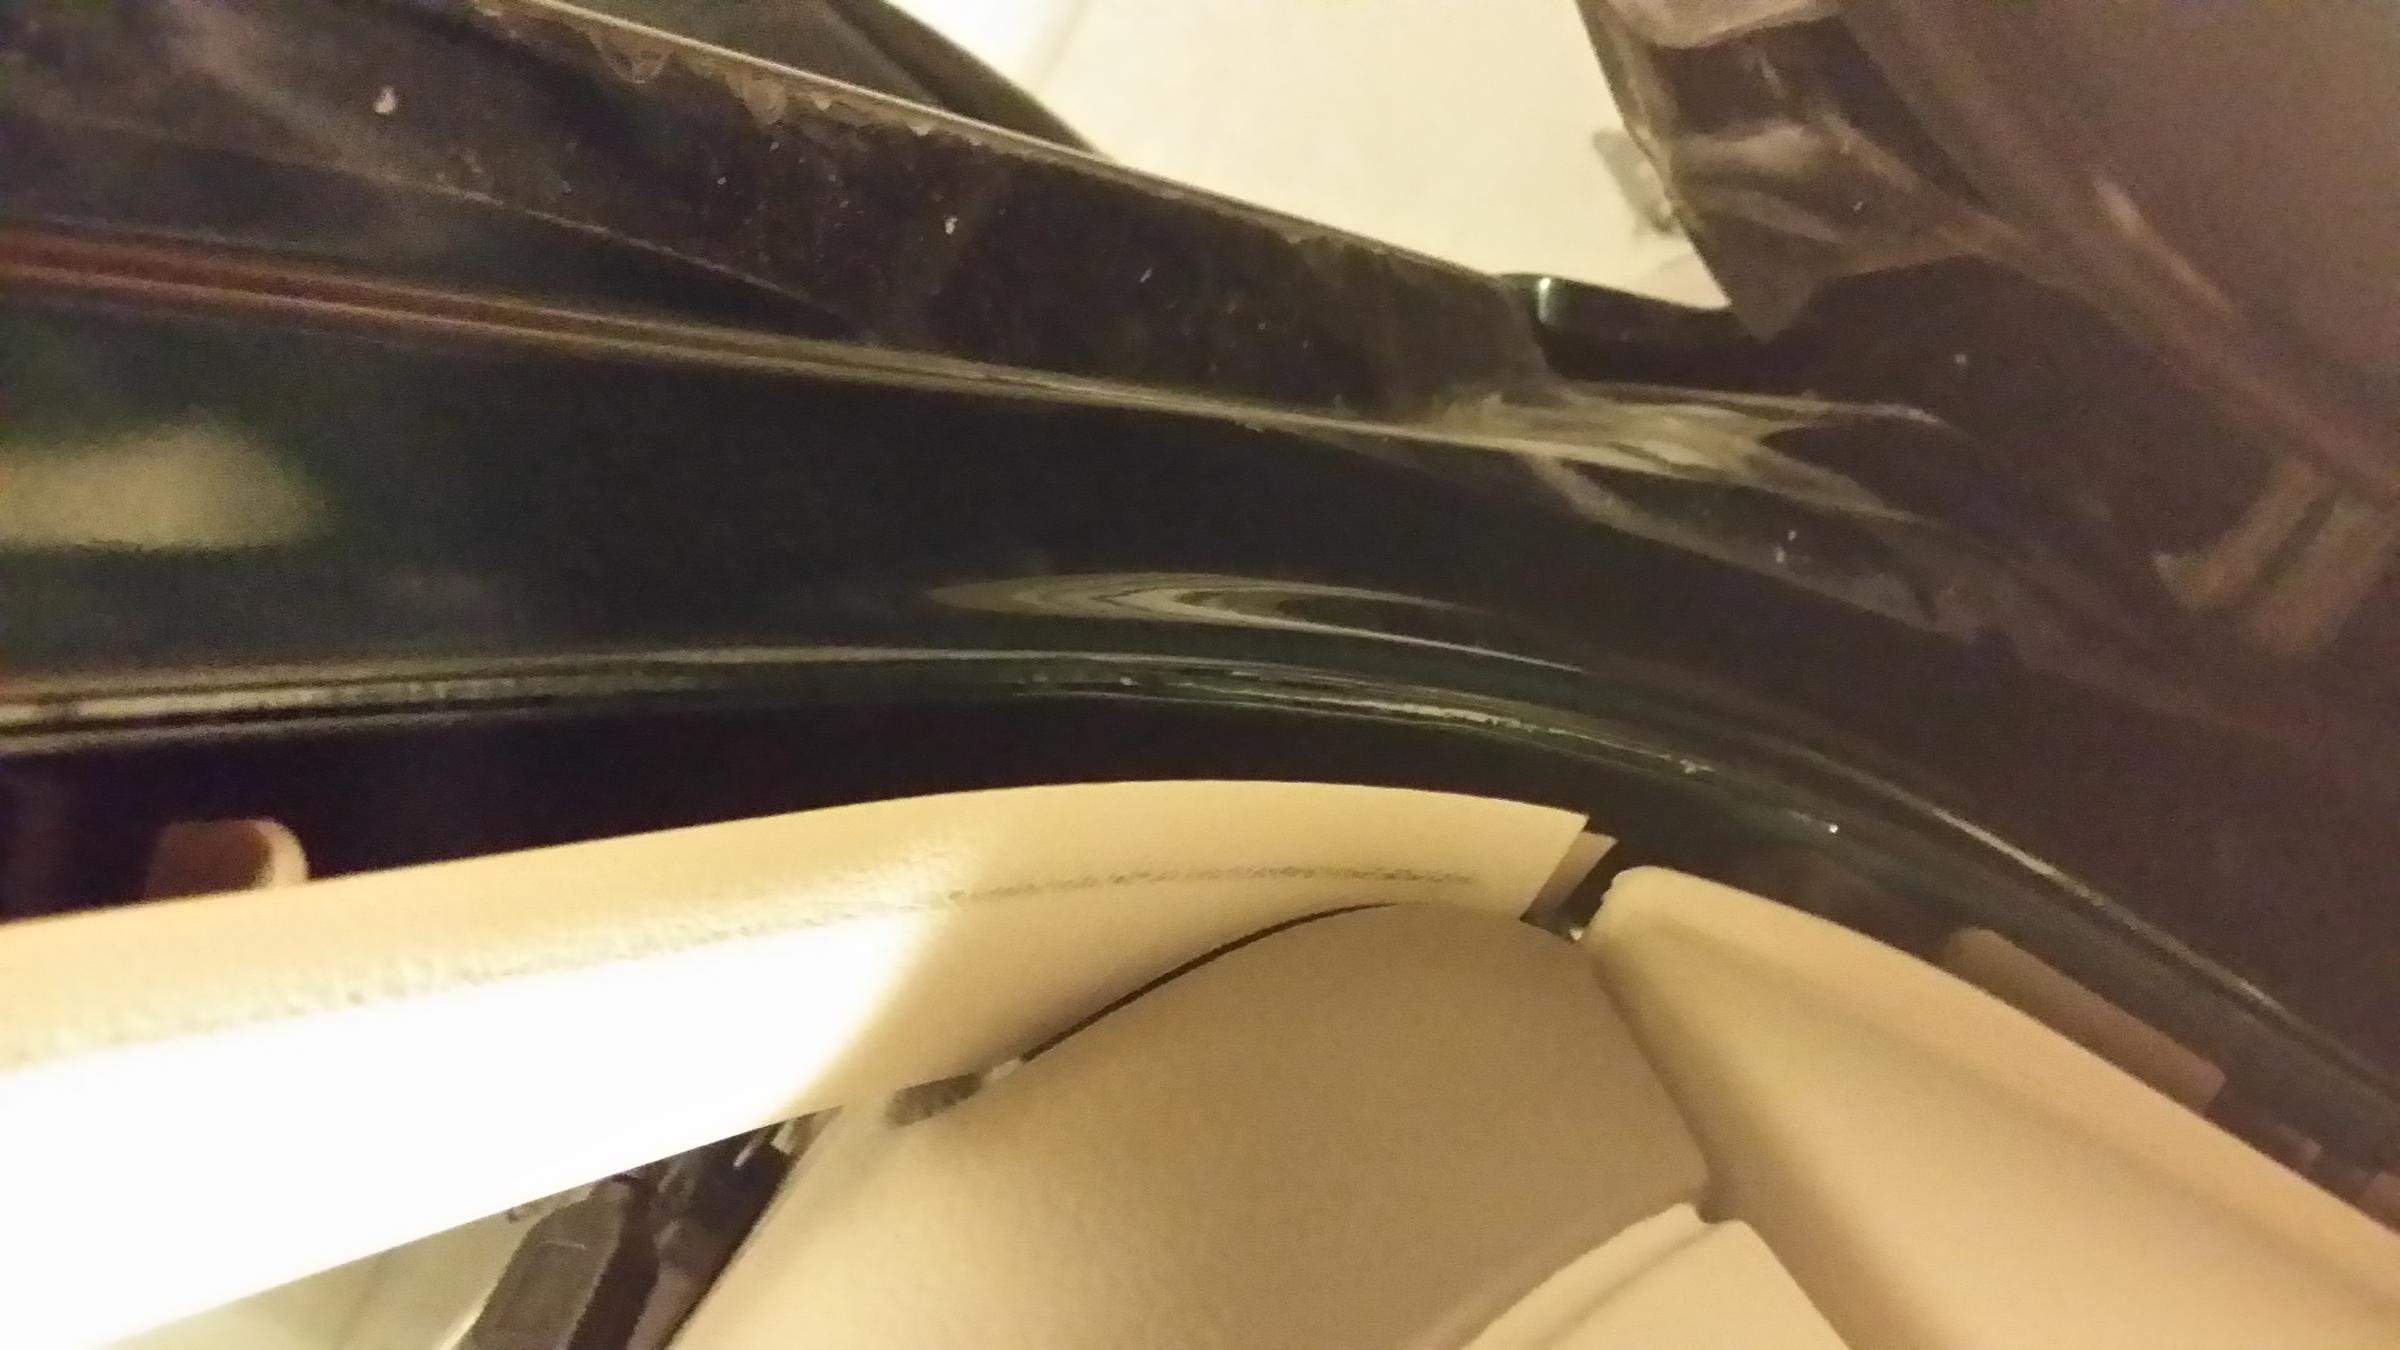
I had to take the passenger door weather strip uut to fish the wires through.
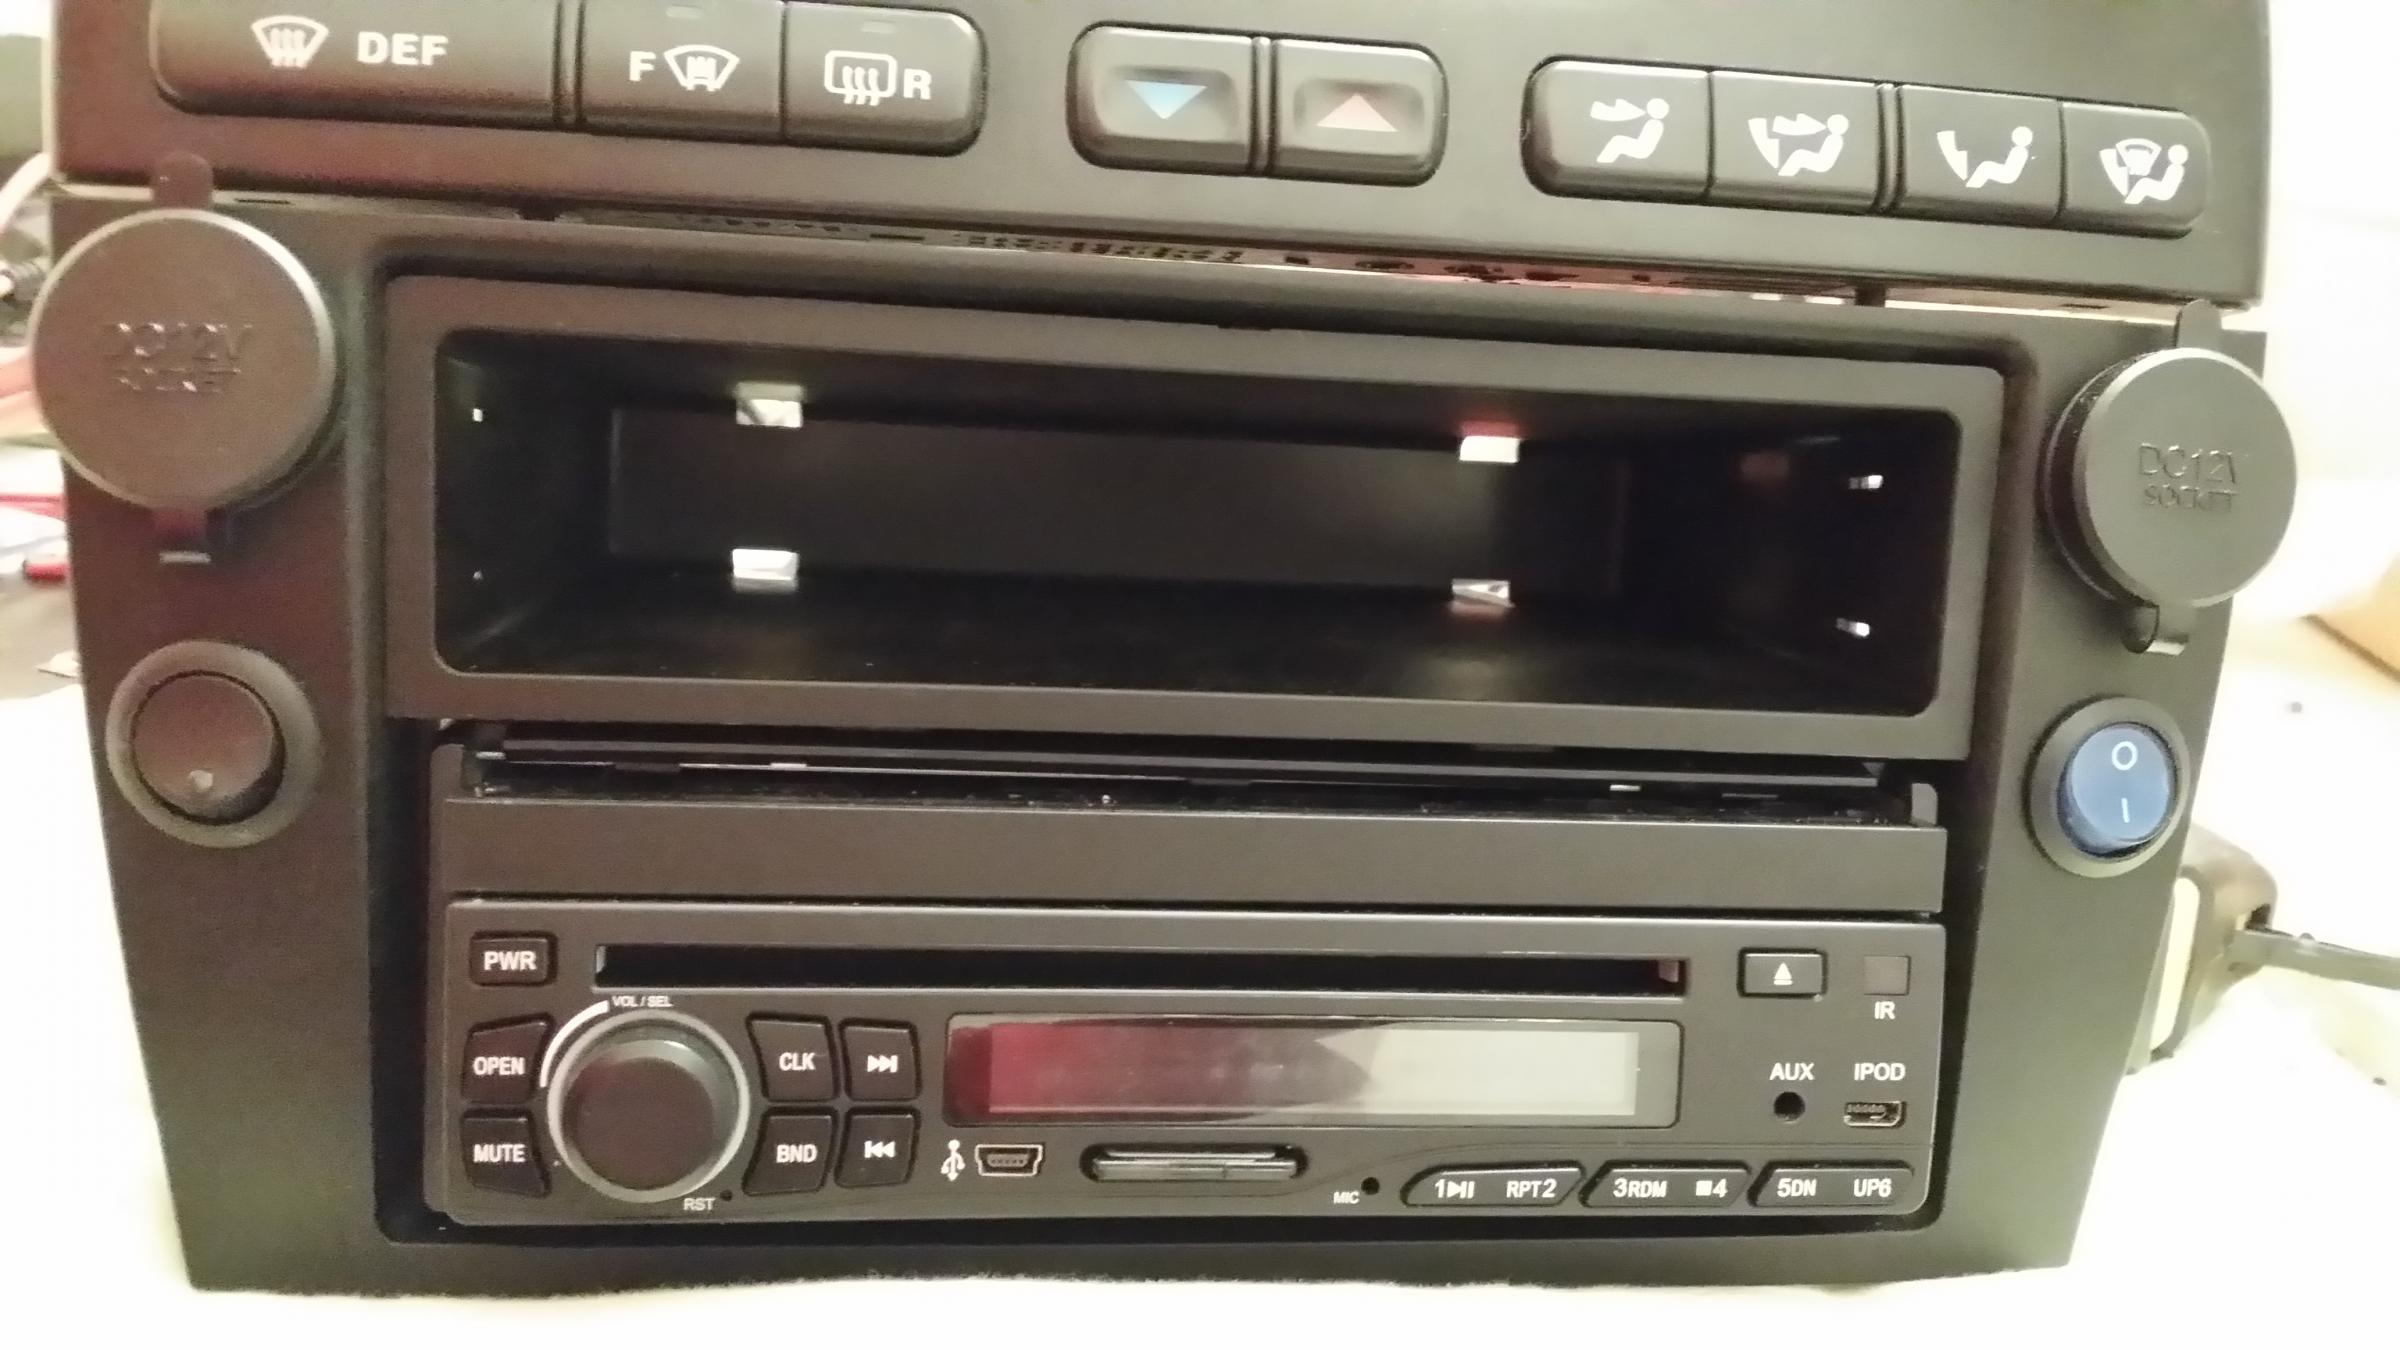
New look of my radio. Has 2 Cigarette Lighter Sockets (Independent Connections) and 2 Switches. The switch on the left controls the bass shakers inside the seats. The switch on the right controls the internal power inverter.
Connections for the switches and Cigarette Lighters using 10 gauge wire.
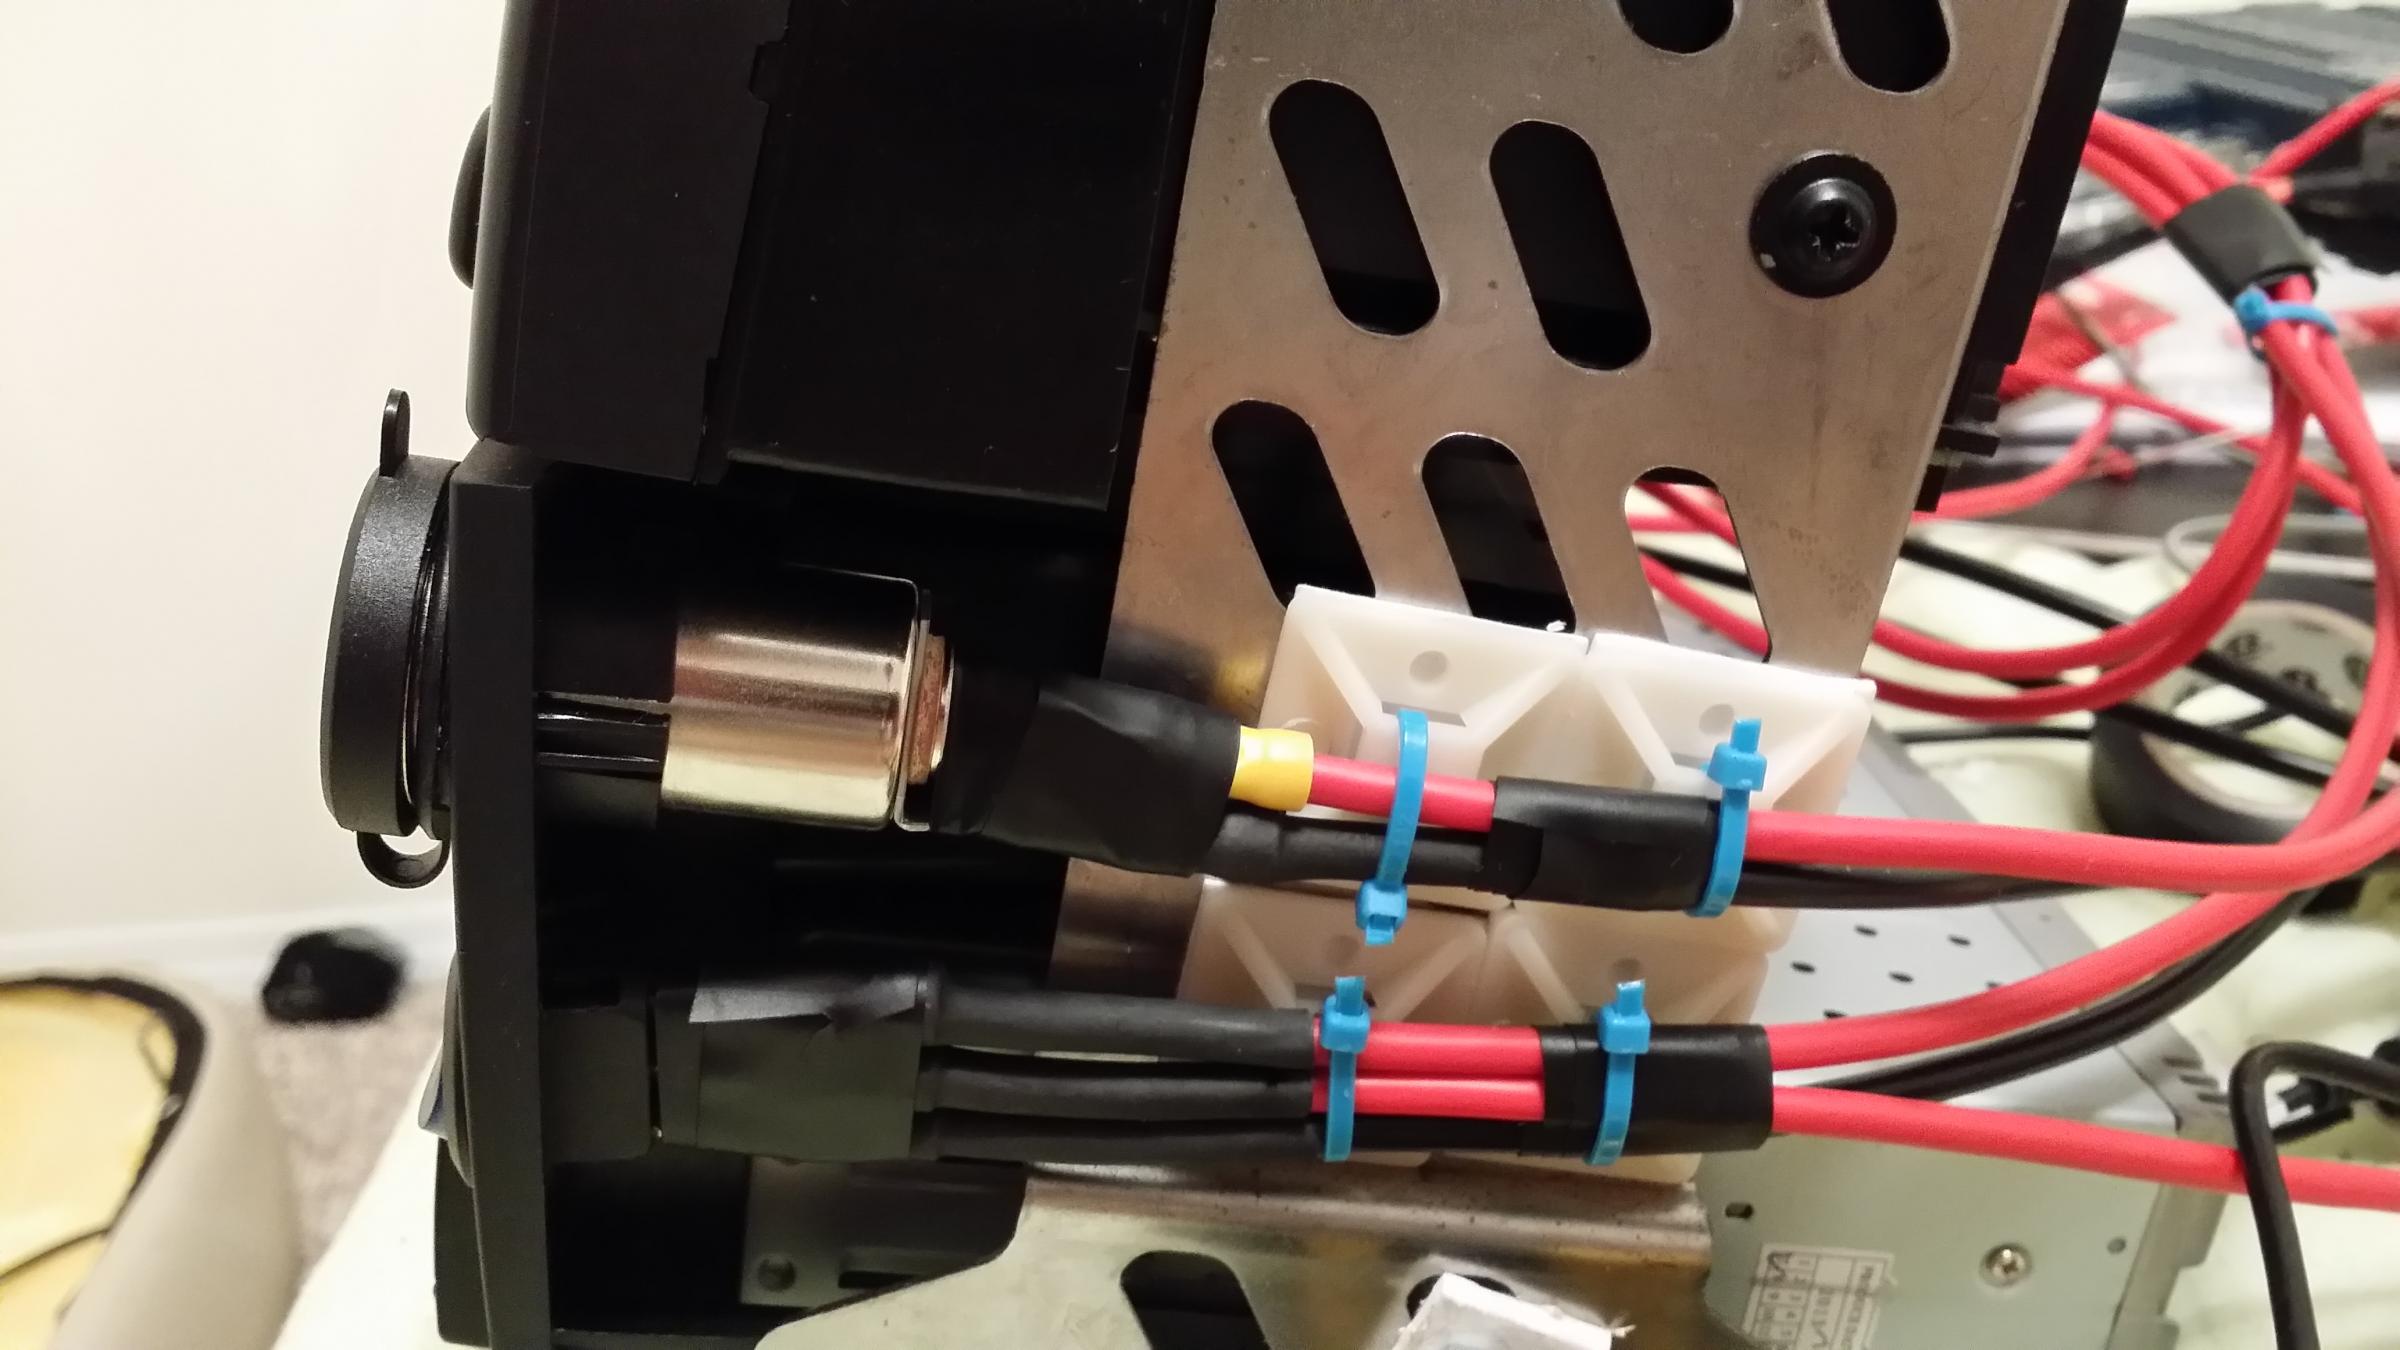
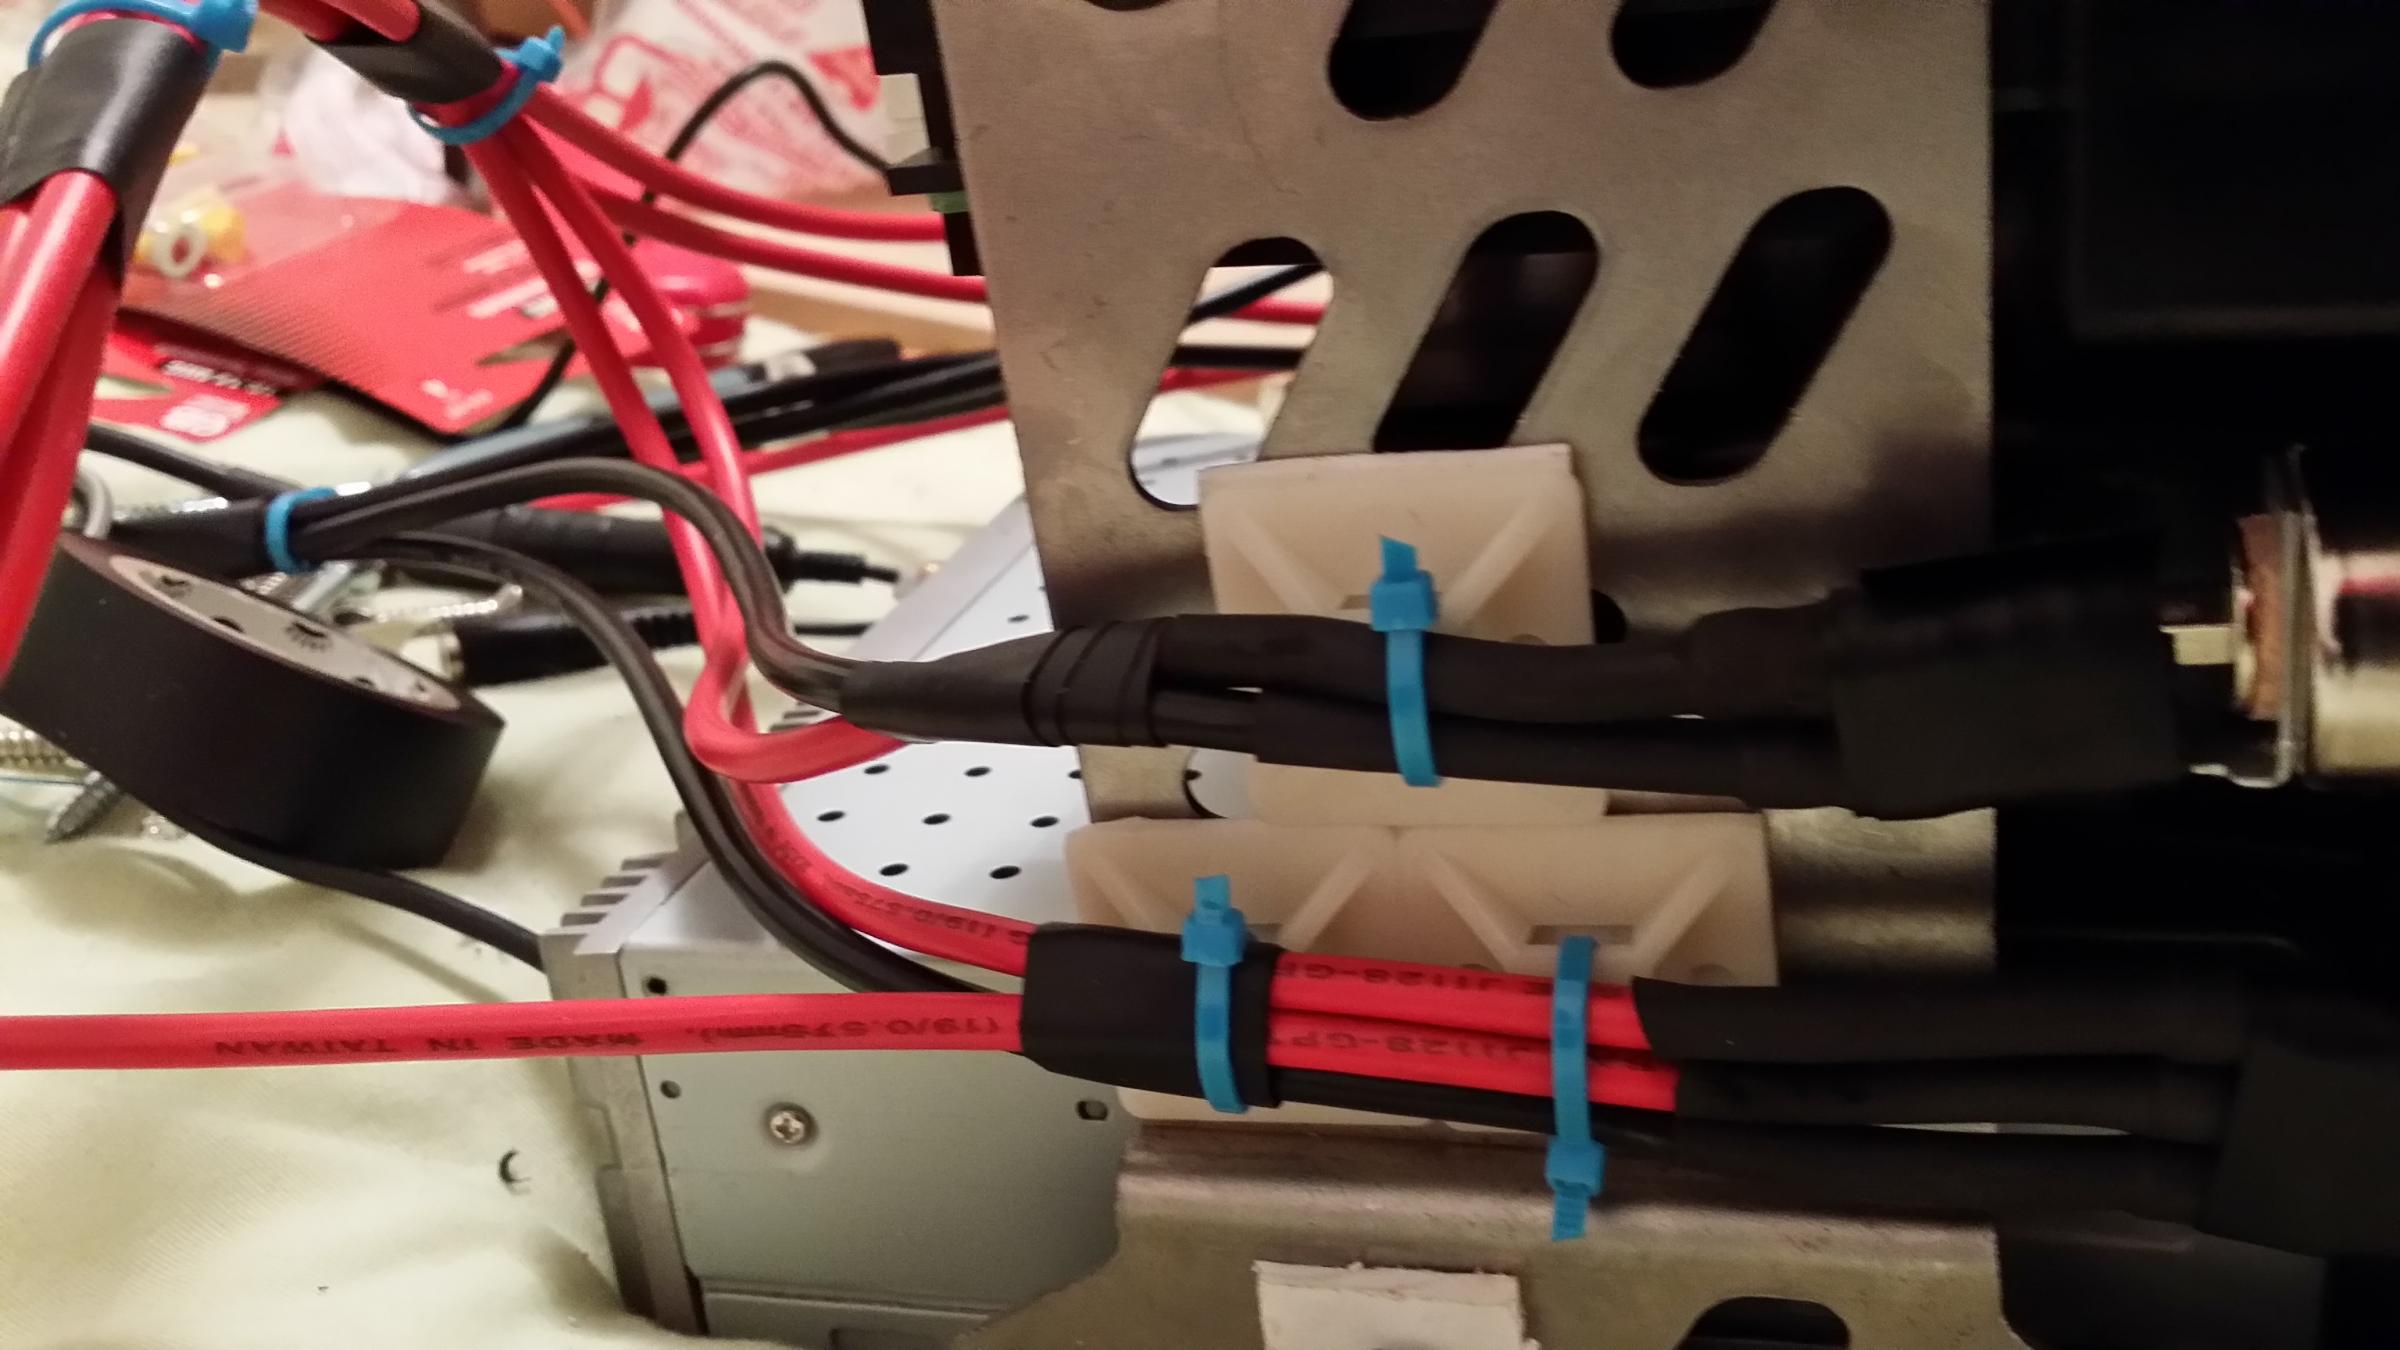
I just drilled a hole using a drill and used a dremel rotary tool to sand the hole to make it slightly bigger. The cigarette lighter socket and switches were both snap-in. I used bullet female connector for powering cigarette lighter sockets. Once connected I heat shrunk the ends and then put electrical tape around the whole thing for a neat look. I got these white things that stick onto the surface but has holes so I can easily use cable ties to tie the wires. Just makes it a much neater install.
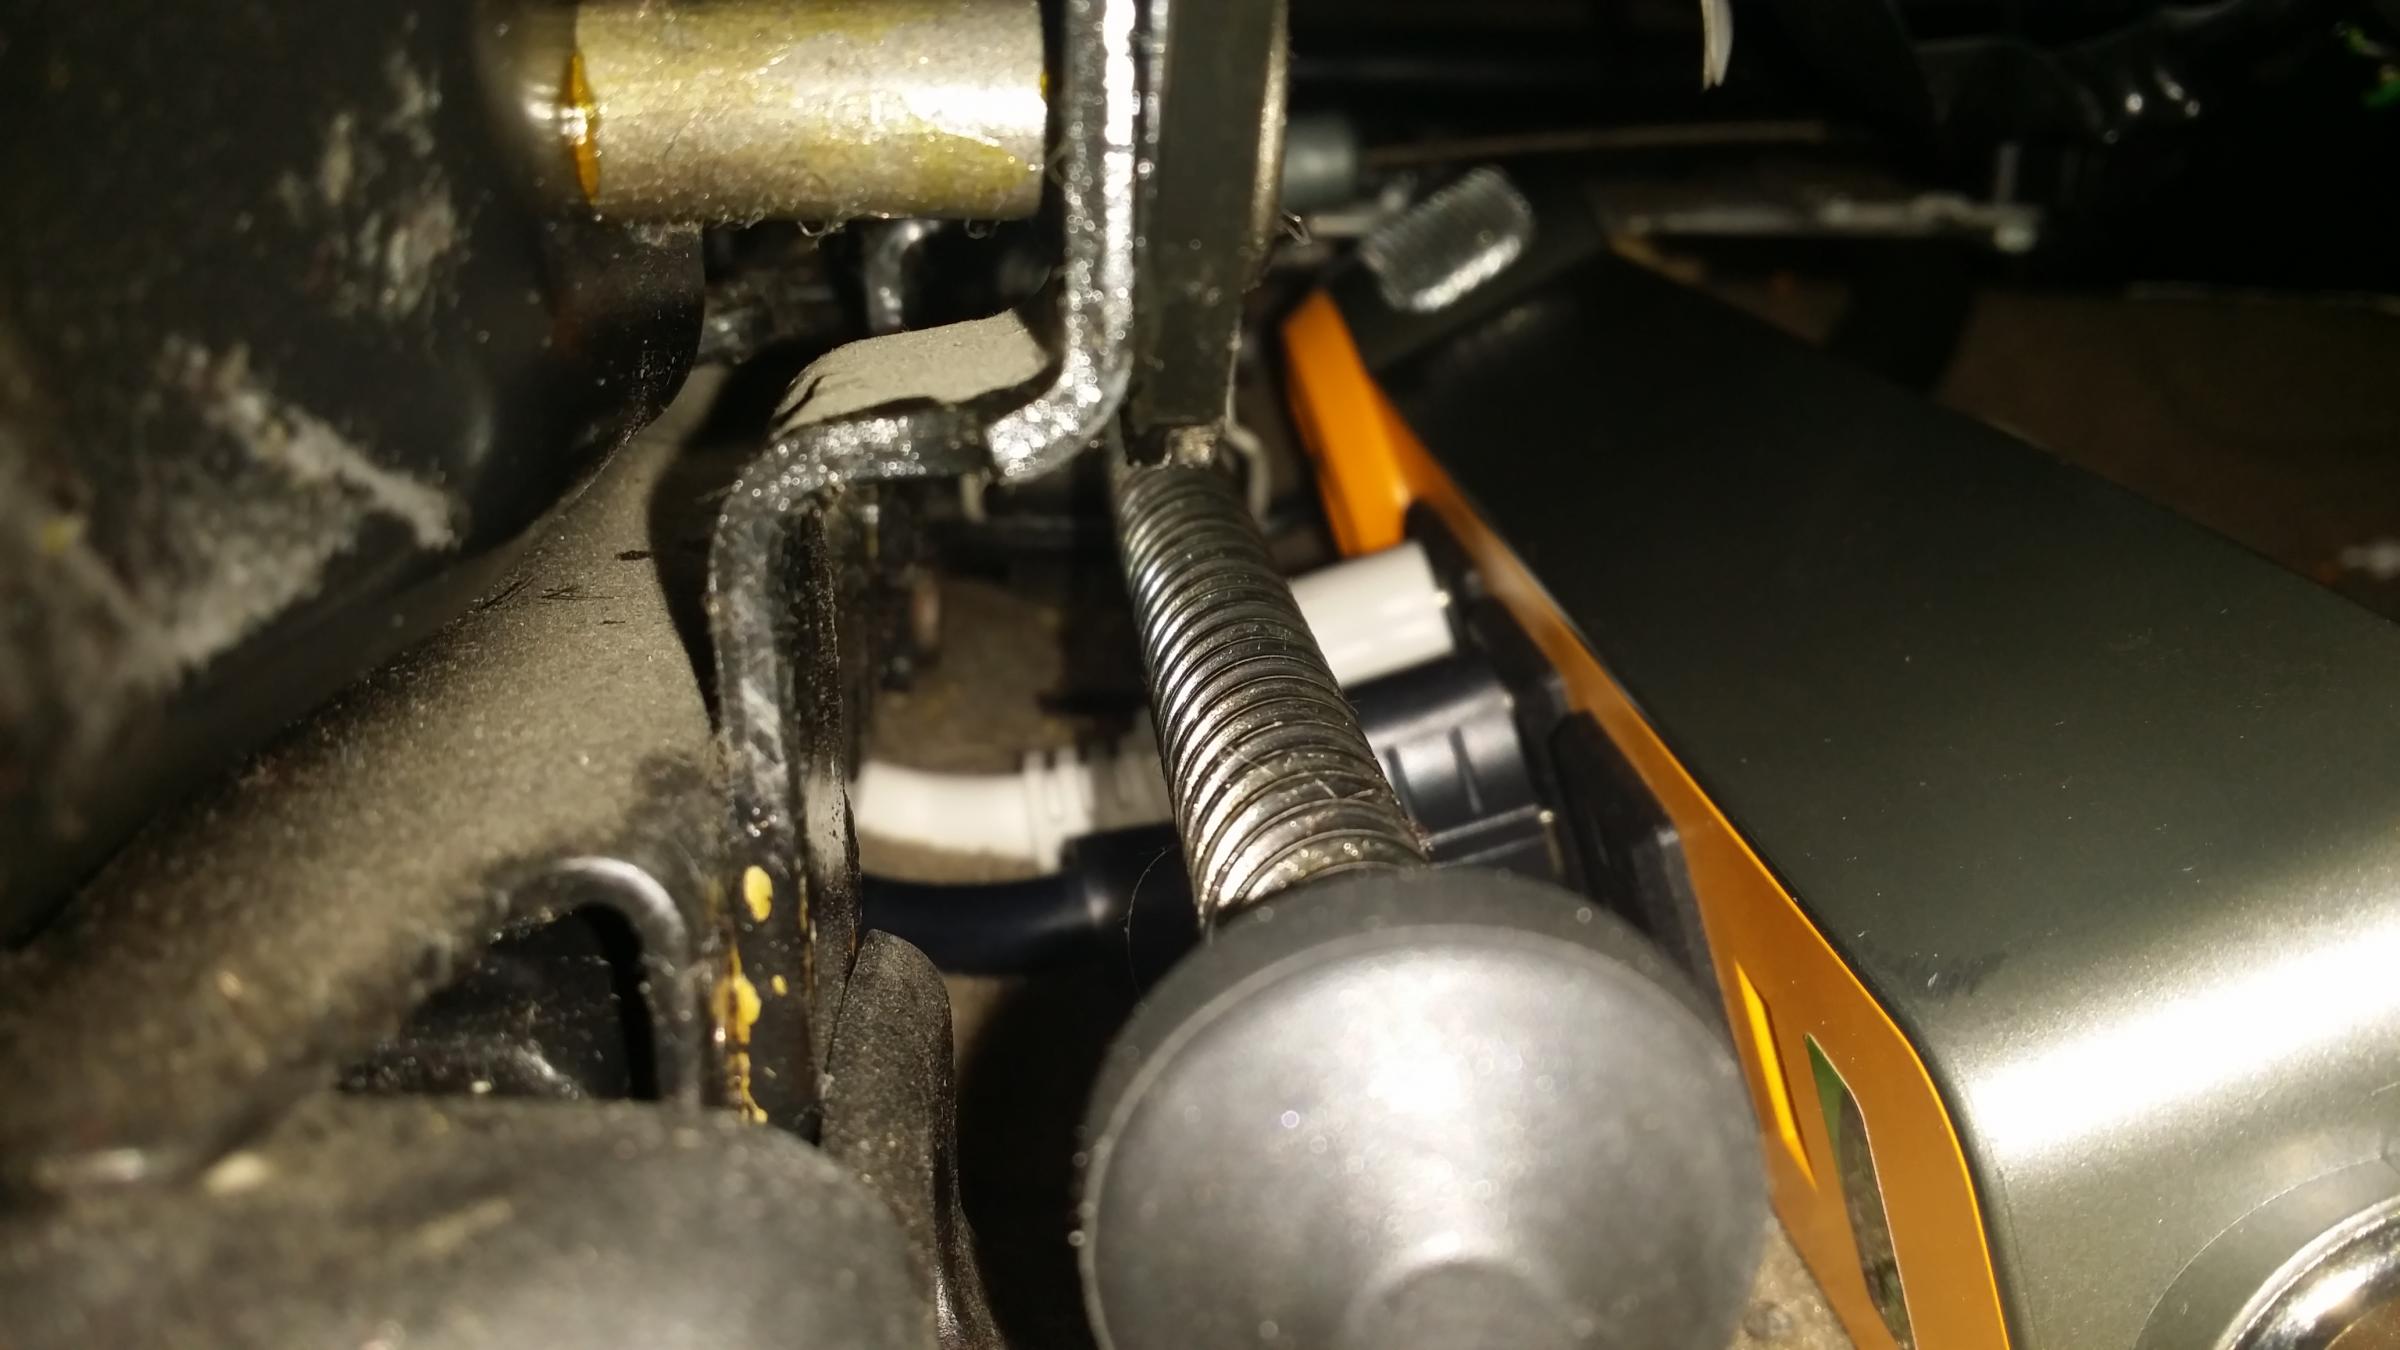
Rear Seat Heaters and Bass Shakers inside Seats

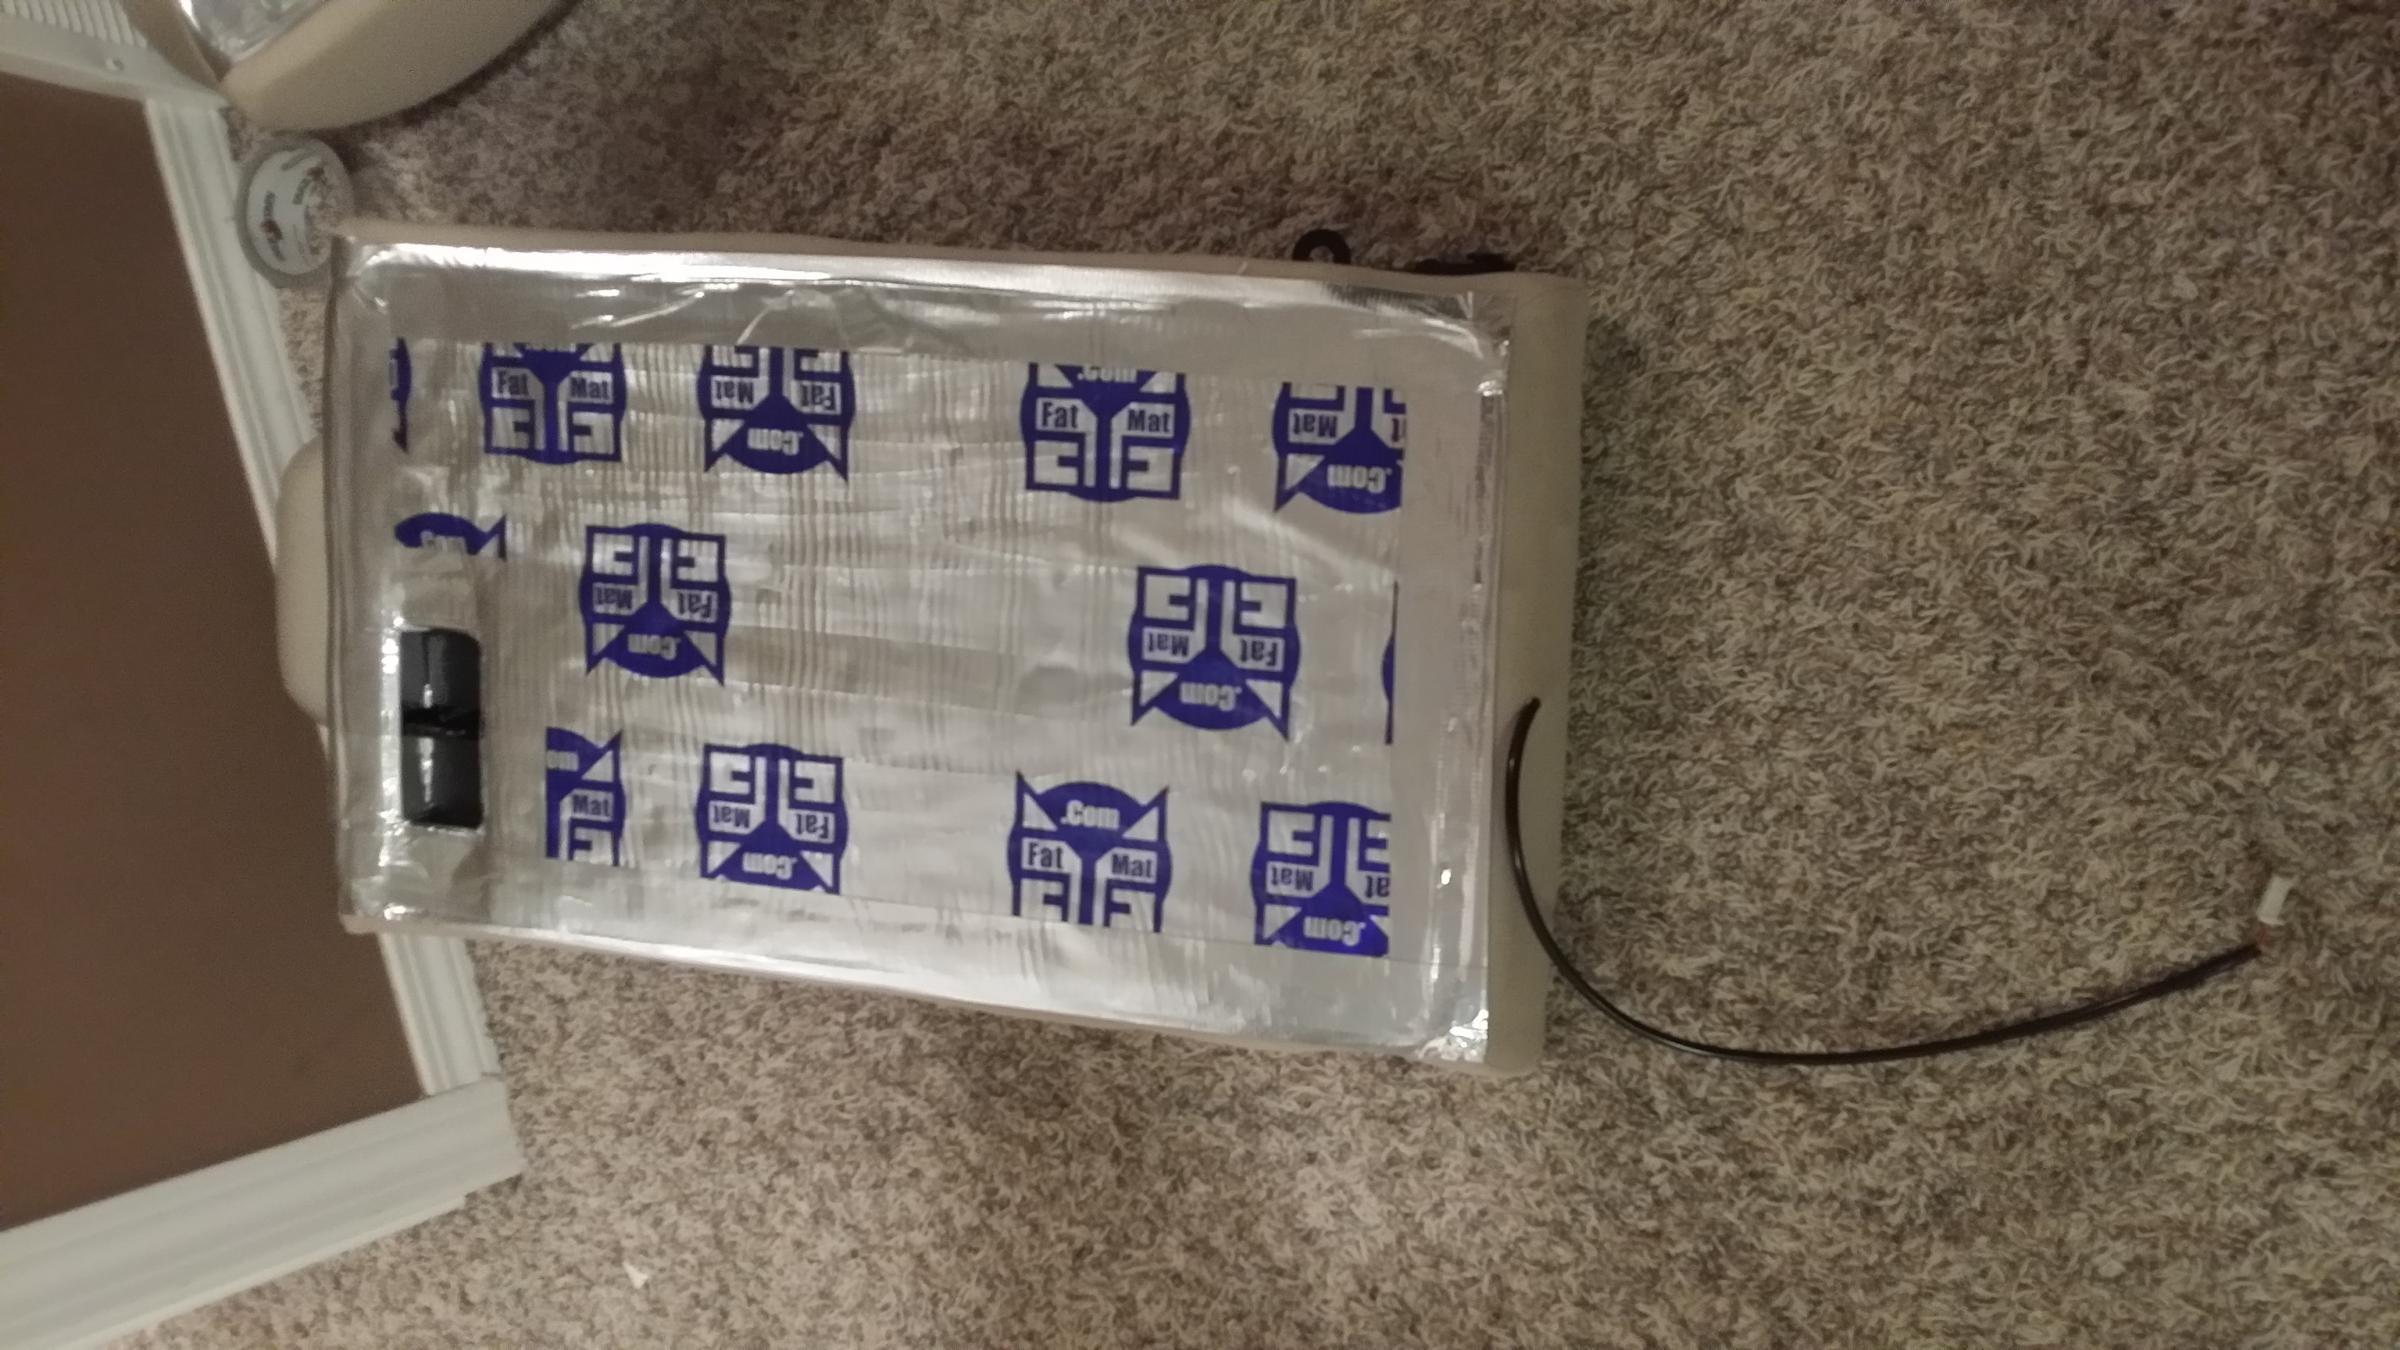
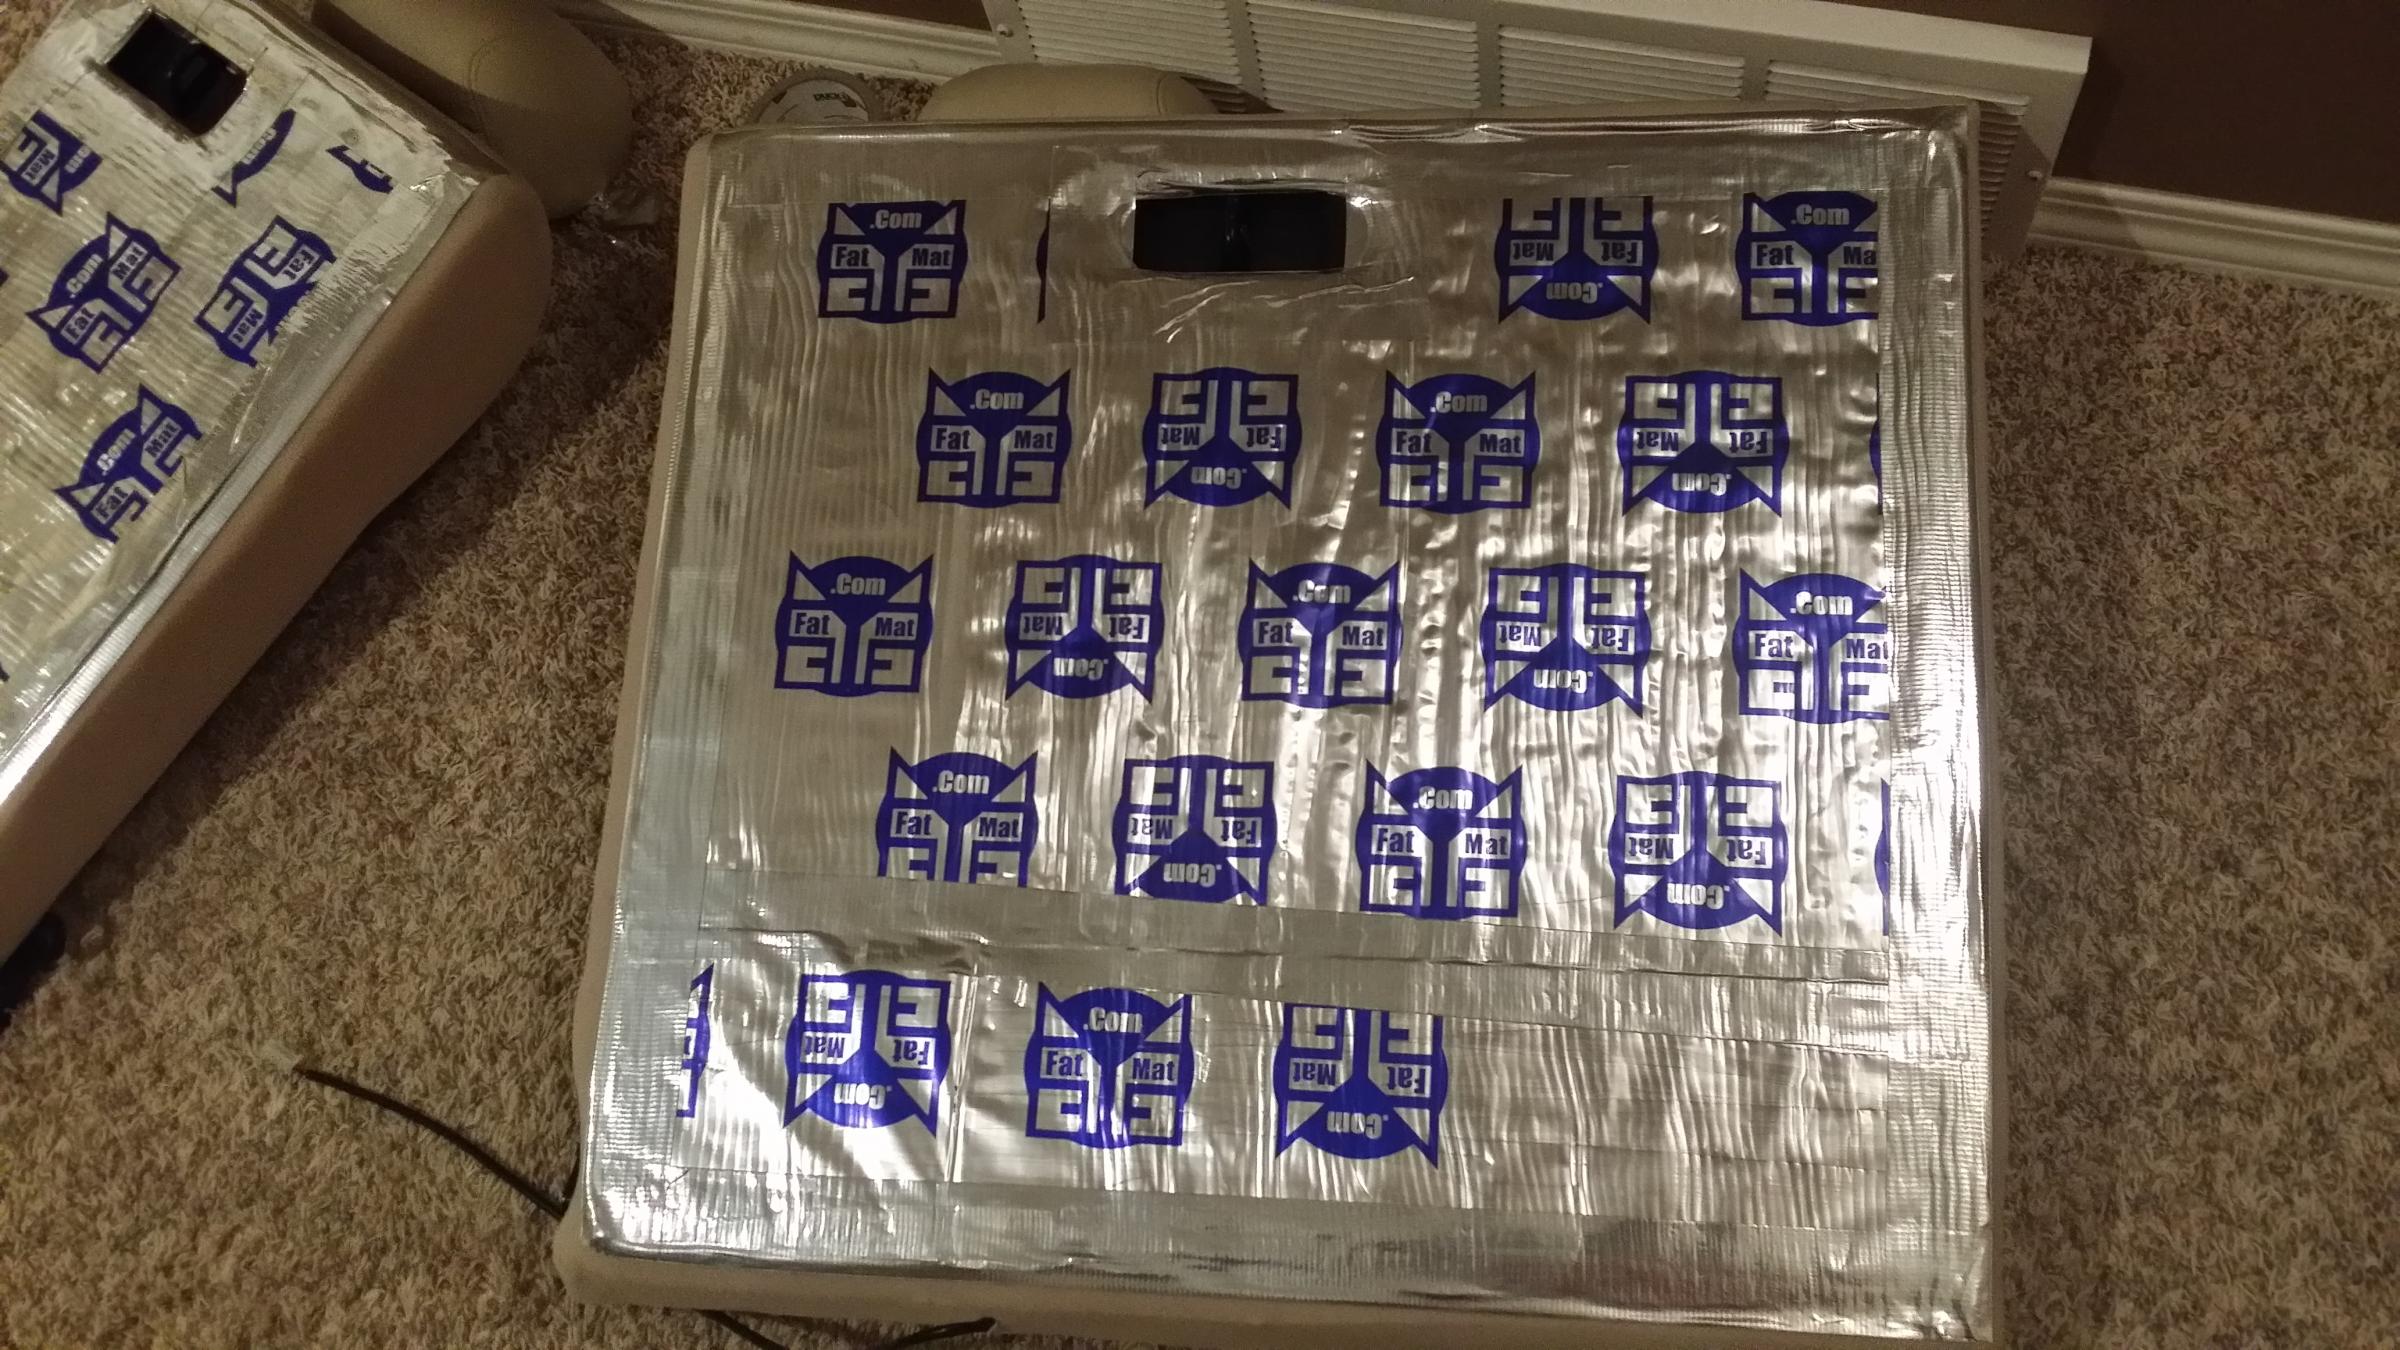
Fatmat installed on back on rear seat rest for sound proofing.
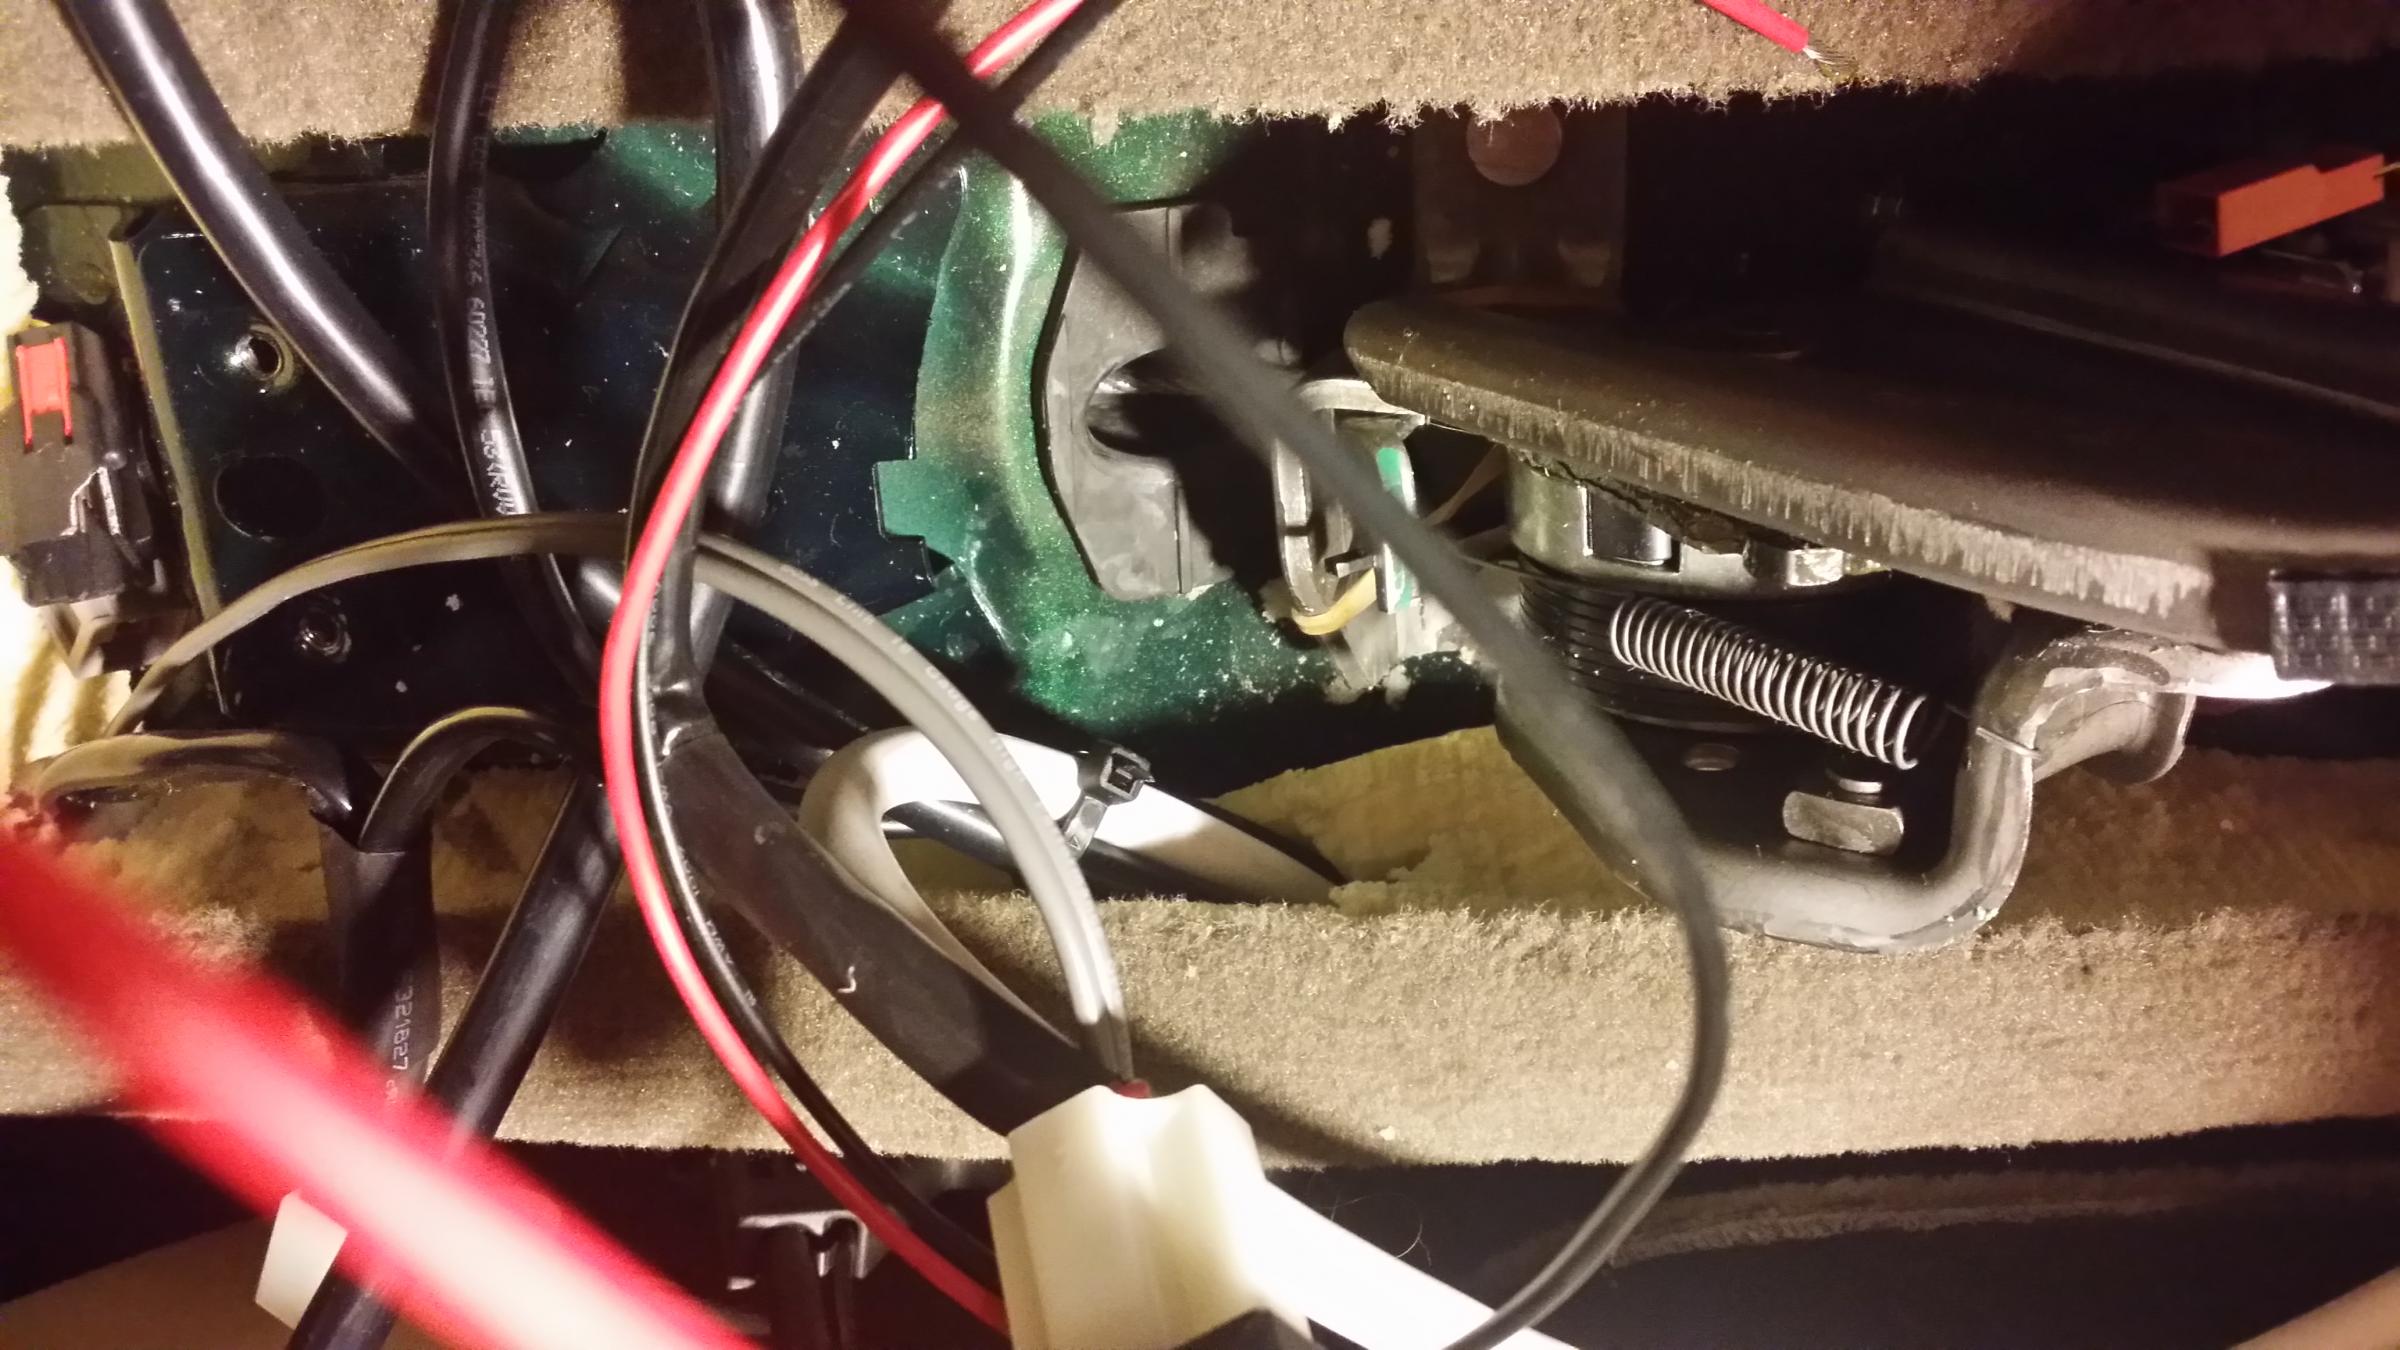
Where the wires are coming out into the center console for rear heat seating control switch

Where the rear seat cushion will go. You can see the connections for rear seat heater


Some Advice
Don't use any ring terminals / terminal blocks / battery terminals that don't require soldering and crimping. The best and most permanent way to attach a thick wire is crimping and soldering otherwise the connection is never tight and you can risk stuff disconnecting. For Thicker wires use a hammer crimp for crimping it works great. Make sure to insulate the terminals using heat shrink or good electrical tape.
No wires should be loose in the car to avoid rattling sounds and movement when car is moving. Use a lot of cable ties to tie it down to the body of the car or previous wires that are running. Also avoid running wires over any drive belts or over the engine. If running wires through the engine. Insulate wire with rubber insulating tape then cover with wire cover stuff and tie it down to previous wires that are running to prevent movement.
Tools That Came in Handy:
Hand Crimper
Dremel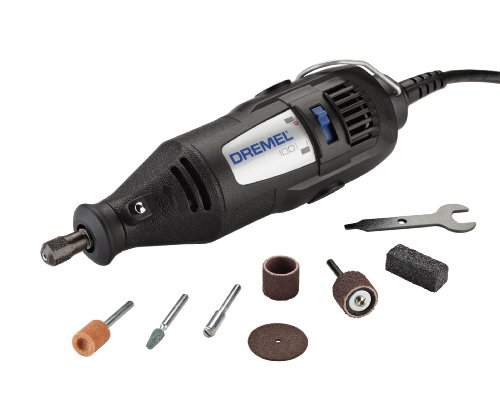
Drill with Bits
Hammer Crimp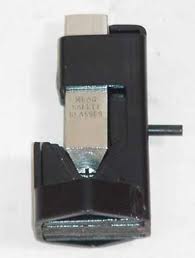
Heatshrink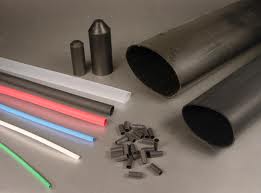
Lighter
Pliers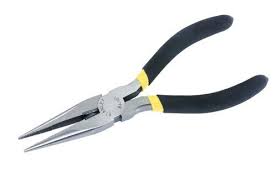
Hex Ratchet Set
Safety Glasses (when cutting with dremel saw)
Vise
Wire Stripper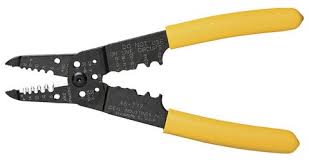
Scissors
Magnetic Screw Drivers
Electrical Tape
Rubber Insulating Tape
The Big Three Upgrade
Big Three Upgrade mainly includes:
1. Cable upgrade from Alternator Output to Battery Positive
2. Cable upgrade from Battery Negative to Car Chassis
3. Cable upgrade from Engine Block to Car Chassis
I also changed the cable coming from Starter motor to battery positive.
Dual Battery
Power Inverter for Laptop Charging
Power Inverter under Passenger Seat
The 2 extension wires going into center console. One in front of center console and one in the rear of center console.
The wires fished out of where the center console is.
New Radio
TV Antenna / GPS Antenna / WiFi Adapter
I had to take the passenger door weather strip uut to fish the wires through.
New look of my radio. Has 2 Cigarette Lighter Sockets (Independent Connections) and 2 Switches. The switch on the left controls the bass shakers inside the seats. The switch on the right controls the internal power inverter.
Connections for the switches and Cigarette Lighters using 10 gauge wire.
I just drilled a hole using a drill and used a dremel rotary tool to sand the hole to make it slightly bigger. The cigarette lighter socket and switches were both snap-in. I used bullet female connector for powering cigarette lighter sockets. Once connected I heat shrunk the ends and then put electrical tape around the whole thing for a neat look. I got these white things that stick onto the surface but has holes so I can easily use cable ties to tie the wires. Just makes it a much neater install.
Rear Seat Heaters and Bass Shakers inside Seats
Fatmat installed on back on rear seat rest for sound proofing.
Where the wires are coming out into the center console for rear heat seating control switch
Where the rear seat cushion will go. You can see the connections for rear seat heater
Some Advice
Don't use any ring terminals / terminal blocks / battery terminals that don't require soldering and crimping. The best and most permanent way to attach a thick wire is crimping and soldering otherwise the connection is never tight and you can risk stuff disconnecting. For Thicker wires use a hammer crimp for crimping it works great. Make sure to insulate the terminals using heat shrink or good electrical tape.
No wires should be loose in the car to avoid rattling sounds and movement when car is moving. Use a lot of cable ties to tie it down to the body of the car or previous wires that are running. Also avoid running wires over any drive belts or over the engine. If running wires through the engine. Insulate wire with rubber insulating tape then cover with wire cover stuff and tie it down to previous wires that are running to prevent movement.
Tools That Came in Handy:
Hand Crimper
Dremel
Drill with Bits
Hammer Crimp
Heatshrink
Lighter
Pliers
Hex Ratchet Set
Safety Glasses (when cutting with dremel saw)
Vise
Wire Stripper
Scissors
Magnetic Screw Drivers
Electrical Tape
Rubber Insulating Tape
Last edited by kashaf; 11-15-2013 at 04:40 AM.

#3
11-15-2013, 04:27 AM
a couple of hicks i'll update after. the wires you see running on the side of the radio for cigarette lighter and switch. with them on the side the head unit doesn't really fit into the space. I hate how small space there is. So basically I've had to rewire them bringing them from the inside instead of outside. also I have had to make sure that there are no wires running behind the radio because then the radio doesn't fit. All the wires are either above or below the radio. I use these sticky cable tie things (see pic below) and stick em all over the inside on the sides and behind the radio console. They stick really well specially on metal and I basically cable tied all the wires behind the radio console either above or below the actual radio unit. That includes wires coming for seat heaters / hazard lights / heaters and radio antenna.
Last edited by kashaf; 11-15-2013 at 04:30 AM.

Thread
Thread Starter
Forum
Replies
Last Post
Ozzy_UK
S-Type / S type R Supercharged V8 ( X200 )
45
02-19-2019 02:05 PM
BlacXJRcat
XJ XJ6 / XJ8 / XJR ( X350 & X358 )
1
09-25-2015 06:43 PM
Currently Active Users Viewing This Thread: 1 (0 members and 1 guests)