When you click on links to various merchants on this site and make a purchase, this can result in this site earning a commission. Affiliate programs and affiliations include, but are not limited to, the eBay Partner Network.
This ain't anything crazy hard or super special, but to me it's one step closer to getting the black package complete. From the factory, the black package blacked out normally chrome pieces like the window trim, front grill trim, wheels, etc. But all of the badges on the rear remained chrome, and that's not my jam. So if you're interested in recreating this job, here's a brief overview with pictures.
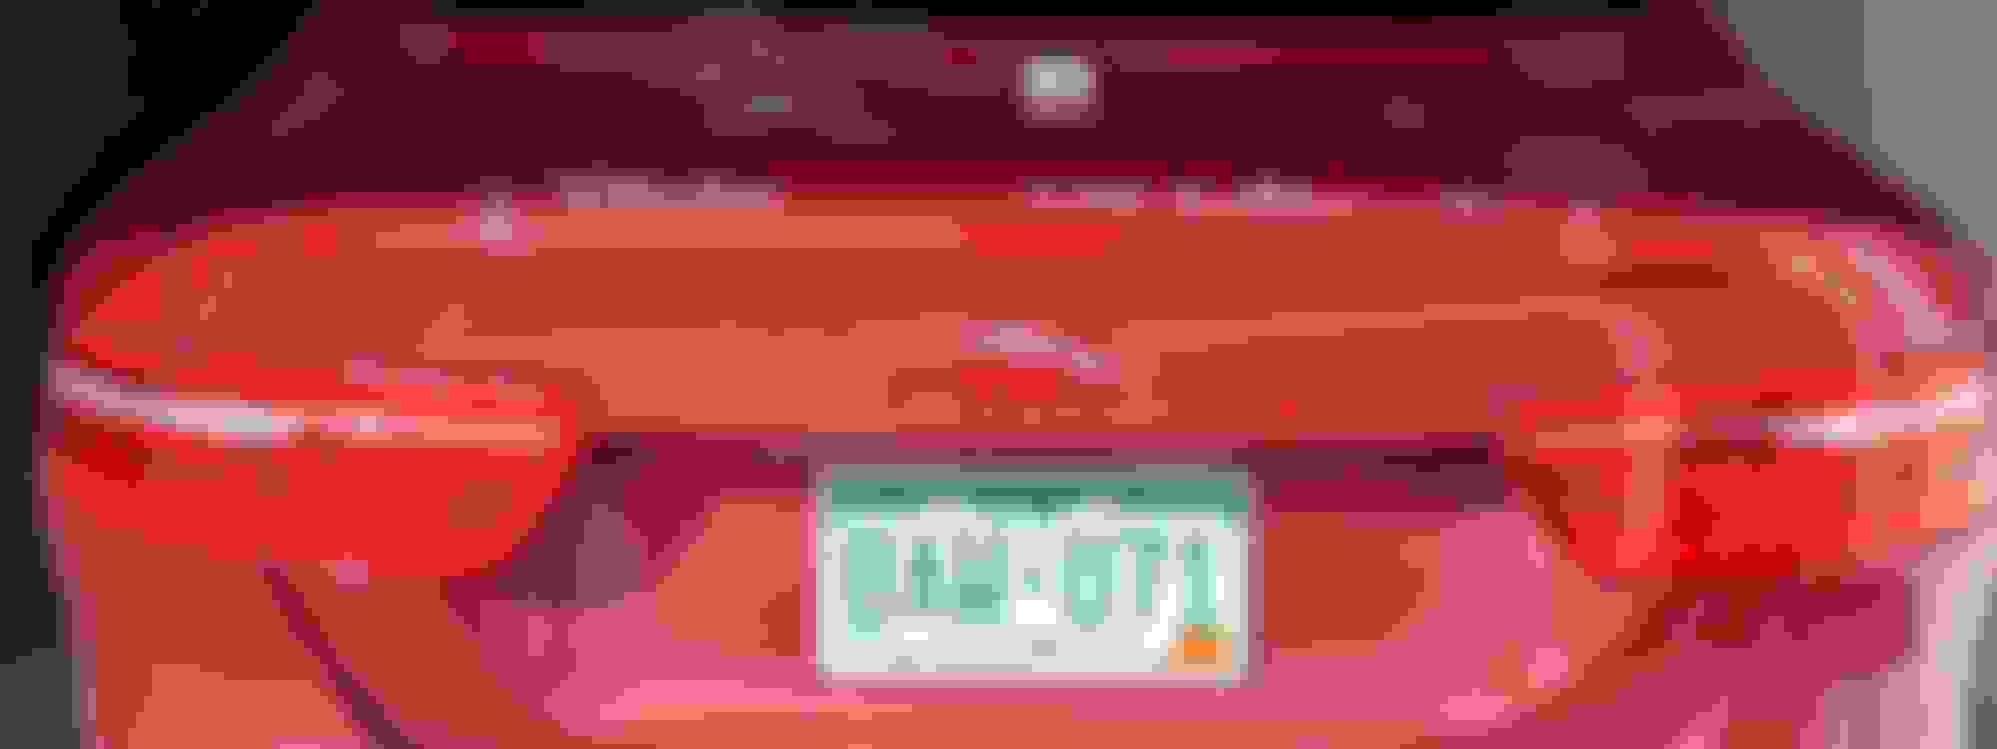
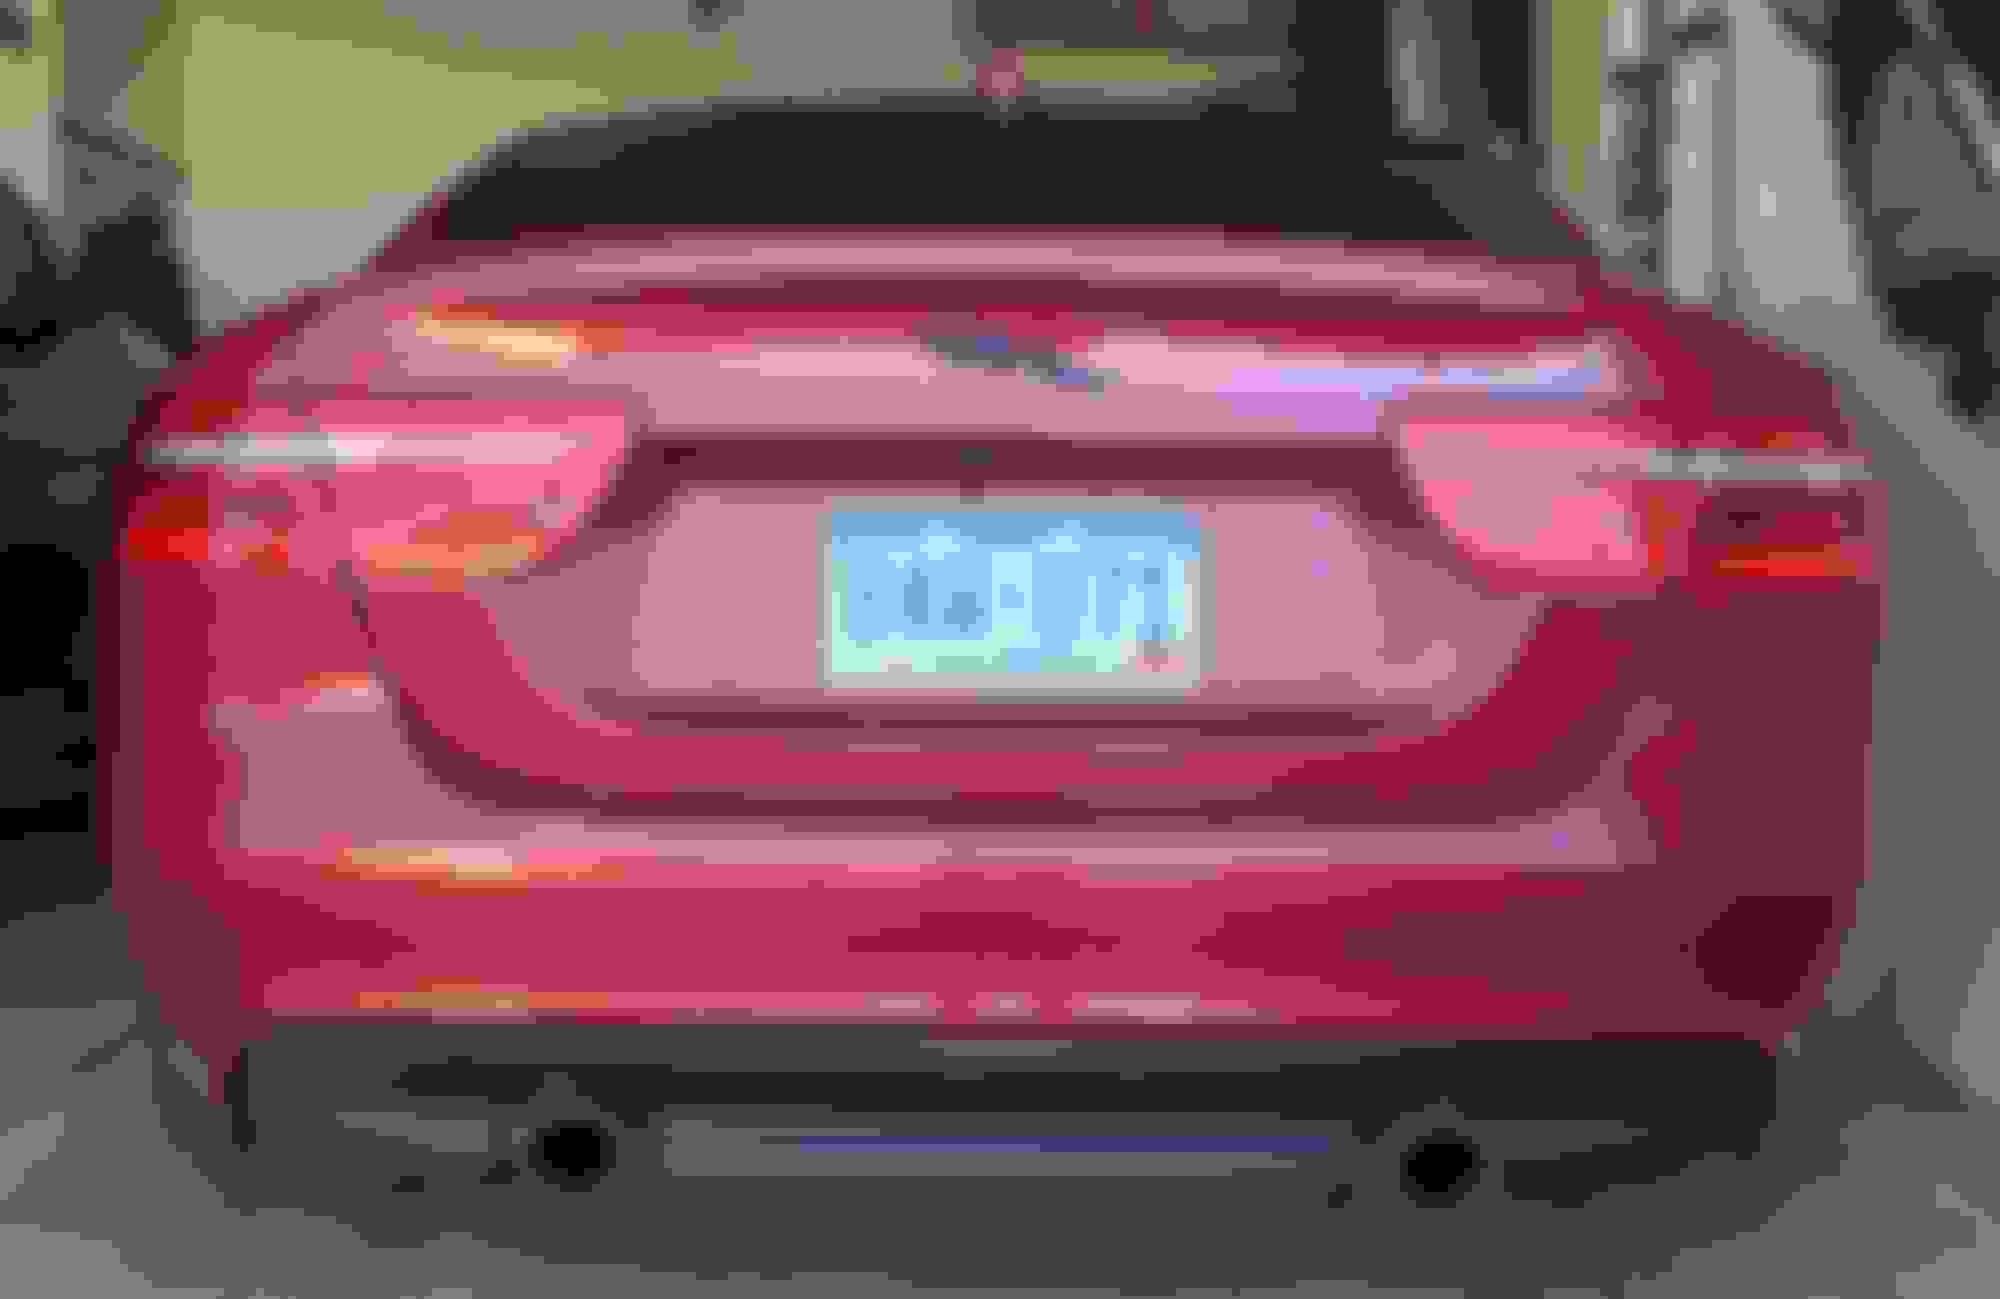
Step 1: Take a picture of your rear with chrome for before and after pictures.
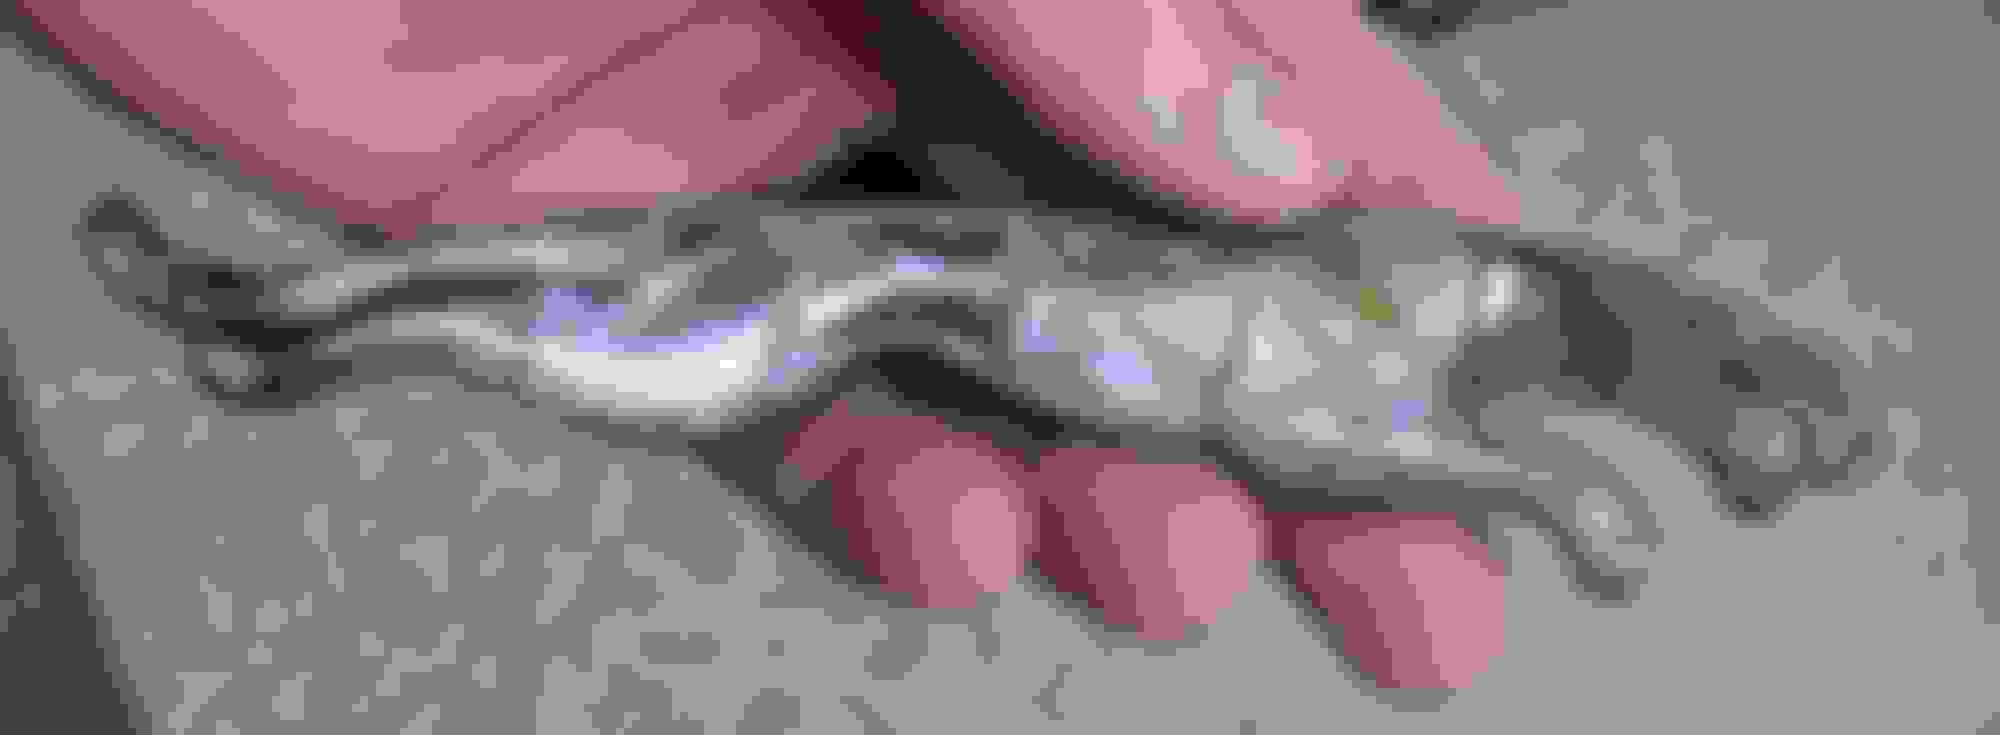
Step 2: Grab a hairdryer or heat gun, and some floss or fishing line (I chose the prior for both). Heat up the badge, string the line under an edge, and saw back and forth. If you're talented, you can hold the dryer between your legs to keep heat on the badge. (Optional: take pictures during your progress.)
Step 3: Use a blunt/soft-edged device to take off the excess adhesive. I used my finger nails and just brute forced it.
Step 4: Rinse the rear, add goo-gone as needed, then clean off the remainder of the adhesive with a rag. Wash the car (or at least the rear) when done with goo-gone. (Optional: Leave a small amount of residue from the cat to make it easier to line up later.)
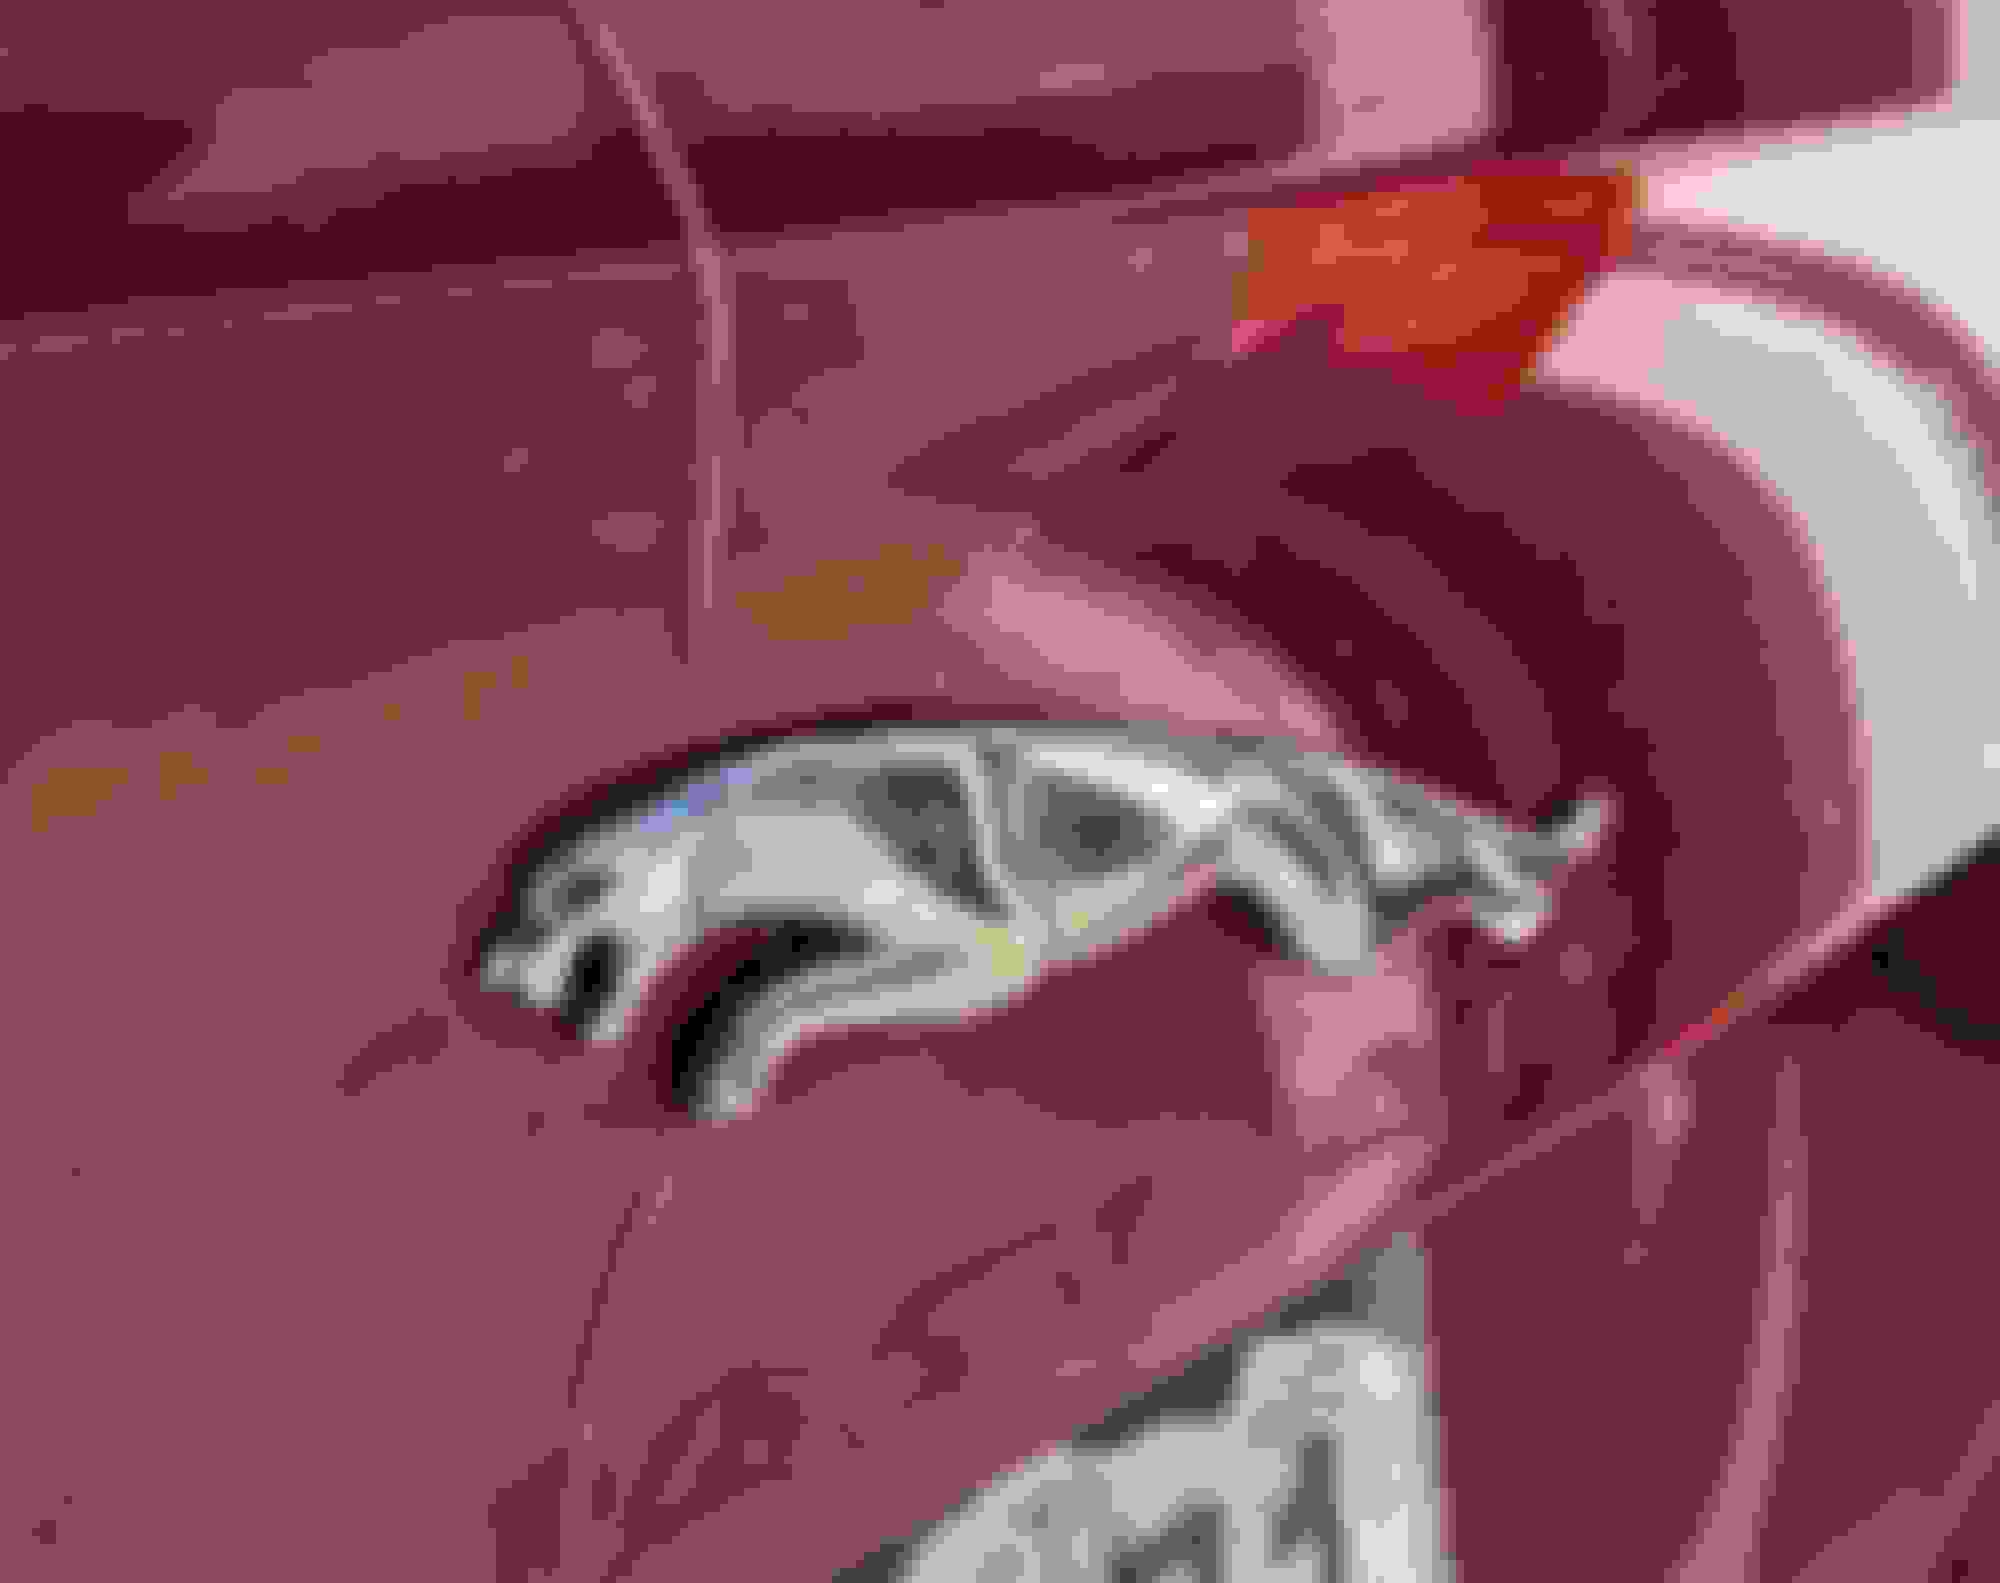
Step 5: Paint the cat. I scuffed it, hit it with two light coats of primer, then about four coats of an automotive gloss black, then two coats of an automotive gloss clear. (Pro tip: setup the cat in a way that you can rotate or move around it to spray from different angles. I just rotated the box.)
Step 6: Once COMPLETELY dry, add some exterior quality double sided adhesive (I used gorilla tape rated for 15lbs). Using a scalpel and some suture scissors, trim the adhesive. There's a slight lip around the whole cat that acts as an edge for the adhesive. Stay within that guide.
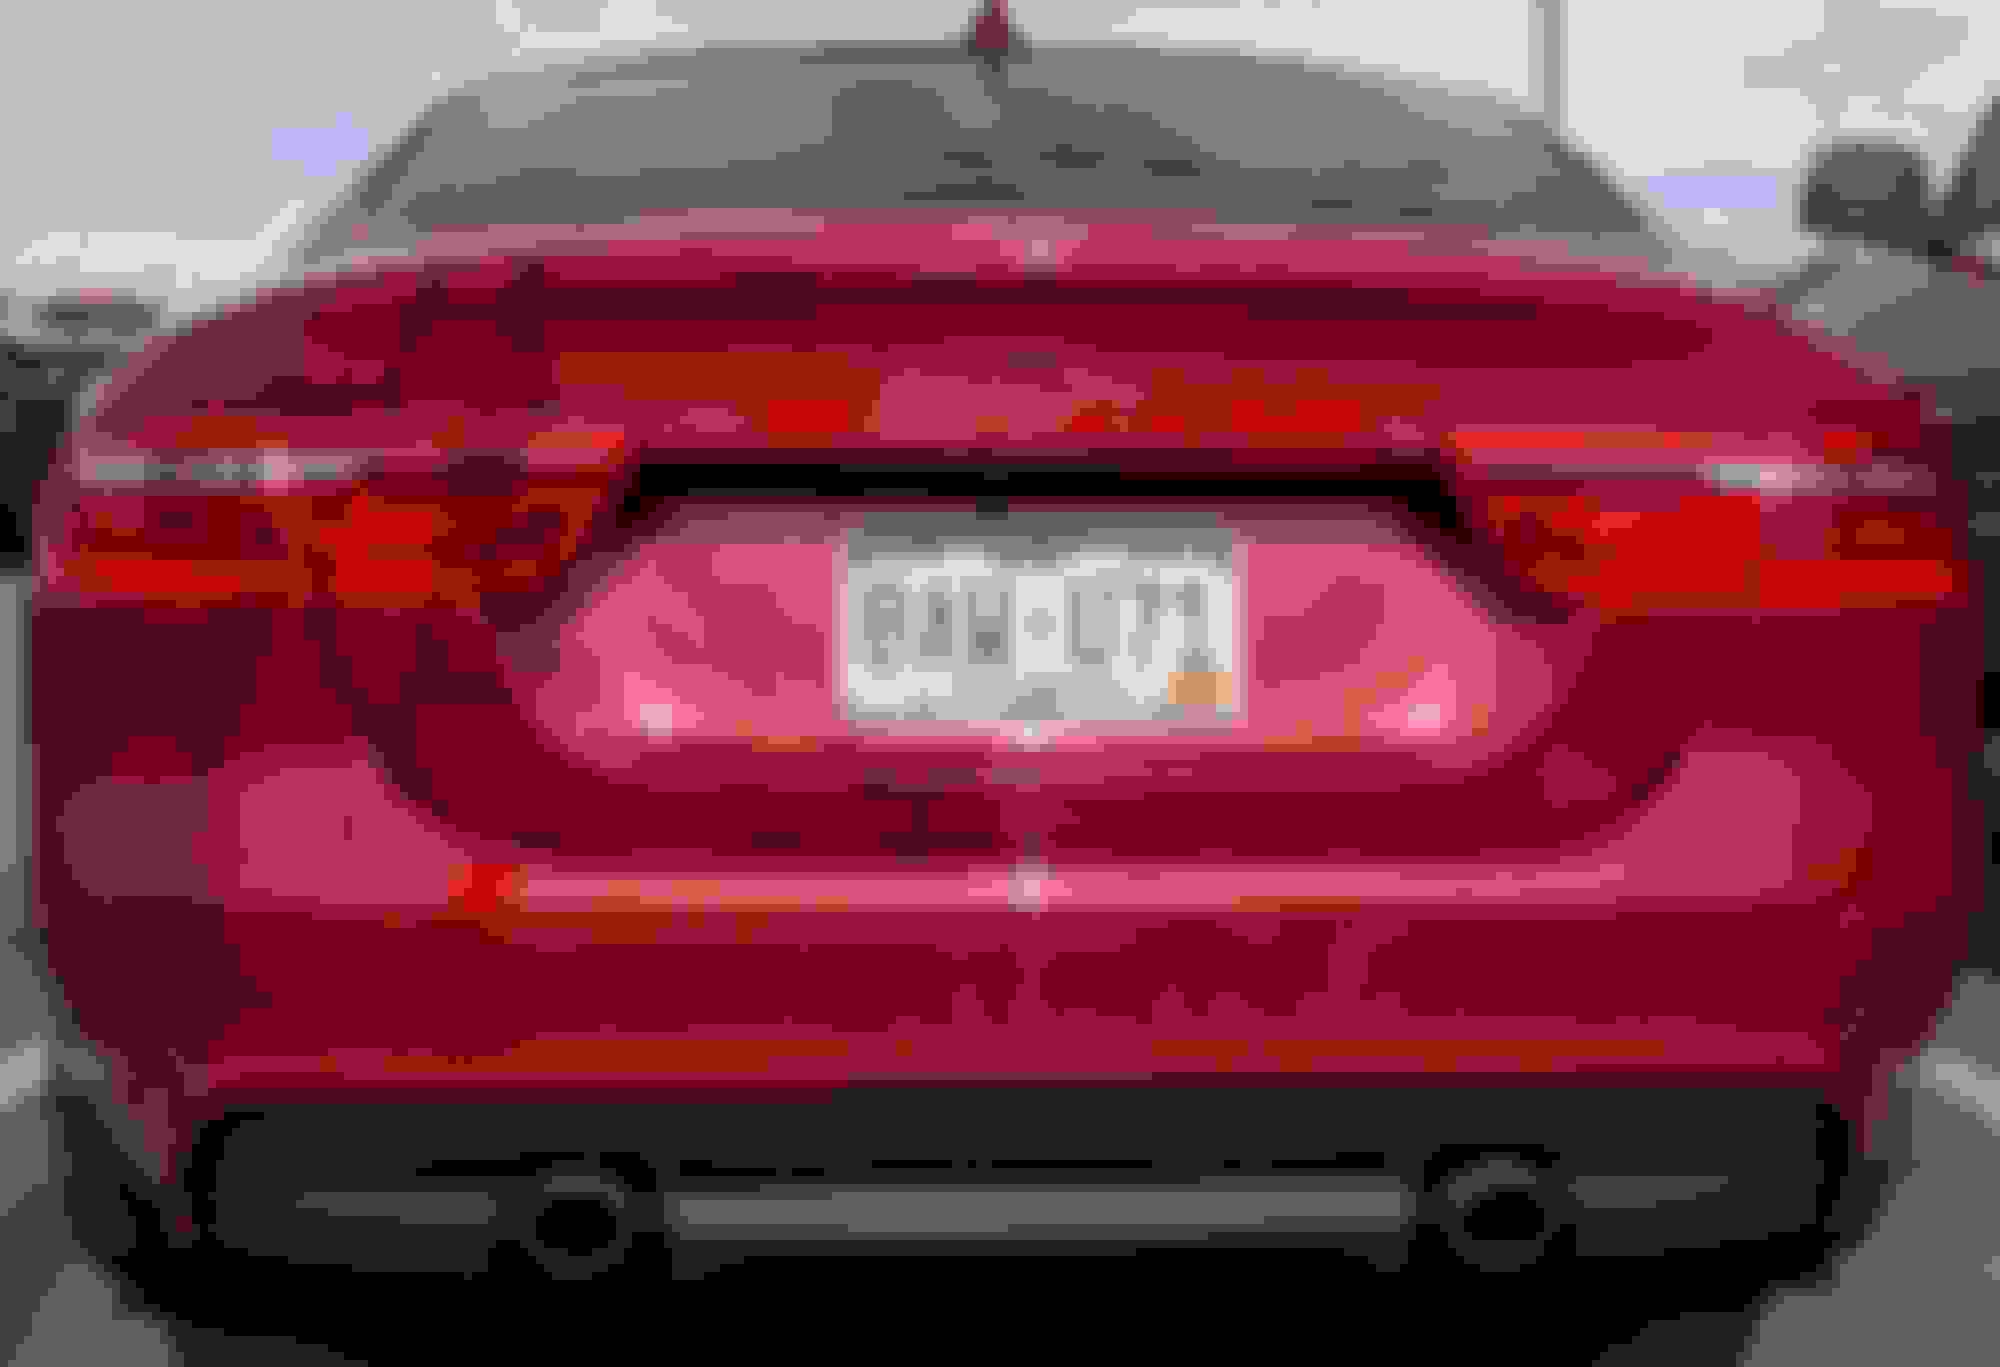
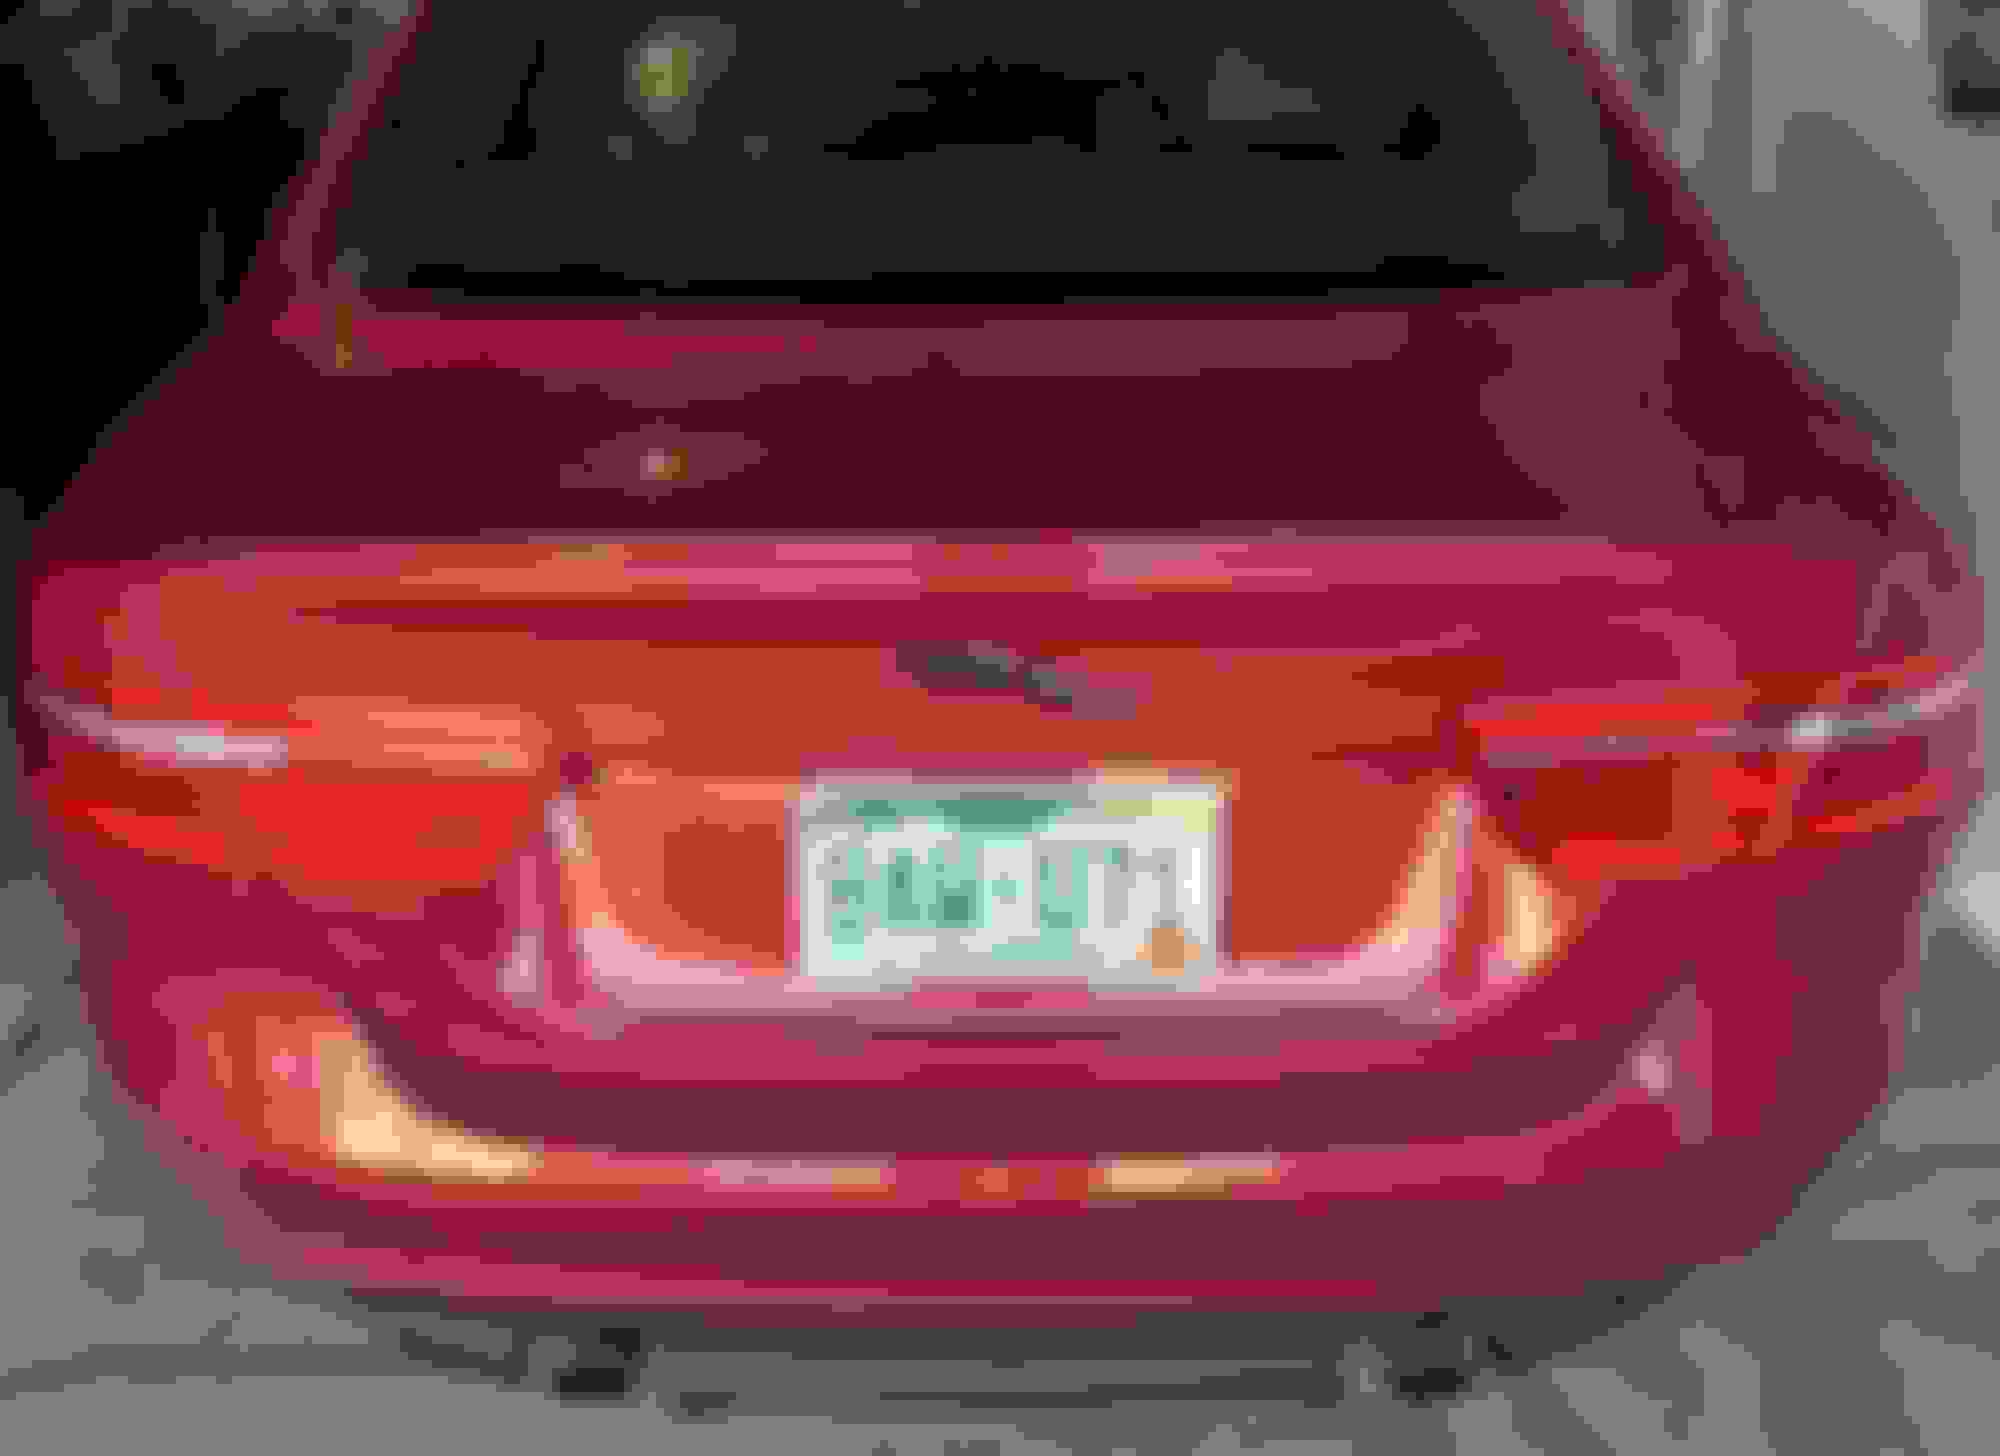
Step 7: Go clean the area of your trunk where the cat goes, let it dry completely, then line it up with the outline from the old adhesive and press firmly. I had a small piece of adhesive poke out from the pressure, but was able to use my nail to tuck it back under while still applying pressure. Take a final shot and bask in your completion.
Few completion thoughts:
- From the start I planned to put the R badge on the bottom right since I have an R-sport. I ordered black R badges for the front and rear that I think will go great.
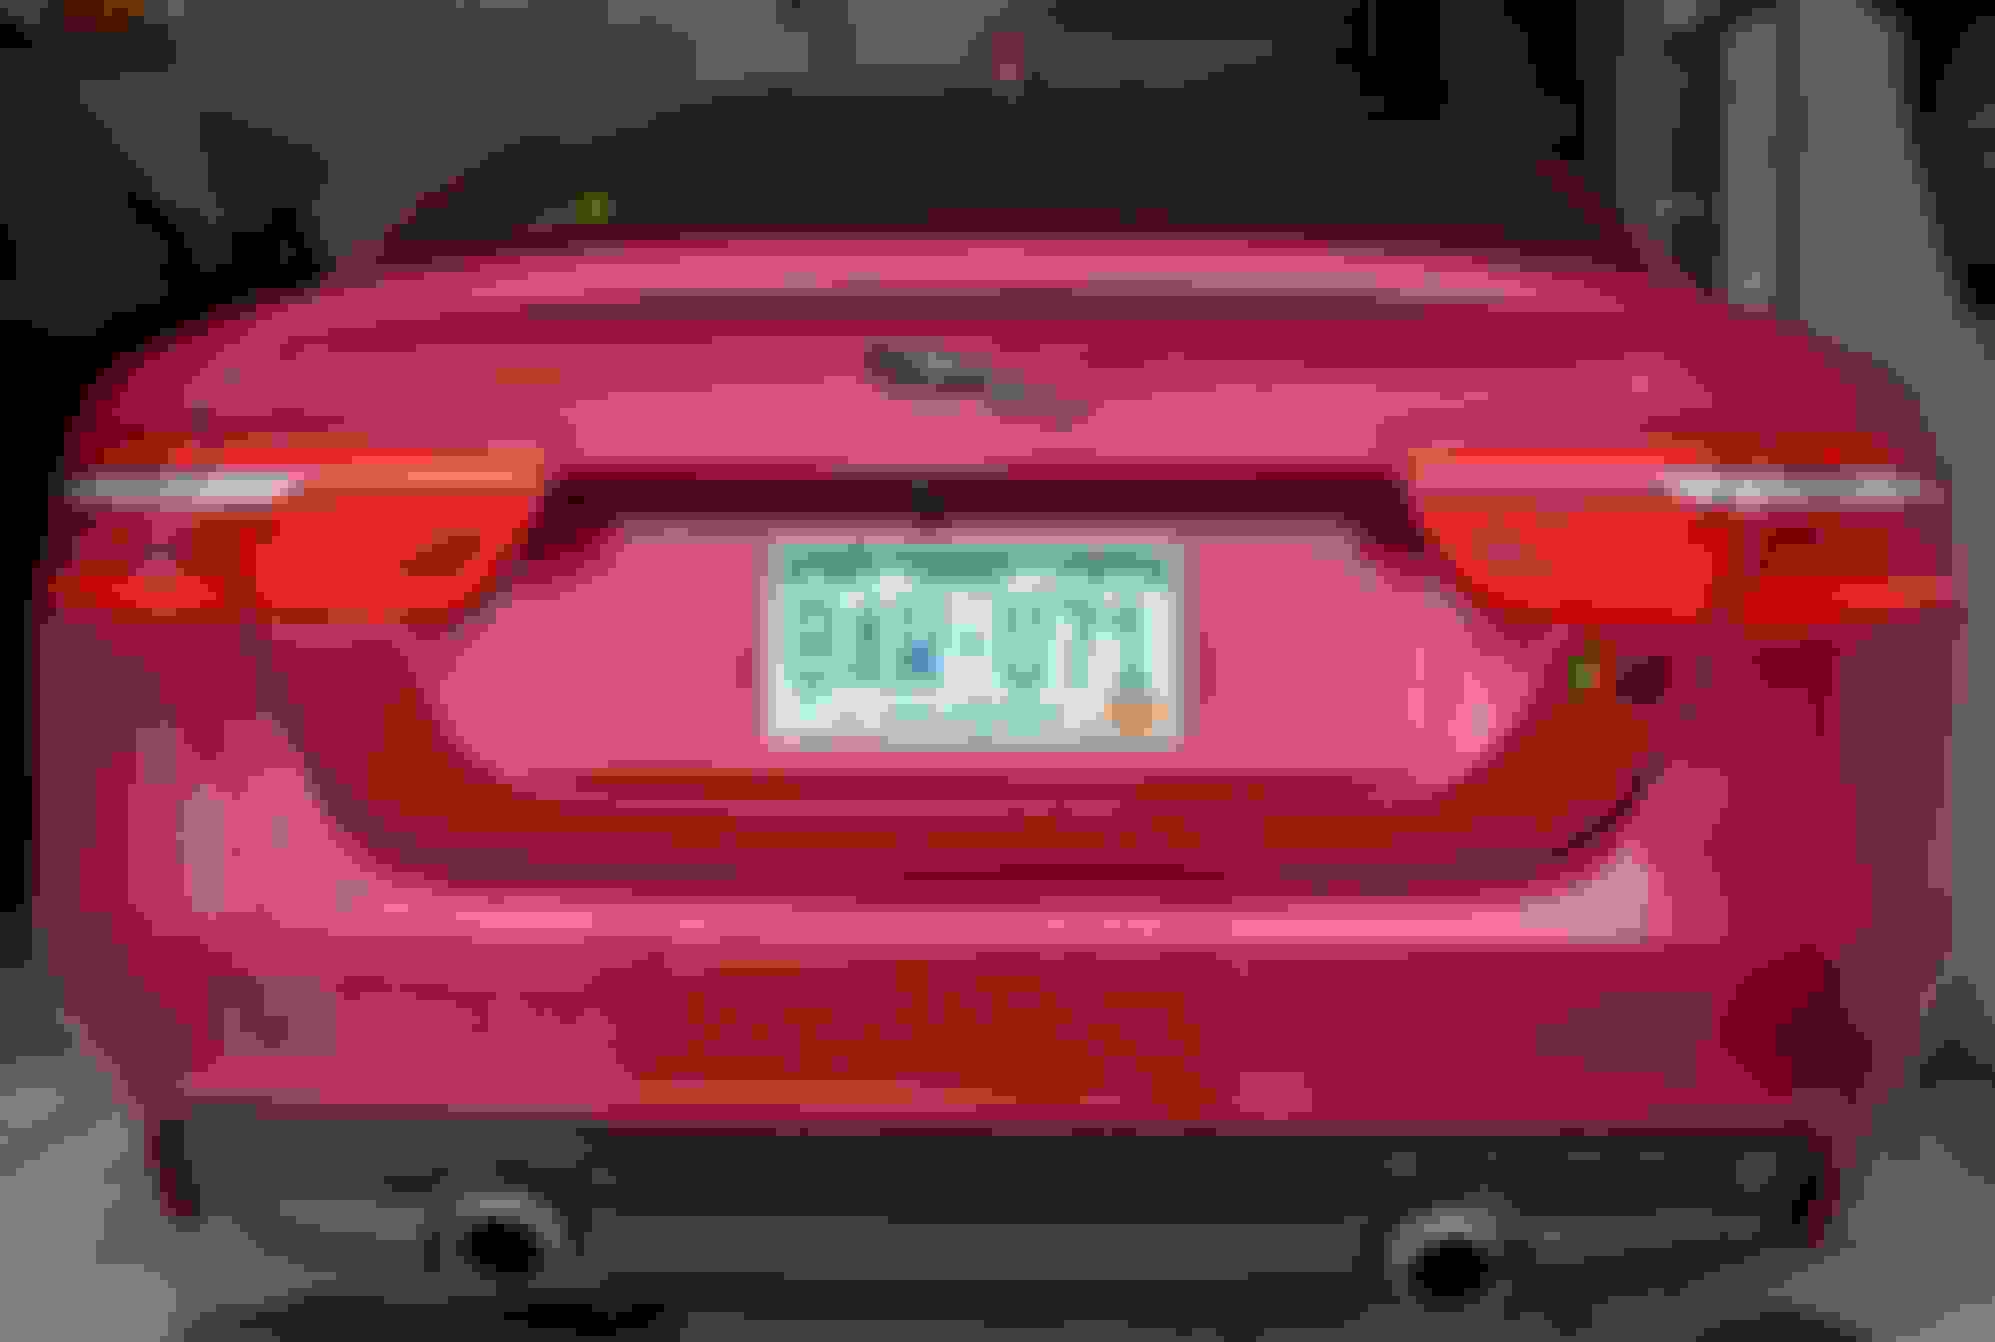
- Now that the cat is black, the taillights scream (tint me, but not too much). I had also planned to do this eventually, but now even more so.
- I saved all the badges, so it's reversible (except the painting of the black cat). I don't expect this mod will decrease value (marginally if so), but it likely won't increase it. I did this solely out of personal preference.
- This is a low risk mod. It's easy to do, doesn't hurt the car, and worst case, I have to buy another chrome cat or if the black one falls off, then I'll buy another one of those. Best to work with what you got first, then buy if you need to.
- I've done the debadging to three of my other cars, and this is the second one I also pulled the manu badge and blacked it. I've never had a problem with any of those cars as a result of this mod.
Looks amazing! I had removed the XE and 35T from the back of mine. Thinking about the J A G U A R now! Nice Job!
Thanks! Yeah, I was torn on the "JAGUAR", because it's kinda part of the emblem. But two things swayed me:
1. My Audis and BMWs never said their name underneath
2. This:
In all my time modding cars, I've NEVER put a new badge on a car (I'm always removing them)...but I think the R was truly missing. It's one thing if you had the option to buy an R and chose a non-R, then badge it for FOMO. But since there wasn't an R option for this car (to my knowledge), the R-sport is as close as it gets, and an R badge (IMO) isn't claiming to be something it's not. Anywho, I like the look. Now I gotta do something bout them dirty *** exhaust tips! Haha.
I added the exact same badge to the front grill of my 2017 R-Sport, with exactly the same justification (rationalization?).
I really enjoy OEM+ builds (just doing better than the factory with other OEM parts), and this just falls inline. Glad I'm not the only one. Didn't do the trunk emblem though?
Now that you have the R badge, might as well swap in the V8.
That's exactly my point! If there was a v8 model of the XE that wasn't $150k+, I would have it (and that's not an R either)...or if there was an full R version of the XE then I would have that or not put the badge on. But this is as close as it gets. It's like having an s-line audi of a model that they didn't make an S version of (not sure if any like that exist)...or how BMW still has some M cars, but also has MXXX model types that aren't full Ms. It's all relative...
FWIW, when I bought my z3 coupe (non-M) the previous owner(s) had been making it a replica M but did basically no engine work, so my first mod was taking those false M badges off. My first Audi was an A4, but all that stayed original was basically the frame (engine swap, f/r brakes, body, suspension, etc), but I didn't put an S badge because an S version already existed. So at least I'm consistent
Last edited by lifted.n.lowered; 03-24-2021 at 10:06 AM.
 03-08-2021, 06:24 PM