When you click on links to various merchants on this site and make a purchase, this can result in this site earning a commission. Affiliate programs and affiliations include, but are not limited to, the eBay Partner Network.
Installed 2012-15 XFR hood vents on 2017 35t XE R Sport
Ok, I finally pulled the trigger on installing hood vents on my 2017 XE 35t RSport.
I ordered the carbon fiber set from Mina Gallery. They are very high quality carbon fiber with very low quality 3m foam adhesive double sided tape already attached to allegedly hold them to the hood...more on that in a bit.
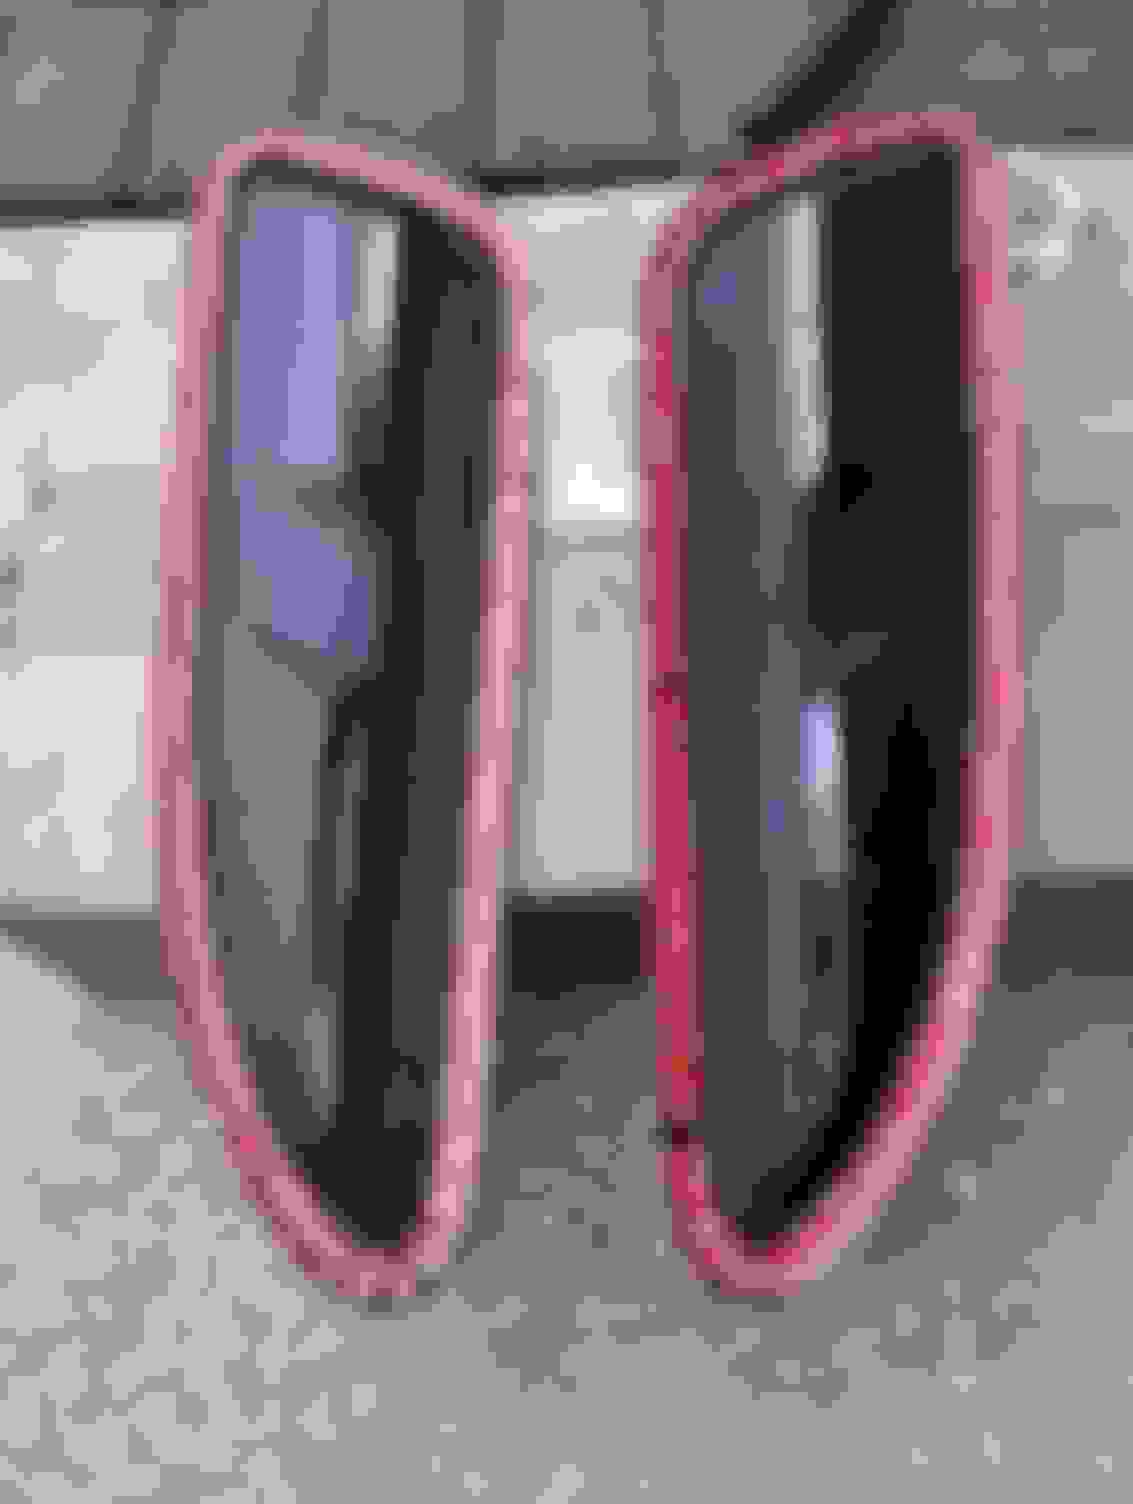
I started by tracing out the shape of the vents onto cardboard and then reduced the shape by half inch all the way around to ensure the 3m tape would have sufficient hood surface to adhere to. Carbon fiber 2012-15 XFR hood vents from Mina Gallery The red area is the double sided tape installed from Mina Gallery. This is why I reduced the template for them by half inch for cutting the hood. The vents are only around an inch deep, so minimal hood cutting is only needed to accommodate this. Cardboard template cut. Detail of template and how it fits the vents. You only need to make one and reverse it to do the other vent.
More to follow in next post.....
Once the template was completed I removed the under hood insulation and placed the template inside the pre-existing vent designed in the mold of the hood.
DO NOT cut the piece that crosses over the middle of the vents area....more to come on that.
I then drilled a hole in the middle of each of these cross over pieces to ensure alignment of each vent properly on the hood. View under hood insulation after removal. Remove the plastic snaps holding it on and they are re-installed at end. I initially marked the outline of the template under the hood, but after realizing how difficult it would be cutting from inside the hood I used those black marks as alignment lines for the template. I drilled a 1/8 inch hole in the crossed over support and all the way through the hood. I also drilled another hole near the pointed end for alignment purposes. I cut the hood from the outside. Here is the template lined up in the moulded area. It also shows the structure piece to leave alone. This is the piece I drilled the center hole through and all the way through hood as well. Engine bay, Cover all this up to prevent debris from getting in places you don't want it in. Close up of center structure with alignment hole drilled all the way through. Template can now be moved to top of hood to trace out where the vent will sit in hood. Make sure you cut inside the traced area to allow for adjustments if you need. Or if you are comfortable with what you have so far...start cutting!
You will notice two small flat headed nails I used in the 1/8 inch alignment holes I drilled. This is where I used them to keep everything aligned to trace it out. Here's a close up of the template on top of hood. This is after tracing line to cut. The two alignment holes are barely visible. Here's the opposite side done as the other. Another view of traced areas. I taped the vents on to see where they would be and am happy with it so I continued to install. I used a cutting wheel on a Dremel for the cuts and there was no burning of paint. I dit stop often to keep things cool tho. Use painters tape if you are worried about any scratches to your paint. I had minor areas that polished out after but just an extra step if you are concerned about it.
Cutting was not difficult in the aluminum hood and I used a rotary sanding disk to smooth the edges after. First vent cut out, notice I left the center structure there...DO NOT cut it out! Hole cleaned up after. Vent set into place for visualization purposes only. Moving on to other side. Notice my engine bay is covered under hood. View of both vent areas.
Work continues on hood vents. Both holes cut and hood cleaned up. Notice support pieces are still there! Vents aligned and installed with only 3m tape holding them on. The tape will not hold them on if you go more than 10mph....I used a round headed bolt and drilled a hole through the carbon fiber vent and installed it from the outside. I also used a rubber washer and wing nut under the hood to secure the bolt. Use whatever you think looks good. The black bolt I used doesn't detract from the look on the outside and is covered up with the hood insulation afterwards. Final alignment and vents installed with bolts. Close up of bolt securing vent to hood. Close up of bolt securing vent to hood . Look at under hood before insulation installed.
As stated in beginning, DO NOT remove the center structure. It provides a permanent and secure place for the bolt to hold on the vents so they do not fly off during driving!!! Finished look of vents. Another angle of vents.. Outside look of vents. Outside look of vents. Note: The measurement from edge of vent to the hood line above each vent in the picture is 5.75 inches. Hope this post helps anyone doing this. The only issue is water entering through the holes in the vents. I don't drive it much so it won't really affect me.
I have those exact hood vents stock.
How does the factory attach them? As you posted with the hood pad in place I can't see anything but I don't have any screw holes in my stock ones?
Does Jaguar just use the double sided tape?
I ask because I race and have taken my XJR to 180+mph with zero issues?
I too worried about water entry but Jaguar does not put anything under the hood vents so maybe they did not think anything was needed? I live where it rains very hard and the car is my daily driver so plenty of water to test things out but after almost 6 years no water problems?
.
.
.
You would have to remove your hood insulation and take a look at it under the vent area. I have not seen one attached under there yet but I know they don't just have tape holding them on...at least not aftermarket stuff. My hood appears to have indentations where a vent might clip into place, I guess Jaguar was thinking about adding vents (and maybe a V8?) at some point to the XE but sales didn't get the results they wanted so they discontinued them. Best.
I did notice that the vents I installed are smaller than the moulded area for vents in my hood. Maybe there are bigger vents out there somewhere that actually fit that?
Ok, I spent some time at my local Jag dealer parts department. We looked at every vent in their storeroom and it looks like the original XFR hood vents will fit in the XE hood. If the XE hood is cut properly it also looks like the vents will simply click into the pre-moulded area under the XE hood. This would mean getting OEM vents either from Jag (they don't come painted btw) or an outside source. My dealer charges 188 US dollars for each vent, but I have seen them cheaper at other Jag sources. Jag schematics show the XFR vents with the clips in the correct areas to fit the XE hood. I still need to get ahold of some XFR vents to verify this but it looks promising. The hardest part will be cutting the XE hood exactly as needed.
The XF from 2009-2015 (5.0L OHC SGDI SC V8 Petrol - AJ133). has 4 part numbers. Part number C2P22387XXX is a LH air vent and part number C2P22386XXX is the RH air vent. Both of these fit VIN from S20753. They are $188.80 per vent (in USA) and as stated earlier they do not come painted from Jaguar.
Part number C2P14034XXX is a LH air vent and part number C2P14033XXX is a RH air vent. Both of these fit VIN R47154 thru S20752. They are $106.45 per vent and will not come painted as well.
This info comes directly from Jaguar Land Rover Limited.
Hope this info helps in research.
I believe there is an extra complication using the stock XFR hood vents in that the original hood had a recess or step to help the vents look more deliberate. This "step" helps bury the edge so the vent doesn't look as much like an add on. I think this or some other modification would need to be done in order to have stock XFR vents "snap" into place.
Yes, I see the recessed area. The only way I can think of getting around this would be to either drill some small holes in the support pieces under the hood and safety wire them underneath to hide it or maybe use plastic zip ties to avoid rusting over time. That way it eliminates the recess complication creating a clip length issue on the xe hood. Thoughts?
Perhaps the under hood structure could be bent up to compensate. The expensive solution is to replicate the step exactly. This would likely require metal fab and paint touch up but would look absolutely factory.
I like your thinking, but looking at the sub-structure it has already been recessed up toward the hood. Don't think it would be worth all the customization needed just for flush vents. I will still get a set of OEM vents and maybe figure out a more cost effective and less involved way to attach them. But I will figure it out.

 12-09-2023, 12:44 PM