When you click on links to various merchants on this site and make a purchase, this can result in this site earning a commission. Affiliate programs and affiliations include, but are not limited to, the eBay Partner Network.
Howdy all! Things have been very quiet on the Jaguar front lately.. I've spent the last three months exiting one of my companies and that's chewed up almost all of my time, but now that's mostly complete I have 20-30 hours a week free to put into the workshop and detailing business.. and a lot of that will be working on my own car!
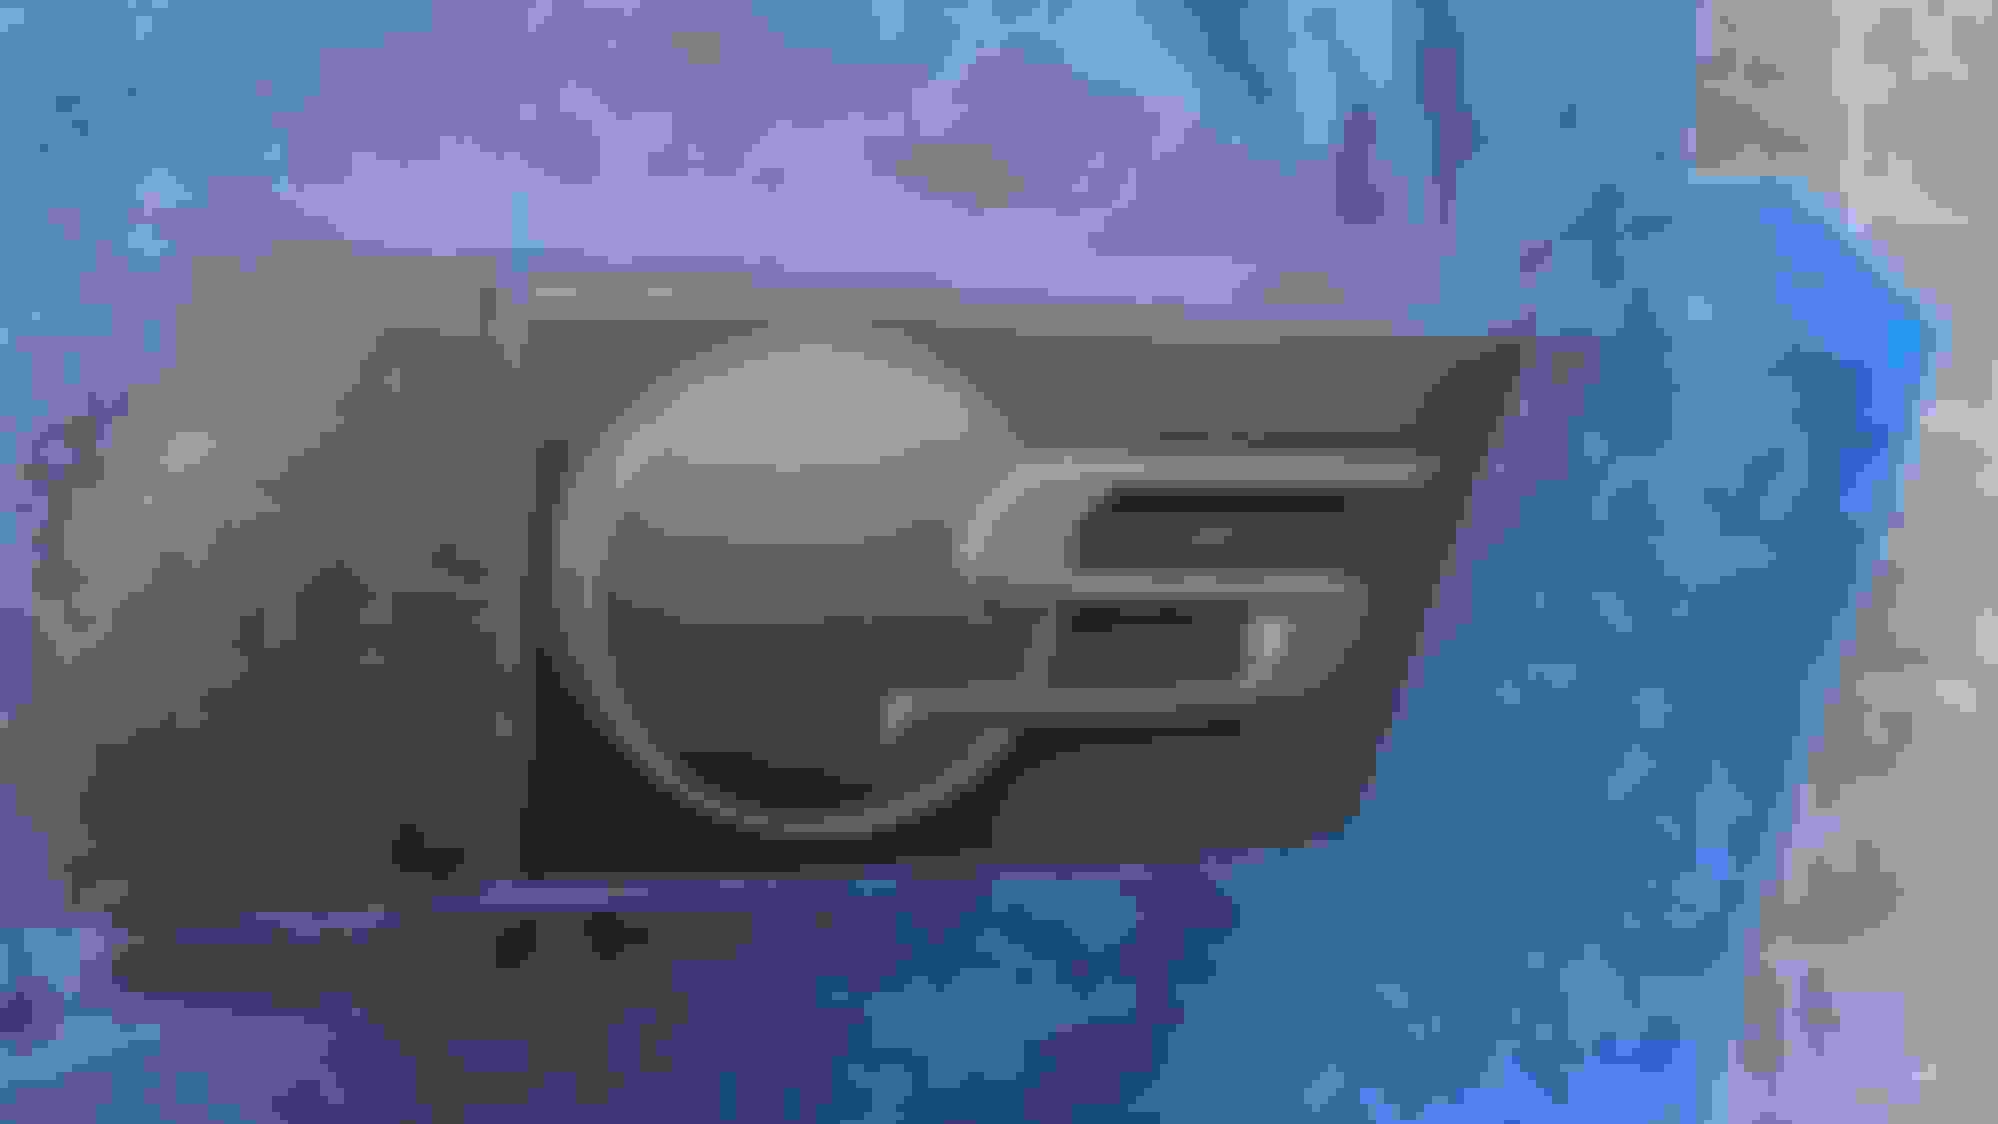
Unfortunately I've had the flu the past few days, so yesterday I spent the day in my ghetto garage and knocked over one of the little jobs I've been wanting to do for AGES, which is painting the badges with matte black plasti-dip. I decided to plasti-dip because it's easily removable if I don't like the colour, which also gives the next owner the option of removing it (or I can do it for them) if they'd like to go back to silver... but now it's done, it looks sick Here's the finished product:
Paint looks awful I know, shhhh Full paint correction and PPF is coming soon!
The process for the XE and Jaguar badges was super easy and there's how-to guides all over the internet... basically just clean the badge really well, mask the area off, spray 3-4 thin coats allowing 30min drying time in between, and carefully peel the excess off after the last coat has had 2-4hrs to dry properly. The only tip I have is to pull the excess sideways away from the edge of the badge, rather than pulling up away from the panel... I found that if I pulled away from the panel, sometimes it'd lift the edge off the badge. A wooden skewer or toothpick is useful for getting the excess out of the little bits you can't get a finger into. OMG pulling the excess from around the badges is suuuuuuper satisfying lol.
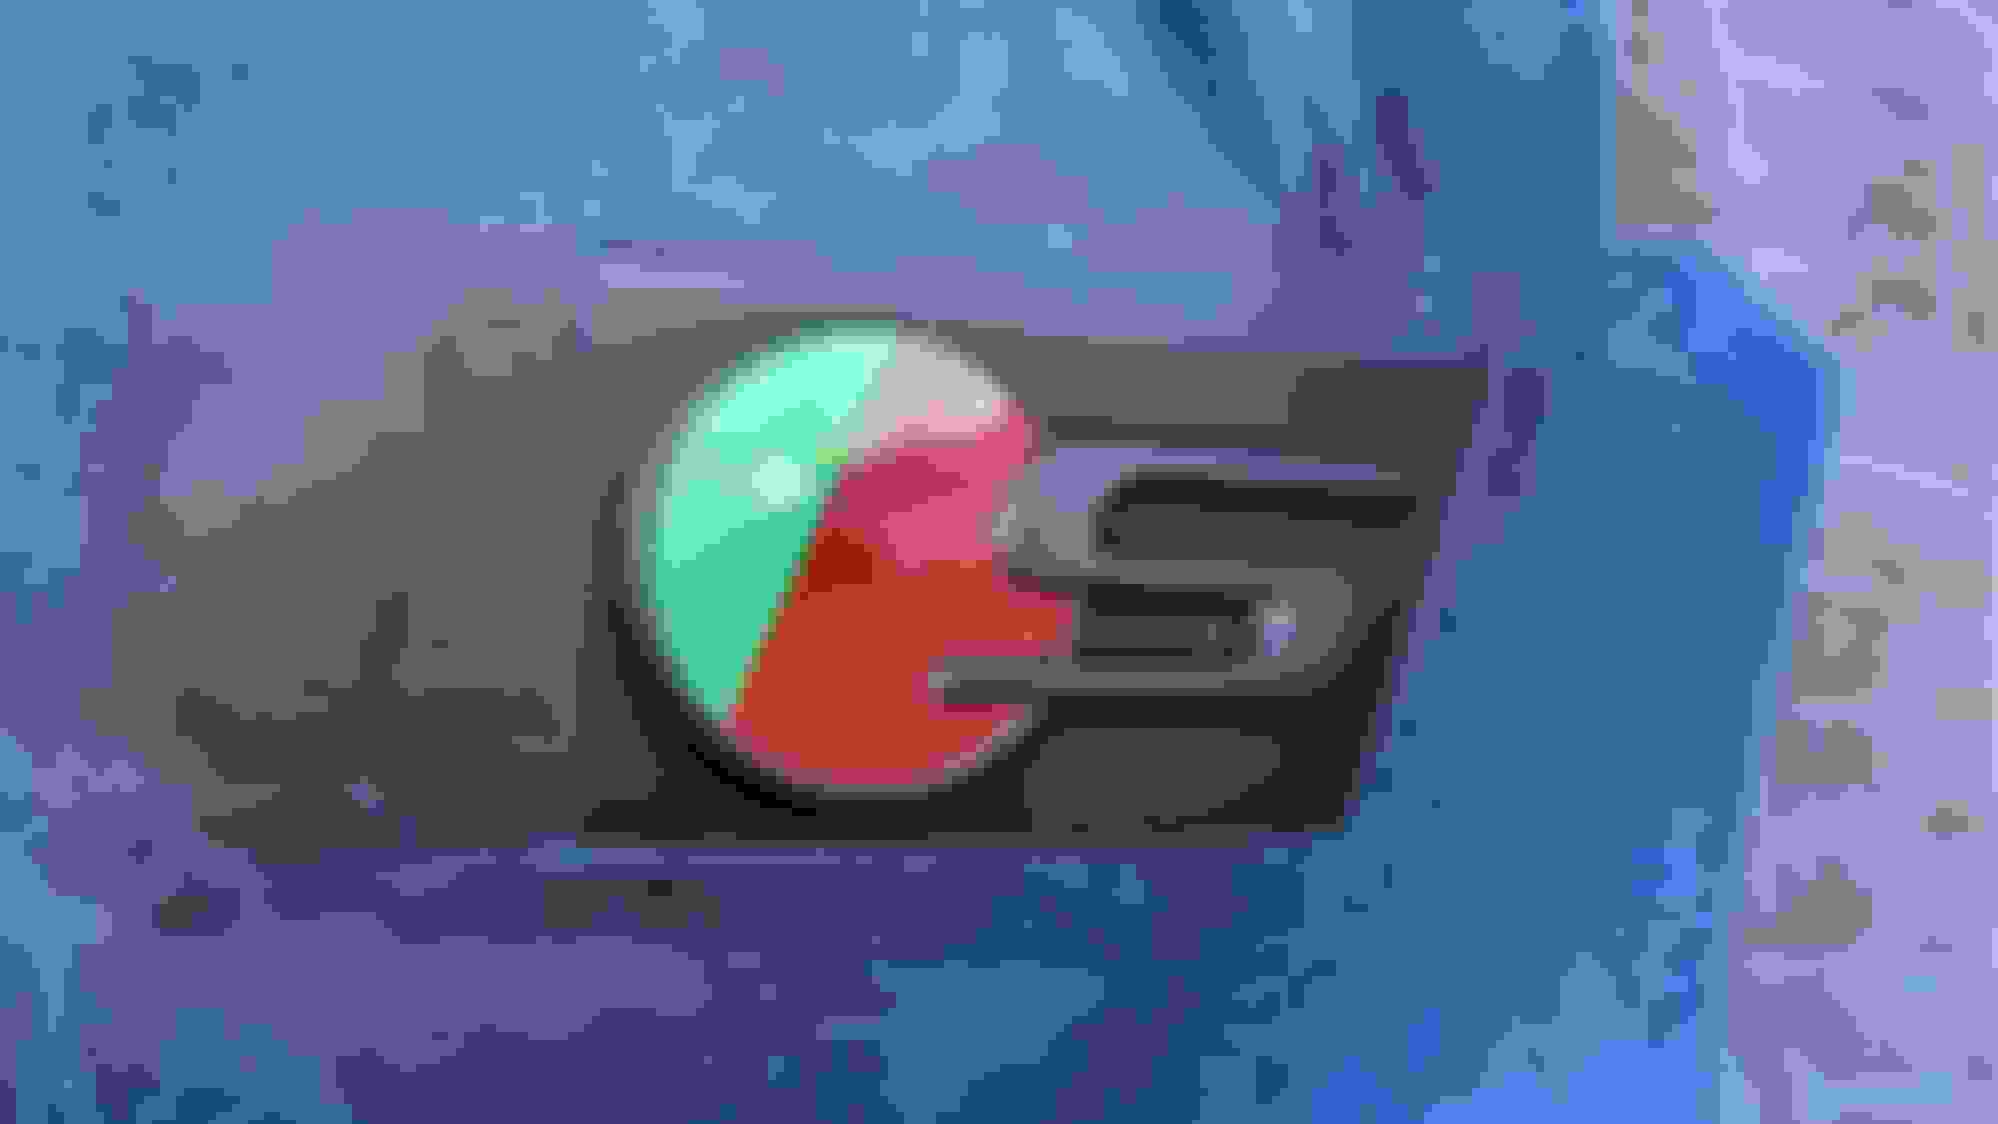
The S badges sucked - the outside behaved like the other badges but the circle was a massive PITA. First I masked the green and red circle with painters tape, using a sharp knife to cut around the circle... the plasti-dip bled under the tape which is common.. painters deal with this by laying a thin coat of the colour that's under the tape first so the bleed is invisible, then applying the new colour over that. No chance of doing this here and the bleed was gross, so I peeled the plasti dip off and started again. The second time I did it with the same process as above, but when I peeled the circle it just pulled the dip off the badge as well. While I was doing this I figured out why plasti-dip works so well... the badges are slightly raised off the paint and light coats of plastic dip won't bridge the gap properly, so it sort-of cuts itself at the edge of the badge. Armed with this knowledge I sprayed two coats that were so light I could see a distinct line between the outer badge and the edge of the circle, like this:
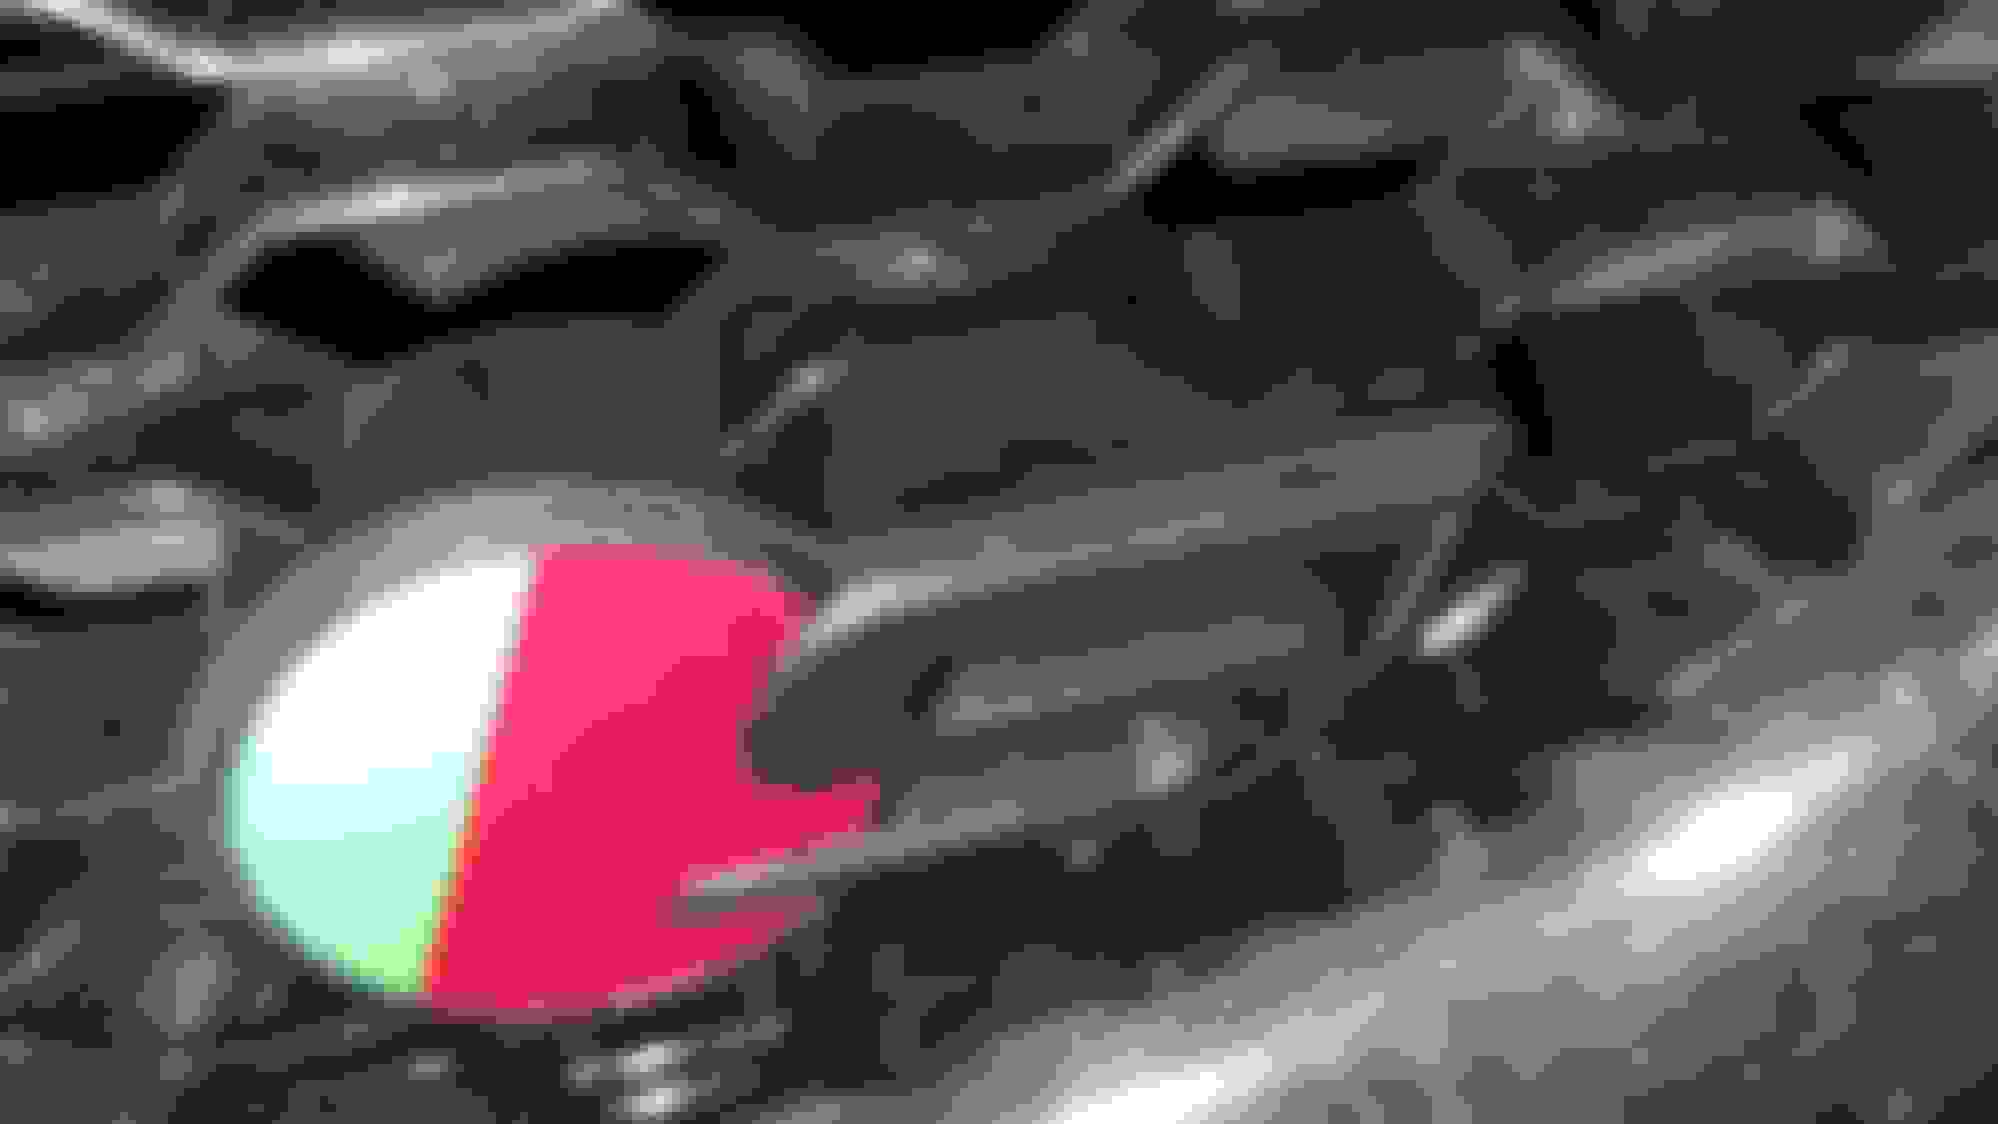
Note the red/green visible around the circle - this is what I was aiming for. After two coats I peeled the circle, revealing this:
This is looking pretty good but you can still see some silver through the dip, so I did two more coats. Unfortunately in one spot (bottom left of the S), I got a bit too much paint and I pulled the edge off the badge again. I tried to fix this with two more coats but they stuck as well, and peeling them pulled a bit off the S again. The end result, which I'm not happy with, looks like this:
The marks in the circle are from the wood skewer.. they could be polished out, but I'd likely damage the plasti-dip. The front S badge was even more difficult as it's recessed into a holder... masking was tough, and peeling the excess damaged the edge of the dip:
Am I happy with the result? On the regular badges yes, but on the S badges no. Would I do this on your car? Same answer - regular badges yes, S badge probably not. I already have matte black S badges that I got from ebay and I plan to put those on once the car's paint has been corrected, as the rear badges will be removed when I do that. This was mostly an experiment to find the limits of the plasti-dip method, and I think I succeeded 😂 The other thing I want to find out is how well the dip handles washing and other wear... the excess peels off so easily that I'm really not convinced it'll last long, but the regular badges were easy enough that I could re-do them every few months. The S badge was soooo finnicky that I'd never want to do them again 😂
I'm happy enough with the look that I think I'm going to spray the regular badges in proper matte black paint while they're off for the detail, and return them to the car along with the new matte S badges. The next owner is going to get black badges, stuff em :P
P.S. does anyone have an opinion on spraying my exhaust tips in matte black to match (hi-temp exhaust paint of course)? They're a PITA to keep clean in chrome, and there's only two other chrome features left on the car (wheel nuts and front badge that's part of the radar system).
It'd be a permanent application though so I'm not quite as gung-ho about jumping headfirst into it as I was with the badges...

 06-18-2024, 07:58 PM


 Here's the finished product:
 Full paint correction and PPF is coming soon!