When you click on links to various merchants on this site and make a purchase, this can result in this site earning a commission. Affiliate programs and affiliations include, but are not limited to, the eBay Partner Network.
Okay let me first say this IS a hard job, This engine is in this car SUPER tight, Mainly because it's installed as most from the bottom. Unless you have already made a major investment in tools as I have from my LS racing days, enjoy a "Maint on my car challenge" And have a few days to leave your car down. DON'T TRY THIS AT HOME, and if you do, YOU DO SO AT YOUR OWN RISK! READ ALL OF THIS BEFORE YOU START! You won't be able to torque the plugs so follow the plug manufacturers instructions for tightening them. Champion recommends adding 1/2 turn after the spark plug washer contacts the head and NO antiseize.
Tool list
Spark plug ratchet
14mm BMW plug socket, Rubber retension will do but I like the Banjo type, it never sticks on the plug.
1/4 drive socket set
A mini drive bit set
A #30 torx socket
A cut down #30 torx bit
A heat gun
Banjo retainers, 12 point instead of 6 socket will give you twice as many opportunities to get on the plug, and if you have the Bosch plugs they only take the 12 point socket.
To access the coils plug, coils and then the spark plugs you'll need to move or remove the following.<br/>The air intake tube<br/>The coolant tank<br/>The PS res<br/>The intercooler lines<br/>The fuel lines<br/>The rubber head cover (Heating this with the heat gun makes removal much easier).<br/><br/>
To remove the coils connector, press the grey "t" lock out, then down. The coils bolt is a #30 torx, they are long and can strip easy so go slow. I changed my coil bolts to a 8mm flange bolts. the coils will need some "NEGOTIATION" TO GET OUT..LOL But put them back in the cylinder you pulled them from. That 4th one was REAL fun!
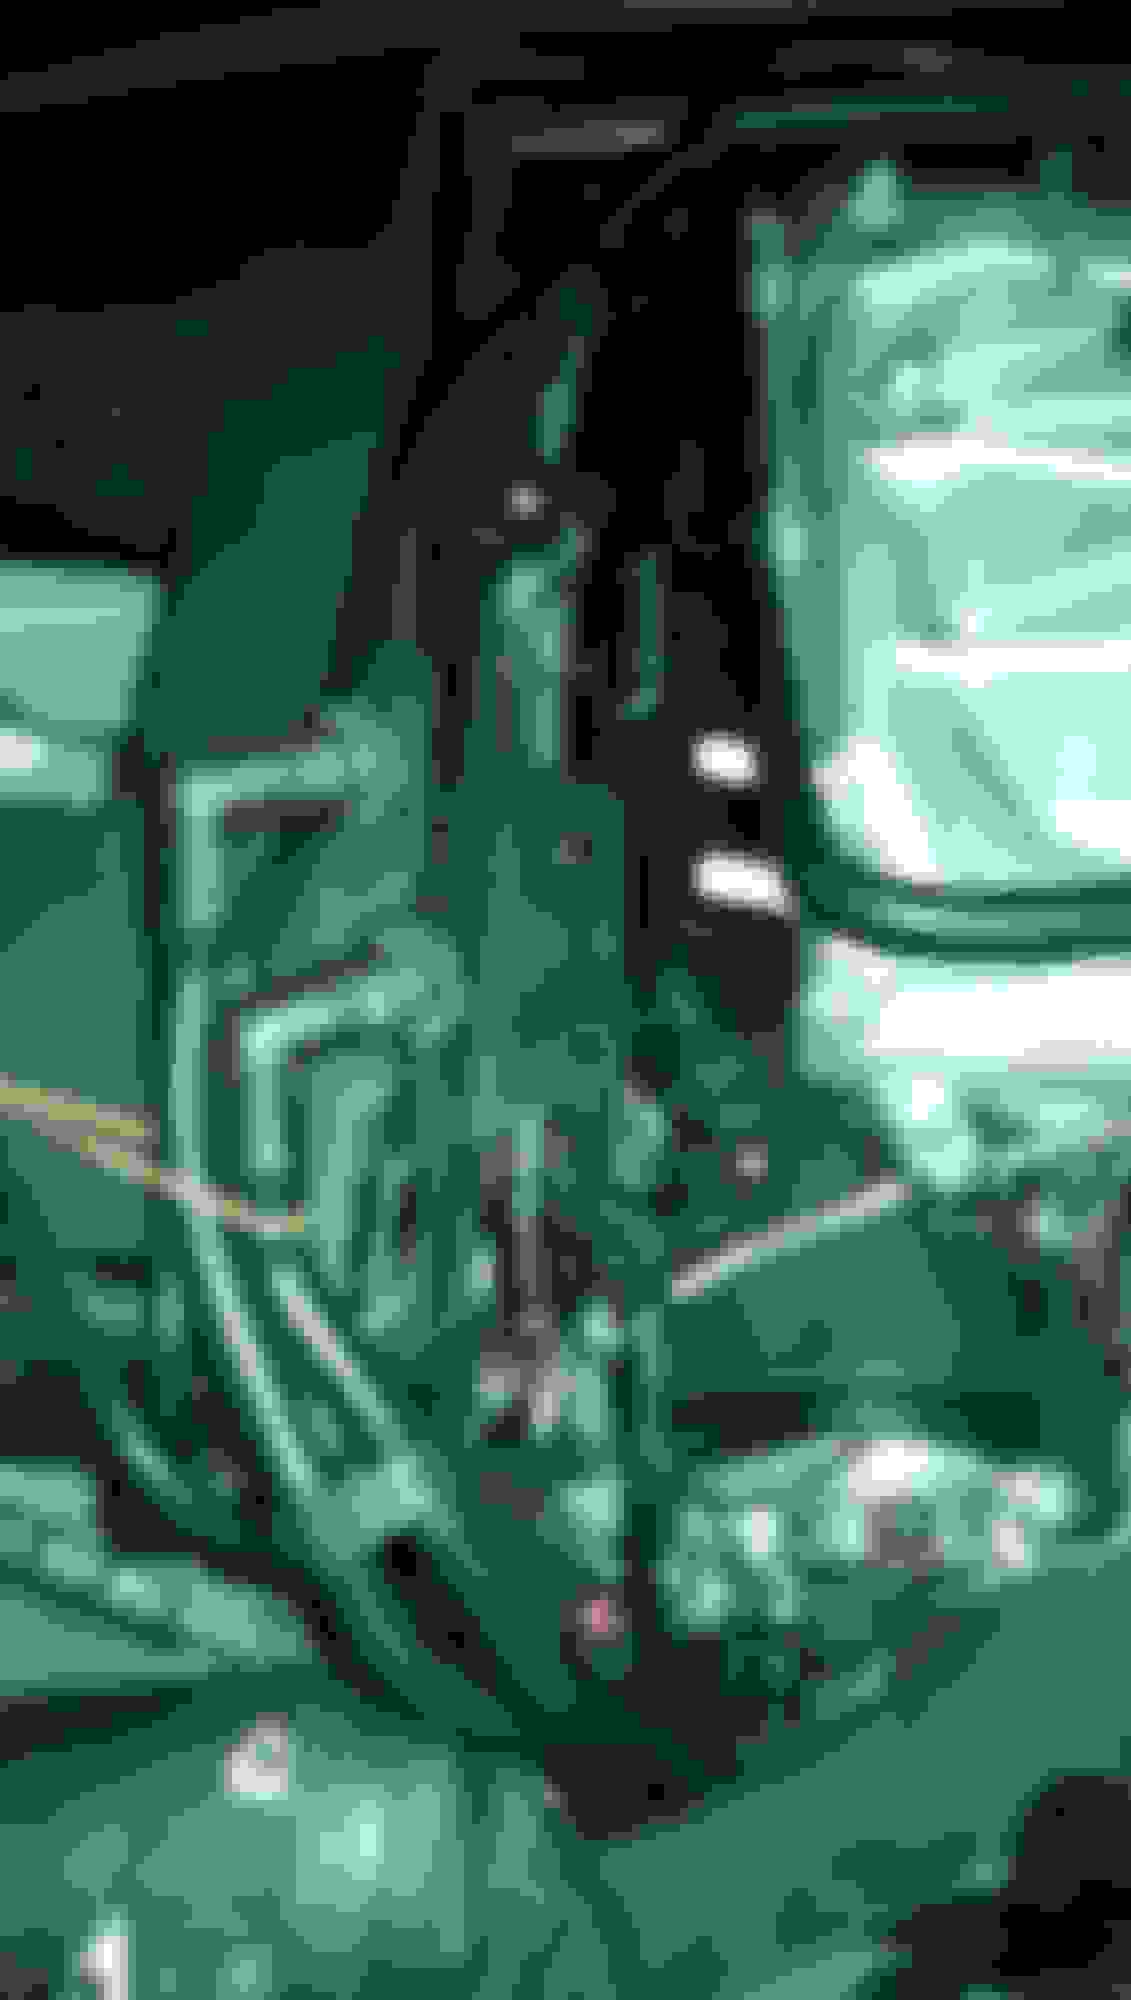
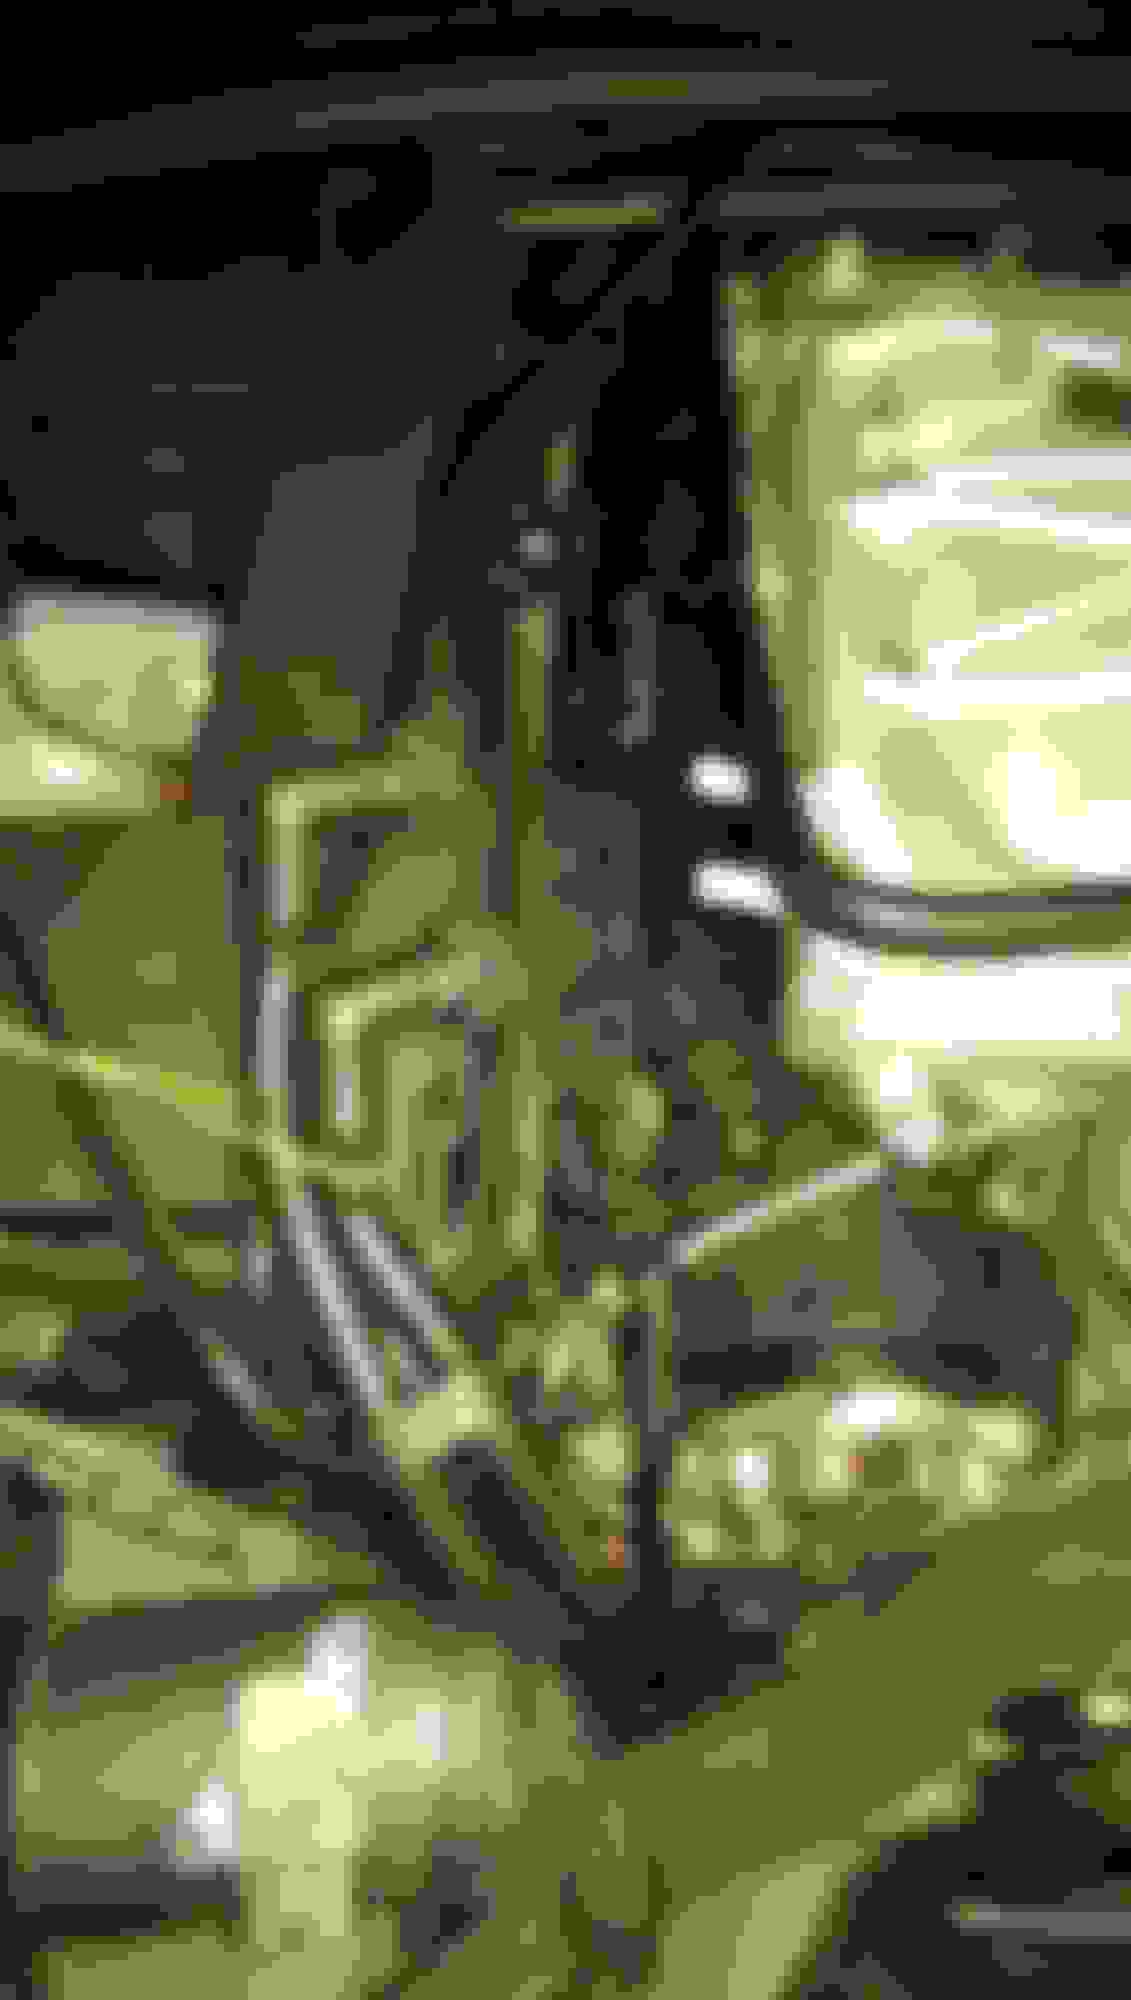
This is the set up I used to get into all the plug, adjusted the length accordingly. ALL the plug holes are BLIND, and you have to hold the extensions to keep them from binding up but if you go slow they will work. Always start your plugs by hand.
Now the Passenger bank is much more of a challenge due to even less room than the passenger side, after you remove the rubber cover, there's a wire loom that runs the length of the head it has to be removed to access that sides coil bolts, release the loom buy pressing its clips away from the engine and pulling up but just enough to gain coil bolt access as the loom houses the fuel injector connectors.
Again the coils will need some "negotiation" to get out, but this is how I got them out. #1 & 2 can be pulled out by turning the coil so the hold down is against the engine and pulled out past the small pipe connector on the front end of the head.
Coils 3 & 4 come out in the gap between the 1/2 circles on the valve cover air oil separator. Re install in the same order an place they came out
LOL Yep, took me about the same. It will go much better in about 60k mi, as I now know what to expectI think I'll get 1 more swivel an short extension from my box at work next time.
Can't thank you enough for this post. Got half way through changing the plugs on my 5.0L and got stuck trying to get to the passenger side plugs. At first, I thought your method couldn't be correct, but with some major patience, I was able to persevere. Your post saved me at least a half a day of trying to figure out what needs to get pulled and what doesn't in order to get to the plugs. Thank you!!
Can't thank you enough for this post. Got half way through changing the plugs on my 5.0L and got stuck trying to get to the passenger side plugs. At first, I thought your method couldn't be correct, but with some major patience, I was able to persevere. Your post saved me at least a half a day of trying to figure out what needs to get pulled and what doesn't in order to get to the plugs. Thank you!!
I have the same engine in my supercharged XJL and want to change the driver�s side coils. Not sure if I�m up for the challenge yet though.
Does this require removal of the same parts to access (ie air intake, expansion tank, p/s fill tank, and intercooler lines)? Also does removal of the intercooler lines/ expansion tank require draining the coolant first? Thanks!
You may have to move the coolant expansion/PAS header tanks, but you don't need to remove them completely. At least with the XF, there's a fair bit of slack in the hoses to each. You also don't need to drain the coolant to remove the intercooler lines, but just be ready for some escaping fluid when you remove them.
You may have to move the coolant expansion/PAS header tanks, but you don't need to remove them completely. At least with the XF, there's a fair bit of slack in the hoses to each. You also don't need to drain the coolant to remove the intercooler lines, but just be ready for some escaping fluid when you remove them.
I have the same engine in my supercharged XJL and want to change the driver’s side coils. Not sure if I’m up for the challenge yet though.
Does this require removal of the same parts to access (ie air intake, expansion tank, p/s fill tank, and intercooler lines)? Also does removal of the intercooler lines/ expansion tank require draining the coolant first? Thanks!
All the best.
This post actually goes into more detail, and has better pictures of what I needed to move to do the Driver side plugs. I did remove the coolant recovery tank, but I pinched off the coolant lines with a set of line pinchers from harbor freight for about $6, you will lose the coolant from the tank though, the PS res just needs to be unbolted and moved out the way as an assembly. https://www.jaguarforums.com/forum/x...-213633/page3/
 06-27-2015, 03:01 AM