When you click on links to various merchants on this site and make a purchase, this can result in this site earning a commission. Affiliate programs and affiliations include, but are not limited to, the eBay Partner Network.
It’s been a little over a month since I bought my 2010 XFR and I only got to drive my car 3 times before I starting taking her apart to replace the coupler. When I test drove it I assumed it was maybe one of the tensioners that needed to be replaced. Easy enough I thought, and brought her home. But after reading through the forum I discovered a lot of people had their coupler go bad and some had an issue with their chain. The tensioners all seemed good and the coupler was the only thing that made sense. I ordered all the parts and waited.
While waiting, I decided to run seafoam through the gas tank and put some into the oil. The only thing I didn’t do was run it through the intake because a lot of people have said it can mess with the coating of the supercharger rotor. Finally the parts came and I started taking things apart. I highly recommend people read through this forum as well as others and gather as much Info. I’ve never done this so I wanted to be extra careful.
I won’t do a step by step because there are threads with sufficient details to do this job.
Had to get creative with this bolt. Didn’t have a tool I could use to undo it.
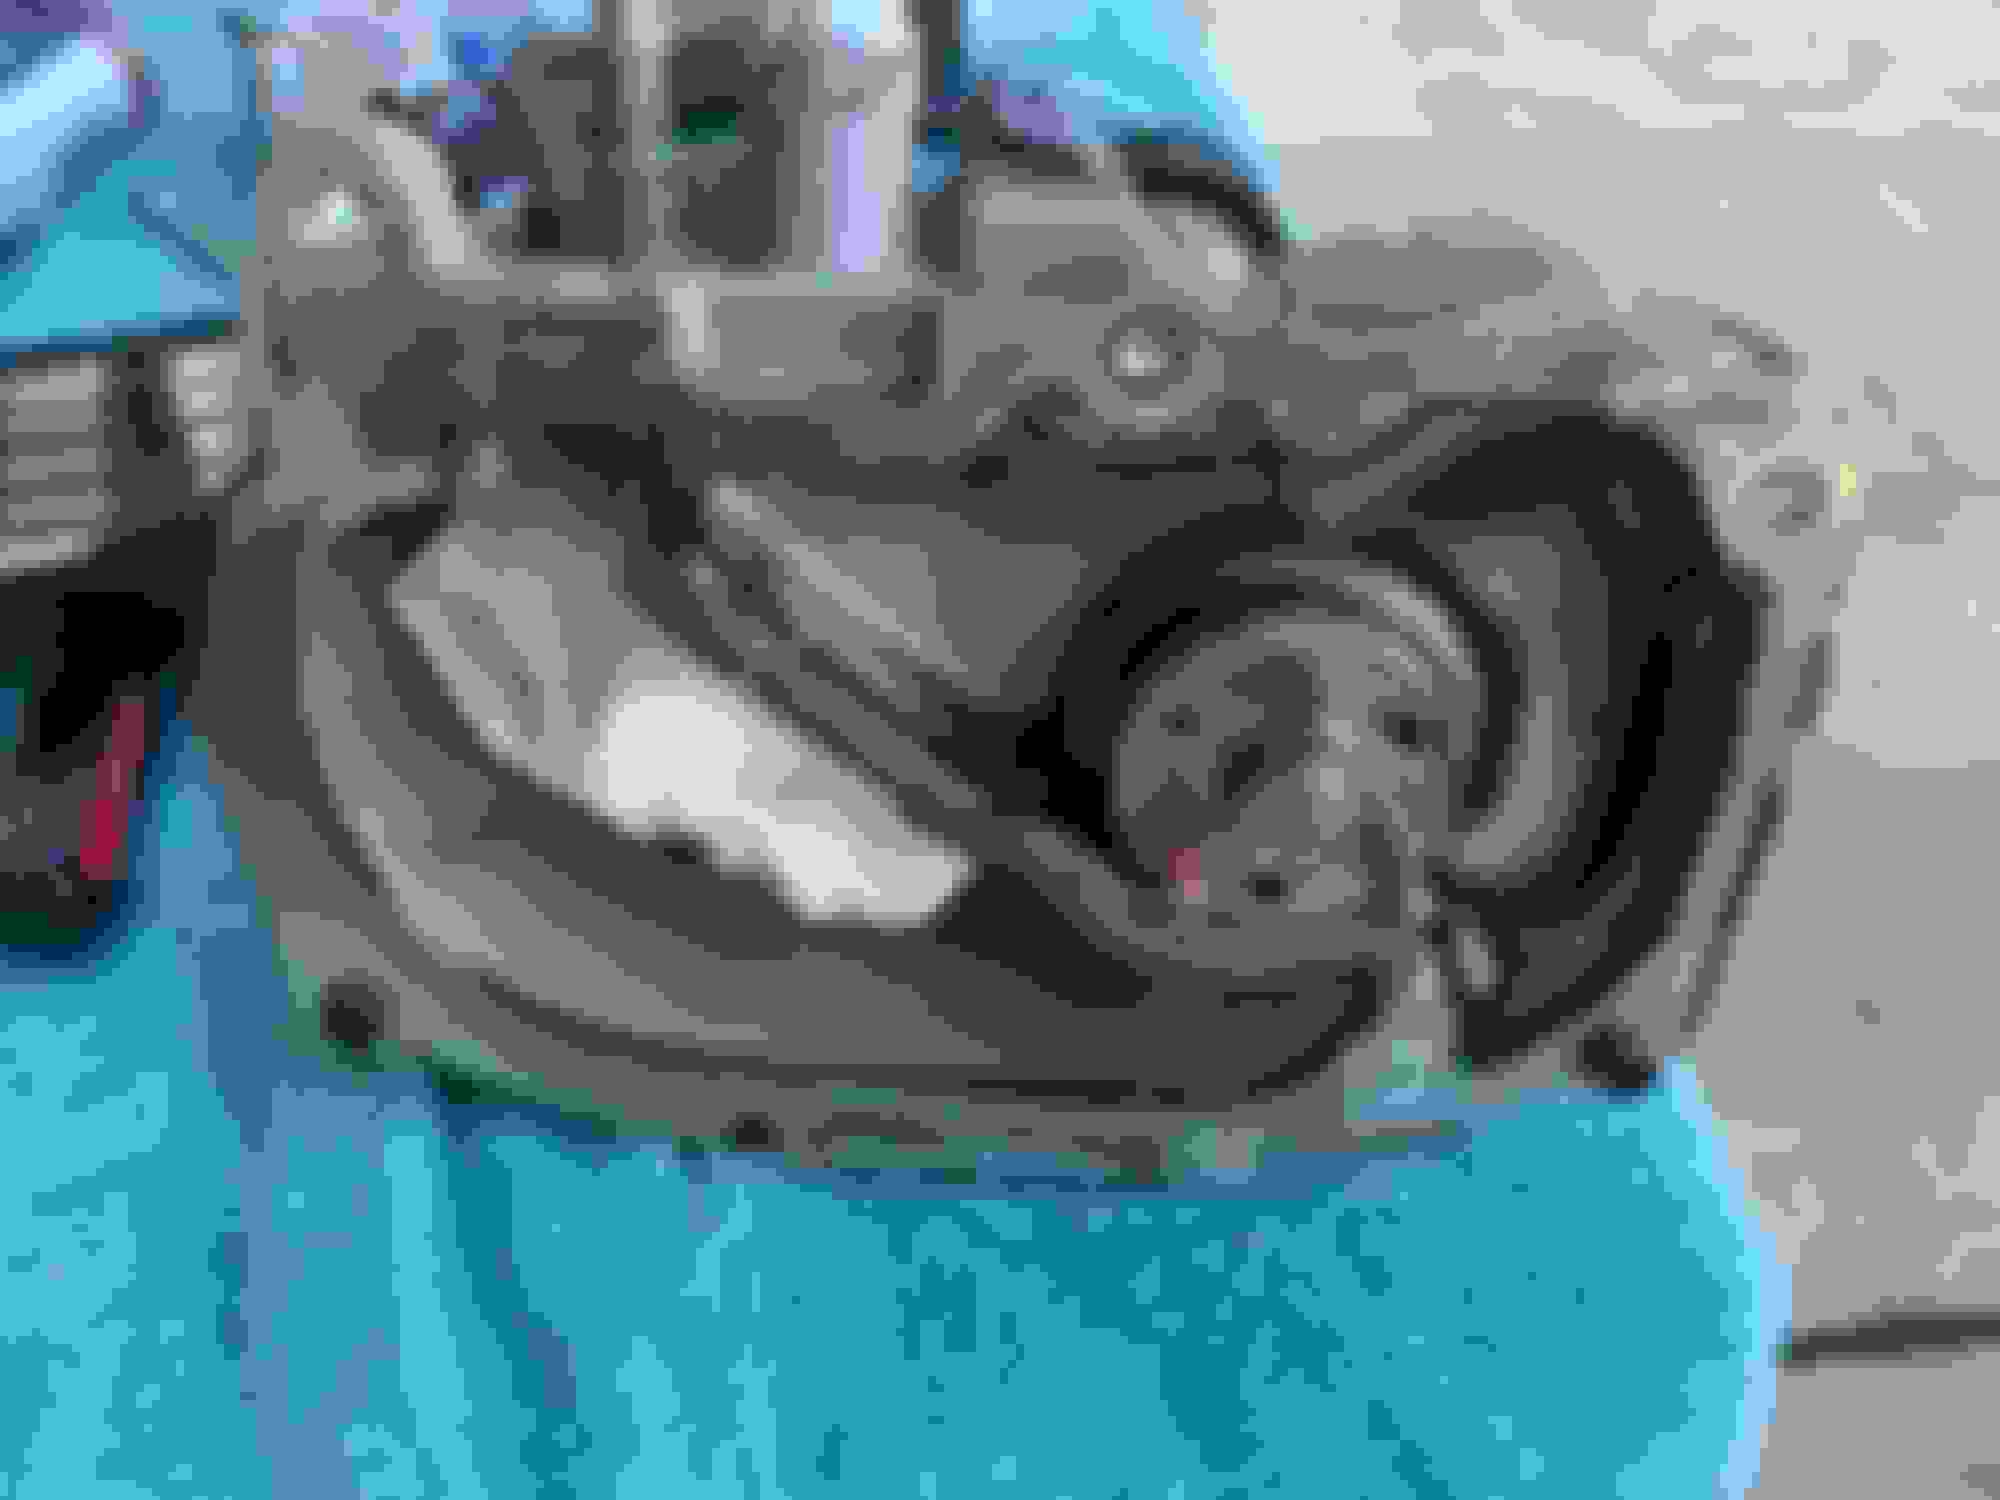
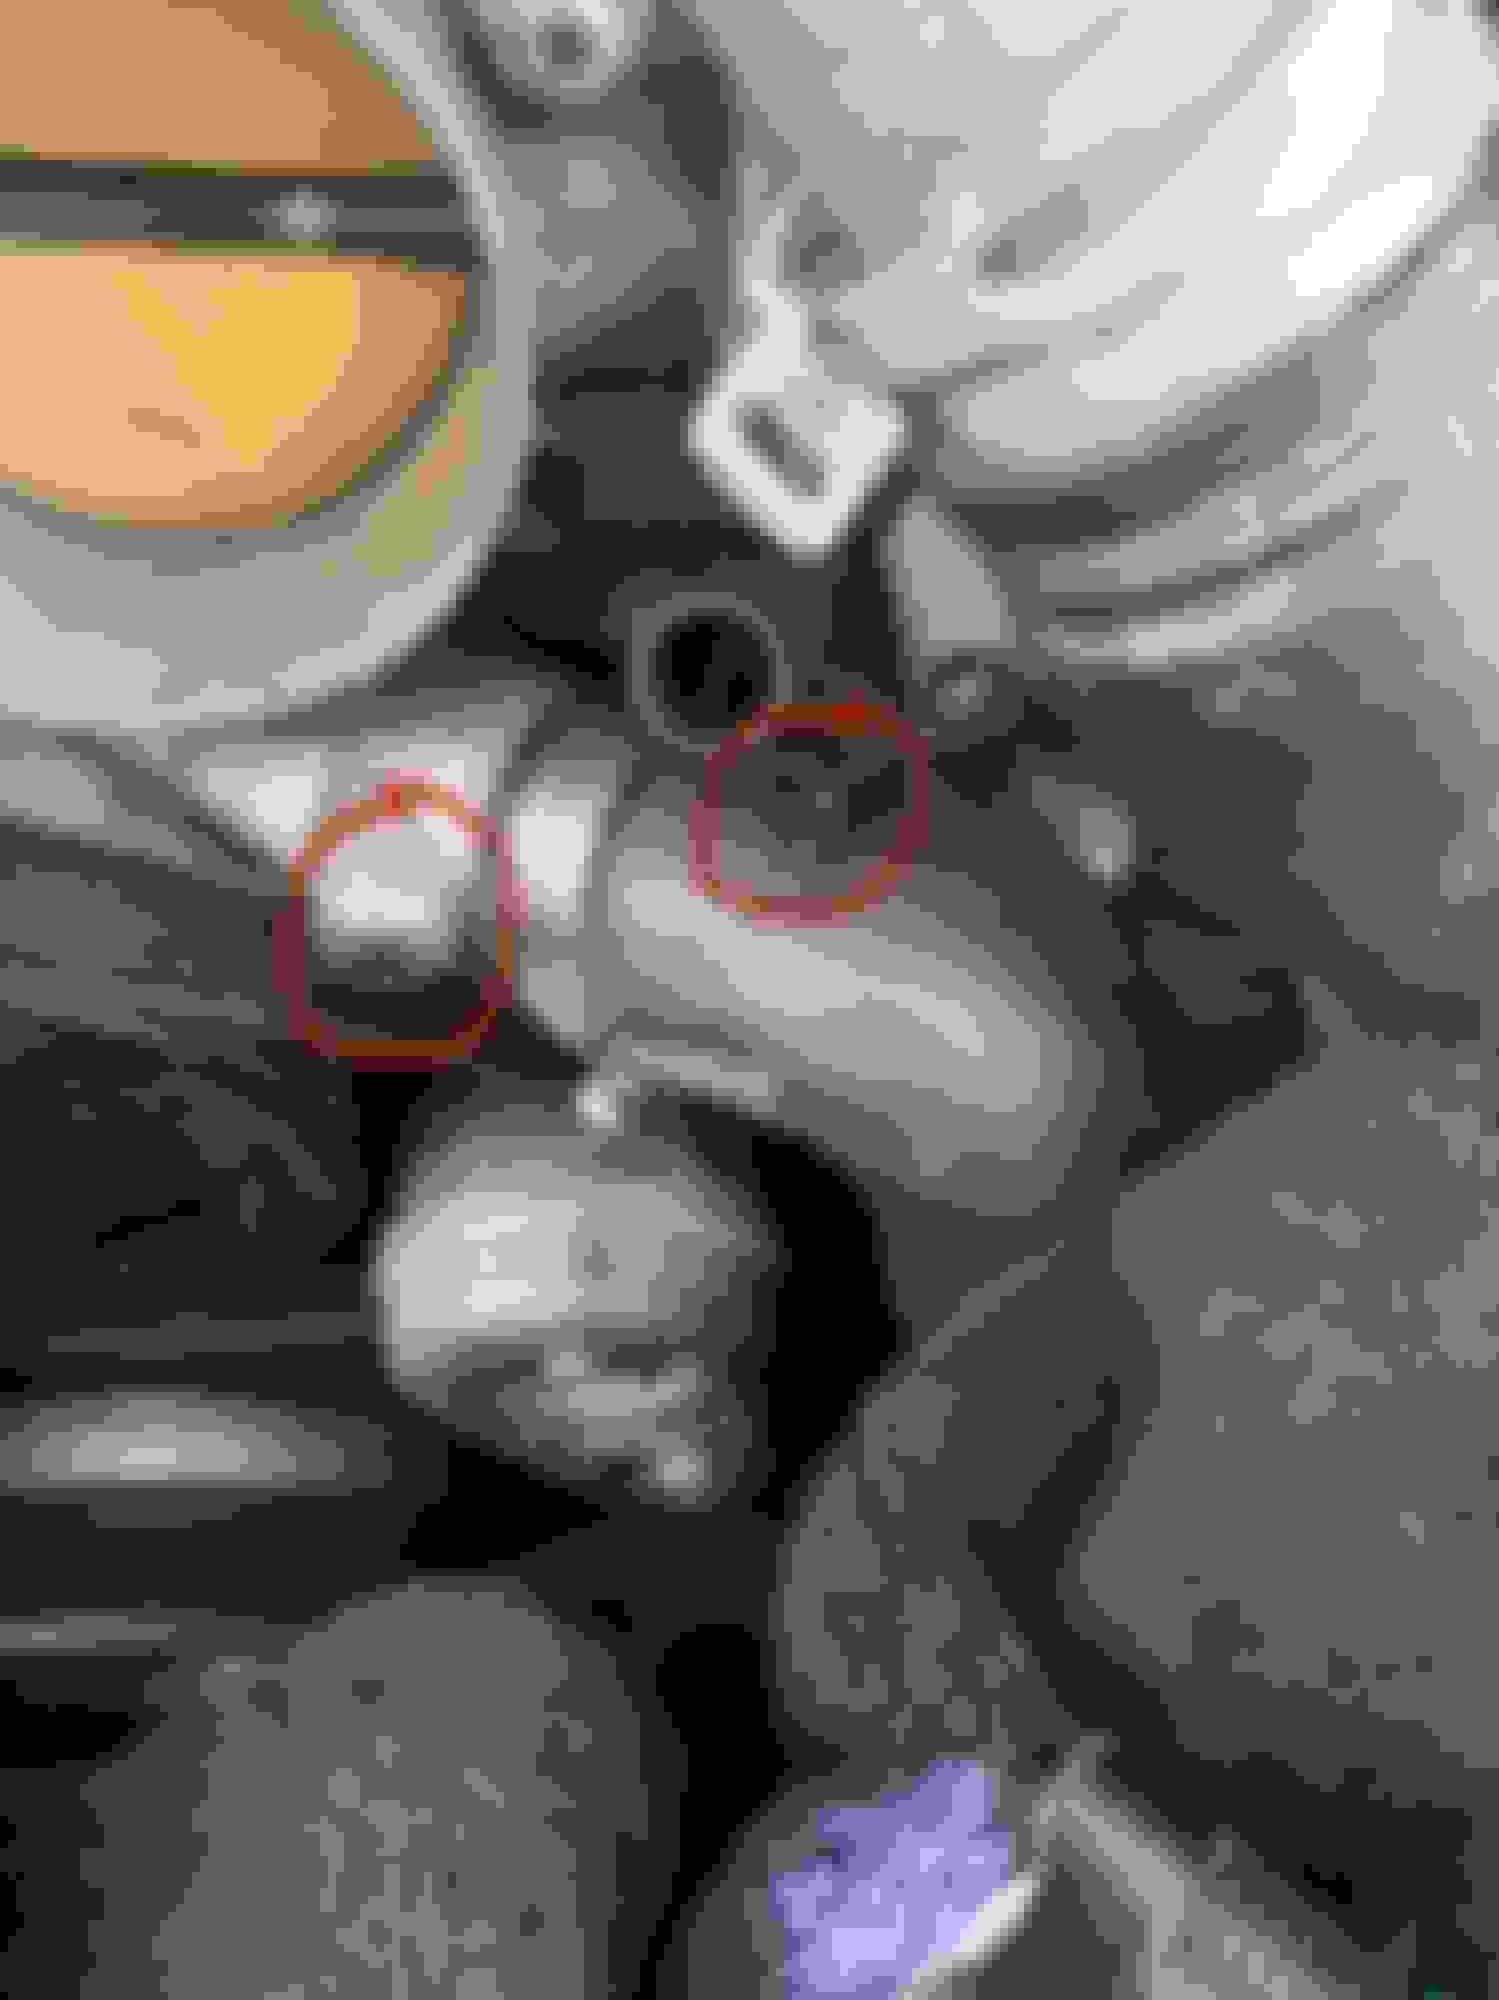
I made sure to mark the bypass valve so I can line it exactly when putting it back on. Couldn’t pull the supercharger up with my human strength. One of the treads mentioned using this support to pull it off the dowels. Made it so much easier. Got all the bolts off and pulled off the snout. A little filthy inside. Started cleaning off all filth and old gasket with brake cleaner and a rag Took out the old worn coupler and started cleaning Finally clean enough. I put a dab of grease on the ends to help slide the new coupler in. I put the snout back on using Loctite 555352 515 Gasket Maker. Finally start putting everything back reverse order. Line up the dowels it should seat without any issues. Then use the proper torque specs to bolt everything back up. With my luck, nothing ever goes according to plan. Broke this stupid tube that goes into the water pump. Had to order the updated part. Common issue from what I’ve seen. New part along with new hose. Again why end there? One of the long bolts for had some messed up threads. Purchased a new one from Jag dealership and it went in smooth.
Replaced the old and cracked rubber hose for bypass valve with some silicone hose
Took out as much coolant as possible and started replacing it with water to use with purple ice.
So far no coolant leaks.. no check engine lights. I did have a slight misfire when I first started her up after putting everything back on but it was just a vac hose that I didn’t push in all the way. The misfire went away after that.
Last edited by Oxidizer2k; 12-25-2020 at 08:44 PM.
I didn’t change the sc oil since I only had the supercharger tilted upward in the front to undo the supercharger snout. I plan on changing it without removing the supercharger again. I’m sure I’ve seen a thread on doing it that way. It’s not the easiest but still doable.
It’s been a little over a month since I bought my 2010 XFR and I only got to drive my car 3 times before I starting taking her apart to replace the coupler. When I test drove it I assumed it was maybe one of the tensioners that needed to be replaced. Easy enough I thought, and brought her home. But after reading through the forum I discovered a lot of people had their coupler go bad and some had an issue with their chain. The tensioners all seemed good and the coupler was the only thing that made sense. I ordered all the parts and waited.
While waiting, I decided to run seafoam through the gas tank and put some into the oil. The only thing I didn’t do was run it through the intake because a lot of people have said it can mess with the coating of the supercharger rotor. Finally the parts came and I started taking things apart. I highly recommend people read through this forum as well as others and gather as much Info. I’ve never done this so I wanted to be extra careful.
I won’t do a step by step because there are threads with sufficient details to do this job.
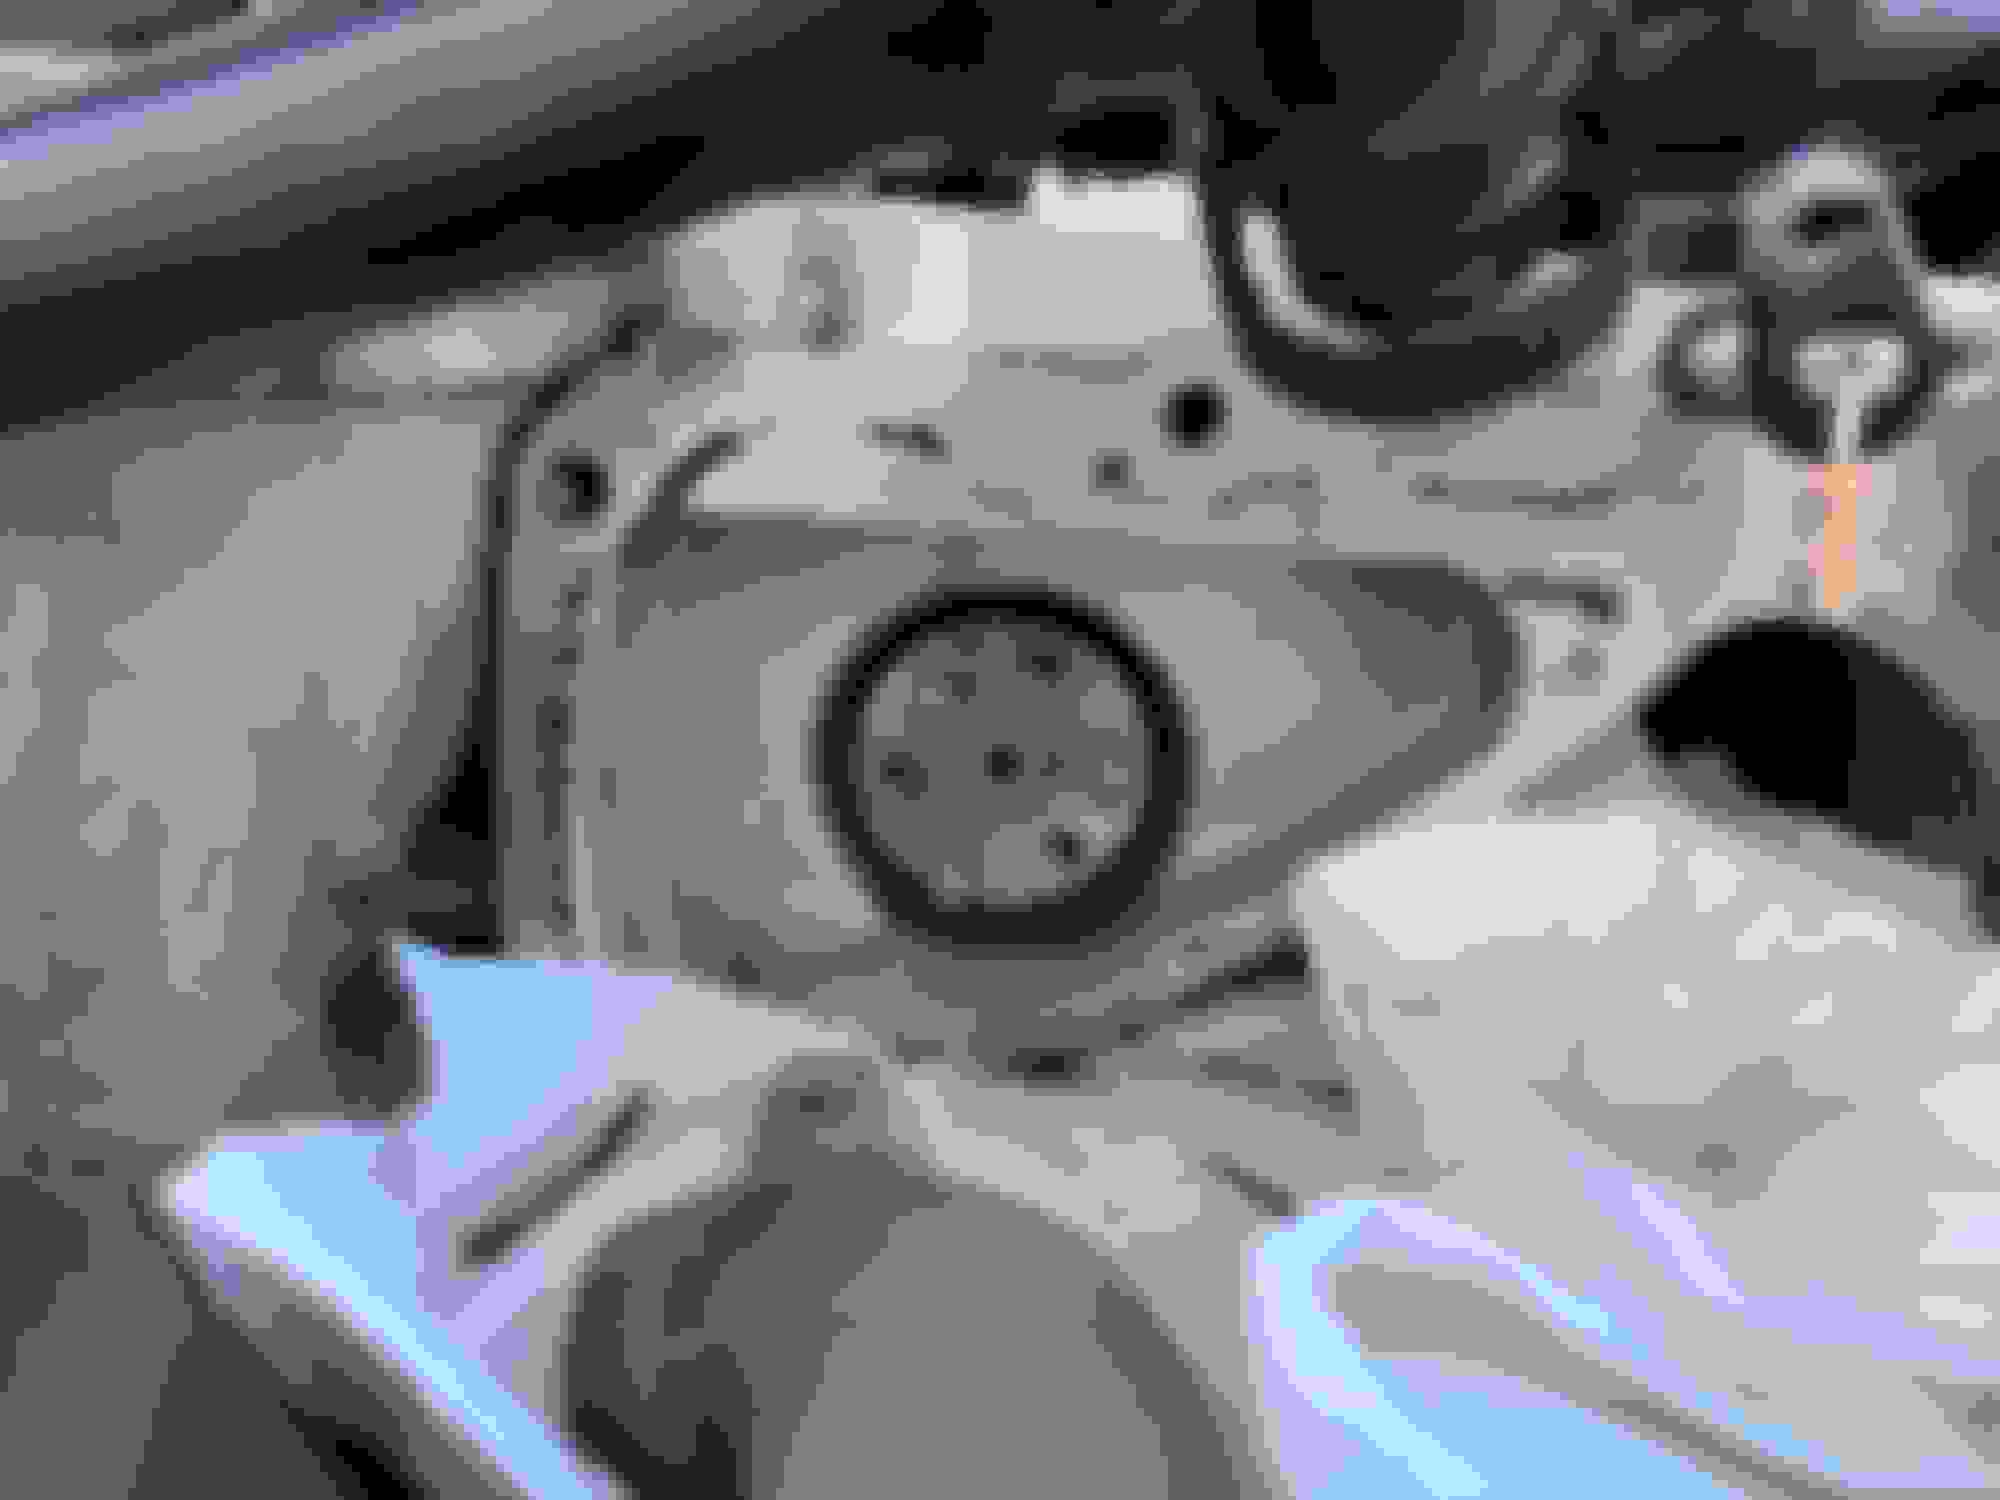
Had to get creative with this bolt. Didn’t have a tool I could use to undo it.
I made sure to mark the bypass valve so I can line it exactly when putting it back on. Couldn’t pull the supercharger up with my human strength. One of the treads mentioned using this support to pull it off the dowels. Made it so much easier. Got all the bolts off and pulled off the snout. A little filthy inside. Started cleaning off all filth and old gasket with brake cleaner and a rag Took out the old worn coupler and started cleaning Finally clean enough. I put a dab of grease on the ends to help slide the new coupler in. I put the snout back on using Loctite 555352 515 Gasket Maker. Finally start putting everything back reverse order. Line up the dowels it should seat without any issues. Then use the proper torque specs to bolt everything back up. With my luck, nothing ever goes according to plan. Broke this stupid tube that goes into the water pump. Had to order the updated part. Common issue from what I’ve seen. New part along with new hose. Again why end there? One of the long bolts for had some messed up threads. Purchased a new one from Jag dealership and it went in smooth.
Replaced the old and cracked rubber hose for bypass valve with some silicone hose
Took out as much coolant as possible and started replacing it with water to use with purple ice.
So far no coolant leaks.. no check engine lights. I did have a slight misfire when I first started her up after putting everything back on but it was just a vac hose that I didn’t push in all the way. The misfire went away after that.
How bad was the knocking noise you had and what mileage do you have, mine is staring to knock with low mileage, with the hood closed and cover on i cannot hear it, but when I turn off the car, it's noticeable.
How hard is it, to get this done. You didn't have to take off the intake manifold i assume you didn't needs new gaskets. So basically I would just need a new coupler.
Mileage is at 73k. It wasn’t as bad as some videos I’ve seen but it I could definitely hear it with the cover on and hood closed. The most difficult part was doing it myself. I had to take the the top of the supercharger off to access the bolts inside. The. After taking those off I had to use an engine support bar to pull off the supercharger off of the dowels. Once I was able to do that I was able to angle the supercharger about upwards to access the bolts. As far as the gaskets, I reused everything except for the snout. I used the sealant that you can see in the original post. The new coupler cost me 20 bucks.
For the snout
Last edited by Oxidizer2k; 01-21-2021 at 05:25 PM.
Thanks for the info, i can hear a loud clunk turning off the car, I'll try removing the belt from the snout, and spin it check if I get the clunk.
What's your recommendation, should I replace the snout and the coupler while on it, I'll try checking for play in the snout pulley.
Thanks for the info, i can hear a loud clunk turning off the car, I'll try removing the belt from the snout, and spin it check if I get the clunk.
What's your recommendation, should I replace the snout and the coupler while on it, I'll try checking for play in the snout pulley.
mine would clunk when I turned off the car. All I did was replace the coupler and no more noise. So if yours is anything like mine, just the coupler replacement should be good. But if your snout is damaged then no choice. I would recommend having the manifold gaskets handy. Mine were in usable condition but yours could be bad. I should have replaced mine but what happened was I forgot to order them. My throttle body gasket was still in excellent condition.
here is a useful video that helped me figure out how to get to one of the bolts for the snout
Mileage is at 73k. It wasn’t as bad as some videos I’ve seen but it I could definitely hear it with the cover on and hood closed. The most difficult part was doing it myself. I had to take the the top of the supercharger off to access the bolts inside. The. After taking those off I had to use an engine support bar to pull off the supercharger off of the dowels. Once I was able to do that I was able to angle the supercharger about upwards to access the bolts. As far as the gaskets, I reused everything except for the snout. I used the sealant that you can see in the original post. The new coupler cost me 20 bucks.
For the snout
When you used the Loctite 515 for the snout gasket sealant, did you use the Klean ‘n Prime activator spray first or just clean it with solvents and then used the sealant? Thanks
When you used the Loctite 515 for the snout gasket sealant, did you use the Klean ‘n Prime activator spray first or just clean it with solvents and then used the sealant? Thanks
i just cleaned everything with brake cleaner and a towel and then I applied the loctite.
Brilliant write-up with great, hi-res pix! Thanks! I'm contemplating doing this and a bunch of other stuff while I've got the water pump and throttle body out. I feel like I'm going further and further down the rabbit hole, though...
Brilliant write-up with great, hi-res pix! Thanks! I'm contemplating doing this and a bunch of other stuff while I've got the water pump and throttle body out. I feel like I'm going further and further down the rabbit hole, though...
Take extra care to ensure coolant lines are not rubbing on the belts. By the looks of your expansion tank, I would replace that now. Common failure after many heat cycles. Mine exploded violently and I had coolant coming out of the hood vents onto the windshield.
Good info - thanks. I'm going to try to replace as much as I can, including the expansion tank, thermostat, etc., while it's decommissioned yet again. Like I'd previously mentioned, though, it's taking me down a frustratingly huge rabbit hole, where I feel compelled to do SO much while I've got it all pulled apart, with each thing leading to more things, i.e., since I've got the hoses pulled to replace, I might as well replace the pulleys, tensioners, and belts, and if I do that, I should probably also mod the lower pulley (which I wanted to do anyway), then change the upper pulley from Mina to GripTech for potential slippage issues, which would obviously require a new tune and an intercooler upgrade. And, hell, I might as well rebuild the 11-year-old alternator and probably pull the SC to change the coupler and oil, leading me to think that I'd have a lot better access to change the spark plugs... and, lastly, with that open access, shouldn't I then go ahead and tackle the timing chain??? I'm sure I'm even forgetting a few things, and it's making my head hurt just thinking about how long it'll all take and how much it'll all cost.
I do love the car, and definitely want to keep it a lot longer, but I thought that by replacing all of the stuff I already had, it would at least give me a few months of enjoying it again before ripping her guts out. Instead, I'm here:
LOL this is the EXACT same scenario I went through. I replaced nearly every plastic cooling system component, thermostat, water pump, and several vacuum lines that are prone to failure (supercharger boost regulator and symposer). The worst part of the job was the spark plugs. I might pay someone if I had to do that again. I'm reasonably competent with a wrench but my car was down for months while I did this. In my defense it was the middle of summer and I have other toys to get my thrills with. I later ordered the Mina lower, and now regret not doing a griptec upper (though you can have an existing pulley treated). I plan on doing the pump and the lower at the same time. I would like to do the intercooler and planned on the Alisport, but Mina says the have a lower priced option in the works. I also plan on doing the trans fluid/pan/filter this spring along with the differential fluid.
Like you I do appreciate the car, how rare they are, and the driving experience. I was quite turned off by all the maintenance but felt relieved when I completed it. It was like I earned my badge for keeping this rare car on the road. I don't plan on selling the car anytime soon, and after all this work its now more of a weekend car as I appreciate it more and want to keep the miles low.
Thankfully I had help from another forum member @DeviLSh who achieved what I could not; documenting all the parts you should replace.
Edit - I'm also a little terrified of the timing chain and tensioners, and am quite confused about which parts I need to replace. I'll save that for a rainy day and keep hoping and praying they don't skip or blow up.

 12-25-2020, 08:10 PM


 2008 XKR Convertible, (mods: AlphaJagTuning ECU Tune , 1.5lb pulley, (200cel cats( are now melted), xpipe, Bosch 001 pump, 180 Thermostat.