When you click on links to various merchants on this site and make a purchase, this can result in this site earning a commission. Affiliate programs and affiliations include, but are not limited to, the eBay Partner Network.
Open the door and you will see a small rubber plug, pull off but be careful not to rip.
You will need a torx screwdriver (I believe a T25), do not worry as it is part of the upper handle assembly and should not fall out.
Once loose, we will need to focus on the handle, remove the cover over the emergency key port and remove the lock cylinder, you will need to pull the handle a bit to remove the cylinder.
Now it gets a bit tricky, you will need to shift the handle toward the lock opening and then pull the handle slowly, it will go beyond and allow you to extract the handle. Be careful if yours has the wiring so you do not snag the wire.
To disconnect the wire, don't worry about struggling with you hand in the door trying to unclip and pull the connection apart. The wire harness is designed to be disconnected through the hole the handle was placed. I removed the window so you can see the connection and how it slides over so you can detach.
Reverse to put back together.
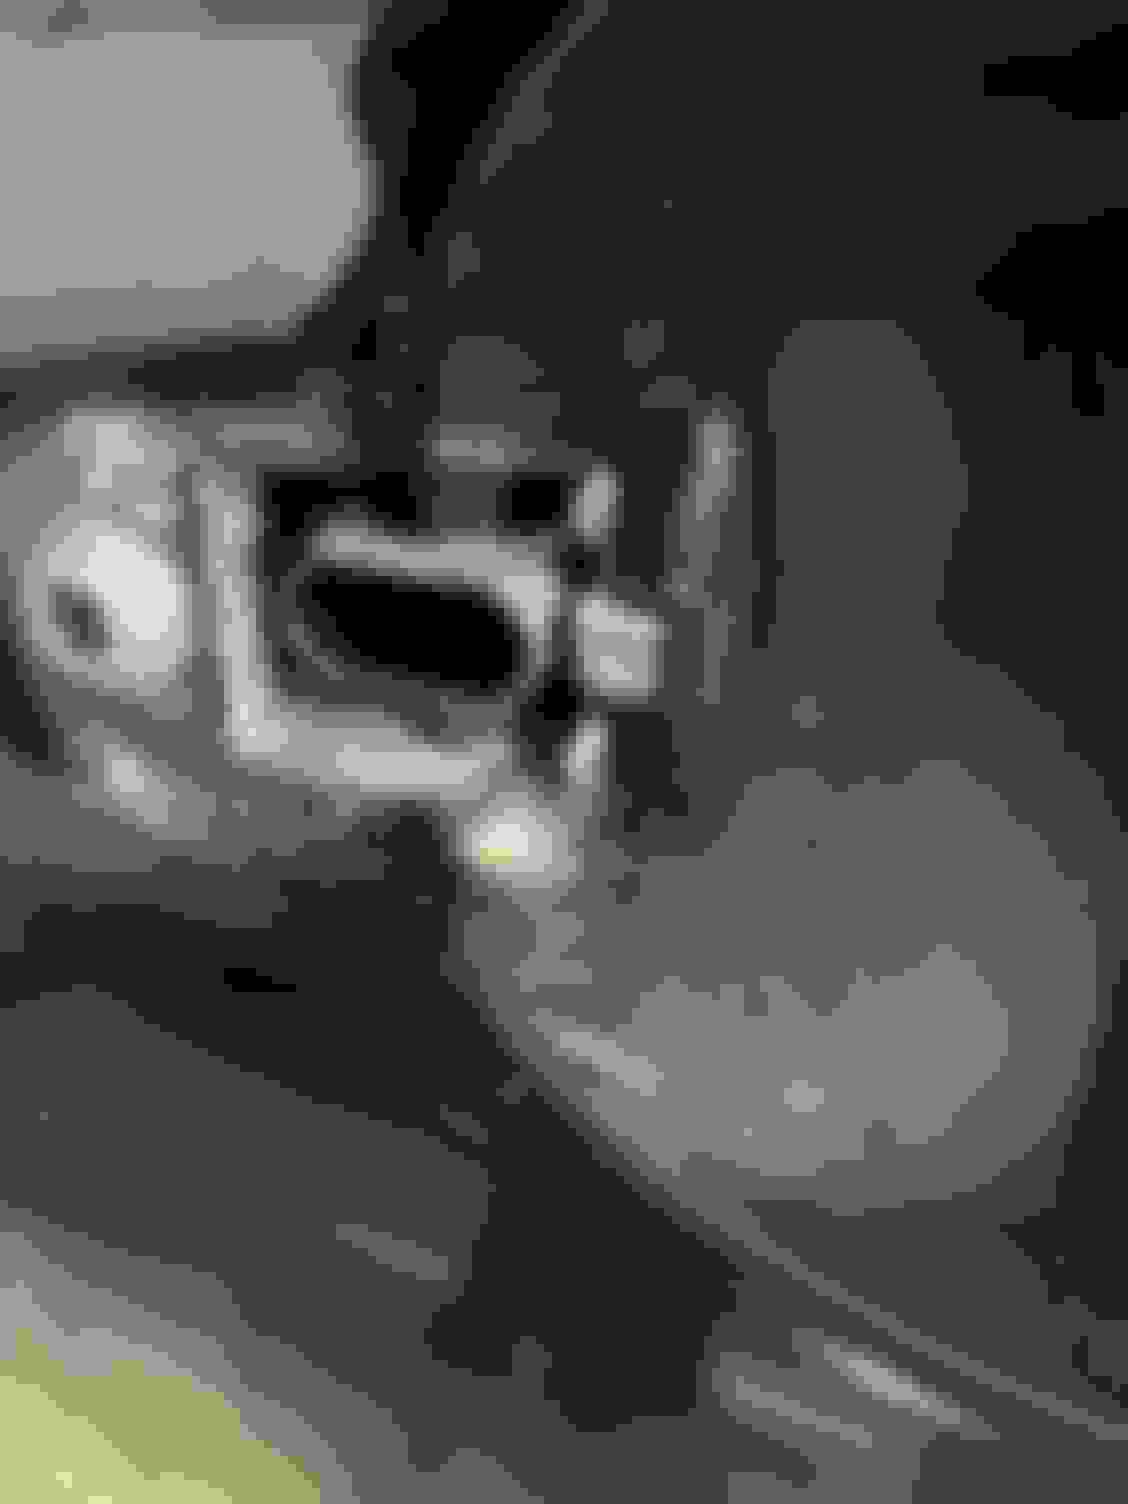
Now if you wanted to continue to remove the handle assembly and latch, then you will need to remove the torx screw that was hidden by the handle and the three on the door for the latch.
You will need to remove the window. There is a special tool for this but you do not need it if you have your door apart. The window is clipped onto place by two plastic eyelets. All you need to do is lower the window so you can access by hand. I recommend having help until you have enough practice. Once disconnected, to remove the glass, dip the front down slightly and pull out through the outside of the door.
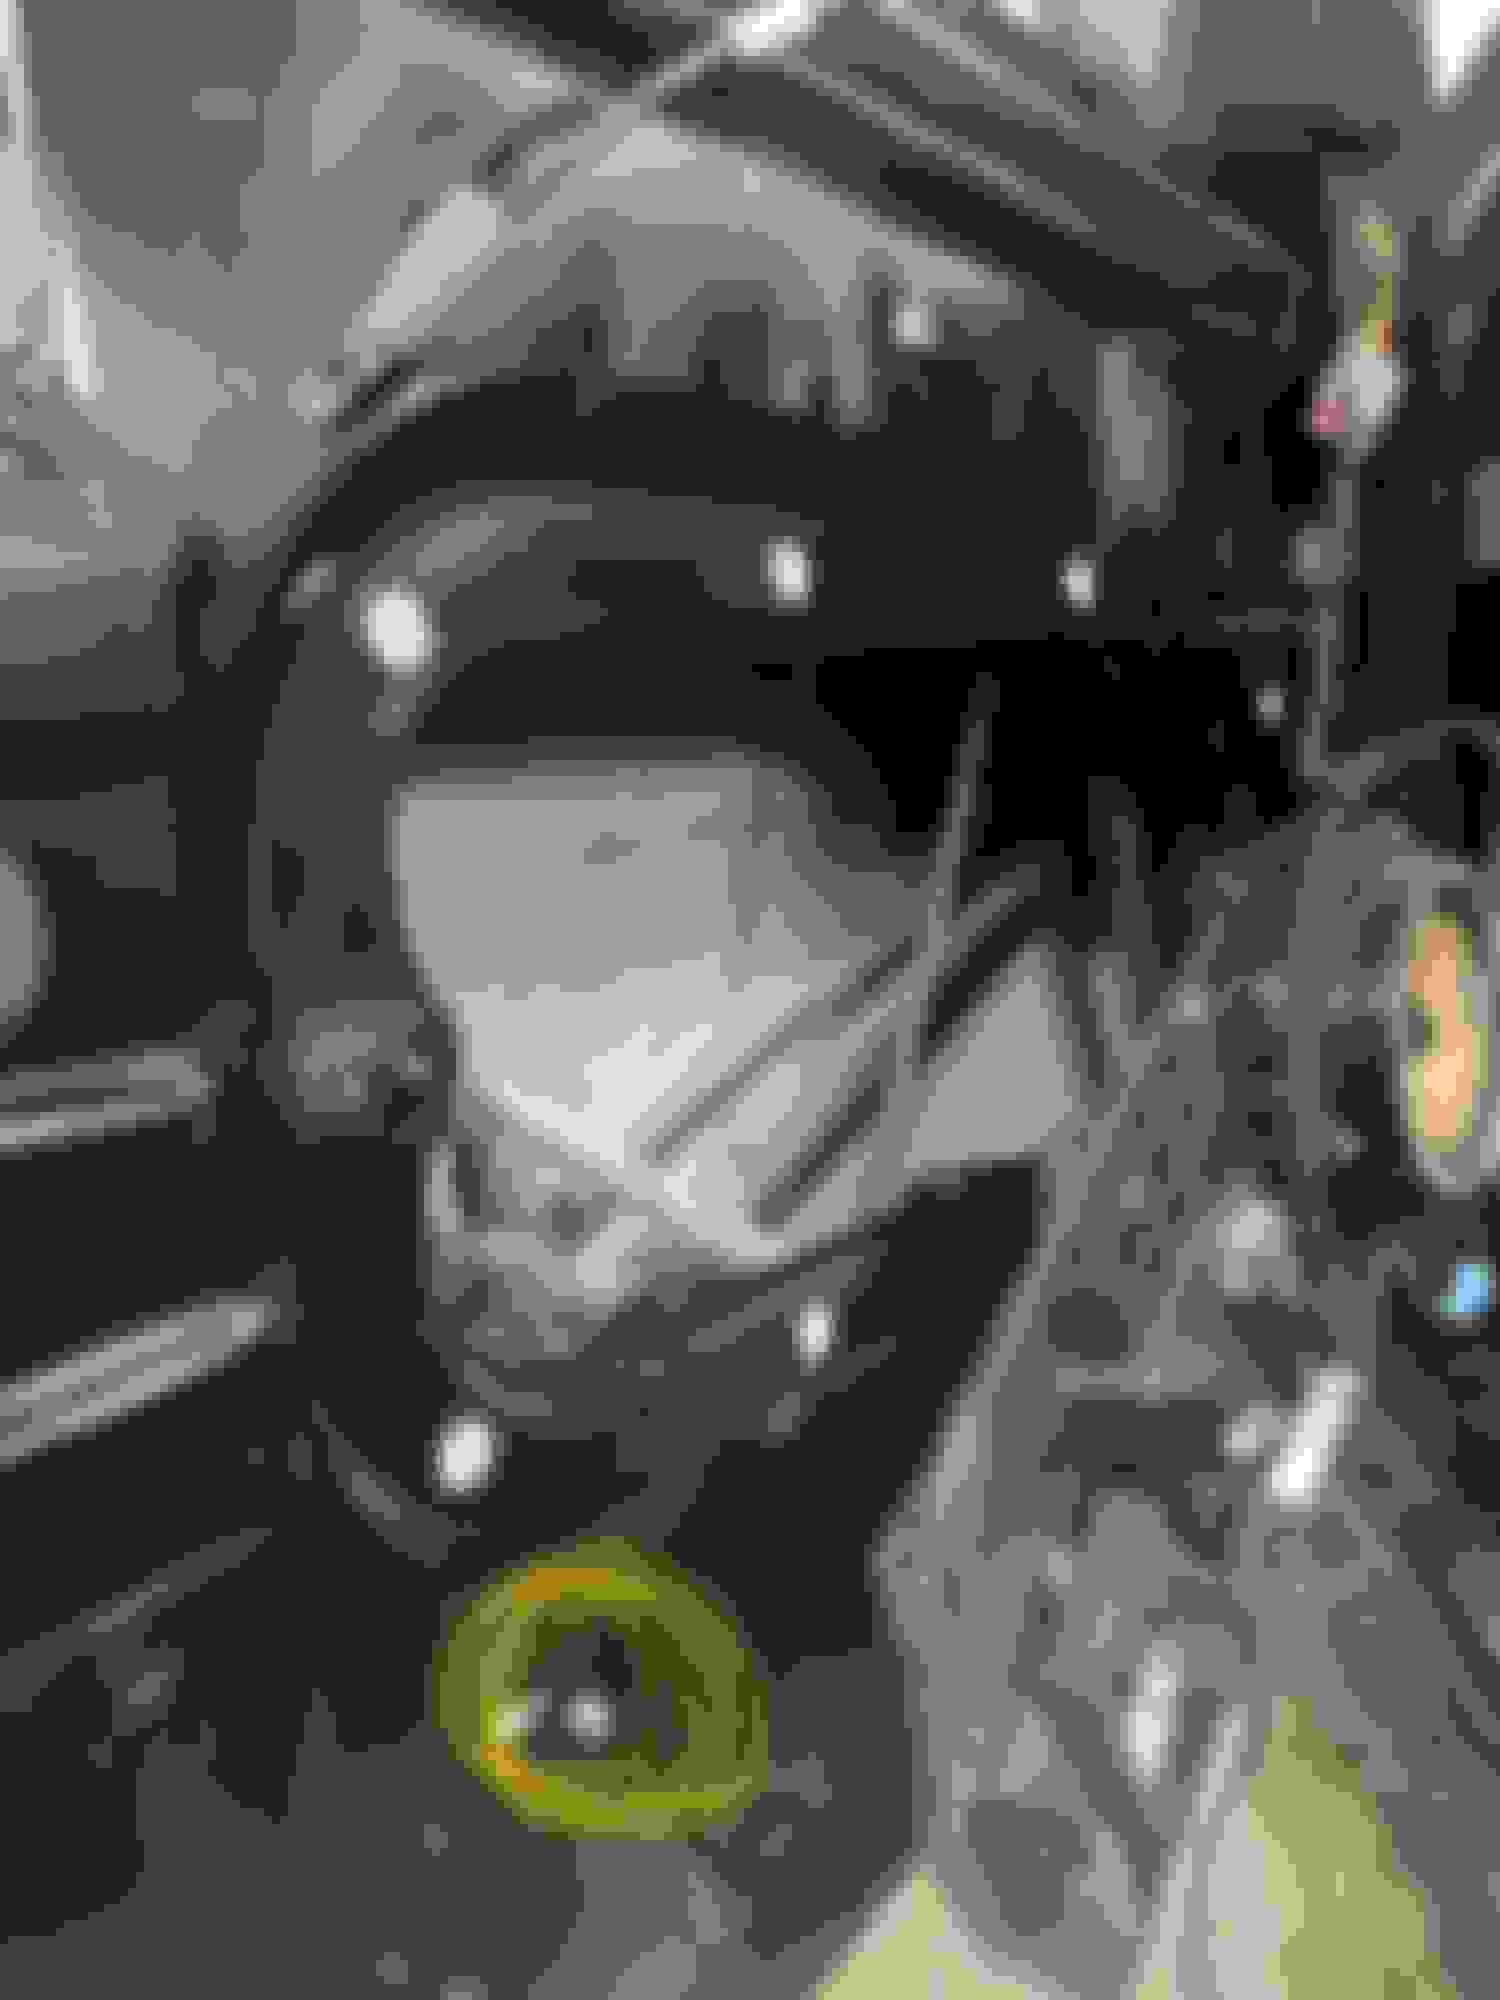
You will next need to remove the lower bolt/washer for the outside glass rail.
Then carefully swing upwards being extra careful not to kink the cable.
Remove the foam inserts.
Disconnect the wiring and clip so you can slide out the assembly as one piece.
Push through the cable for the interior handle and lock then pull out, if you have a clip for one of the electrical cables, remove.
When placing ack together, follow reverse process. When replacing the card (Interior trim) it is always fun to attach the clips at the top window first. I found that if I remove the edging first and clip into place which seeing the clips and using a small screwdriver then clipping the edging back in was much quicker.
Hello, my name is Jorge and I just registered, so I introduce myself.
This information was very useful for me, since my car door lock no longer works. Now to work on this. Thank you very much
Hello, my name is Jorge and I just registered, so I introduce myself.
This information was very useful for me, since my car door lock no longer works. Now to work on this. Thank you very much

 02-21-2022, 08:41 PM