When you click on links to various merchants on this site and make a purchase, this can result in this site earning a commission. Affiliate programs and affiliations include, but are not limited to, the eBay Partner Network.
I decided to break up this post https://www.jaguarforums.com/forum/x...ssover-187802/
into the major elements of what I did.
I'm NOT going to get into super specifics like wrench sizes ect. here as that's my disclaimer, if you pull the tools, YOU ARE responsible for what happens.
And always start any water leak search with a pressure test. as it turned out my water pump was not leaking but had a bearing going.
The pressure tester with adapters can be rented from O'rileys for $225.00, pricey but you'll get it all back.
The AJ133 water pump is not a hard beast to change, but you do need to remove EVERYTHING that will obstruct you from pulling it straight on or off like idler pulleys and move hoses a least out of the way.
In addition but not absolutely necessary I would remove the cross over pipe that bolts to the SC snout and throttle body beneath it, as this will give you more sight behind the pump and on the infamous PLASTIC TUBE!
BE SURE AND PUT THE NEW PLASTIC TUBE IN THE SAME WAY THE OLD ONE CAME OUT!
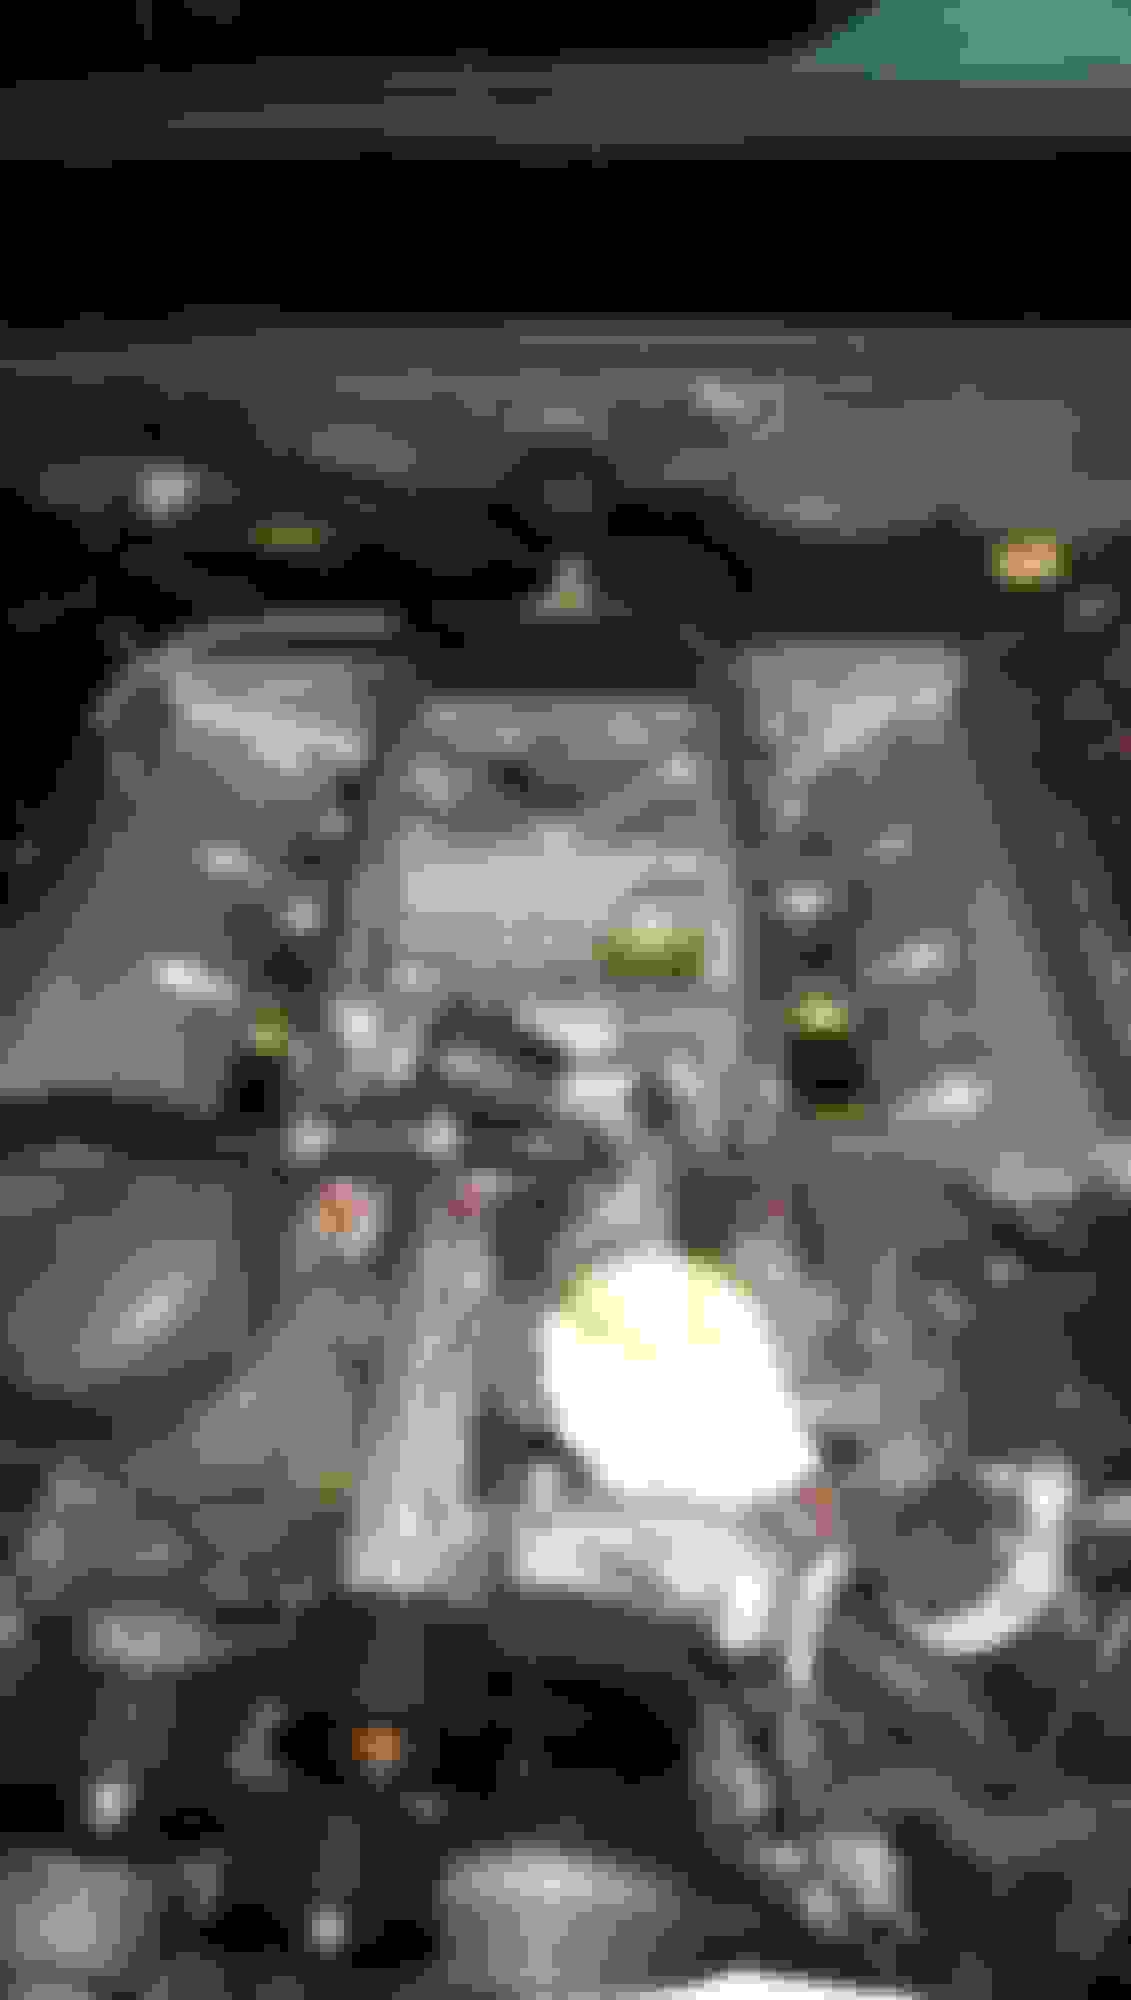
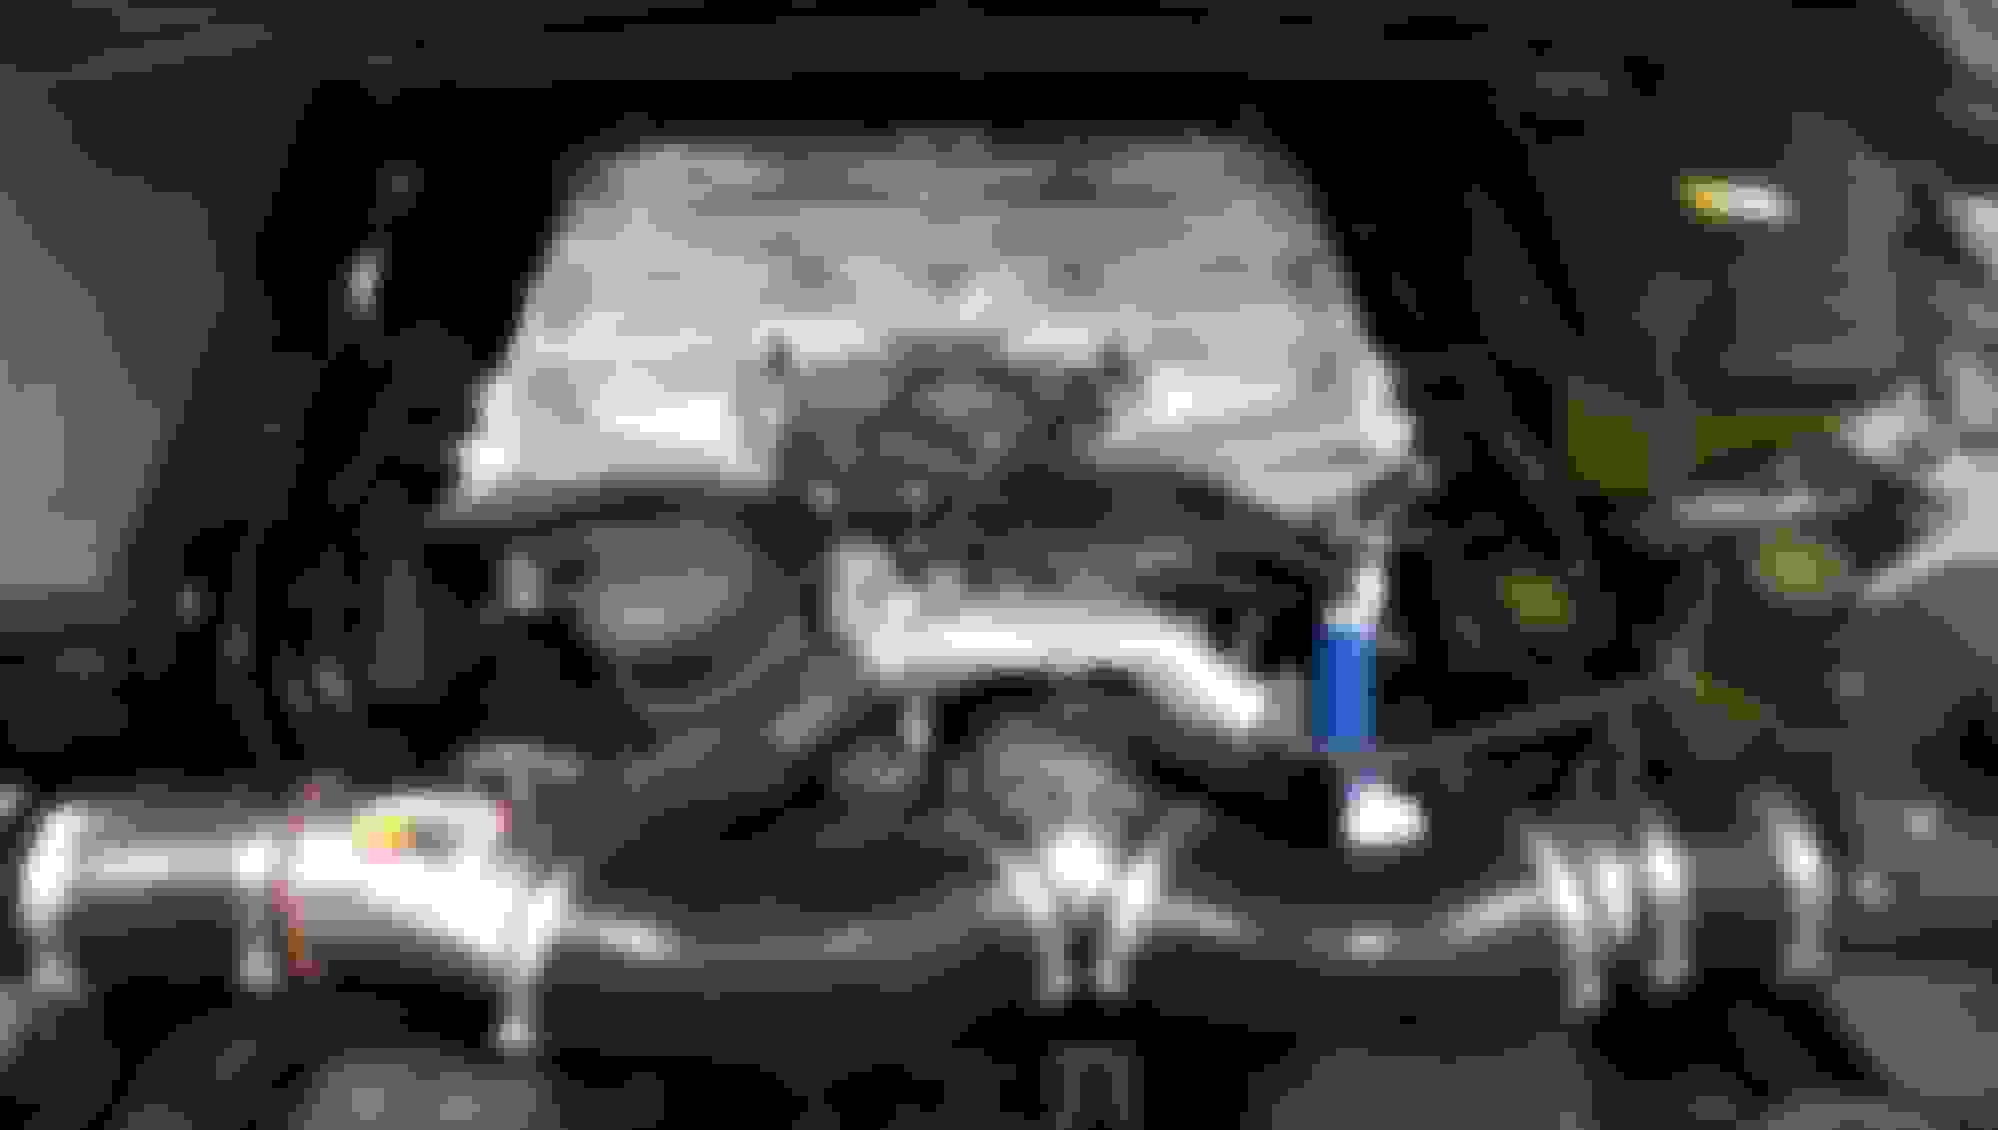
The oil cooler that is fed by the water pumps plastic tube (lower center). That pipe sticking up is what the cross over pipe joins when the SC is installed, more on that later.
New tube in. Some general tips, the pipe has two seals that are the same, one seal goes on the nipple on the oil cooler into the tube, and the other seal goes from the tubes nipple into the water pump, you want to lube the nipple the seals go onto, and the hole the nipple and seals go into, but NOT the seal itself. And DO NOT use a silicone based lubricant. Install the seal on the tubes nipple as shown.
Now the way I did the magic of getting the tube inserted and pump mounted with no leaks is, I lined up the pump, and hold it in place just before the seal seated, I then screwed in it's bolts just enough to let me shove the water pump straight back in place, seating the tubes seal. I then tightened the bolts by hand snug until I could torque them in a cross pattern.
When ever possible I replaced the torx bolts with flange bolts. Flange bolts are way more forgiving if you get on them wrong, and easier to get on in tight spots, like the whole XF engine bay..lol
And back to that cross over pipe, it has this seal insert inside of it. If the dual seal leaks it will run down into the V, and look like the plastic tube is leaking, so just go ahead and replace it. The seals were $8 ea. the whole part with the seals $15?
Mine looked like this, I replace the complete seal but it was too narrow, and the correct thickness seal was missing a section. I wasted a gallon of antifreeze chasing this..lol
Once all is back together and filled with coolant pressure test again. Mine held 16lbs. for 3 hours
THE SUPERCHARGER SERVICE
Since my leak turned out to be the rear coolant crossover pipe, which requires the removal of the supercharger to access, it now a good time to service the supercharger..lol
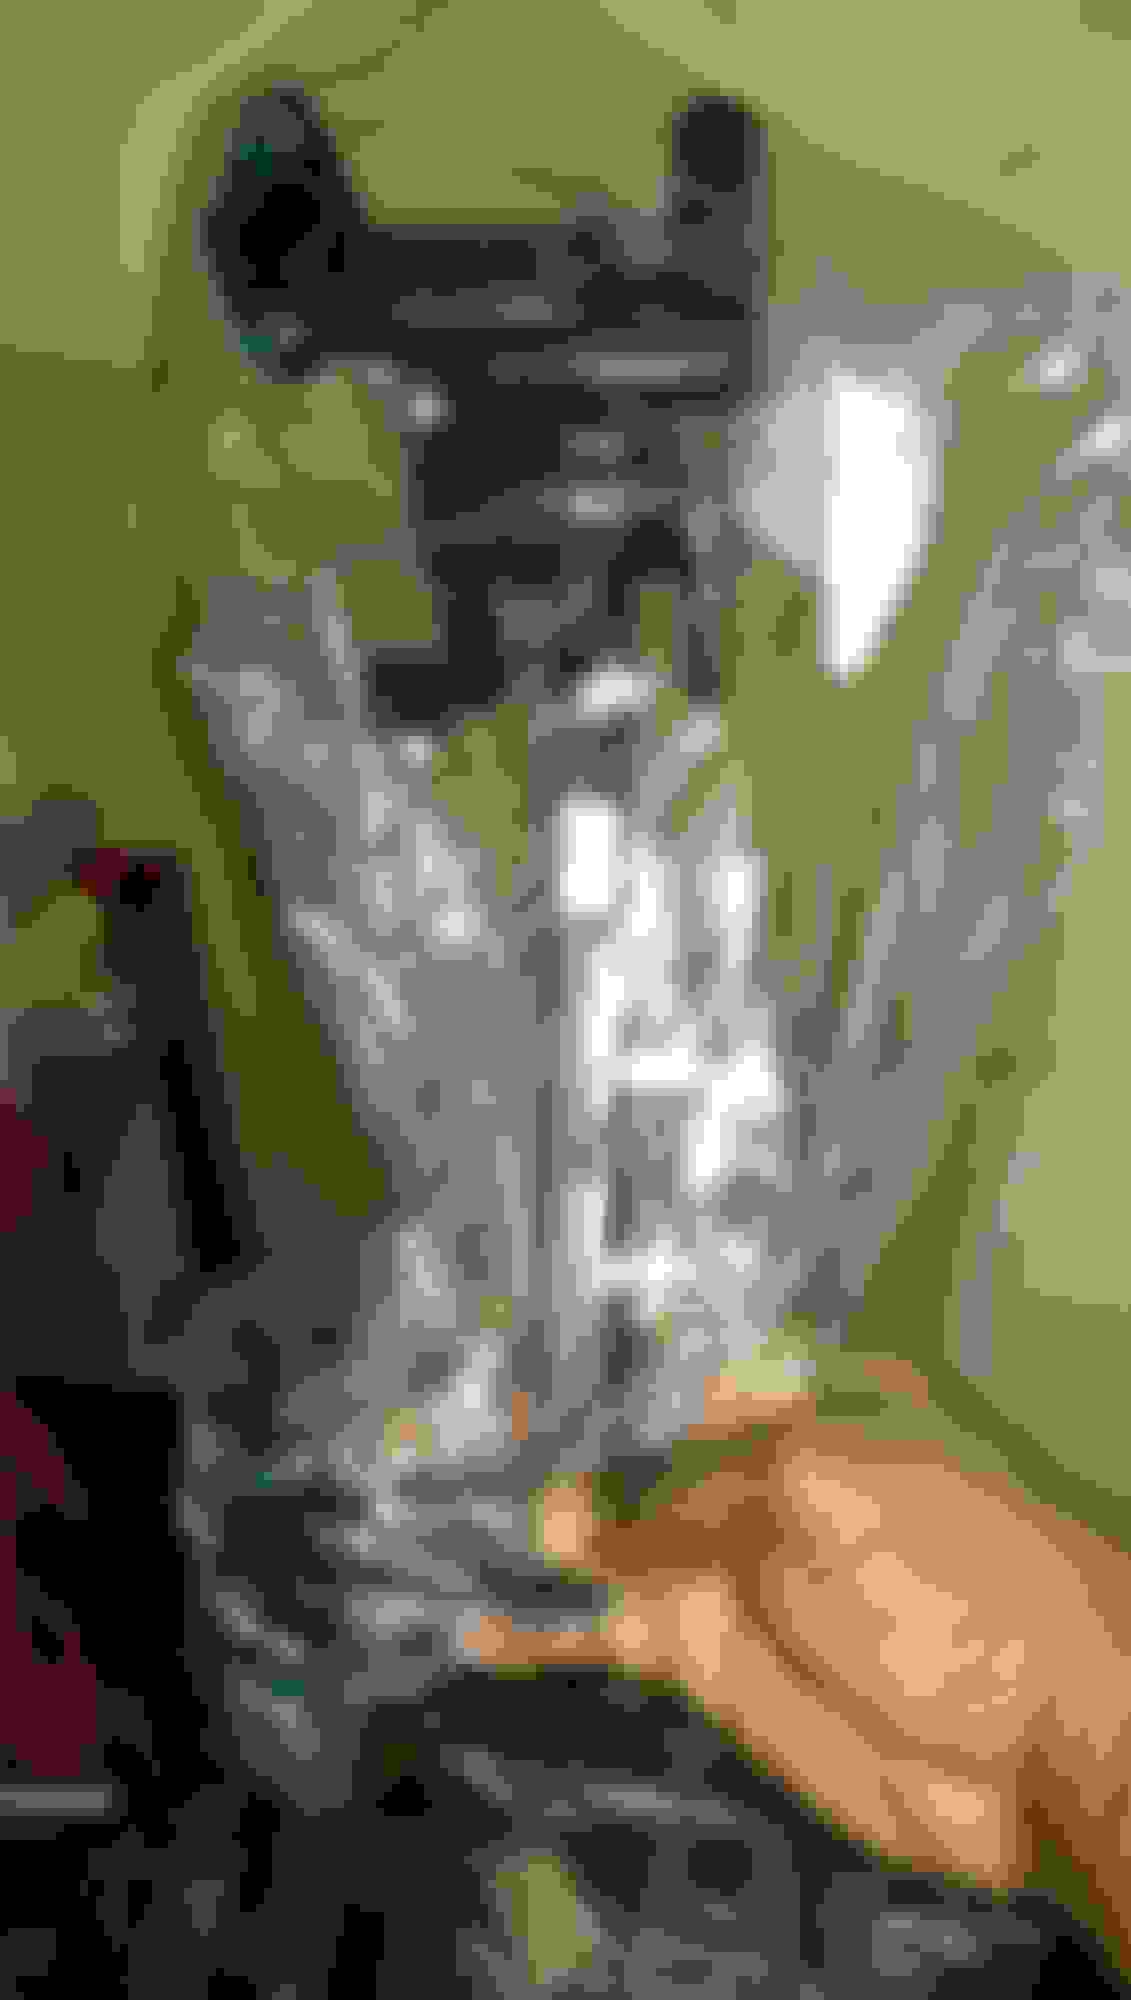
The leaker!
What else needs to come off to get at the leaker. The cross bar, windshield wipers, cowl, etc. and the symposer needs to be disconnected from the firewall, but left bolted to the supercharger.Yes I did cut away the right hand drive portion of the windshield wiper mount for more room.
Once the top portion is off the S/C there will be 8 more bolts to remove, once those are out you'll need to disconnect 3 connectors on the back of the S/C, I got this done by scooting the S/C and forward while tipping the nose up. IT'S a pain.
S/C out.
Cleaning time.
Wings off the S/C. My S/C had been serviced before for the couple. and you can see it comes off as a unit.
Getting the old oil out. ZZP online was the place to get new oil, I actually got a kit with 8oz of oil, a syringe and a new couple.
The old S/C oil.
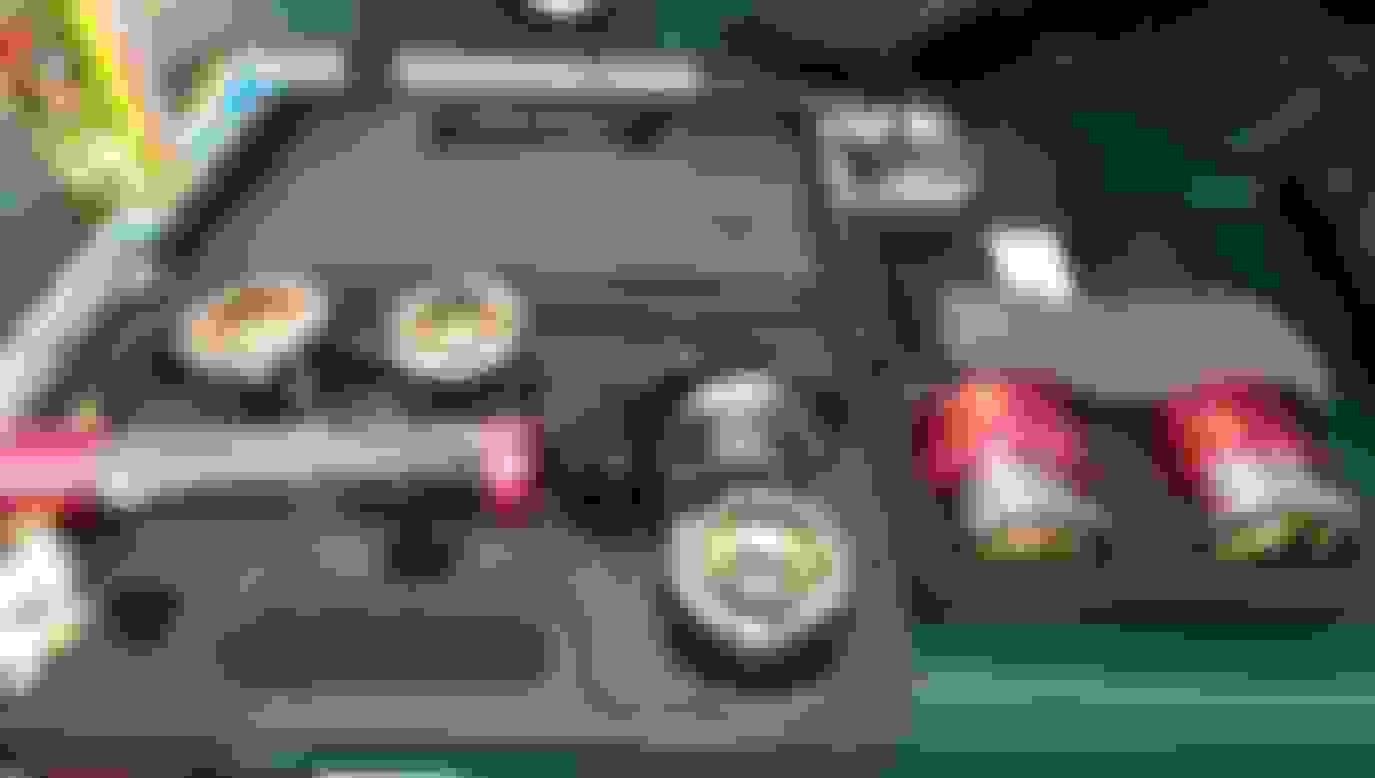
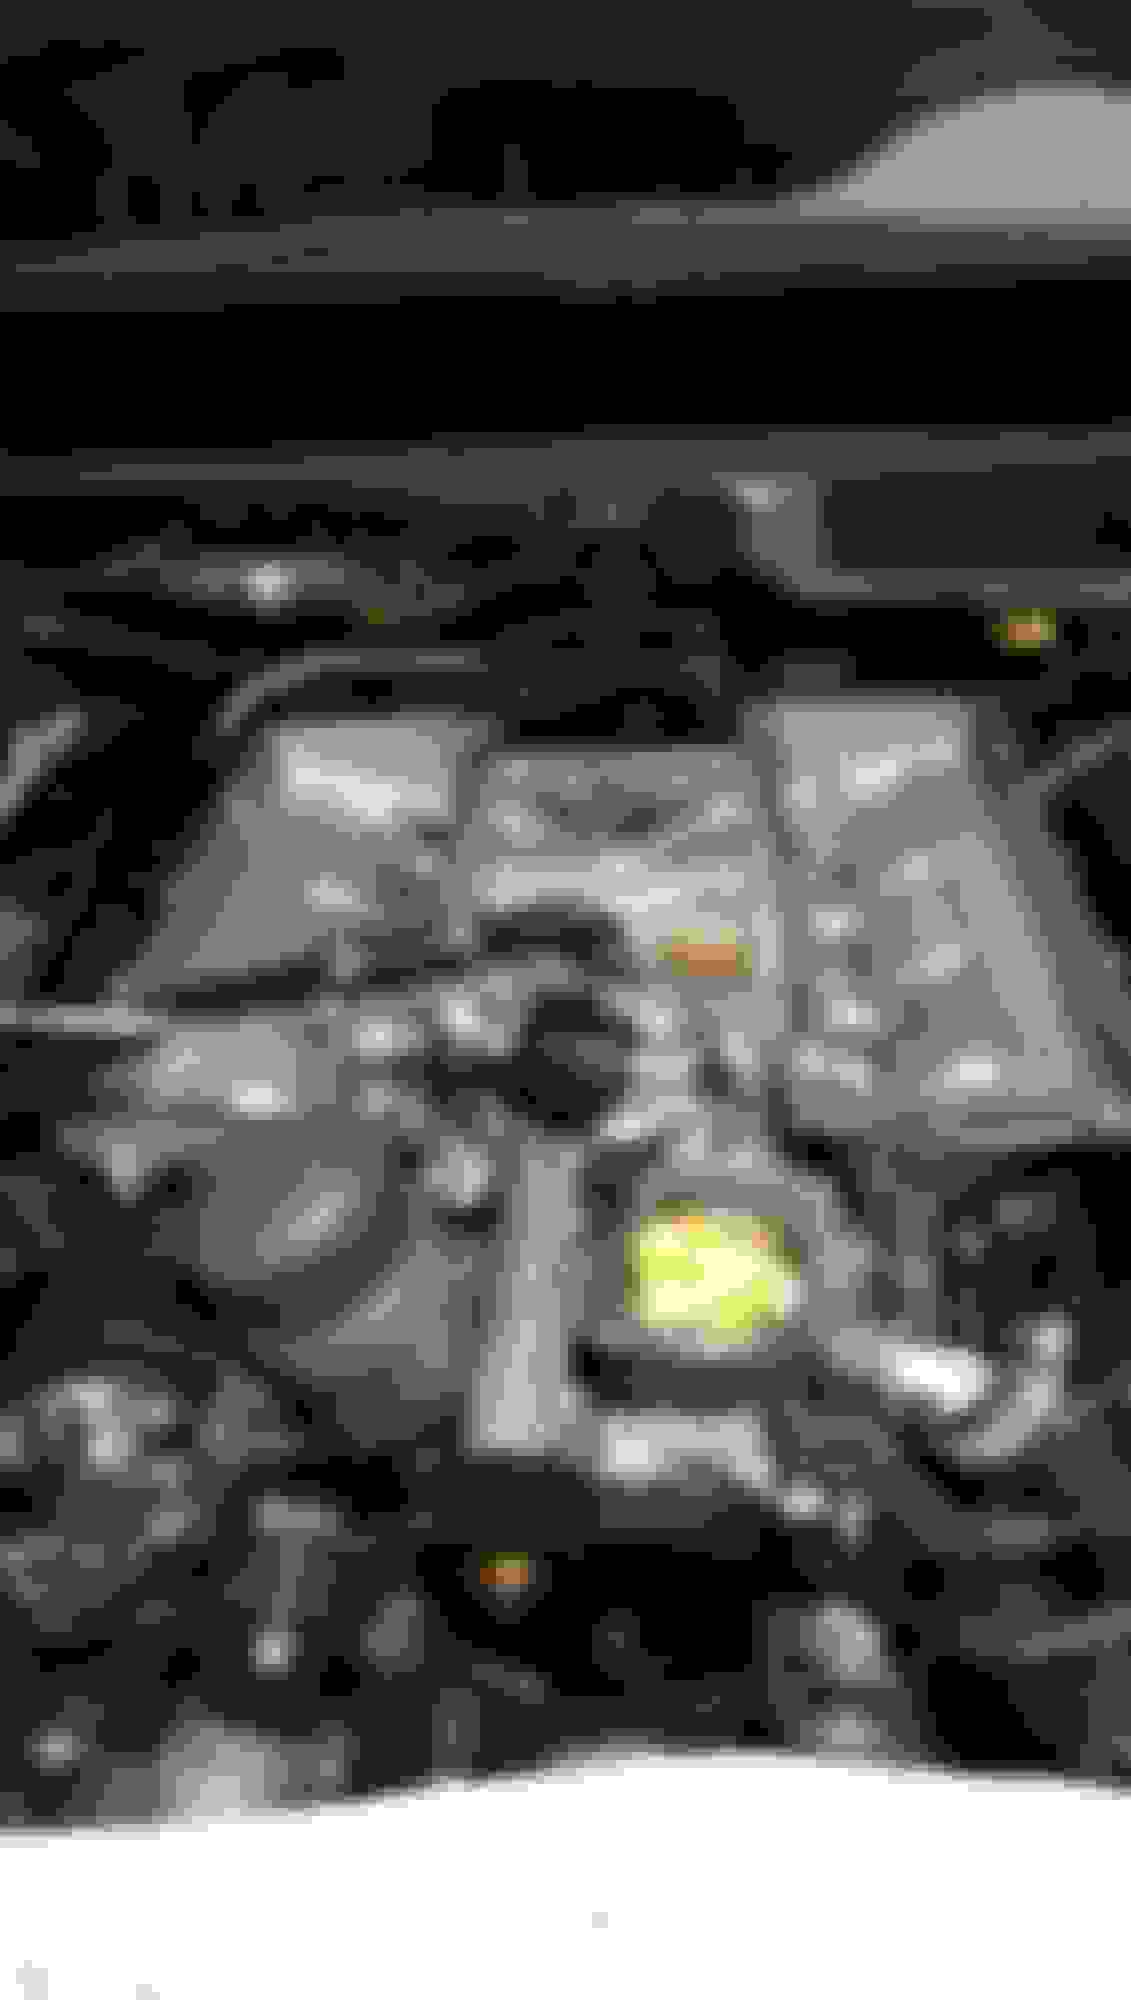
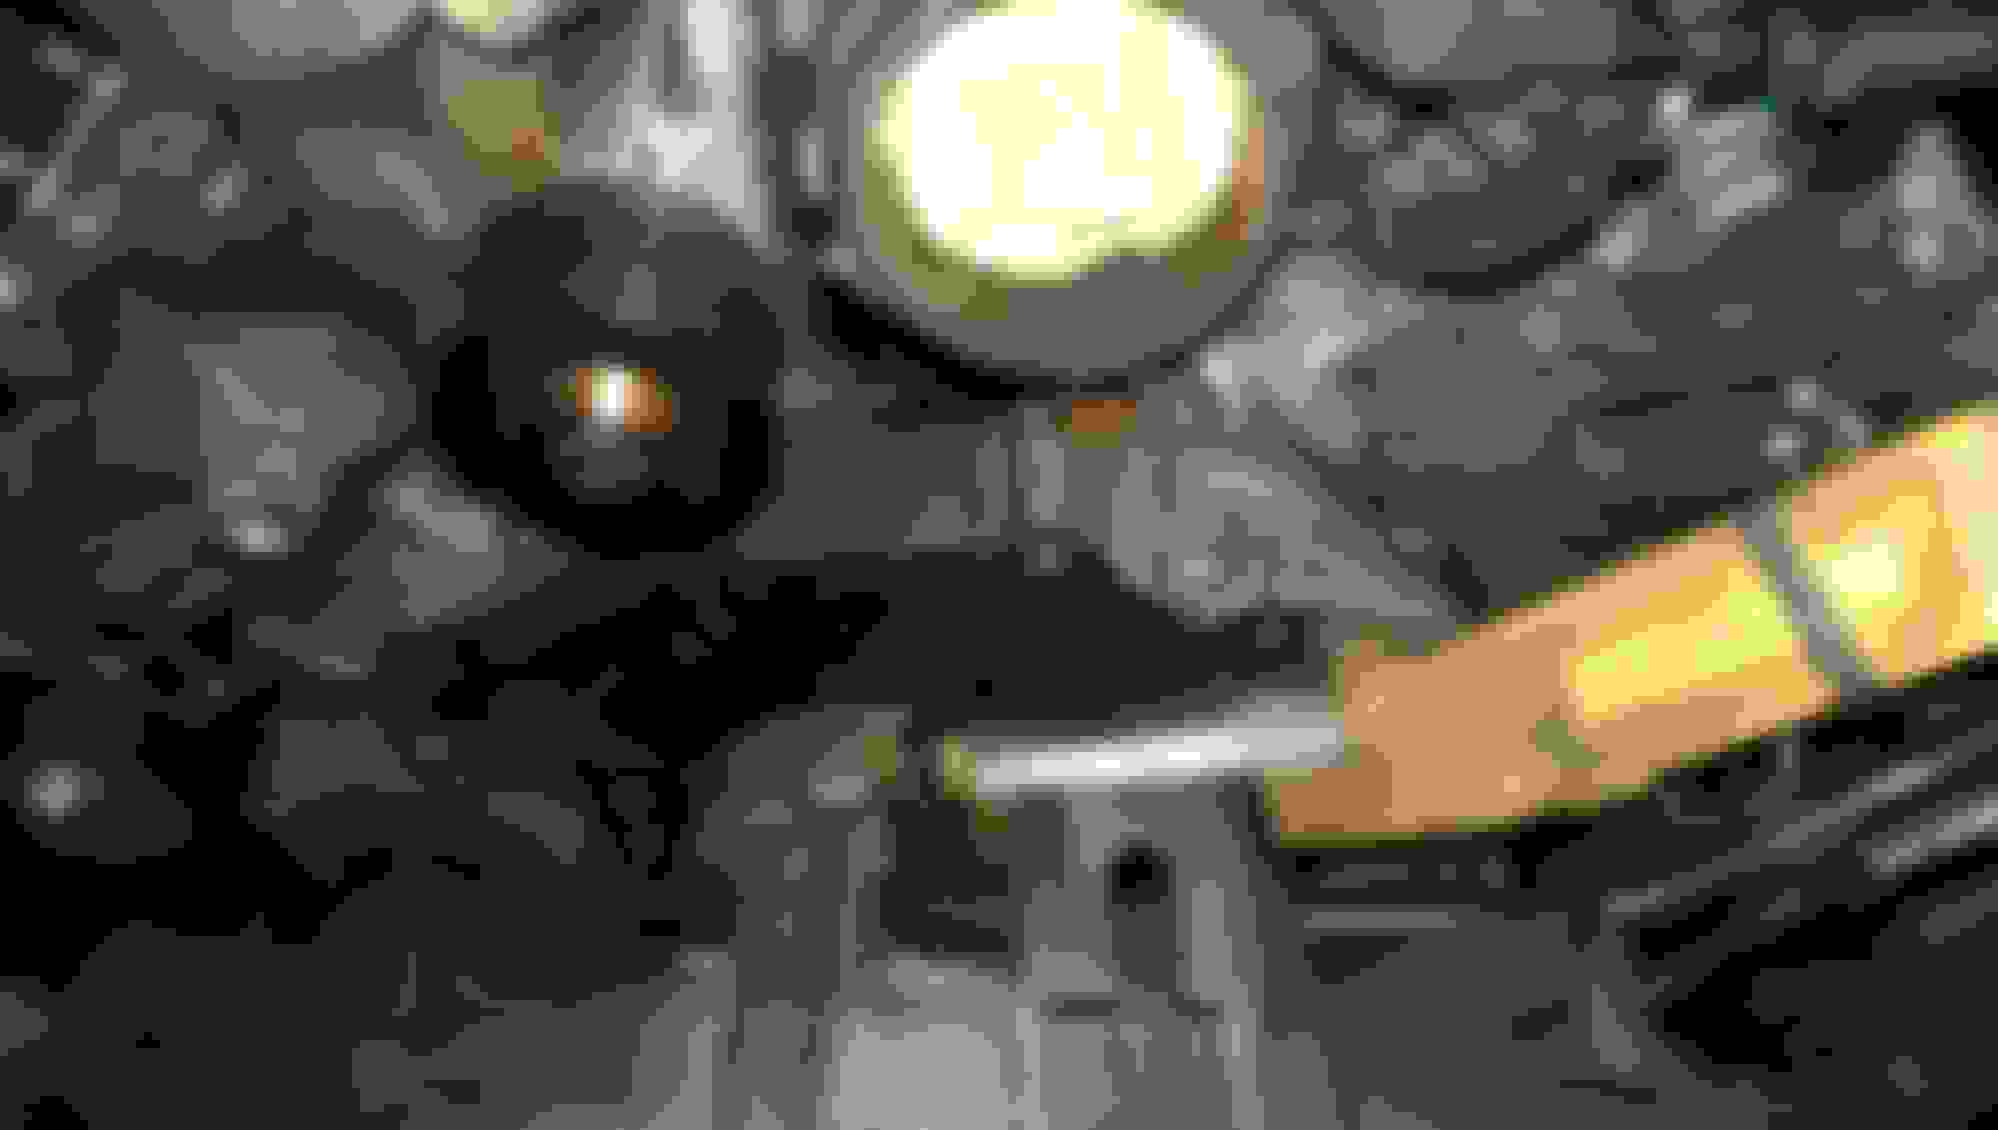
Before you put the S/C back on the car be sure and do the following, the fill port is on the back and it takes 5.1 oz of oil.<br/>Be sure the bypass valve (The gold circle in the picture) is fully closing, if not it's bleeding boost so use the adjustment stop to fix that. <br/>Check the couple for play, when turning the pulley the rotors should turn with NO play. If you got play the couple is bad, and you'll need to change it, or you'll be doing this job again soon.
The Leak...
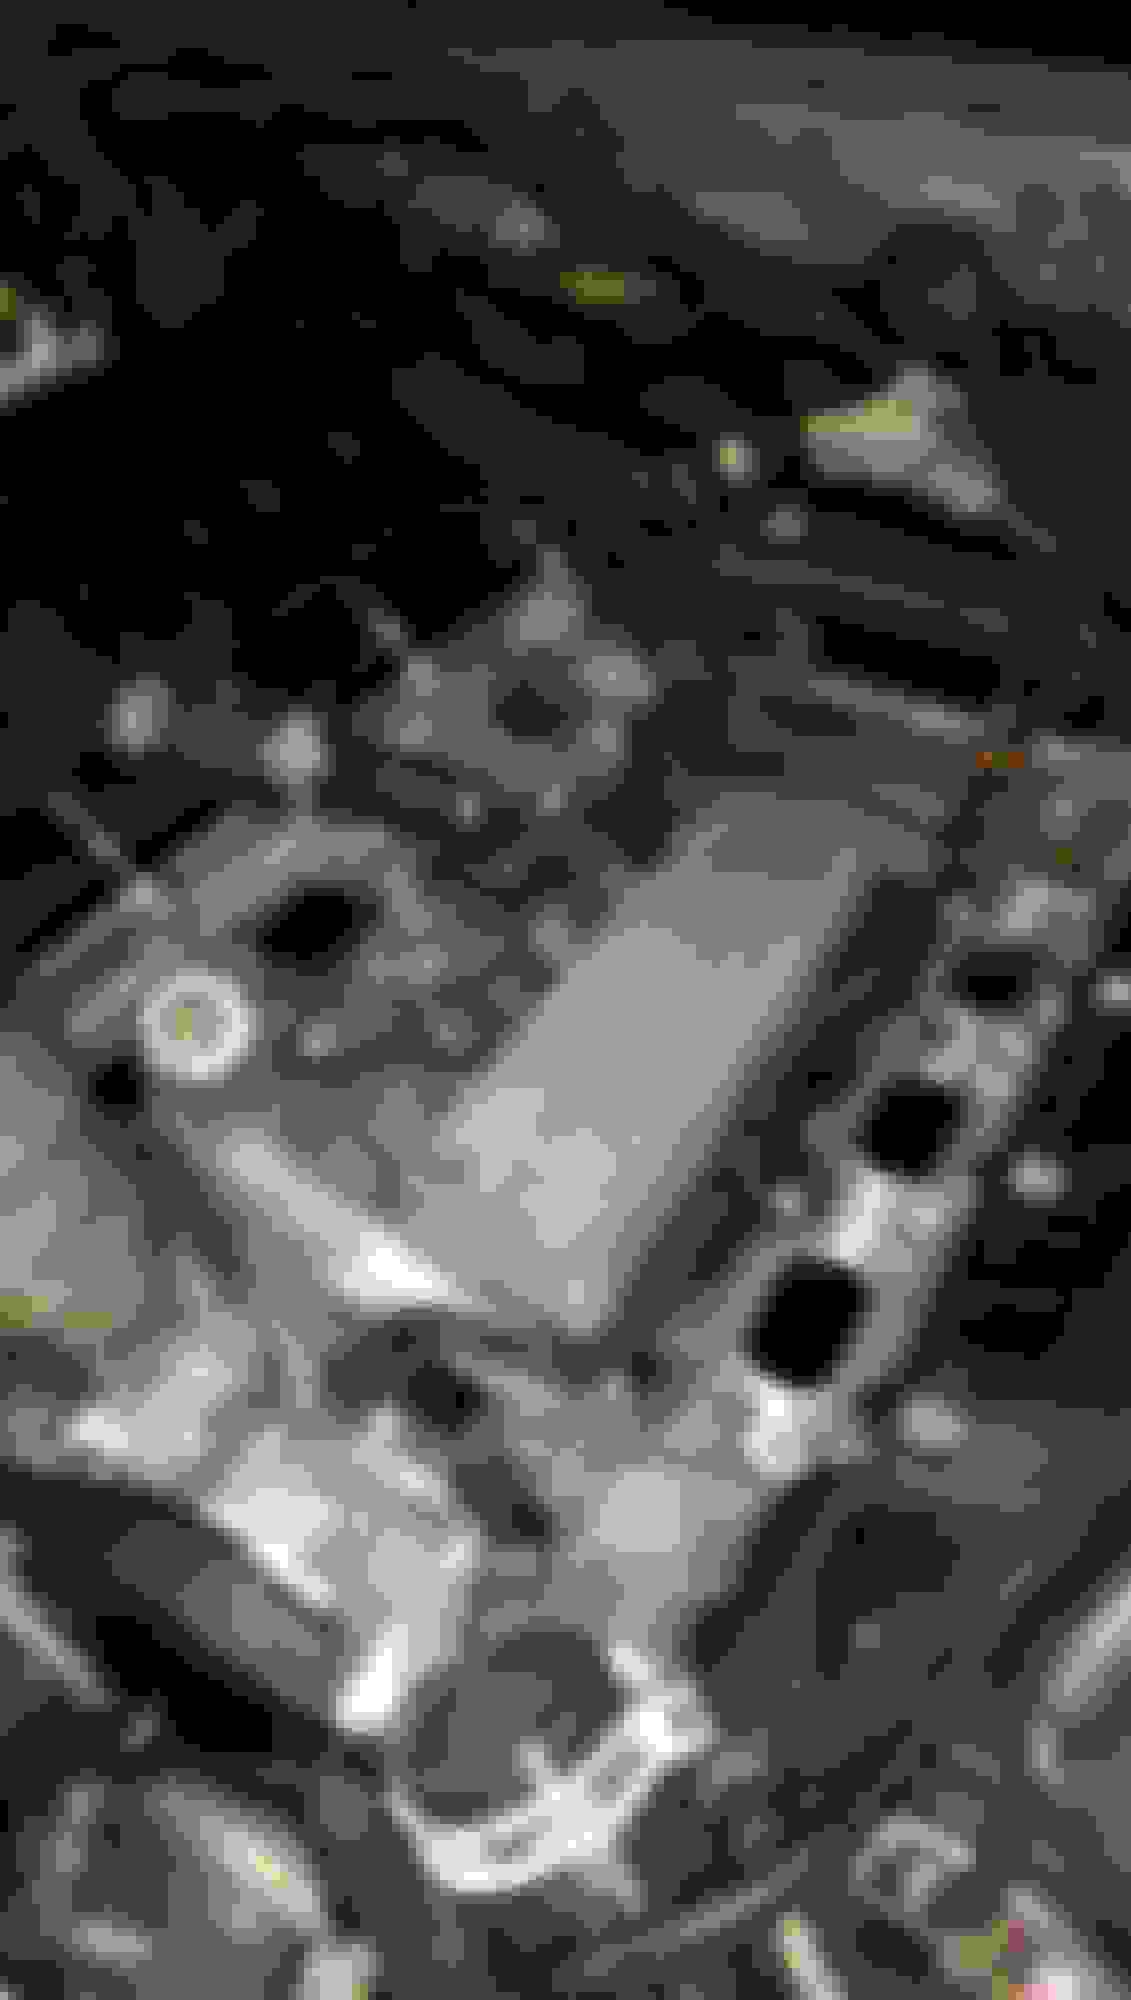
New crossover and water hose to the throttle body installed and all cleaned, time to fly the S/C back in. Note the 4 locator pins to hold things in place. Don't forget the connectors on the back of the S/C, I also installed a new MAP sensor while it was easily accessible with the S/C off.
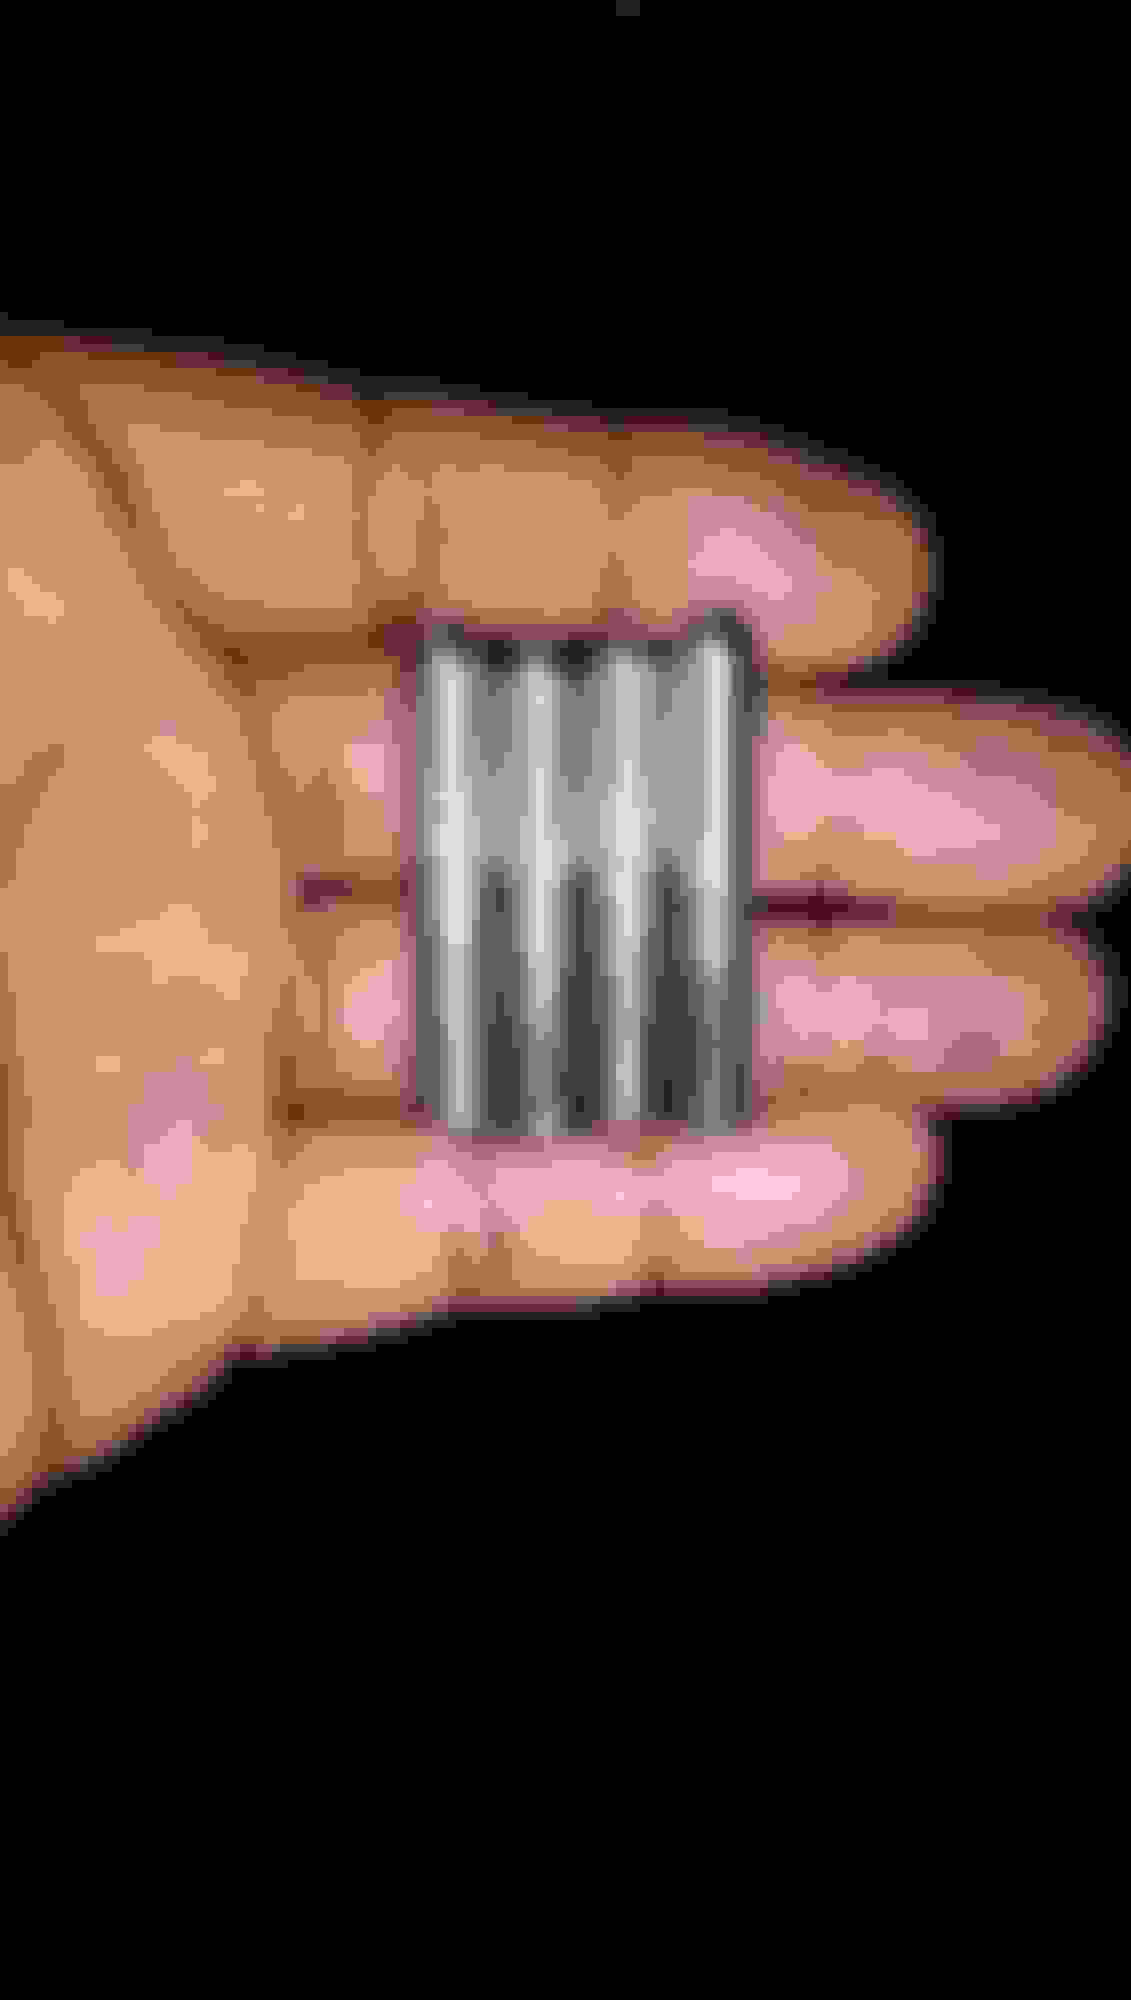
The 4 locator pins, I just cut off 4 M8x40 1.25 bolts, keep them around 2in long. You'll use them to line up both the bottom and top S/C gaskets.
Bottom half in
Top on, the manual has the torque amount and sequence.
Well the easiest thing done is giving me the most blues, since so much was out of the way it not a bad time to got the alternator with 80kmi on it either replaced or rebuilt.
Very easy alt access with only 3 bolts holding it on.
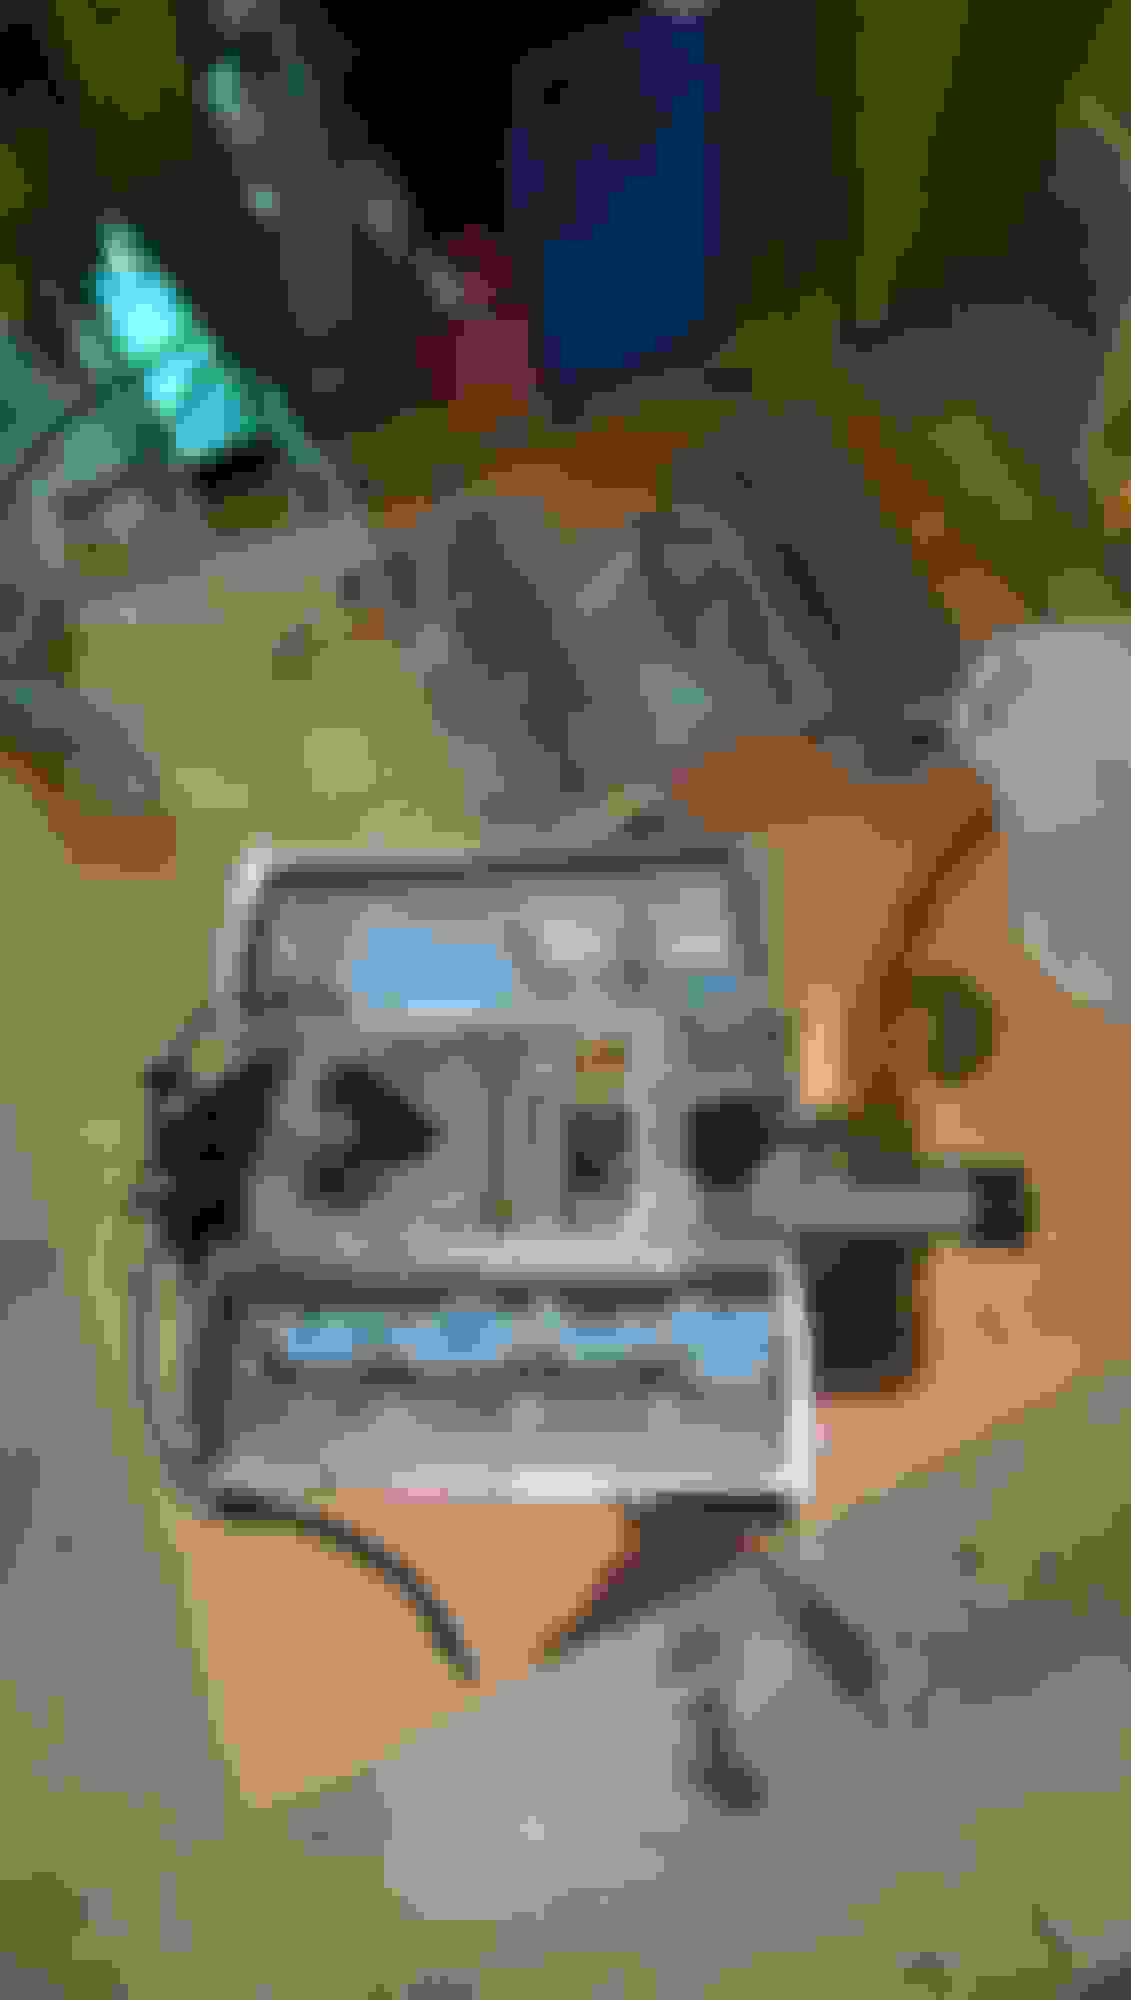
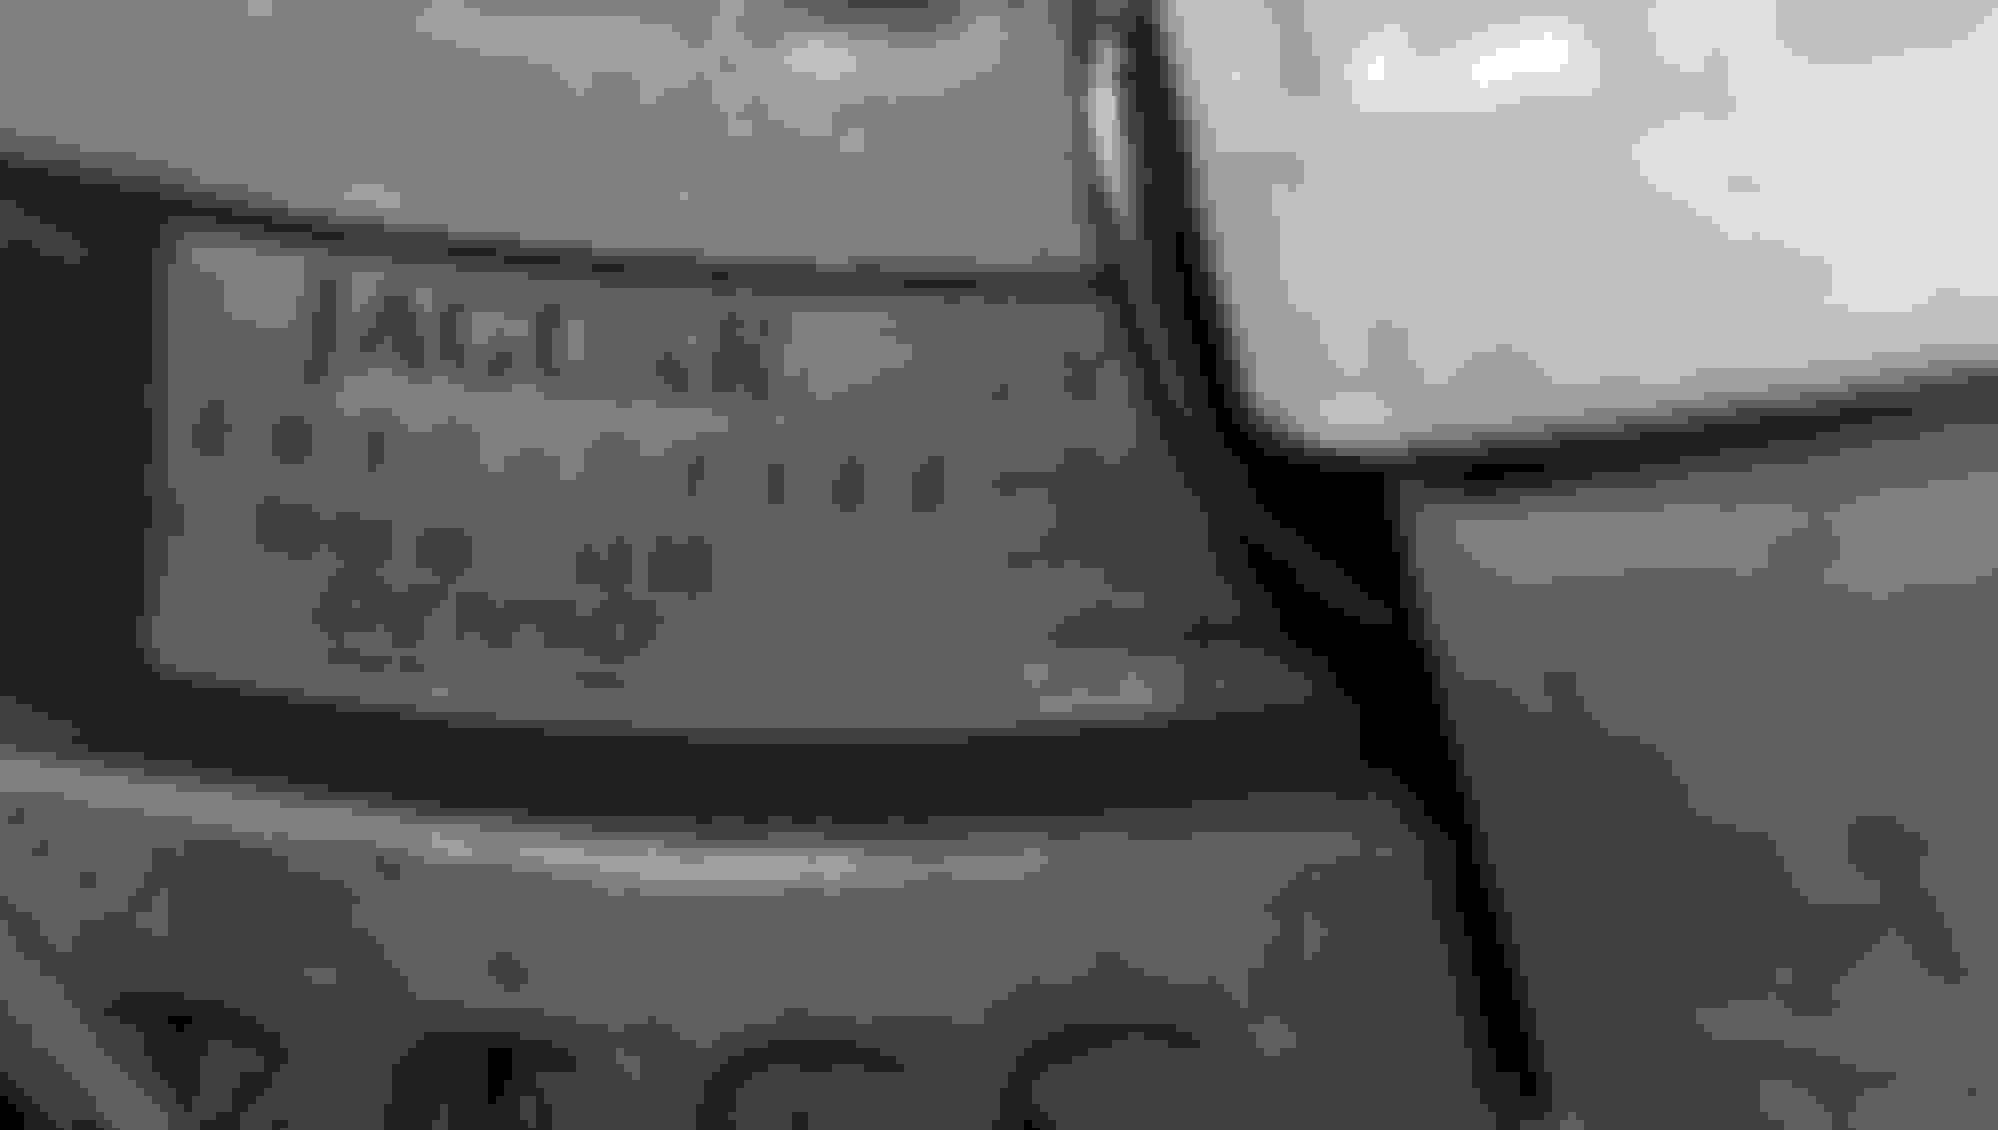
The numbers needed to get a build kit.
Shout out to Quality power, this is my 6th item from them (4 alts, 2 starters) They can rebuild the Jag alt to stock 150 or 250 or 320 amps.
Rebuilt 250 amp alt in.
Getting these faults now, researching the problem, but the car starts an runs great and the battery is being charged as Torque app verified.
Well the easiest thing done is giving me the most blues, since so much was out of the way it not a bad time to got the alternator with 80kmi on it either replaced or rebuilt.
Getting these faults now, researching the problem, but the car starts an runs great and the battery is being charged as Torque app verified.
PROBLEM SOLVED!
It was a faulty voltage regulator Quality Power put in a new one and we're GOOD!
Early XF's are getting to the point where this stuff and more is going to need fixing, so either start saving your $$ for the dealer or get your tool boxes in order..LOL Next for mine, The tank fuel pump and O2 sensors.
Glad you got the alternator issue sorted out. Did you have any issues getting the supercharger of the engine? Others doing this have reported that it requires some force, and did you reuse the inlet gaskets?
Glad you got the alternator issue sorted out. Did you have any issues getting the supercharger of the engine? Others doing this have reported that it requires some force, and did you reuse the inlet gaskets?
No issues, but my SC had been serviced at 42kmi. I used new gaskets for everything.
Have fun with the fuel pump, it's a PITA. You'll definitely need the special Ford tool 310-123 to release the sender unit locking ring. Mine was so tight I needed to use a breaker bar with a section of pipe on the end to get the leverage required to undo it. Crazy.
Early XF's are getting to the point where this stuff and more is going to need fixing, so either start saving your $$ for the dealer or get your tool boxes in order..LOL Next for mine, The tank fuel pump and O2 sensors.
How did the intake valves look? Did you clean them?
Hello brother
* Did you changed the intake manifold gasket AJ811576. is there was any other gaskets you changed?
*on(The 4 locator pins, I just cut off 4 M8x40 1.25 bolts, keep them around 2in long. You'll use them to line up both the bottom and top S/C gaskets) do I have to do it or can I keep the old ones will work? *MAP Sensor do I have to change it I don't want over pay? Thanks
All gasket I exposed where changed.
The cut off bolts were used only to hold the gaskets and parts in place, they didn't replace the stock bolts.
I replaced my MAP sensor because it had 65kmi on it and is only accessible with the supercharger off. Please see my quote below in RED
All gasket I exposed where changed.
The cut off bolts were used only to hold the gaskets and parts in place, they didn't replace the stock bolts.
I replaced my MAP sensor because it had 65kmi on it and is only accessible with the supercharger off. Please see my quote below in RED
Hi is the gasket for the top of the supercharger one from jaguar or is it that black stuff in a tube.
I'm going to be replacing the coupler in my s/c and want to have everything I need before I take it apart.
Thanks Andy
Hi is the gasket for the top of the supercharger one from jaguar or is it that black stuff in a tube.
I'm going to be replacing the coupler in my s/c and want to have everything I need before I take it apart.
Thanks Andy
Bigg Will...dude..I think I broke the little nipple that goes into the water pump on the front end. The damm thing is a PITA to take off and I may have gotten impatient with it...anyhoo. Is there a replacement nipple for this thing? I am losing small amounts of fluid.
Bigg Will...dude..I think I broke the little nipple that goes into the water pump on the front end. The damm thing is a PITA to take off and I may have gotten impatient with it...anyhoo. Is there a replacement nipple for this thing? I am losing small amounts of fluid.
 09-12-2017, 06:35 AM