When you click on links to various merchants on this site and make a purchase, this can result in this site earning a commission. Affiliate programs and affiliations include, but are not limited to, the eBay Partner Network.
ZF 6HP28 Seal Replacement, Valve Body Teardown, Zip Kit Install, Solenoid Replacement
So while I rebuild my engine and the gearbox is out of the car I figured it made sense to at the very least replace the seals which are common failure points on this gearbox, and of course suffering "While I'm here" scope creep, decided to fit a Sonnax Zip Kit and new solenoids. I drew the line at disassembling anything further in the gearbox and fitting Stage 2 Exedy clutches, for example, as that requires knowledge and equipment that I don't quite have yet. But if my engine ends up developing more power in the future, there may well be a part 2 of this thread
All my pics are with the gearbox out of the car but to be honest it'd be just as easy to do this with the car on a lift and I've seen plenty of people do it with little more than jack stands on their driveway.
You will need
T27 Torx Bit/Driver
T40 Torx Bit/Driver
Small Flatblade Screwdriver
Needle-Nose pliers
New Connector Sleeve
New Valvebody Seals
New Oil Pan/Gasket/Bolts
If you're disassembling the valvebody to a Zip Kit, you'll also need a new separator plate. These are identified by numbers on them, mine was marked A065/B065.
WARNING
There are a couple of things to be aware of here: There is a danger of Electrostatic Discharge damaging the mechatronic computer attached to the valvebody. At the very least do not touch any electrical pins/contacts anywhere on the valvebody - this includes the circular wiring connector that goes to the outside of the gearbox, and the solenoid contacts, preferably get yourself an anti-static wrist strap. Also the valvebody itself contains very small parts that are super easy to lose. Make sure you have a reasonably large, clean area to work on it.
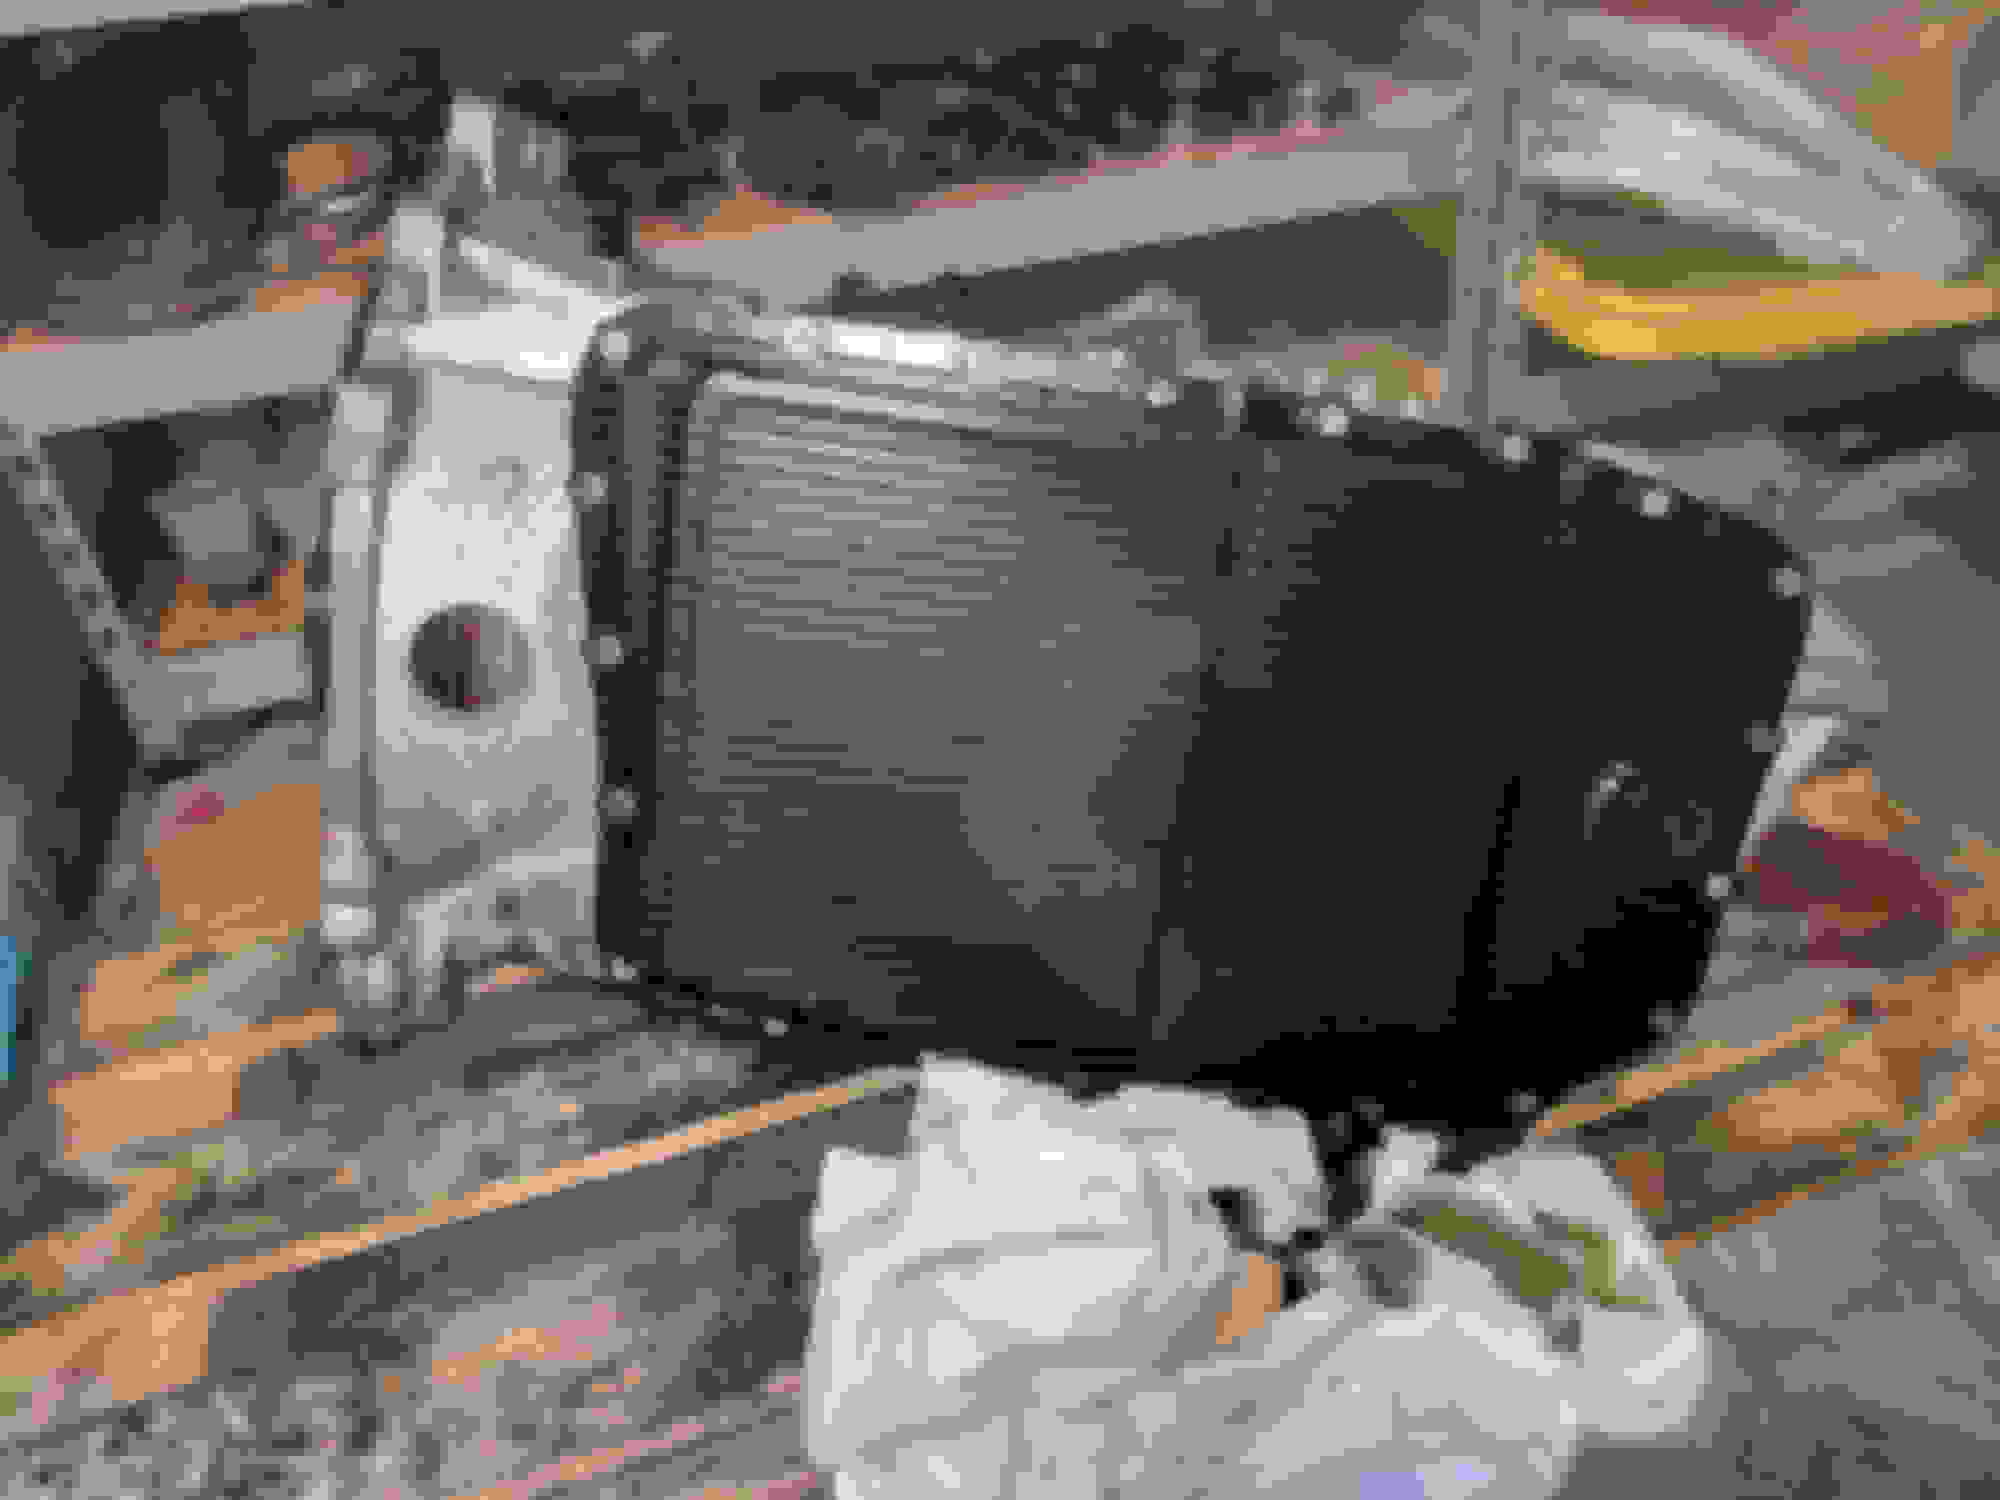
First step is to remove the oil pan bolts (T40). Regardless of how much oil you think you drained out the plug, more will come out now, so be prepared. You can see that I wasn't very, and so my cleanup wasn't great either.
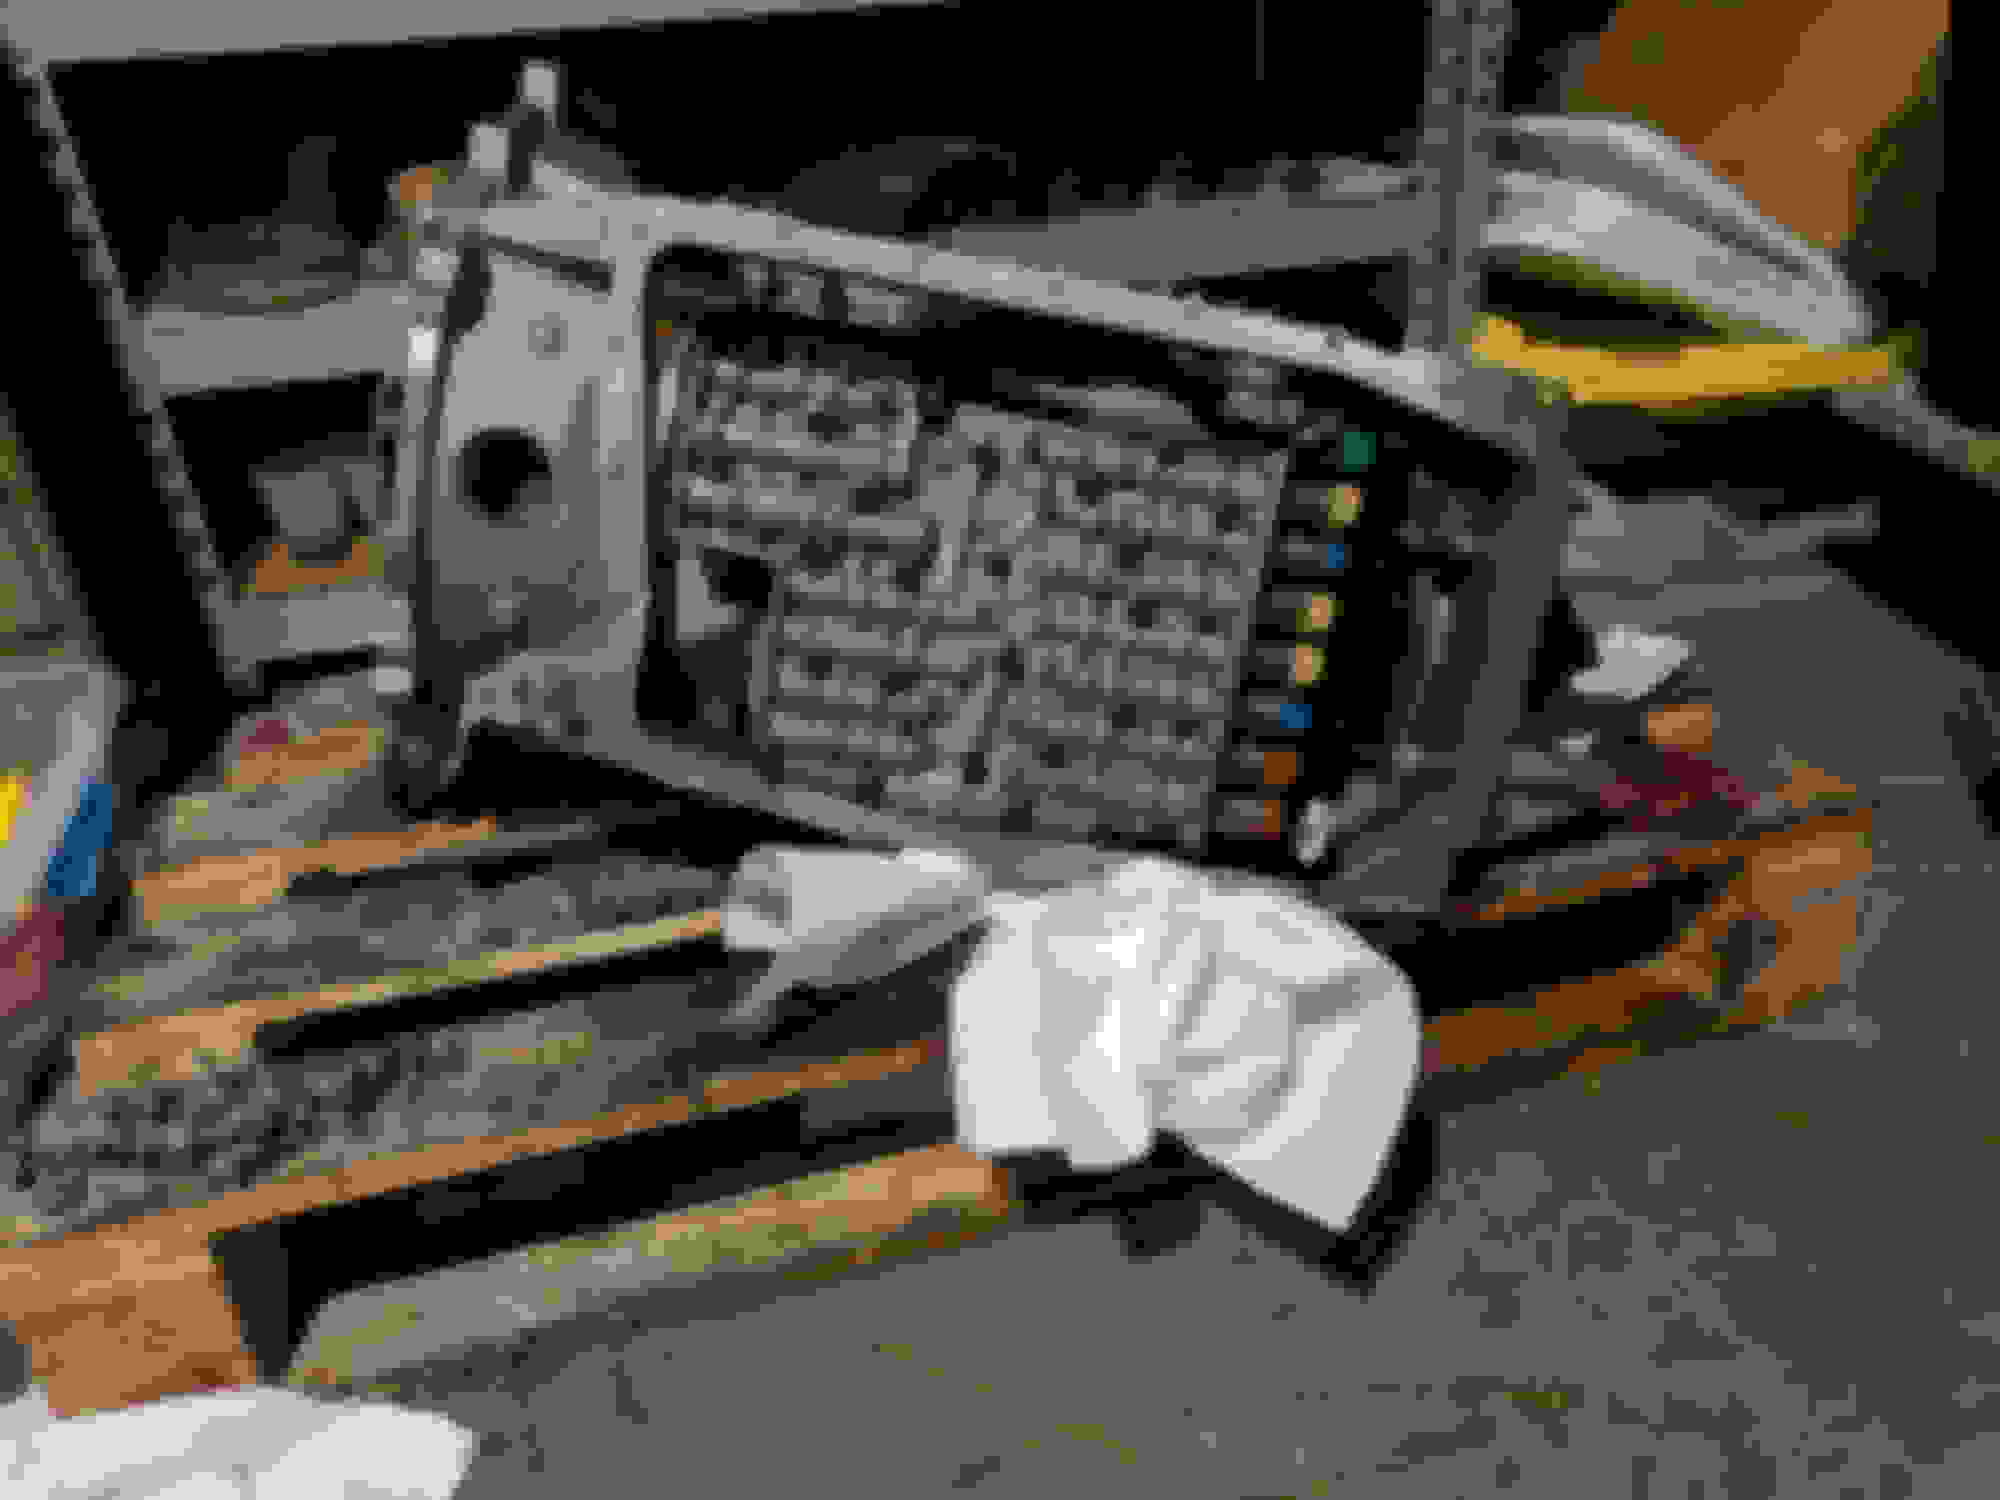
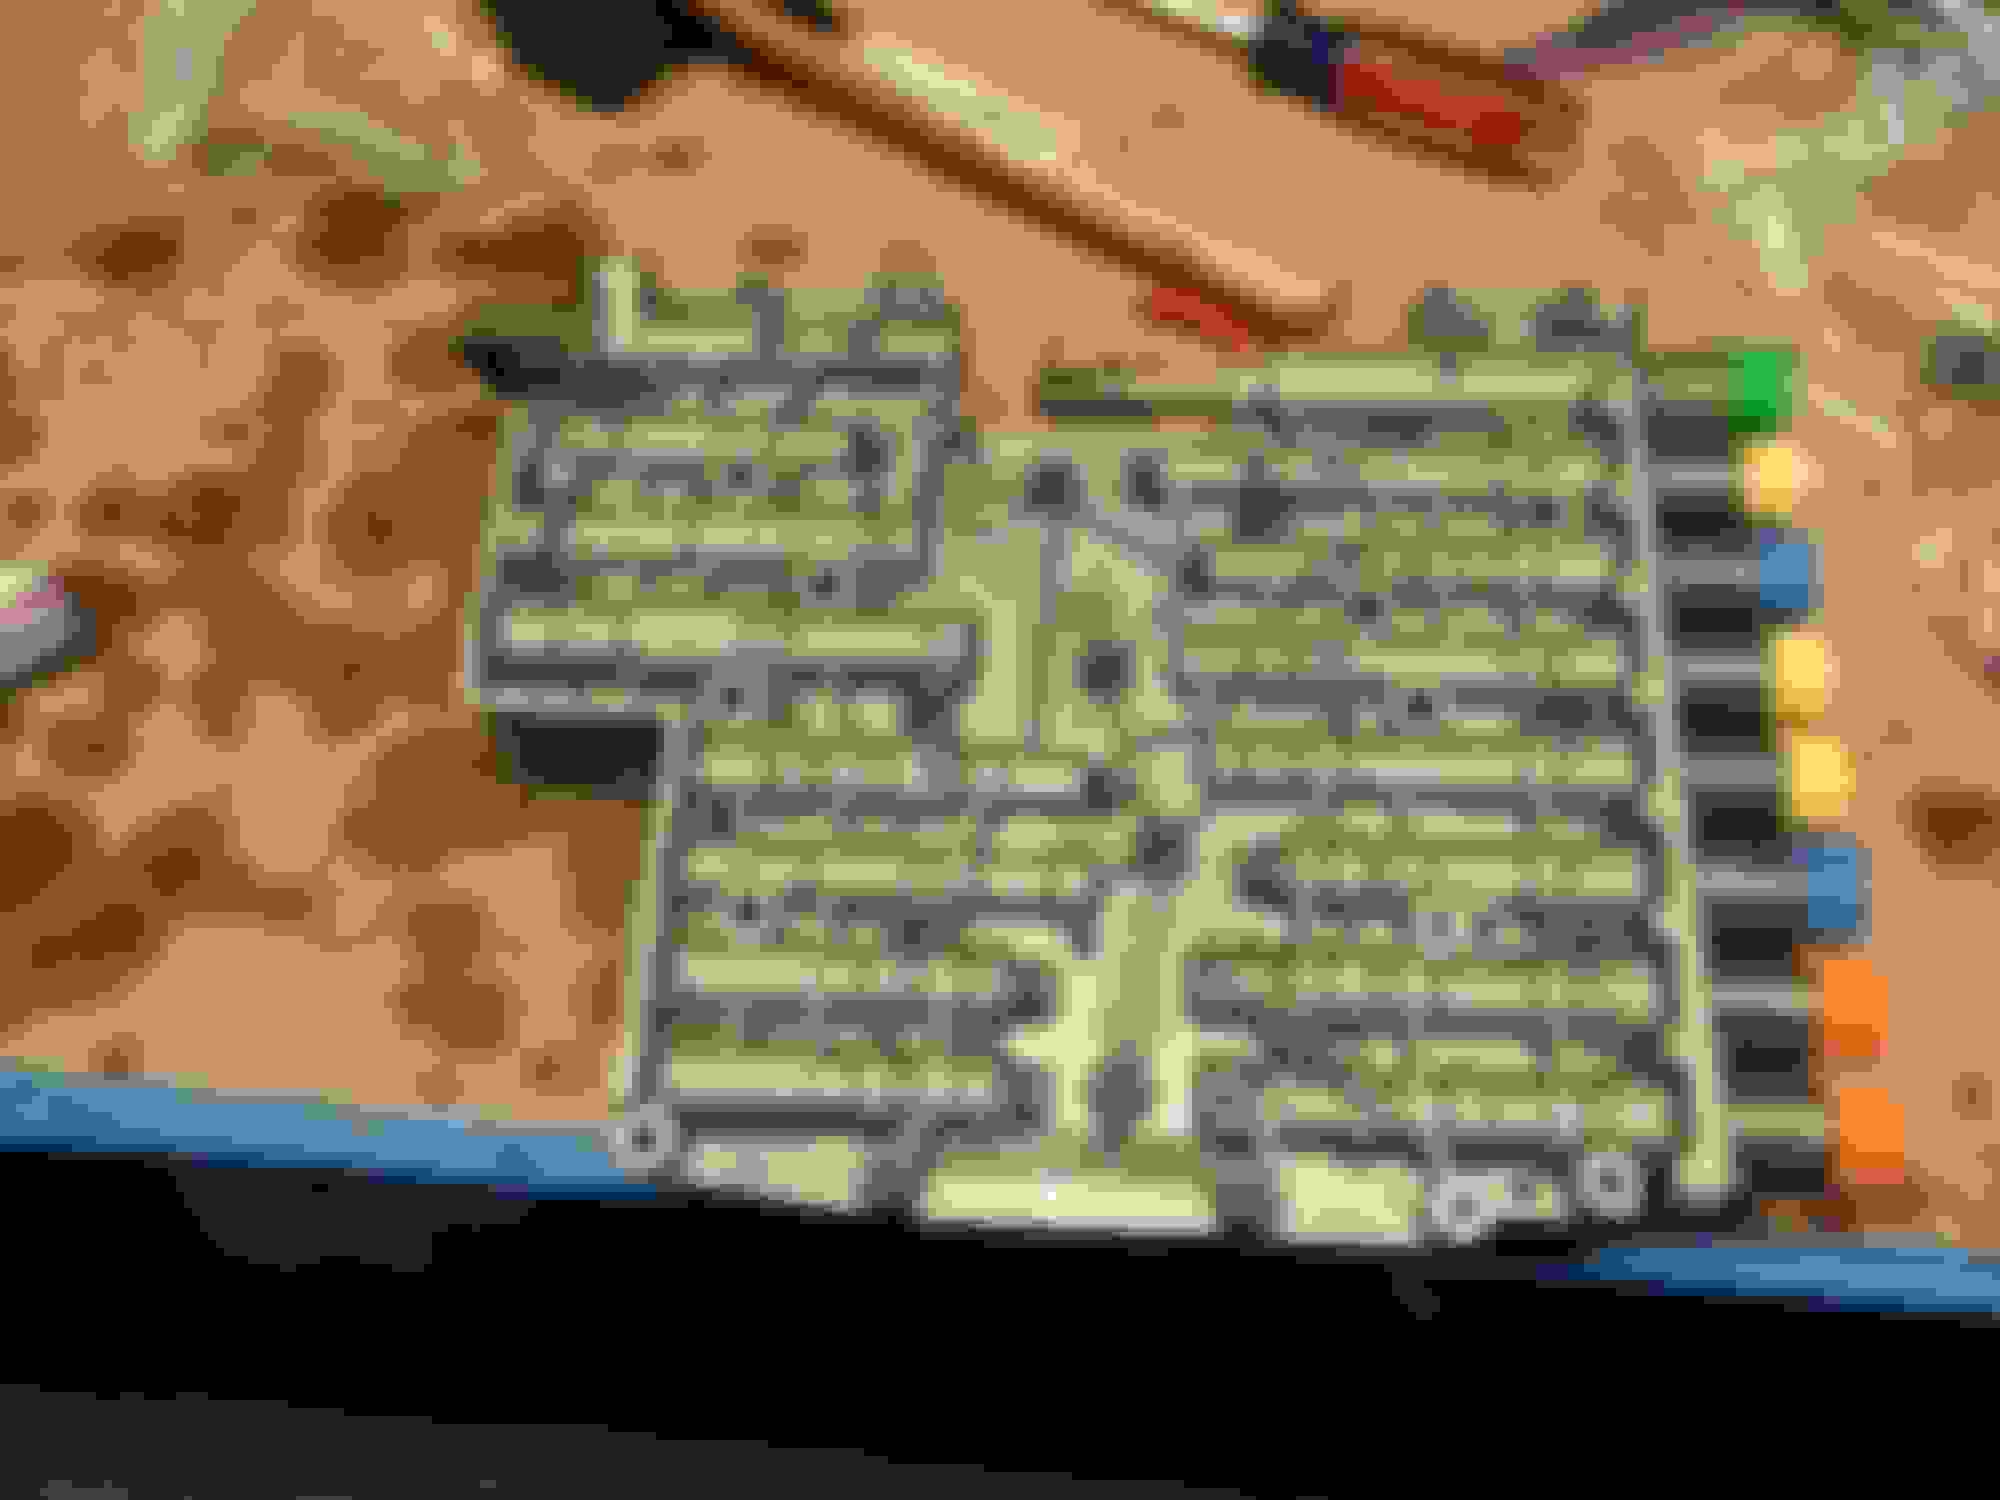
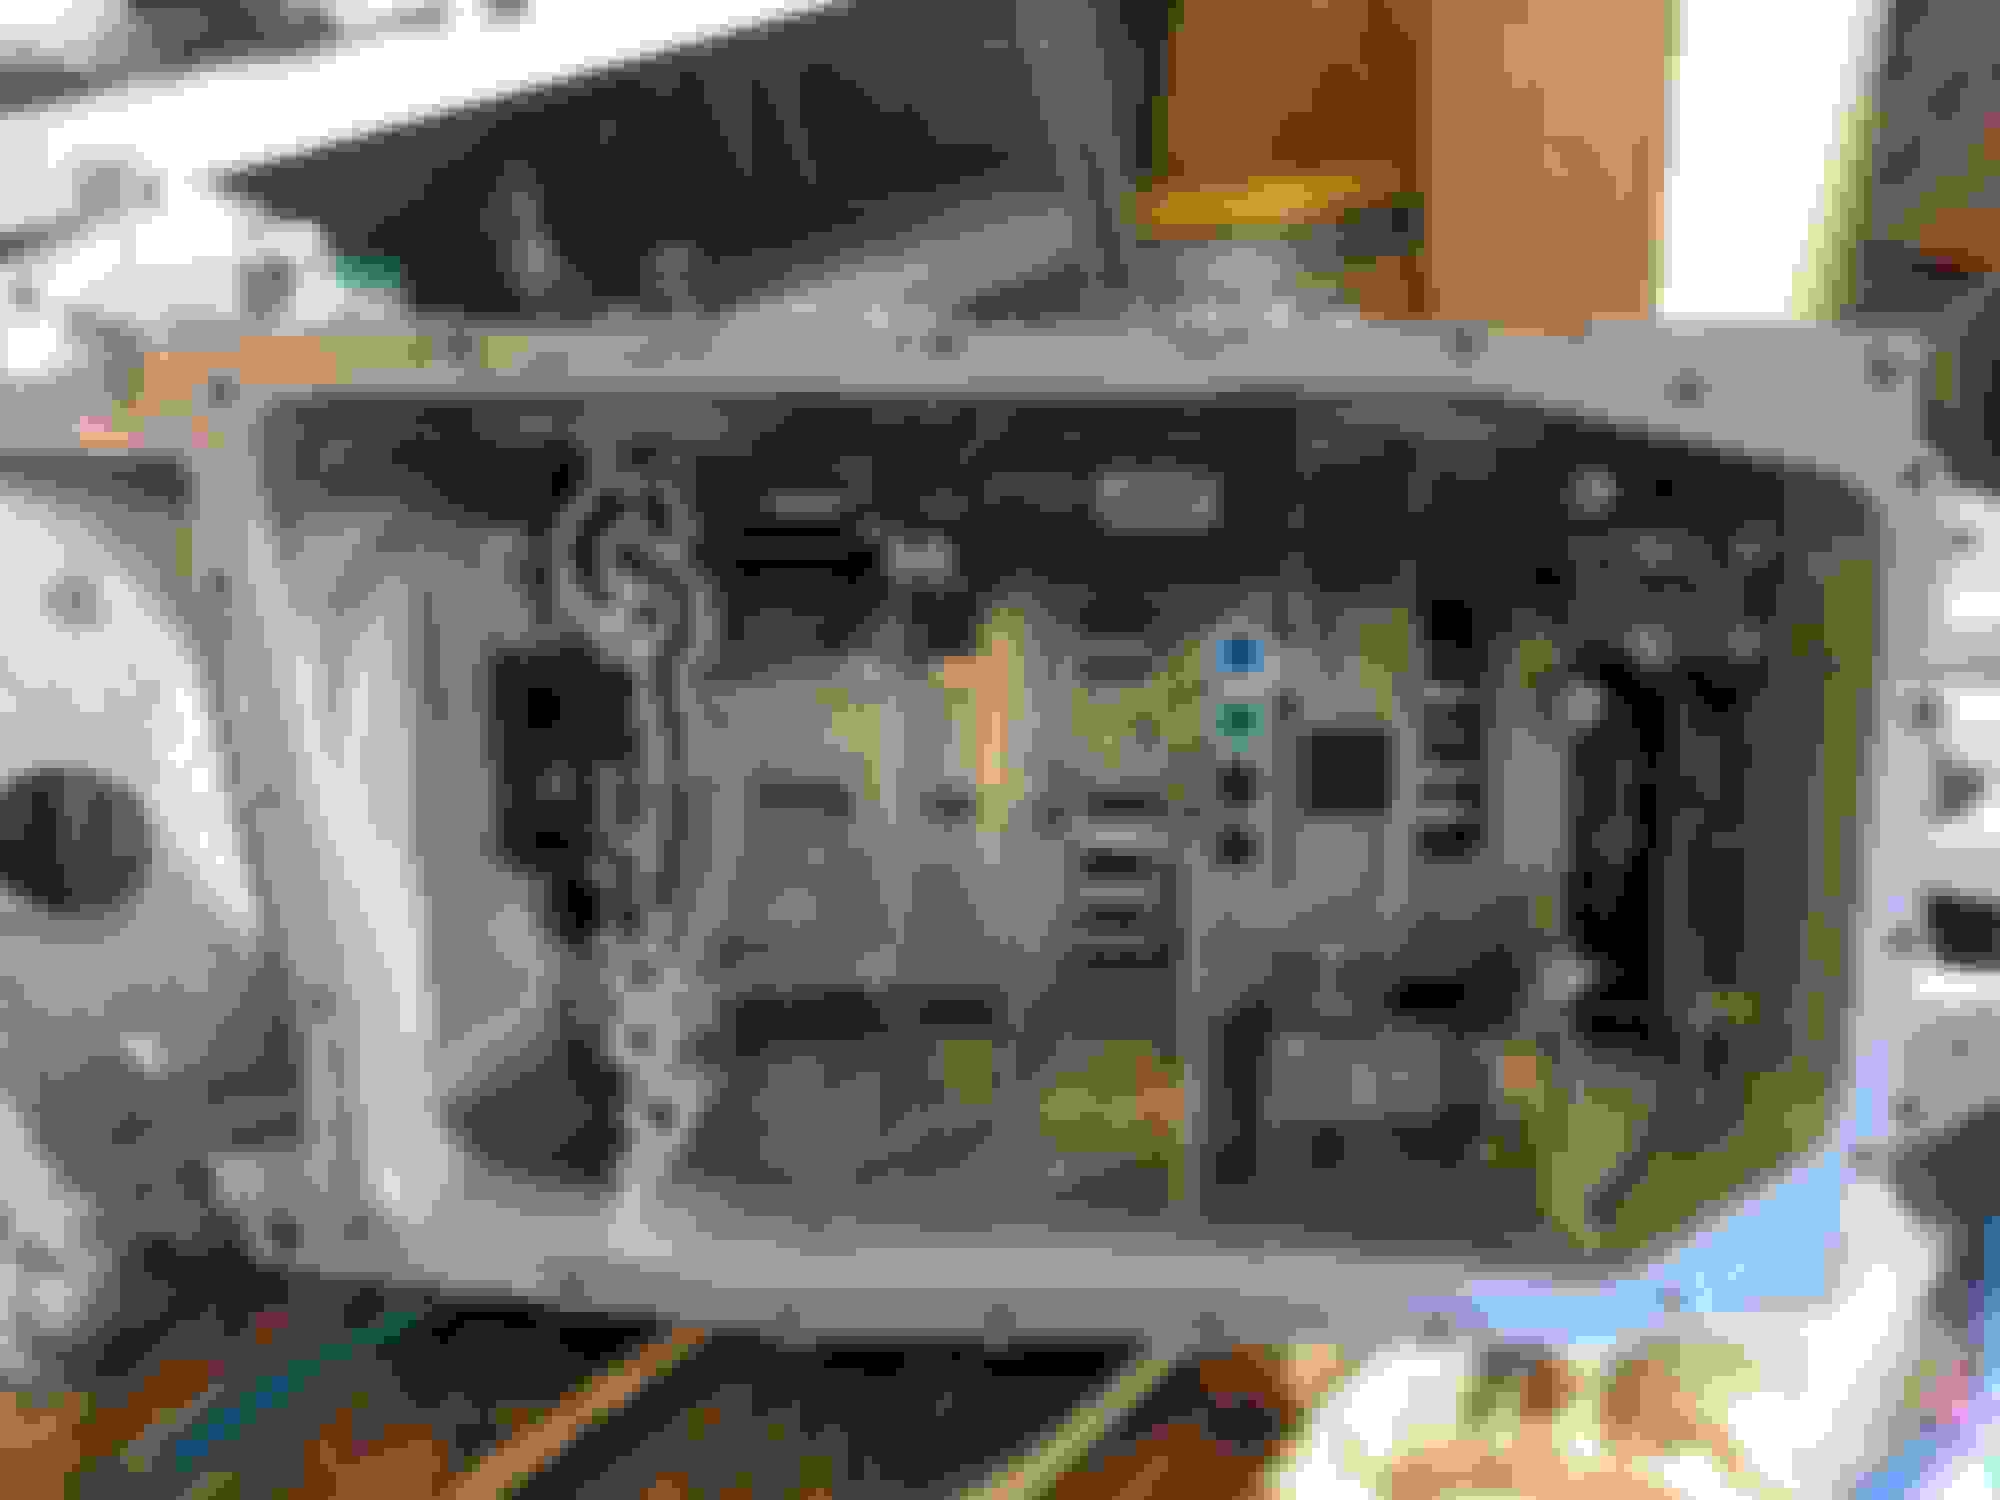
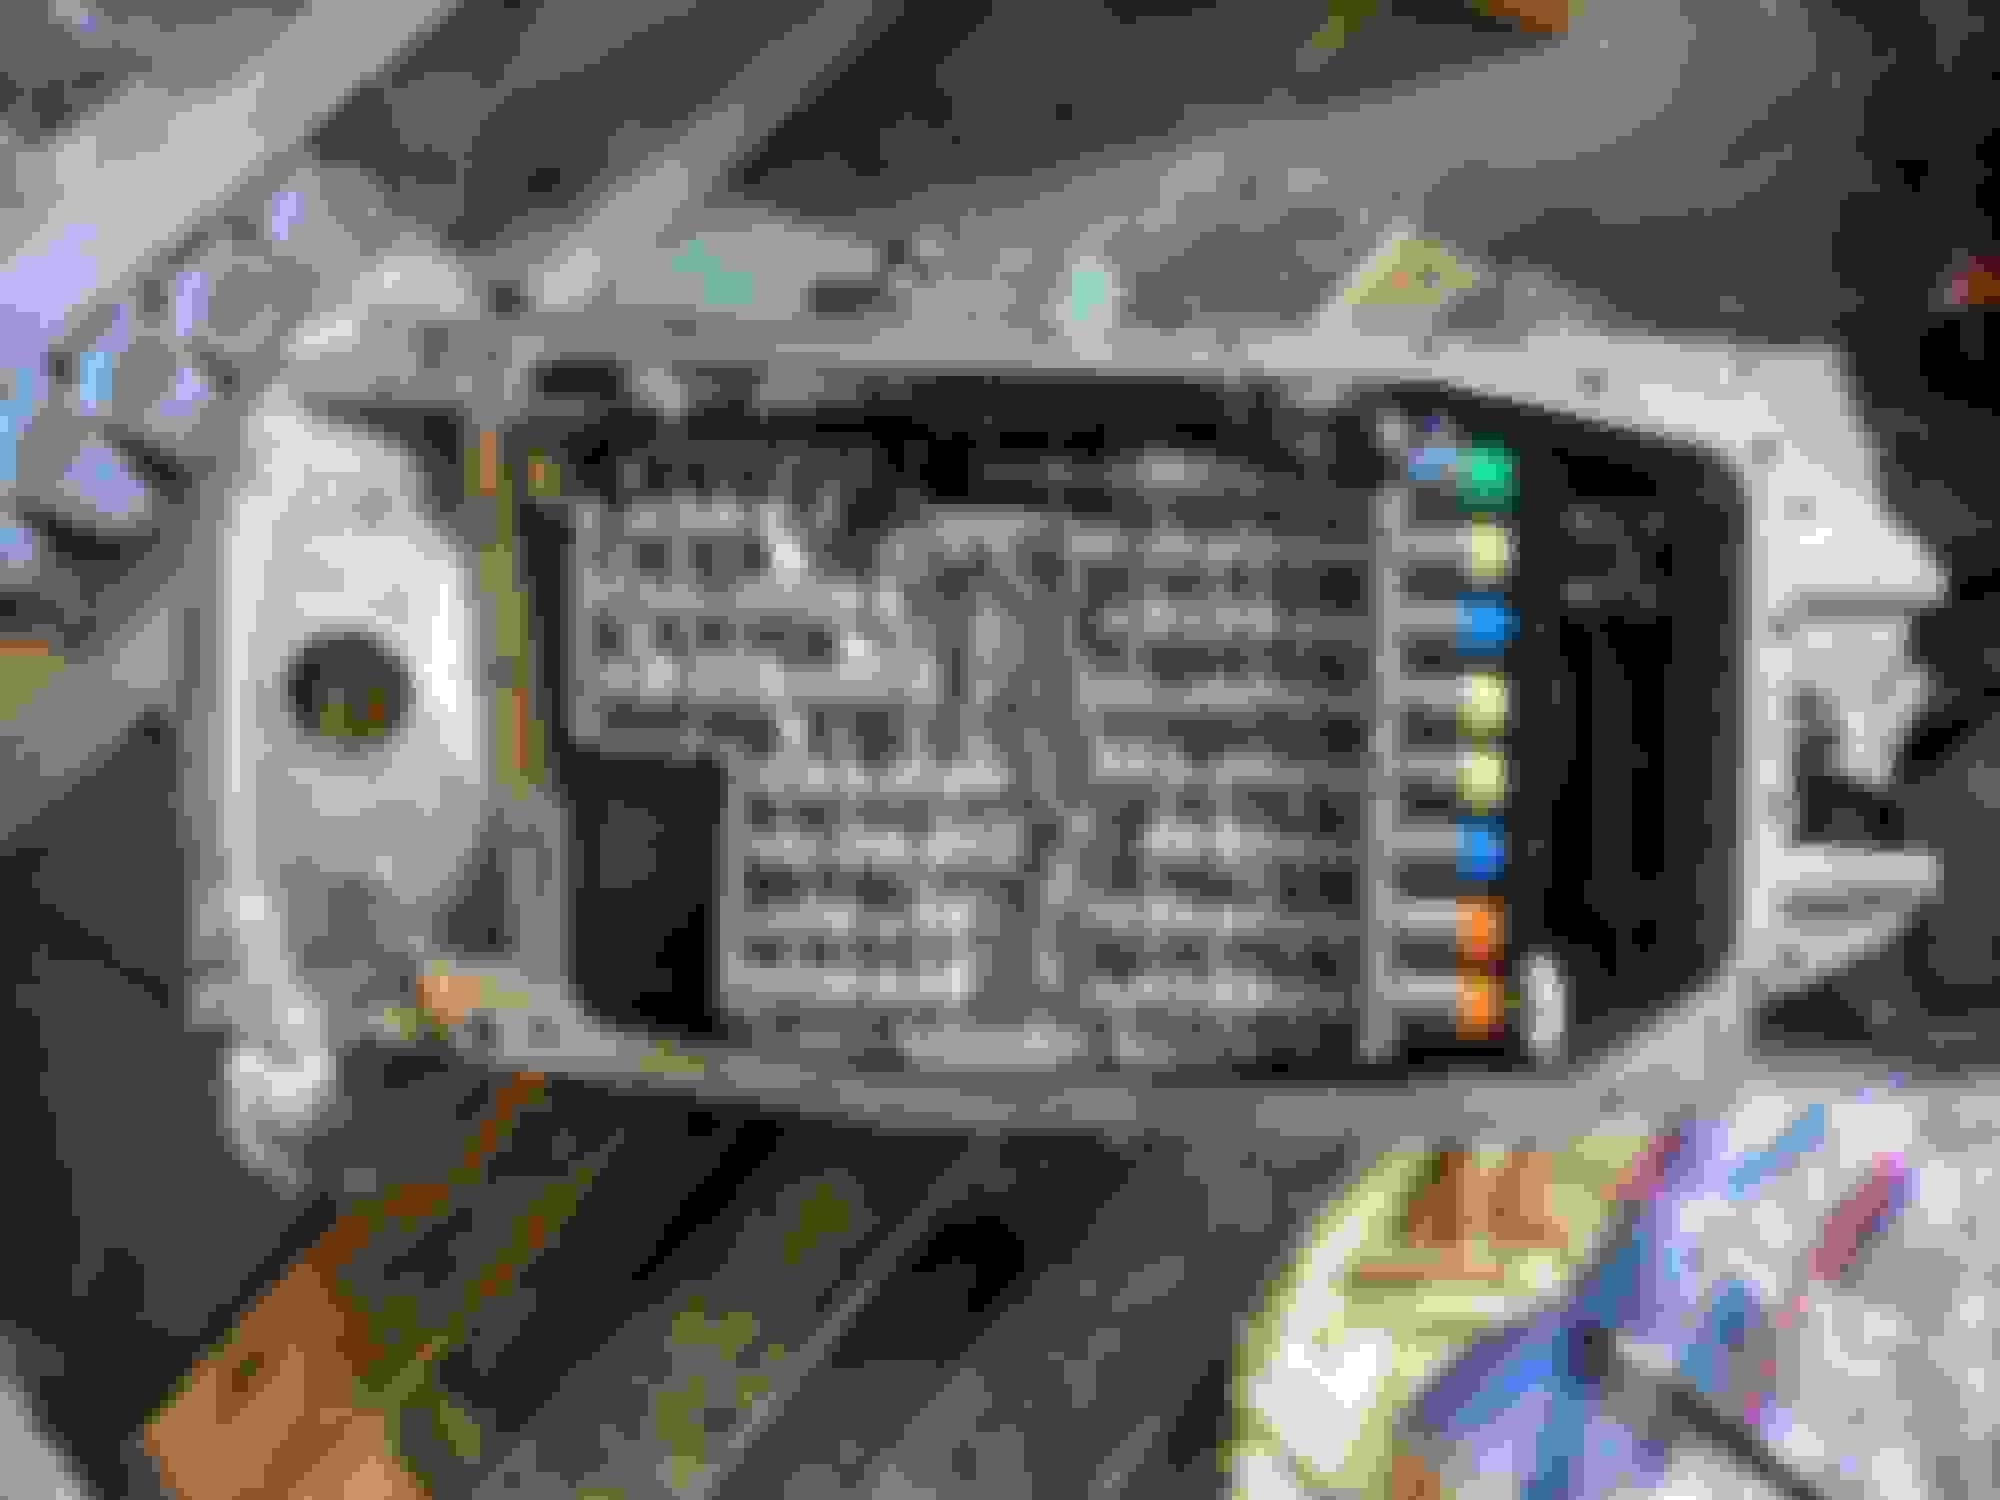
Here you can see the valve body inside the gearbox. The row of cylinders with colored ends down the side are the various solenoids, the brass cylinder with the slot cut out of it at the top driven by the green solenoid operates the parking brake. Finally, the white tab at the bottom right of the valve body is the connector sleeve release.
Pull the white tab up to release the connector sleeve. My sleeve was in tight and after checking I'd pulled the tab up far enough I needed to yank it from the outside with a pair of pliers. These sleeves are a common place for fluid to leak so it makes sense to change it.
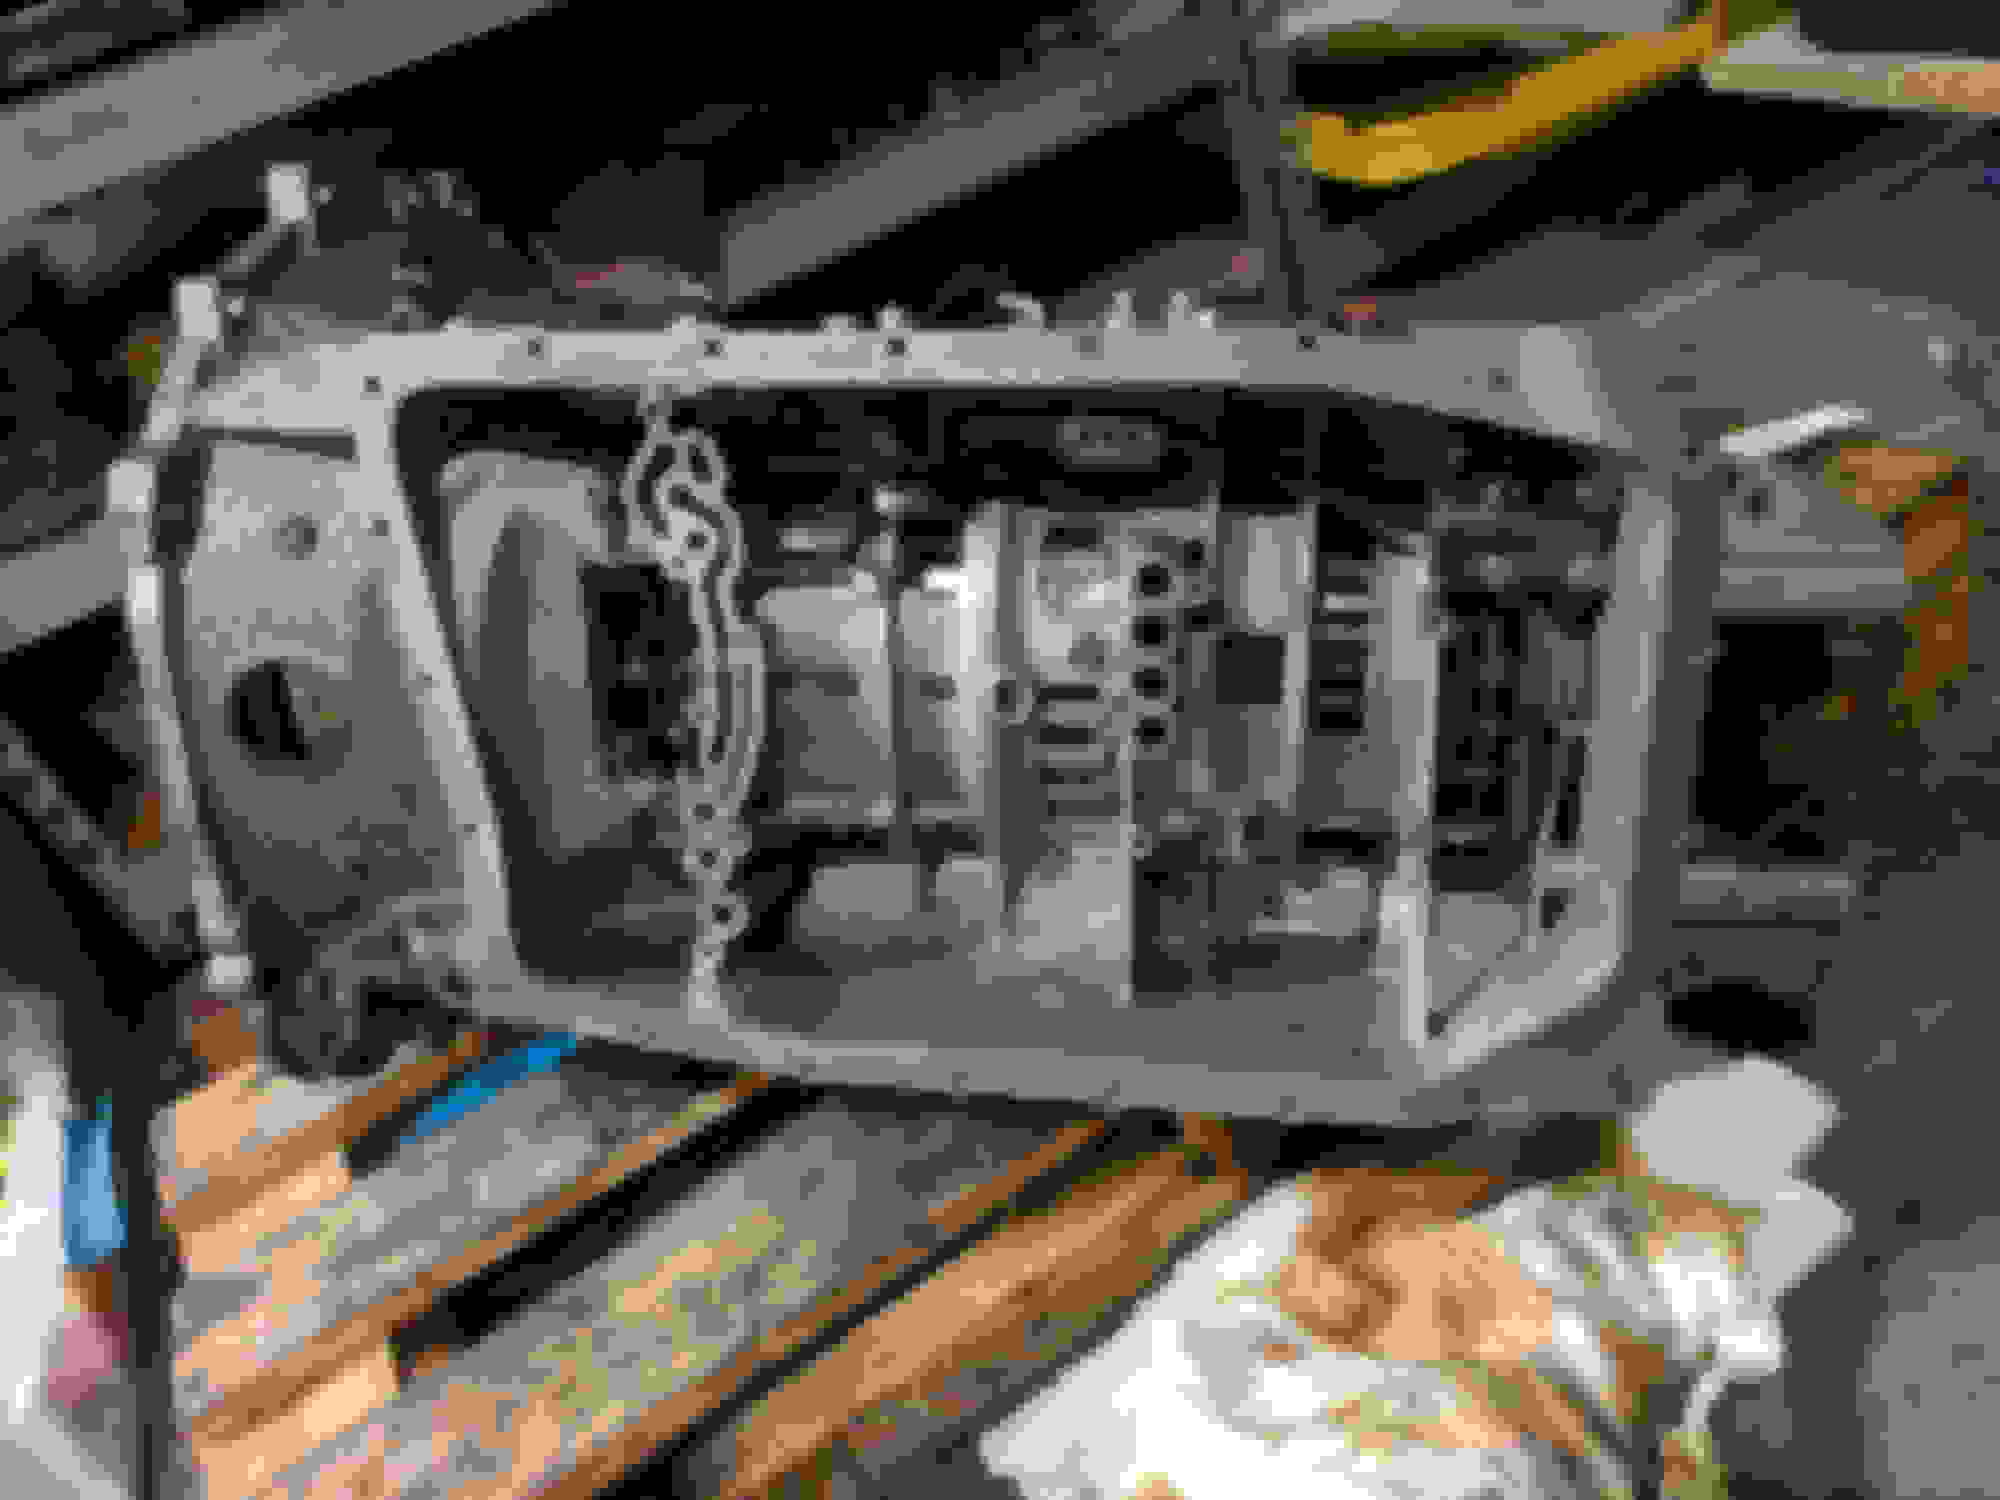
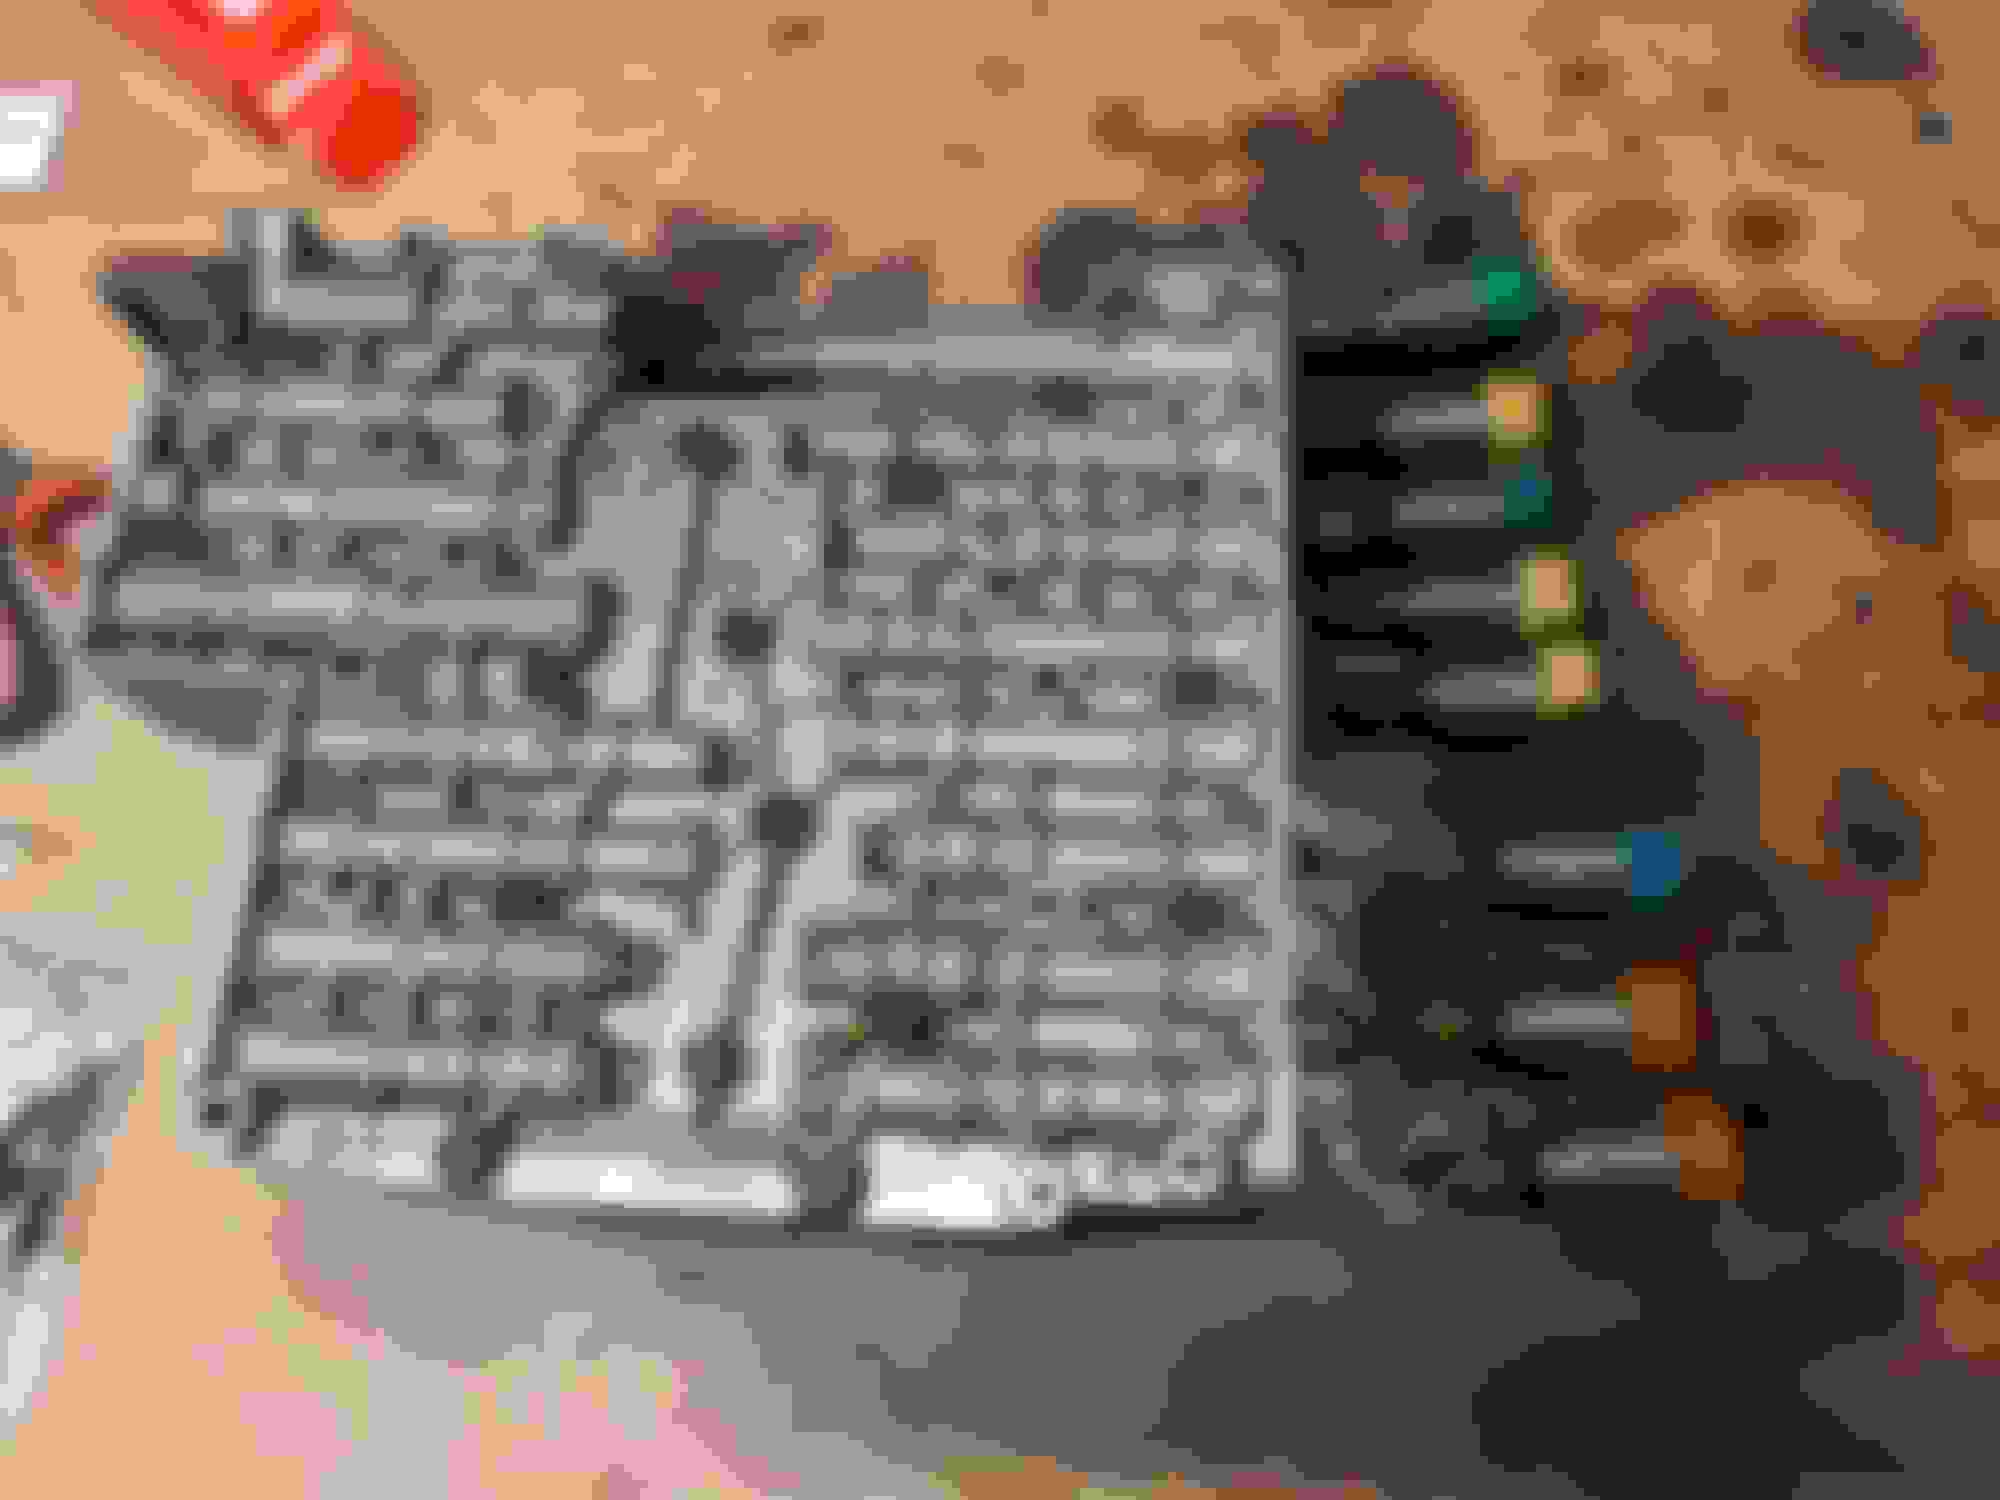
Next, remove all the T40 bolts holding the valve body into the gearbox. This is pretty easy to follow because there are only two head sizes of bolt on the valve body - T27 and T40. Just remove and set aside all the T40 bolts and you should be able to pull the valvebody out of the transmission. The things to note in this pic are the valve body seal on the left with two rectangles on it - these can crack and leak fluid and are a common failure point, the metal lever at the top that the slotted parking brake piston on the valve body engages with, and the four circular valve body seals. These should also be changed when you have the oil pan off or the valvebody out.
With the valvebody on the bench, remove the 3x T27 bolts holding the wiring loom casing onto the valvebody and unplug the connectors at each end. Remember to avoid touching any contacts.
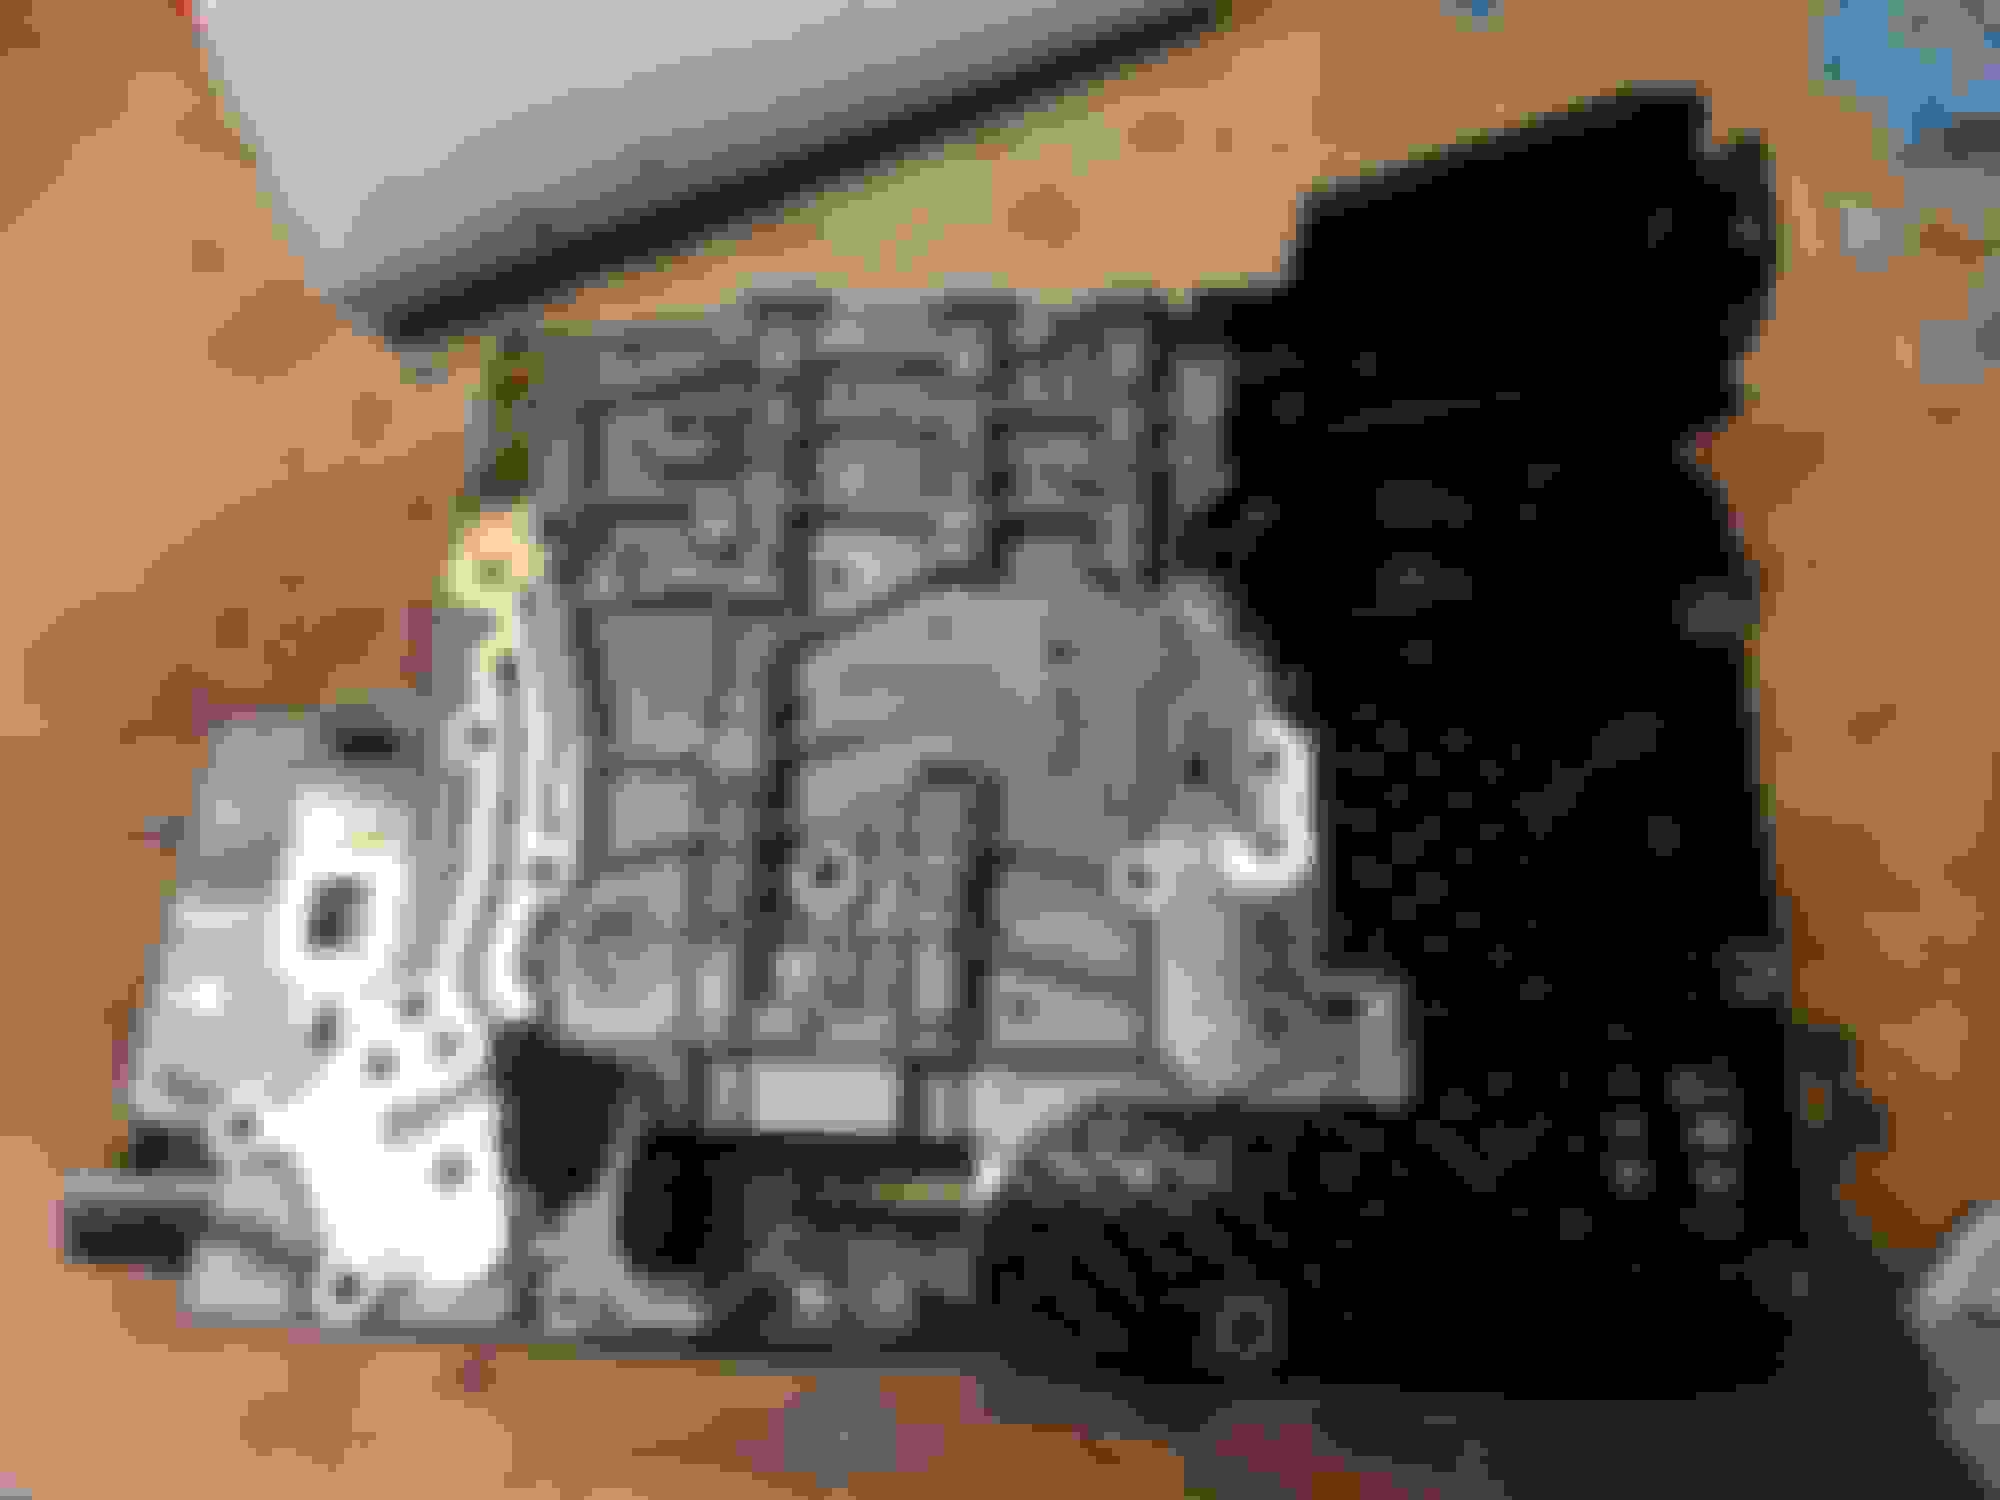
Next, flip the valvebody over, and you'll be able to see which T27 bolts are holding the black plastic mechatronic unit to the valvebody. Remove these, disengage the parking brake cylinder pin from the sliding brown potentiometer track shown in the bottom of the pic, and pry the mechatronic unit off the valvebody. It maybe a little tight as the mechatronic unit has two metal locating dowels to allow reassembly of the valvebody and unit.
You'll be left with a valvebody that looks like this.
Next, we can remove the solenoids. They're held in place by a metal retaining clip that runs the length of the valvebody, held by small screws by each solenoid. Remove these screws and lift the retaining plate out, and set them aside.
Remove the solenoids just by tugging them out. Make a note of their locations (or use these pictures as a guide).
Next, remove the MV2 solenoid on the other side of the valvebody. This has a spring and a metal cup behind it so be careful to stop it pinging out when you remove the solenoid.
Warning
Before you go any further, remember - this is the bit where tiny parts can go everywhere, never to be found again, and ruin your day. Be slow and careful with this bit.
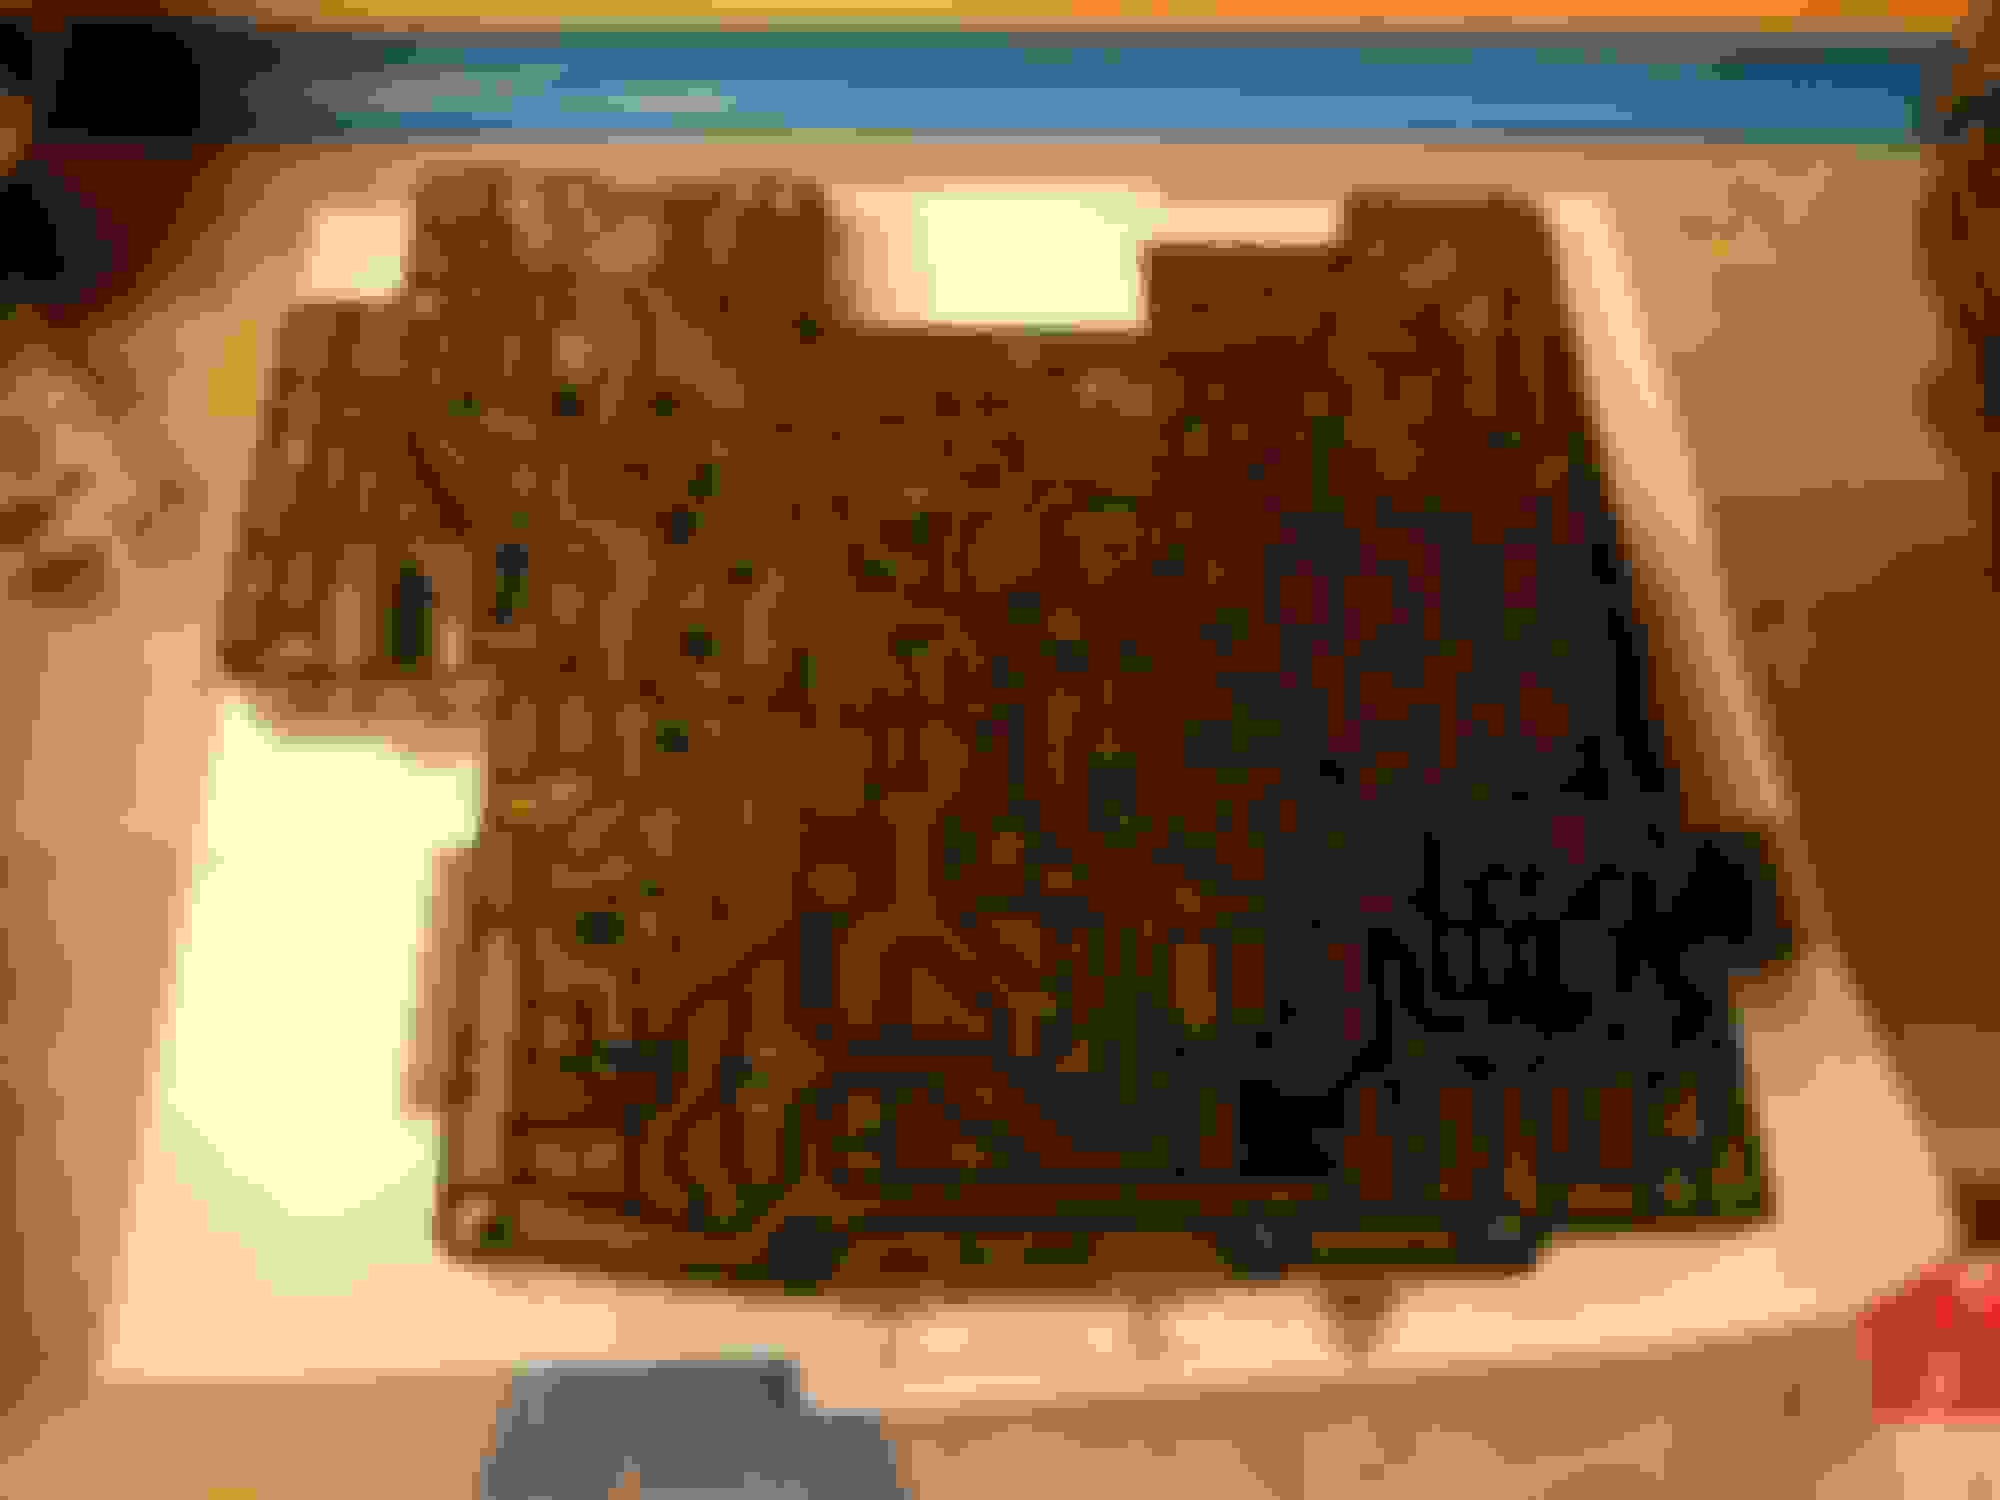
Next you can separate the valve body. Remove all the remaining T27 bolts and put them aside. Next, you'll need to carefully pry the valvebody apart. Once you lift the top part of the valvebody off, you'll see the separator plate. Don't be surprised if it pops up when you lift the top of the valvebody up, as there are small springs underneath it that do this. These separator plates are technically re-useable if the black seal lines are not damaged, but given they're available for about $60 I figured it was worth just buying a new one for reassembly.
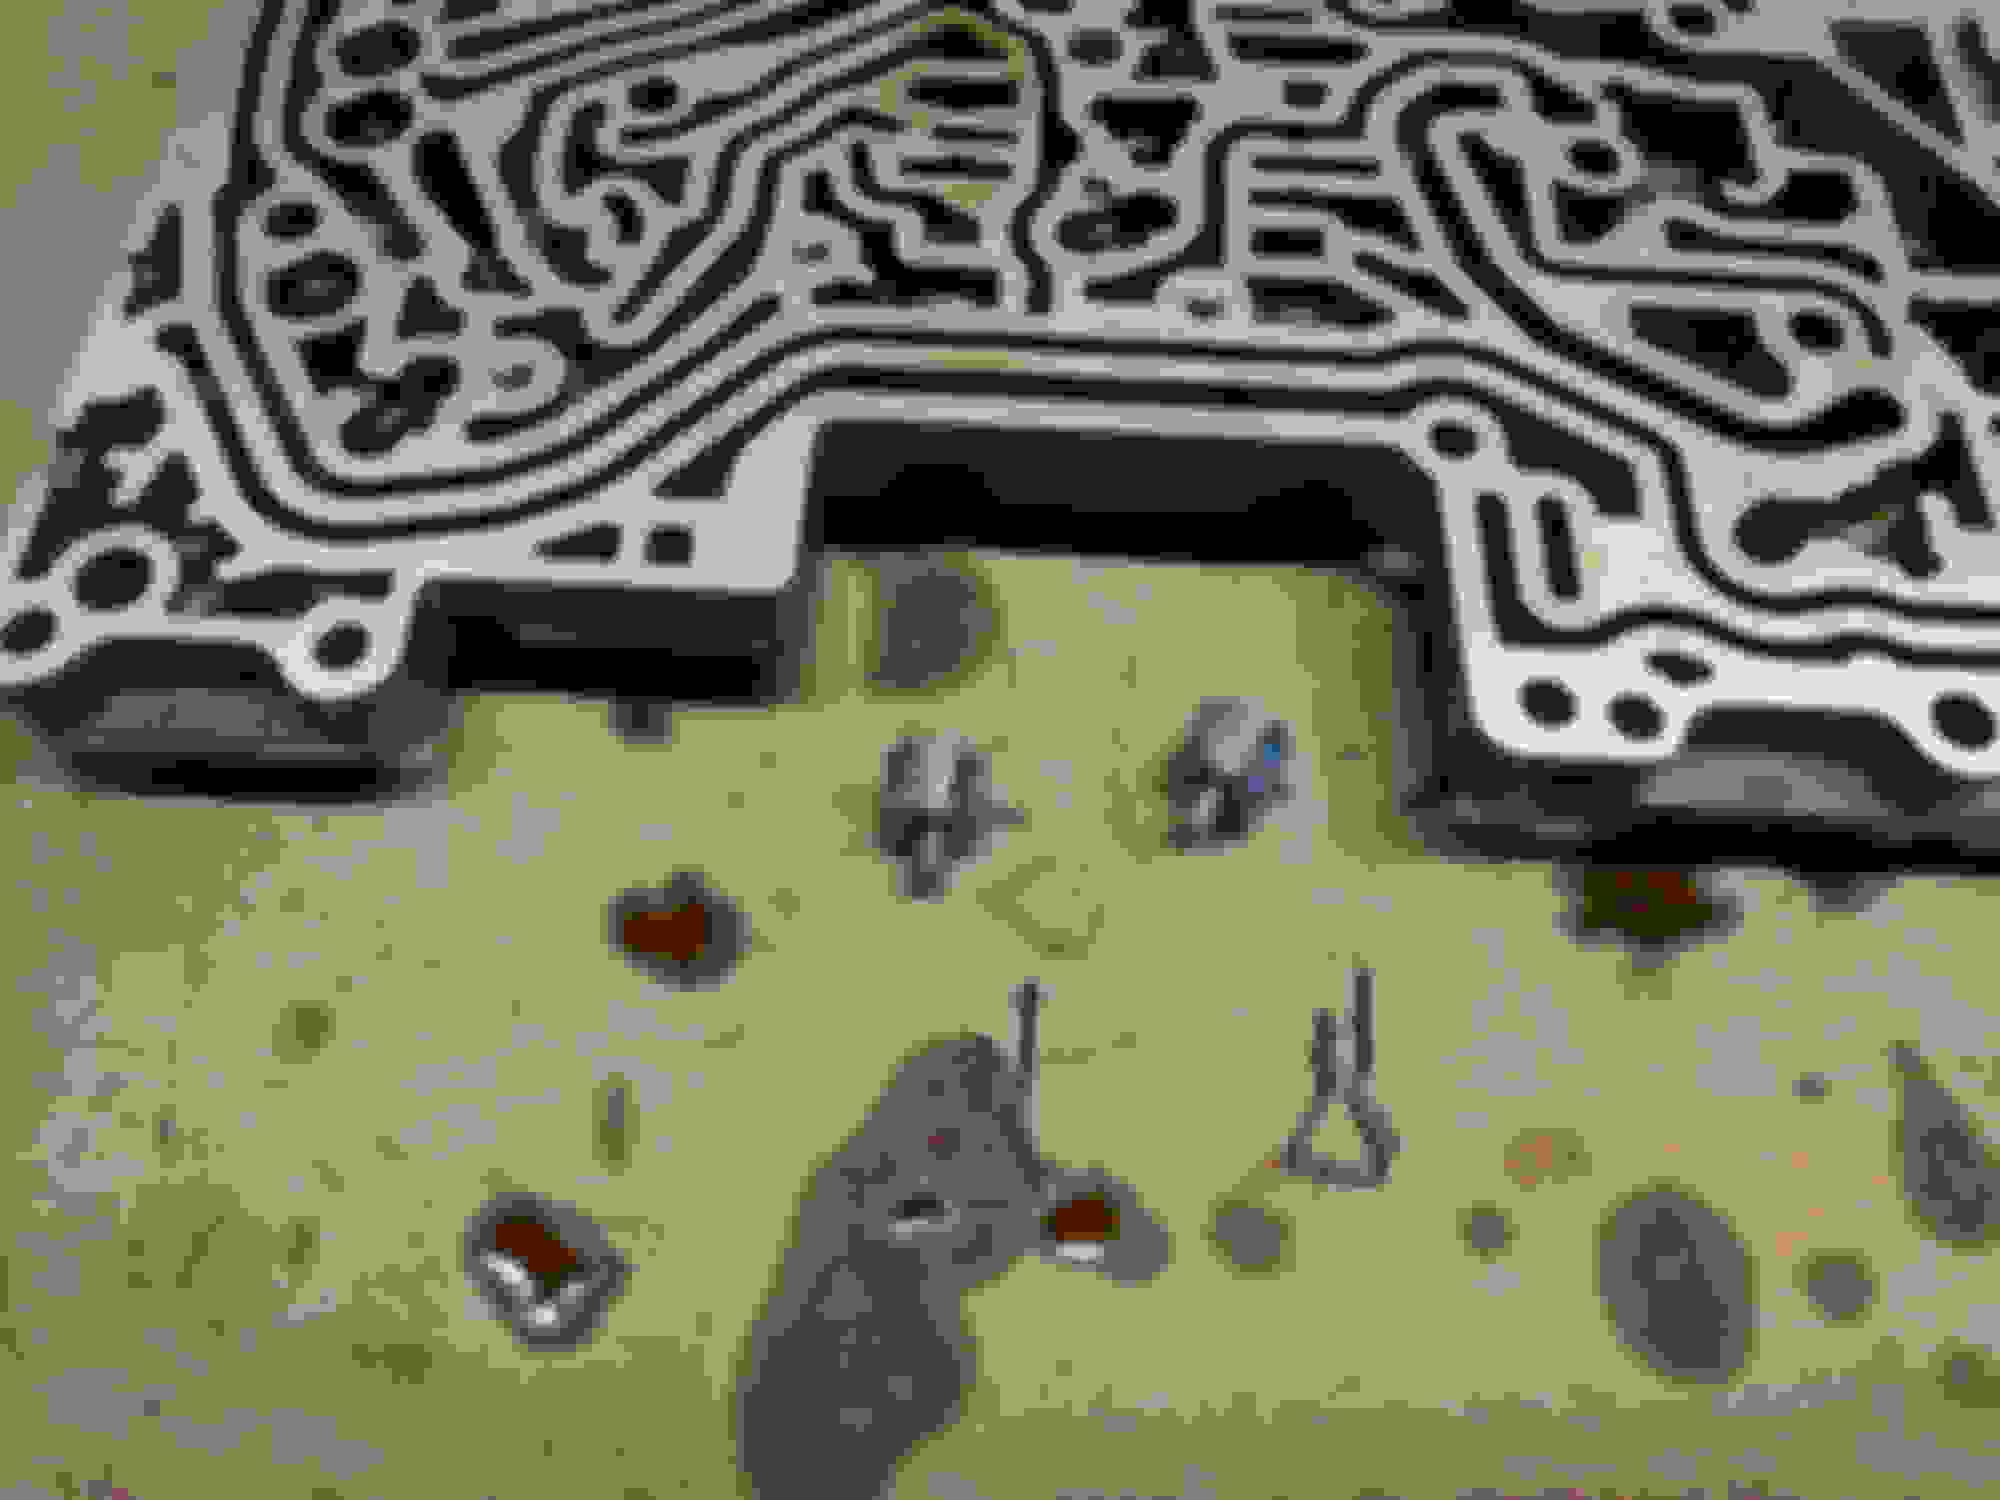
Next carefully lift the separator plate off, and you'll see this:
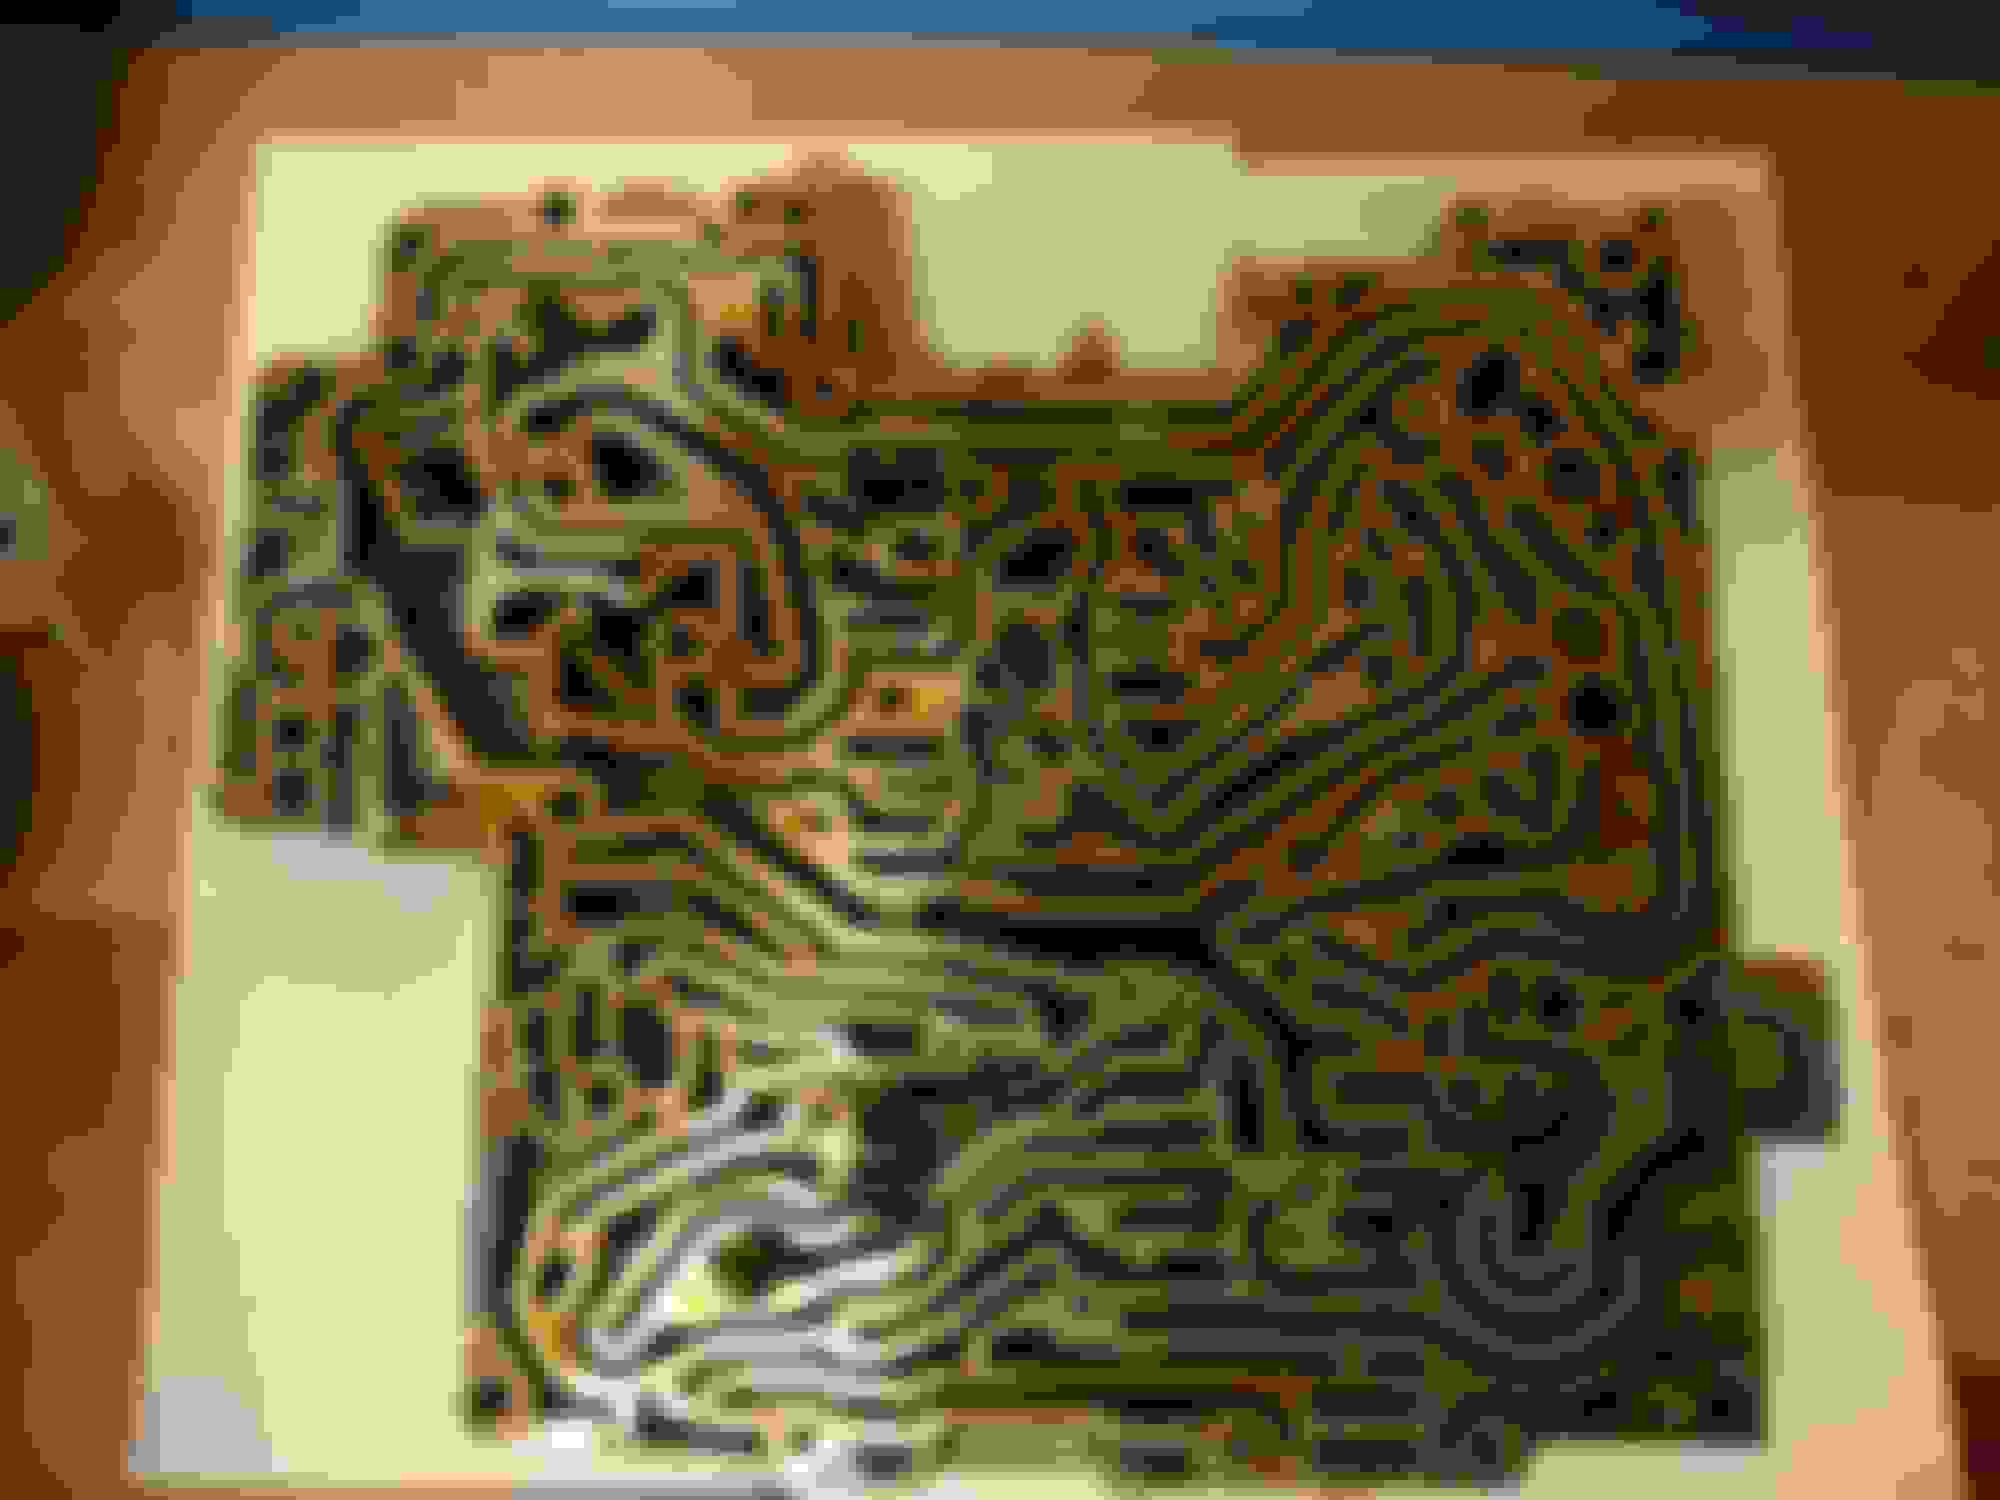
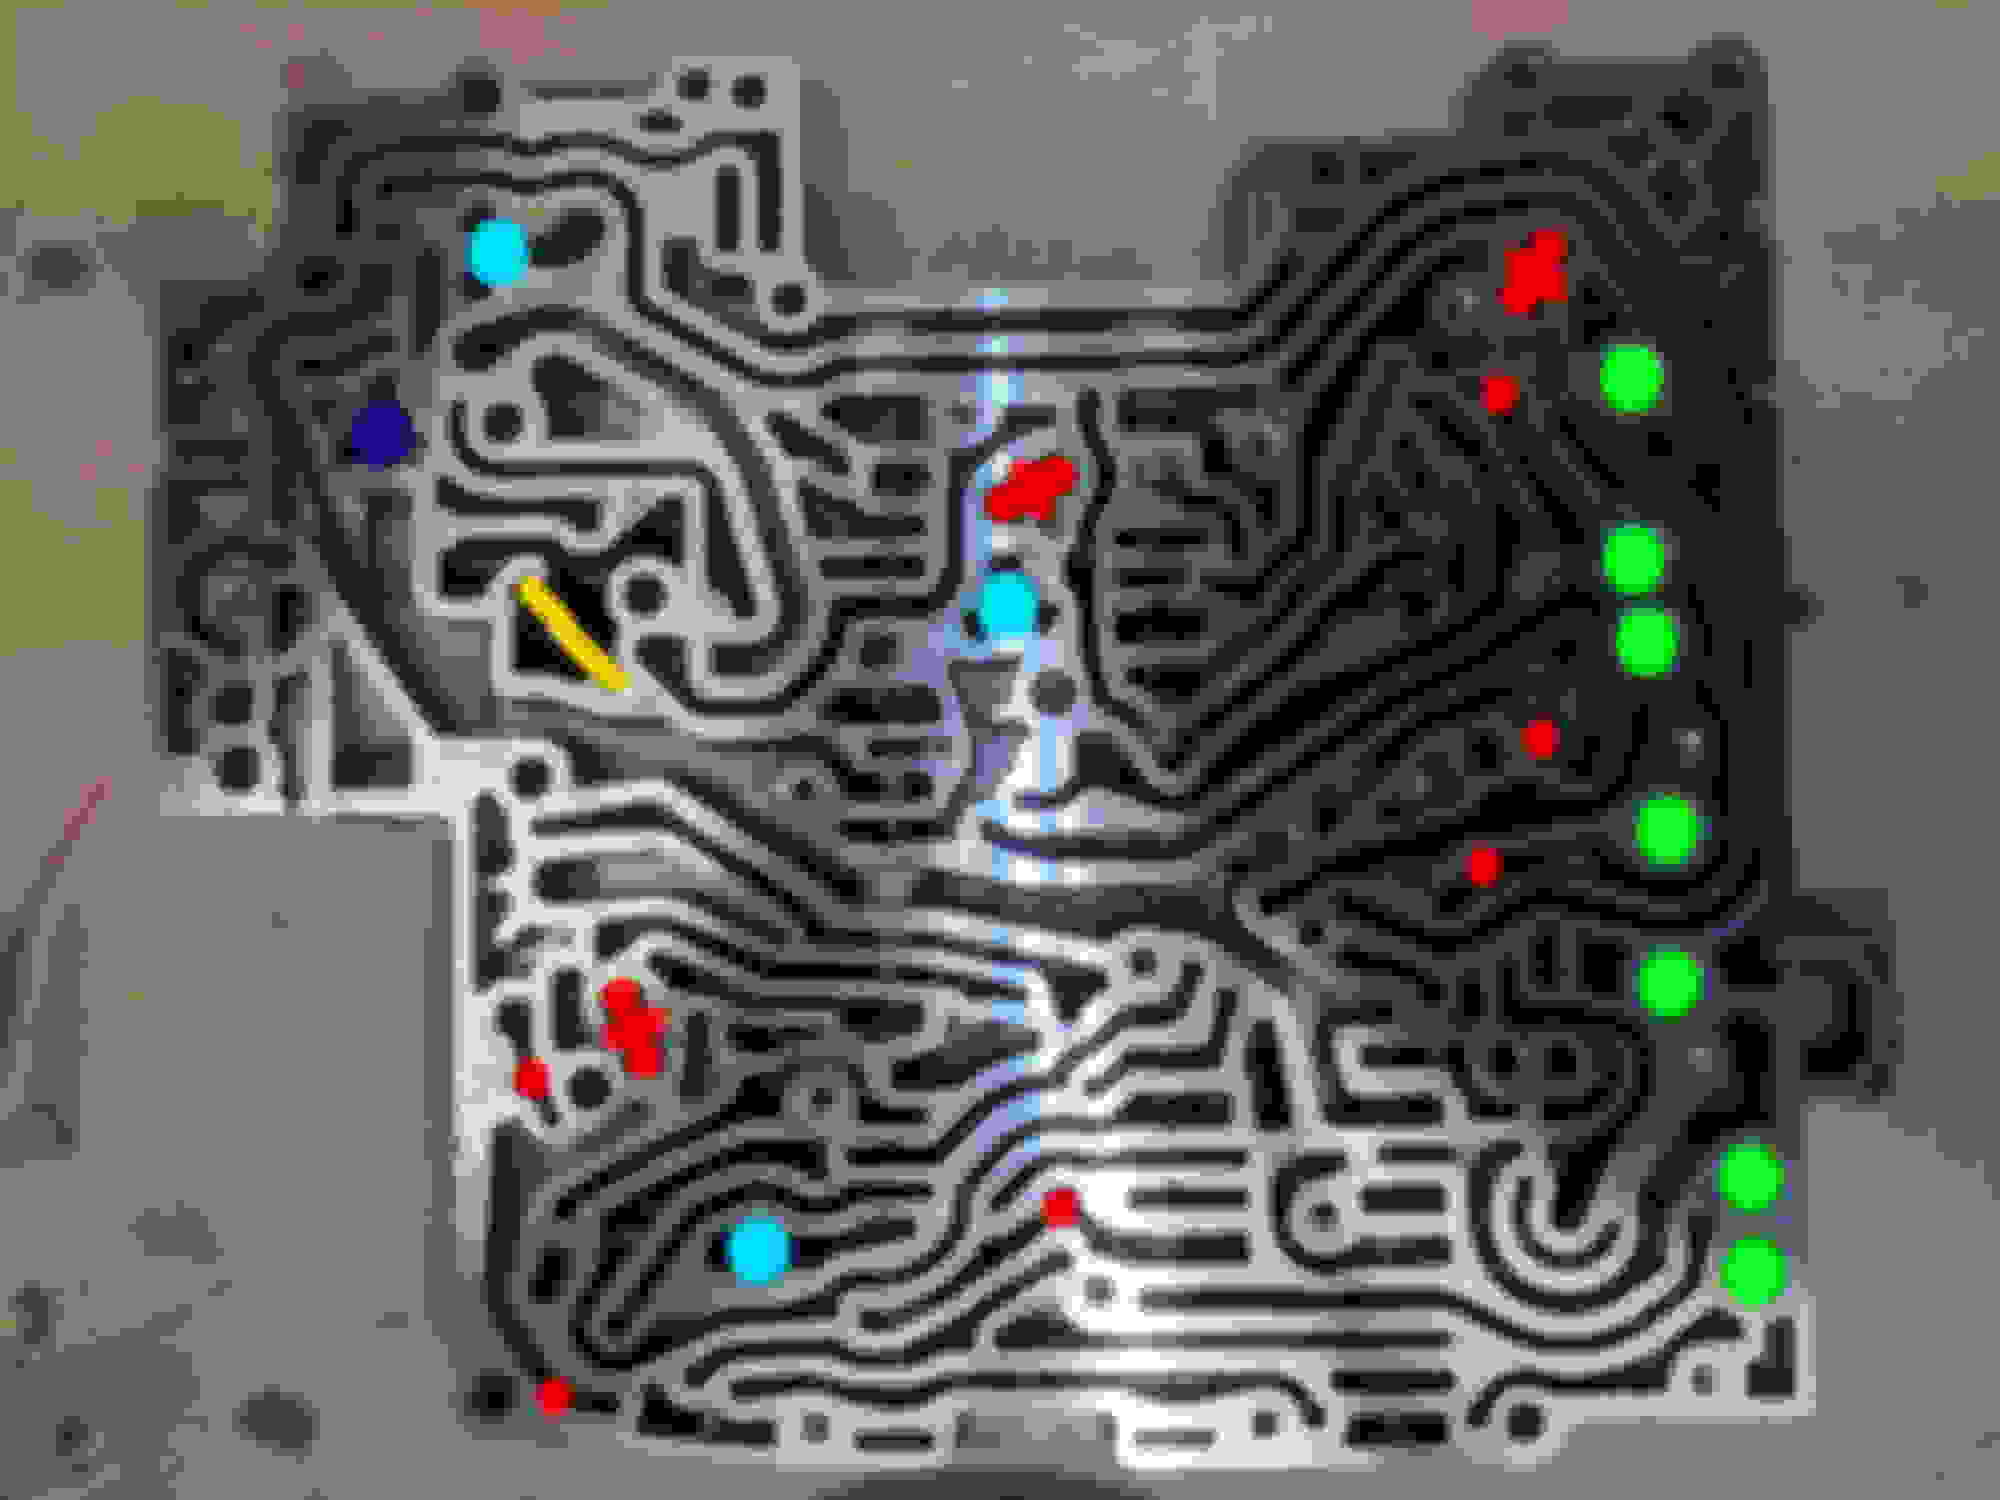
There are a few small parts here, so in case you lost any, here's a reference image. The red dots are the checkball locations (there are two types of checkballs, single ones which are basically small black *****, and double ones which are two joined together with a vertical bar between them), the 3x light blue dots and 1x dark blue dot are the springs with light/dark blue plastic tops, the yellow line is a mesh filter, and the green dots are pistons.
Remove all these items carefully using a small screwdriver and bag them up individually for reassembly. Start with the springs, then the checkballs (pry these out with a small screwdriver) , filter, and finally remove the pistons by hanging the valve body off the bench and pushing them up from underneath with a very small (jeweler's) screwdriver poked through the hole underneath each piston.
Next, unpack the Zip Kit and lay the bags out.
There's not much point in me repeating the Zip Kit instructions and they're fairly easy to follow - it includes new end plugs with O-Rings, new pistons, and a variety of O Rings for solenoids as well as spare O-Rings for each pack in case you break any. The only hints I'd have is that the O-Ring'd end plugs are a tighter fit (because of the O-Rings) than the original plugs, so you'll probably need to drive them in with a soft mallet or similar.
Here's a couple of pics during fitting the zip kit. It's basically just a case of removing a retaining clip and pulling the old parts out, before installing any replacement ones.
If you're installing new solenoids, then you can ignore the replacement O-Rings in the Zip Kit but otherwise it's worth fitting them onto the solenoids before reinstalling.
Reassembly is pretty much the reverse of dismantling (like Haynes Manuals). Replace the check *****, springs, and filter back into their original positions in the lower valve body (the pistons should've already been replaced as part of the Zip Kit fitting), carefully lay the new separator plate onto the lower valvebody, making sure the plastic "hats" on top of the springs sit in their respective holes on the separator plate. Next carefully lay the upper half of the valve body on top and replace the T27 torx bolts that hold it together.
Next, install all solenoids, noting carefully their positions based on color. Refit the retainer plates and screws.
Now you can install the Mechatronic unit (obligatory static warning again - don't touch the contacts). You'll probably find you have to just slightly loosen the T27 torx bolts (though not too loose, as you'll be turning the vavlebody over to install the mechatronic and back again) holding the unit together in order to allow the locating dowels on the mechatronic unit to slide through both halves of the valvebody as the likelihood is they're not bolted together completely straight and you won't be able to push the dowels through. Also make sure that the parking brake cylinder pin is engaged with the potentiometer on the mechatronic unit. Once you've done this, flip the valvebody back over and install remaining T27 bolts to hold mechatronic unit on, and tighten all T27 bolts to 6Nm.
Finally, install the wiring connector sleeve and the bolts holding it on. Plug it in.
You're now ready to install the valvebody back into the gearbox. Firstly. we'll fit new seals. The replacement seals I got were color-coded due to length, with blue being the longest, then green, then the two shortest black ones. Push these seals in as far as they'll go.
Next, install the valvebody and all the T40 bolts holding it into the gearbox tightened to 8Nm. Make sure that the parking brake piston engaged with the lever inside the gearbox.
Next, install the new valvebody sleeve. You'll probably have to push it in reasonably hard in order to push the white locking tab down to secure it in place. There's a groove to make sure it's lined up correctly.
Fit a new oil pan, gasket, and use new bolts for refitting.
Simply Amazing!!! Thanks a million for your effort and contribution to the library of information on this forum.
One quick question though. How many quarts of oil did you use to refill and what brand type, preferrably if you can post a link to where you got it from too.
Thanks Sam! I haven't actually fitted the transmission or refilled it yet, but I've attached the relevant information. I'm sure others can chime in with fluid recommendations, I know that genuine ZF doesn't come cheap!
Thanks Sam! I haven't actually fitted the transmission or refilled it yet, but I've attached the relevant information. I'm sure others can chime in with fluid recommendations, I know that genuine ZF doesn't come cheap!
I used Redline 100% synthetic when I did mine 3yrs ago at 55kmi, no issue and I'm at 87kmi now. https://www.redlineoil.com/d6-atf
Not as expensive as ZF, but not cheap either. Used Redline a lot when I drag raced.
Excellent write up! I've done a variety of transmissions but not sure I'm ready to tackle my ZF.
What I want to see next is your engine teardown/rebuild pics!
Excellent write up! I've done a variety of transmissions but not sure I'm ready to tackle my ZF.
What I want to see next is your engine teardown/rebuild pics!
It's coming, I promise! Just waiting for parts and then the rebuild is full steam ahead, with lots of pics. Life (as always) outside the car has taken priority. It will happen though!
Great write-up Dave! Thanks for sharing this and the engine rebuild. Question, how many miles on your XF when your engine took a crap? Also, were you noticing any signs of wear with that tranny, signs like hards shifts when cold?
Mine has been hitting 2nd hard when cold for a couple of years, it has 145,000 miles on it, with the original fluid and filter. I'm going to change the fluid and was considering refreshing the valve body like you've done here, but have been scared to do until this write-up, thanks again!
Thanks! My XF has 83,109 miles on it, original transmission fluid and filter as far as I know. I had noticed hard shifts, especially in dynamic mode, but I did also find my flex disc pretty much destroyed when I came to remove the transmission, so I'm not sure how much was down to that.
I just figured while the transmission was out the car on my garage floor at the very least i should change the valvebody seals. Then of course, scope creep kicks in...
Hi there. I wish to share and ask something. I own Jag XJL 3.0d auto. I have problem with my gearbox at all, when i accelerating rpms do not increase steady, just jumping up and down with 200-300. I get action to change filter and oil. I take out and put back around 5.5 litlre oil Note the oil wich cames out was with red colour, that what i refill was yellow colour.) Anyway two monts after, coming yellow message Gearbox Fault. I found i friend with good diagnostic, the code is P2807-13-Pressure control solenoid G. I am confused at the moment what to do. I don't have idea where is this solenoid "G". But i think maybe the issue is hidden at the bridge seal and the four tubes, which i do not change when i make the service with oil. If somebody can give me addvice what to do. Thanks.
wardo5757, were you able to resolve the 2nd gear issue? I'm having issue P0782 on my 2004 XJ8. Any idea which solenoid pertains to 2nd/3rd gear? Thanks
wardo5757, were you able to resolve the 2nd gear issue? I'm having issue P0782 on my 2004 XJ8. Any idea which solenoid pertains to 2nd/3rd gear? Thanks
As long as you are in there replace them all and do the full rebuild. Do everything. Make sure to reset Trans adaptions afterwards with Jag software.
Have any of you who have done the solenoids/ tube/ bridge/ sleeve seals experienced the
-U0401-08: Inv. Data Received from Eng. Control Module/ Pwr. Control Module
-P1707-77: Transfer Case Neutral or Park/ Neutral Indication Circuit: Command Position Not Reachable.
-P1707-72: Transfer Case Neutral or Park/ Neutral Indication Circuit: Actuator Stuck Open.
I have a 2011 Jag XF 5.0S/C with I believe the 6hp28 E- Shift. I had pulled the Mech. Unit to just do the seals and thought I had done everything correct. I used a tie down to hold the Park-Neutral cable and lever on the transmission case in place with slight pressure backwards as I had seen in videos and read about and when I refitted the unit I made sure it fit right back in its spot without moving anything. Torqued everything in sequence and to spec. Filled initial fill with ZF LG6 and new Pan/Filter and started the car to run through gears. When I did, the gear selector started flashing as soon as I left P. Then the Transmission Fault warning came on and it wouldn�t engage in gear (no tire movement even with very slight throttle) so I shut it down. I went back down and noticed the cable for P-N had tension and was in a position that I assume would cause the sensor to think it was attempting to be placed in N. (My understanding the cable should not touch the lever in any way while in the Park position but it was like the lever inside cab was being pulled so I went up and made sure it was all locked still and replaced cable where it needs to be) I am currently waiting the Mongoose cord to run SDD to check/ erase codes and maybe reset Adaptations and see if I can get it to engage in a gear.
It�s also possible I had not inserted the Sealing sleeve entirely and hadn�t gotten a full connection from the Mech - Plug. I had a single fault prior to this service for Generator Over Temp. and I now have quite a few including the 3 mentioned at the beginning. Most of which are completely unrelated (so I think..) I know the TCM and ECU/PCM communicate fairly intimately. But could a poor TCM connection cause BCM/ IPC/ HVAC/ FACP/ GSM/ PAM/ PBM/ SCME/ TPM Modules/ System faults? I have faults on each of those Modules that weren�t there when I drove the car in to the garage prior to service and I�ve only touched the Transmission..
My question is, has anyone experienced this, if so what was your findings/ solution?
Any recommendations/ Advice?
Hight Dampening was there (previous time on stands resulted in the clip on Lower Control Arm being damaged) the Luggage Compartment Light disconnected so I didn�t kill Battery, Bumper was removed also so the Parking Aid Module was disconnected. But everything else was clear of faults.
I am currently waiting the Mongoose cord to run SDD to check/ erase codes and maybe reset Adaptations and see if I can get it to engage in a gear.
Definitely the next step.
When I refitted mine I had the same "flashing light" issue (not sure on codes though), and had to reset the transmission using the Service mode of my Autel - which is basically doing what SDD will do with you - and all was well again.
At the very least if the reset doesn't work you'll be able to dig further with the cable/SDD.
I didn't check for codes, but I got the transmission error similar to what you mentioned when I initially tried to shift through the gears after replacing the pan, fluid, adapter, sleeves, etc. Turns out, I simply didn't add enough fluid back in, as it seemed to barely be trickling out when I thought it was full at the appropriate temperature. After racking my brain for 24 hours, I decided to start with the simplest troubleshooting first and was able to add more fluid the next day, and it subsequently again dripped out at the correct temperature even after adding quite a bit more fluid, although I'm still not completely sure why. Luckily, that seemed to solve my issue, as I haven't experienced any issues since (albeit with limited driving afterwards, as I immediately moved onto the suspension work, etc.).
I didn't check for codes, but I got the transmission error similar to what you mentioned when I initially tried to shift through the gears after replacing the pan, fluid, adapter, sleeves, etc. Turns out, I simply didn't add enough fluid back in, as it seemed to barely be trickling out when I thought it was full at the appropriate temperature. After racking my brain for 24 hours, I decided to start with the simplest troubleshooting first and was able to add more fluid the next day, and it subsequently again dripped out at the correct temperature even after adding quite a bit more fluid, although I'm still not completely sure why. Luckily, that seemed to solve my issue, as I haven't experienced any issues since (albeit with limited driving afterwards, as I immediately moved onto the suspension work, etc.).
That�s good info! Mine only took about 5-5.5qt when I filled it and then shut it off so I didn�t destroy anything. I�ve since drained it again so I will have to start that process over again. Might wait on SDD.
What all have you guys done to your cars? Dave I checked out some posts and pictures you added. I�m pretty impressed with the work you�ve done. I am a HUGE fan of the vented hood you made! I�ve wanted to do exactly the same but I�ve never found anyone with any AEM hoods for my XF. Also, I may be mistaken, but are you from Nor Cal Bay Area? I thought I saw that somewhere I�m up in Sonoma Co. I�d like to pick your brain some time about your work, plans I wanted to look in to such as an Innerchiller/ Water- Meth Inj., boost/ oil pressure/ batt volt/ water temp gauges. Etc. I can definitely appreciate all the work you�ve gotten done. I bought this XF with the intentions of having a reliable yet fun daddy mobile. Little did I know about ALL the common failures in design and mechanisms.. well needless to say, I decided if I�m going in to it may as well try to add some HP. So far I have the Lower/ Upper SC pulleys, intake tube, ZZP charge cooler, ported SC snout/ TB (thinking about a full port on the SC before I get it dyno tune by a local/ credible guy) although i did buy the map tune from Mina but just haven�t used it yet because of codes and I want to have the car dialed in before I crank it up.
I�m very curious about the tankless air cup coilovers sold by HorsePowerFreaks.com. Have either of you had any experience with them? They�re pretty $$$$ but it could be a really good addition to have adjustment on the fly for different applications of driving, without a super huge fabrication job. Any way I could get contact info or leave mine without making it all available to the public? Dave if your still local to the Bay I could sure use a fellow Jag owner to show me some of the ropes.
 11-26-2017, 03:18 PM


 the oil wich cames out was with red colour, that what i refill was yellow colour.) Anyway two monts after, coming yellow message Gearbox Fault. I found i friend with good diagnostic, the code is P2807-13-Pressure control solenoid G. I am confused at the moment what to do. I don't have idea where is this solenoid "G". But i think maybe the issue is hidden at the bridge seal and the four tubes, which i do not change when i make the service with oil. If somebody can give me addvice what to do. Thanks.