When you click on links to various merchants on this site and make a purchase, this can result in this site earning a commission. Affiliate programs and affiliations include, but are not limited to, the eBay Partner Network.
Good to hear you got it all working gloriashield! I can't wait to get mine done. Parts are on route!
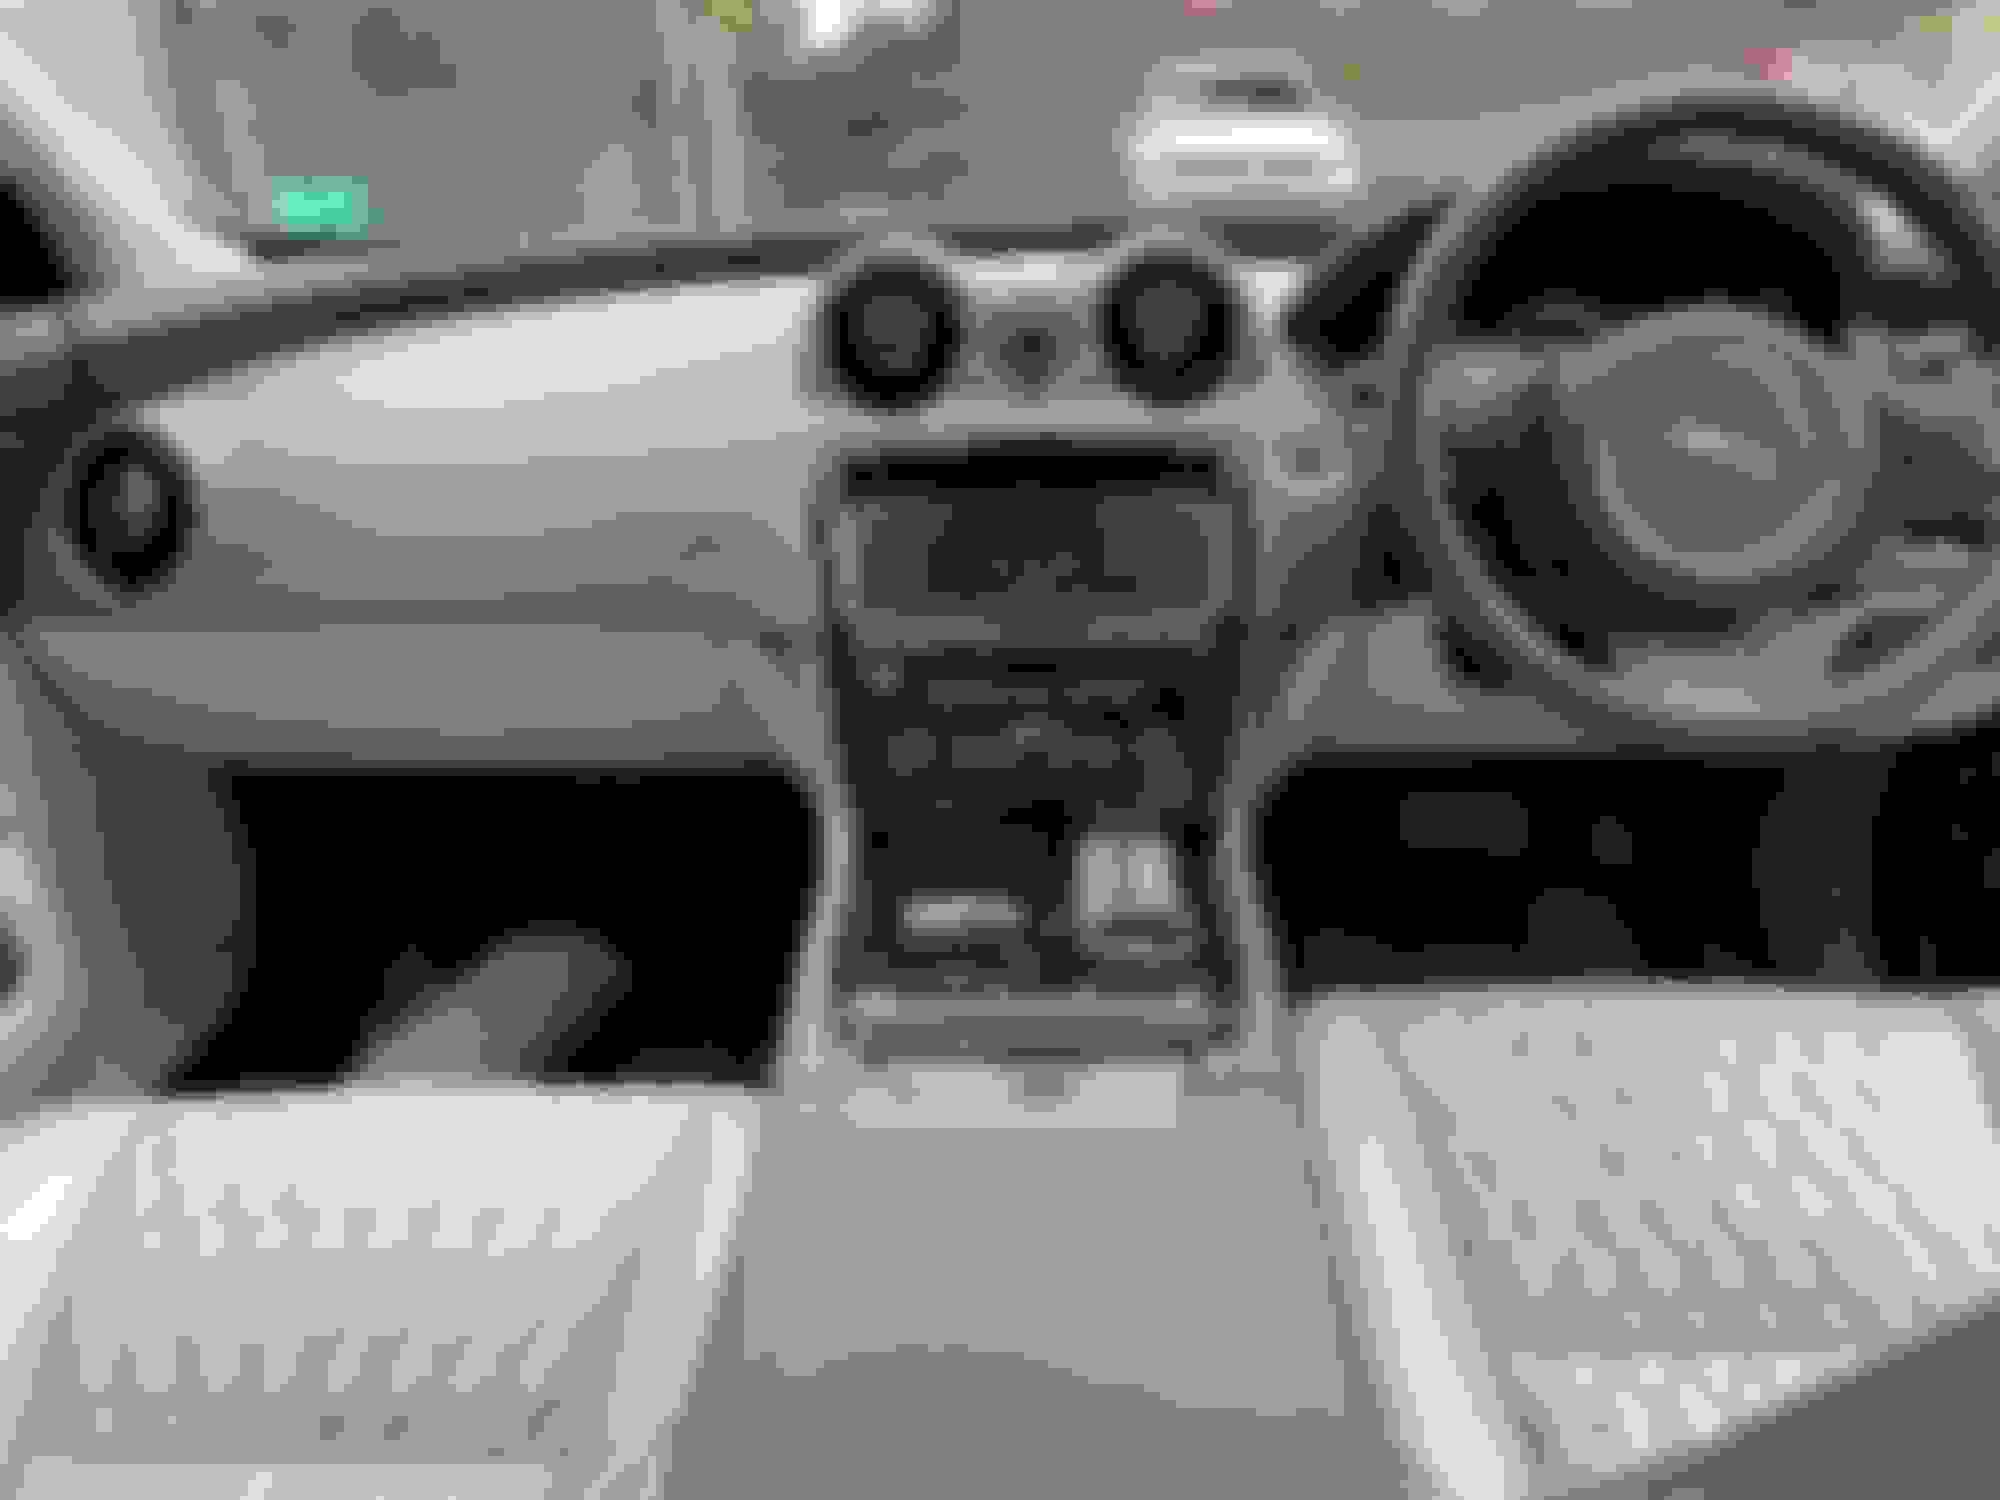
I do have one question about the 360° view though. WTH is this grey rectangle surrounding the car? I saw the same thing on Cambo's pics and I didn't notice it before. is this a "feature" that can be disabled/enabled? lol
Dave mentioned issues with stitching the images together on LWB but look at my 360° view. It's far from perfect anyway.
AFAIK the grey box is on the factory 10.2" XJs as well based on photos I have seen of cars offered for sale. I don't know why it was changed from the 8" overlay.
It is "Parking Aid Graphics" feature. You can activate it by touching the 6th icon. Your XJ appears to be equipped with a surround camera. If so, it is a must-have.
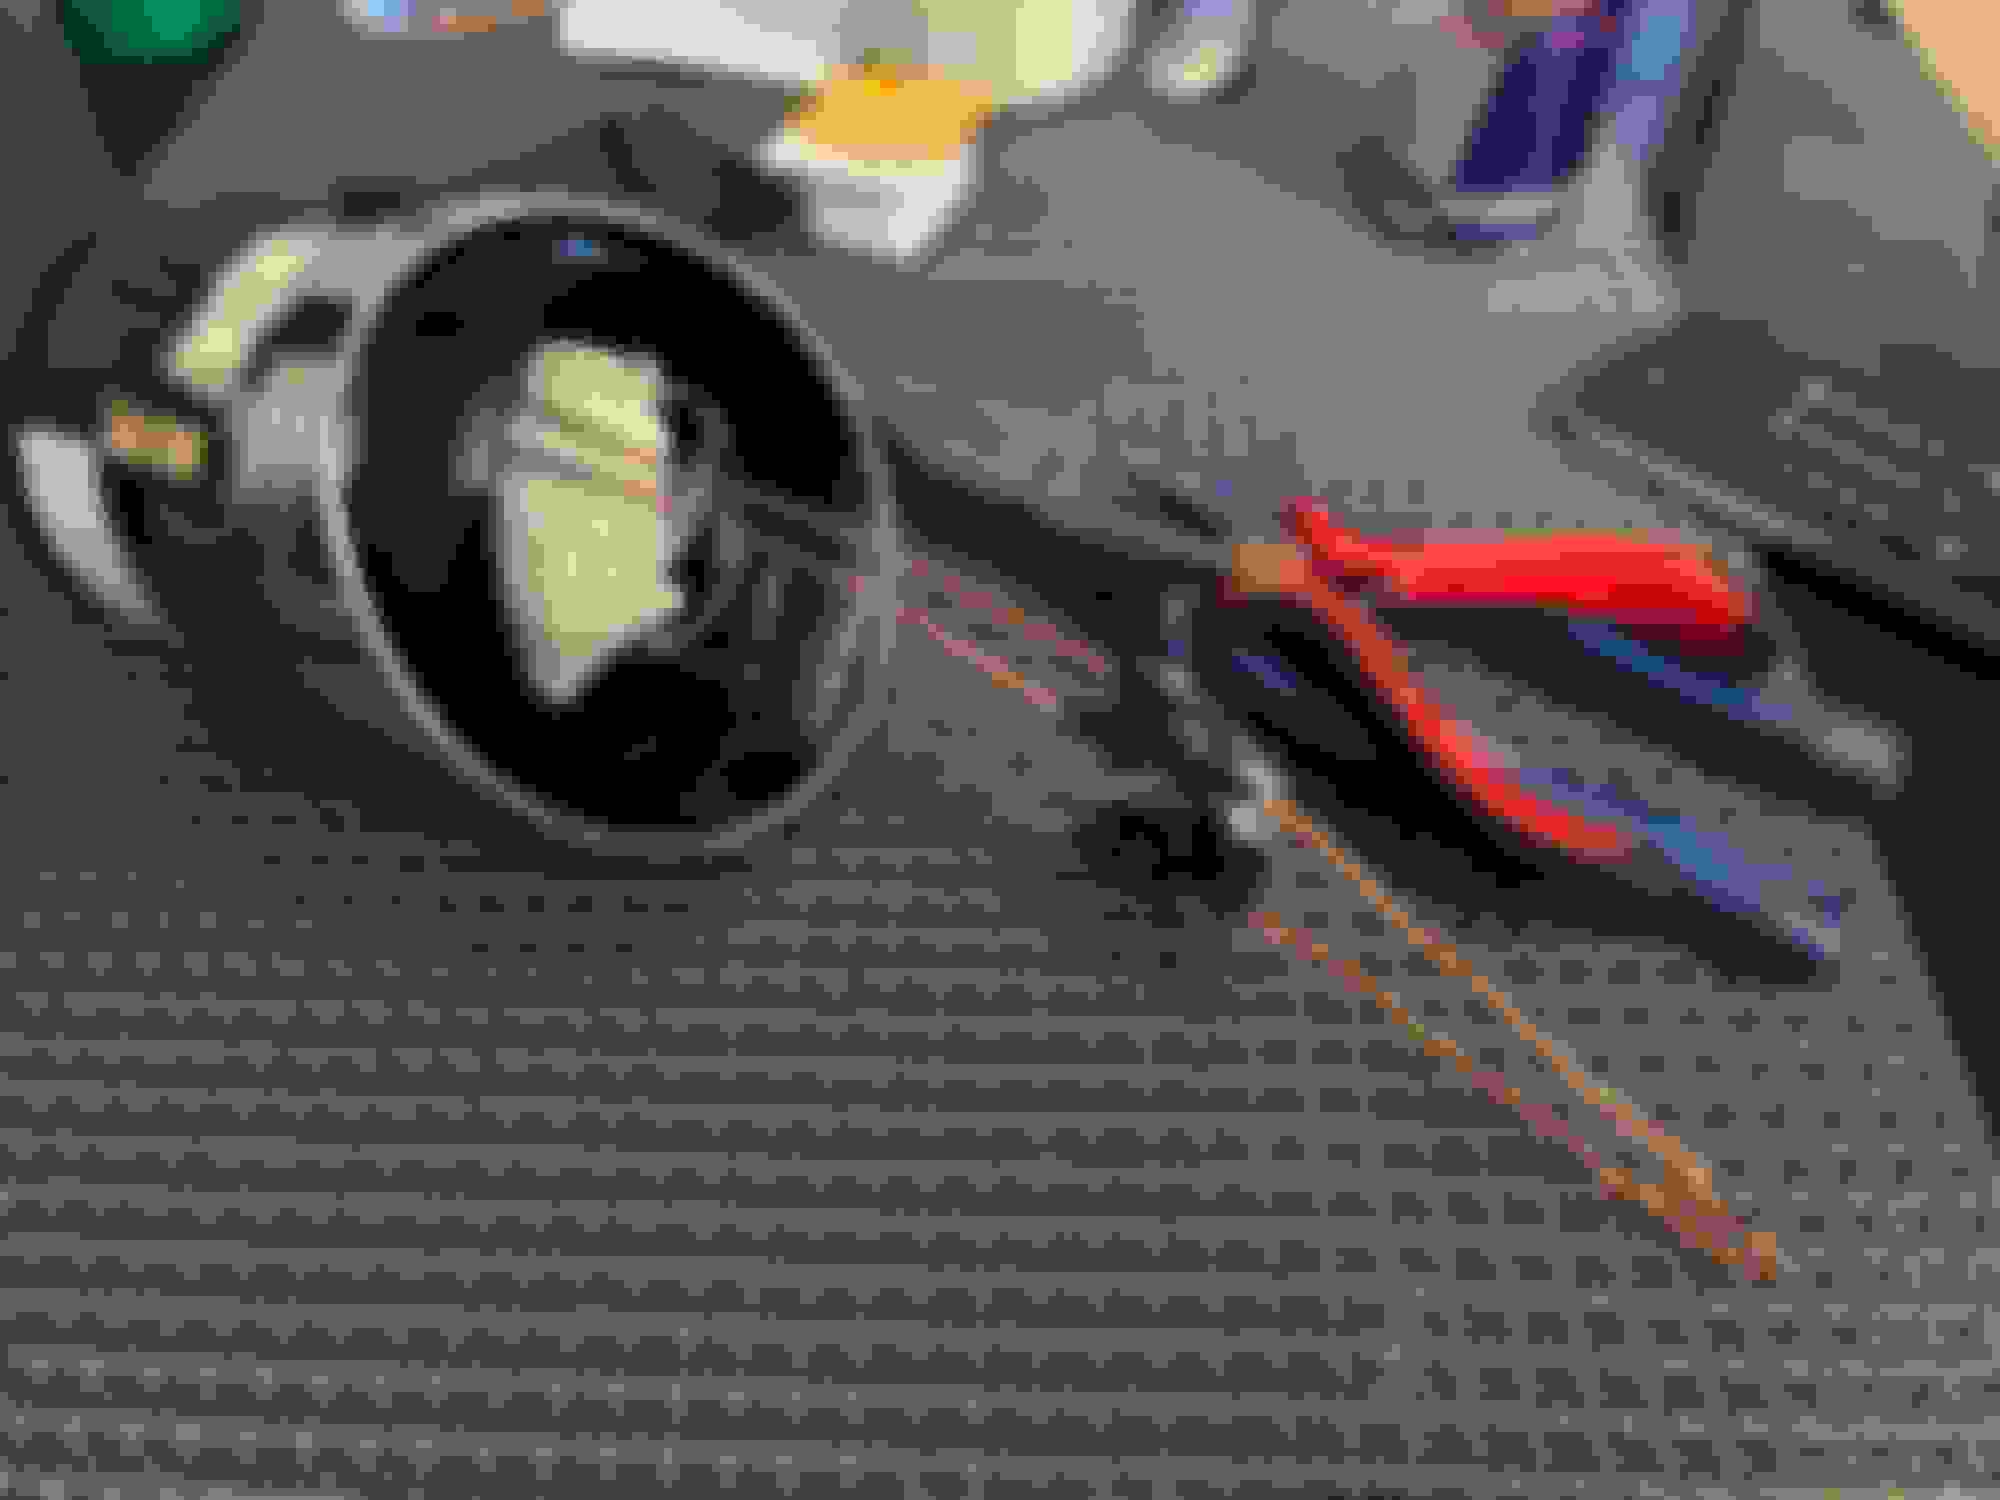
All I tried was pulling it hard. One clip fell off but it was easily recovered. Came out in one piece with no damage. Again, you do have to pull hard, gently, but hard :P
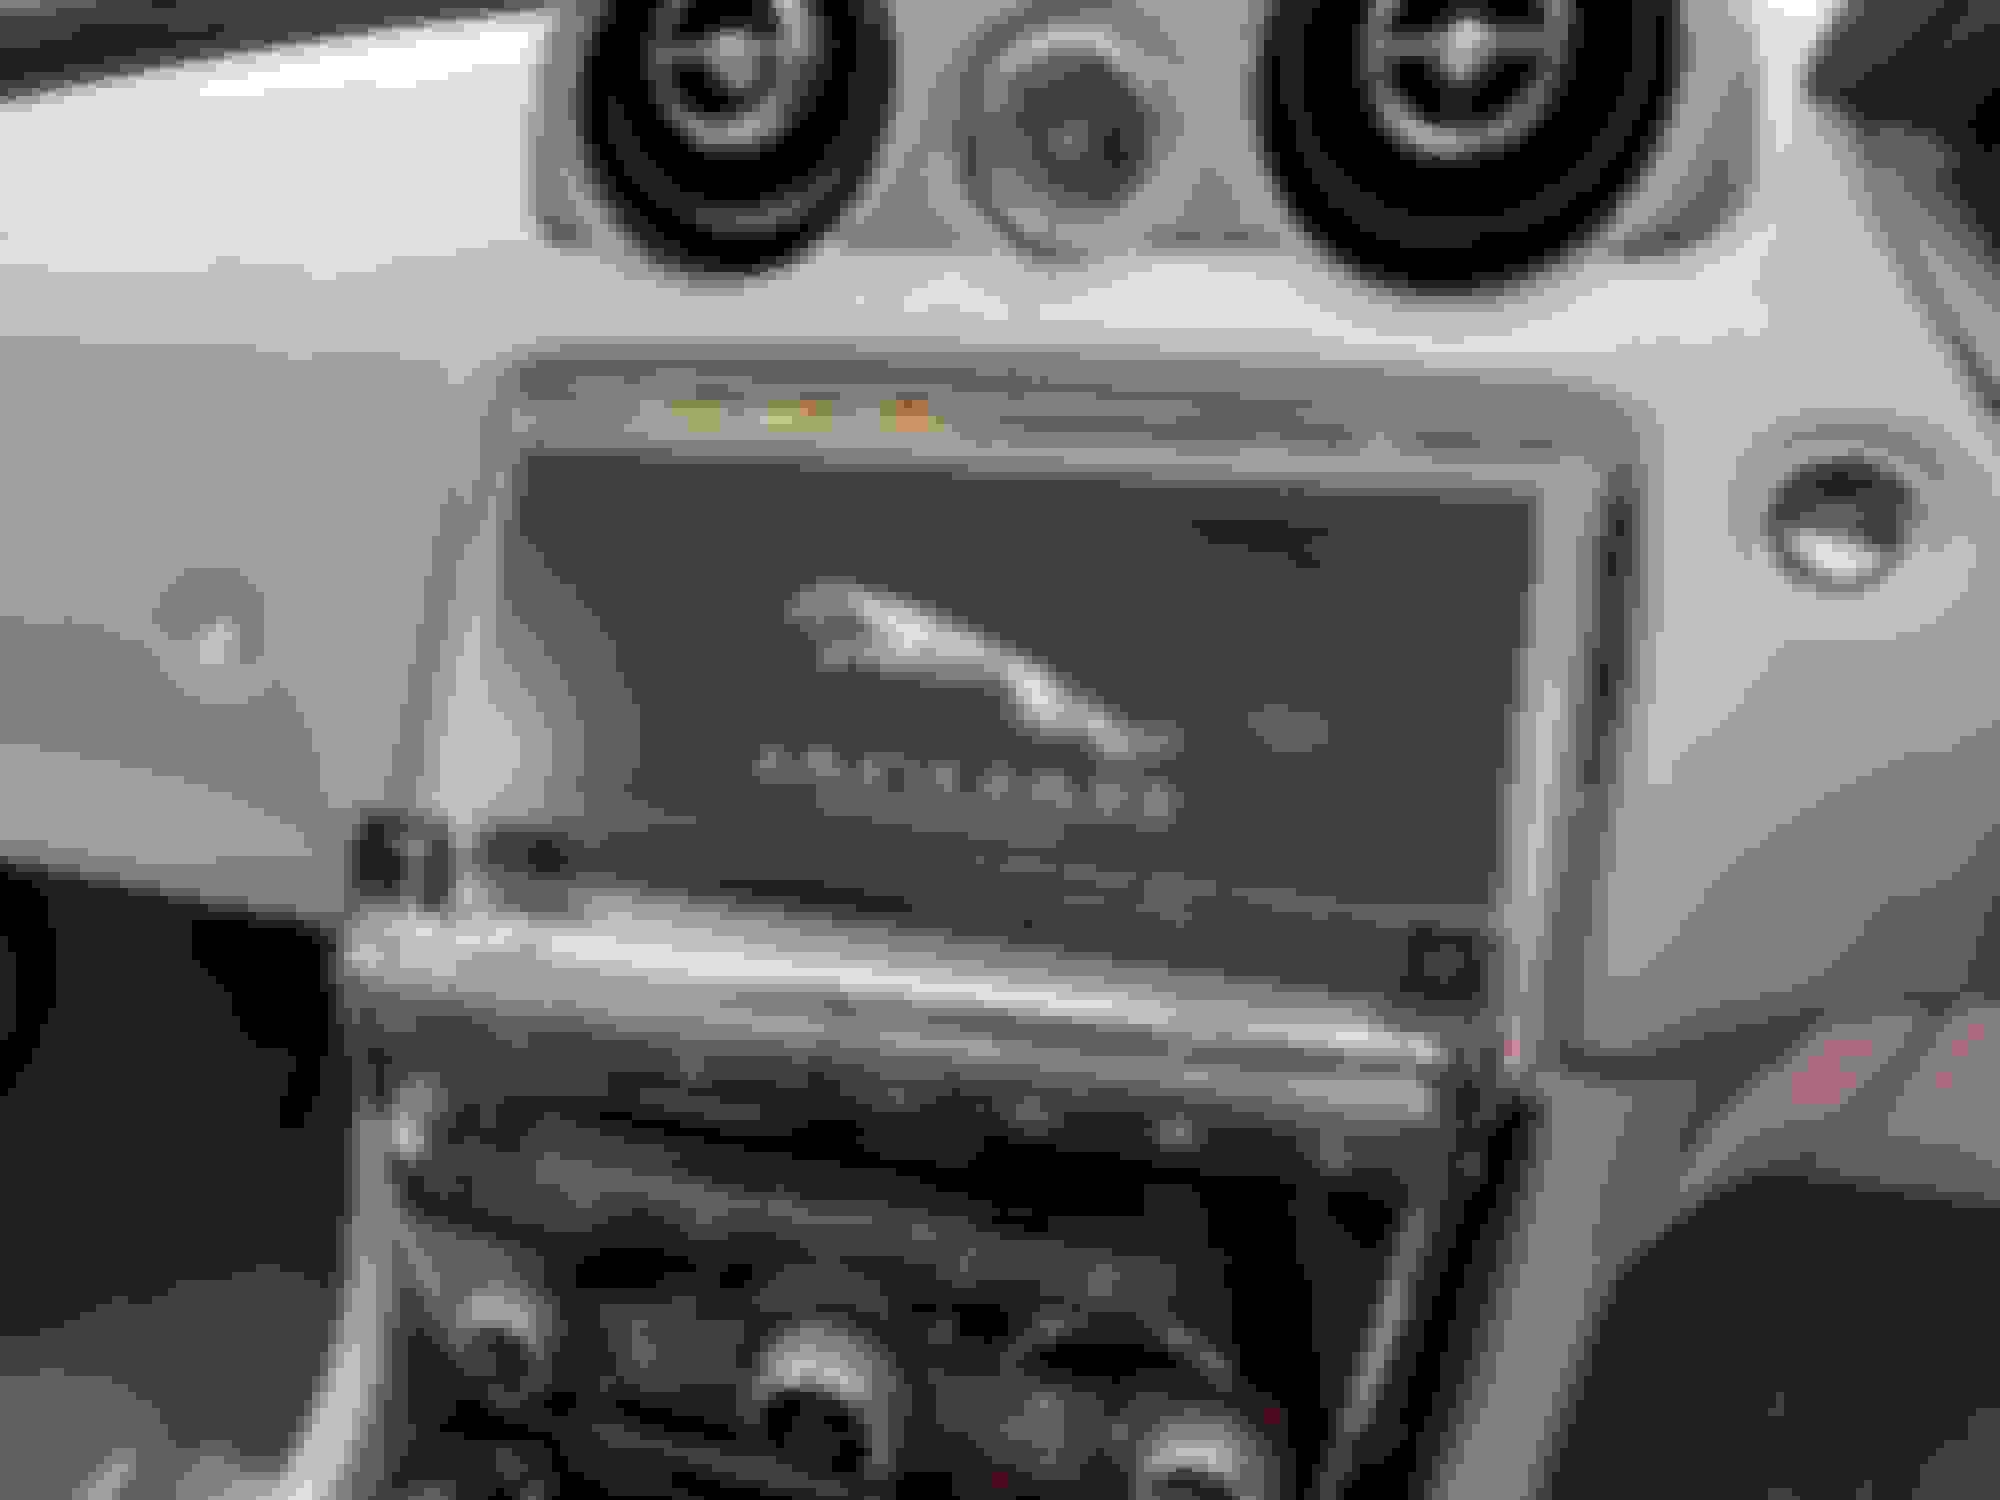
Before
Flash successful
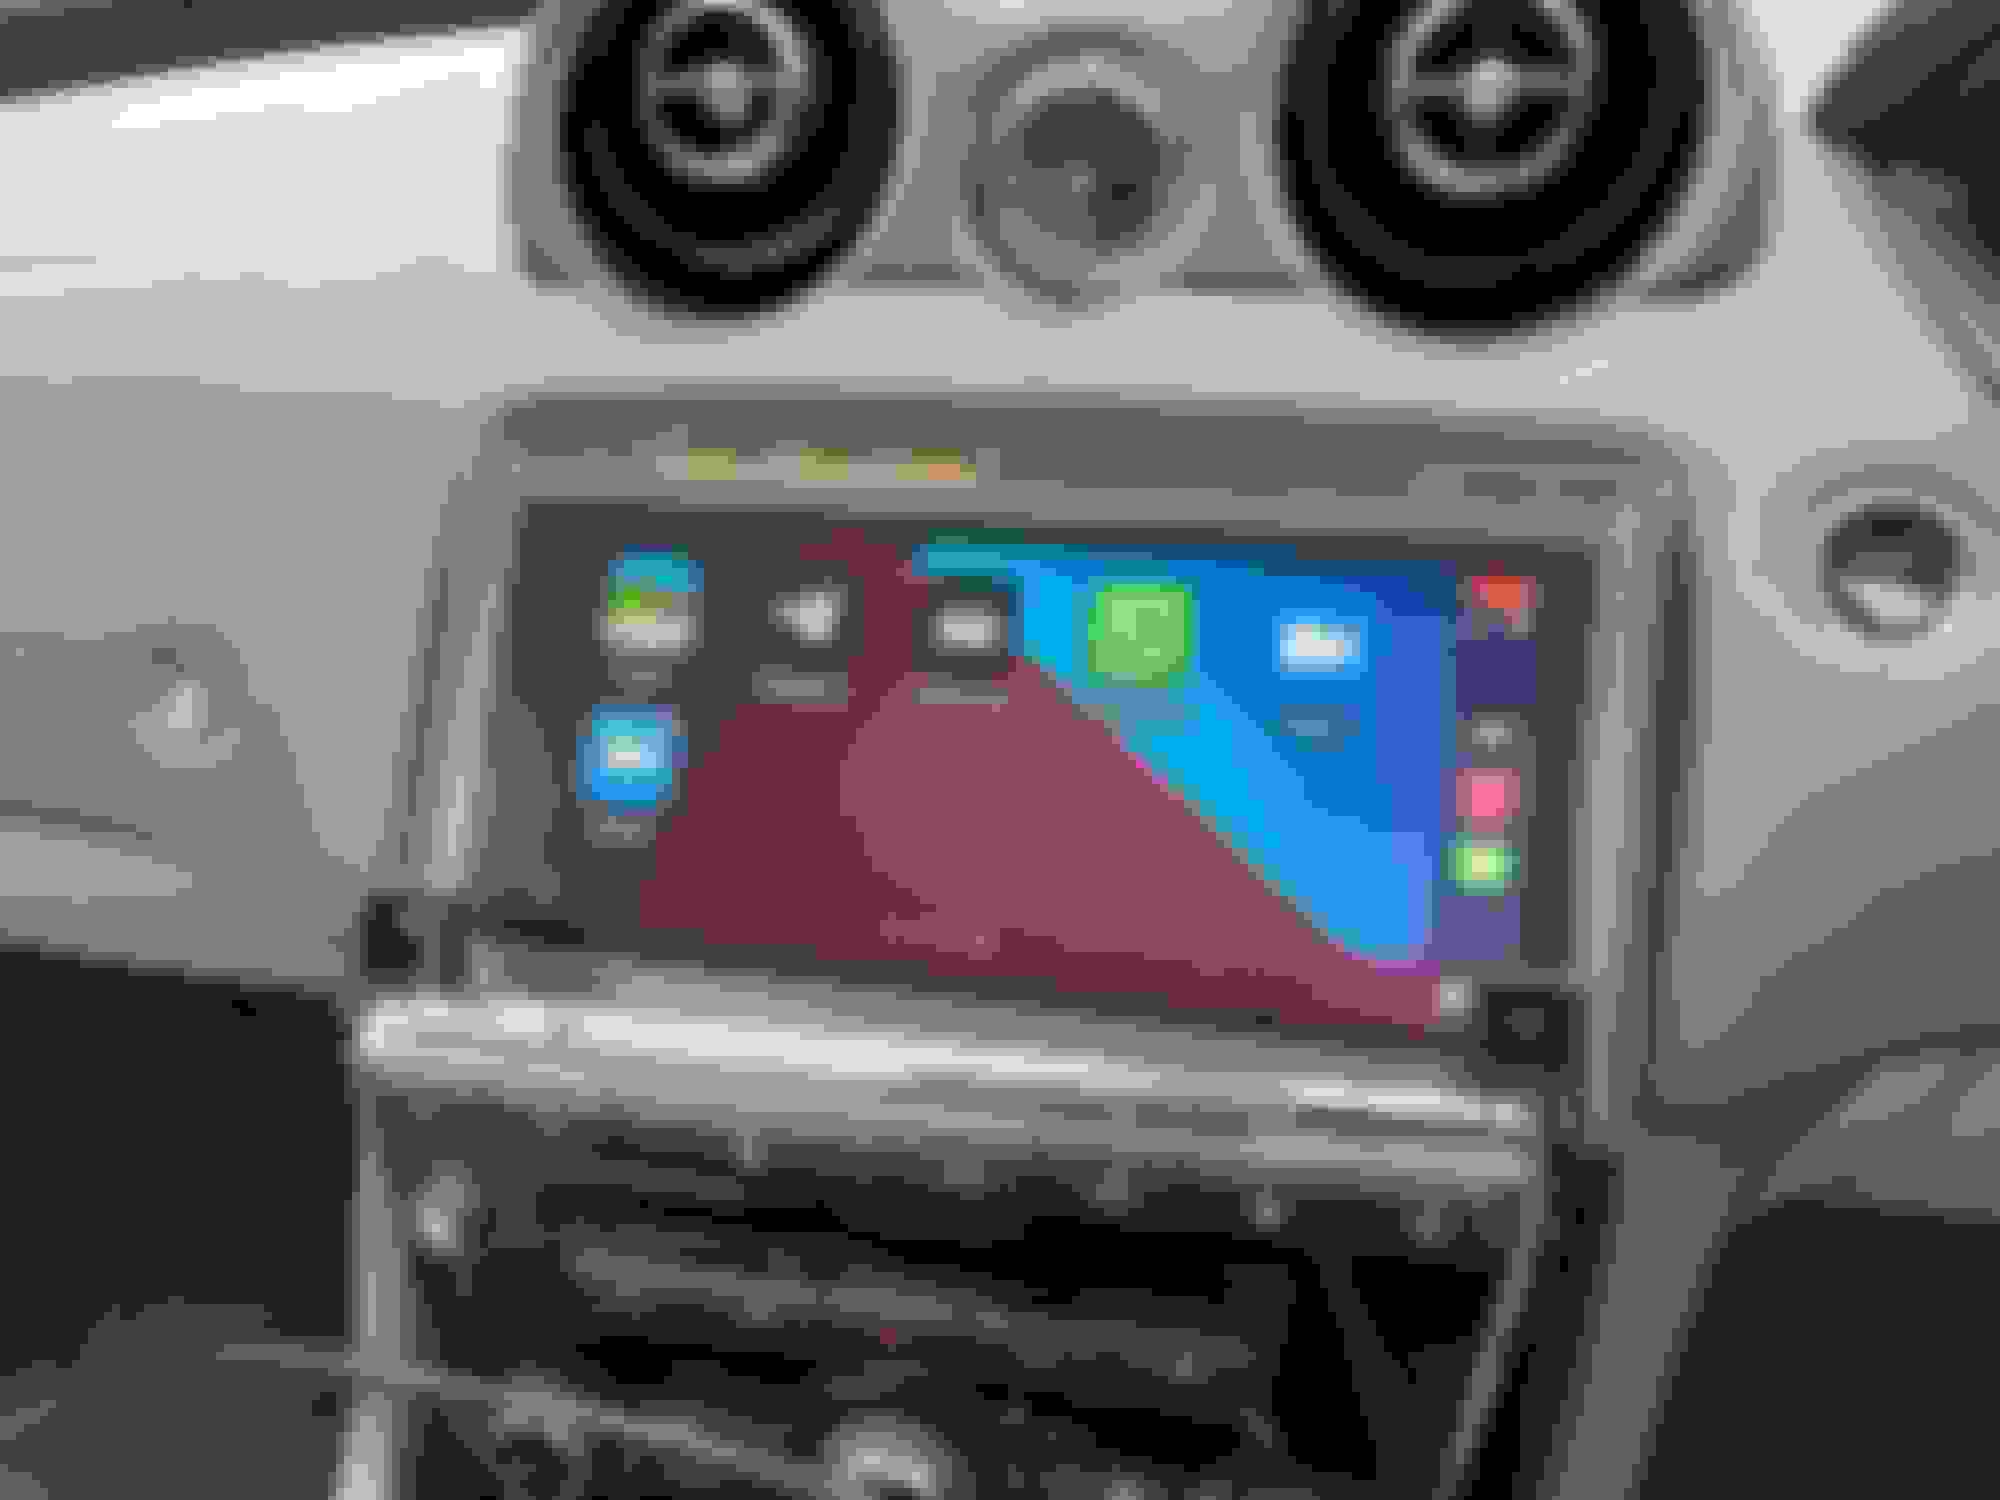
Apple CarPlay
Emrabce yourself
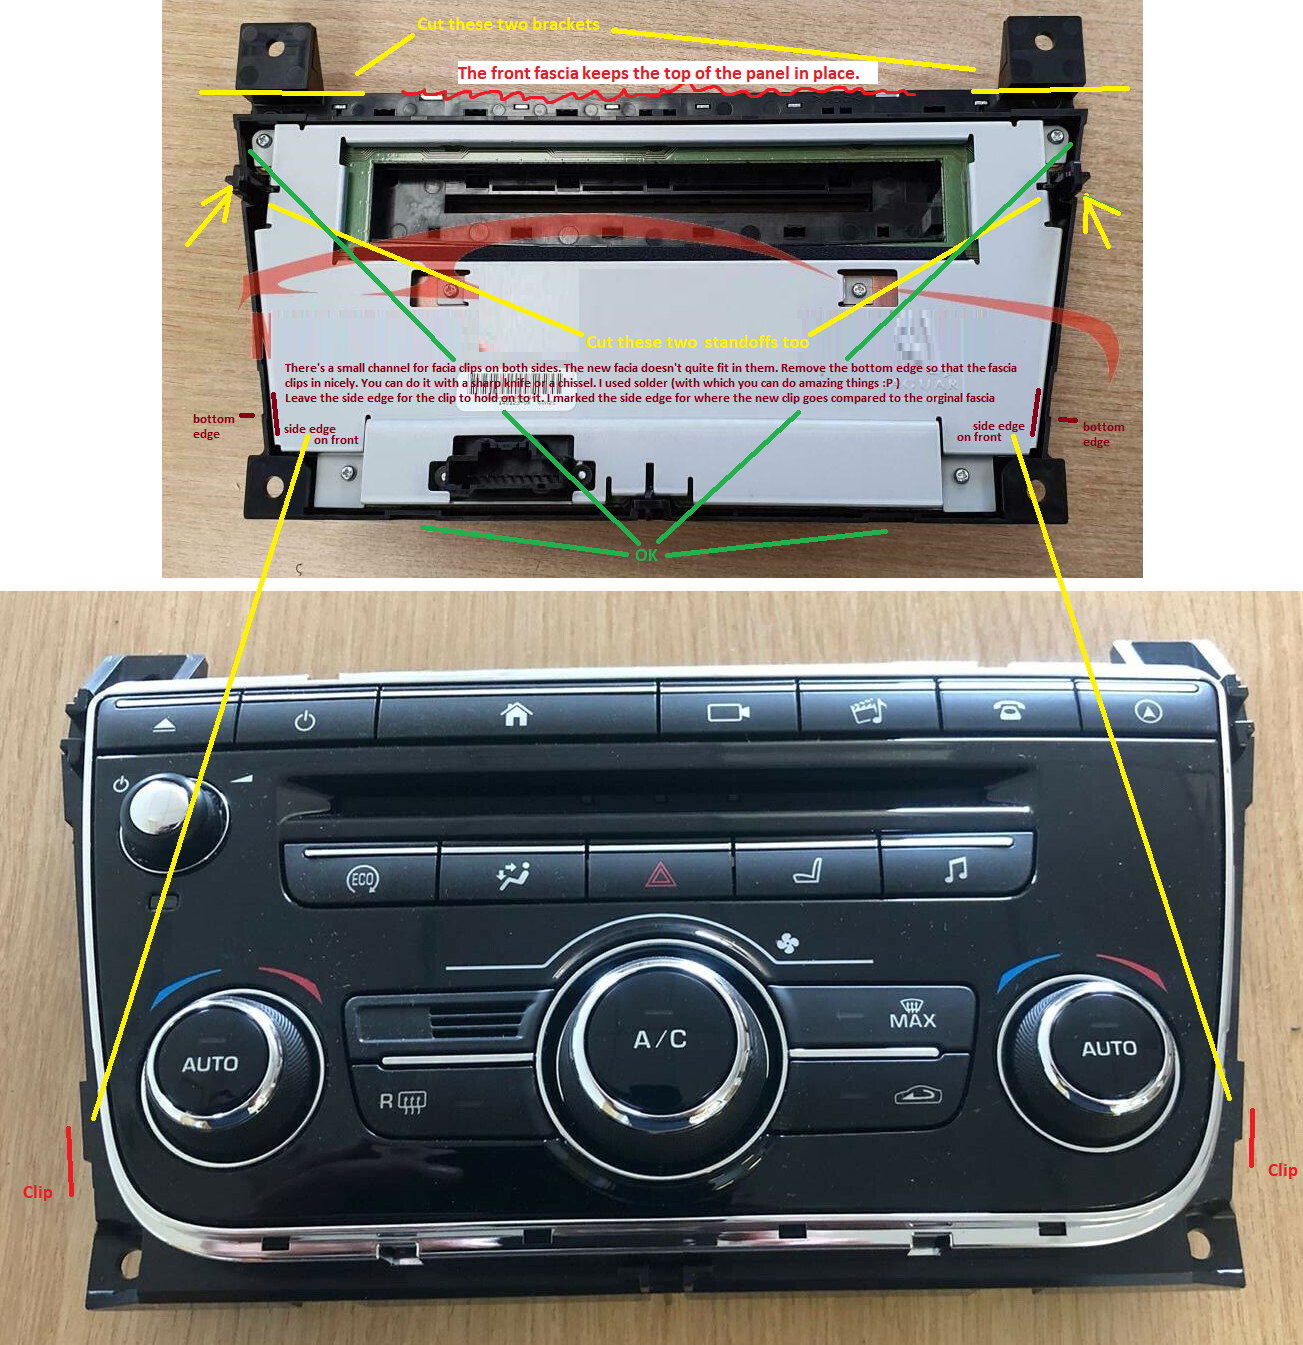
I didn't take any pictures of the FCIM panel, but I didn't replace it. I kept the original one. The pic above is from the internet but I tried to explain what I did to make it fit.
Thanks to all involved! I've been waiting for this day since I bought the car 6 months ago! Technically before that... the interior looks so much better and more modern than with the previous facia. It's perfect!
The original fascia was squicky and I think the reason being it's built of three pieces of plastic (it's probably fixable by glueing the three parts together properly). Whenever I rested my hand on the fascia below the screen to use the screen it was driving me mad. The new fascia is made of one piece of plastic and it doesn't seem to make any noise👍🏼
[QUOTE=xdave;2177585]Part 3 - First things first – test before you start taking things apart!
Once you have the new screen you can program it to your vehicle and test everything out before committing to taking the interior apart.
For this you will need SDD and a supported hardware interface. You will need coded access to the CCF editing functions within SDD which requires generating a one-time session passcode. If you do not know how to do this PM me and I will point you towards a free service.
Start by removing the trim surrounding the screen and AC panel. I use a credit card to protect the leather and a thin plastic pry tool along the top corners first, then use your fingers to pull the rest off. The instructions contain diagrams showing where the clips are. You will almost certainly lose some of the clips behind everything so keep your magnet on a stick handy!
Remove the AC panel and the screen and plug in the new panel and new screen. You can wedge the screen in place to stop it falling out, but watch the corners on the soft leather. The screen won’t display anything to start with if you are changing from single to dual view (or vice versa) and will display a distorted image if you are keeping the same single or dual view functionality.
Open a new SDD diagnostics session and on the first session page click on the yellow key to generate the coded access seed code. Generate the challenge password (PM me if you need help doing this) and then you should see a yellow bar appear along the bottom of the SDD window indicating you have entered coded access mode.
Before we change the CCF we need to check and update the schema that SDD uses to present its CCF editing UI to you.
A brief note on CCF (you can skip this if you know how to edit these):
The CCF (Car Configuration File) is a block of data that is stored centrally in the car which all the various modules and systems use to determine their functionality. For example, the data contains the type of engine fitted, the type of headlights, number of seats, etc. Think of it like the DNA of the car. By changing certain data you can change the functionality of the car to add/remove/change features.
In SDD you will see a big list with hundreds of parameters. Each of those parameters represents a configurable block of data which could be anything from a single bit up to a full byte. The UI gets the list of parameters, their size, and what values each can contain from a schema file that is downloaded from JLRs servers when you start your SDD session. It is located in the C:\Program Files\JLR\IDS\Sessions folder, and will have a file name with the VIN in it starts with CCF. (It will be the most recent file that matches that name after you have started the new session.)
Because there is a possibility that the CCF data schema in your vehicle is different to that in mine I will tell you what bits and bytes I changed, but also the JLR name for that parameter so you can look it up in your own schema file to make sure you are changing the correct data. I'm doing it this way because sometimes there are multiple parameters for things like the screen size but not all are used here so you need to make sure you are changing the correct parameter. SDD will also localise the displayed names into your local language in some cases so what you might see is not what I see.
If you open the CCF schema file mentioned above and search for the “Name” in my lists below you can compare my schema with yours and adjust what you change if they are different. I know that the 2018MY schema is very different to the 2016MY schema I have used as my reference, so it is important you check with yours.
There is only one entry that determines whether you have an 8” or 10.2” screen, and whether it is single or dual view. By default, SDD does not present the correct UI to allow you to configure this entry so you need to edit the schema to make it available.
The entry for the screen variant is:
Name: MultiCAN 467
Byte: 466 (This means it is the 466th byte of data in the CCF data block. This may be different for your car, so make a note of the byte from your file.)
Note this is a multi-entry byte, and we only want bits 0-3.
The parameter for bits 0-3 is called PARAM_MCAN_FRNT_DISP_VARIANT.
You will likely only see values for 00, 04, 05 and 0F in the schema. Replace them all with the following:
00 (0000) Not supported
02 (0010) 8 inch single view
03 (0011) 8 inch dual view
04 (0100) 10.2 inch single view
05 (0101) 10.2 inch dual view
0F (1111) Error
It should be self-explanatory how you replace the entries when you look at the XML file. If not - just copy/paste a couple of entries into the existing list until you have six values and then go through and check the hex value matches the first part above (e.g. 0x00, 0x02, 0x03, etc) and the description is just the text (e.g. "Not supported"). I give the expected bit value in brackets above for quick reference only - you don't need to enter that anywhere.
Save the file and then when you edit the CCF data later on it will present the correct UI to you.
While the file is open check and note the byte positions for the following as well:
Name: MultiCAN 495
Byte: 494
The parameter for bits 6-7 is PARAM_MCAN_P4U_BTN_FCIM / P4U Button FCIM
If you have ‘parking for you’ (parallel self-park) specced for your vehicle you will need to disable the button on your FCIM (Not Fitted) as it is replaced by a soft button on the display.
Values are:
00 (00) Unsupported
40 (01) Not fitted (You will change to this value if you have P4U fitted)
80 (10) Fitted
Name: MultiCAN 507
Byte: 507
The parameter for bits 4-5 is PARAM_MCAN_DV_BTN_FCIM / Dual View Button FCIM
If you are fitting a dual view screen to a previously single view equipped car you will need to change this from Not Fitted to Fitted.
Values are:
00 (00) Not supported
10 (01) Not fitted
20 (10) Fitted (You will change to this value if fitting dual view for the first time)
30 (11) Error
Name: MultiCAN 469
Byte: 468
The parameter for bits 0-2 is PARAM_MCAN_PDC_AUTO_ACTIVATE / PDC auto activation
This parameter enables the ability to configure whether the PDC (parking sensors) can be configured through the touch screen to come on automatically when moving forward at slow speeds. The default for the earlier cars is to have them off until the button is pressed or R is selected.
Values are:
00 (000) Undefined
01 (001) Low inline
02 (010) Default OFF configurable (You will change to this value if you want this feature)
03 (011) Default ON NOT configurable
04 (100) Default OFF NON configable
07 (111) Error
Those are the only 4 parameters we may need to change. The first to change the screen size, and the other three depending on which features you have/want on your vehicle afterwards.
Go back to SDD and save any stored DTCs you want to retain and clear them all before continuing.
Go to the Service Extras page and then near the very bottom you will see “Modify the current car configuration file” which you want to run.
Follow the prompts until you are the page where you can see and change the CCF bytes.
Select any of the parameters on the first page by clicking in the first column and note that in the lower right it shows you which byte, and bits, that parameter is stored as in the CCF. By pressing the page-up and page-down buttons on your keyboard you can quickly jump up and down in the list. Keep paging down until you get to the first of the parameters you want to change (watch the byte number changing as you change parameters as a guide). In my examples above the first one we find is byte 467 which will be labelled as “Display variant” for me. Use the dropdown list to select the new 10.2” screen variant you are fitting. Note you should see the list you replaced above – if not you may just see a 10 or 12 in the list and no way to select them – if so exit the CCF editor back to the Service Functions page and then check you edited the correct file (it should be the last updated file matching the example name given above).
When you change the parameter you should see the byte value change to match the value shown above.
Then page down to the next parameter you want and change as appropriate.
When done click on the green tick and follow all the prompts to download it to the car.
When finished your screen will still either be blank or distorted. We now need to tell the IMC to rebuild its configuration to match the CCF.
From the Extras page in SDD select the “InControl – learn vehicle variant” task and just follow the prompts to completion. (If you have the rear seat displays in your car you will be asked to select which InControl module you want to relearn – so chose the IMC.)
When the process finishes your new screen should appear and be functional.
There is one more step to do at the configuration/testing stage – you may need to update the software on the PAM (Parking Assist Module) to the latest version in order for it to work with the new PDC auto activation feature if you decided to turn that one above. To do that from the Extras page in SDD run the “Configure existing parking assist module” task and follow all the prompts. If there is an update available it will download it from JLRs servers and install it for you, otherwise if there is no change it will tell you and just exit.
Now fully test the screen and all the functionality to check it behaves as it should. Please note my comment above about the camera UI incompatibility. If you experience that and want to change it you can change the IPMB as well later on. Everything else should work. Test the hard buttons on the FCIM – if you have the P4U feature fitted the hard power button should now turn the screen off (or go to the screensaver if configured) and not trigger the P4U UI. Likewise if you have also upgraded to dual view form single view the new dual view hard button should activate that feature and not open the audio settings.
When testing the parking sensors please note that they do not activate when the vehicle is in P. Start the engine, keep your foot on the brake pedal and put the vehicle into N to test the sensors activate. You can test the reverse camera activation by putting into R. To test the auto activation in D at slow speeds if you chose to enable it in the CCF then put into R first, move off of the camera screen that automatically shows to any other screen and make sure the sensors are triggered by something in order to bring up the floating UI (see the 4th picture at the top of this thread). Click on the settings cog/icon on that floating window and you can enable the Automatic PDC activation feature from there.
If all is well (hopefully!) you can now move onto the disassembly. If you have experienced issues please post below and I will try and help.
Hi, how much would it cost to have all this installed & coded if I supply the parts?
I have the imc system with the 8” display. I was wondering, there is a video that they upgrade the 8” to the 10” merryway display. They open the actual display and unplug a strip and then use the circuit boards that come in the 8 and attach it to the 10”. Do you think that is possible to do with a 10” sv ? It would make things easier. That’s my first question.
second question: if I did swap the 8 for 10 sv from jLr that I find on eBay. Do you think if I install and then take to jag and say it stopped working, they may program it for me thinking that it needs reprogramming ?
Using this or a similar cable (read: a fake Mongoose cable) didn't end very well for me so I wouldn't go for this one. It's a Chinese piece of crap. Some say some of them work, but I wouldn't touch it with a stick.
I bought this cable to do the programming (and more in SDD).
Don't forget about the power supply. I have a Telwin Doctor Charge 50. I've tried other cheaper solutions. JLR recommends 50Amps so you don't want to go cheap in this area either.
Thanks,
ordered this cable, hope to get it soon.
Display type: Single or Dual view?
DV looks like nice technological feature, but is useful? I spend 99% time as a driver alone, and if with family, everyone prefer back seats with rear multimedia.
Also, I use a lot at daytime polarized sunglasses, will DV work fine or under some angles it will not show me through polarizers main image ?
Just to share experience with DA-Dongle: it is not detected by SDD as "plug and play" device, but works fine after step-by-step instructions from DA website / downloads:
"Once you have installed the J2534 drivers onto your target PC you should connect your DA J2534 communications device to the vehicle before connecting to the target PC (via the USB cable). If you have done this correctly you will see the STS LED on the device flashing RED & GREEN and the PWR LED will be illuminated RED. When you are in this correct state your device is now ready to be used. This sequence must be followed for each subsequent connection to a vehicle (i.e. connect device to vehicle then connect device to target PC). If only the PWR LED is illuminated following this procedure, then you have connected the device to the PC before the vehicle.
Due to an issue with the latest version of SDD you will need to follow a specific process to get SDD to recognise the DA-Dongle/DA-VINA/DA-ST512 for the first time: Power off your laptop/PC. Connect the DA-Dongle / DA-VINA / DA-ST512 to the vehicle and ensure the status LED is flashing alternate red and green. Connect the DA-Dongle/DA-VINA to your laptop/PC with the USB cable. Power up your laptop/PC and run SDD."
I use this one. We have a number of threads about the correct power supply. Please DON'T use a battery charger. They are NOT the same and you can get into big problems trying to use the SDD without a proper power supply.
12 VDC Power Supply
IOTA DLS-55. Picked mine up used on EBay as they are a bit expensive new.
.
.
.
Display type: Single or Dual view?
DV looks like nice technological feature, but is useful? I spend 99% time as a driver alone, and if with family, everyone prefer back seats with rear multimedia.
Also, I use a lot at daytime polarized sunglasses, will DV work fine or under some angles it will not show me through polarizers main image ?
Thanks!
I went for a dual-view screen. I'm also using polirised sunglasses and I can see the screen just fine.
Originally Posted by D.D.D.
Got DA-Dongle now and Telwin Doctor Charge 50. Which mode you set in Telwin ? "D" mode = Power Supply with 40A settings and voltage to 13.5 V ?
Honestly, I can't remember, it's either diagnostic or power supply, whichever allows you to set 40A supply. JLR recommends 50A but 30A should be enough from what I've seen.
Originally Posted by D.D.D.
Just to share experience with DA-Dongle: it is not detected by SDD as "plug and play" device, but works fine after step-by-step instructions from DA website / downloads:
"Once you have installed the J2534 drivers onto your target PC you should connect your DA J2534 communications device to the vehicle before connecting to the target PC (via the USB cable). If you have done this correctly you will see the STS LED on the device flashing RED & GREEN and the PWR LED will be illuminated RED. When you are in this correct state your device is now ready to be used. This sequence must be followed for each subsequent connection to a vehicle (i.e. connect device to vehicle then connect device to target PC). If only the PWR LED is illuminated following this procedure, then you have connected the device to the PC before the vehicle.
Due to an issue with the latest version of SDD you will need to follow a specific process to get SDD to recognise the DA-Dongle/DA-VINA/DA-ST512 for the first time: Power off your laptop/PC. Connect the DA-Dongle / DA-VINA / DA-ST512 to the vehicle and ensure the status LED is flashing alternate red and green. Connect the DA-Dongle/DA-VINA to your laptop/PC with the USB cable. Power up your laptop/PC and run SDD."
This is explained in the DA J2534 Device Setup section.
Originally Posted by nw247
anyone know a good power supply/charger in the USA ?? something equivalent to the Telwin Doctor Charge 50, I can't find that product in the USA
Can you not buy one on eBay? I did look a lot and found Telwin Doctor Charge 50 the most cost-effective. I'm happy to help and post it to you?
Ive very recently acquired a 67 plate XJL Autobiography with the 10.2 screen. When I put the vin number into Jag’s service site, it tells me it’s a 2018 model year which I find strange, but it has the screen with the quadrant display. My car was booked in to Jaguar to have the screen updated to install apple car play which after arriving, they subsequently told me the upgrade wasn’t available for the XJ.
There are clearly XJ’s here with it installed. Is this something you could offer, as the InControl apps are now virtually a waste of time.
Do you have a parts list for retrofitting my 2017 XE R-Sport?
I have the 10.2" incontrol pro with rear camera.
I would like to retrofit the front and sides for surround.
Can you please help or point me in the right direction?

 03-12-2021, 02:15 PM