When you click on links to various merchants on this site and make a purchase, this can result in this site earning a commission. Affiliate programs and affiliations include, but are not limited to, the eBay Partner Network.
Progress update - I began my R&R of my compressor today... it is a wee bit of a challenge as they say, but I did get it out (thanks for all documents and pics Clubairth1!)... my new compressor and old one matched up perfectly (PXE16)...I decided to replace the desiccant bag as well, but unfortunately the new one from Rock Auto isn't the right one, so I'll shop local parts stores to see if I can find the right one...I'll be doing re-install over the next couple days, and I'll update again once completed...
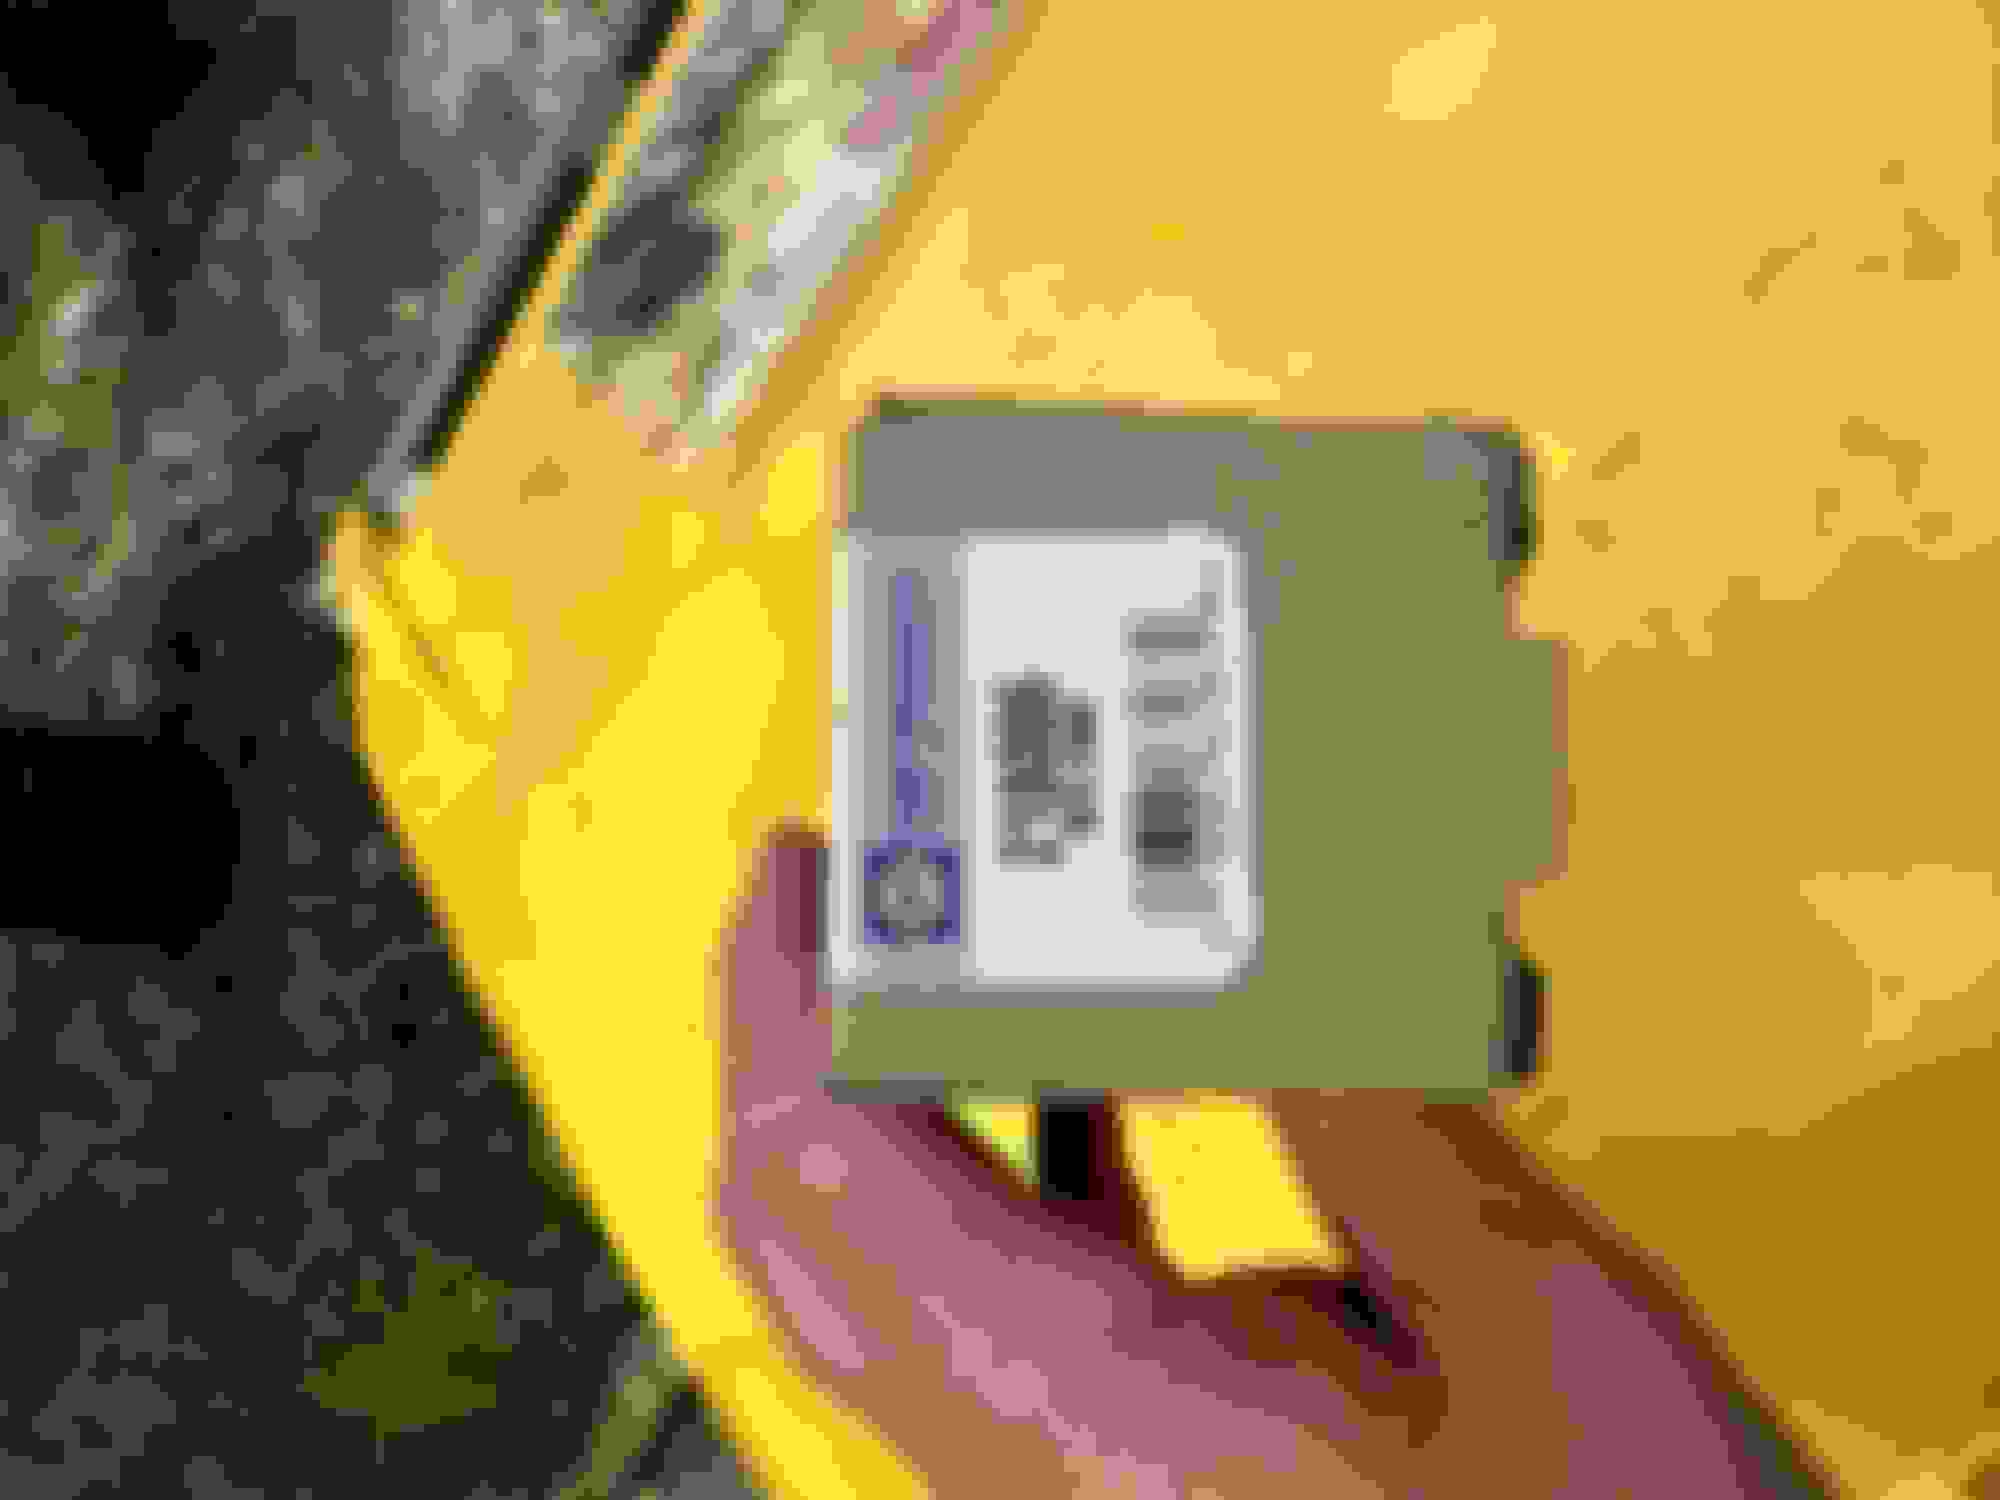
Finished the install today, vacuumed it down for about 4+ hours, put in ~24.7 ounces of R134, and wahlah, I have cold A/C again!!! Below are some pics of the old and new desiccant bag and plug... I got mine from NAPA, they were closer to me than Autozone...
Thanks! I added some pics of the desiccant bag/plug... It was a bit of a challenge to get out, the 10MM hex wouldn't move it, it was just rounding it out inside...so with some southern ingenuity, I used some long needle nose pliers and a long screw driver to get it out ... pushed the pliers up into those slots on the outer rim of the plug, and used the screw driver to twist it, and it came right out!!!
Thanks! I added some pics of the desiccant bag/plug... It was a bit of a challenge to get out, the 10MM hex wouldn't move it, it was just rounding it out inside...so with some southern ingenuity, I used some long needle nose pliers and a long screw driver to get it out ... pushed the pliers up into those slots on the outer rim of the plug, and used the screw driver to twist it, and it came right out!!!
This happened to me too at first, but I realized I just didn't seat the 10mm hex completely inside the plug. More contact surface equals less likely chance of stripping it out.
Good job at the DIY repair. Anytime your system needs to be evacuated for any reason, it seems like you're looking at least at a $500+ repair bill.
Thanks Jaag_drivah ... Yup, my total parts+freon bill was ~$450... but that's a lot cheaper than the ~$4K an indie auto shop was quoting me!!! Plus I got all this valuable experience now !


 05-08-2024, 06:55 AM


 ... pushed the pliers up into those slots on the outer rim of the plug, and used the screw driver to twist it, and it came right out!!!

