When you click on links to various merchants on this site and make a purchase, this can result in this site earning a commission. Affiliate programs and affiliations include, but are not limited to, the eBay Partner Network.
Mystery solved, I have back in touch with Jaguar parts who have been very helpful. In short, it turns out that some stock had been incorrectly packed at the wharehouse, with some C2D39189 (Bracket-Amplifier - ?) parts bagged as C2D39188
Hi all, just got me a X351 and wanting to do the DAB upgrade, i have just purchased the DAB unit, i am just looking for clarity on what other parts i require, i have a 12 plate with no DAB pre fit according to Topix, i am in UK. I know things are listed above, but i believe it covers US cars too.
Cheers
Andy
Hi Andy,
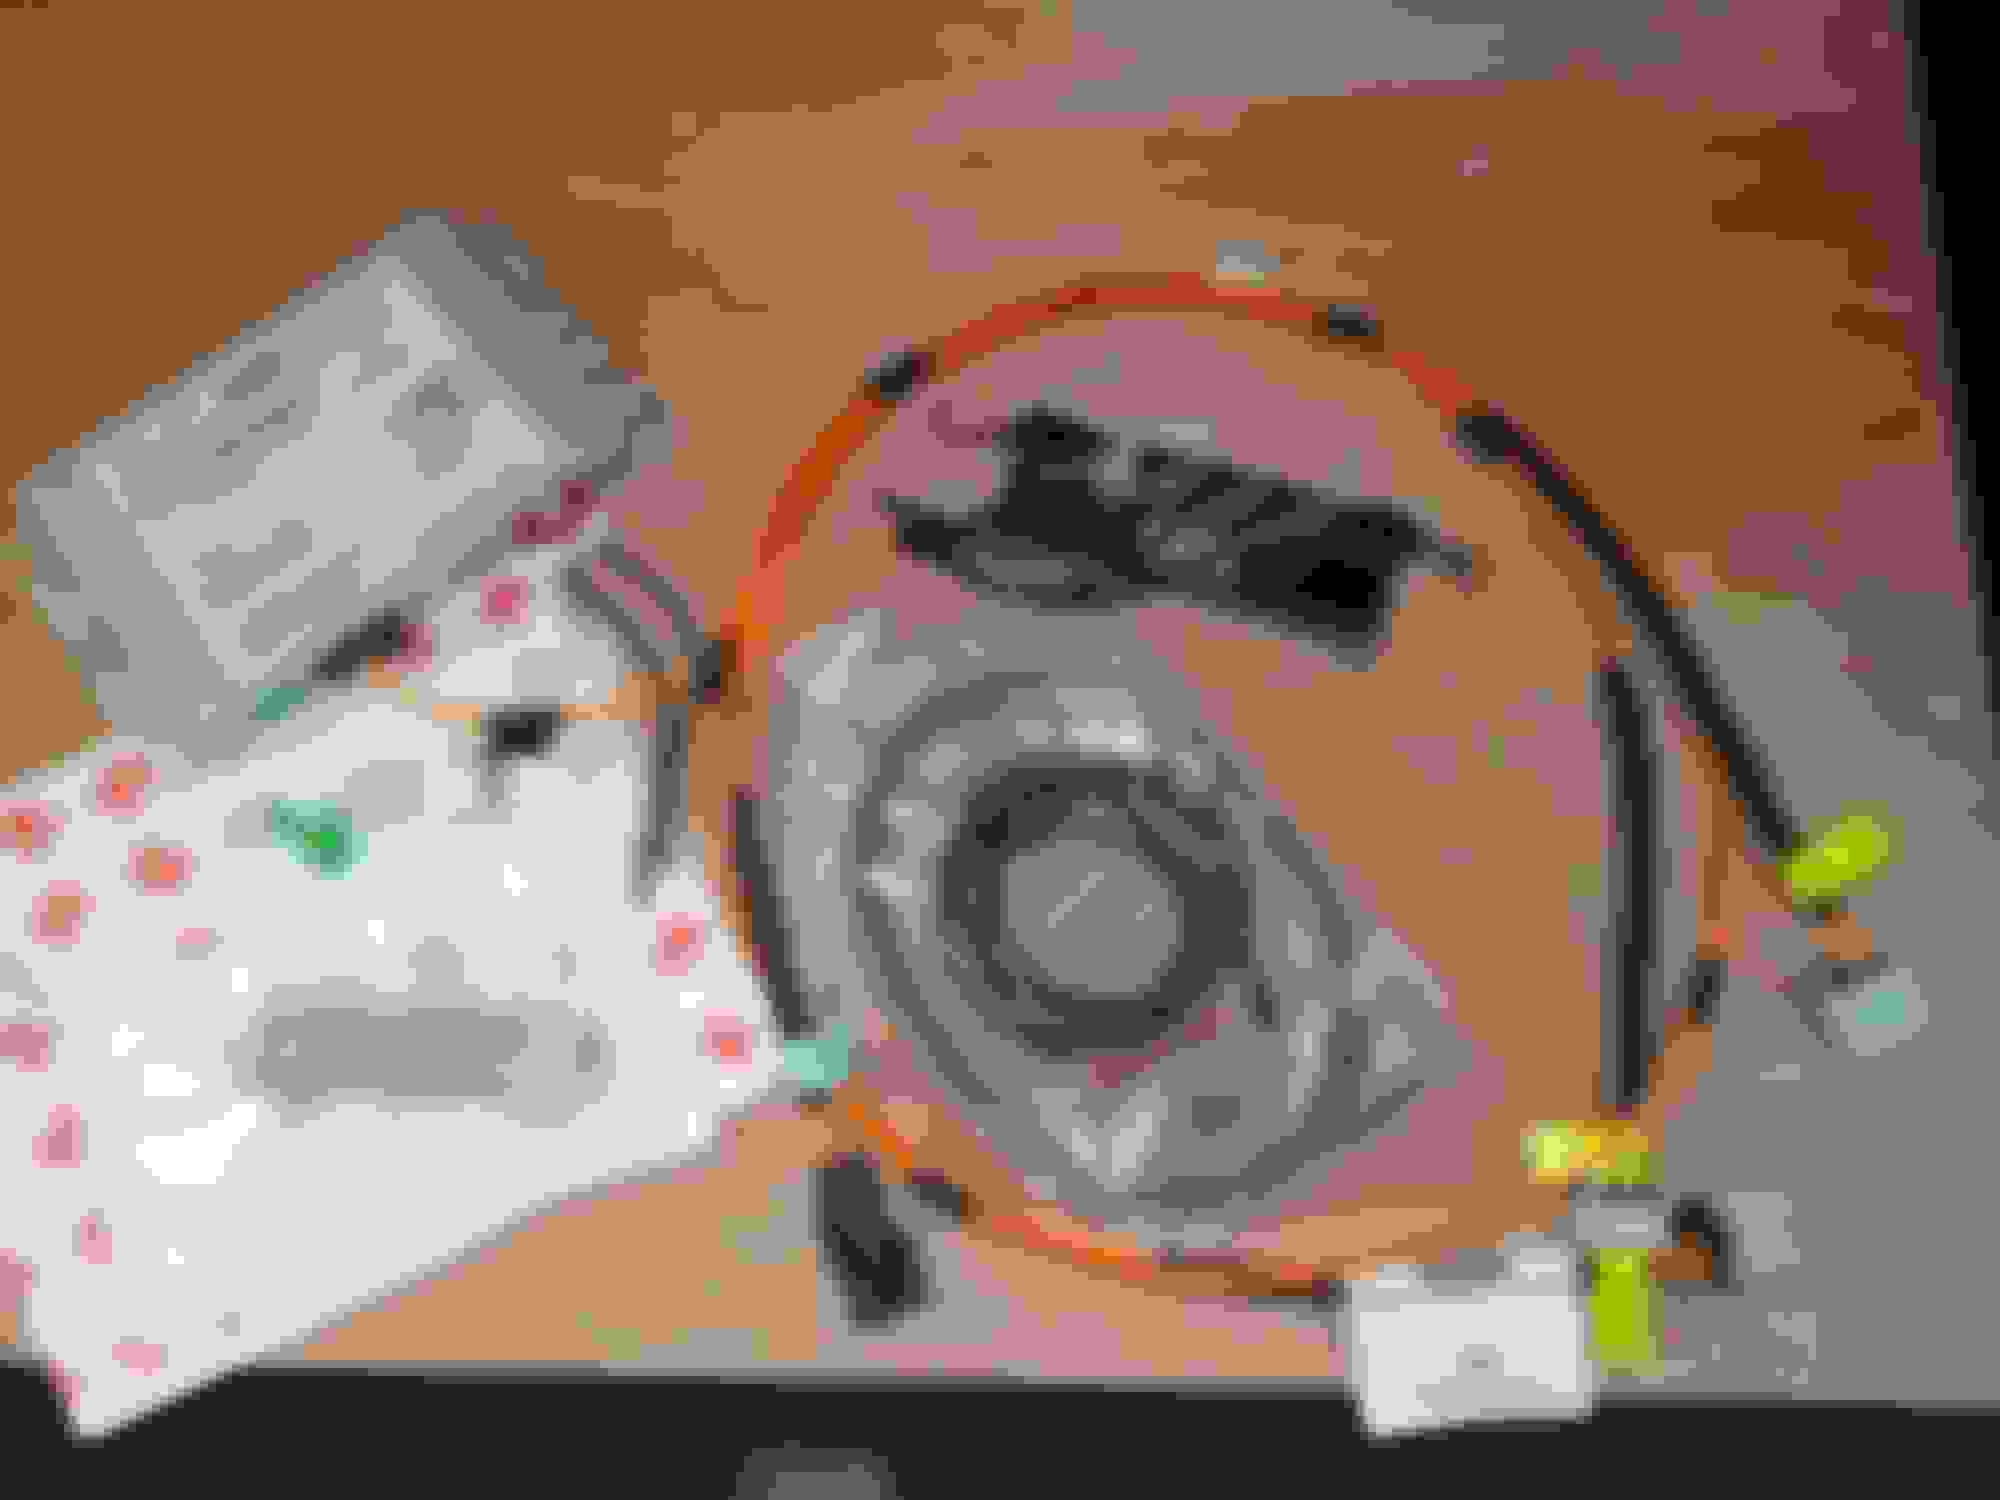
I am just in the process of doing mine. The picture shows what I started with, minus the bracket (see above). You need:
DAB+ Unit
Green power connector (I made one from a RS Supplies connector - RS stock no. 7275765 and pins, RS 6909887- cost about �10.00). I think I have also seen this as a Jaguar-Land rover part in the posts above. I wanted to keep the power cable the same coding as it would have been originally, so bought some green/red coded cable off eBay.
The grounds cable and �eye�. I had one lying around from bits of old wiring so just used that, but you could get cable and �eye� off eBay or form an automotive supplier. Just be aware that the green RS connector that I used will not take very thick ground cable.
Antenna Amplifier Control Unit, AW93-18C847-BB mt 2012 XJ had TV, so I had one with three aerial inputs, but needed needed one with 4 aerial inputs for the DAB. Mine cost about �40 of eBay. If you have not got the TV you will need to ensure that, if you get a 3-input one, that you get one with a DAB input.
You then need a FAKRA straight female to FAKRA Female right angle cable. This needs to be at least 1.5 -2 m in length, but you could use two shorter ones joined together, which is what I did. The DAB unit takes a female connector. If you have not got the original Jaguar DAB FAKRA socket, then you may have to use just a bare connector, with the cover removed. If you have, you can modify the connector to take a bare FAKRA female plug. To be able to do this you need to buy one where the case takes apart and is not moulded onto the connector. If you use eBay, be ware of some of the ones from China. I would recommen getting it from a UK automotive supplier.
You then need the MOST fibre optic cable to daisy-chain the DAB unit in. The MOST cables are meant to be fairly interchangeable and used in a wide range of manufacturers, so I bought a Land Rover cable (�20) as shown in the photo. Rather than take the wiring loom apart, I initially intended just to disconnect the fibre optic output from the TV connector and the input to the amp, and just add in a plug and cable for the DAB Unit, leaving the old fibre optic cable in situ. However, it turns out that the actual pins used in the MOST XJ x351 plugs are different to the ones I had, which would not fit correctly. Fortunately, I have enough bits to make a �Y� cable out of a female and two male connectors. So the plug that goes into the TV , then goes into the female socket, one male goes into the TV unit and the other into the DAB unit. No need to touch the wiring loom. You just need to make sure that you put the right plus into the eight unit as they are not interchangeable. You can get �Y� adapter for about �10 to �20 of eBay. Also, the old D2B fibre optic system and connectors, as used in the S and X type, are not compatible with the newer MOST ones used in the x351, etc.
I also bought a MOST Bypass loop, just so I could test out the system before connecting the DAB unit to make sure that I still had radio, TV, etc. This is just me being cautious and it is not really necessary.
At the end of all this, you will have an XJ with a DAB unit connected up and working, but not recognised by the system. I still have to tackle how I am going to get the editing of the CCF data to show it is fitted. I will need to ring round various garages as I do not think the Jaguar main dealer will do it for me.
I will post pictures as I do mine, which might be useful?
I am just in the process of doing mine. The picture shows what I started with, minus the bracket (see above). You need:
DAB+ Unit
Green power connector (I made one from a RS Supplies connector - RS stock no. 7275765 and pins, RS 6909887- cost about �10.00). I think I have also seen this as a Jaguar-Land rover part in the posts above. I wanted to keep the power cable the same coding as it would have been originally, so bought some green/red coded cable off eBay.
The grounds cable and “eye”. I had one lying around from bits of old wiring so just used that, but you could get cable and “eye” off eBay or form an automotive supplier. Just be aware that the green RS connector that I used will not take very thick ground cable.
Antenna Amplifier Control Unit, AW93-18C847-BB mt 2012 XJ had TV, so I had one with three aerial inputs, but needed needed one with 4 aerial inputs for the DAB. Mine cost about �40 of eBay. If you have not got the TV you will need to ensure that, if you get a 3-input one, that you get one with a DAB input.
You then need a FAKRA straight female to FAKRA Female right angle cable. This needs to be at least 1.5 -2 m in length, but you could use two shorter ones joined together, which is what I did. The DAB unit takes a female connector. If you have not got the original Jaguar DAB FAKRA socket, then you may have to use just a bare connector, with the cover removed. If you have, you can modify the connector to take a bare FAKRA female plug. To be able to do this you need to buy one where the case takes apart and is not moulded onto the connector. If you use eBay, be ware of some of the ones from China. I would recommen getting it from a UK automotive supplier.
You then need the MOST fibre optic cable to daisy-chain the DAB unit in. The MOST cables are meant to be fairly interchangeable and used in a wide range of manufacturers, so I bought a Land Rover cable (�20) as shown in the photo. Rather than take the wiring loom apart, I initially intended just to disconnect the fibre optic output from the TV connector and the input to the amp, and just add in a plug and cable for the DAB Unit, leaving the old fibre optic cable in situ. However, it turns out that the actual pins used in the MOST XJ x351 plugs are different to the ones I had, which would not fit correctly. Fortunately, I have enough bits to make a “Y” cable out of a female and two male connectors. So the plug that goes into the TV , then goes into the female socket, one male goes into the TV unit and the other into the DAB unit. No need to touch the wiring loom. You just need to make sure that you put the right plus into the eight unit as they are not interchangeable. You can get “Y” adapter for about �10 to �20 of eBay. Also, the old D2B fibre optic system and connectors, as used in the S and X type, are not compatible with the newer MOST ones used in the x351, etc.
I also bought a MOST Bypass loop, just so I could test out the system before connecting the DAB unit to make sure that I still had radio, TV, etc. This is just me being cautious and it is not really necessary.
At the end of all this, you will have an XJ with a DAB unit connected up and working, but not recognised by the system. I still have to tackle how I am going to get the editing of the CCF data to show it is fitted. I will need to ring round various garages as I do not think the Jaguar main dealer will do it for me.
I will post pictures as I do mine, which might be useful?
Fantastic Thank you, i now have my Dab unit, CPLA14D401BB is this one ok, i will try and source rest of bit in your list, i had a look earlier and although topix says i have "television" upon looking in the left had boot i cannot see anything apart from the amp, will investigate further now i could be up and running again, thanks again.
Andy
Edit, i have sourced this amp, AW93-1BC847-DB, or do i need a 3 one, the one in the car now only has i aerial to it, should i already have the aerial on the rear screen, just looked and i think i have one in the so called pod, it already has a blue fakra plugged in on the right side but nothing in the greenish one one the left.
Edit, think i am getting there, so if i get the correct aerial amp (still wanting part confirmation), then i want 2 fakra leads, one from the pod and one from the amp both go to dab unit?, power am ok with, then just need to confirm the MOST lead i need, i have no tv, so will the lead i get just plug from the dab stright to the amp?
Hi Andy,
Cambo has very kindly provided a list in the previous posts above, but I can not see your DAB unit listed? Is it also labelled CPLA-14F720-BN? There is is one on eBay that carries both these labels. If so, that according to what is written above, it should work. I fitted a DAB+ unit to an older S-type jag, instead of a DAB unit, and it worked OK. So I am expecting DAB+ units to be OK in my 2012 x351 XJ.
My model is a Portfolio, but I am guessing yours isn’t? I am afraid that I don’t know enough to say whether the aerial wires in the rear screen were fitted to every model of XJ and DAB was an option fro all models or not. Perhaps someone else on here can help?
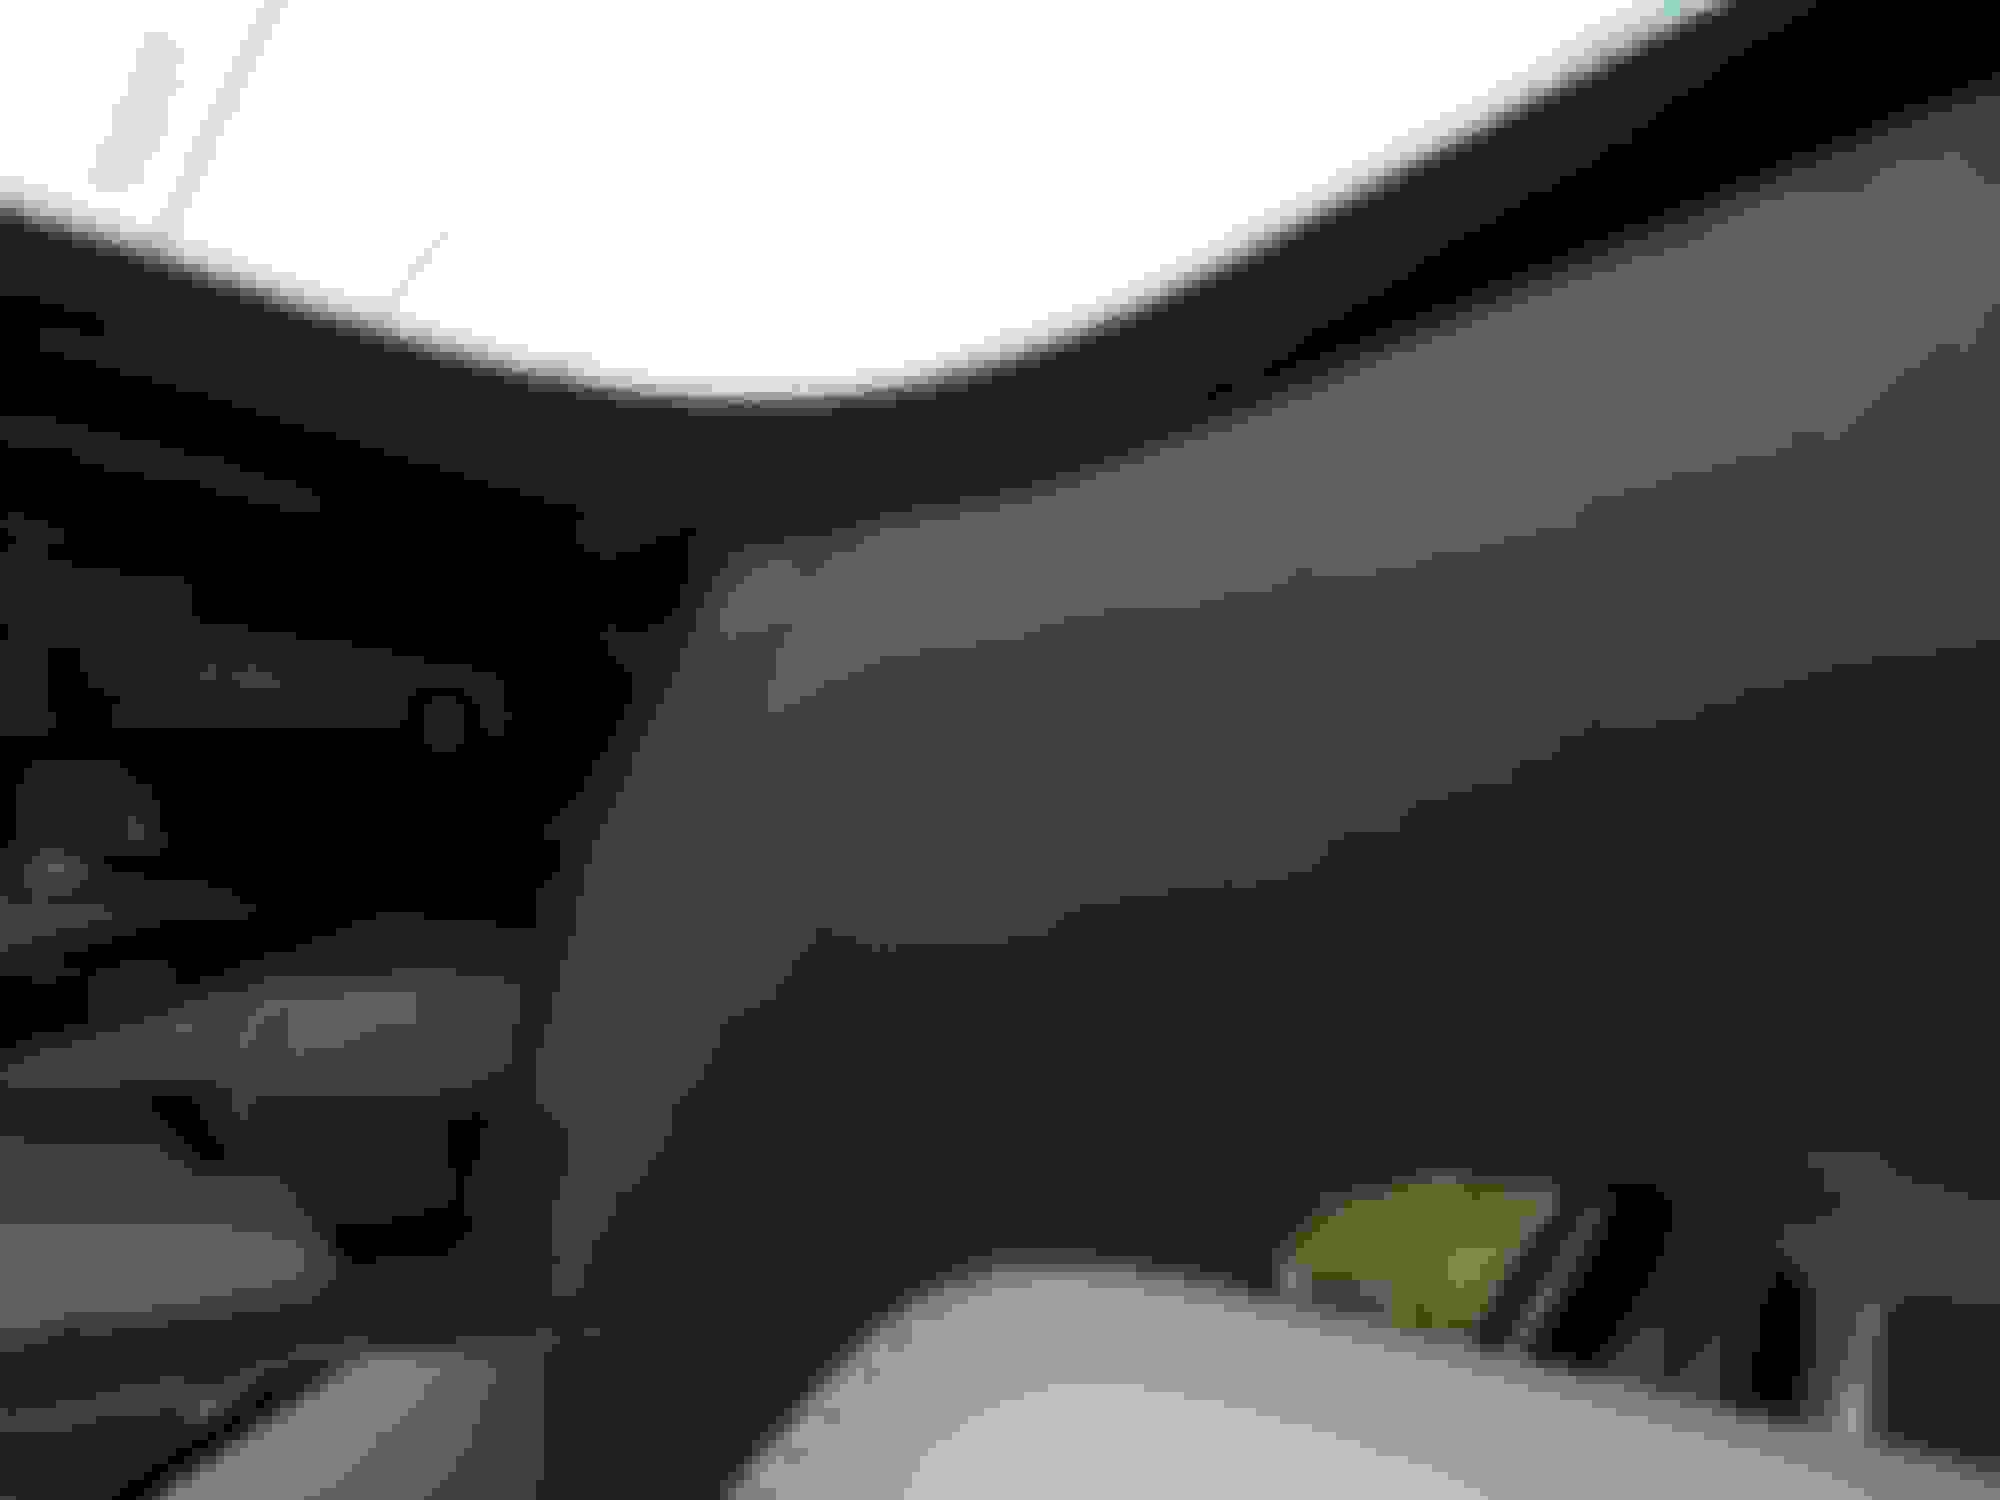
I have attached a photo of mine before any changes , showing three lines on the screen labelled aerial. The DAB is the reddish/ purple coloured connection in my photo of parts required, so if you have your current coloured connection and the purple at the far end, then it probably will be OK. If you are in the UK you only need the screen aerial, which is the “Band-III ” transmission used in the UK. The roof pod is for “L” transmission, which is used in other parts of Europe- see Cambo’s post in “factory DAB, DAB+, SDARS/Sirius, IBOC retrofit for all X350”.
If not then you can still fit the DAB unit but will need a generic, separate powered aerial. I used one in my S-type DAB conversion that fitted on the front window screen.
If you haven’t got TV, the MOST cabling using a “Y” adapter, etc., will be the same, but you will just need to connect it to the Sound system Amp.
However, do please bare in mind that this is still all new to me- so I may be wrong about some things.
Last edited by JagNovice2; 08-16-2020 at 08:07 AM.
Reason: error
Myn only has 1 white one but the aerial is there so I will source another amp with white and purple at least and a y connector, my dab unit had the other label partly torn off but sure I should be ok.
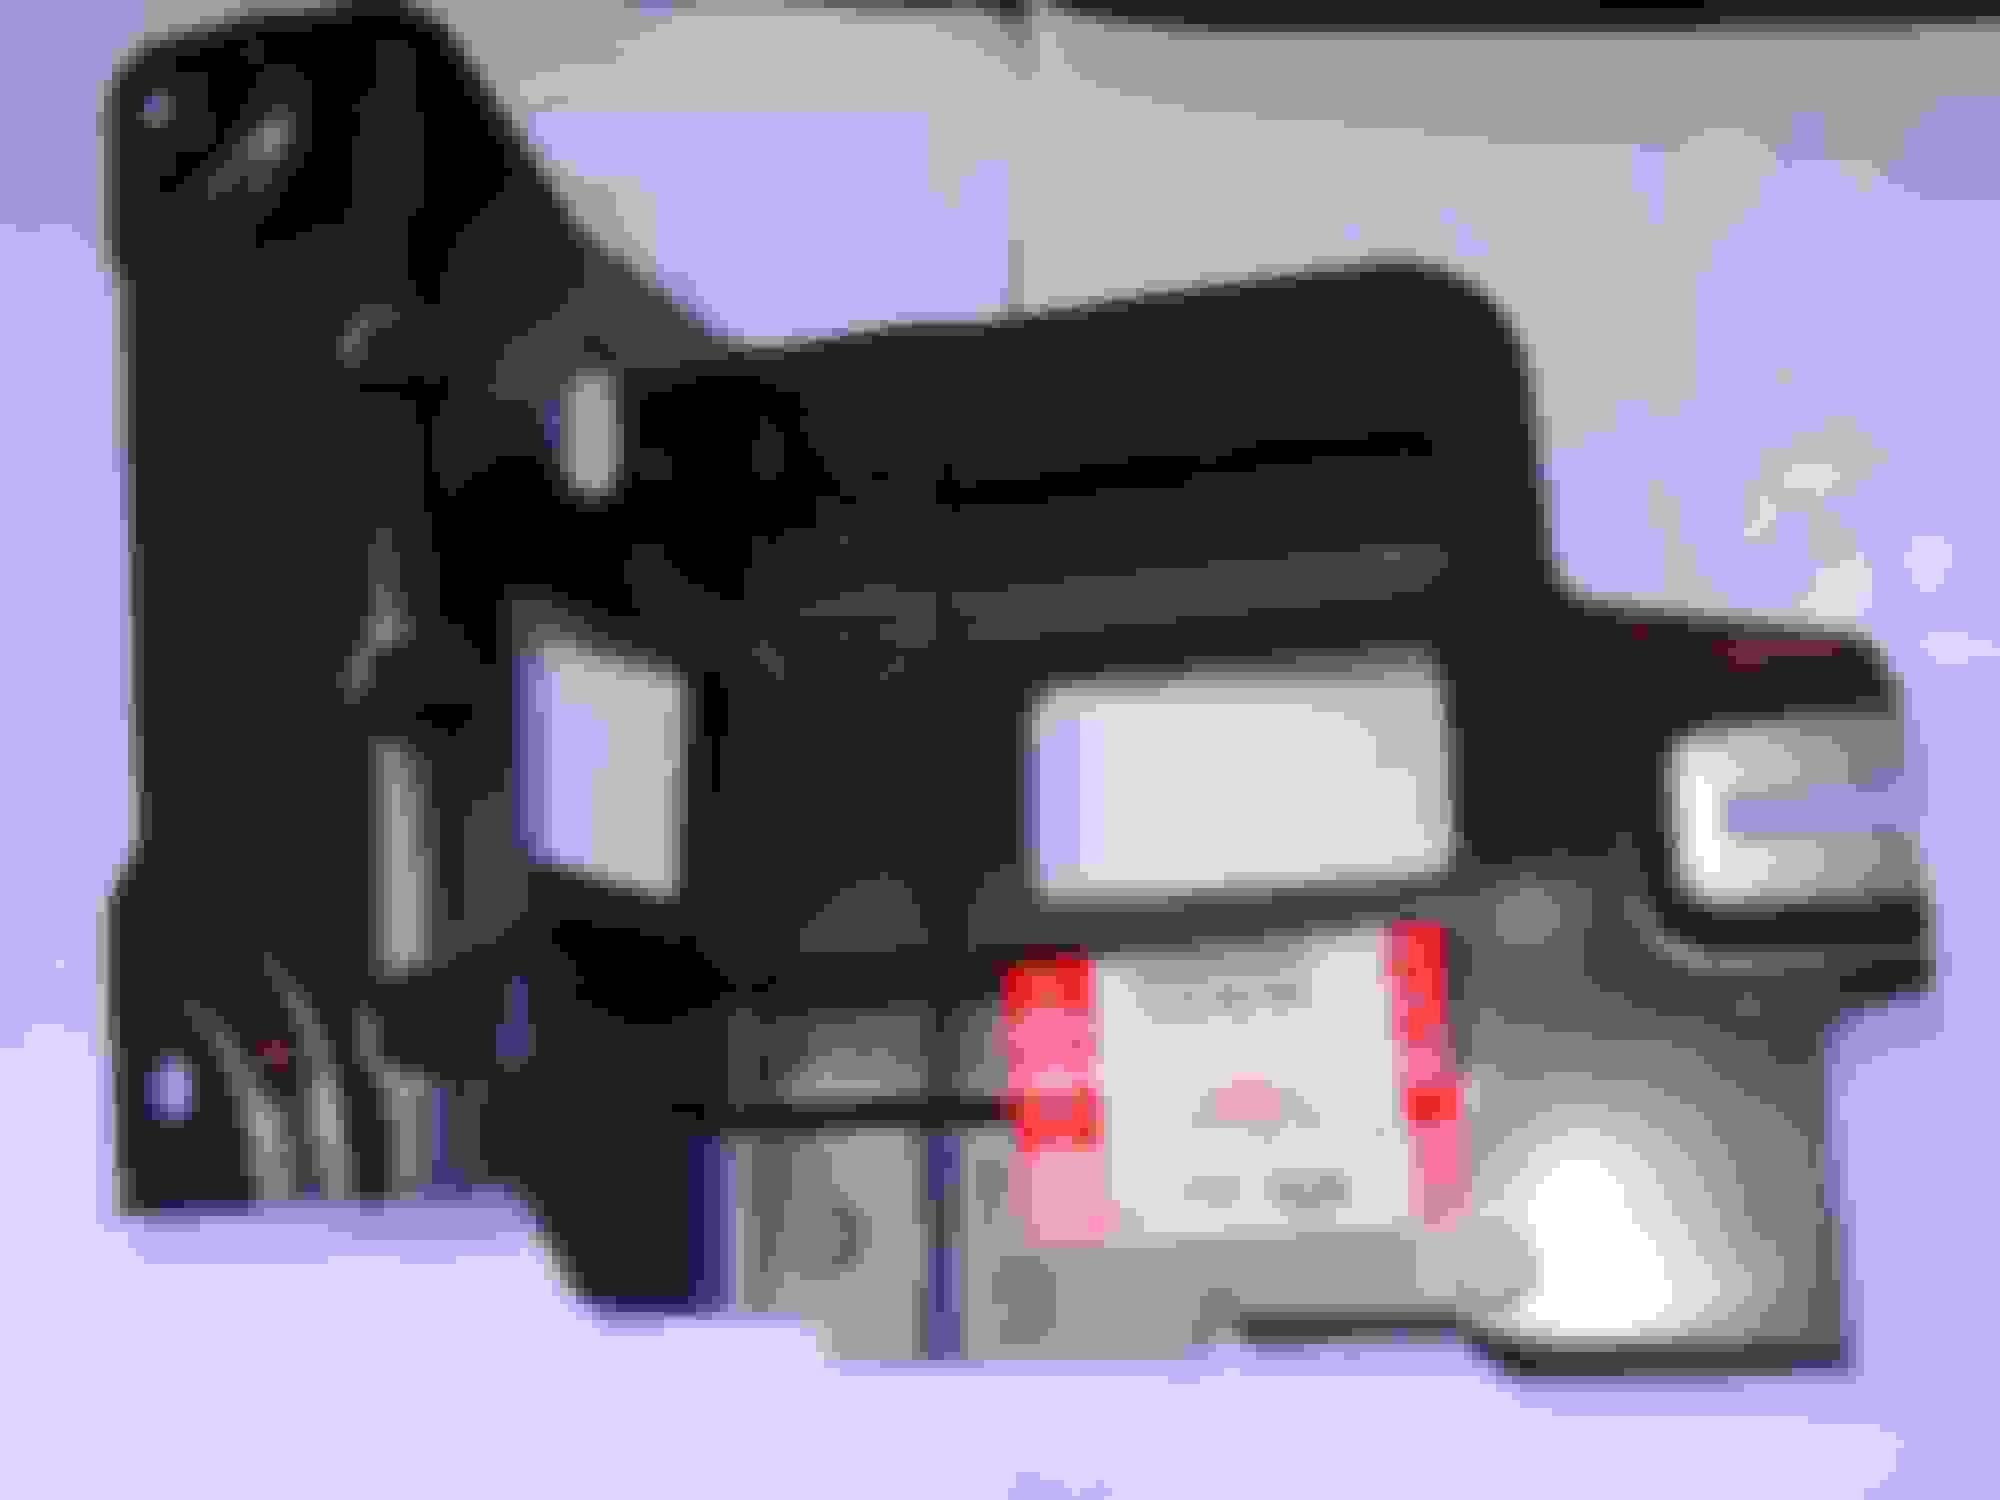
The actual bracket has arrived- see photos. Not quite what I was expecting. It will fit, but I will have to remove the small metal hook and drill new mounting holes. The ones on the bracket are 15cm apart, whereas the fixing holes are 14cm apart. So that bracket fit level and ontto the stud, I think the holes will need to be in a slightly different place too. I aim to complete this all today so will post more pictures later.
I thought that it might be useful to others to post photographs of how I undertook this project, so here goes. You will first need to remove the boot lining, removing the bottom, the loadspace scuff plate, left and right hand trim panels, and then the top trim panel. Surprisingly the trim panels are only held in place by a couple of plastic studs and each other.
(If you have an older Jag, like I do, and there are periods of about a week or so when you do not use it and find the battery low, you may want to think about fitting a trickle charger at the same time while you have access to the battery and have the panels out.)
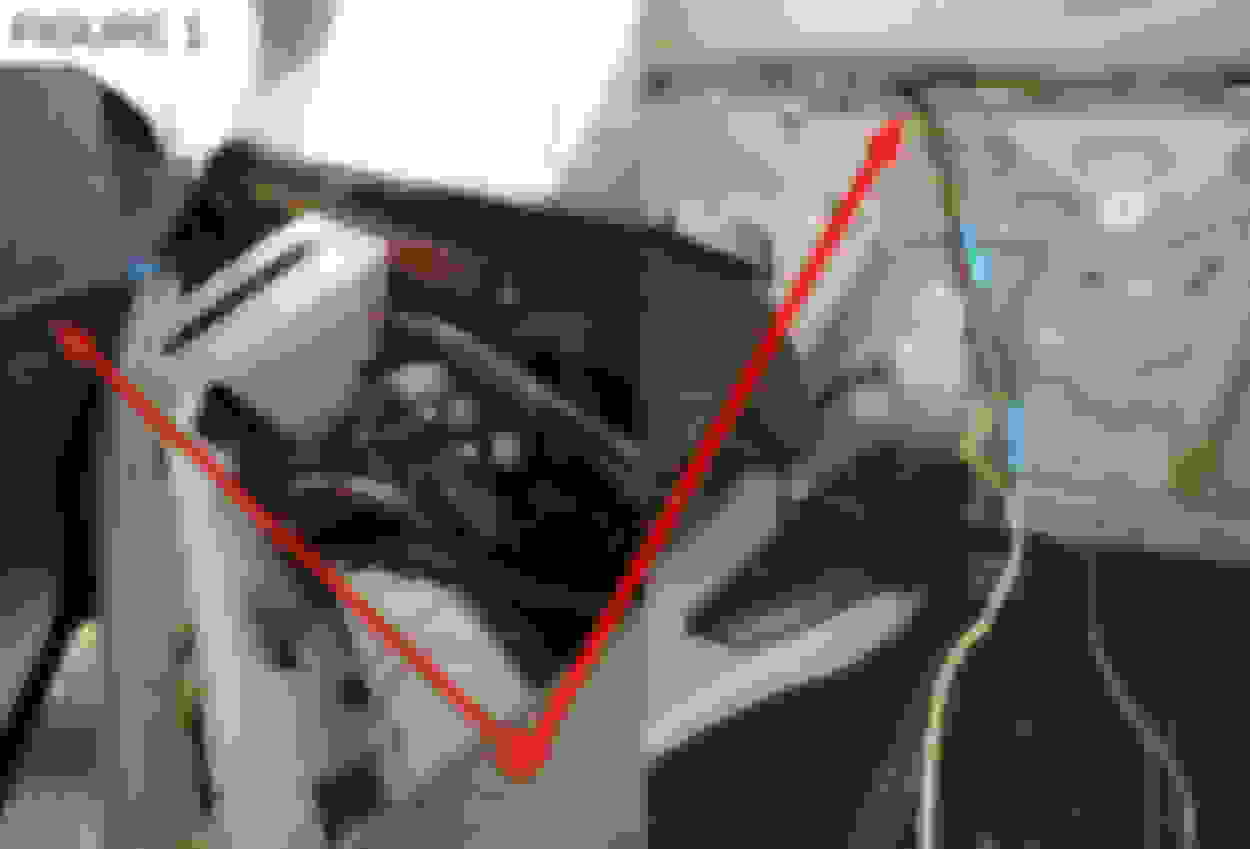
Aerial amplifier and FAKRA cable
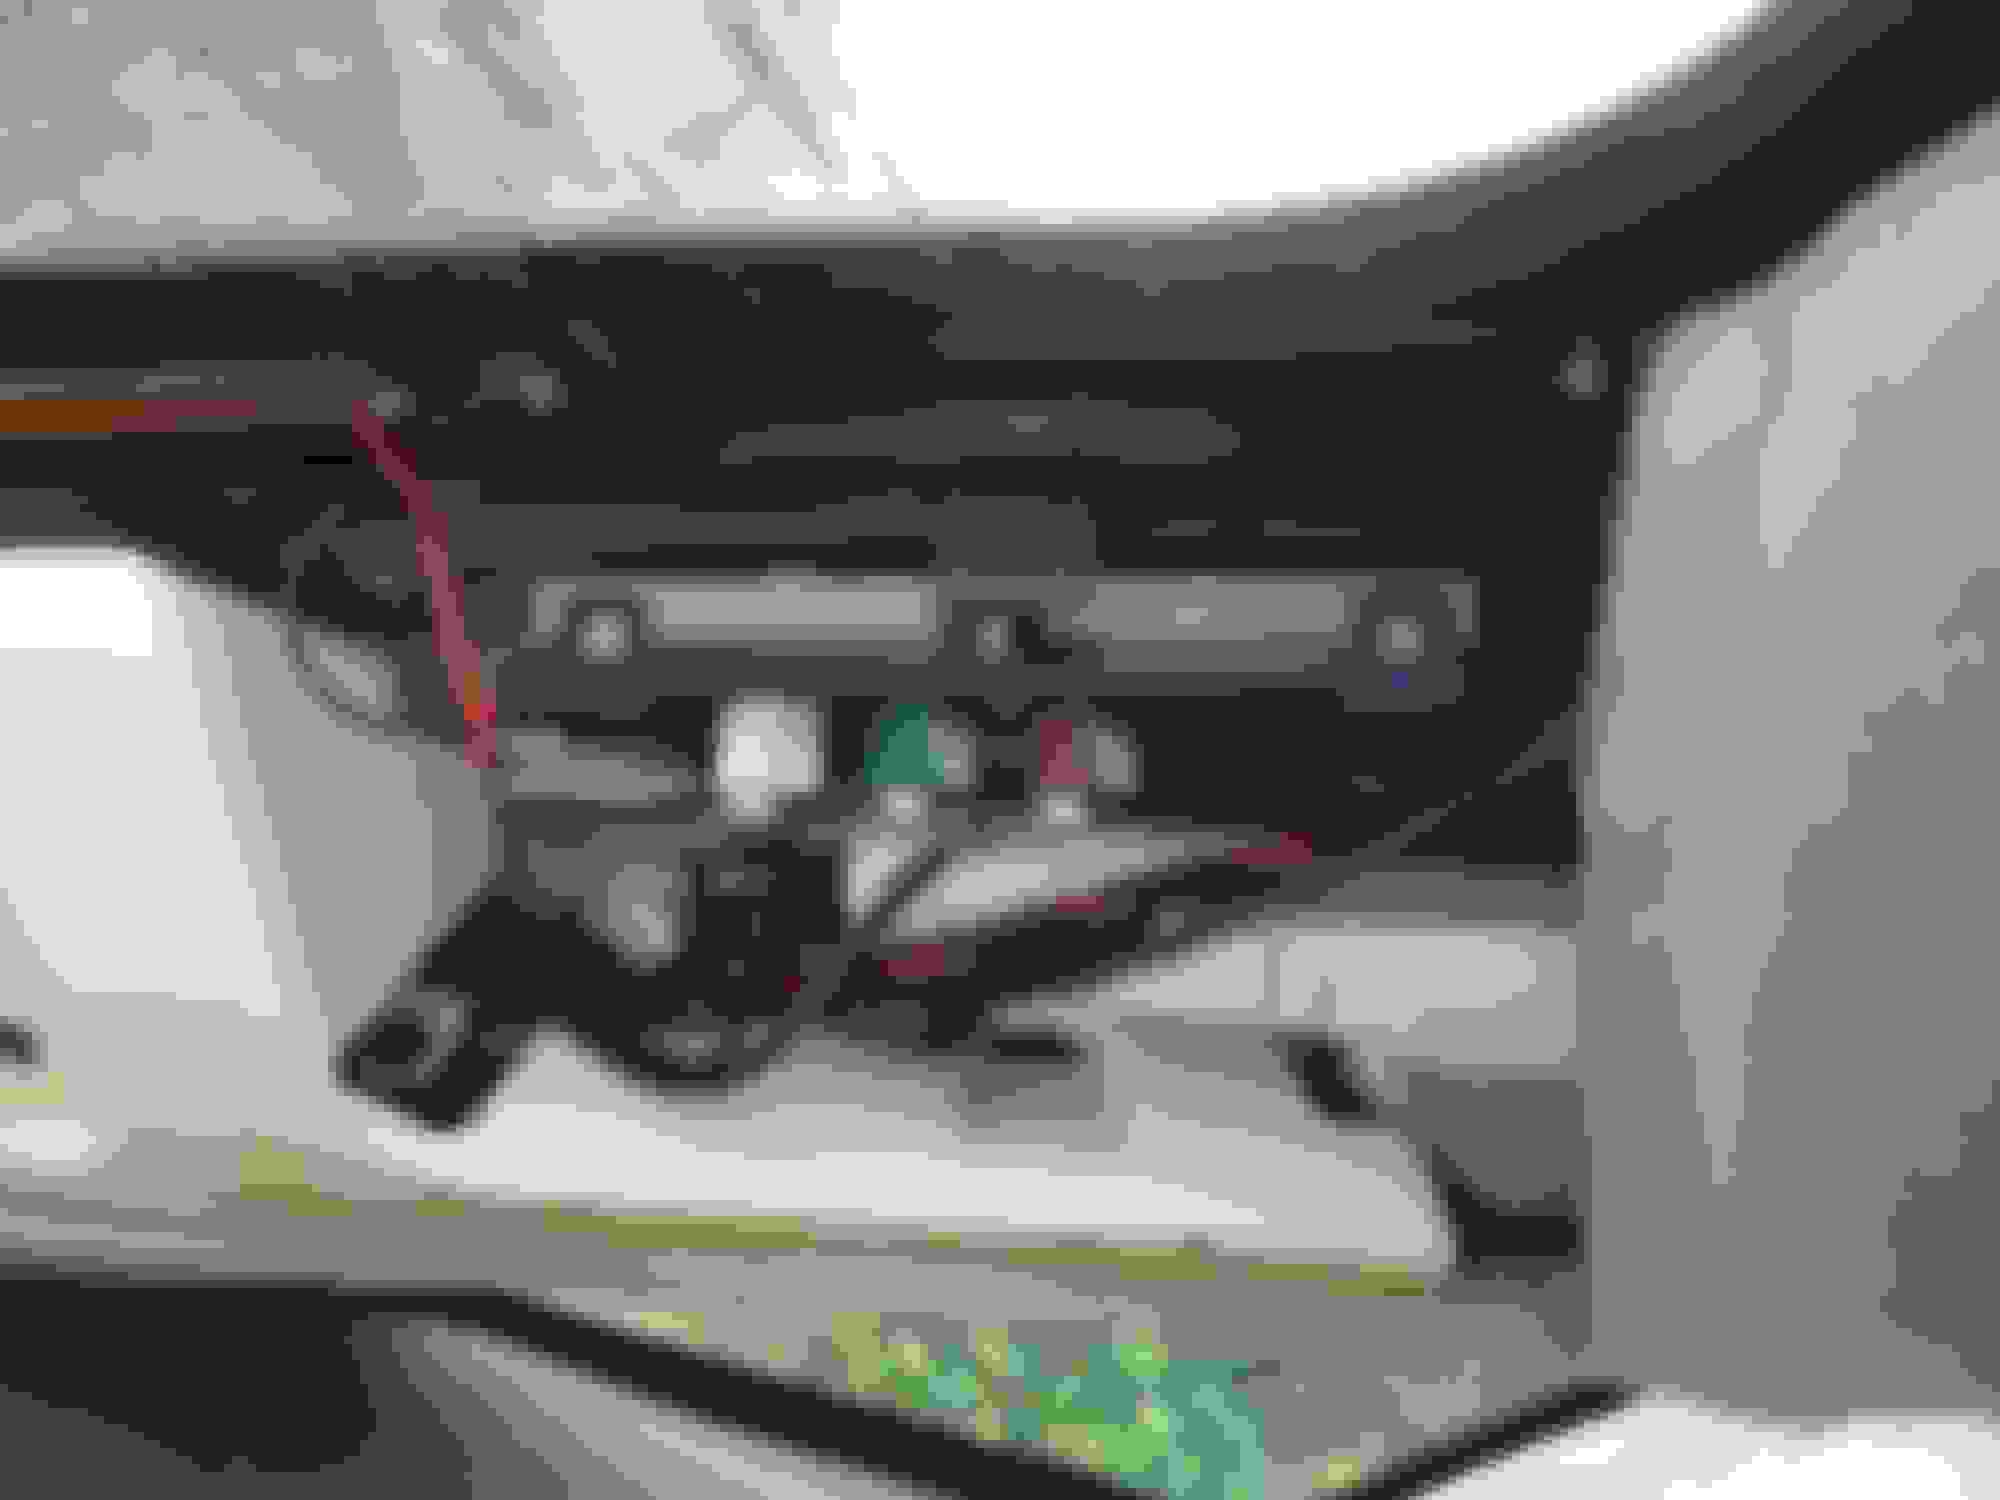
The first step was to disconnect the battery and replace my 3-way aerial amplifier with a 4-way containing the DAB connection. Figure 1 shows the new amplifier in place. As this was a second hand (eBay) replacement, after reconnecting the various aerial cables, I then reconnected the battery and made sure my phone, radio and TV still worked.
The next was to feed the FAKRA cable thorough to the boot/ trunk. At first I thought that I would need to take out the rear seat, but I found that I could feed the cable through alongside the existing cables under the parcel shelf. I tried several approaches but found that, by putting my hand as far in as I could, I was able to first feed some 30A appliance cable (indicated by the arrows in Figure 1) through alongside the existing cable and then eventually put my hand up inside one of holes in the parcel shelf and pull down the cable (Figure 1). You may need to feed through from the top and pull from the bottom to get it through. This is easiest done if there are two of you, but I managed it on my own. Then attach some string as shown in Figure 1, pull/push back the cable until you have the string freely available at the top. The attach the string to the correct end of your FAKRA cable, i.e. that opposite to the right angled female end, and pull/push the string and then the attached FAKRA cable through back into the boot/trunk. Then attach to the DAB unit.
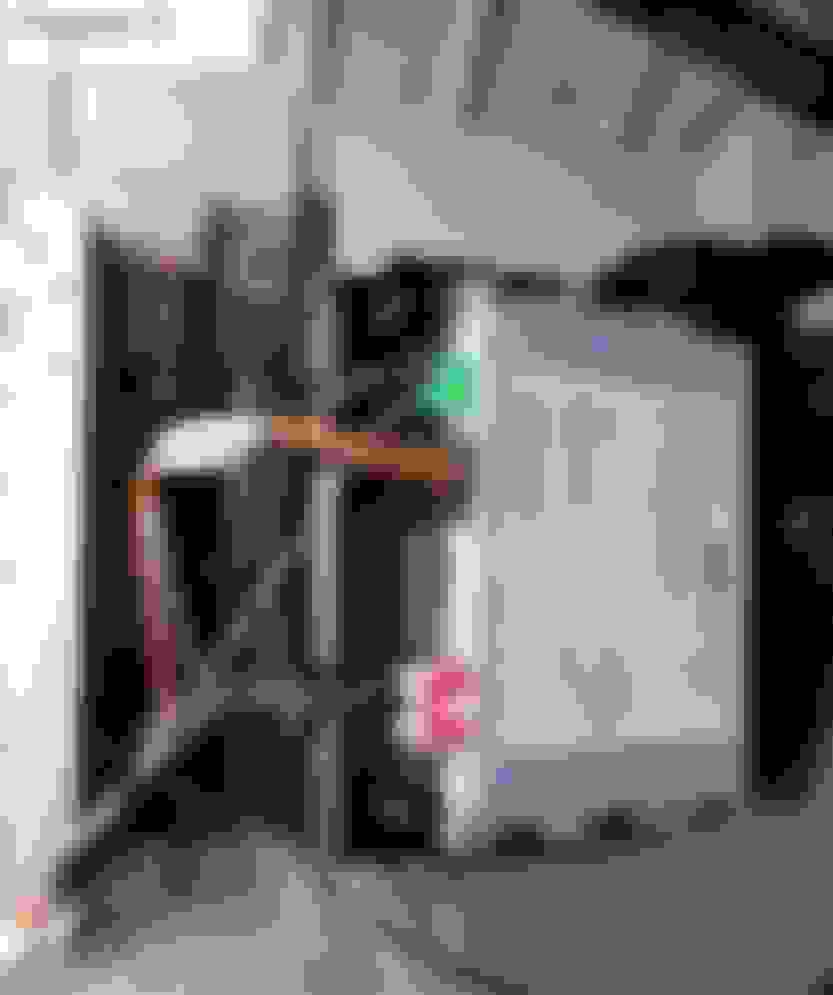
Power & ground
I then disconnected the battery again, attached the DAB power plug to some green/red coded cable and also a black ground cable. I spliced into the +cable from the plug into power feed to the TV unit, which was colour coded green/red, and attached the ground to the connection just under where the DAB unit is to be fitted (Figure 2). I then attached it to the extension FAKRA cable which I then attached , in turn to the DAB unit.
MOST Cable
I then disconnected the MOST connector to the TV unit, attached it to the female socket in the “Y” adapter, connected the correct plug to the TV unit and the other to a bypass loop. I then reconnected the battery and ensured that the TV, etc., all still worked. I then replaced the bypass loop with the DAB unit (Figure 3).
Bracket.
I initially knocked up a crude bracket out of aluminium while I was waiting for the one on order to arrive (Figure 4) and then replaced that with the new one (Figure 5), which I had to modify in order that it would fit.
So now I have it all fitted, everything else working the way it was, but, of course no DAB yet. I have booked in into an independent Jaguar garage in Nottingham next Thursday for editing the CCF – fingers crossed!
Last edited by JagNovice2; 08-23-2020 at 01:47 PM.
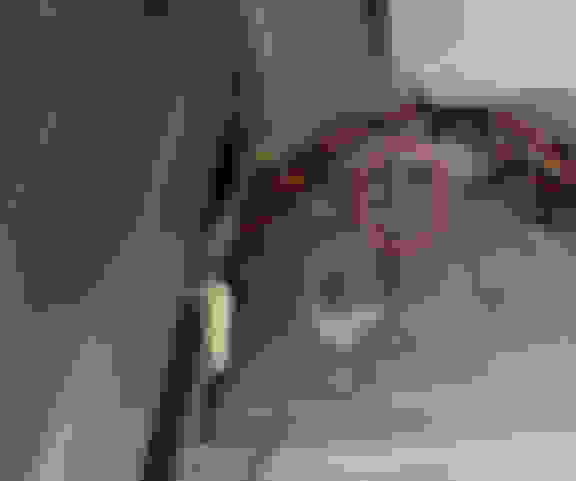
Sorry for the off topic input but your pictures show something I have not figured out and I have never seen anyone explain their function?
They look like thread protectors to keep paint and other coatings out of the threaded section.
I have circled it in red.
Any idea's? I first ran across them on a 2008 XJ I was working on but they seem to used on many models of Jaguar.
Made from a plastic of some kind so sorta soft.
.
.
.
Hi, were can i get the power for the dab, i do not have pre wired or a tv, i know i can pinch a + from the amp but which wire do i tap in to. Cheers
Edit, cannot find GN-RD at connector C44 H2, so taken the Dab power from the 5a red cable going to the amp, not the 40a power one but the other red in the green connector, it comes from F41, seemed to be +12v all time not sure if power goes down when car sleeps, any advice welcome.
You’ve done an amazing job there. I’ve just picked up a 2011 SWB without DAB but I really don’t have the skill set to sort this out. Is it something you’d be willing to do on another car, for a handsome reward obviously ?
Hi Gareth,
Not really. Sorry :-)
But you could try try Jagtech in Nottingham as I gave them instructions on how to do it and they did my reprogramming.


 08-15-2020, 01:54 AM