When you click on links to various merchants on this site and make a purchase, this can result in this site earning a commission. Affiliate programs and affiliations include, but are not limited to, the eBay Partner Network.
I feel like an idiot. I’m trying to replace my water pump and I did that just fine. I’m putting a new serpentine belt on and trying to get the tensioner back in place and I can’t seem to get it to line up. And when I removed it to try a second time, I noticed dust on the belt and the tip of the tensioner screw is shiny so I’m afraid I’m cross threading it. Is there a trick to this?
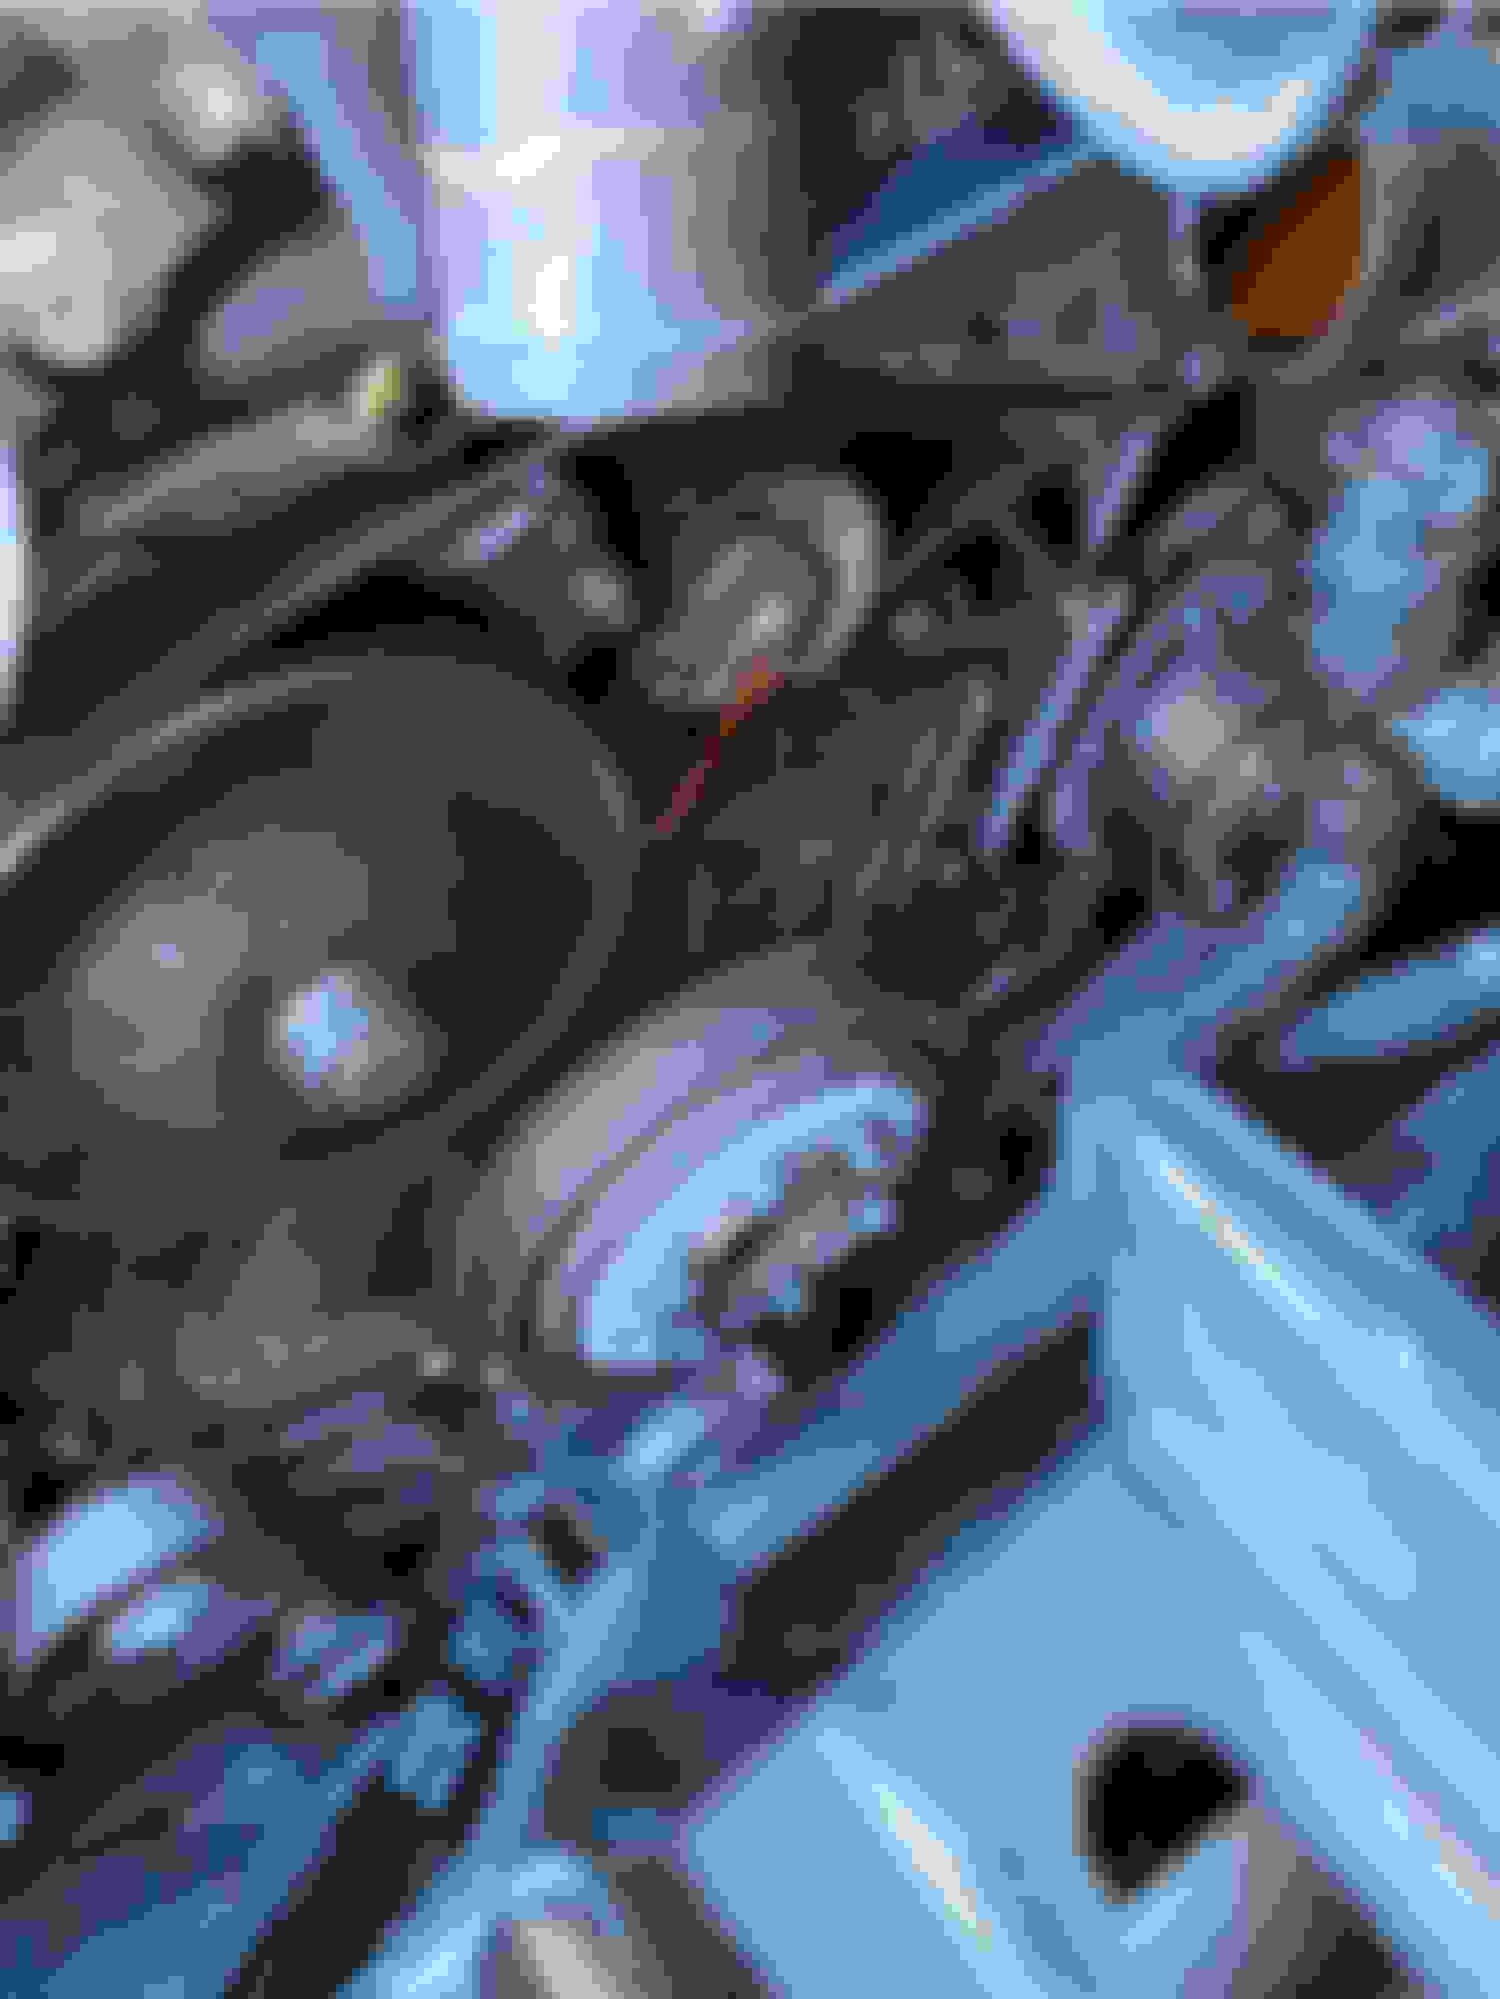
It looks like you missed the holes in the block where those little alignment bumps on the tensioner go into on the block. If you look at the open hole at about 7 o’clock in your photo just above, it looks like one of those divots/bumps on the tensioner pushed away some of the aluminum when it was installed misaligned.
so you need to fix the threading first. It is not so bad. it can be fixed. If you can match the bolt up with a tap (probably an M10 x 1.50 tap) you can run a tap down the threads and clean the threads up. Make sure you line up the tap when you put the tap in. Just make sure you’re going straight into the block so just take a look at it from the top and from the side to make sure that it’s not at an angle and just start to turn it in by hand give it a little bit. FORCE needs it a little bit of resistance to make sure you go in the right direction . I just had to do the same thing on the threads for the mode amount on my STR when I replace my compressor. But went sideways, but I managed to save it with that tap. I just showed you.)
then try to get the tensioner in the right position with those bumps on the tensioner in the right holes on the block before you try tightening the bolt up
i got the threads fixed but this tensioner doesn't want to line up. What am I missing here? Am I supposed to be using an insane amount if force or something?
Is there a lot of other posts or replies on this thread? Whered they go? deleted?
Anyways, I was looking for a picture of the mounting area that the tensioner bolts onto.
looking at your picture, I can see one place where there is an hole that detention or alignment bump on the tensioner fits into, but I want to find where the second hole would be.
right now I can see a damaged area where it looks like one of those protrusions/alignment bumps pushed some of the aluminum out of the way when it was not in the correct position when you tightened it down.
is there a small cutaway (like half a hole) just to the right at about 6 oclock. looks like tensioner needs to be rotated More counterclockwise.
Hint: When you assemble the auxilary belt/tensioner: First mount tensioner on its correct place with belt NOT on its position, exept it route under the tensioner "arm", but not routed over all pulleys. Second: Position the belt so that its routed correctly, exept one pulley you have good access. Third: Stress the tensioner using square hole by directly an 3/8" drive, so you can lift the belt over last pulley.
If you are trying to mount the tensioner as last so that the belt is correctly over all pulleys: Good luck. Take a video if you succees. You will be first humankind to made it.
Thanks much Vasara! I could not understand why he was struggling so much with something so simple?
oligodendroglioma are you attempting to install the tensioner with the belt?
As posted above first attach the tensioner then install the belt while slacking off the tensioner using a breaker bar.
.
.
.
The grey one throws everyone off! Check and you will find that grey nipple is solid. No thru hole. So nothing attaches to it as that's a left over from when Jaguar made some changes to the cooling system on the front of the engine.
I "think" the other one should have a tube connecting it to the water pump? Is there a hole with a brass fitting on your water pump?
Post a picture of your water pump if this does not make sense.
Good on the belt but were you trying to install the belt at the same time you were installing the tensioner? Still trying to figure out why you had problems as this is very straight forward install?
.
.
.
haha yeah, I was a having one of my special moment and tried to install the belt and the tension all at the same time. I ended up doing that but left the belt off of the water pump pully (the top most pully) then once the tensioner was in place I pulld the belt up and slid it on the water pump pully.

 09-27-2024, 03:30 PM