When you click on links to various merchants on this site and make a purchase, this can result in this site earning a commission. Affiliate programs and affiliations include, but are not limited to, the eBay Partner Network.
Since I couldn’t find any DYI on Jaguar 5.0 XJ water pump replacement, but saw a lot have issues, I decided to put something together. The level of technical experience for this job, in my mind, its medium. I work on my cars only and would like to read the DIYs any time before starting the project, since I couldn’t find one, decided to write a few sentences. Since English is my second language I was kind of hesitant in first place and if something don’t make sense, look at the pictures.
This is for 2001 XJ 5.0 Supercharged with 83,000 miles.
Safety will be up to you and i would assume you already know your limits and skill level before proceeding. So be careful and take notes or pictures to make sure all goes back as it was taken out. I bought the parts from Jaguar dealer and placed them next to their part numbers for reference. So this is what I started with…
Removing the engine under cover and splash shield should be self-explanatory. After the splash shield is removed, on the bottom, there is another plastic piece that keeps the air to go thru the radiator, need to be removed. Mine had 4 plastic pull out clips. This need to be removed to drain the Antifreeze. To drain it, I used Phillips screwdriver to unscrew the plug but left it in, didn’t took it out. I have like 1 and ˝ of a gallon out. To speed up the flow, I opened the fill tank cap.
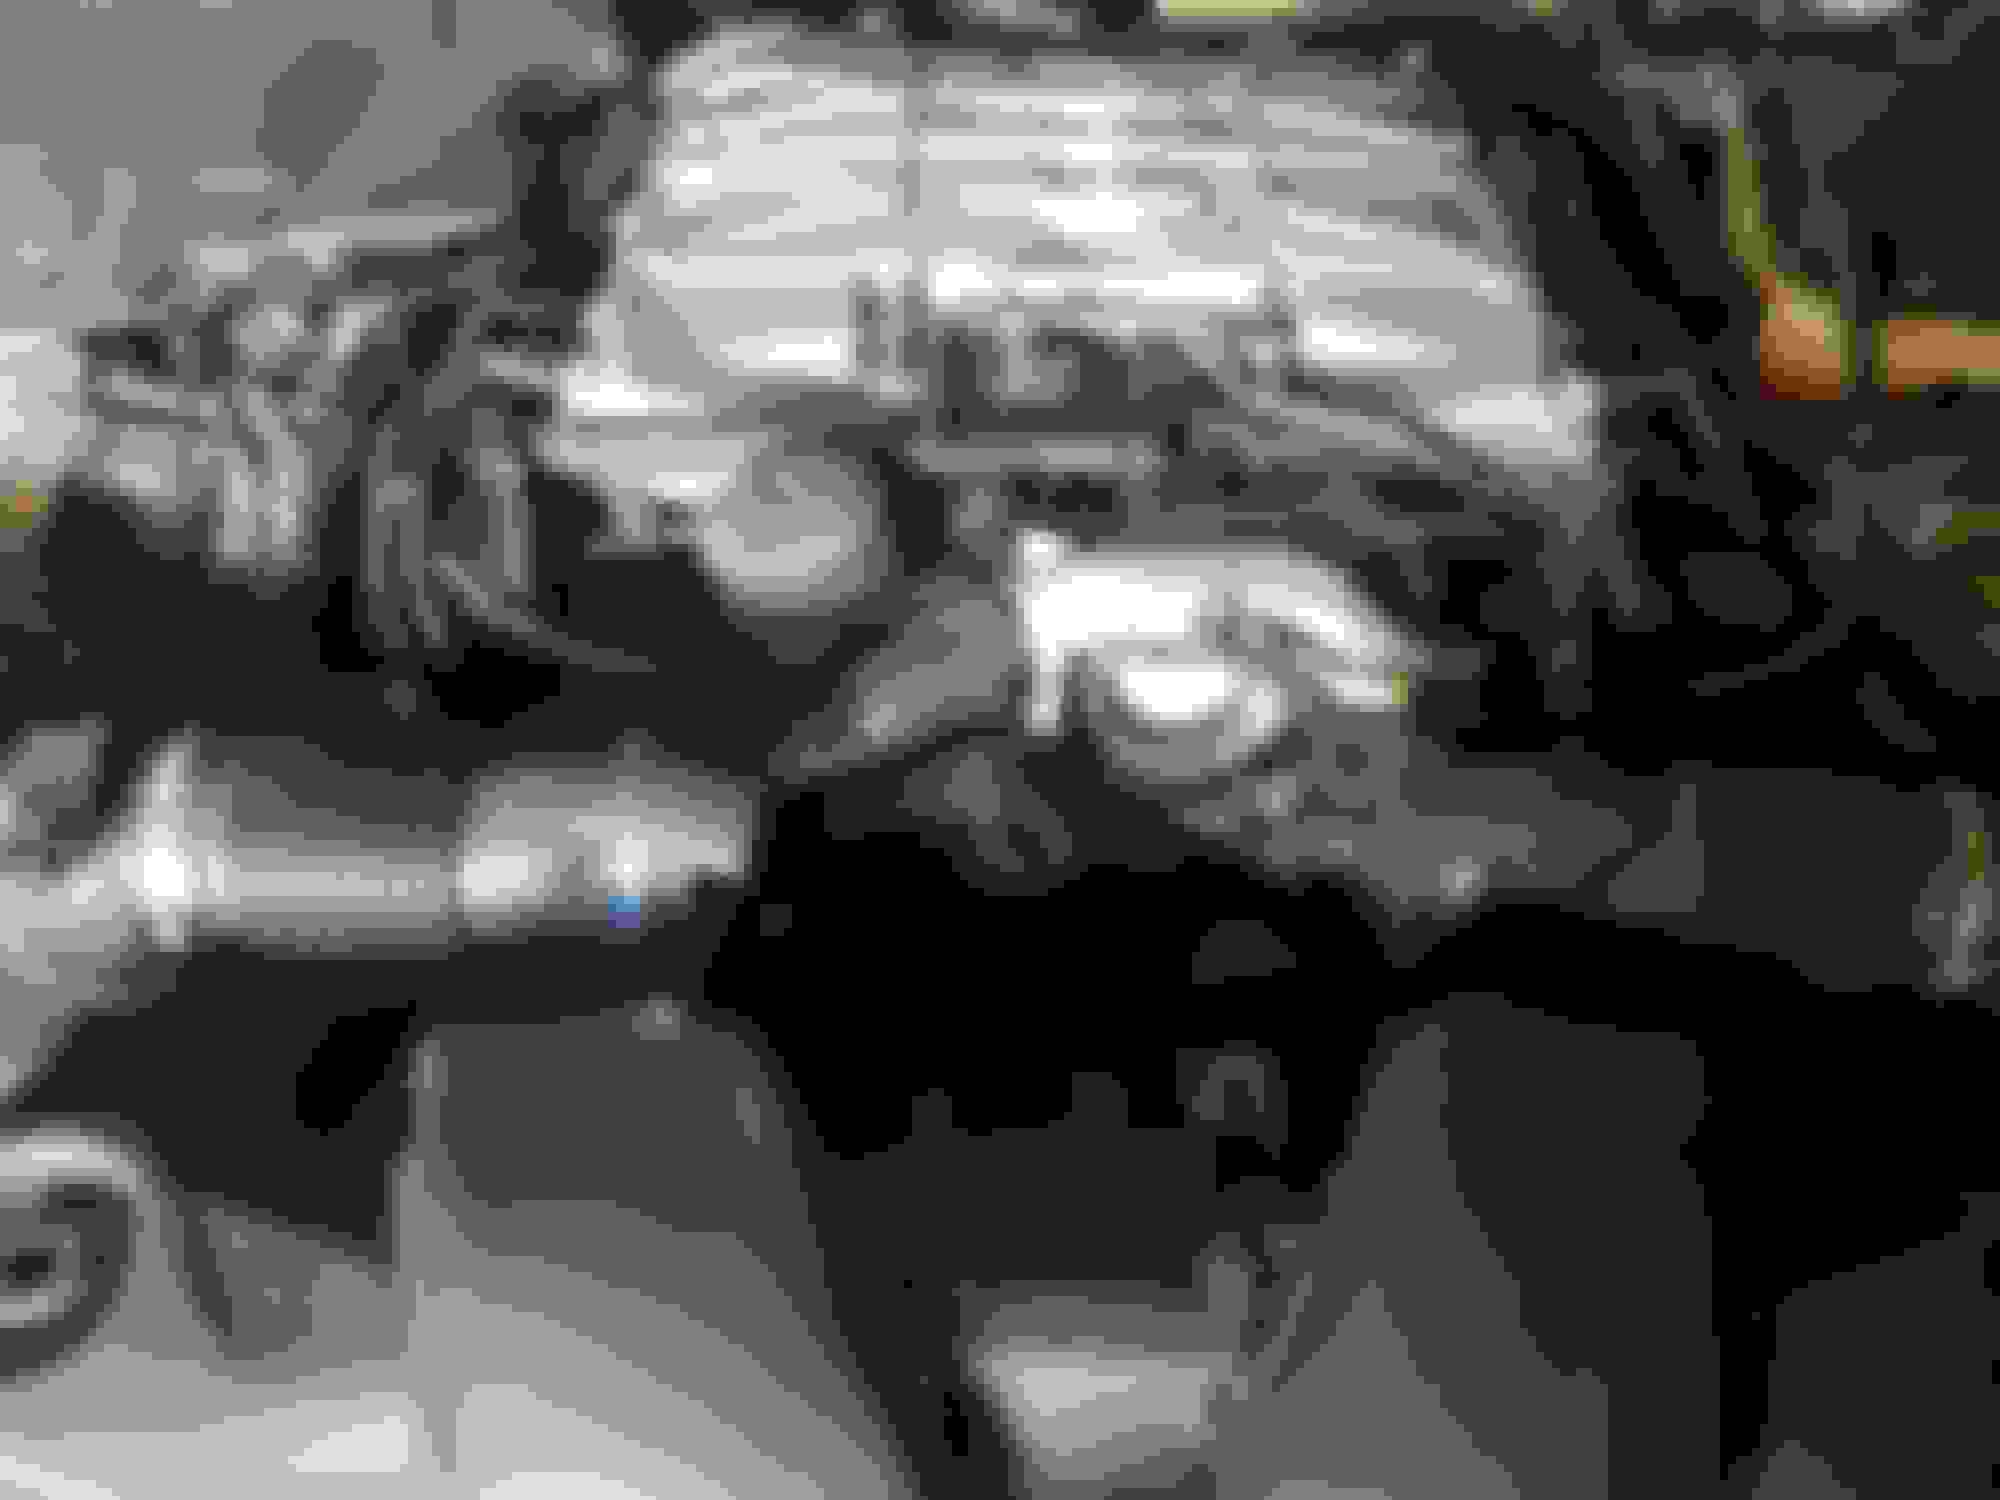
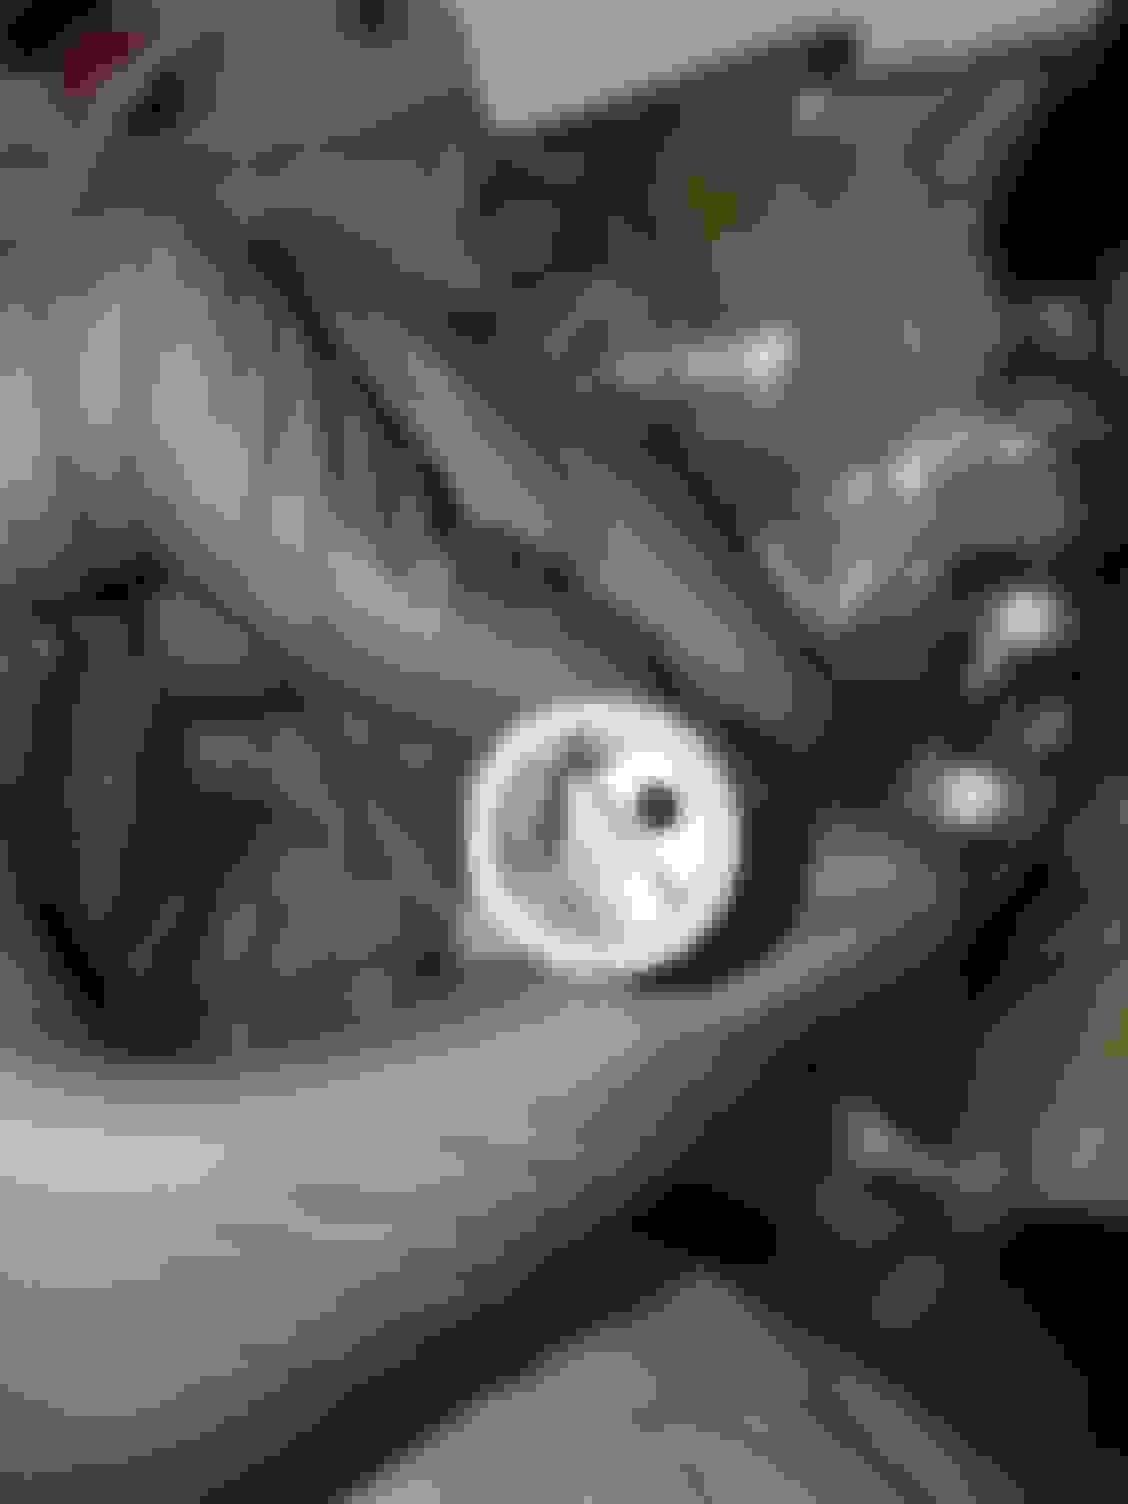
On top, after taking the cover and removing the air tube this is what I have.
Next, removed the supercharger belt, which is self-explanatory, but to be on a safe side, please make yourself a cheat sheet as to how the routing goes. Use 3/8 drive and loosen the tensioner to take the belt out.
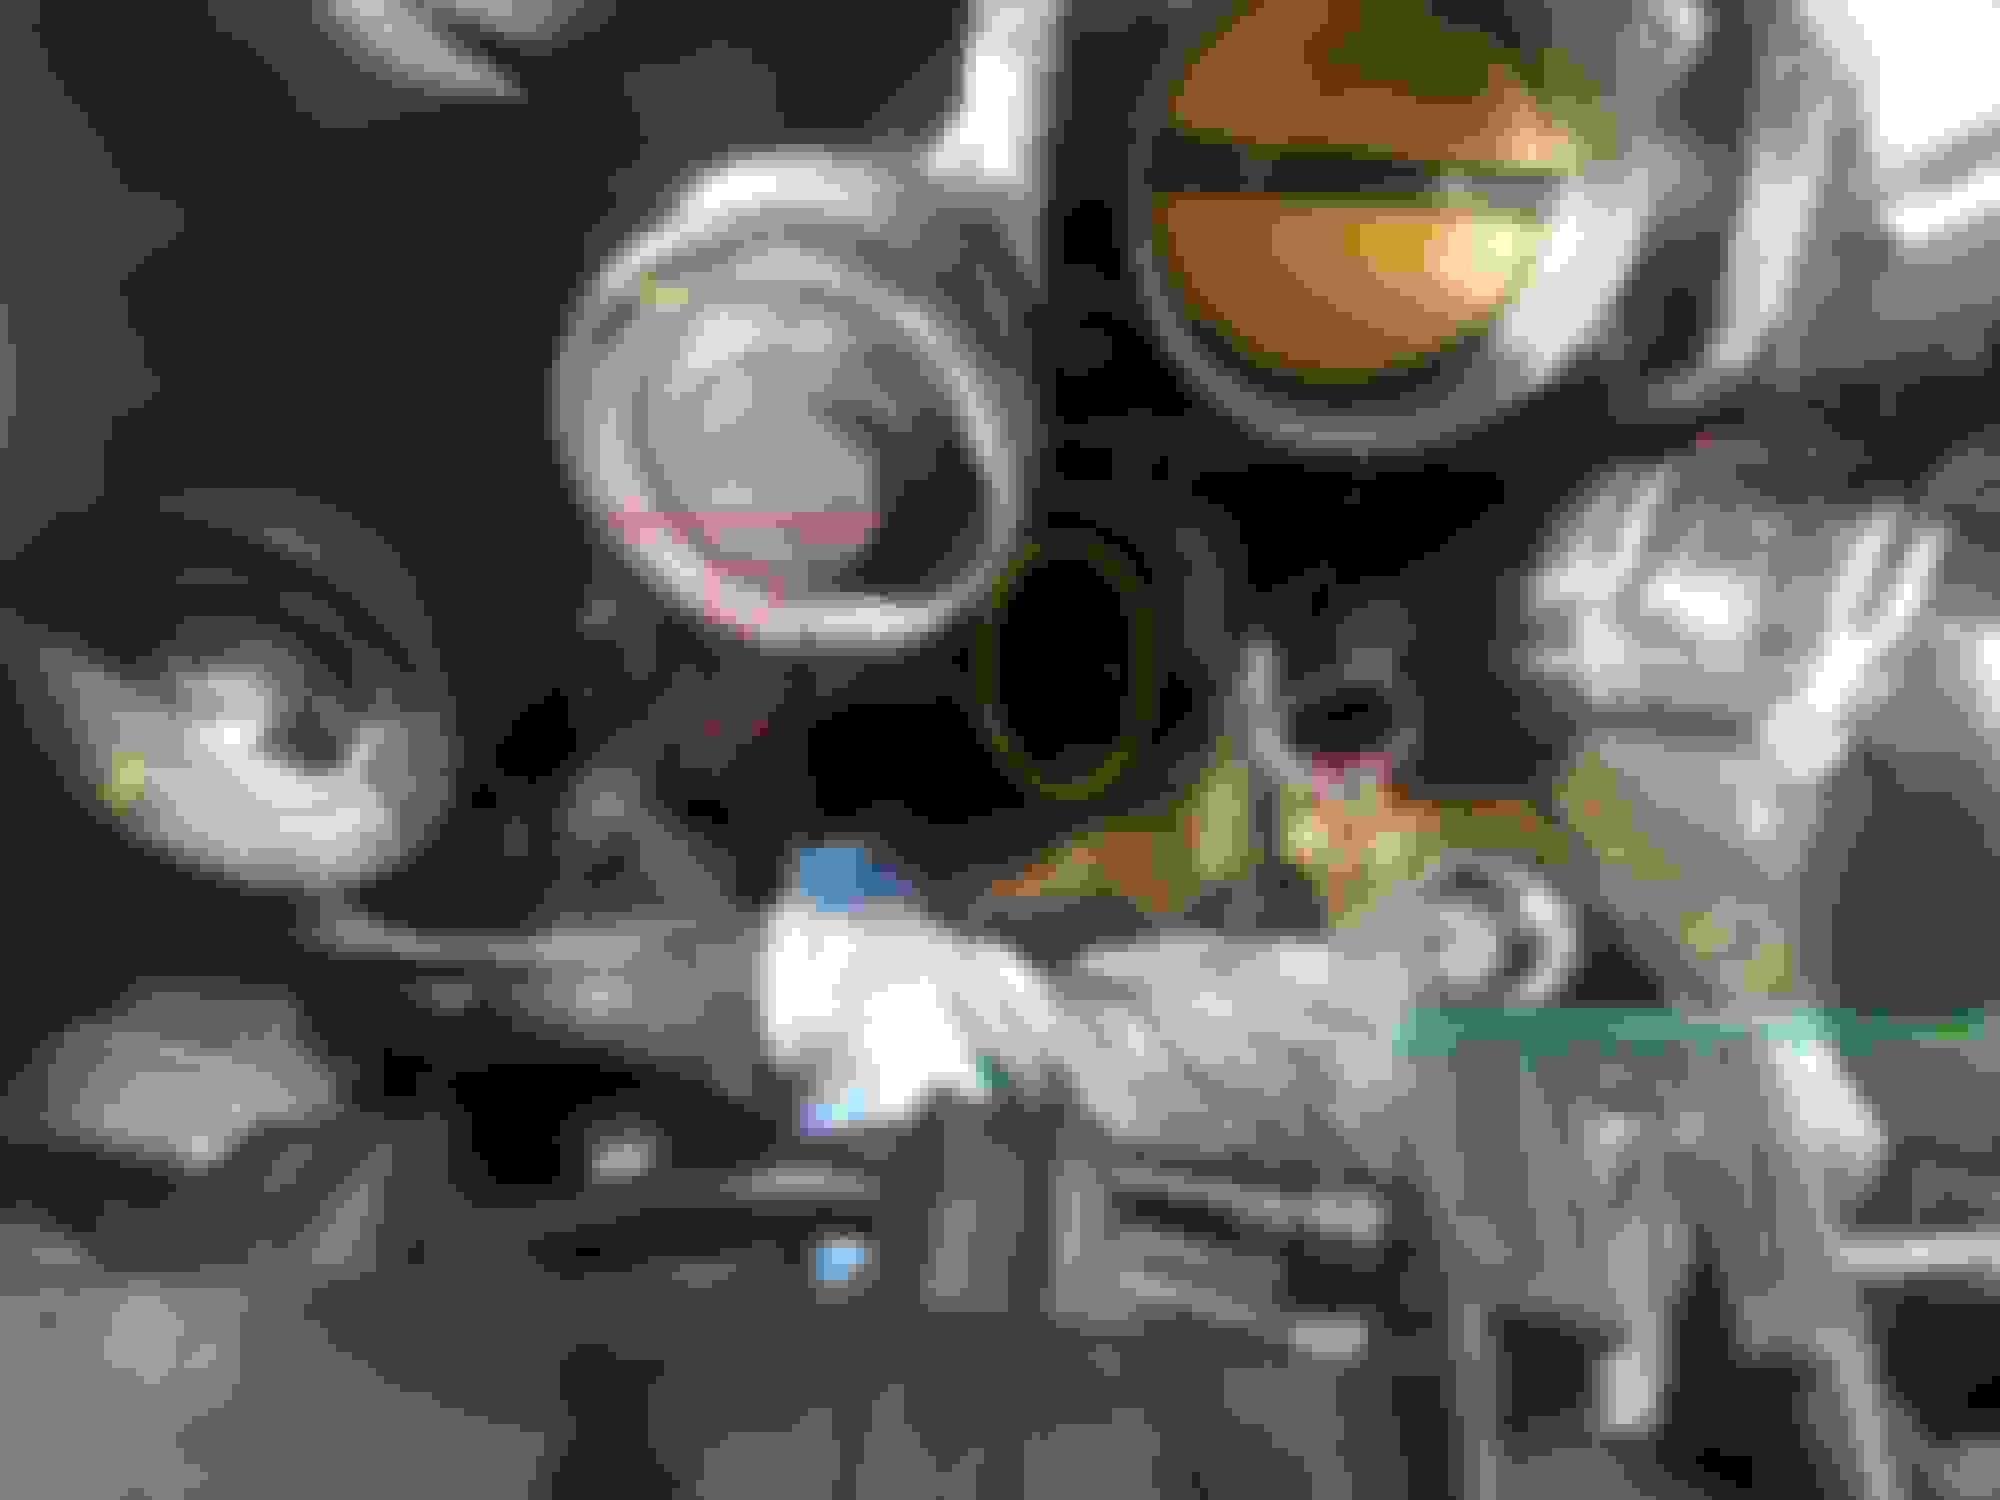
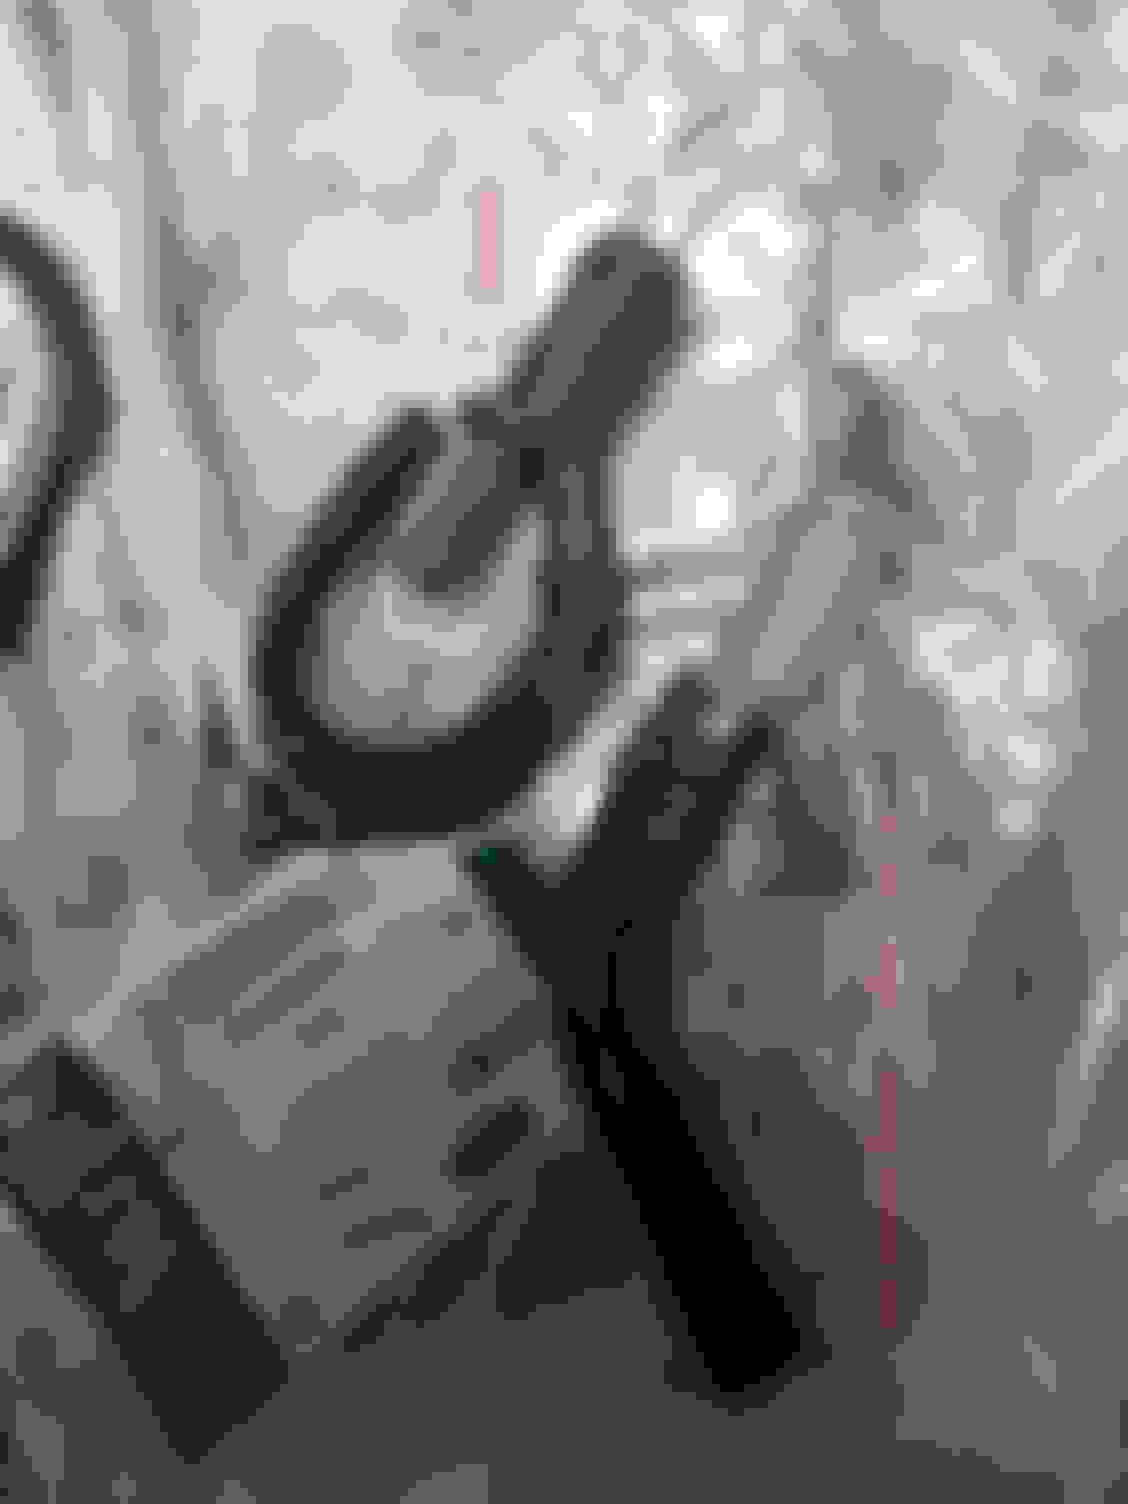
Now the tricky part. The belt for the water pump does not cooperate to be easily taken out, so what worked for me is, I loosen the tensioner just enough to slide it off the water pump pulley and left it in place. Used couple zip ties to make sure it don’t fall off while im working in the area. And this is how it looked.
To access the bolts for the water pump, I removed the belt tensioner, circled in red in the picture above.
Now, before we go and take the water pump out, we will need to disconnect the stubborn hoses. To take the smaller hose out, you need to push the outer ring while pulling the hose out. It is a push lock fitting. Then take the clamp of the big hose and slide it back. I used a flat head skinny screwdriver to work it out and away as it seems that was glued to the pipe. After 10 minutes of me pulling and yanking on it, I finally got it out. Just be careful with the smaller hose as it is very brittle. I broke mine, not when I disconnected it, but later while I was making room to access the pump. I kink it too much and it broke. I will come back to it later in this writing.
Here is a video of my water pump. You can clearly see what the issue is here. I just don’t understand how come after 83k on the odometer with a class of this car to have issue like this.
*( because of the size restriction, the video will be posted separately )
Now with the hoses removed, the water pump is held in with four T27 bolts, circled in red. I don’t have a picture from before removing it, but circled are the locations of the bolts. When the bolts are out, grabbed the pump pulley and wiggled it up and down while pulling toward the front of the car. It came out pretty easy.
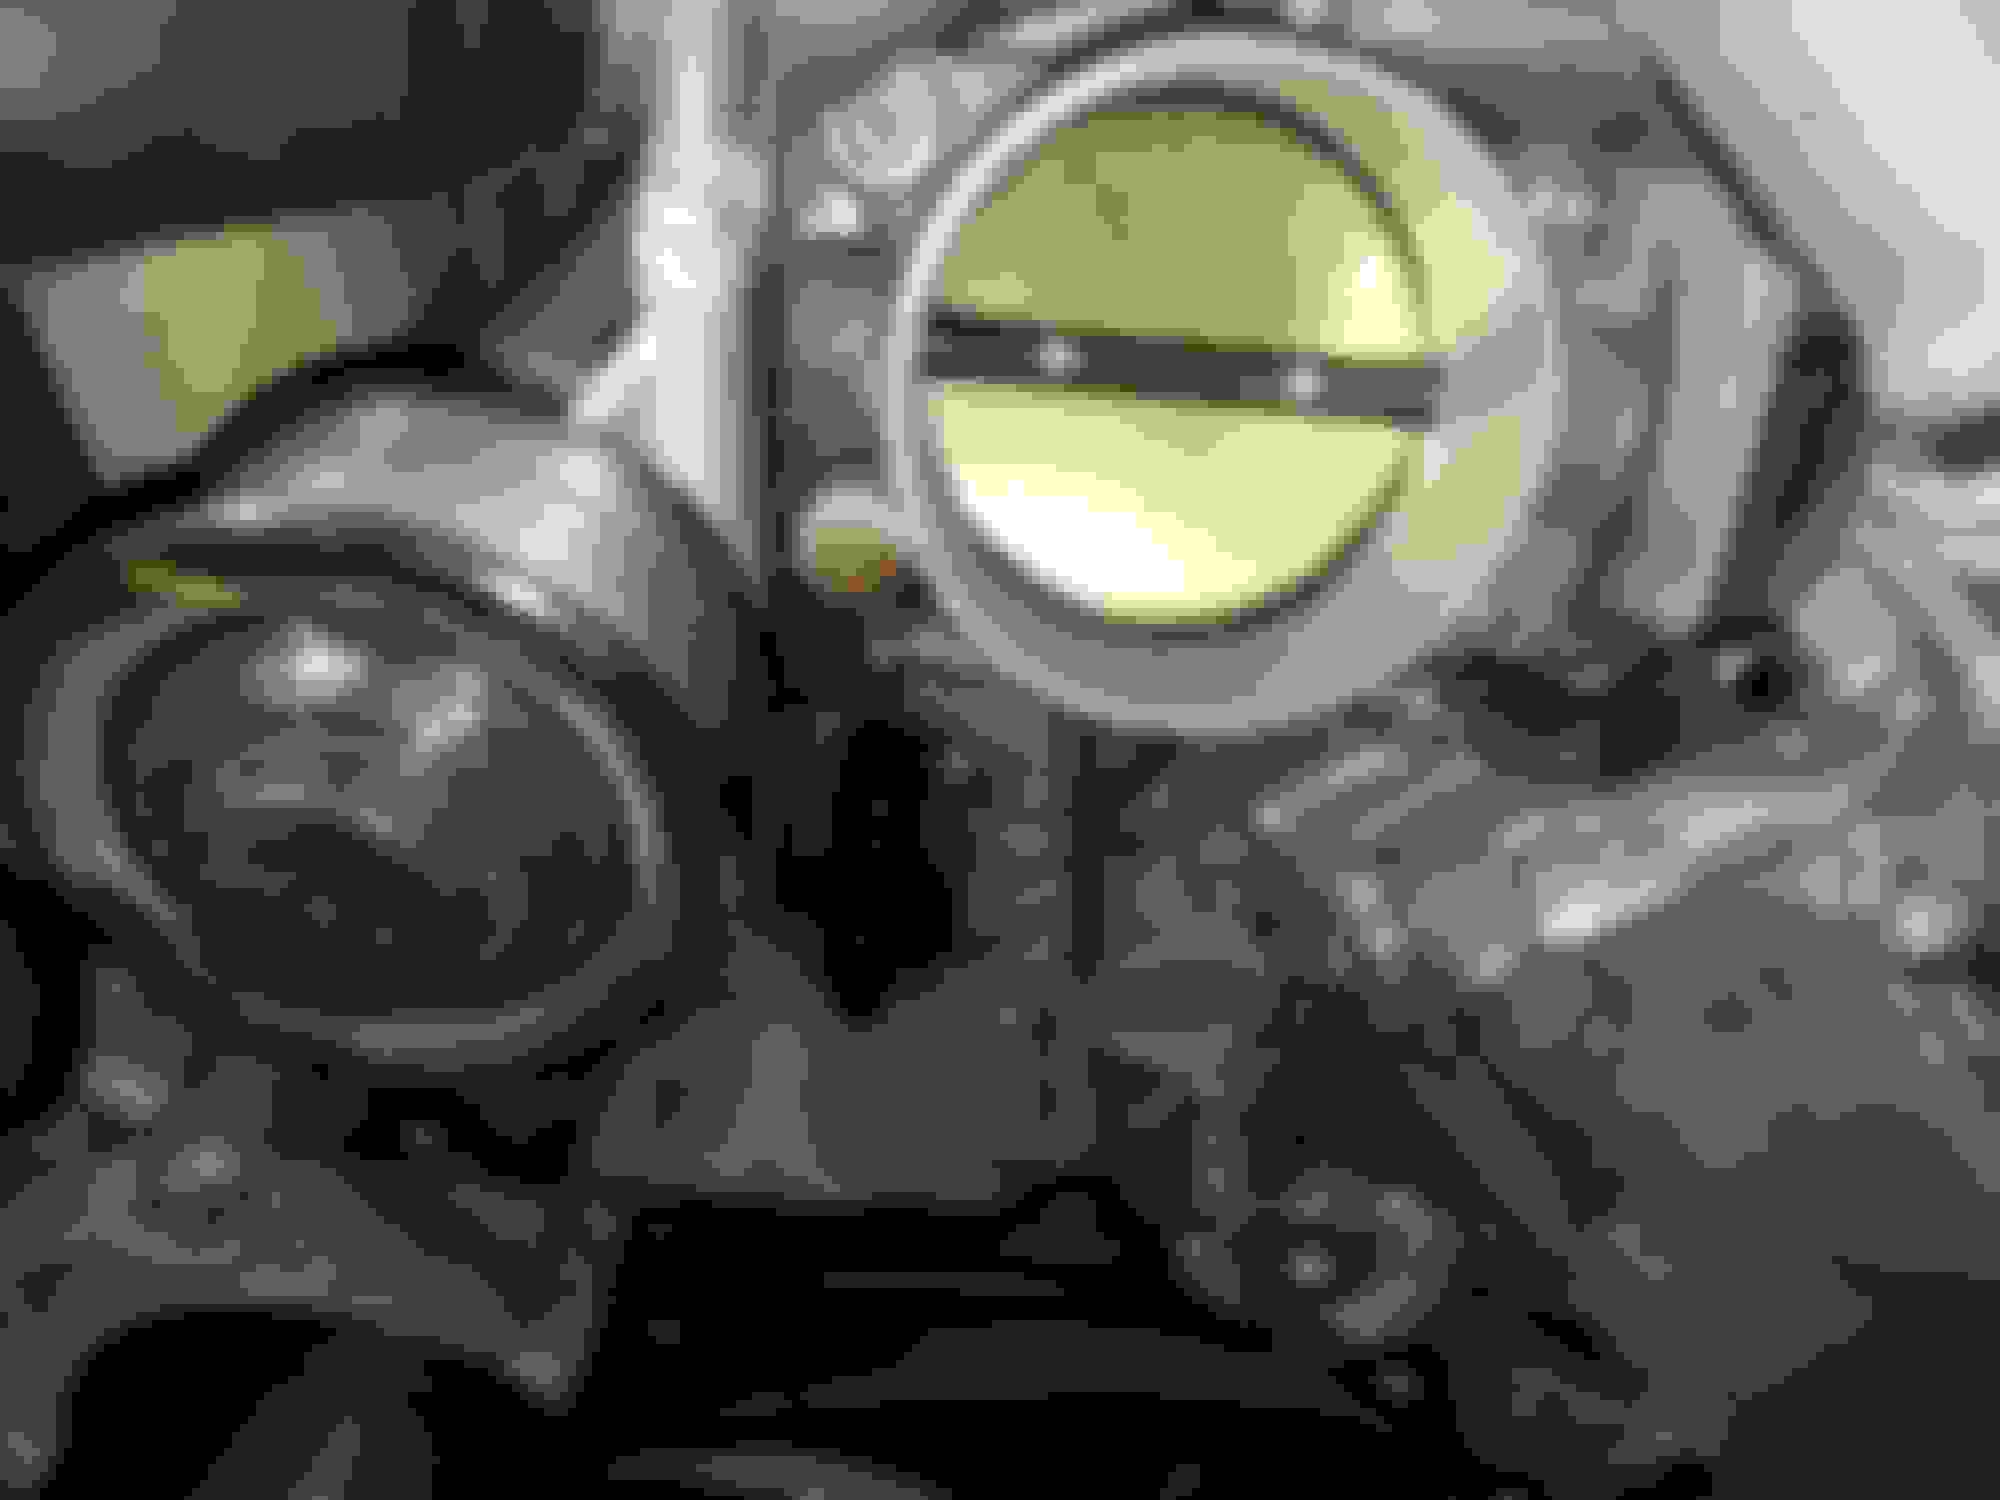
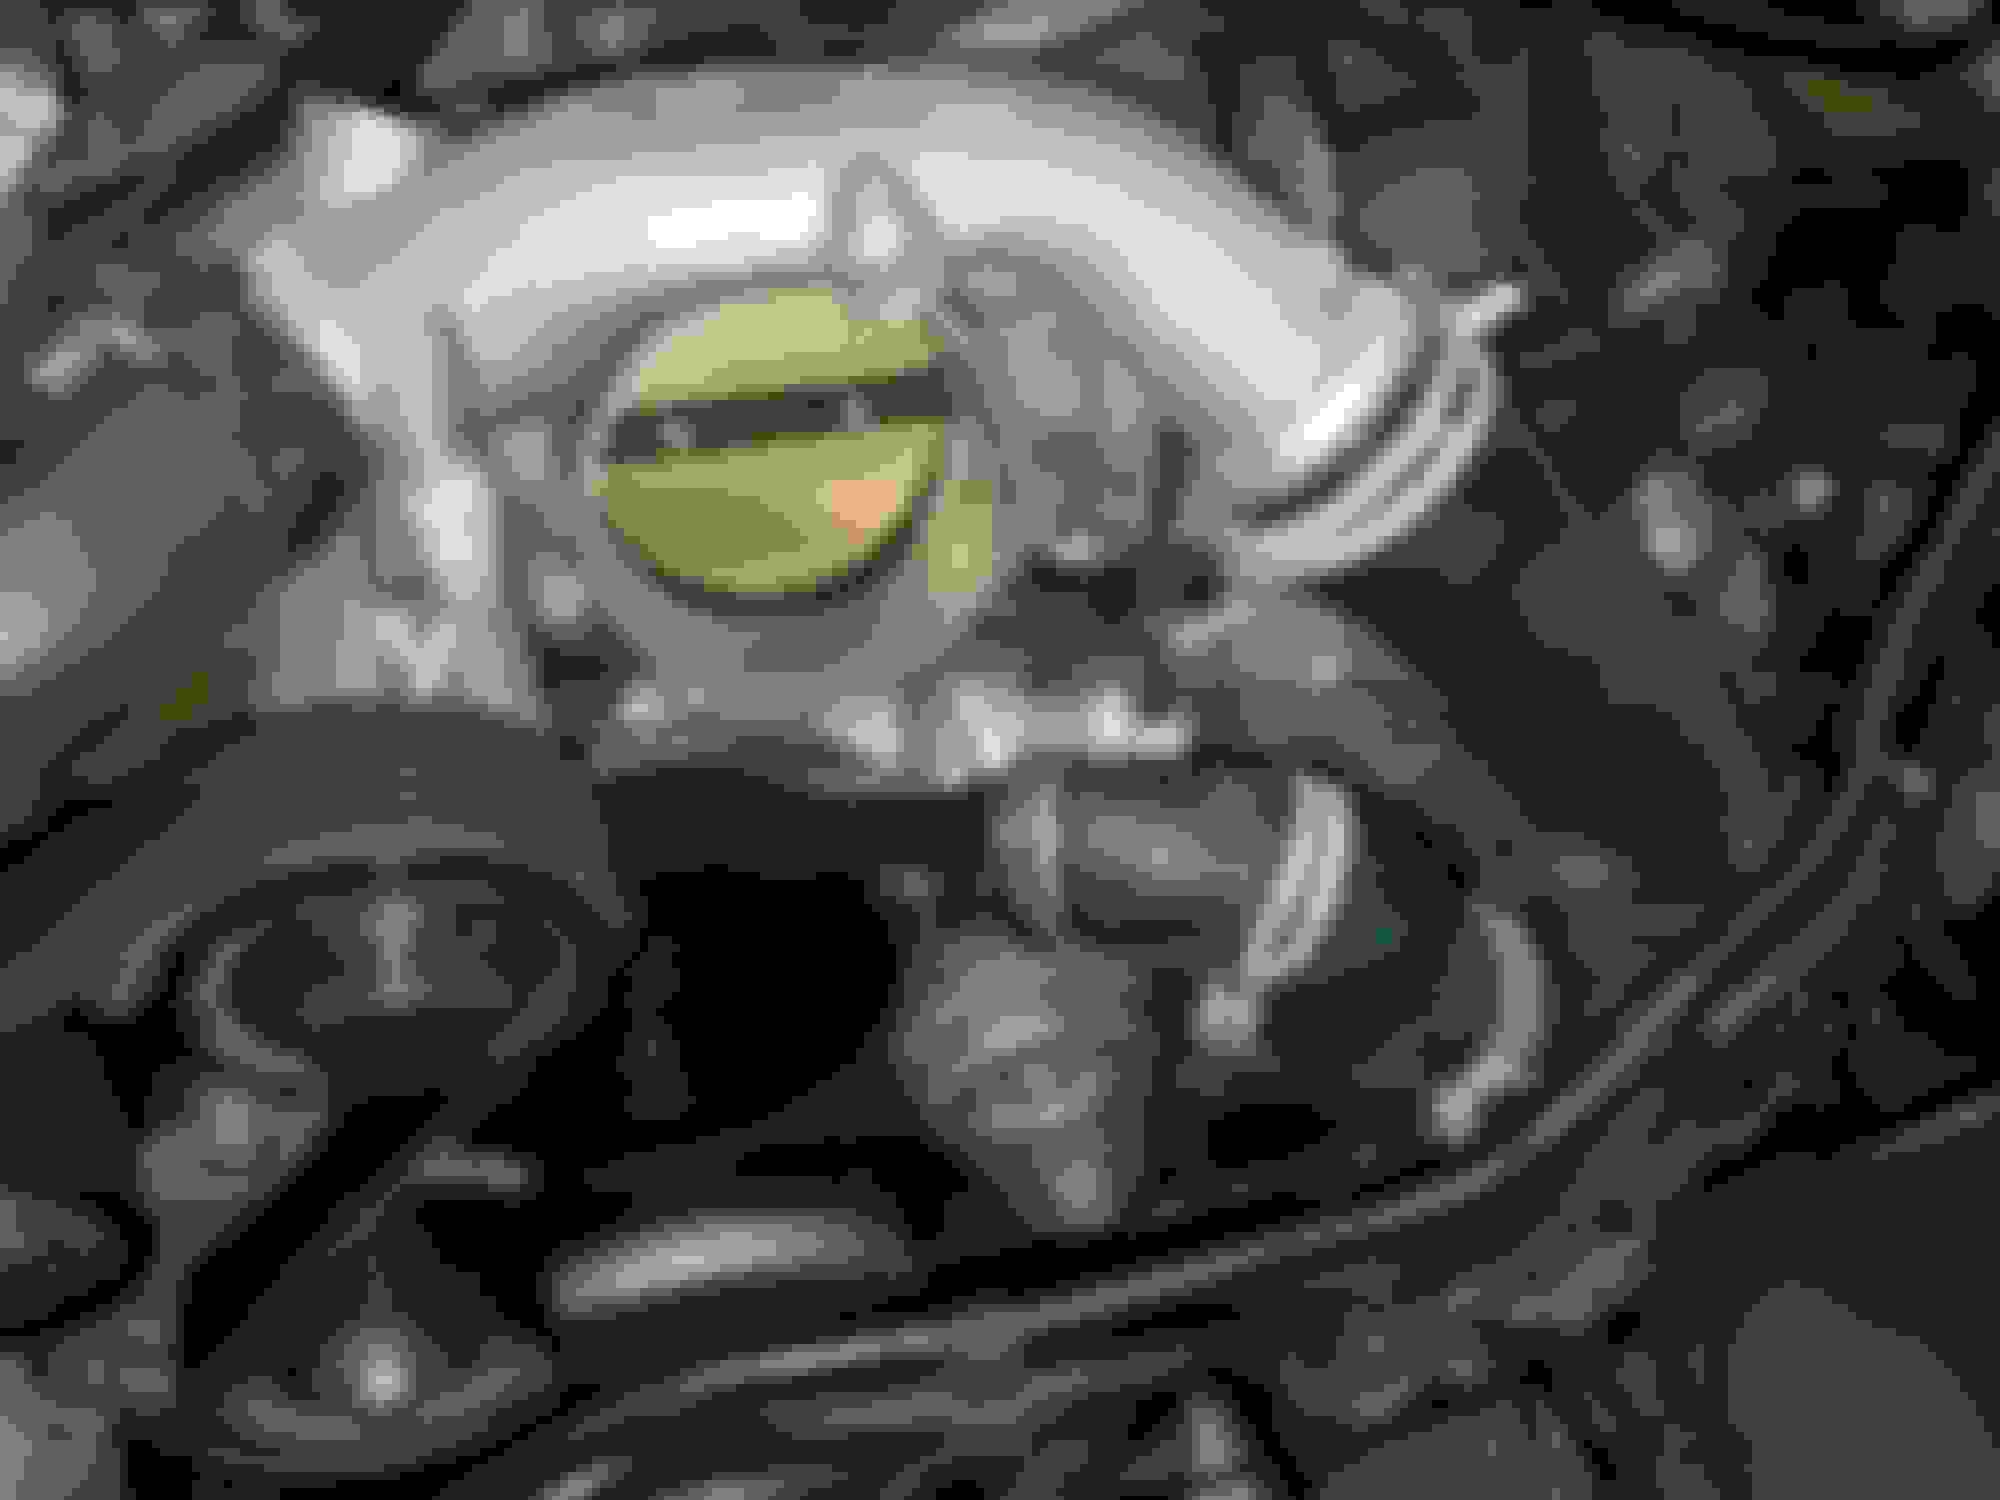
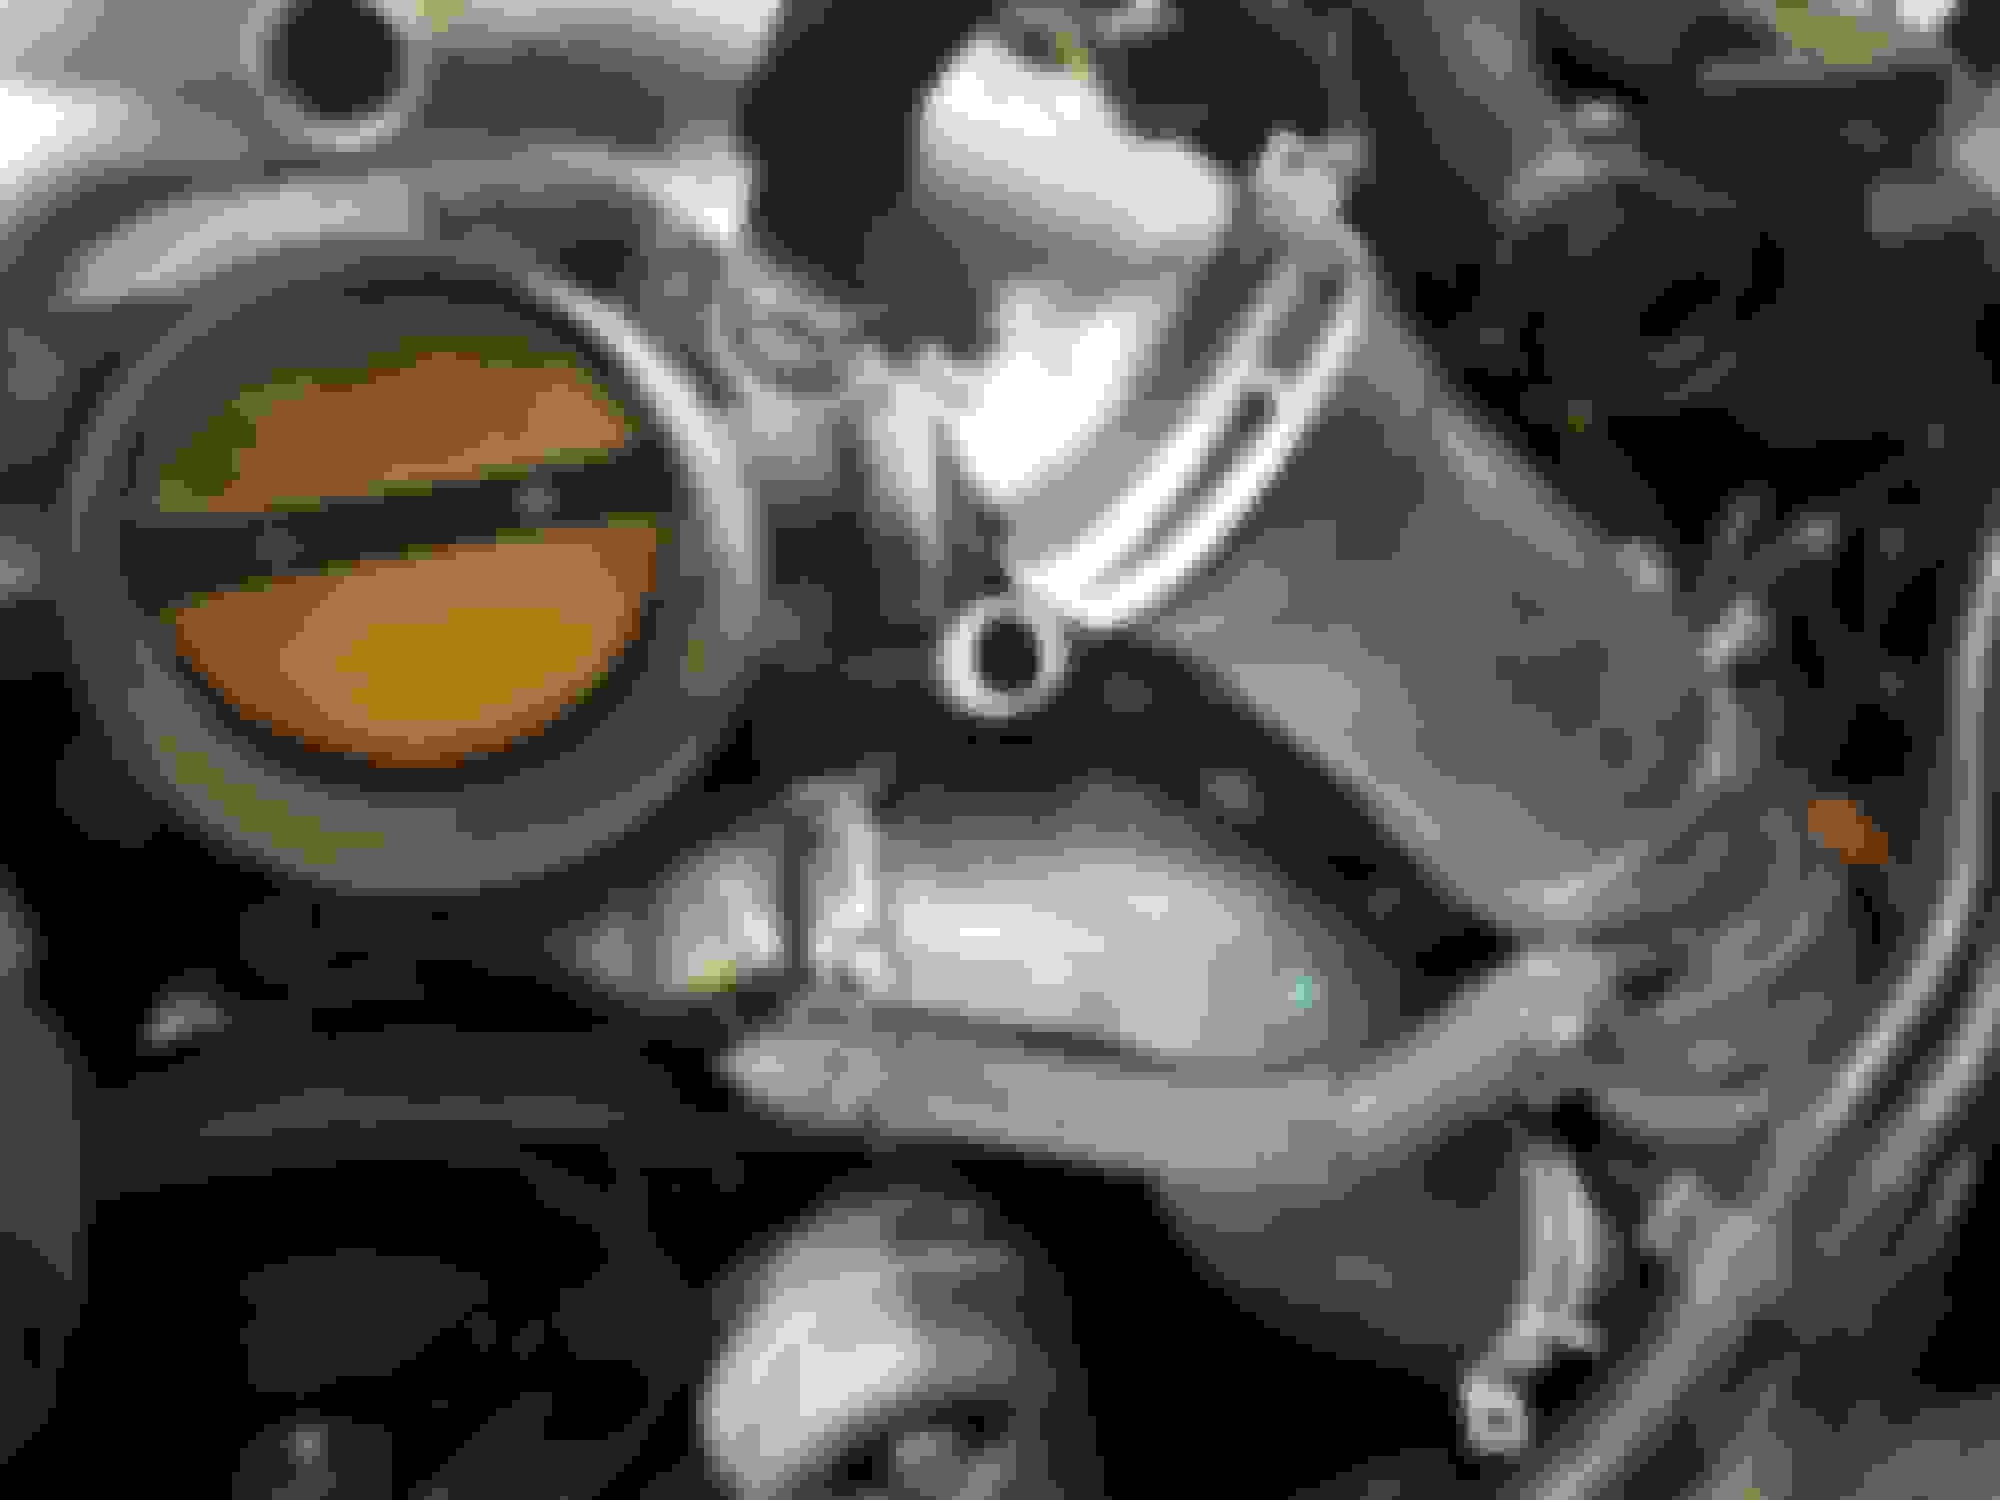
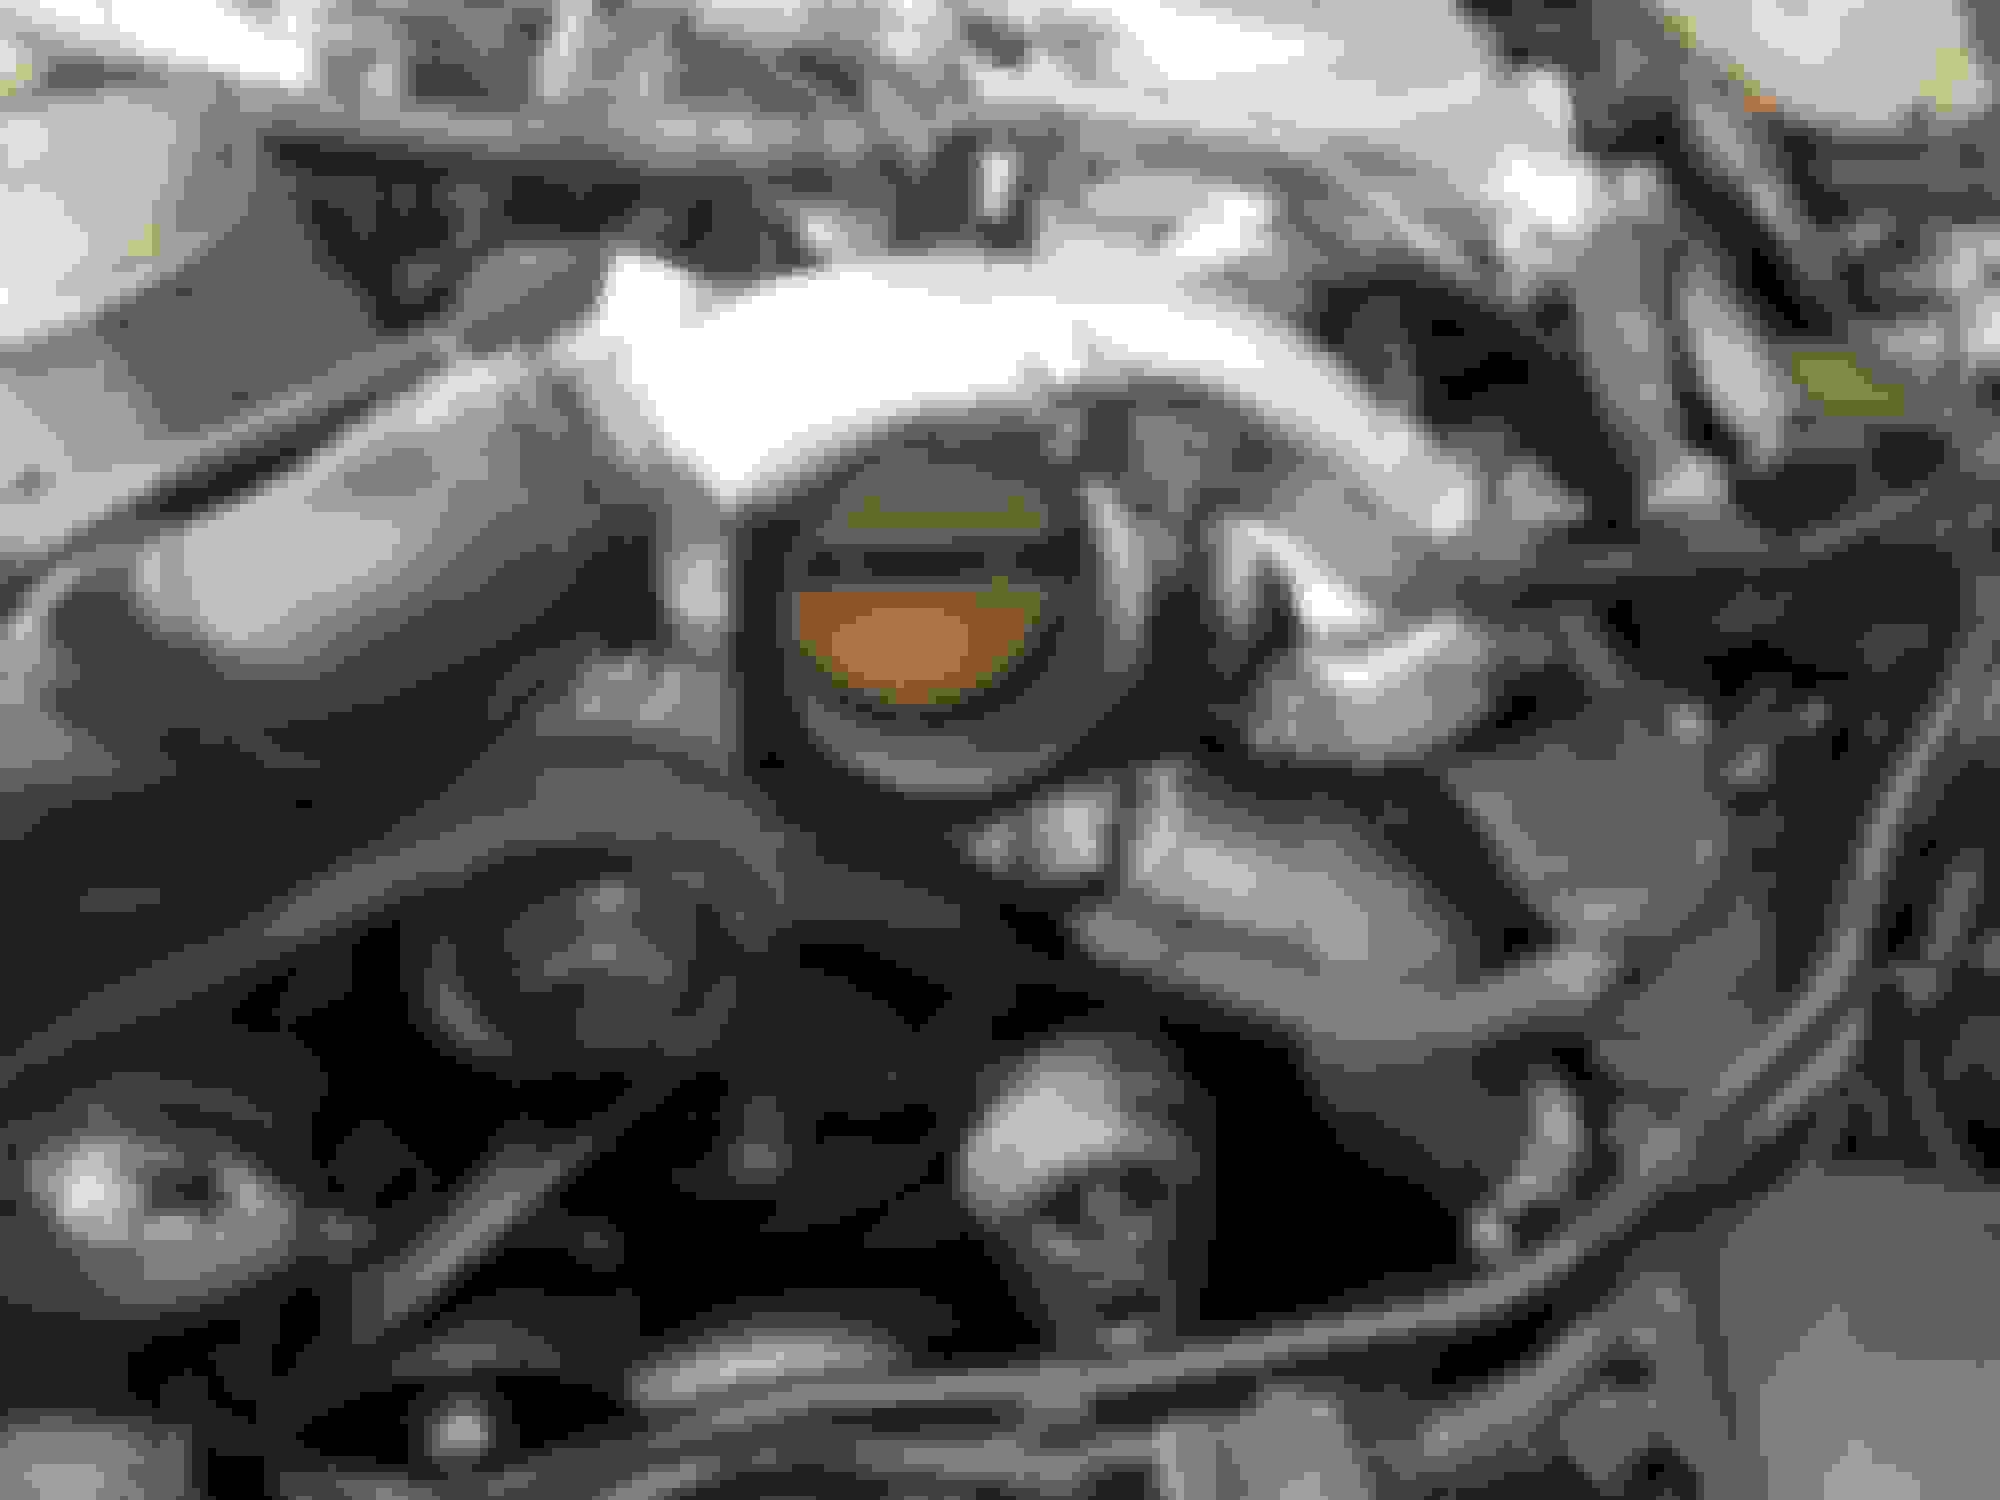
With the water pump from the dealer, they gave me the plastic tube, circled in yellow, and O-ring, that also is recommended replacing with the Water pump, so I replaced them all. Installed the O-ring and the plastic tube with little to no effort and put the Water pump in its place. Tighten the 4 bolts and slip the belt back on the pulley. Installed the belt tensioner back and here is how it looked.
Now, the only thing left is to connect the hoses and fill in the Antifreeze, but since I broke the small tube, I was back at the dealership looking for replacement.
This is the replacement for the broken tube, in case you need it and if not, you can skip this part.
Small tube plastic Y connector actually have one port sealed from the inside so its just have the barb connection on the outside for nothing. I think Jaguar had smarter engineers that can design a small connector with out looking like something is missing on the car. When I went to pick it up, the parts guy called the service tech to explain that this will work and he took me in the back and showed me the car he just did the water pump and sure enough, it has the little plastic barb with nothing connected to it. So off I go to finish my car.
Installation was easy and this is how it looked after the new hoses were installed
Now on the antifreeze, I will leave it up to you and I can only tell you what I did. I bought a Prestone antifreeze from my local car parts store for aluminum block engines. And I know I read some stories that you will need to use only approved from the dealer and what not but what I did to have a piece of mind is, I took small amount of the old one and mixed it with the new one I bought, had it sat there for 2 days, as I was busy at work, and nothing happened. So i used it.
On the antifreeze filling, what worked for me is, first filled the tank with Antifreeze and started the car for 20 min with the cap off and constantly adding as the level was going down. Then let it cool down. While checked the proper level and with a cap on this time, I took it for a ride and let it cool down till the next morning then fill it just a tiny bit more as I ran out of antifreeze I added distilled water. Checked the level when I got to work which is 35 miles drive and it was ok. Since no leaks were present I go ahead and put installed the splash shield back on and cover in the reverse order of taking it out. The mixture of the Antifreeze after all was set and done, was -40 F which I need for the climate I live in.
The car now have no leaks and still runs like a champ.
If the bottom RH corner still has an "edit" icon, click it and you can edit that post. Note that the edit icon will disappear a few days after you made that post.
Hi. What was the reason to replace the pump? Mine looks not working at all. Just curious if this is the same problem. Thanks.
I shoot a video where I am testing the pump. I filled system with water and disconnect upper hose and run the engine. Nothing flows at all. https://www.youtube.com/watch?v=H1UB...ature=youtu.be
You might want to look at Bigg Will's water pump replacement thread? It's kind of been the standard for the 5.0L SC engines.
He also has part numbers because the water pump has been revised about 5 or 6 times now. You really want the latest version. We "hope" it has been improved from the original design! Water Pump
.
.
.
Hi. What was the reason to replace the pump? Mine looks not working at all. Just curious if this is the same problem. Thanks.
I shoot a video where I am testing the pump. I filled system with water and disconnect upper hose and run the engine. Nothing flows at all. https://www.youtube.com/watch?v=H1UB...ature=youtu.be
*** Mine was leaking and still working. When started to taking it apart, noticed the pulley was wobbly which explained the leak.
Please make sure you check the obvious and your pump is not starving. In your video is hard to tell if the serpentine belt is moving, and if it is, then you might have broken pump. The best is to take it apart and see if the impeller is moving when you turn the pulley.
Good luck !
I am having mine replaced now in my 2012 XJL. Since I bought the car, I have noticed a smell of coolant, but there was no visible leaks. I took it in to my independent shop, and he didn't see anything either. In the past two months, I have been checking the recovery tank, and topping off with about half a liter every week. So I took it in a few days ago, and demanded that they actually do a pressure check on the coolant system. Yes, it was a small leak(probably leaks more when driving than idling). They found some damaged hoses, so they replaced the hoses. Still small leak. They noticed bubbles coming from the water pump, so I told them to replace it. I am slightly annoyed, because they should have did a pressure check the first time I brought it in.
 10-03-2017, 02:42 PM