When you click on links to various merchants on this site and make a purchase, this can result in this site earning a commission. Affiliate programs and affiliations include, but are not limited to, the eBay Partner Network.
XJ8JR, disappointing that your throttle body cannot be done by maxbore. Keep searching though, someone over there must do them, i did find a place that specialises in that area when researching the TVS charger, they also did throttle bodies.
On another topic, RE: Engine mounts, finally twigged my car is rhd so the lefthand mount is clear and open, the righthand is a different story. Anyway called the dealership to get a quote on 2 new engine mounts, check this out, $984 just to buy the 2 mounts. Yeah uuuum NO. So partsgeek dont mail to Australia and only badly reviewed Hamburg tech on ebay or chinese no name brand. So shopped over in the uk on the web and got genuine jag part, 2 shipped for $664. Aussie exchange rate truly sucks, so am going to have to wait a bit to get control arms and rear tie rods. So no staging my tranny for a while with this VAP tuning gear installed until i get these mounts in.
Hope everyone is doing ok and capitilising on our downtime at home and spoiling your kittykat while we have the time available.
Last edited by Lightspeed; 04-04-2020 at 05:56 AM.
$984 for mounts! Yikes. Even $664 is tough to swallow. They better be made of gold.
The correct spark plugs arrived Friday afternoon so I put those in and bolted everything back up nice and tight. So that's one job checked off the list.
The engine brace I ordered for "Guaranteed Delivery Thurs. April 2" still hasn't arrived so I'm stuck in a holding pattern on the supercharger job. But the Thermo-Tec heat insulation arrived and I added it to the engine-facing sides of my DIY air intake shields and around the MAF sensor housings. The rest of it will be stuck underneath the supercharger and the intake manifolds. I'm also planning to wrap the Mina intake tube with the stuff because why the hell not? I also cleaned and re-oiled the air filters.
The Fedex man dropped off my big brake kit from PB Brakes just a few minutes ago!
Ok, so the engine brace arrived yesterday. It took a bit of time to figure out how to put it together but once I did, I started cranking away on the charger and manifold, and they lifted off nicely. However, I still couldn't just lift it all away because there's a whole bunch of garbage connected to the rear. I wrecked my hands reaching back there to disconnect everything. The electrical plug on the MAPT sensor just did not want to budge and its at an awkward angle. Then there's the symposer electrical plug on the passenger side that needs to be disconnected. Finally, the supercharger and manifolds were free and apart.
I was pleased to discover the MAPT sensor is an inexpensive Volvo unit, # 261 230 296. Found one on ebay for $30...much better than the $100+ from Jaguar. This sensor may be different on the pre-2014 or post 2016 models, so don't take this as Gospel.
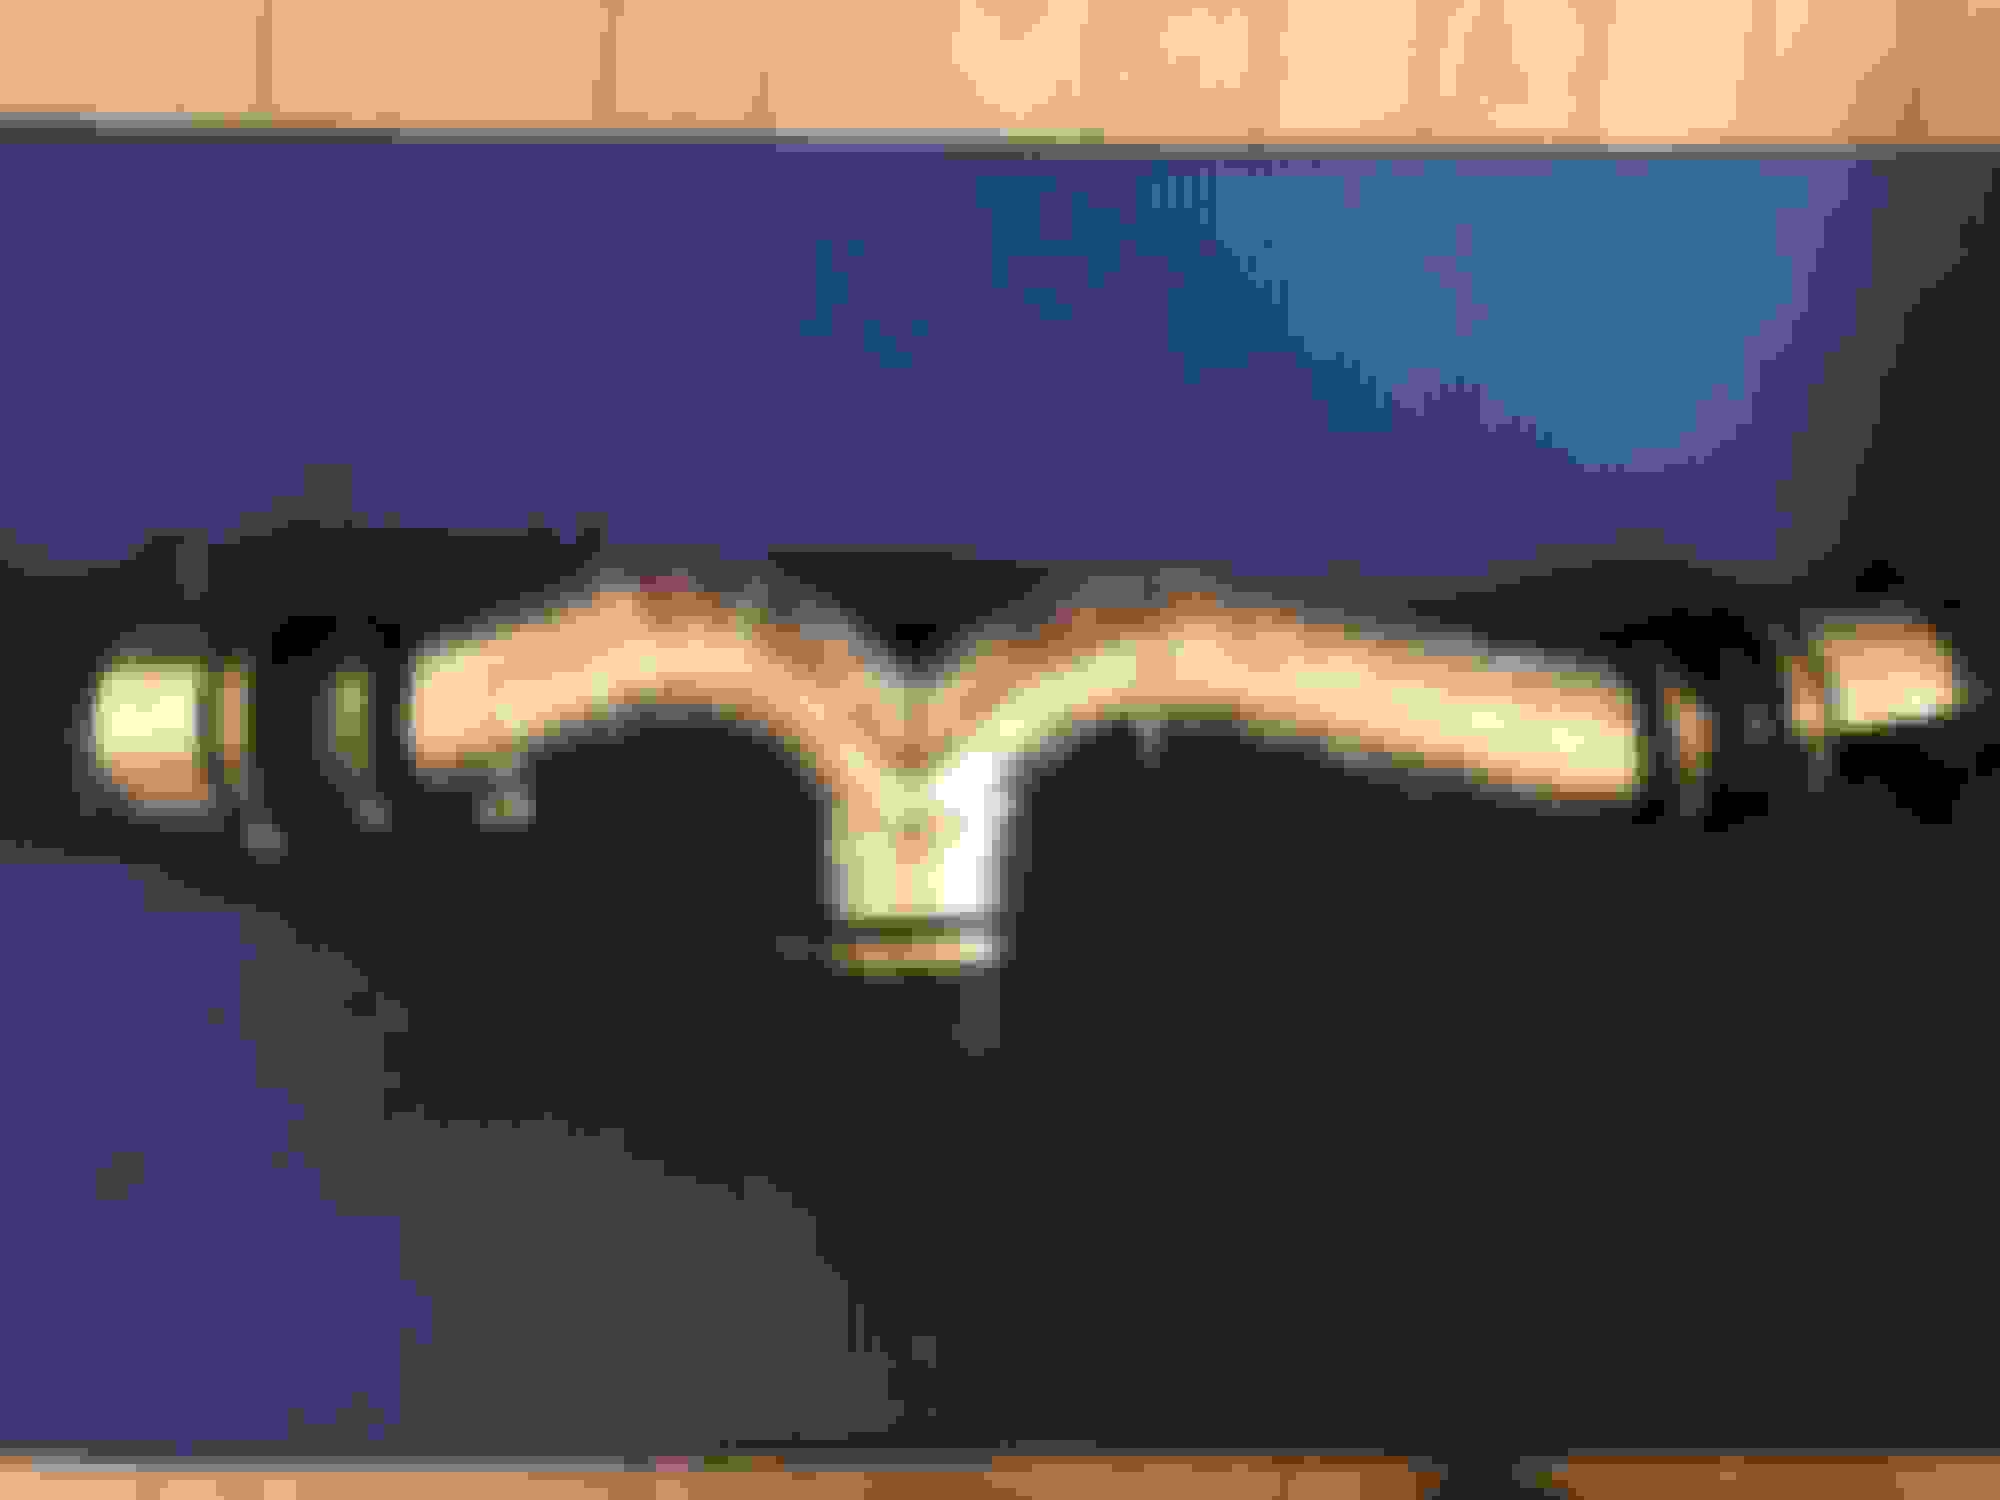
I've decided to go ahead and replace the plastic Y shaped coolant pipe that connects the front crossover pipe to the engine block, as it can only be done with the supercharger off. I'm also trying to figure out the correct part number for the long hose that goes from the rear crossover to the throttle body. I've read of people deleting it entirely or bypassing it so more research is needed. I've also got to figure out how to get away with completely removing the stupid symposer system. All that junk and clutter for something so dumb.
I've opened up the boxes from PB Brakes...oh man, the calipers and rotors are gorgeous...but it will be some time before I can install them.
Yesterday I got the snout off the supercharger and sucked out all the old oil. Let me tell you, that snout does not want to come off. I had to flip the entire unit over and sit on it, then pry a cold chisel with all my strength against the too-small prying tabs on the bottom of the snout. You have to get the chisel in there at just the right angle to be able to have any real leverage.
The coupler and surrounding area were grimy and nasty with a lot of sludge. The oil out the back seemed very low, was pretty dark, and was very smelly. Everything is going to get a good solid clean today, then we'll put in the fresh oil, the new coupler, and button it back together again.
XJ8JR, i love reading your updates mate, maybe just me as i am wanting to do the work you are doing and i know there is a heap of threads covering the topics already, but would love to see some pics.
Interested in the support bracket used to lift the intake plenum and charger unit, also some pics of charger oil, isolator, you know all the gritty details. Cheers for the updates though, nice to see you making great progress.
PB brakes ooooooooh nice n shiny, out of my poor man jag owner budget but would love to see some PB eye candy, hey while you are snapping pics, i am intersted to see the condition oil wise of the intake plenum and any carbon deposits from egr circ.
Seeing as though i now have boosted my charger output with the VAP crank pulley, i guess i will be getting more blow-by and have not abondonded the use of a catch can specifically for this reason, so PICS Pleeeeease.
Thanks, Lightspeed. I've tried getting pics of the condition of the intake valves but unfortunately my phone is the only reliable light source I have (every flashlight i buy seem to end up being junk) and so I can't figure out how to correctly take the photos. The flash ends up illuminating the gasket mating surface leaving the interior of the valves dark. But I'll try to figure something out.
Speaking of the valves, I had reported earlier that they didn't seem to be too mucked up. At first glance they really don't look too bad but when you start the cleaning process, then you see the layers of gunk and junk. I blasted the first two with brake cleaner and let it sit over night. That seems to soften everything nicely, so its just a lot of scraping and picking and wiping. What works really well is soaking everything again with brake cleaner, then immediately attacking with an old toothbrush. I got those first two valves looking nearly new. Work on the next two will continue this evening. After seeing this and how oily everything was in the intake and supercharger, I'll definitely be looking into a catch-can or two.
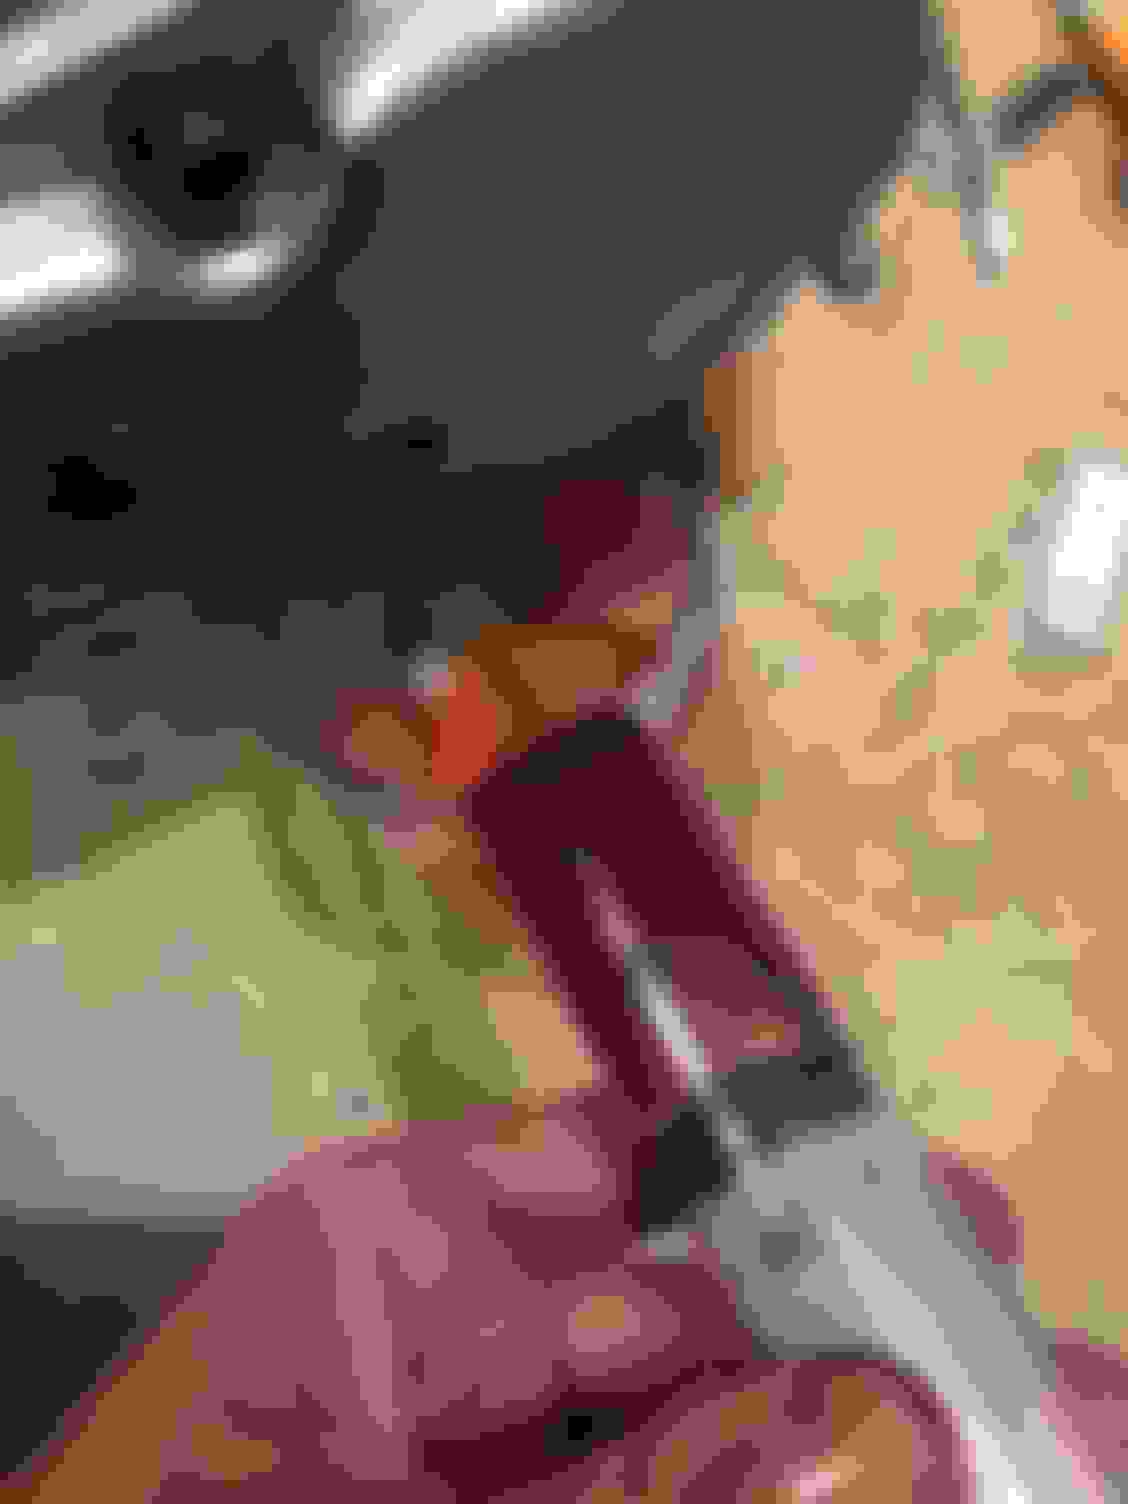
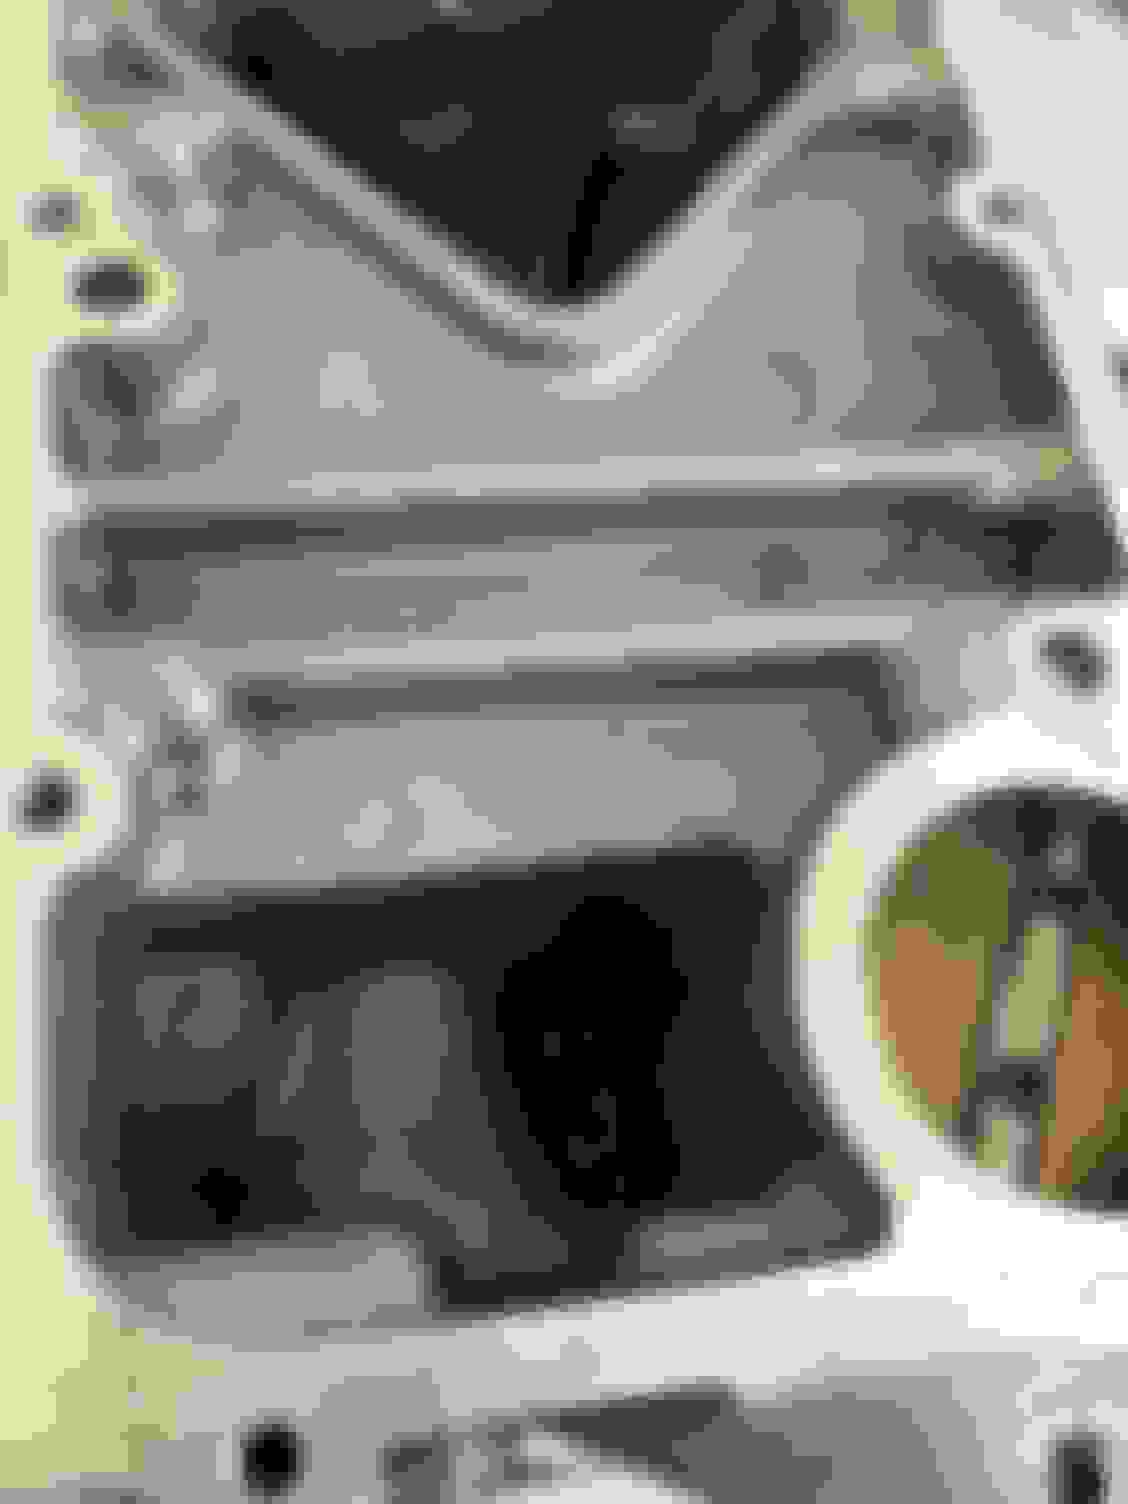
On the supercharger front, I gave everything a good clean then brought the parts inside the house to dry overnight. I'd like to refill the oil, fit the coupler, and bolt it all back together tonight. I've attached pics of the charger with the snout off, the new coupler vs old, and the old oil.
Thanks again XJ8JR!
Looks like the solid coupler too?
What do you plan to use for sealing the snout back to the SC?
Really appreciate your in depth work. We get too many posts by people sitting at a computer (Internet Experts) compared to those that actually do work on their cars!
Of course this is common with all expensive cars as they are usually owned by people who refuse to get their hands dirty!
.
.
.
Yes, solid coupler from Qualitysuperchargers on ebay. Only $20.
I plan on using Loctite SI5900 sealant. Same I used when I resealed my oil pan. This stuff grabs for sure.
Odd, without this terrible pandemic, I never would've been able to get all this stuff done. Certainly not in the span of a weekend. I guess there can be a silver lining in anything.
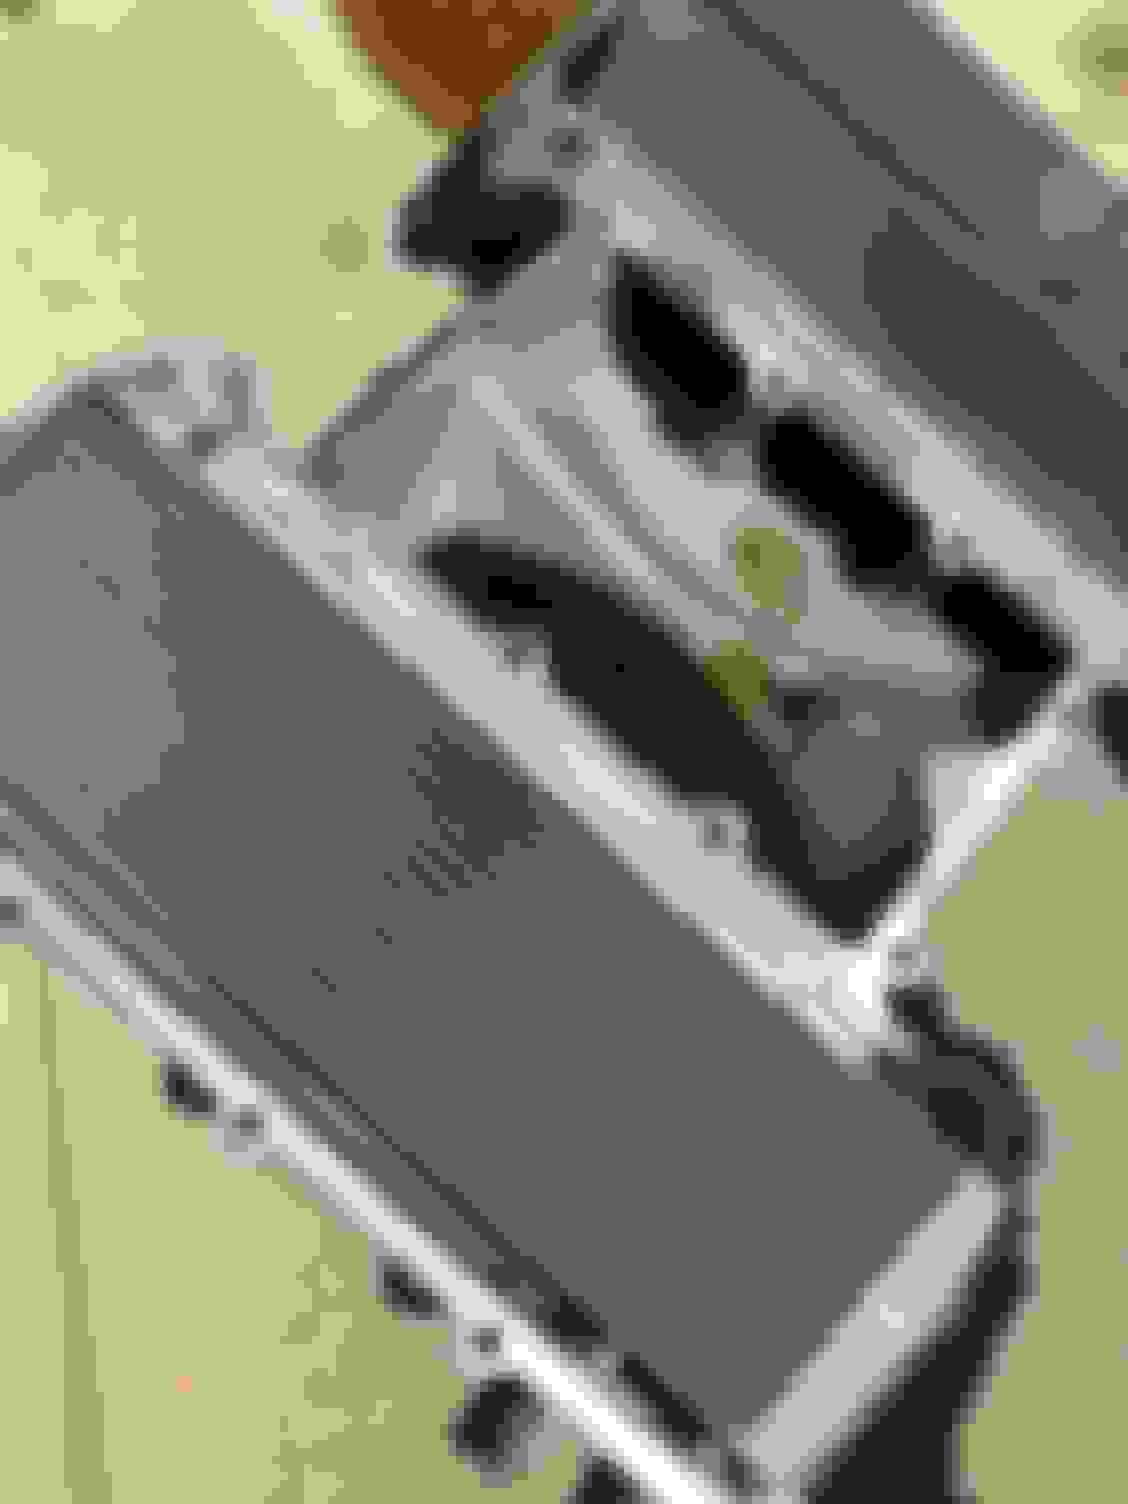
Yesterday I completed the supercharger service. Finished cleaning everything, installed the new coupler, reattached the snout, and put in fresh new oil. I also reattached the bypass actuator (or whatever its called), the throttle body, and the MAP sensor. I also received the new rear MAPT sensor, so that went on to the driver side manifold. Then I stuck on the Thermo-Tec heat shielding onto the bottom and sides of the supercharger and manifolds. Took some time to mold it around all the contours. This should help shield the intake air from the radiant heat of the engine. I also wrapped the intake tube with a similar product.
The first photo below shows where the intake oil pools in the supercharger. The photo was taken AFTER I had already cleaned a bunch of it out.
I'm going to have to venture out to Oreillys or Autozone to get more brake cleaner to finish the valve cleaning. I also want to get something to flush out the intercoolers.
Still on the job list: intake valve cleaning, rear coolant crossover, the coolant bleed pipe I wrecked last week, front Y-pipe, knock sensors, intercooler flush, throttle body coolant bypass.
Finaly southern parts of Finland have warm enough temperature, that it was safe to swap winter tyres for summer ones. On same go when the tyres was off, i removed, cleaned and greased the sliding pins of brakecalibers. Just in time: Front ones were dry as mouth in saturday morning. Ahh, joy of sharp steering of summer tyres.
Yesterday I cleaned four more of the intake valves...two to go. Also replaced the Y-shaped coolant pipe. Today I'll finish the valve cleaning and hopefully the rear crossover pipe.
Over the weekend I finished cleaning the intake valves, replaced the rear crossover tube, cleaned the intercoolers, and replaced the knock sensors. Good grief, that crossover tube is a pain in the butt. My hands are torn to shreds. There is very little access to those T30 bolts. I used the middle wrench below but there are probably better options:
Spraying the intercoolers with brake cleaner helps get the oil residue out. There's a lot of gunk hiding in there. I used one whole can per side.
I'm finally ready to starting putting everything back together. My plan is to have the supercharger hanging from the engine brace, then bolt the manifolds onto it, and slowly and carefully lower the whole thing down into position.
I just recently got this little guy and it's already paid for itself!
Only about $12 on EBay. VIM HBR4
It's 4 1/8" long, 1/4" drive but the very low profile head is the key to this wrench's usefulness.
The low price sealed for me and I have been surprised how many places this works the best. 1/4" Ratchet
Uses any standard 1/4" hex bit and there are a ton of these available for any style fastener.
.
.
.
Thanks for the suggestion, Club. I really need to get one of those.
I put everything back together last night. Took about 5 hours because I wanted to go slow and steady and not miss anything. Just need to refill the coolant and hit the start button and pray.
Changed the oil, filter, air filters, cabin filter, seat filters, all 4 discs and pads, flushed the brake fluid and flushed the coolant.
Busy day!
That is a busy day, well done. Any tips on the brake fluid flush?
Well gents, I filled her up with coolant and pressed the start button and after a brief heave or two, she fired right up! It was wonderful to be in that driver seat again. The initial test drive was brief so I'll go on a proper shakedown cruise today. But two things I noticed: I used to have a slight tremble at idle which seems to be gone now and the clunking noise at shut-down is gone (presumably due to the new solid supercharger coupler).
Next on the quarantine list is fitting new 400 cell cats and o2 sensors, and installing the new big brake kit.
It helps if you have a power brake bleeder and a very bored 6 year old daughter! I bought the bleeder off ebay a few years ago, go for the manual pump 3Ltr version with a universal adapter. I think they run at about $70ish. The old fluid didn't look bad at all.
Next job is is the PAS fluid flush, just can't find the motivation to tackle that right now!

 04-04-2020, 05:54 AM