When you click on links to various merchants on this site and make a purchase, this can result in this site earning a commission. Affiliate programs and affiliations include, but are not limited to, the eBay Partner Network.
Being a prior owner of an X350 VDP I got used to having "luxury" floor mats in my car. The factory mats in the VDP were awesome. Thick, luxurious and comfortable. When I got my XK8 I replaced those pitiful OEM mats with an Ultimat set from Lloyds. Big improvement and worth every penny.
When I bought the XJL I expected to get quality floor mats on par with the older VDP set. Reality was the mats in the XJL are middle of the road at best. What a letdown. So I decided I would have to get another set from LLoyds, this time getting the Luxe mats instead of the Ultimats.
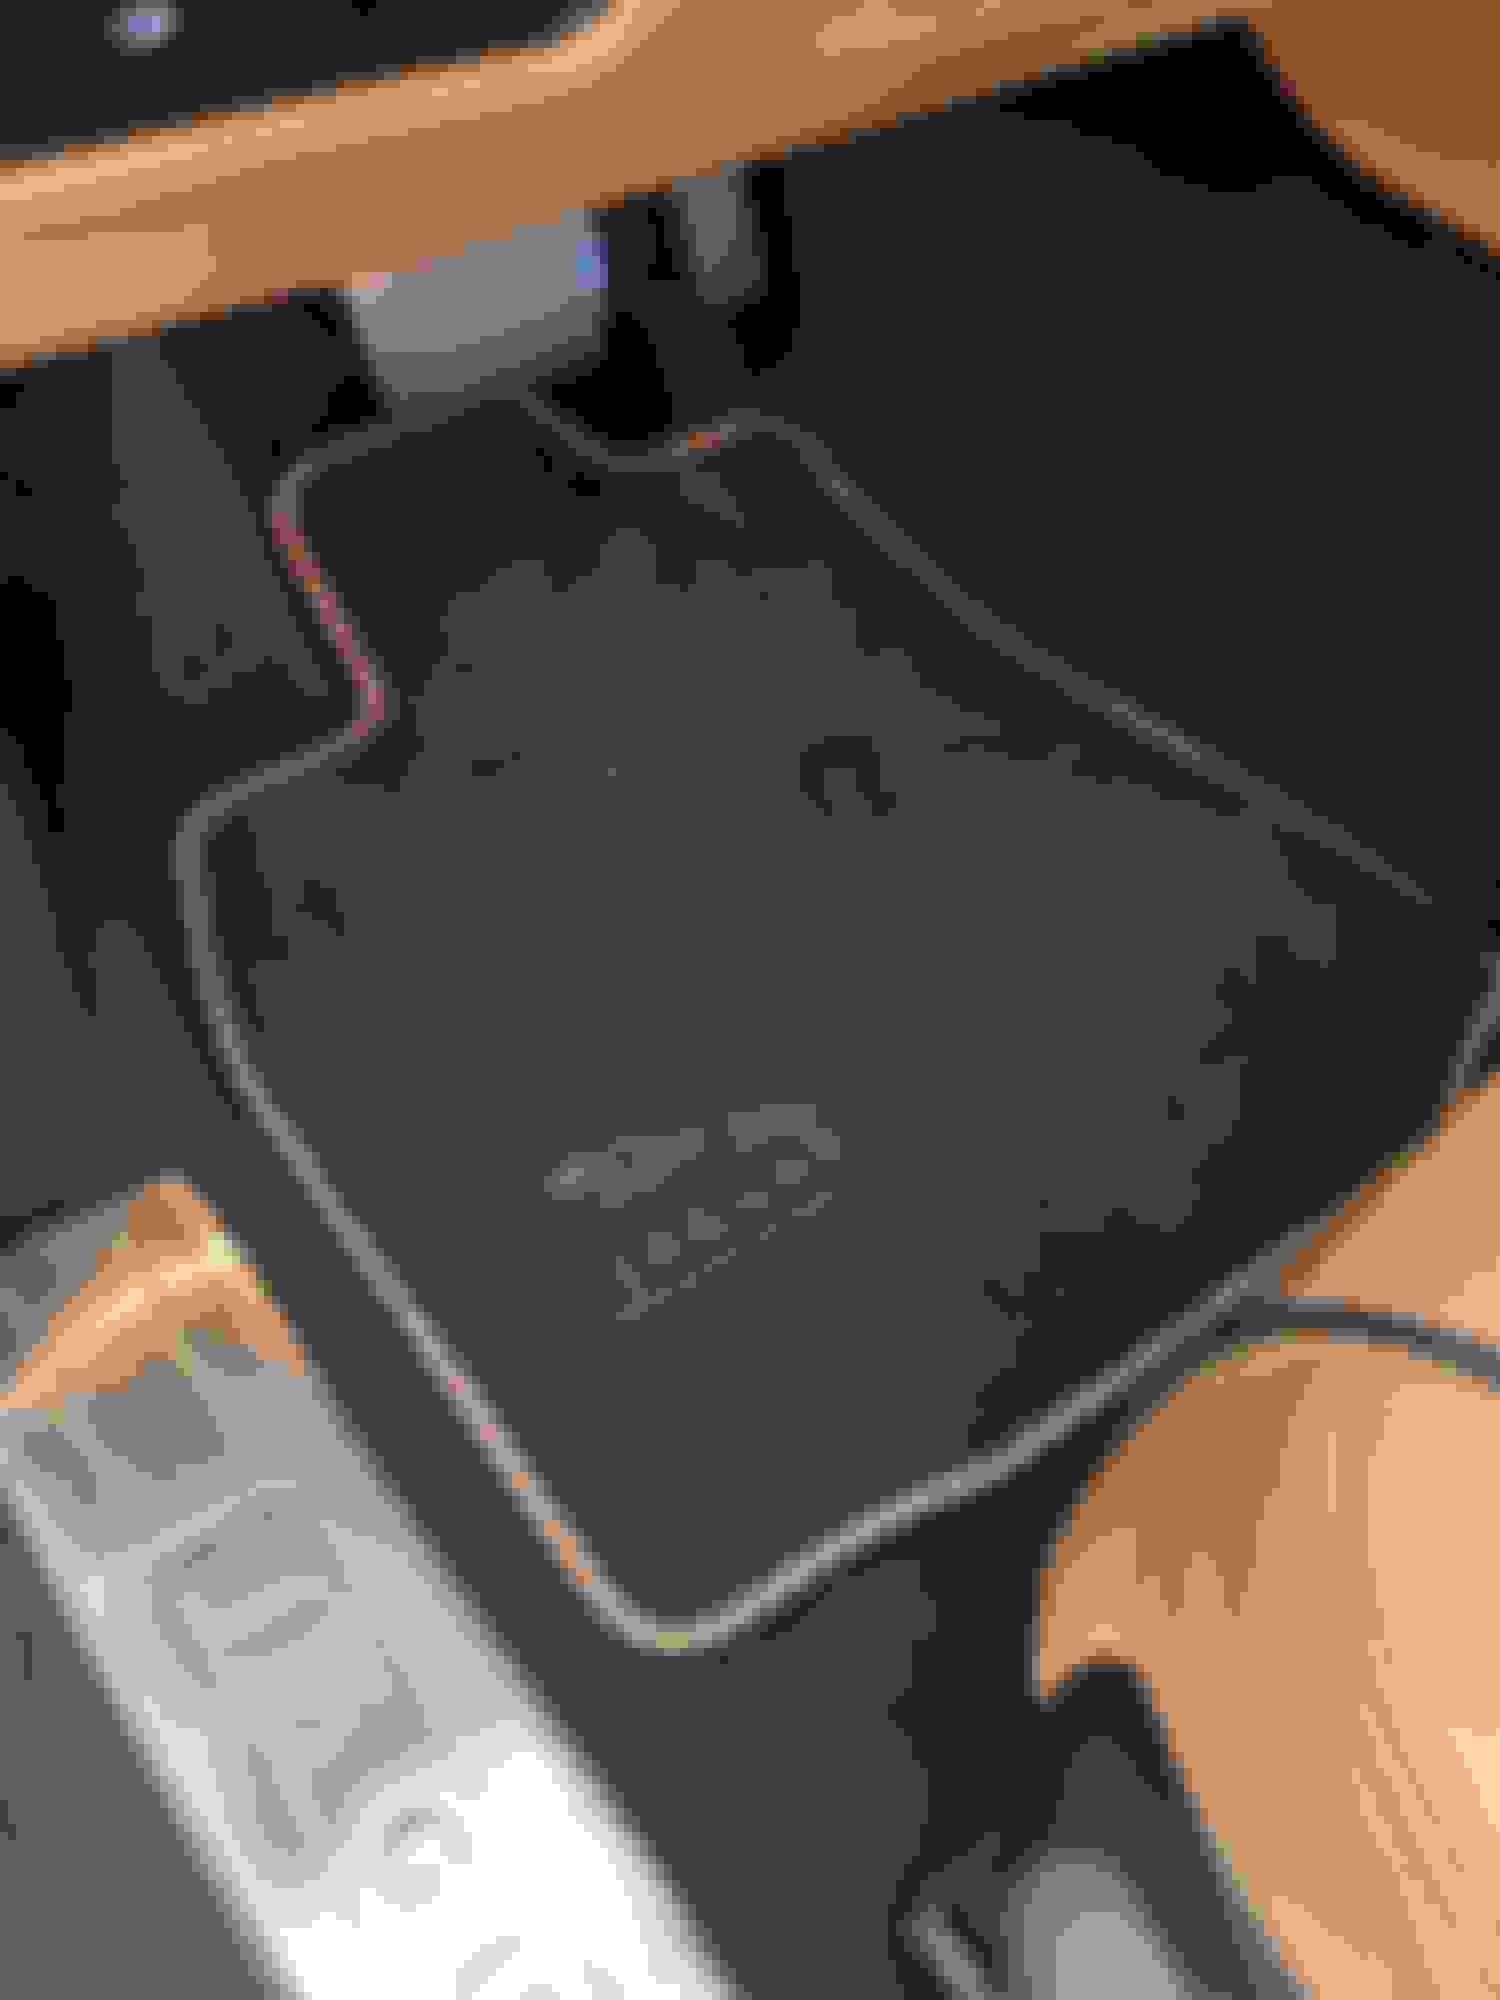
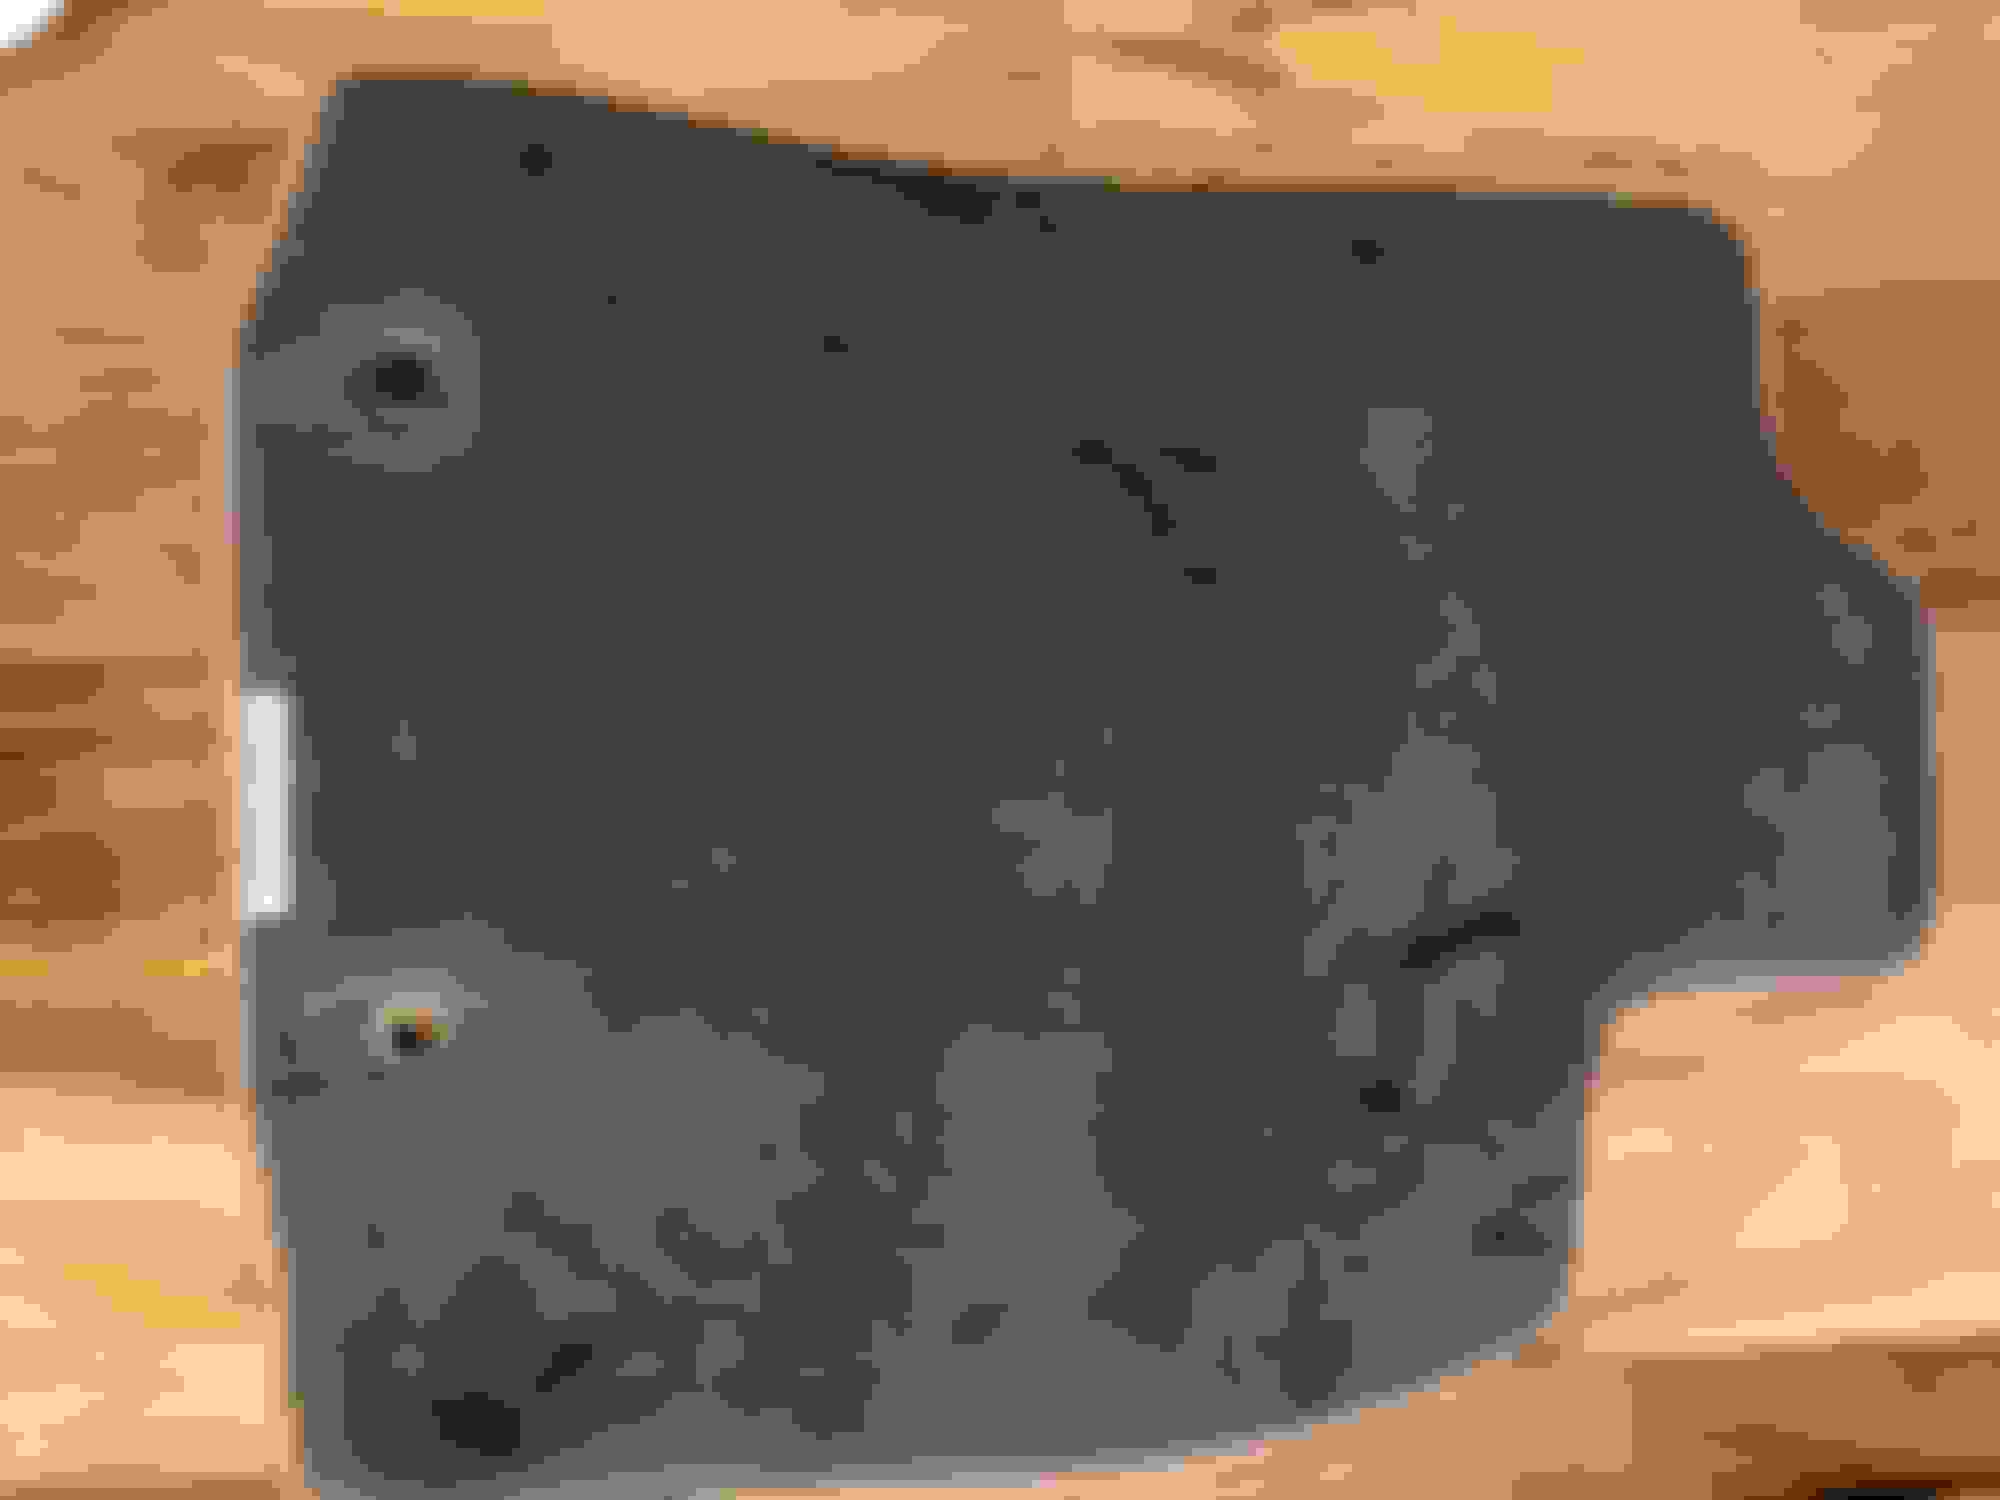
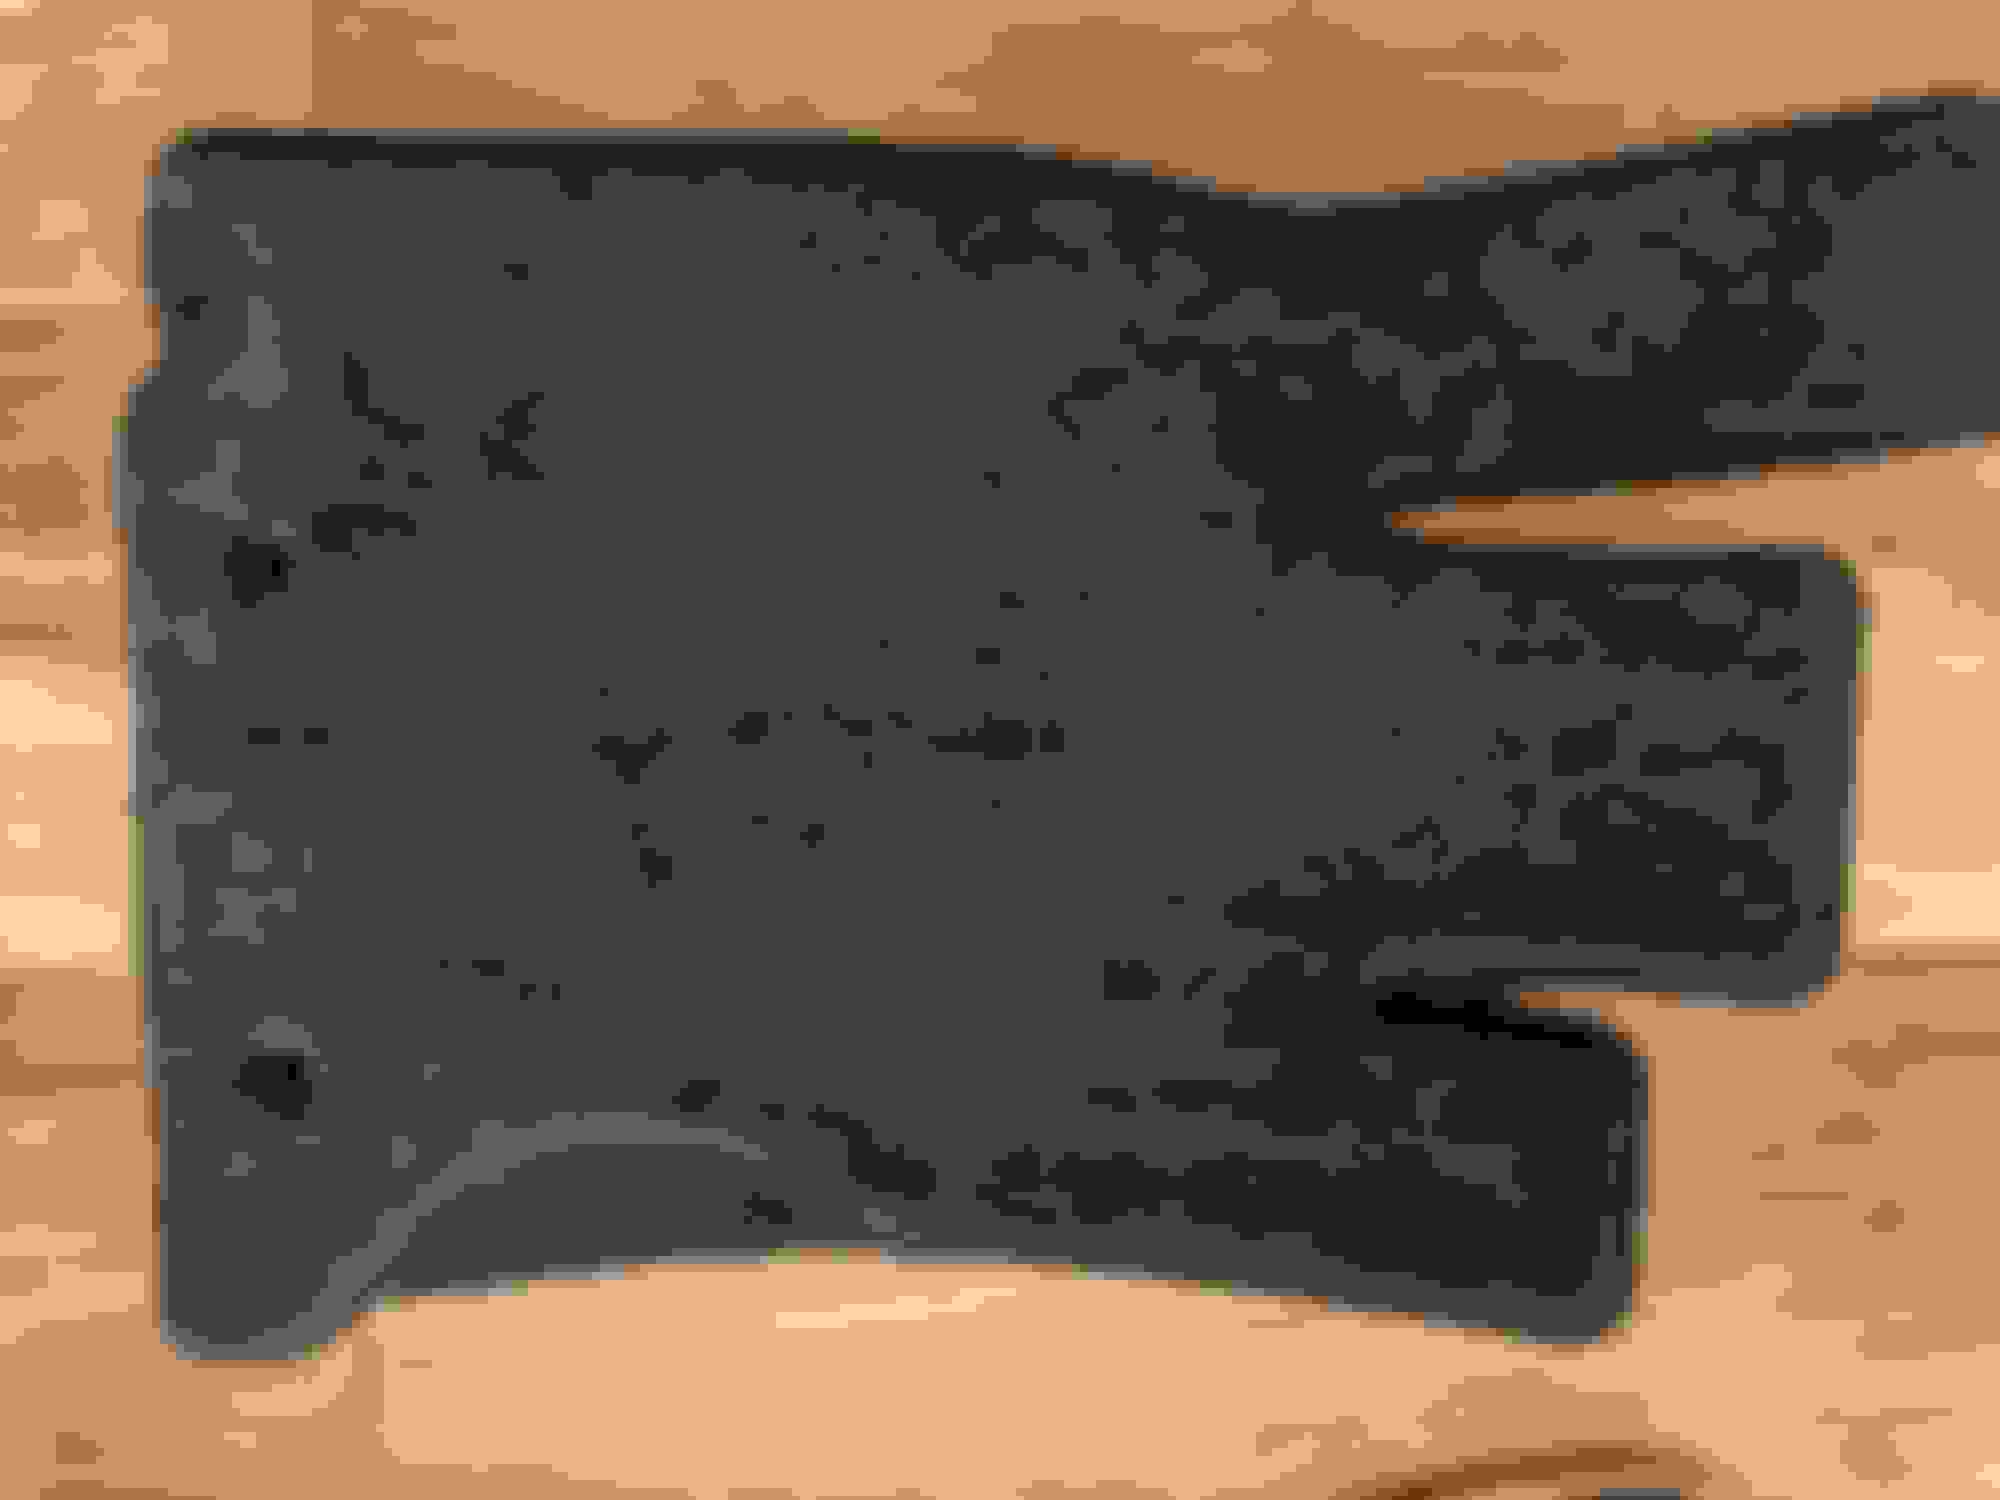
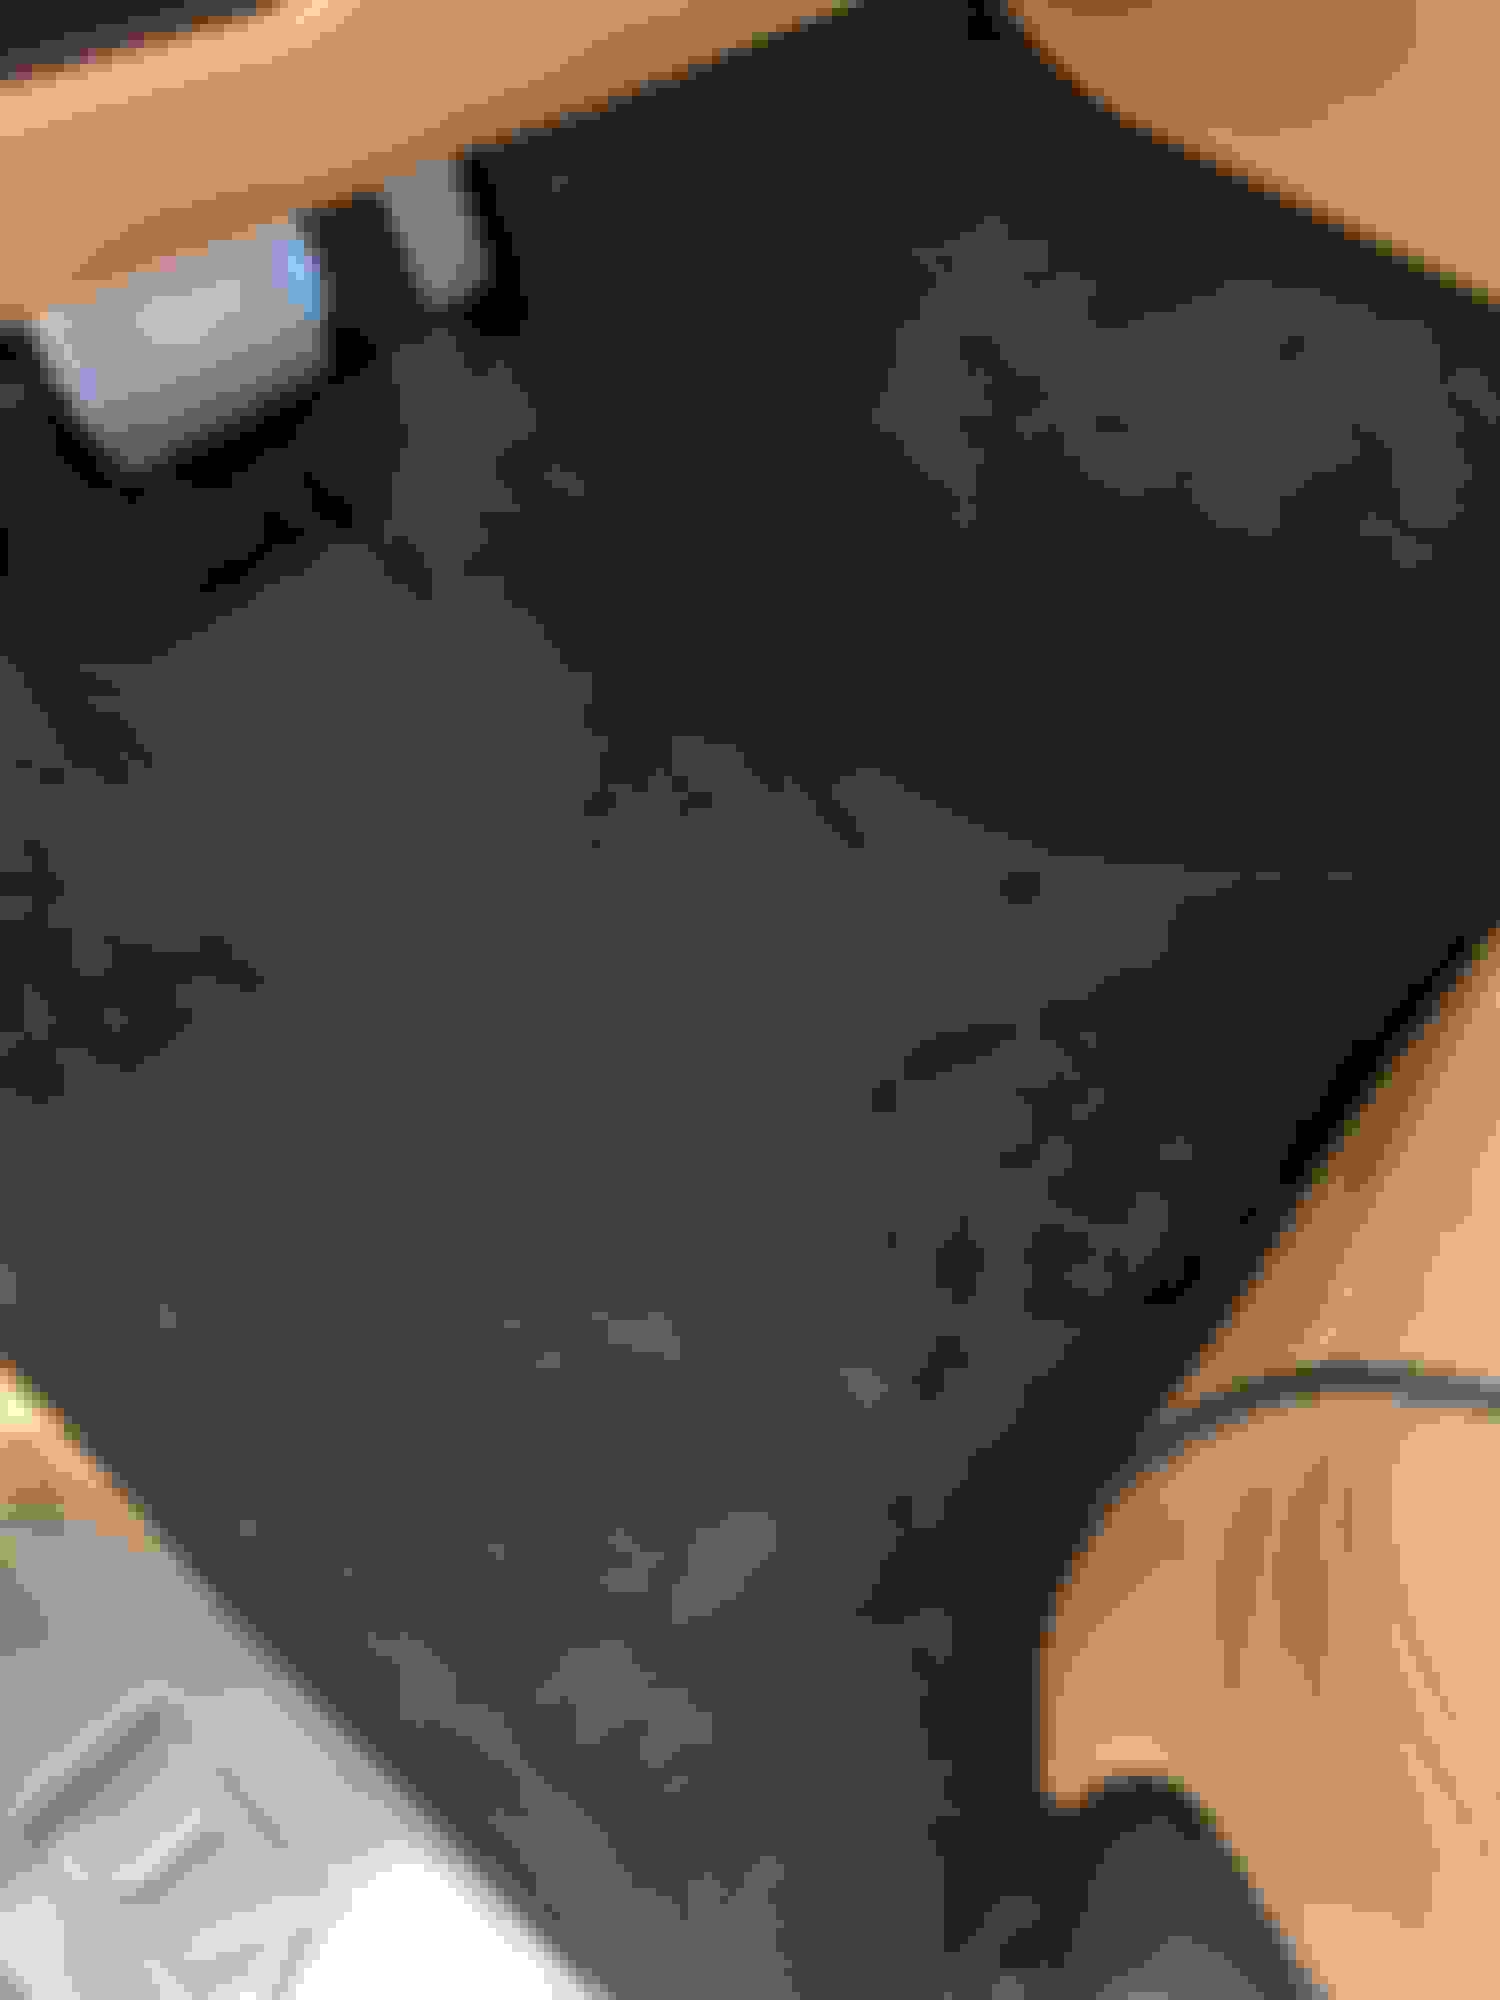
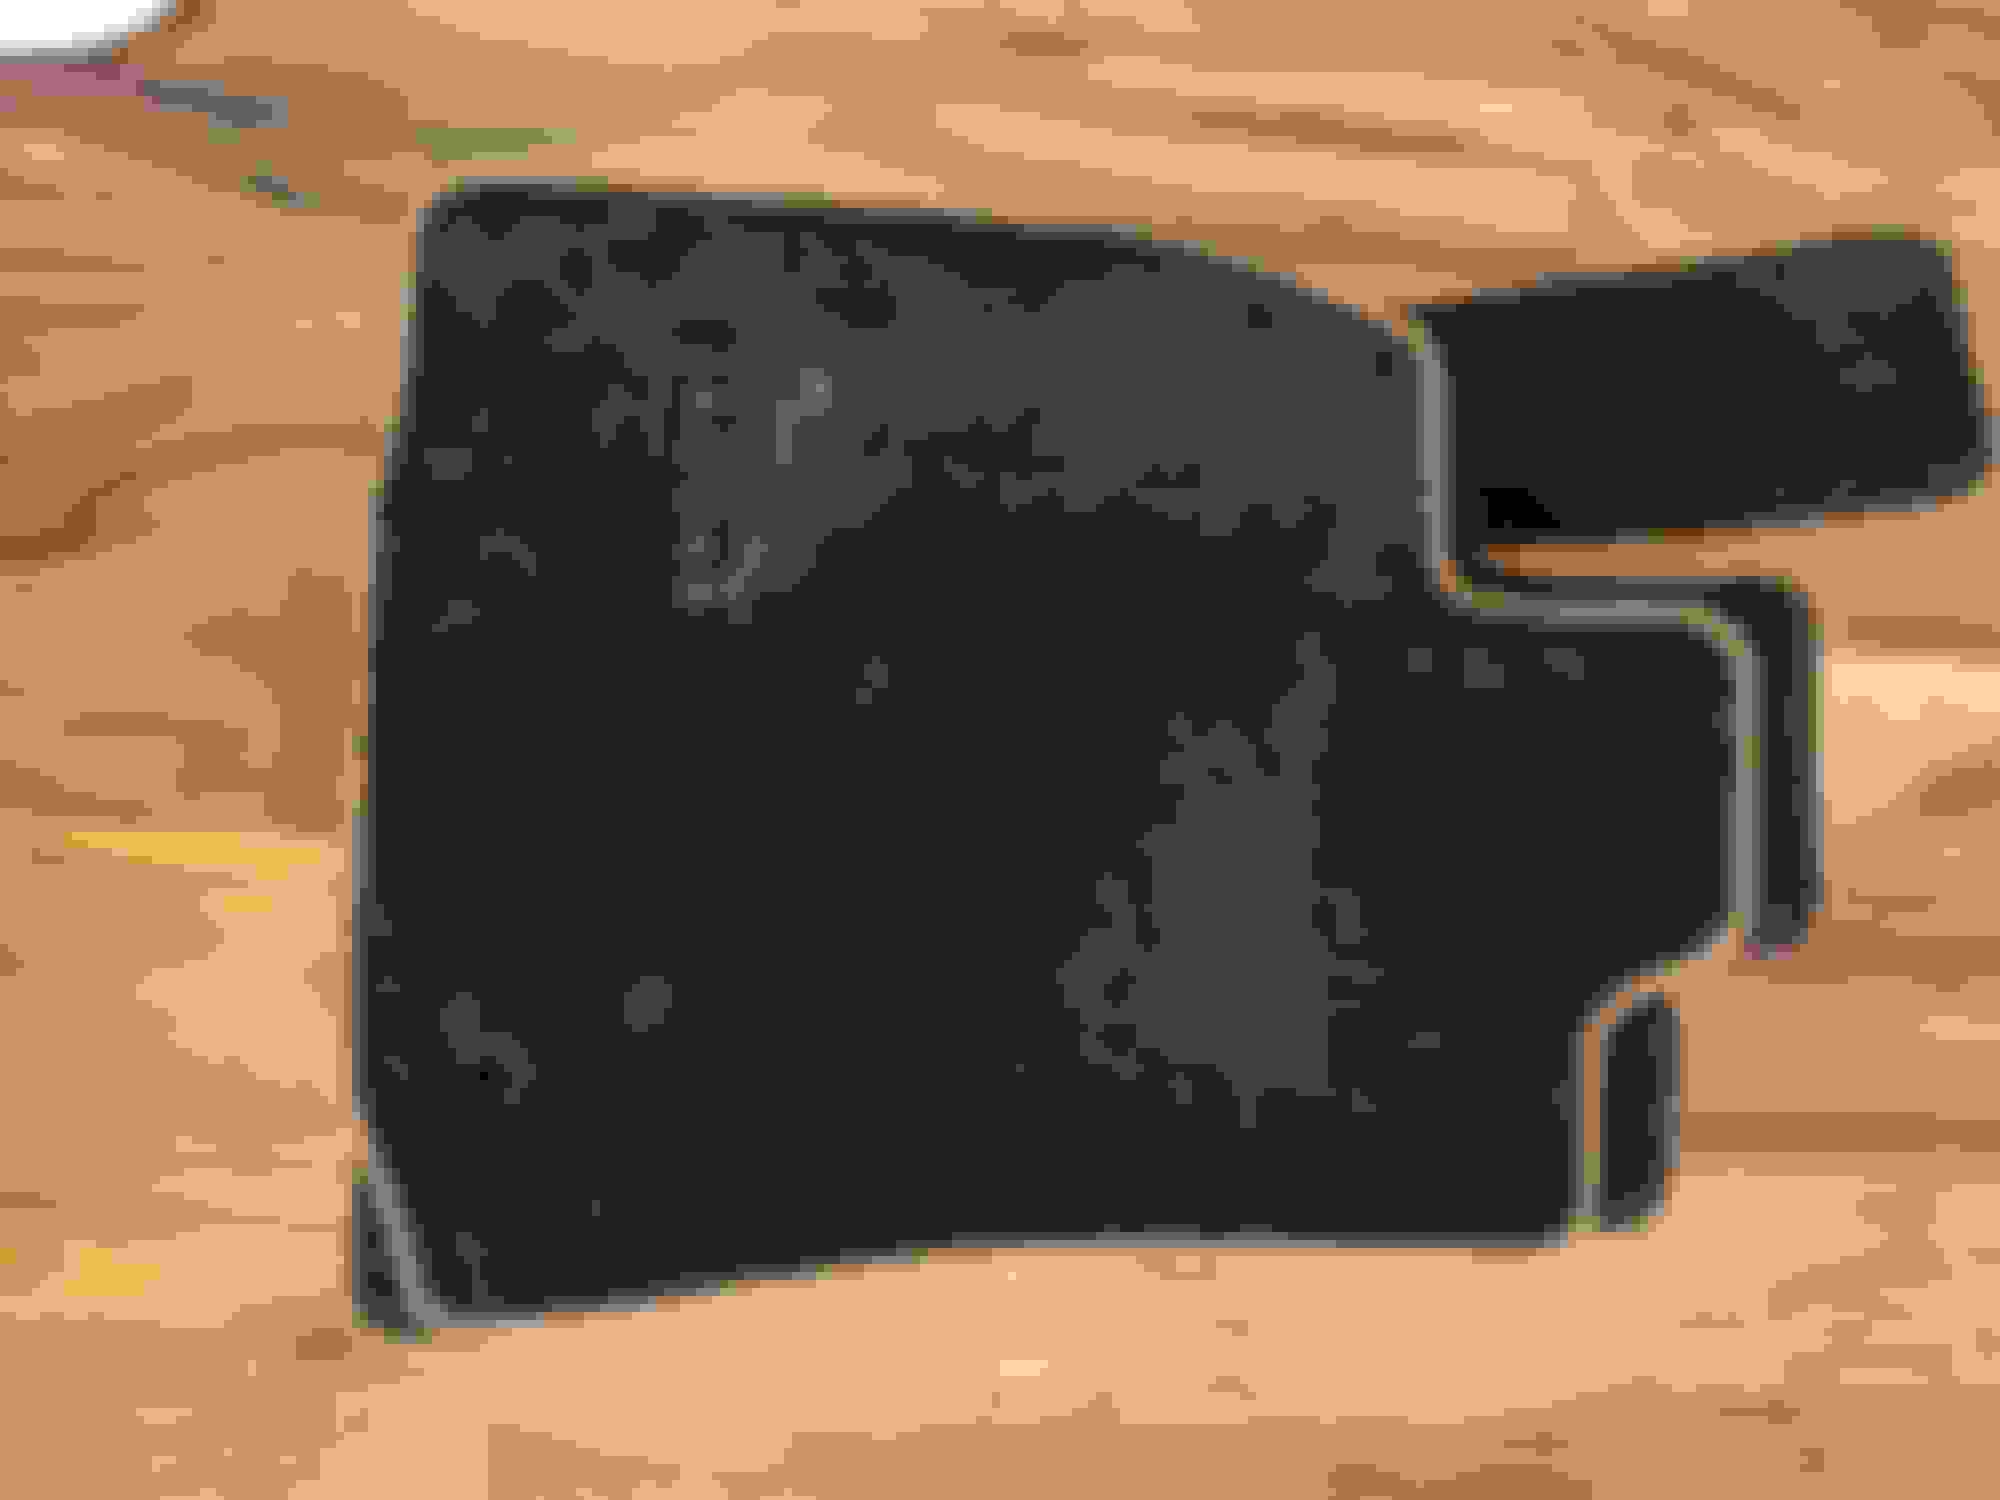
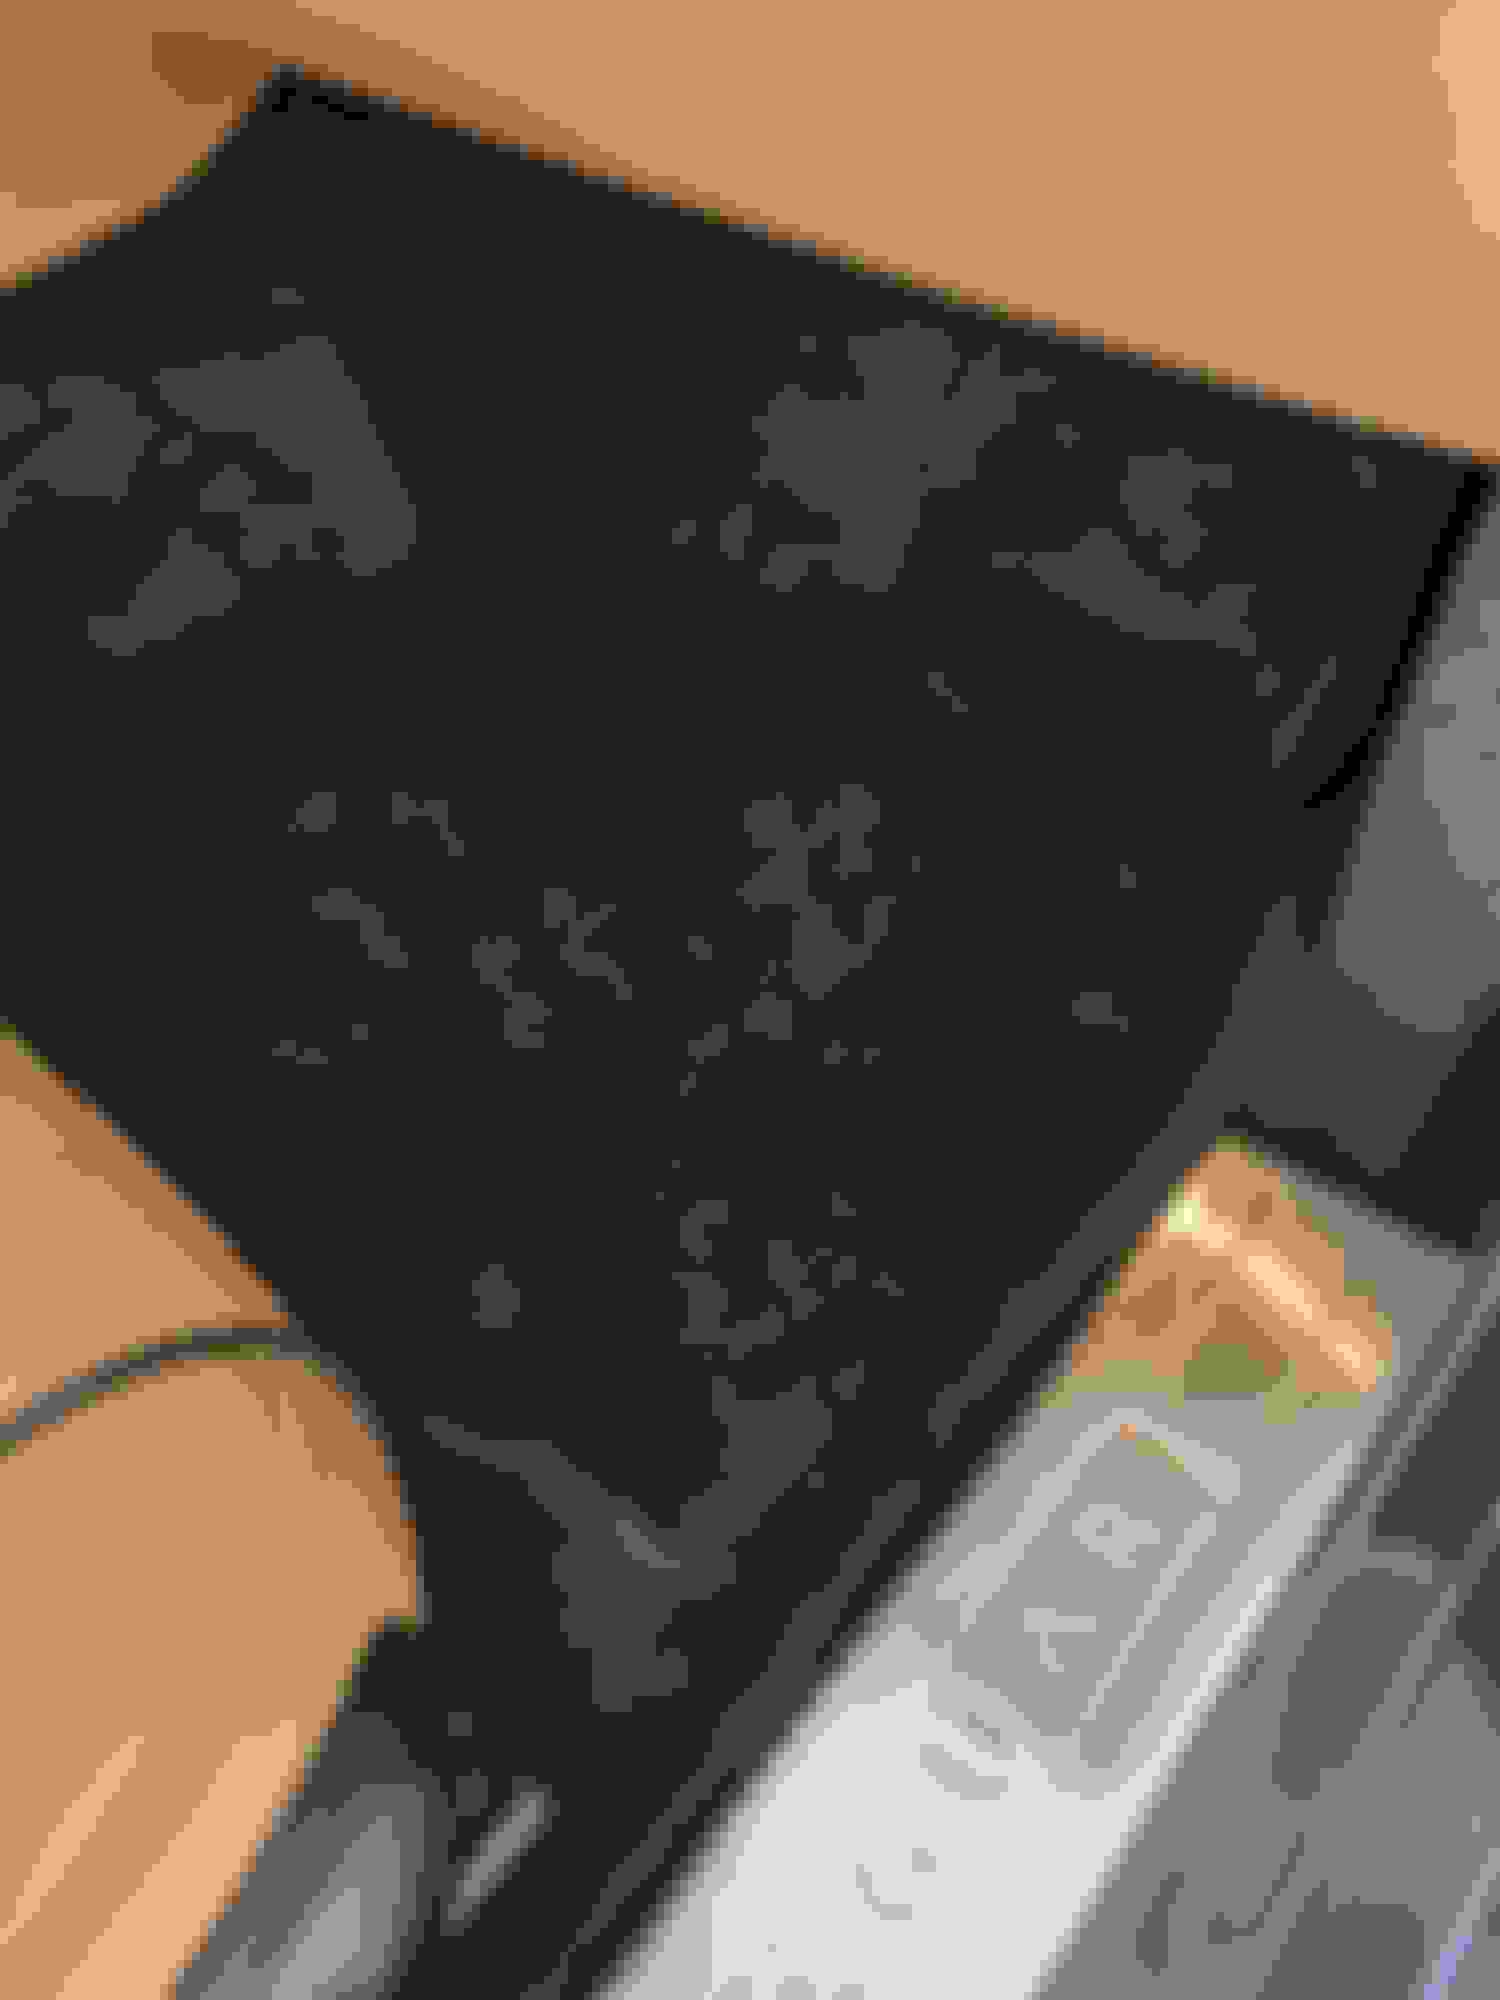
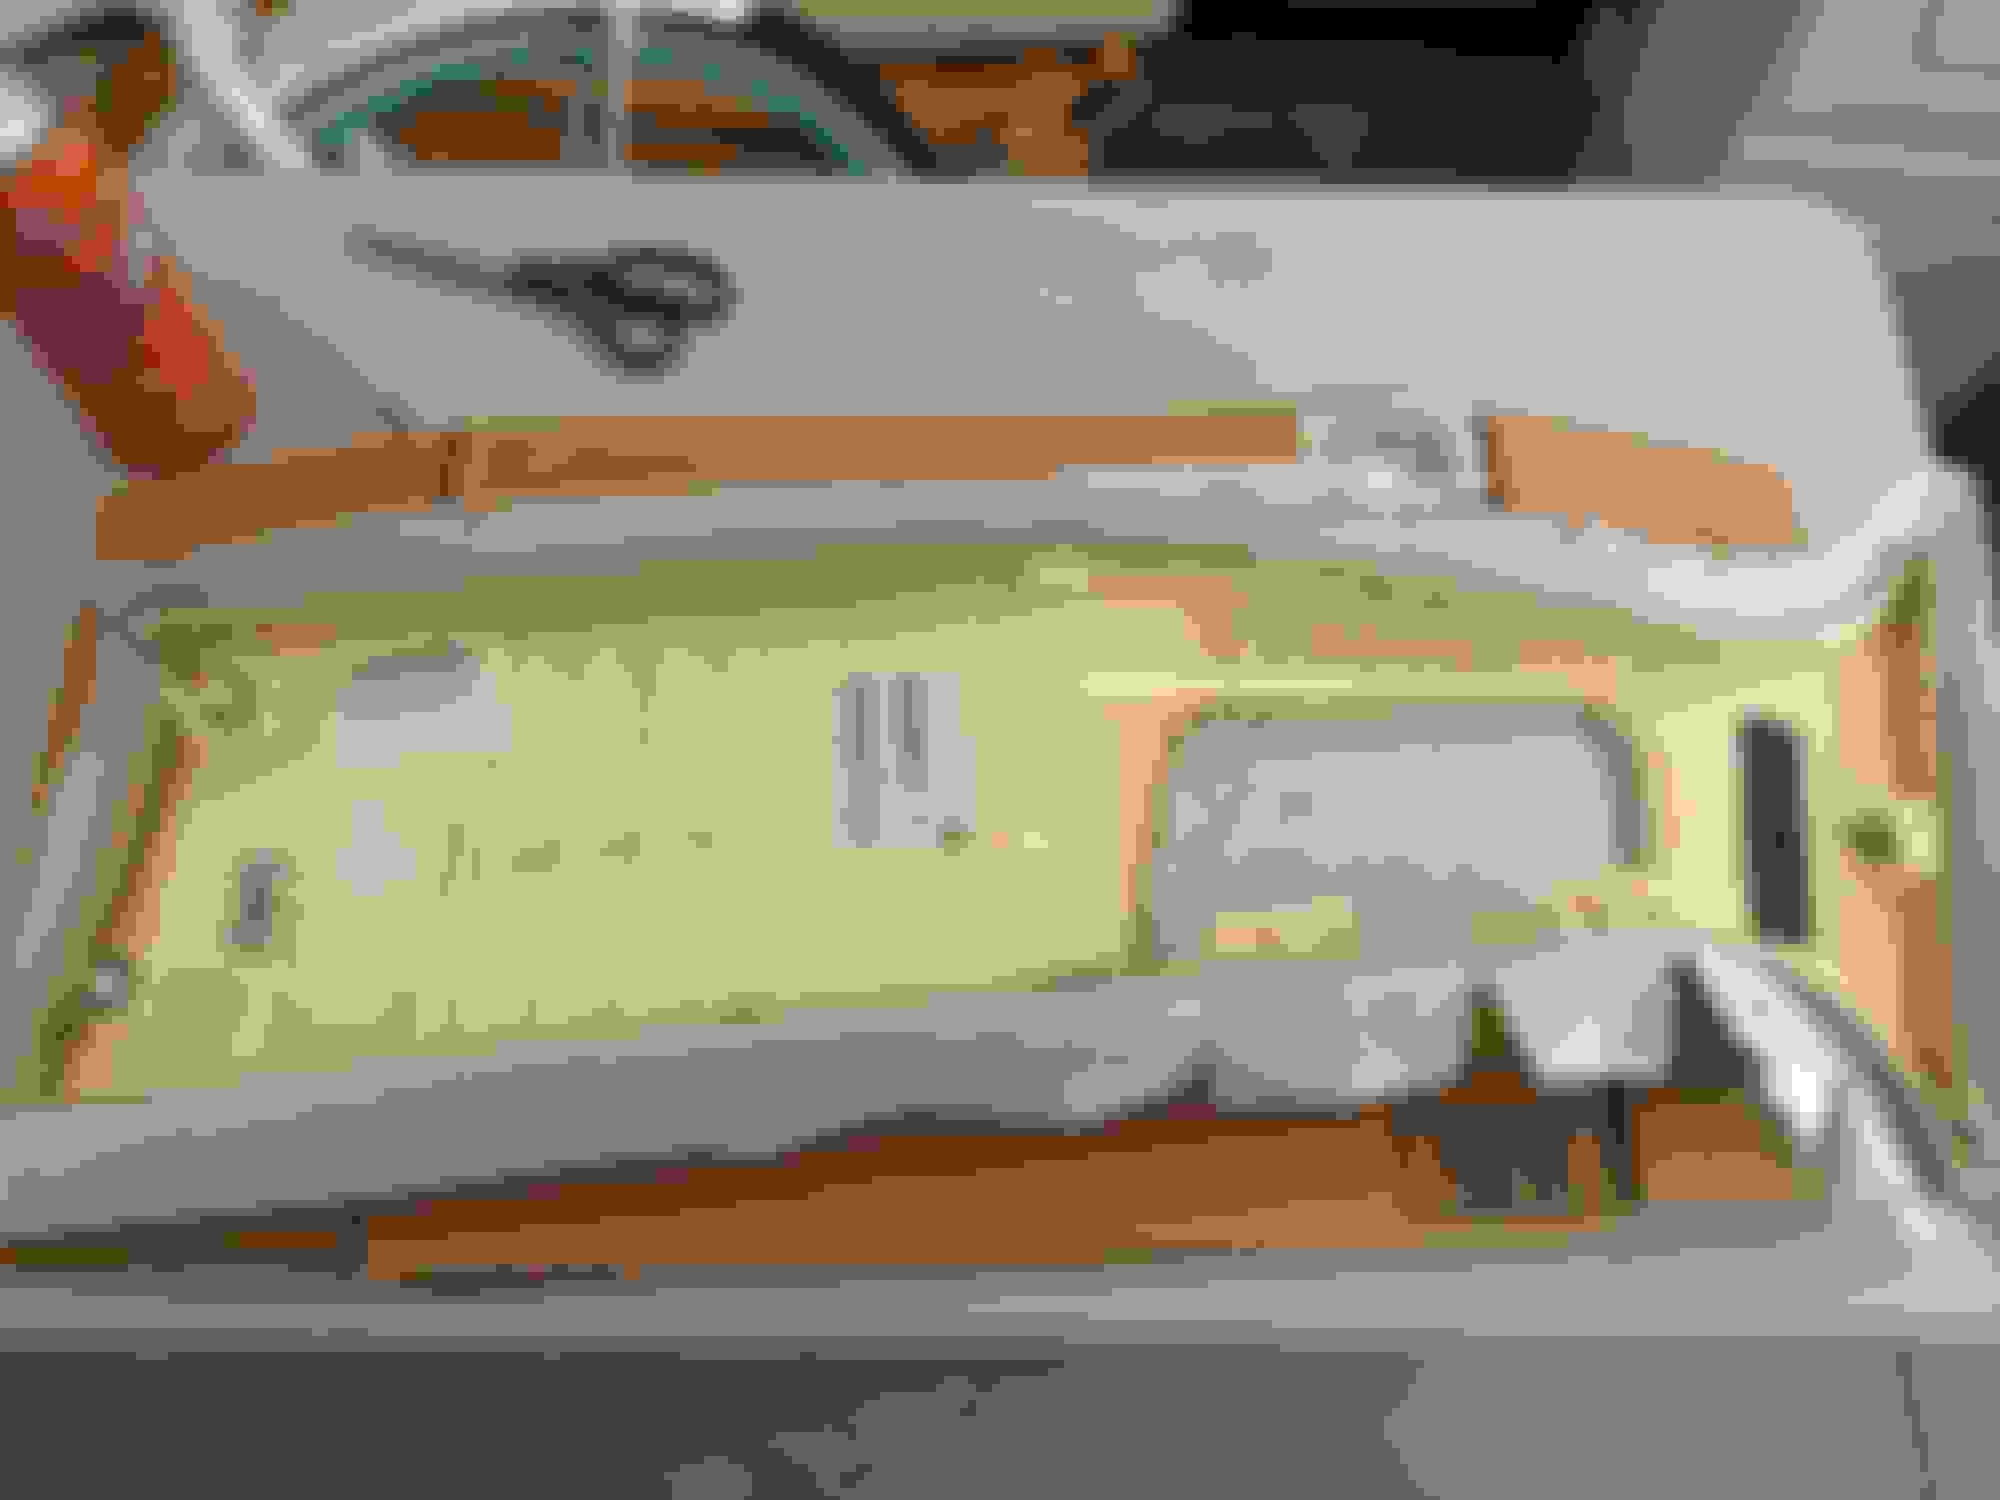
Here's some pics of my OEM mats. Still in really good shape due to the low mileage of the car and limited use. But they are thin, not a fan of the logos nor the piping color choice. And the foam backing is going to be a problem. I learned that on the VDP when I had to have all the mats replaced under CPO because the foam fell apart.
Looking closer at the driver mat shows that the foam is already failing in the common pressure points. Shame that Jaguar still uses foam backing.
I finally got a set of Luxe mats ordered from Lloyds. Before ordering I had them send me a few samples of possible color choices to match my Ebony interior. Turns out that Lloyd's Ebony color is the right choice. Who da thought?
Takes a couple weeks to get a set from Lloyds since they build to order. They do have a lot of customization options but I wanted none of that. I prefer my mats to NOT be a focal point of the interior. Plenty of other cool stuff for the eyes in a London Tan interior.
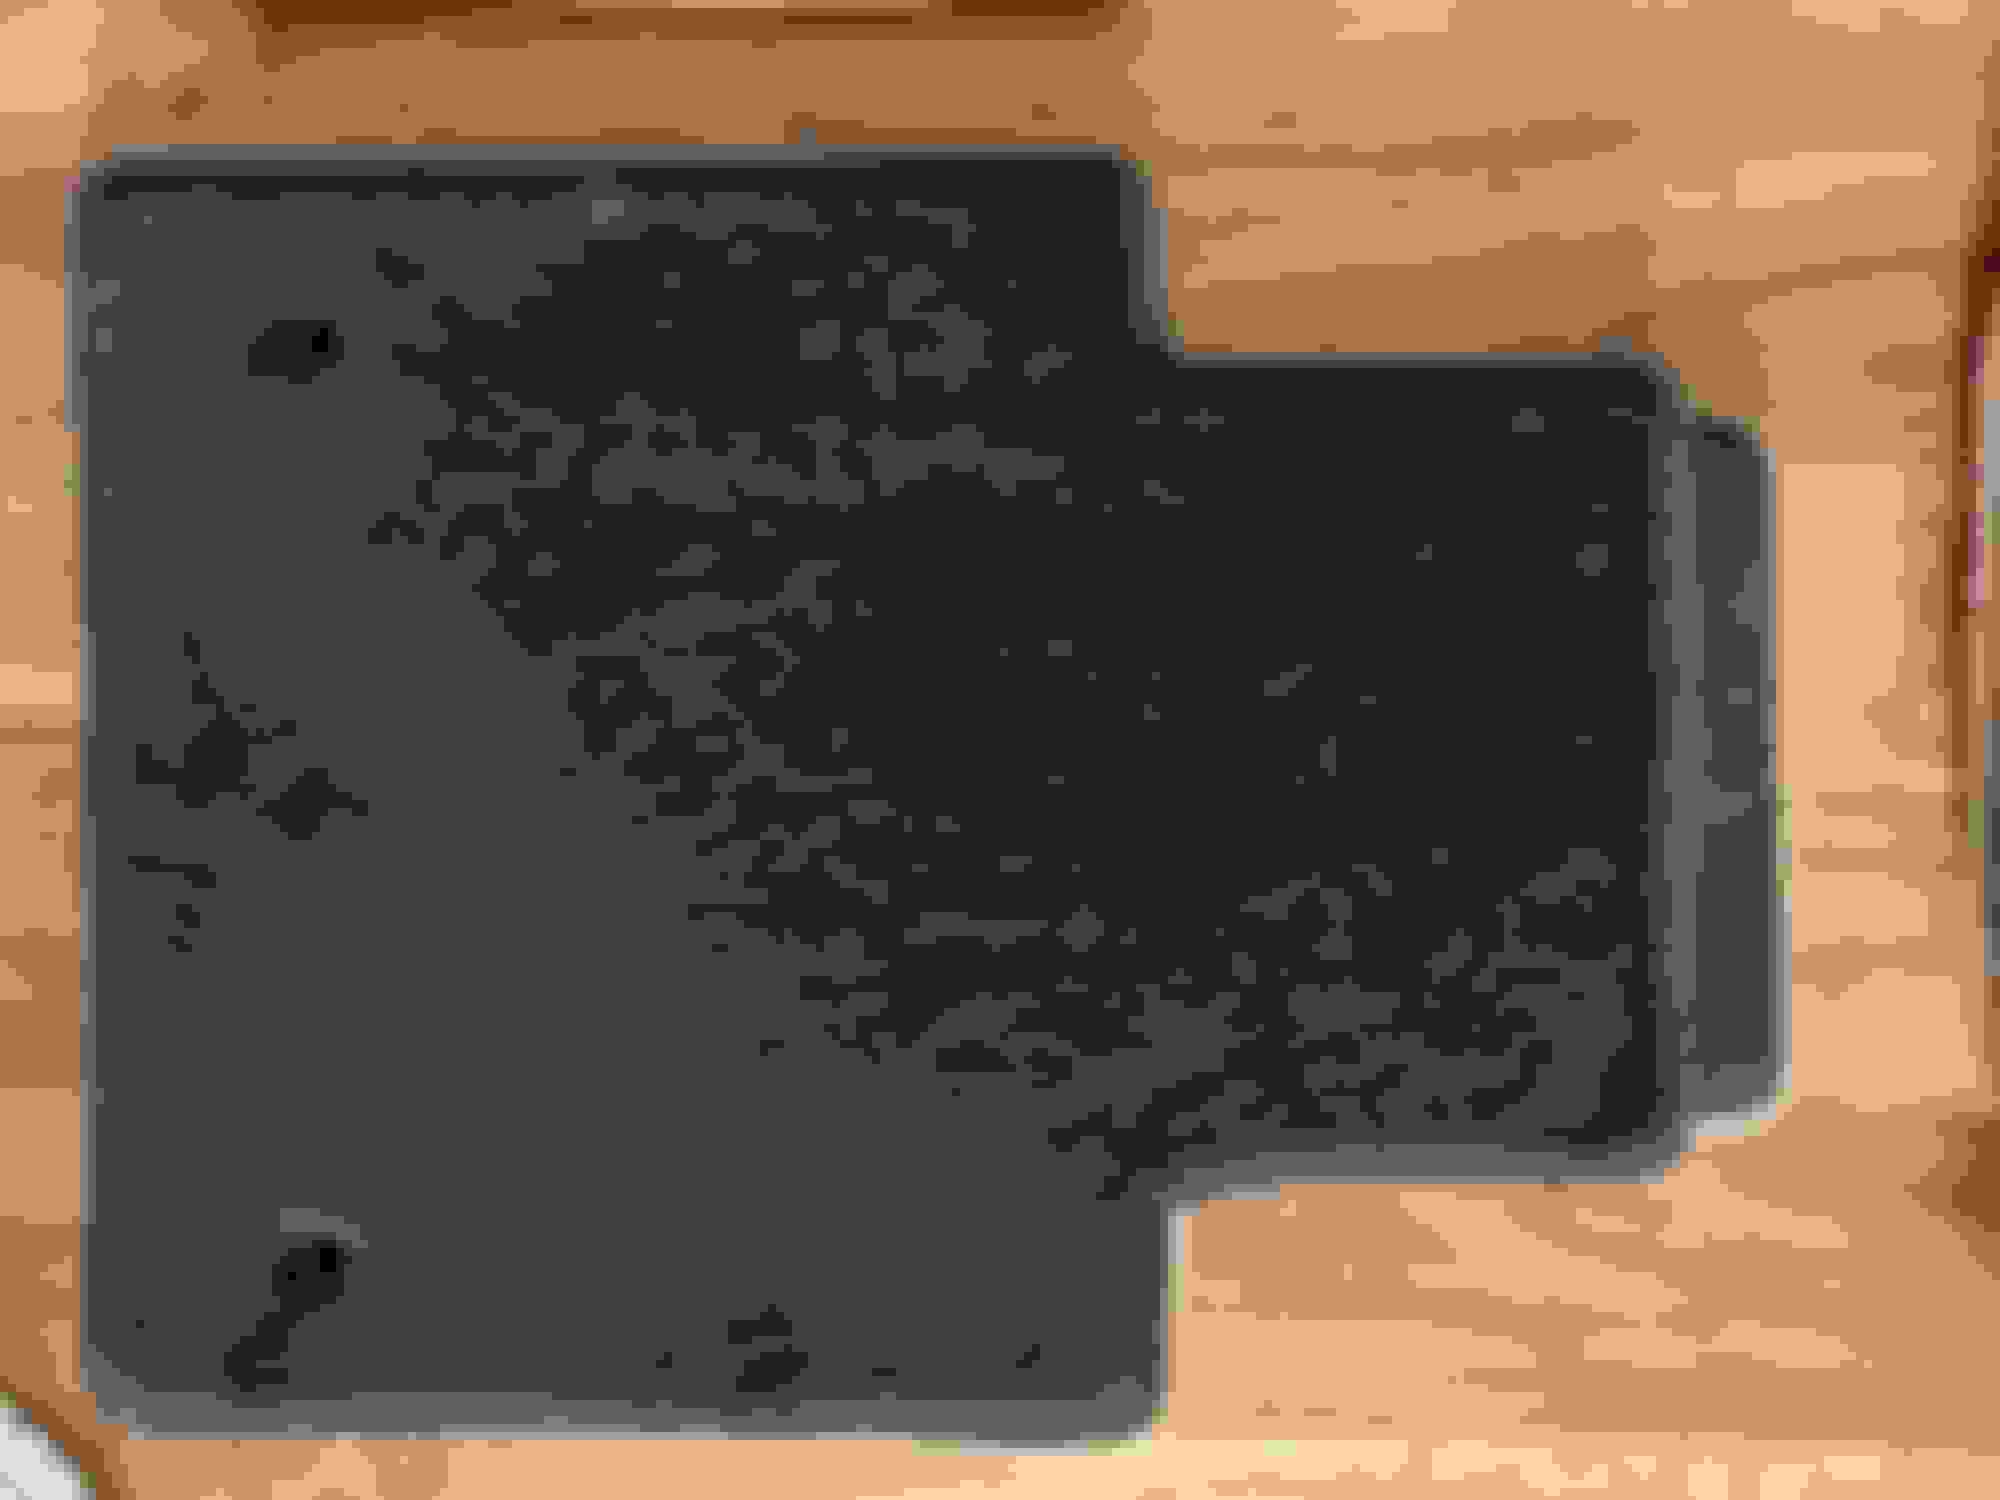
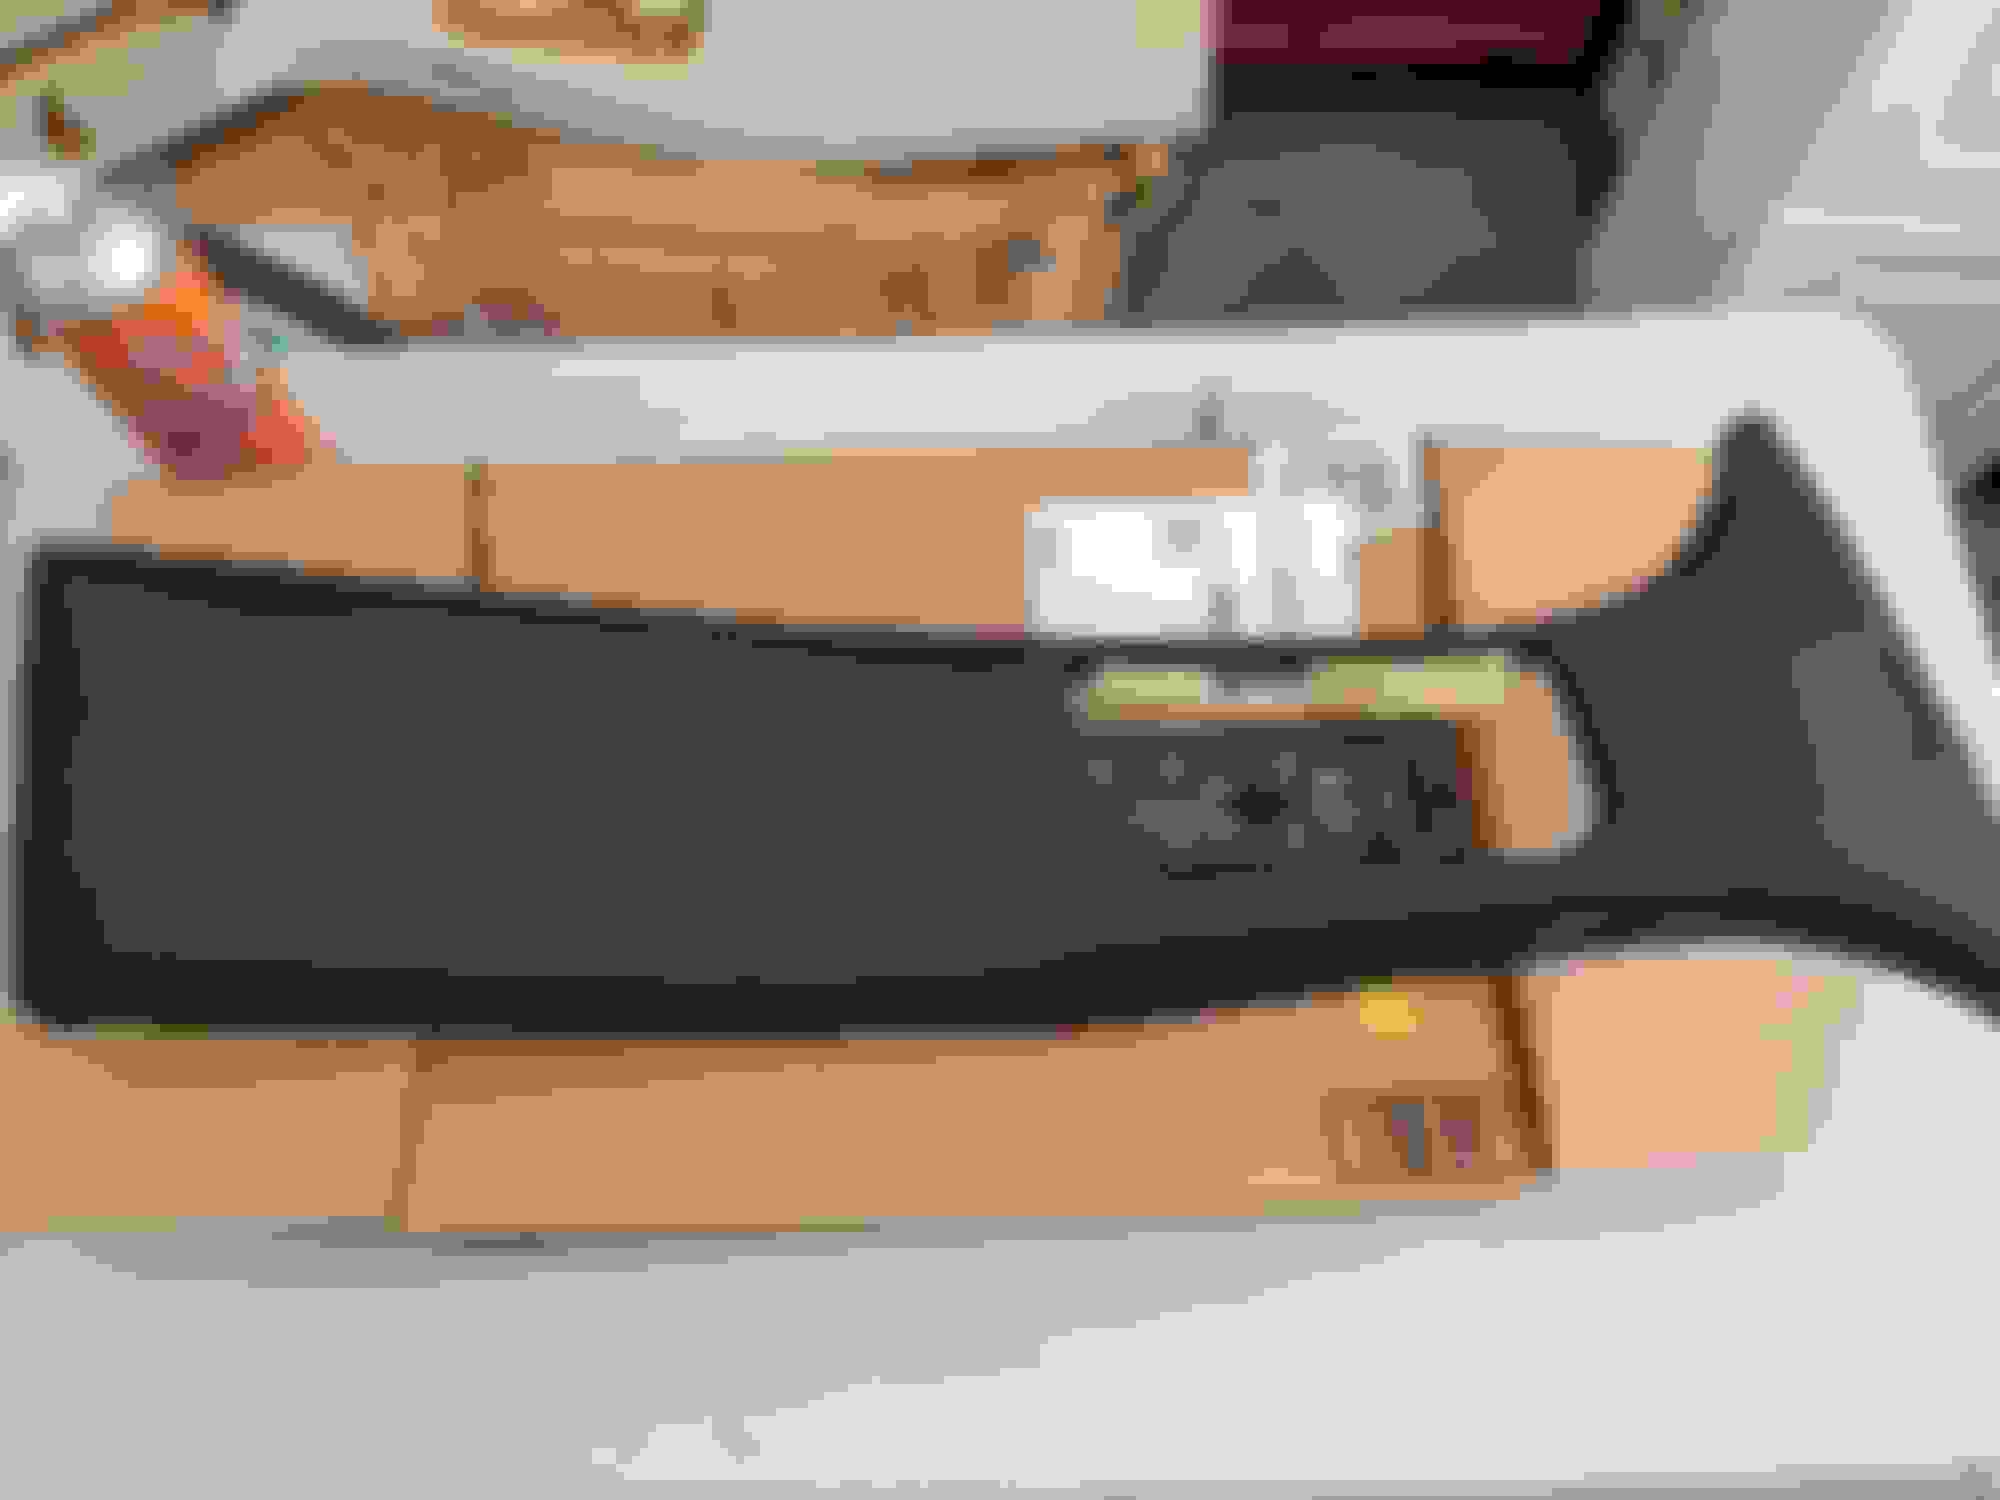
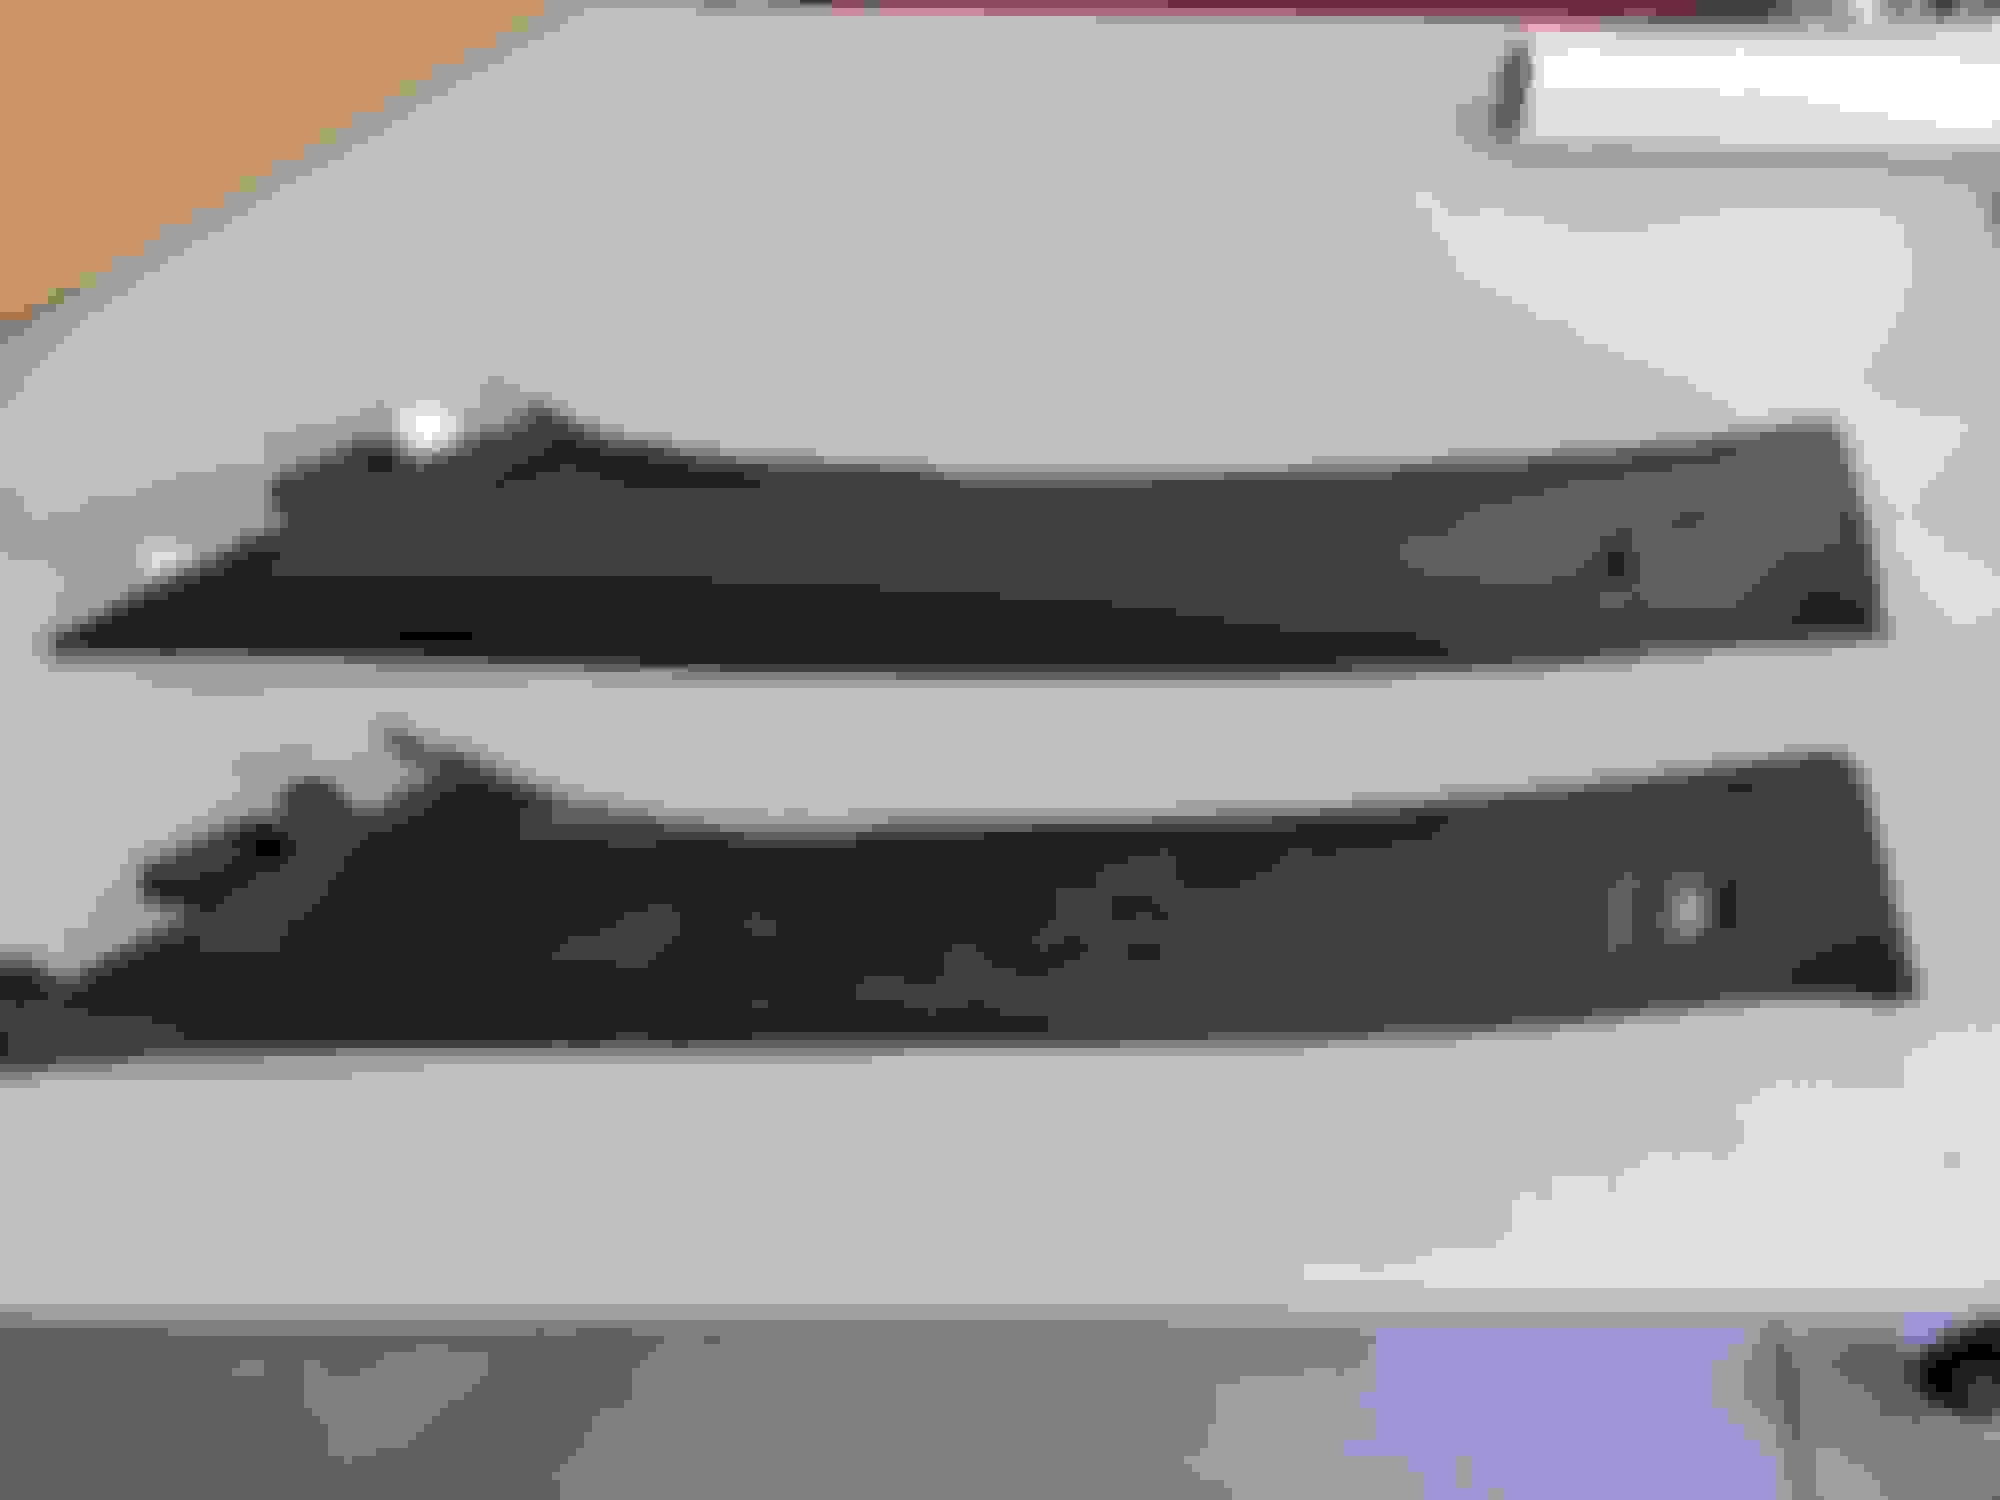
Once they arrived I started comparing them to the OEM mats. Yeah that's the quality and luxury I remember. Here's a good pic comparing the two. My toes are getting itchy to try these new ones out.
And Lloyds uses a superior backing that won't degrade like the OEM foam will.
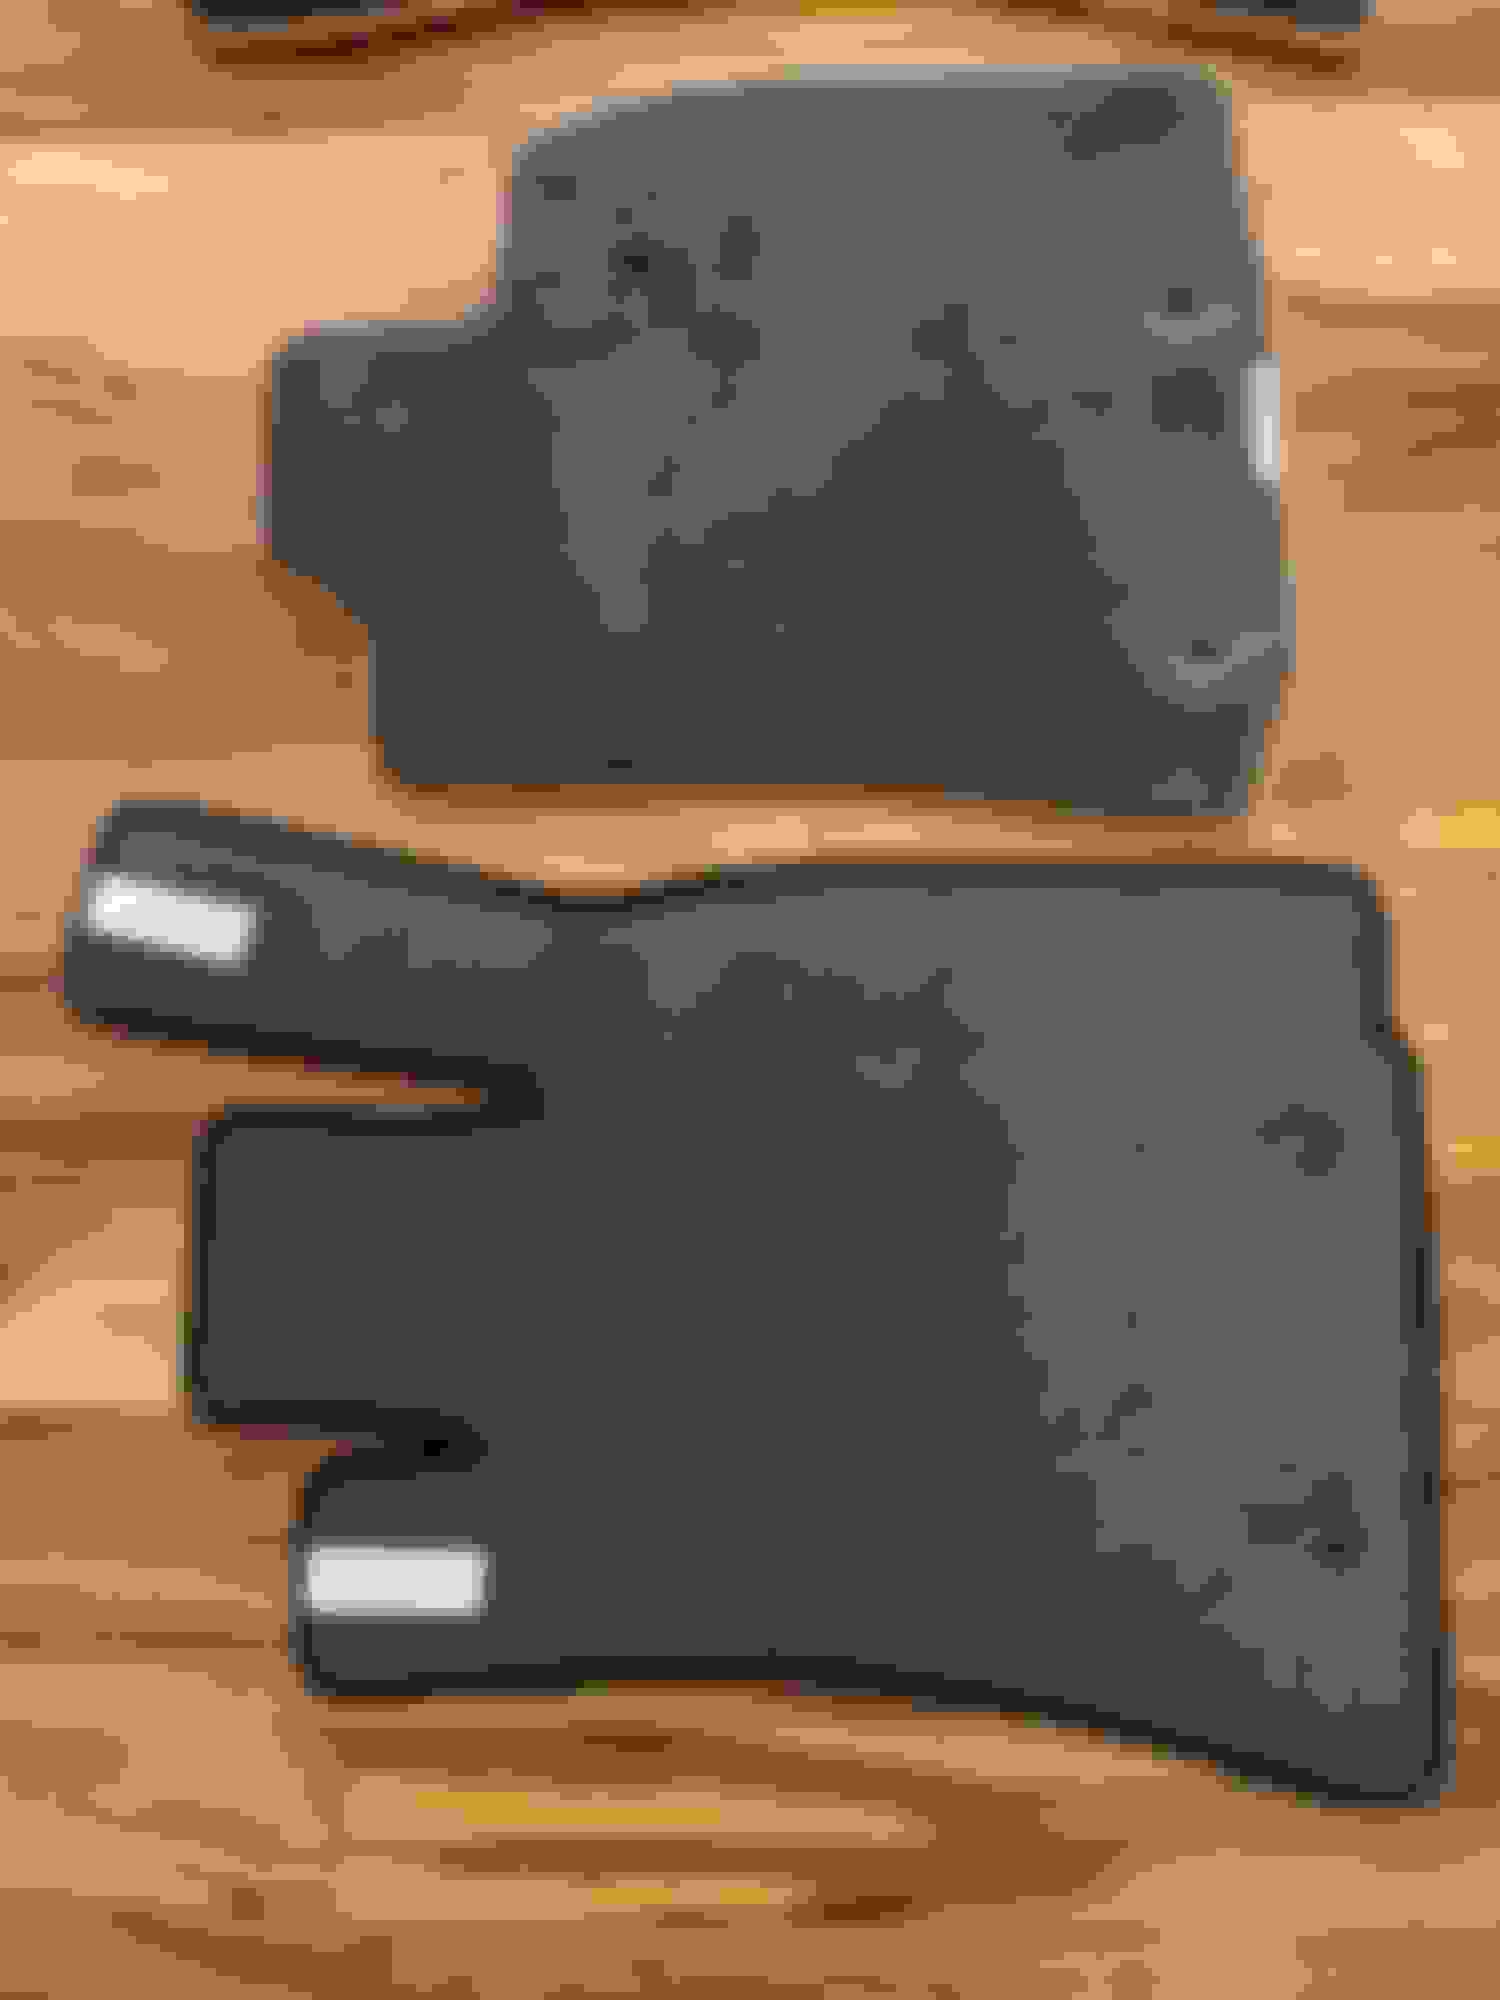
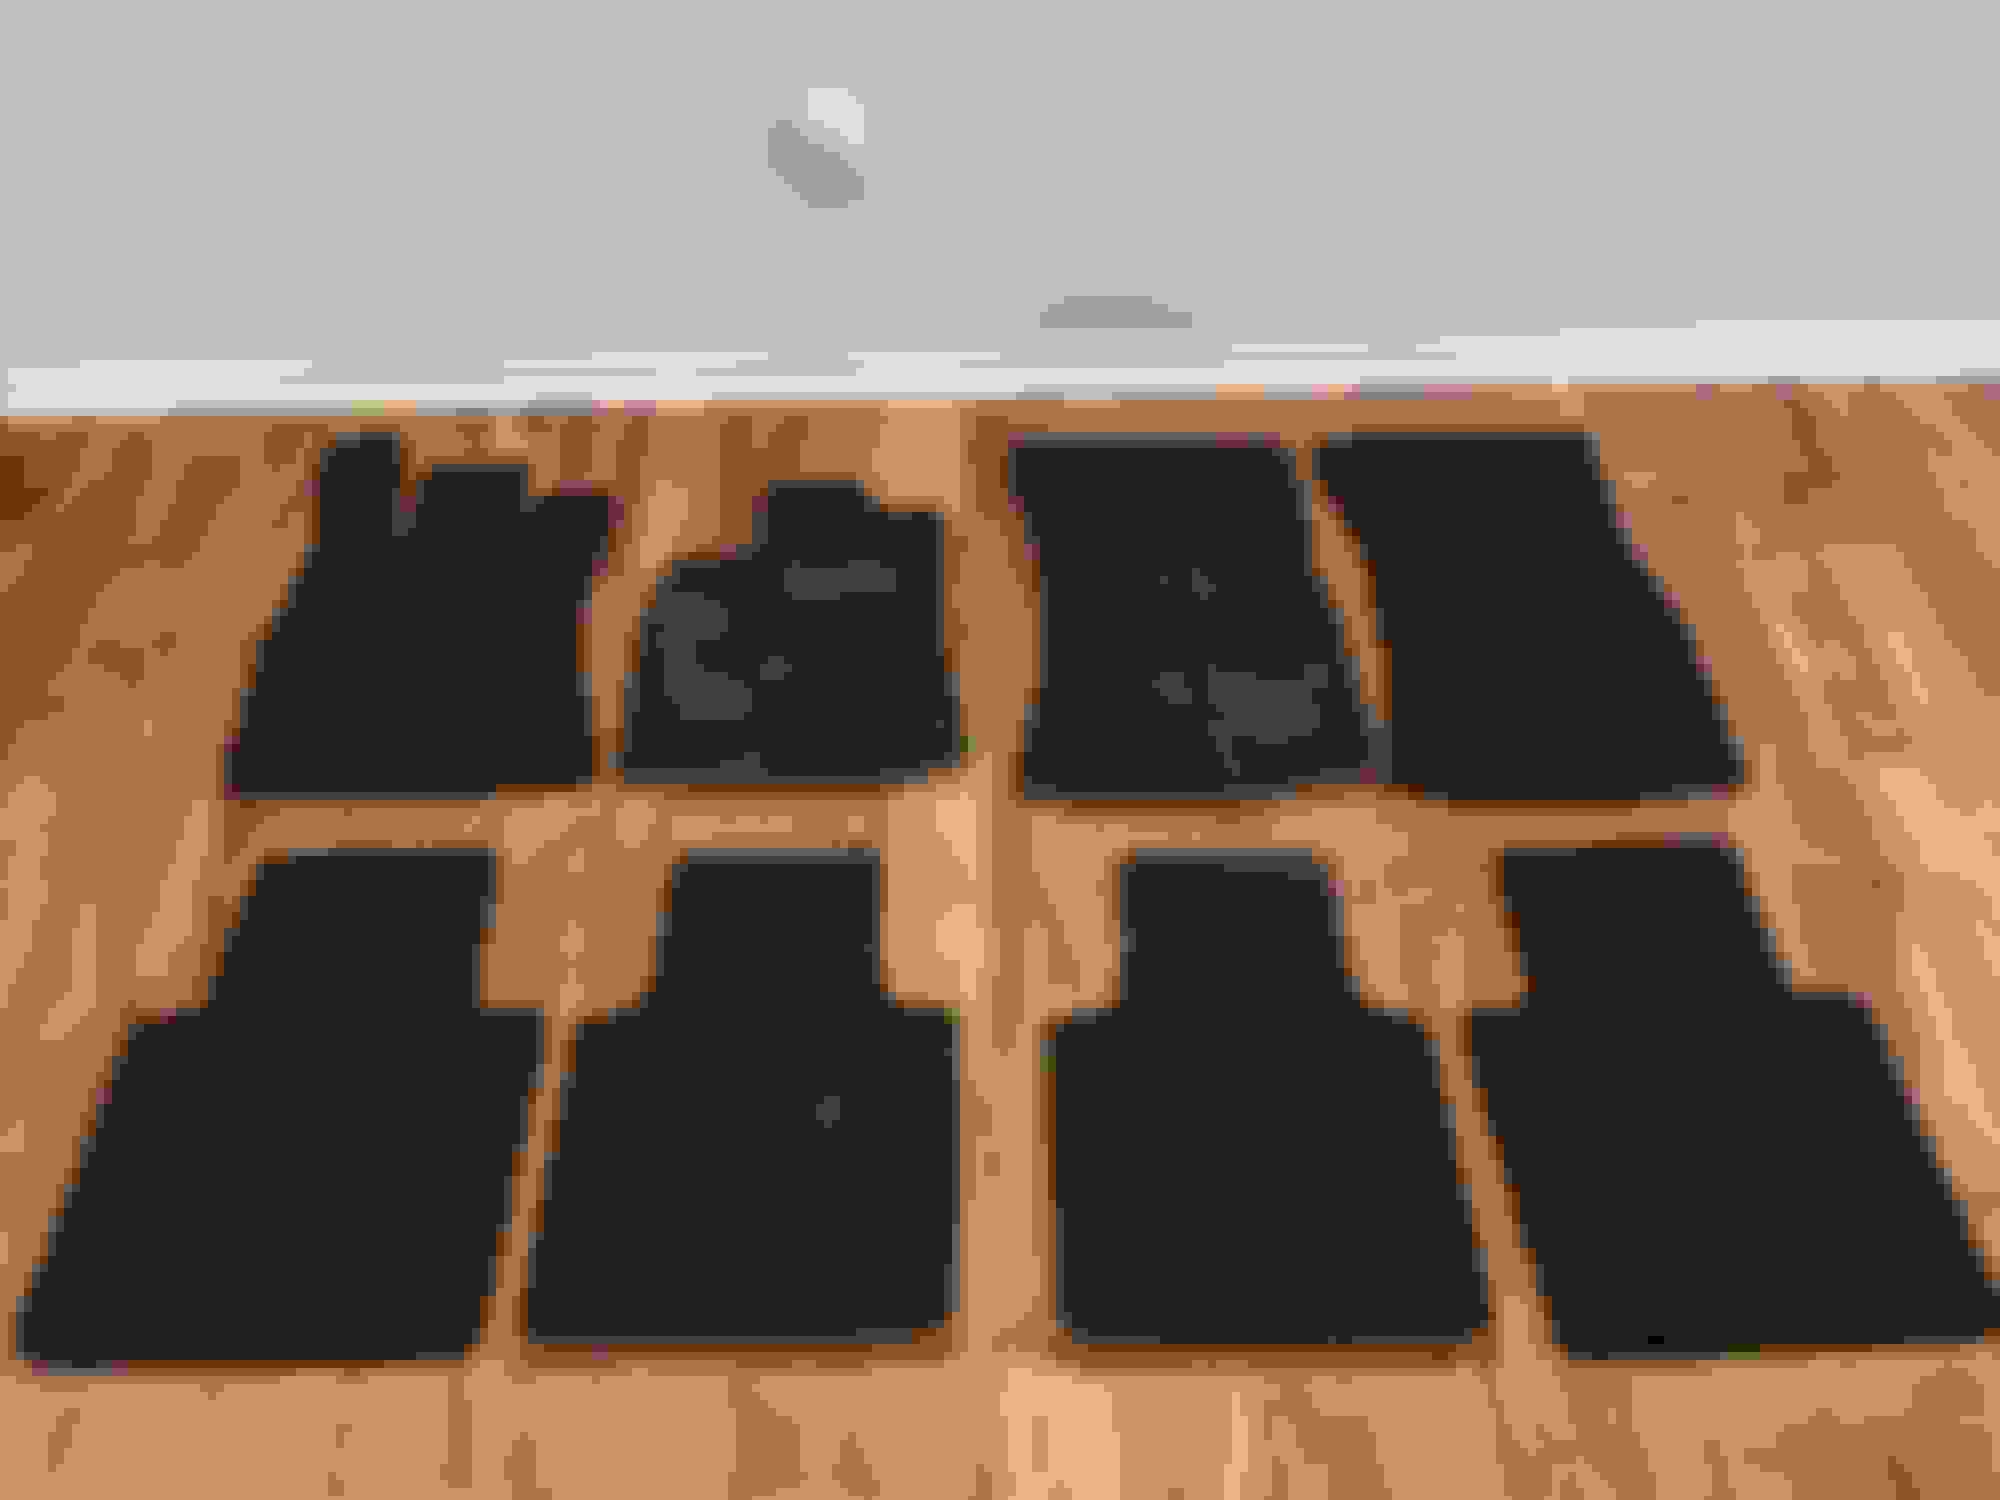
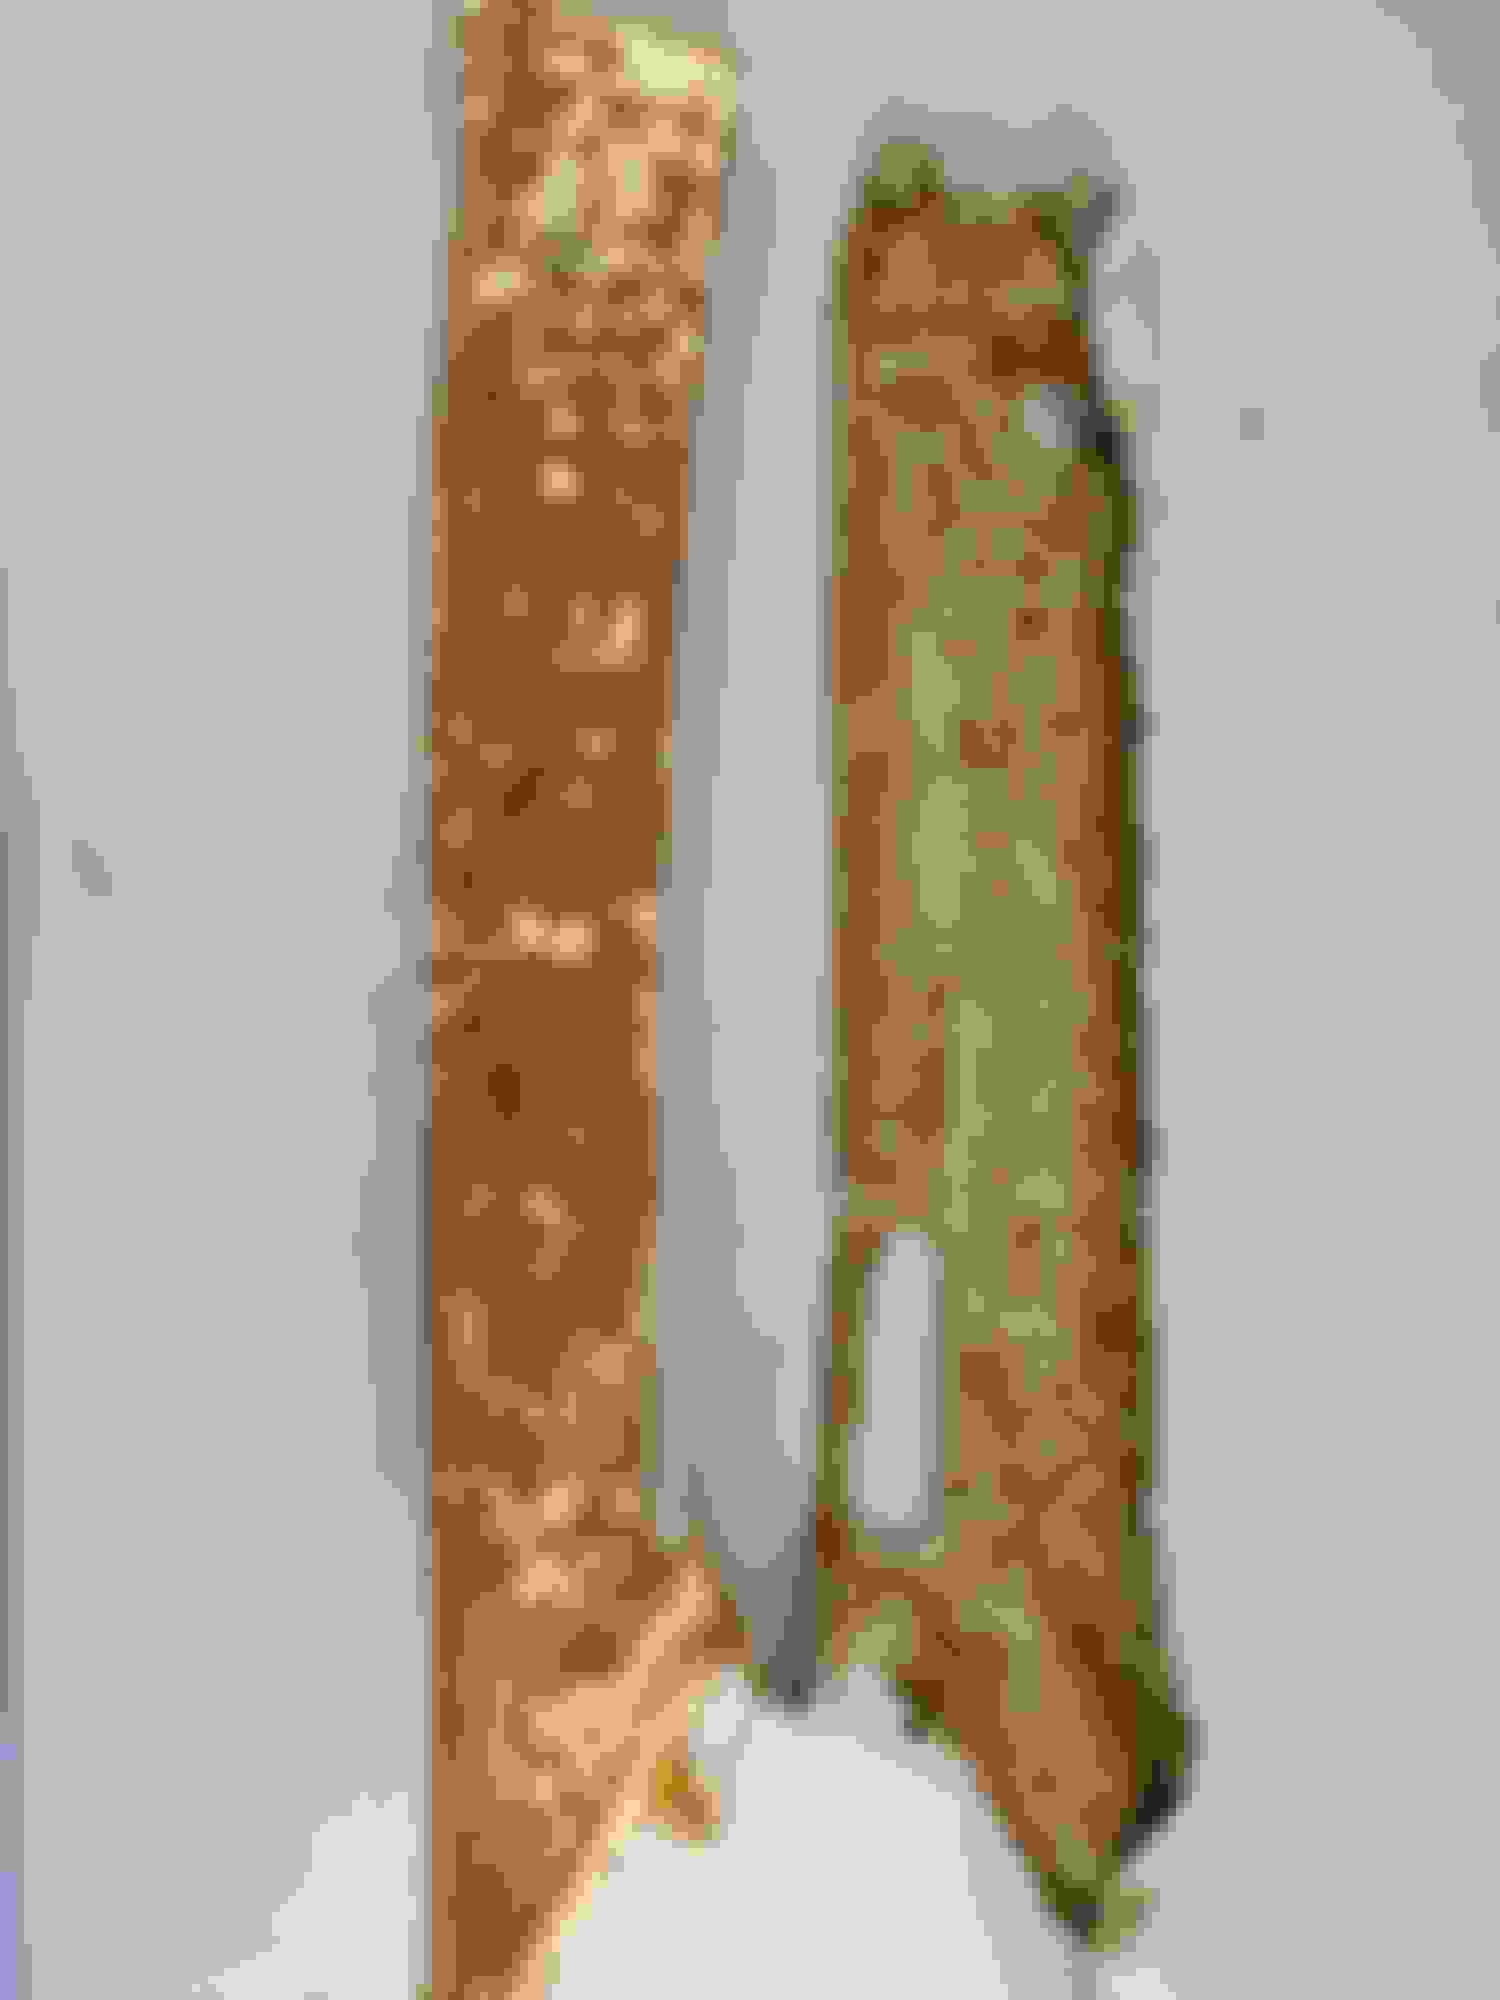
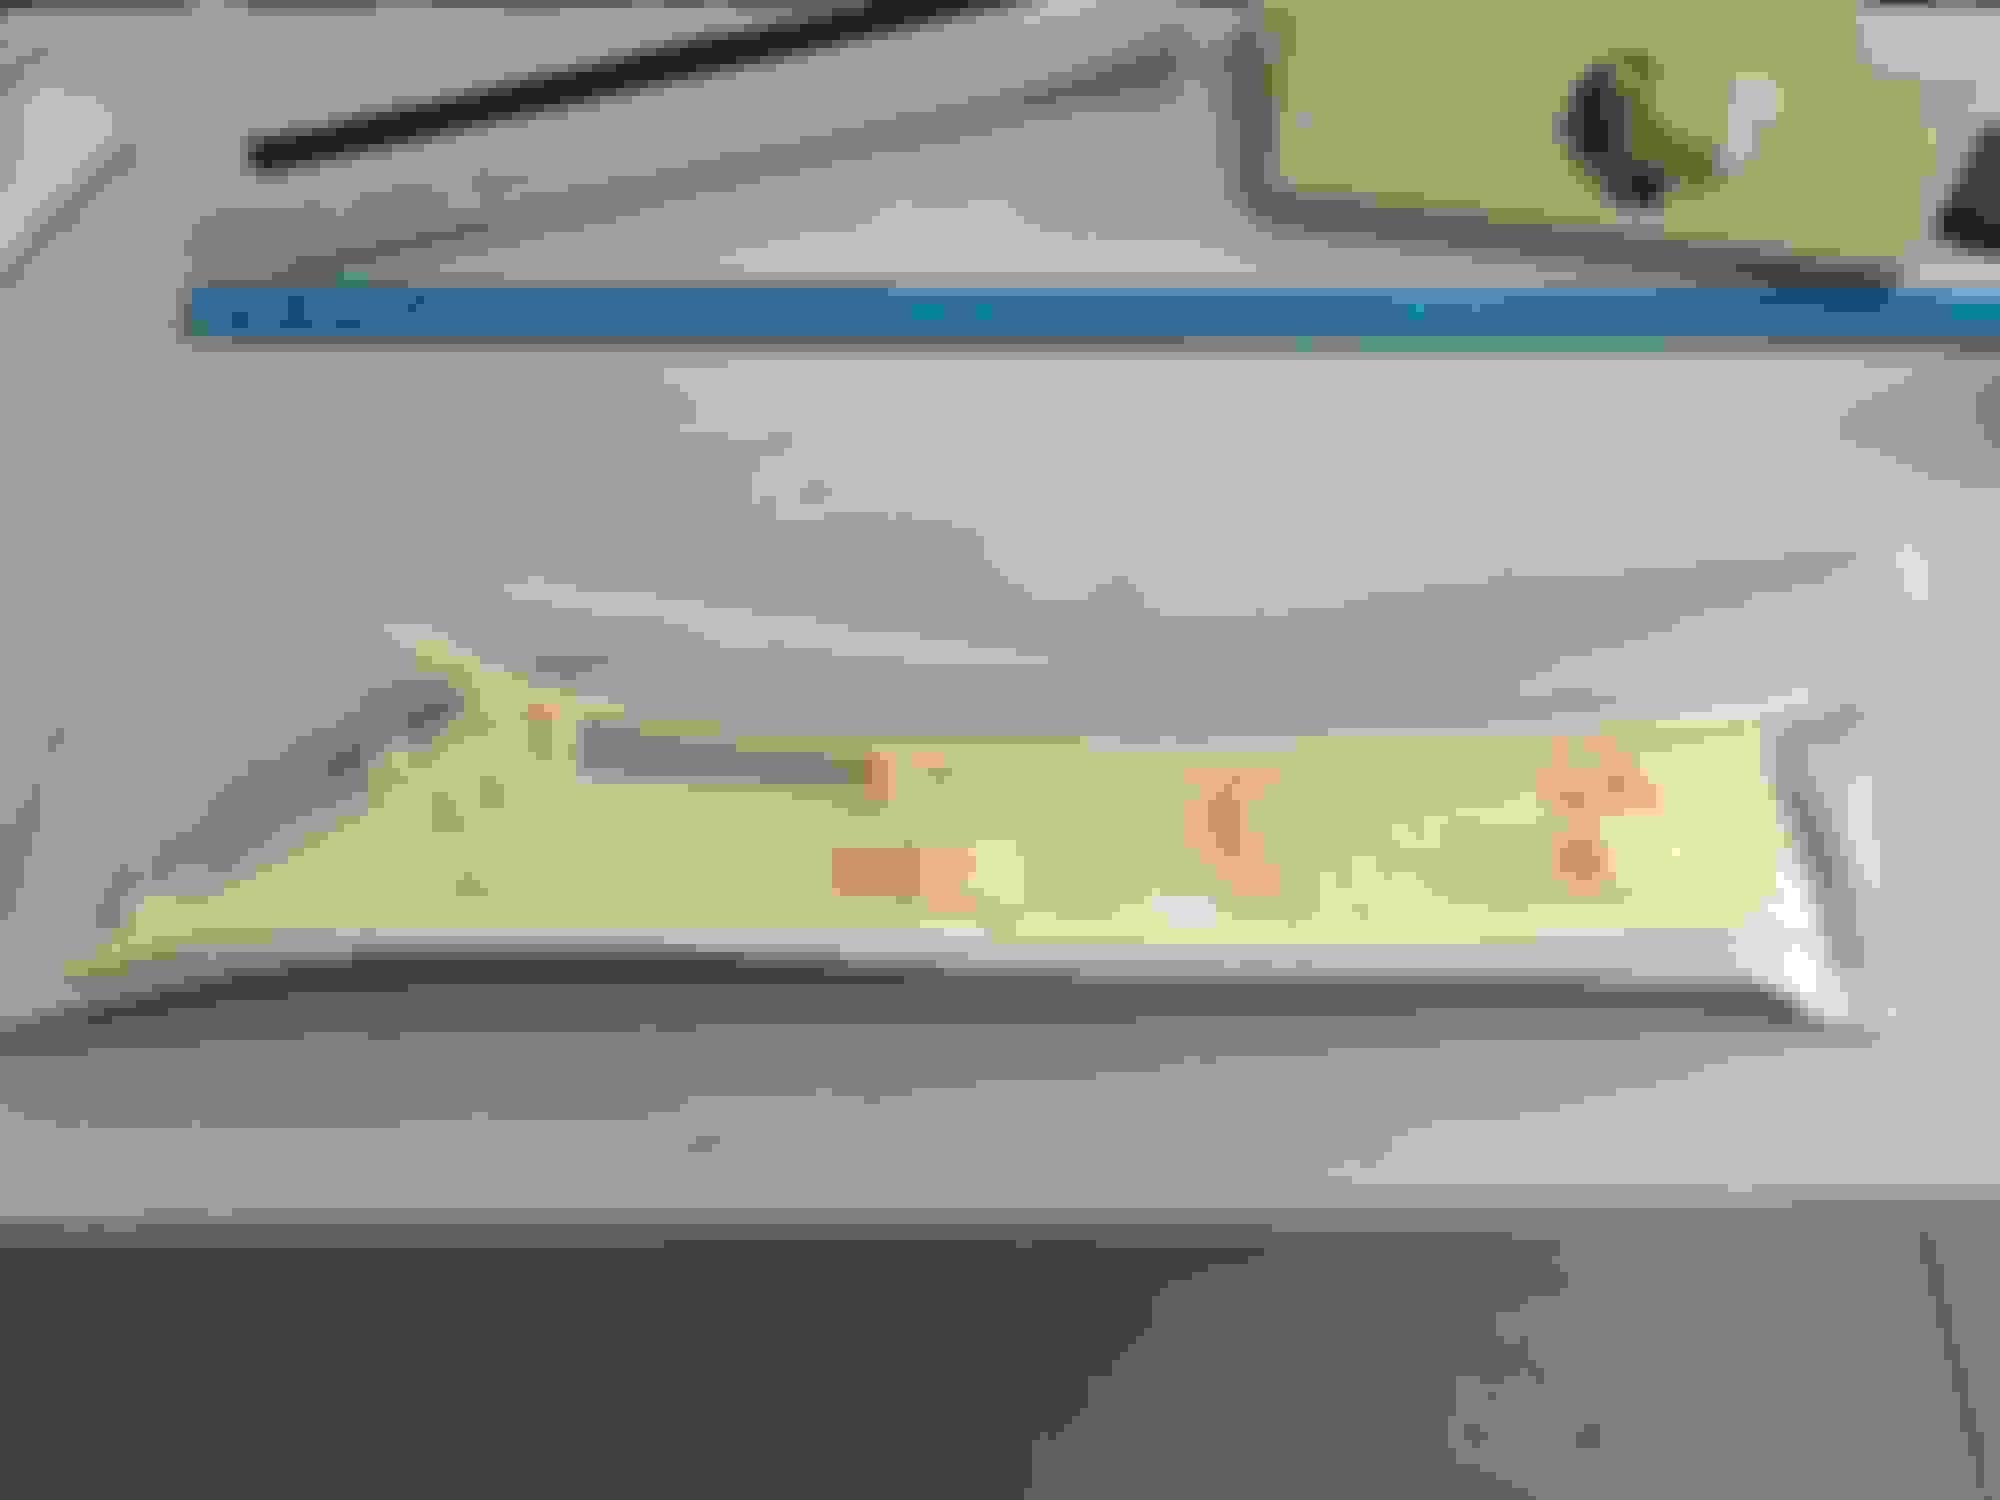
But wait...something's amiss here. These mats are not shaped exactly like my OEM mats. What's with the curve in the driver mat? And my rear mats don't have anchor holes in them.
Ok, I can see that LLoyds did make some improvements to the driver mat by extending the mat up the dead pedal area and behind the pedals. That's a nice touch. But that curve is just a problem.
I think that curve is going to be a problem. After fitting it to the car...yep its not going to stay that way.
Along with the rears having holes, they are about an inch shorter than my OEM mats.
These differences are not mistakes. They seem very intentional. Starting to think that later cars got this version of mats, perhaps due to the AWD changes.
Time to reach out to LLoyds and get it sorted. Took some pics and emailed them the details of what I am seeing.
LLoyds was great to work with. They wanted to figure it out as much as I did. After some back and forth they determined that for some unknown reason the original pattern they had was updated to this new pattern. And the older pattern seemed right for my model year. So they went to work fixing their end and produced a new set of mats for me that better match my OEM mats.
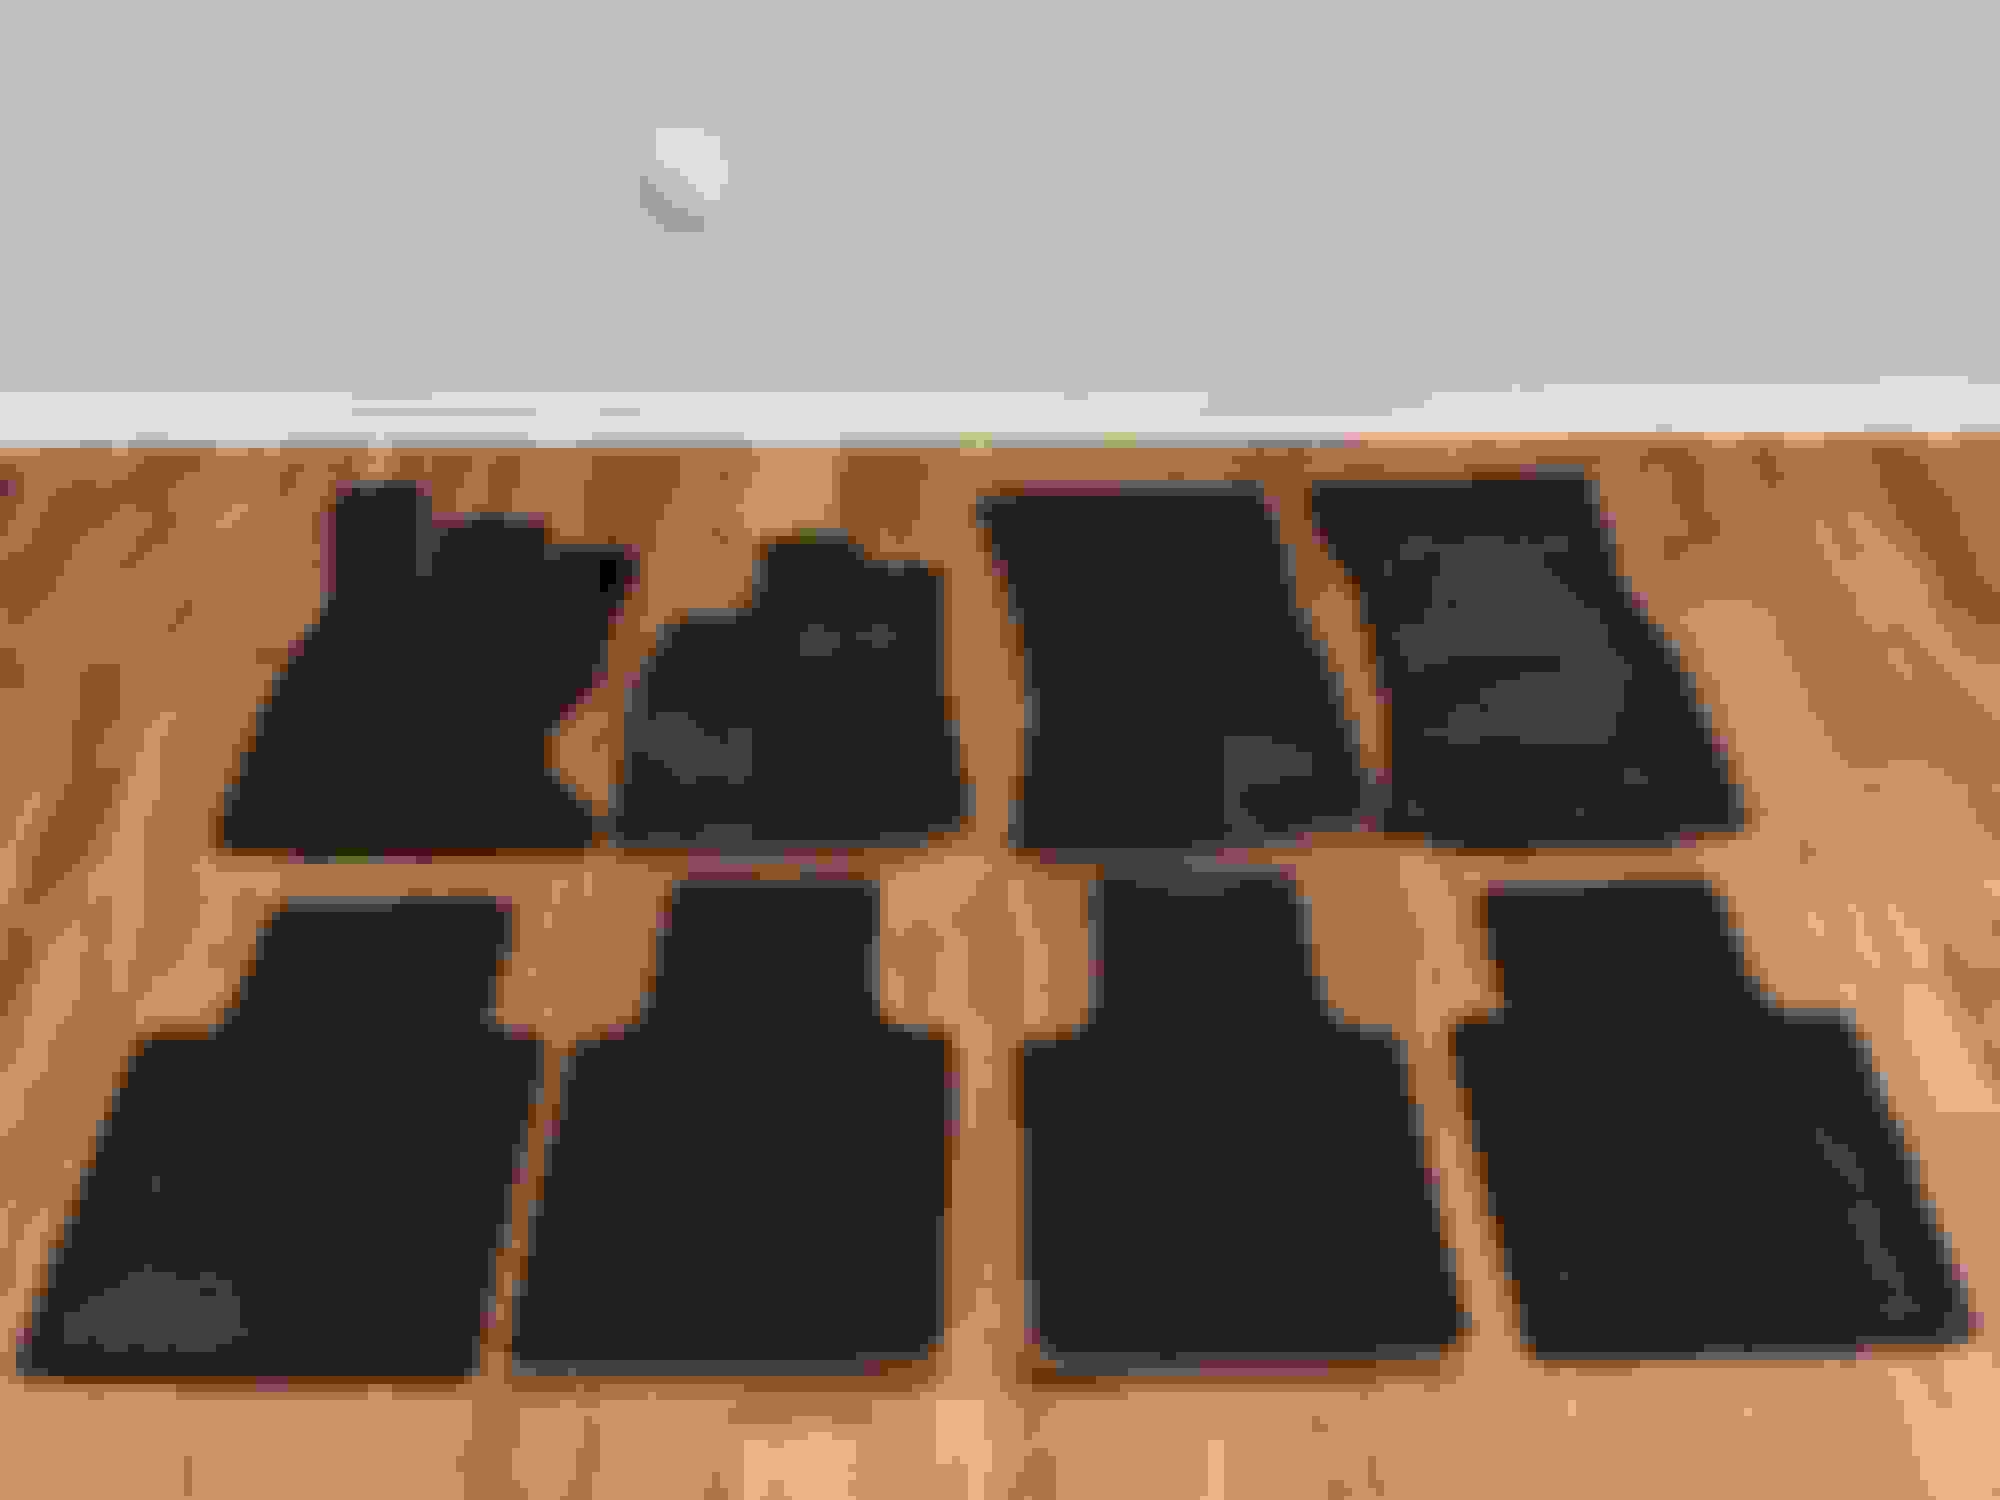
A couple weeks pass and these finally arrive. Looking way better now.
Here's a good pic showing the improvements Lloyds made to the driver mat shape. No more curve!
Finally some pics of this set installed. Fit is great and quality is now where it should be for this level of car. Expecting the heavier thicker materials will add to the quietness on the road.
While it took me a while to get these mats, I am very happy with the results. Look great, feel great. No more bling under my feet with logos and colored piping.
So....I still have the "wrong" set and they need a home. If anybody has the right car for them I do plan to sell them. They are now in the marketplace.
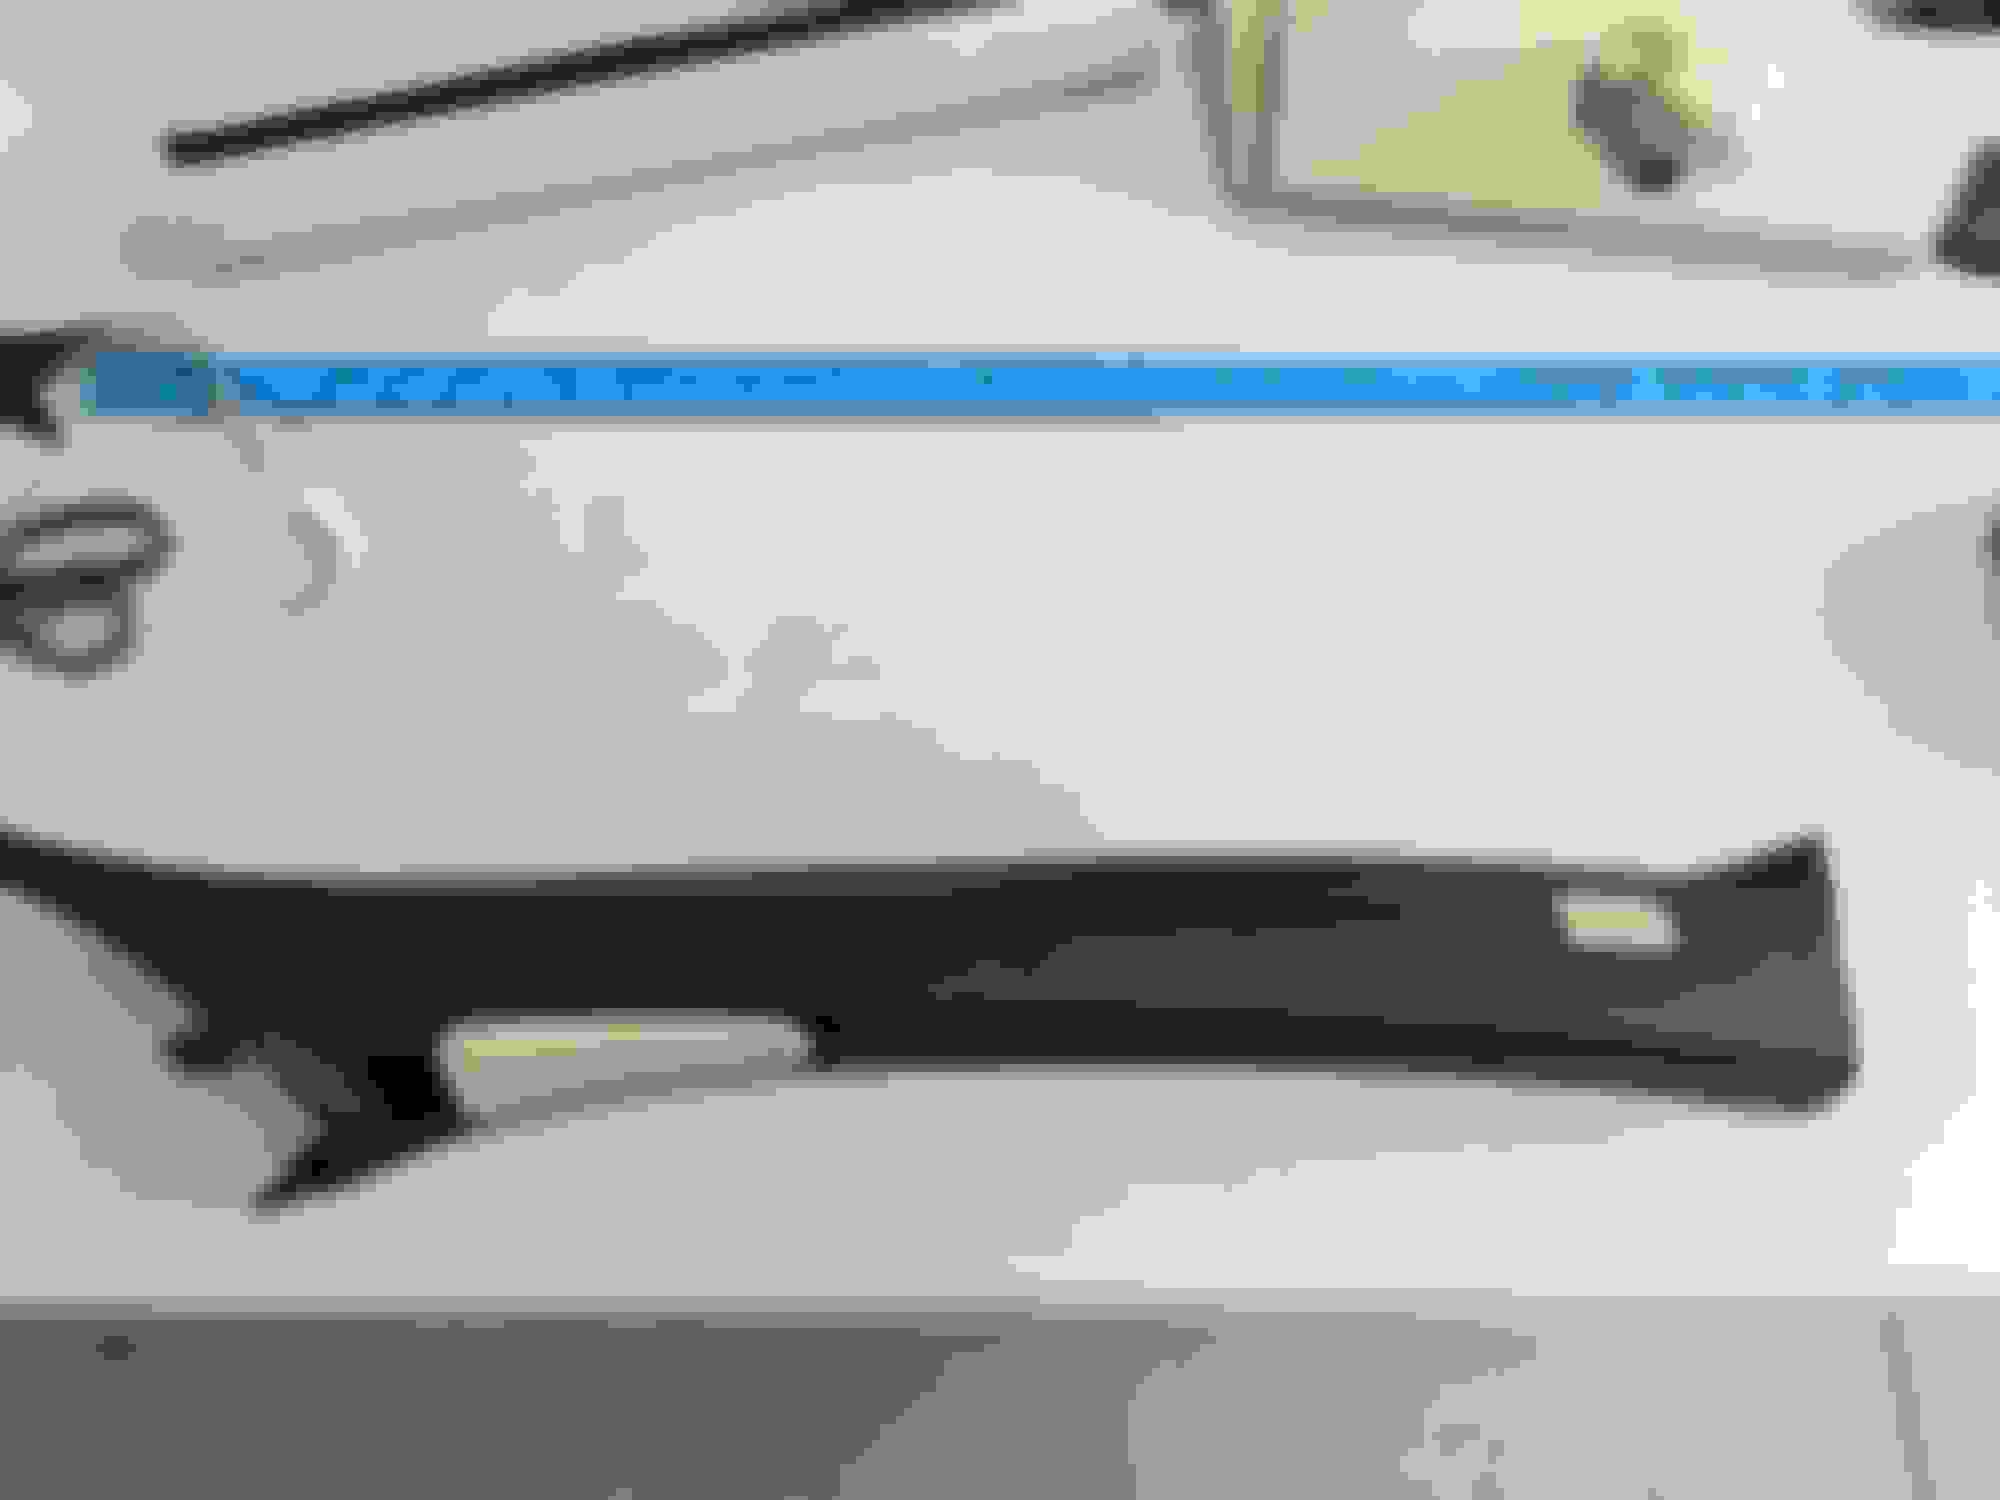
The weather is finally getting warmer so I got motivated to do some more work on the XJL. When I got this car it had the "wrong" canvas color pillars and headliner instead of ebony. Really made the interior look odd to me. I found a set of pillars in ebony to swap out and that made things better, but it still was not as nice as it should be. The ebony cloth pillars up against the canvas headliner still was odd.
So I decided that for the A and B pillars I would redo those in ebony leather to match the dash and door tops. Yeah, that would make a world of difference. I spent a good bit of time searching for the right material, got some samples, finally settling on a marine grade vinyl (yes, VINYL) that looks perfect to match the rest of the ebony in the car. Best of all it was cheap and readily available on Amazon.
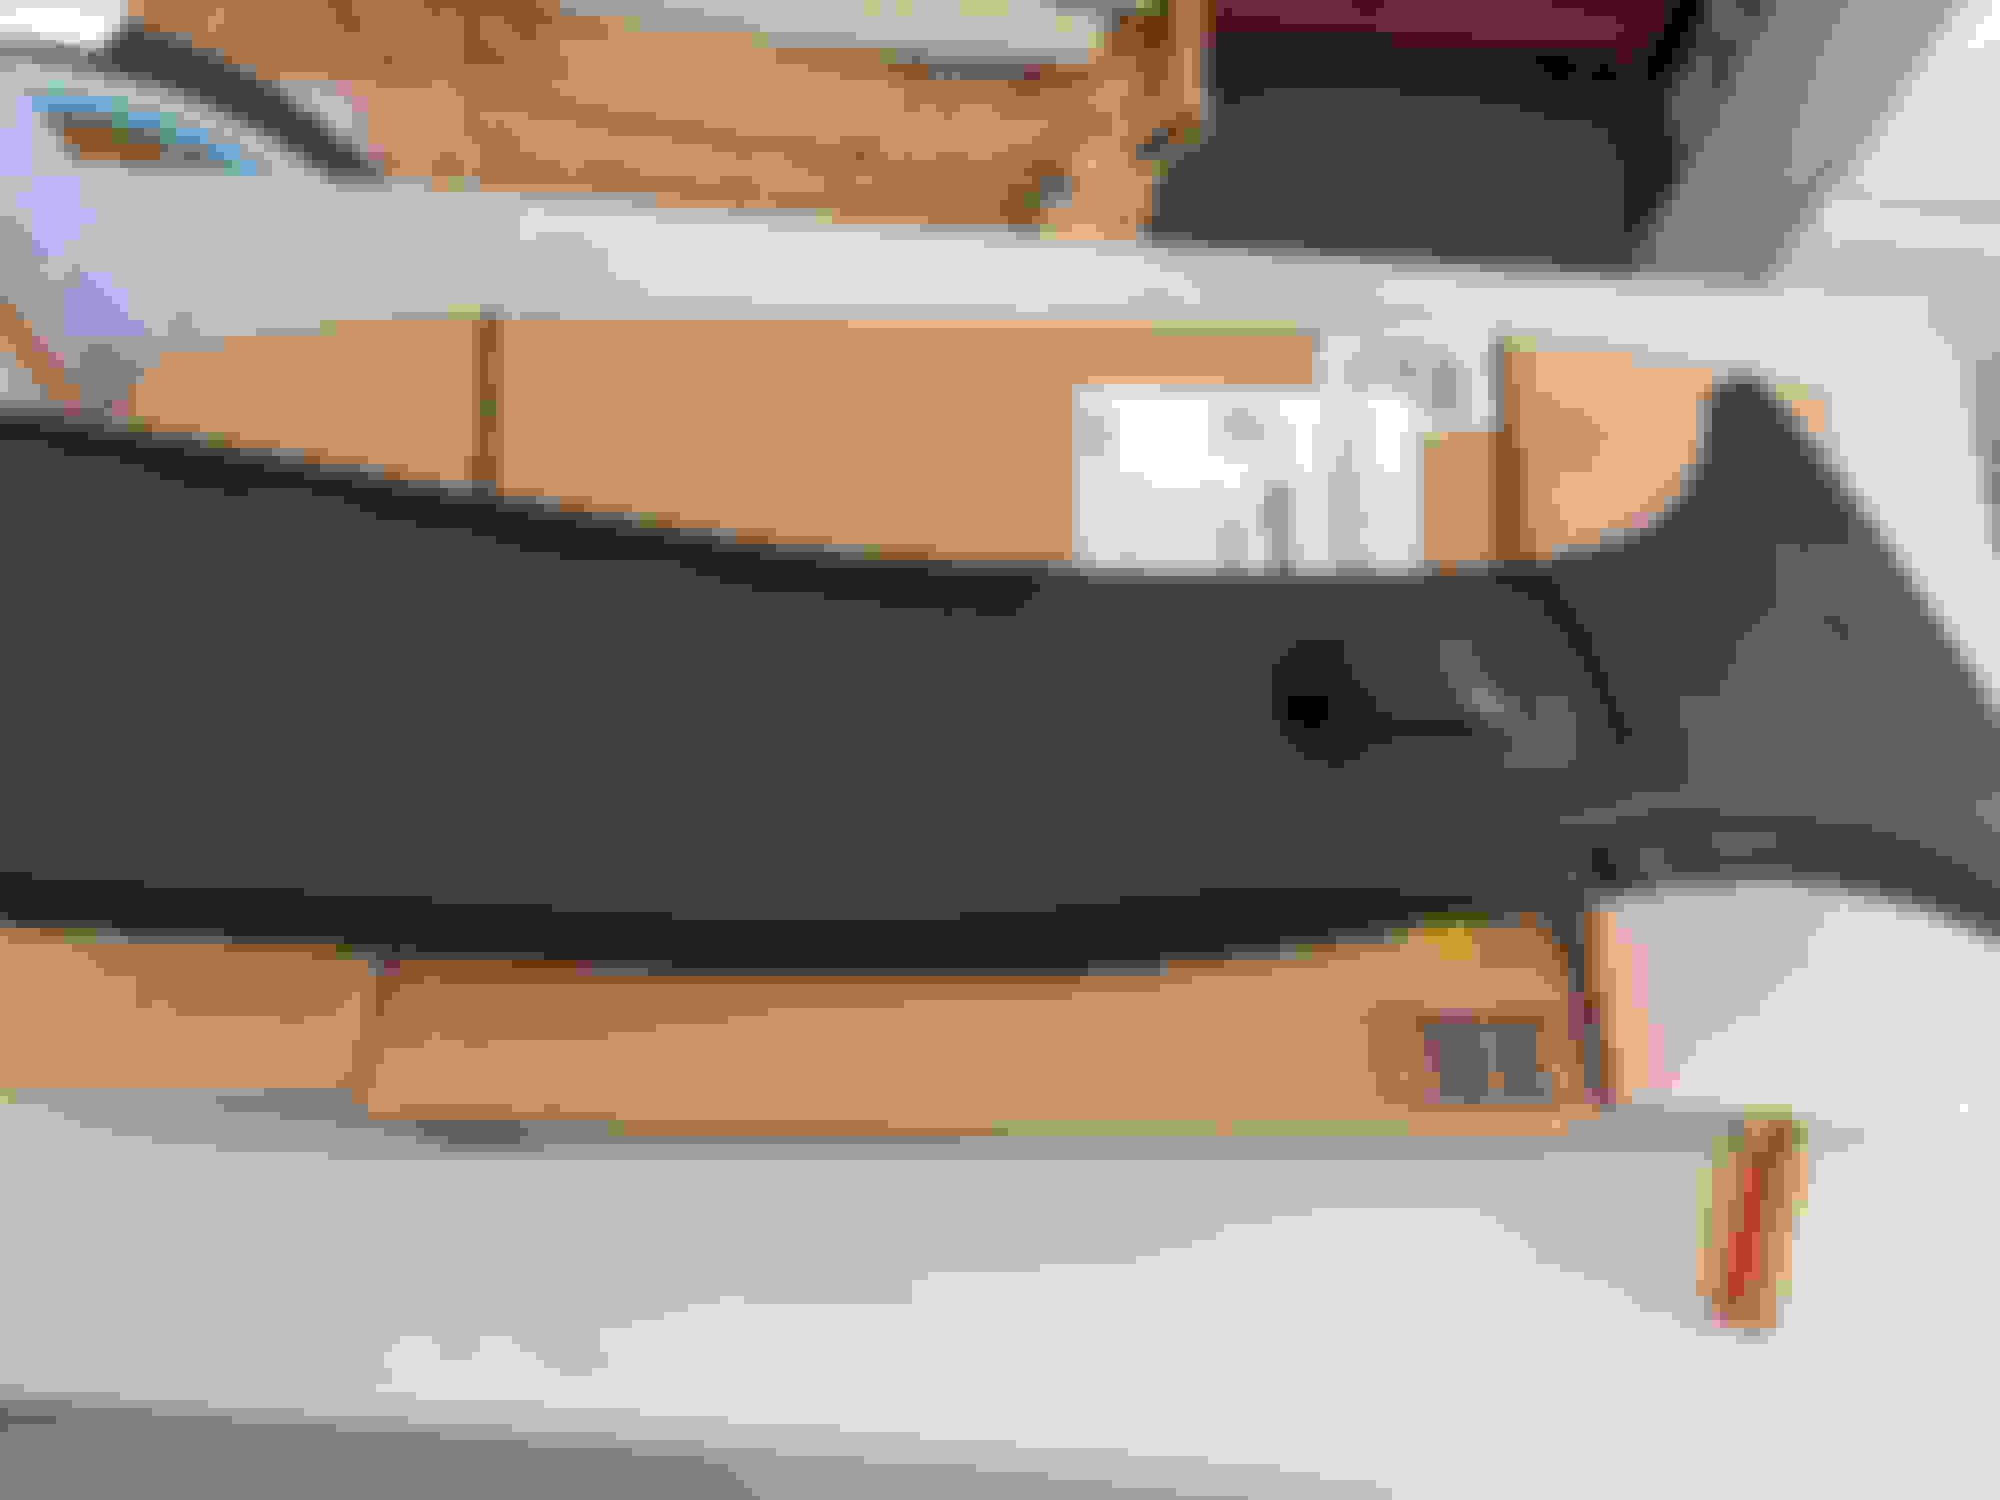
But before I can recover the pillars, I need to clean off the old material and get down to the core plastics. I have done this same work before on my XK8 so I thought I knew what to expect. Not quite. The XJL is a lot harder to strip off the old stuff.
Since I still had the original canvas pillars I decided to use those plastic cores. Then when I am done I just have to swap over the few ebony plastic pieces and I will still have the ebony alcantara pillars to keep or sell off later. So here I go...
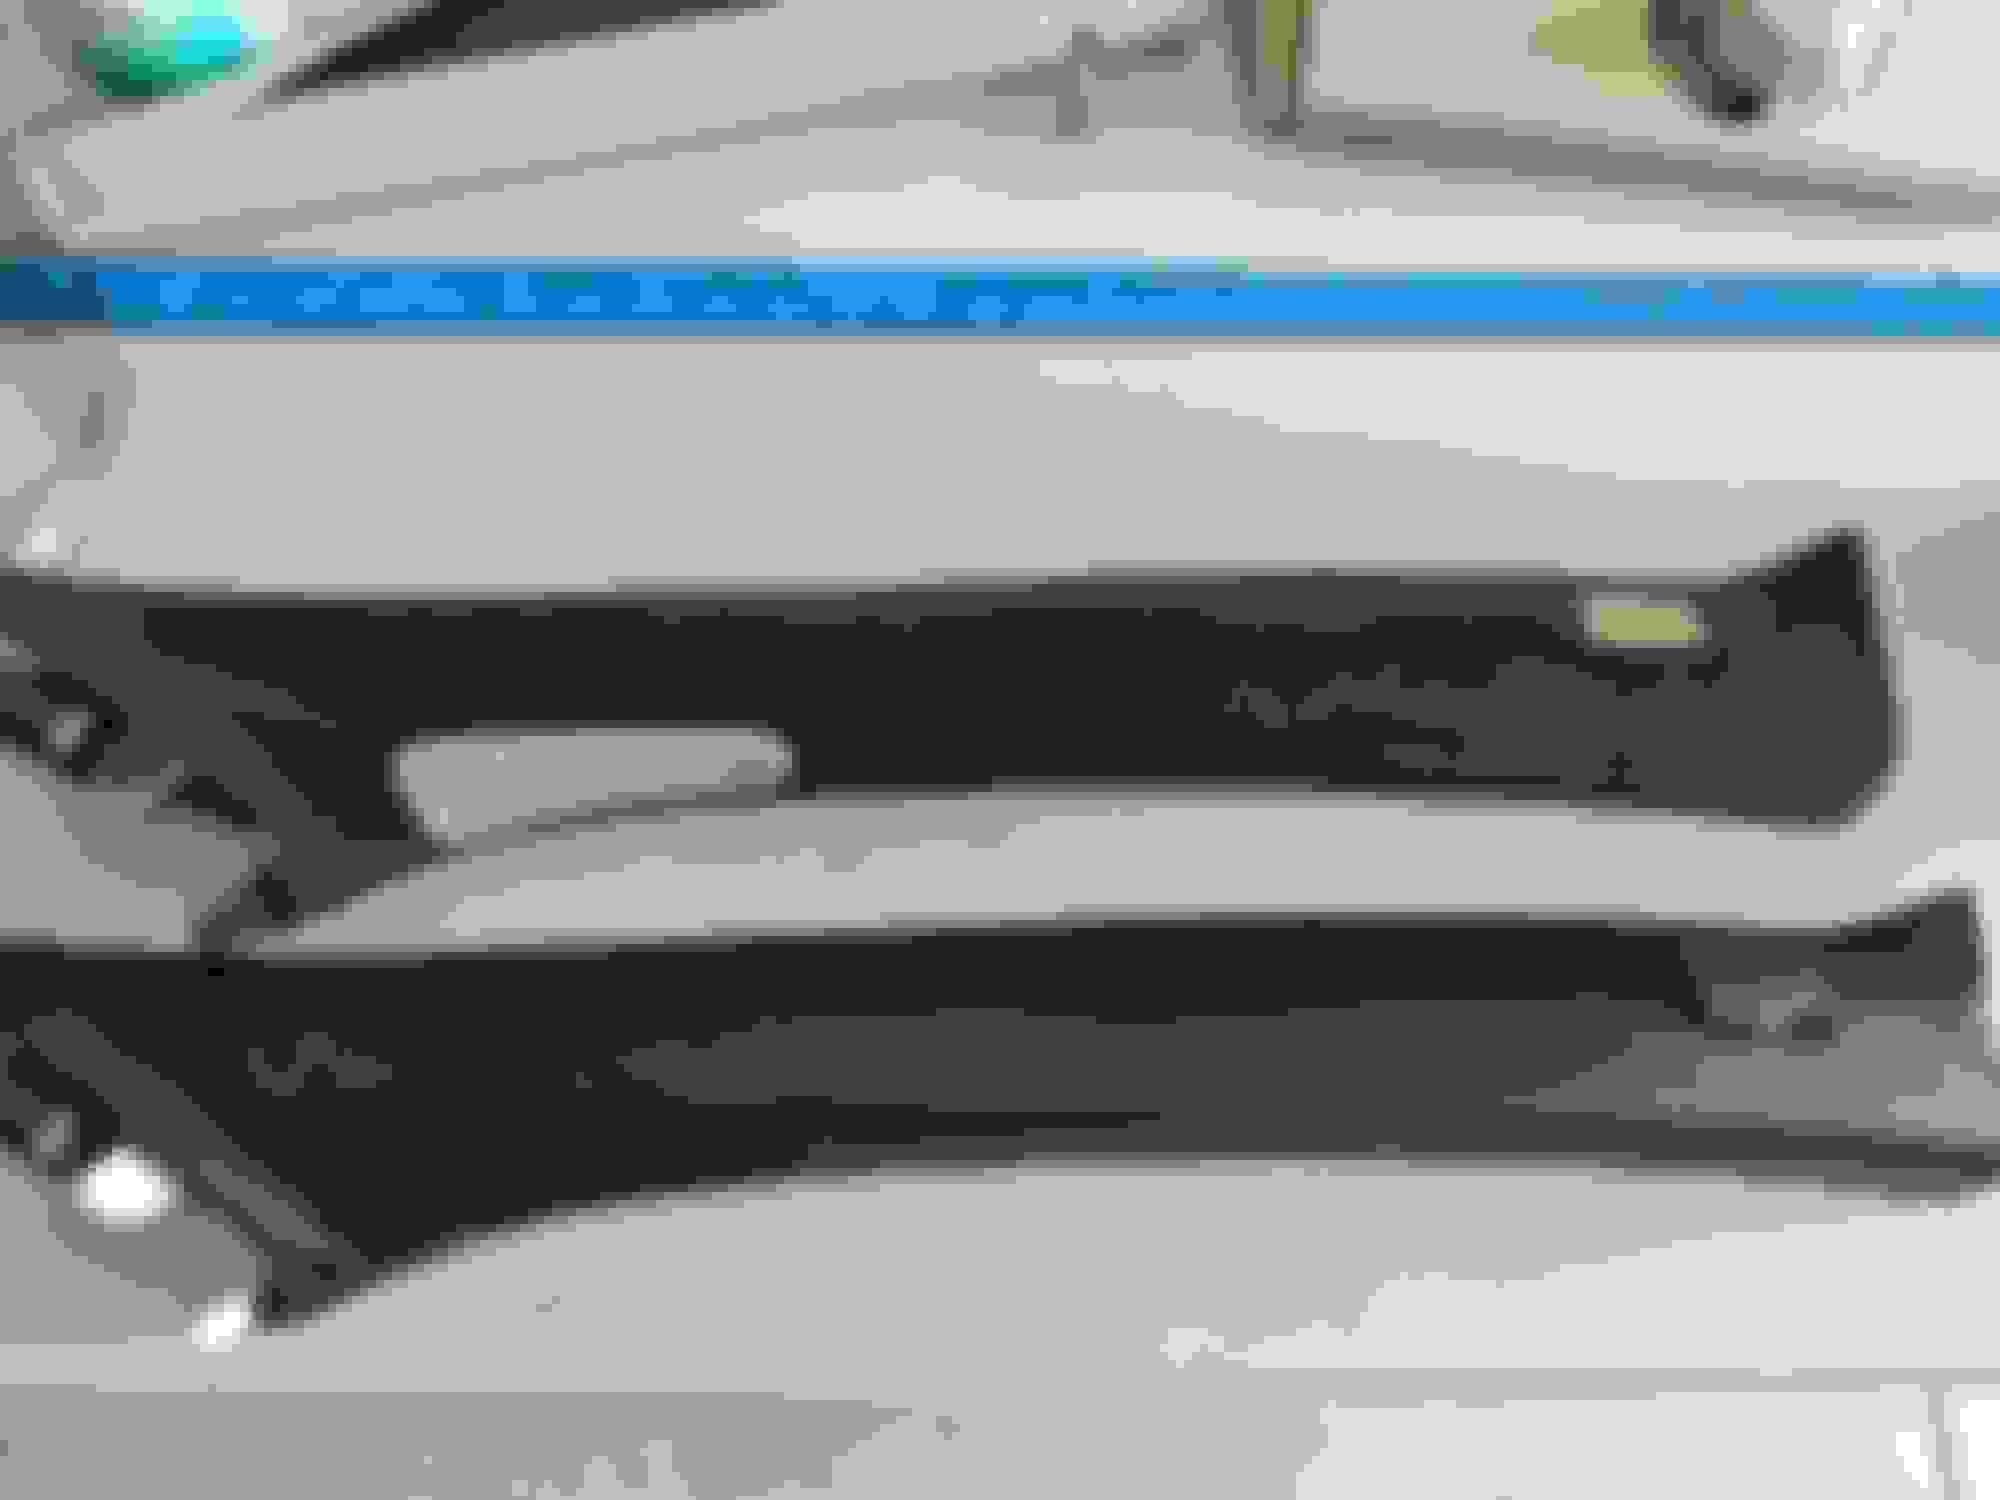
The foam is crumbling as expected from the age. The canvas material pulls right off, leaving some of the foam bits that are now basically goo.
Cleaned off the foam crap but wait a minute....there is a fabric base material under the foam.
I can separate the layers. And that fabric base is really glued down. It looks like I can pull the outer layer off leaving the base fabric, along with remnants of the bond between the two layers. Well now what to do?
I decided to soak it and see what happens. Turns out not much. That base is glued down forever I think.
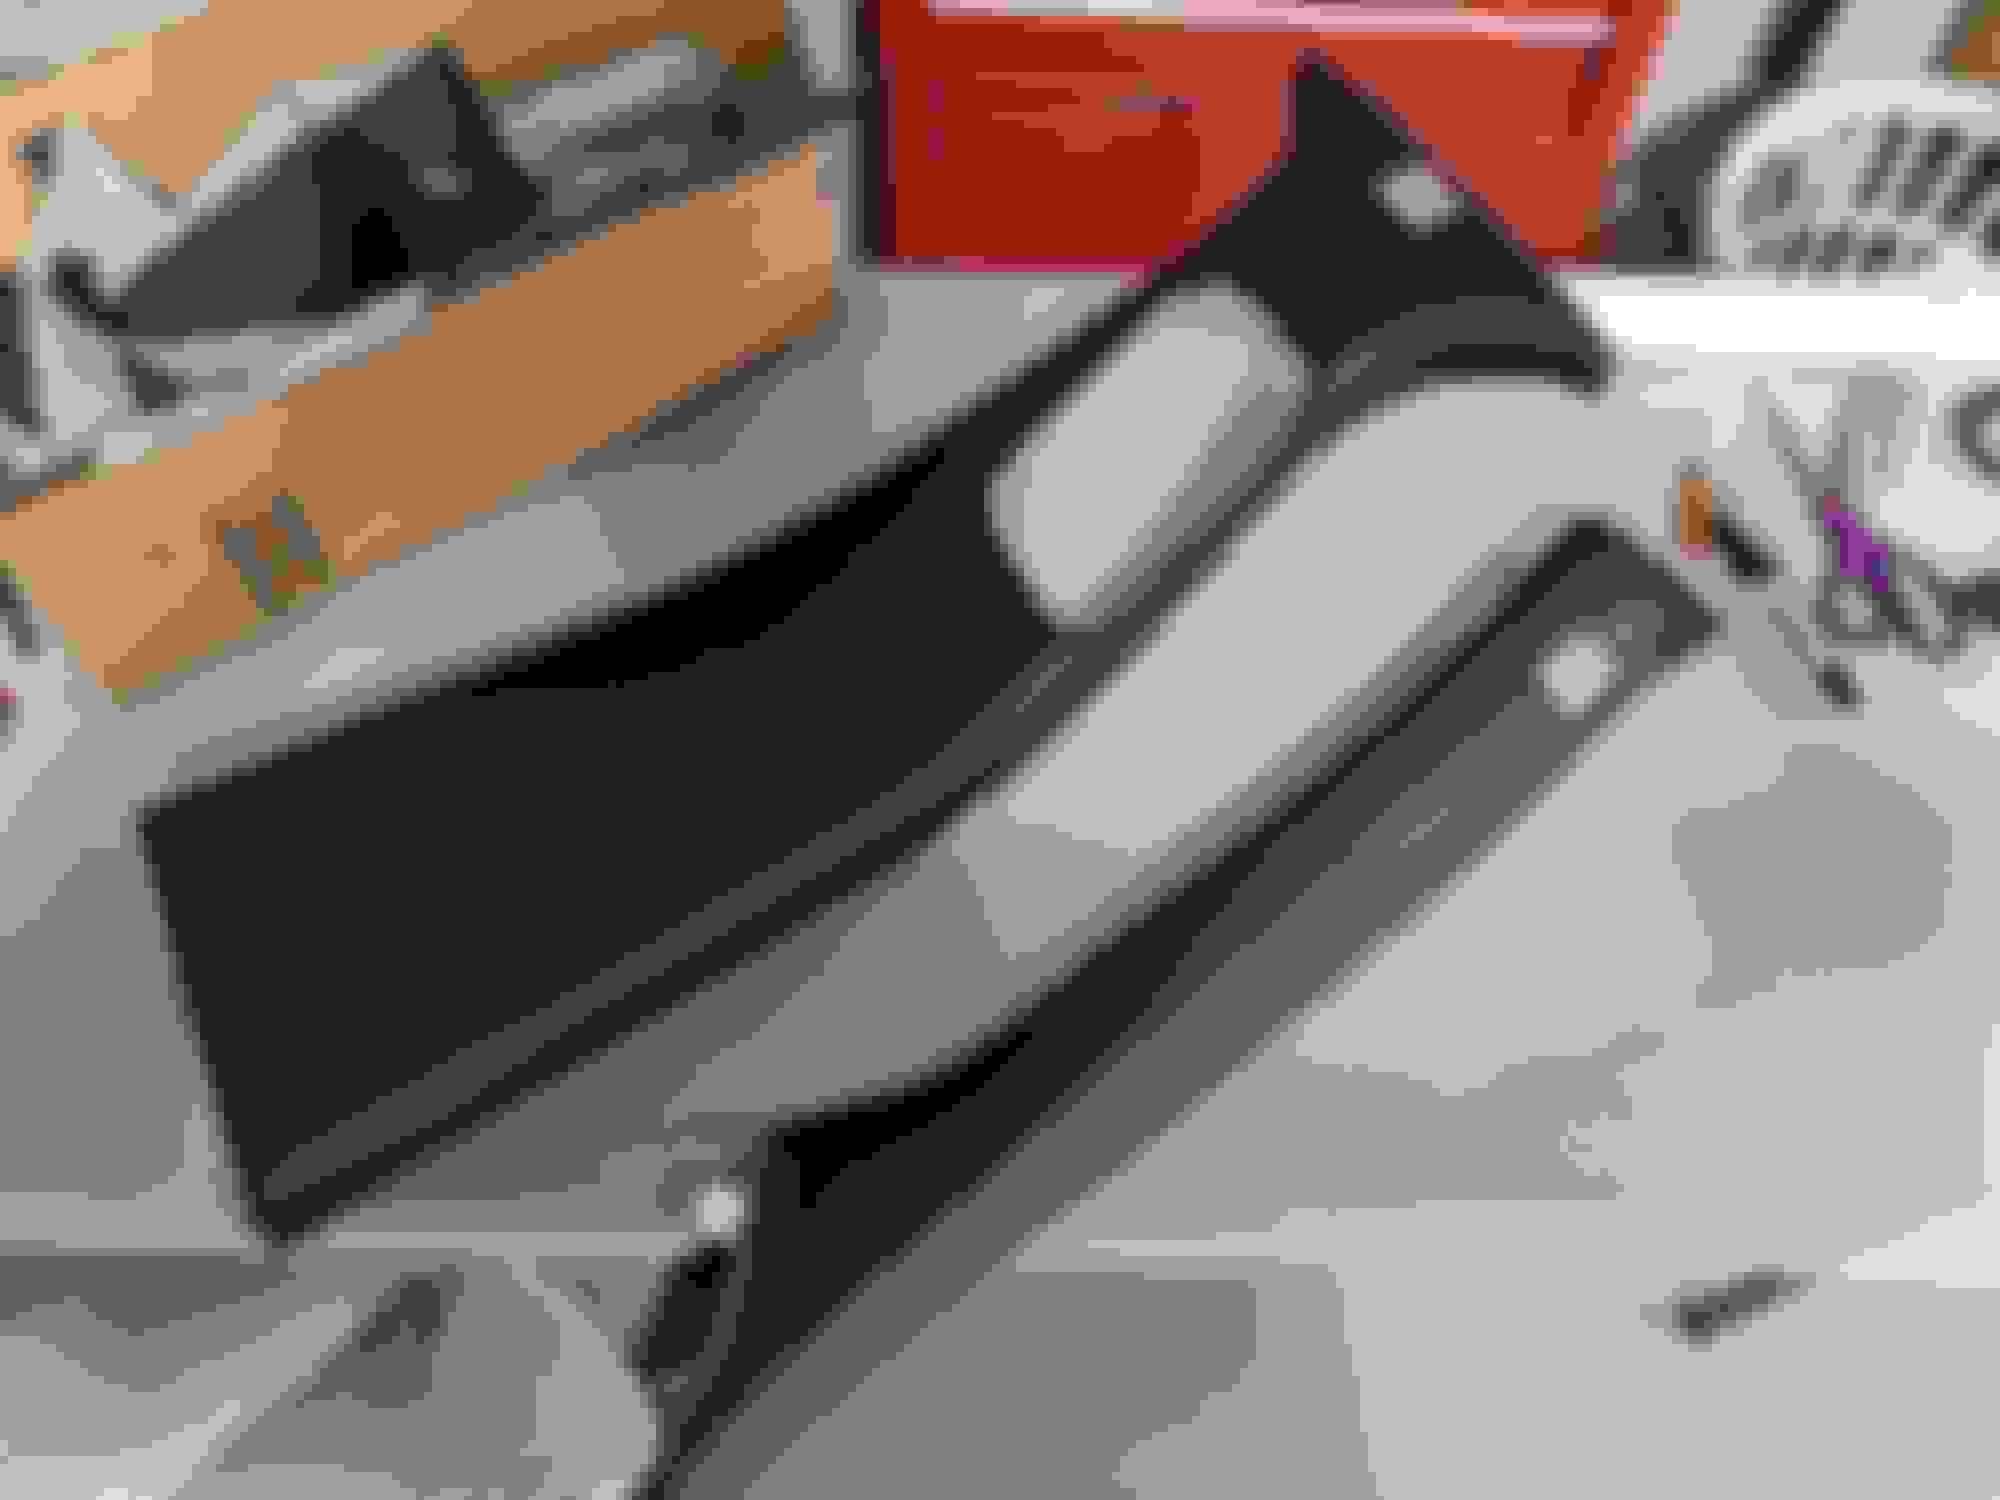
After pulling off the outer layer I am left with the base fabric and a bunch of bits that need to be removed to get it smooth.
Picking off the remnant bits was tedious. Took a couple hours of pulling off by hand while I watched TV. But looks smooth enough now to go for the recovering.
Now time to put that new material on. I used Permatex Headliner Adhesive and it works well for this. Used the same can on the XK8.
Wrapping it is not too bad at all. Took me about an hour to do this first one. Note that for better access I removed the venting piece that was attached to the inside.
I used the original plastic pieces to make sure the fit was correct all around. I have yet to touch the actual car yet. Looks good to go for swapping the plastic pieces for the ebony versions.
Here's a comparison after the swap of the pieces. Its a dramatic improvement for sure. Time to install it in the car.
Before the change...looks ok but not really great.
After the change...looking outstanding now. Really adds some class to the interior. And the transition from the leather to the canvas headliner is no longer an odd connection.
So while this work took longer than I expected it did turn out very well in the end. The color match is really good. Can pass for OEM to the extent that nobody will ever know I did the work unless I tell them.
And did I mention that this was cheap? It will be about $70 all in to do the A & B pillars.
I plan to do a B pillar next to get one side of the car done for a real comparison. More to come...
I've got a 2013 XJL with 20" Kasugas...if you ever find yourself on the eastern side of our peninsula, reach out and we can arrange for your ride. I'm in Ormond Beach just north of Daytona Beach.
Ok so I got the A-Pillar done and moved on to the B-Pillar. The Bs were redone by the dealer who sold me the car when they redid the headliner so the Bs are in really good shape with new foam and alcantara fabric. Such good shape that I decided to take the easy way out and just cover over the recent work with the ebony vinyl.
Covering with the vinyl went pretty well for the B-Pillar. Turns out the alcantara is a great base for the adhesive and the new material bonded pretty well.
The curves at the top of the pillar are not easy to wrap due to the backing on the vinyl. Not much stretching like real leather would allow. So I have a couple wavy spots near the top in the curves but I think it looks good enough and makes it look more like real leather (yeah I can tell myself that ).
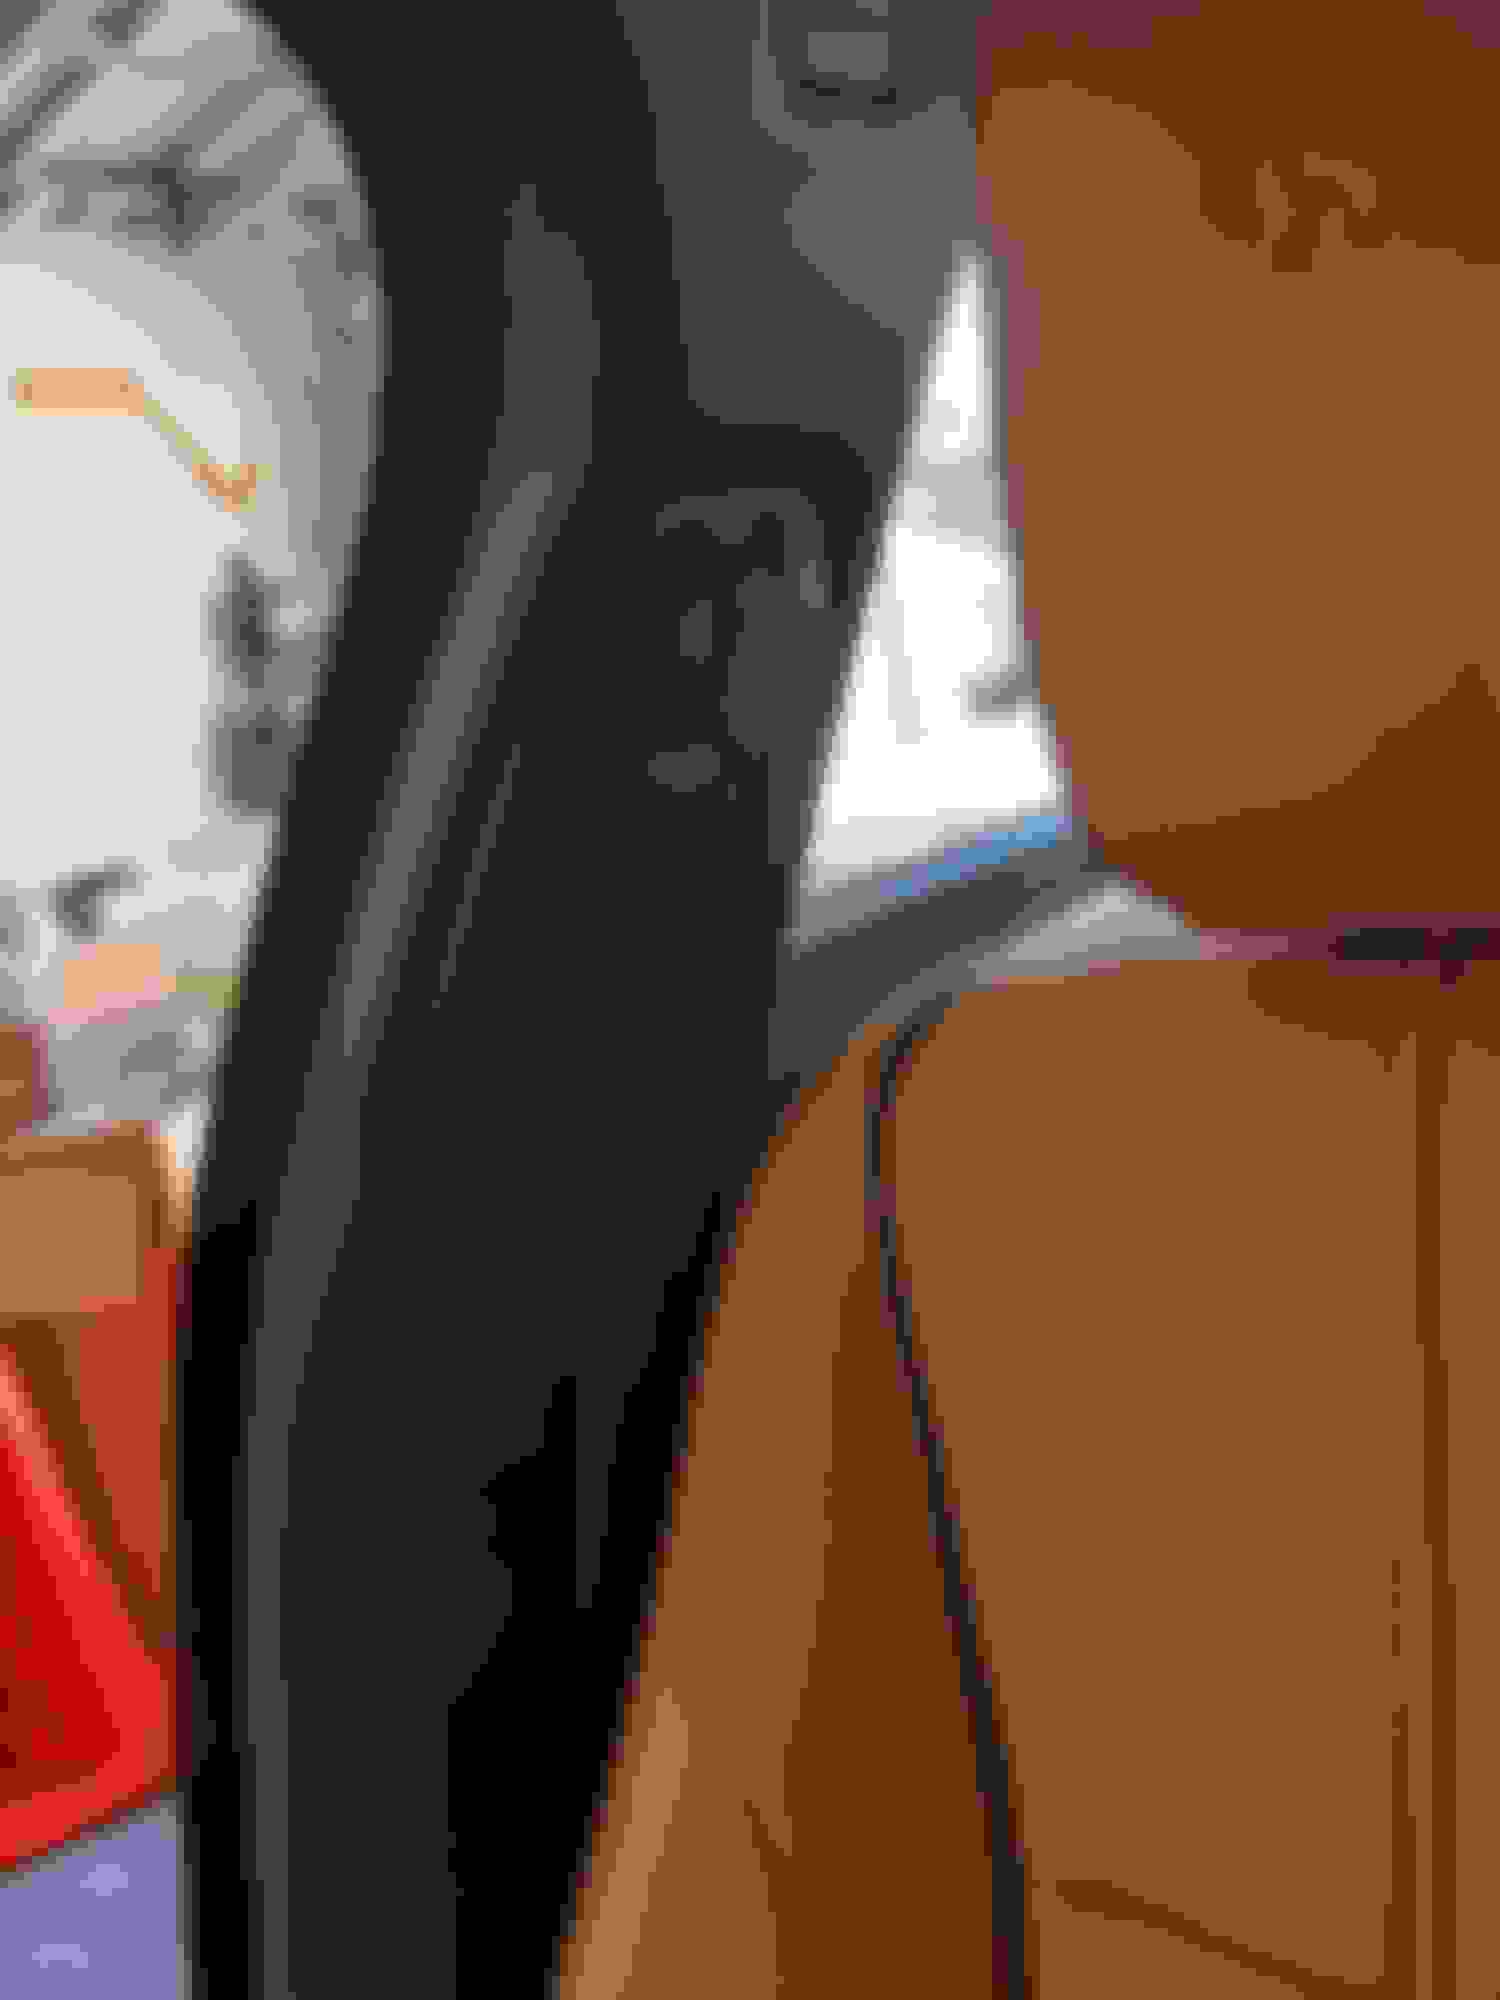
Time to pull the existing pillar out of the car and transfer the black plastic bits to the new pillar. Doesn't take much to remove it. You do need to disconnect the end of the seat belt. The plastic cover just pulls off from the rear edge first then unhooks in the front.
You will need a T50 to remove the bolt attaching the belt. Also need a T30 to remove the small bolt under the Airbag moniker near the top of the pillar. Then need a T15 to remove one of the plastic bits on the pillar. Just unplug the gray connector and then you can pull the belt back through the opening in the plastic height adjuster.
Removing the pillar is easy after you get the top bolt out. Then pull out at the bottom and it will unsnap. Then you need to drop it down to get it off the two top tangs that plug into the pillar. After that just swap over the black plastic bits. Now its ready to reinstall.
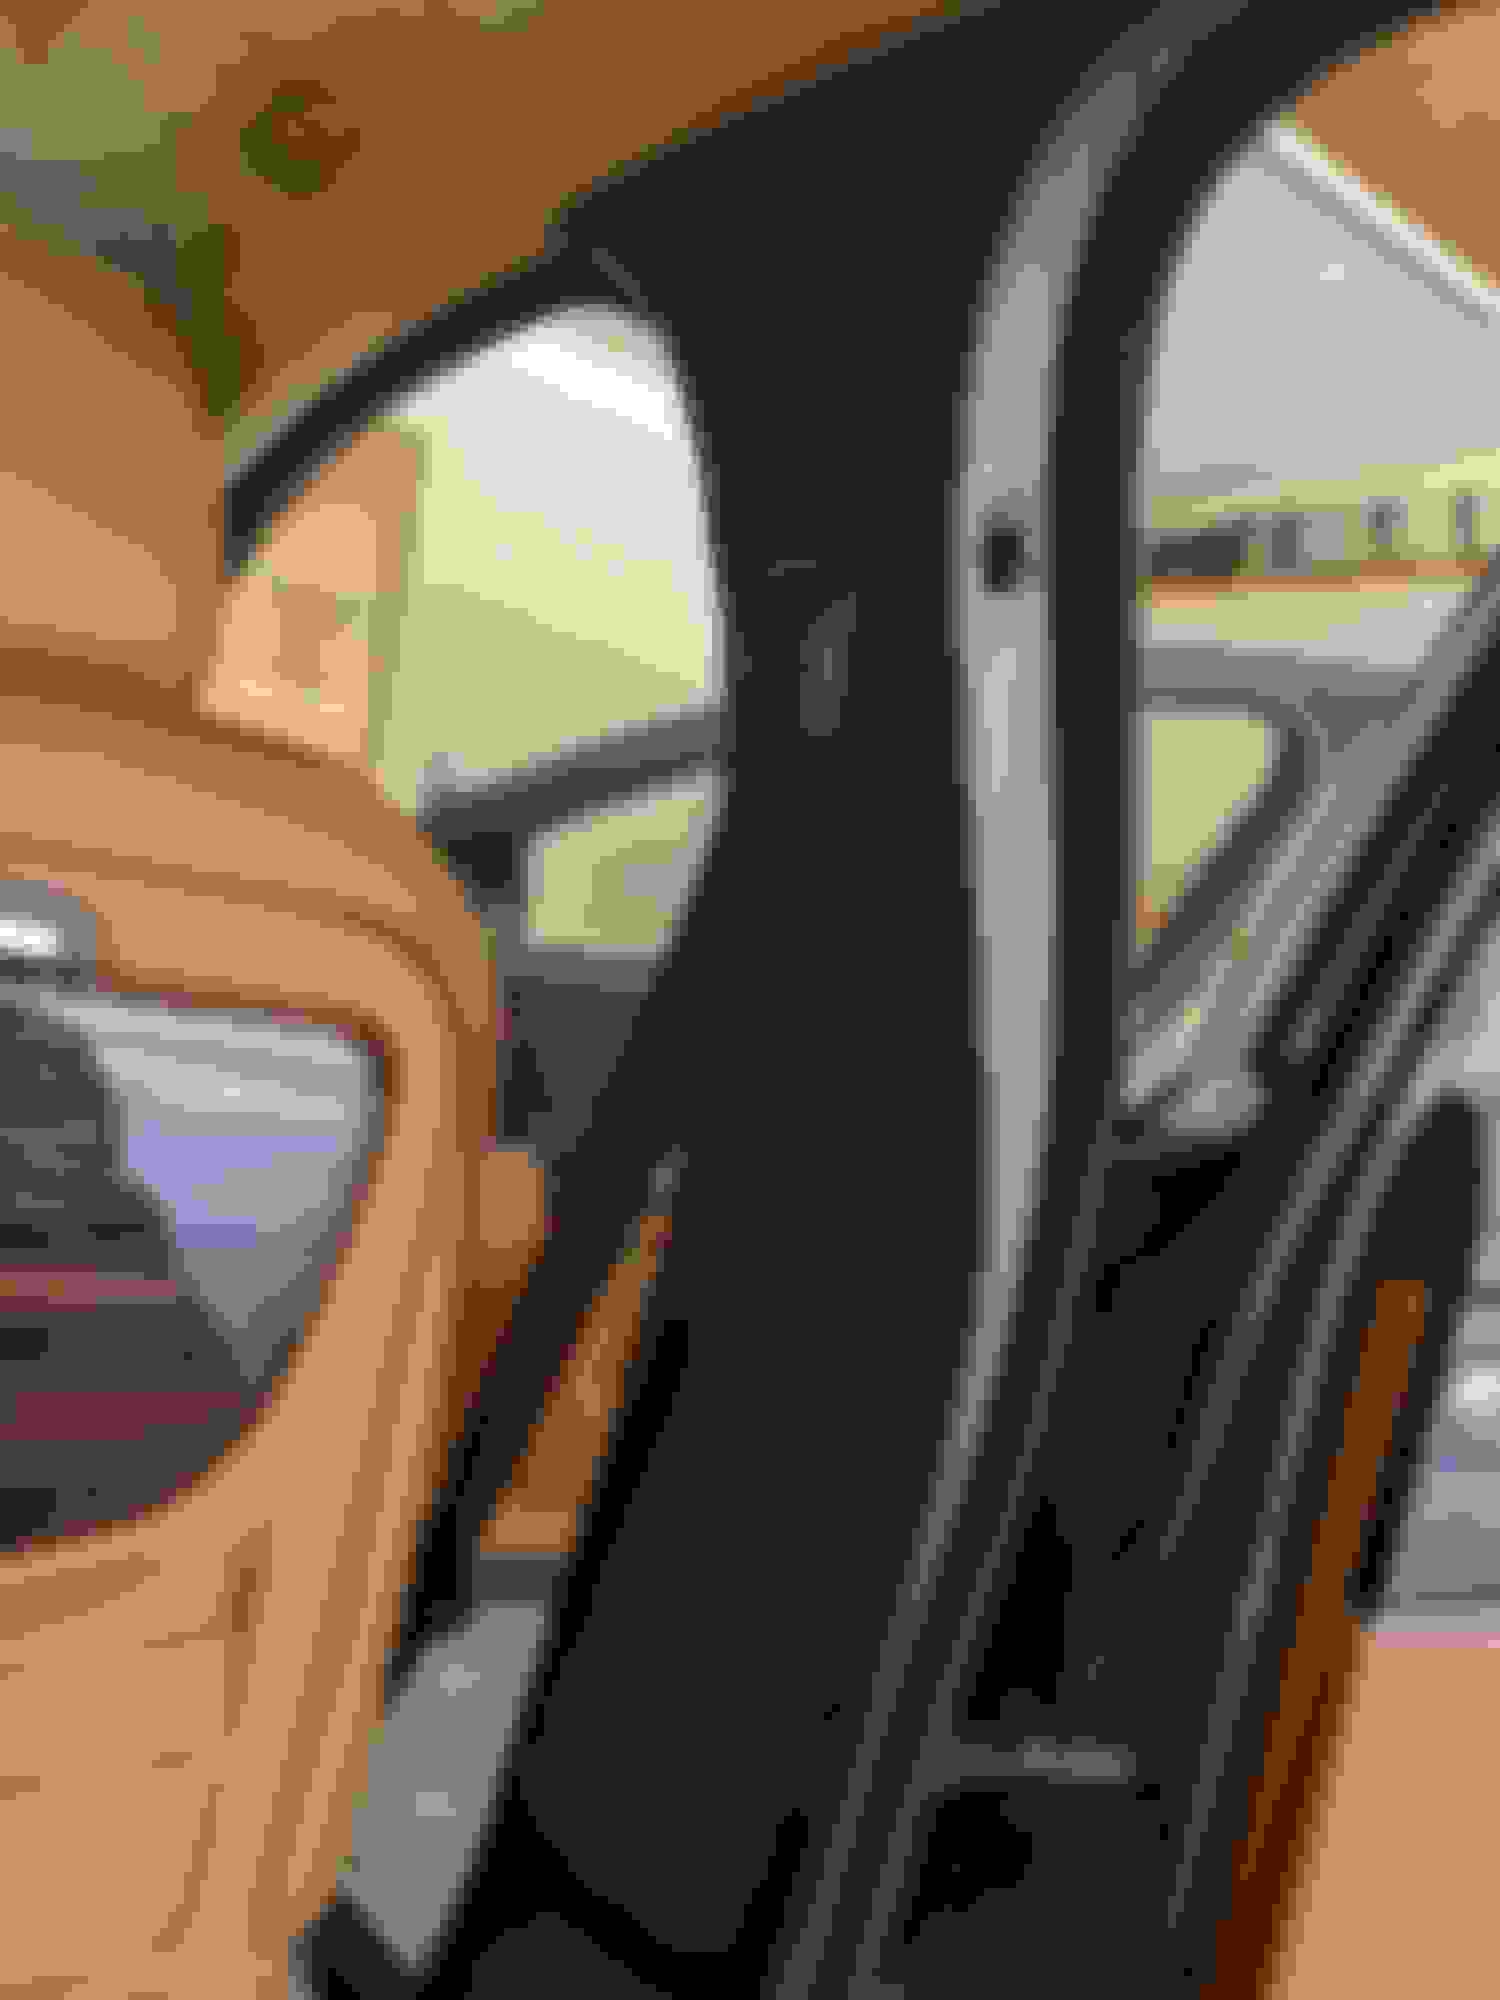
You have to slide it onto the top tangs then carefully negotiate the position of the height adjuster so it fits back into place as you push the panel back and snap it in at the bottom and along the lower sides. Now that it is back in place it looks pretty good. After the "trauma" of handling it all over it should smooth out some more as the foam rebounds.
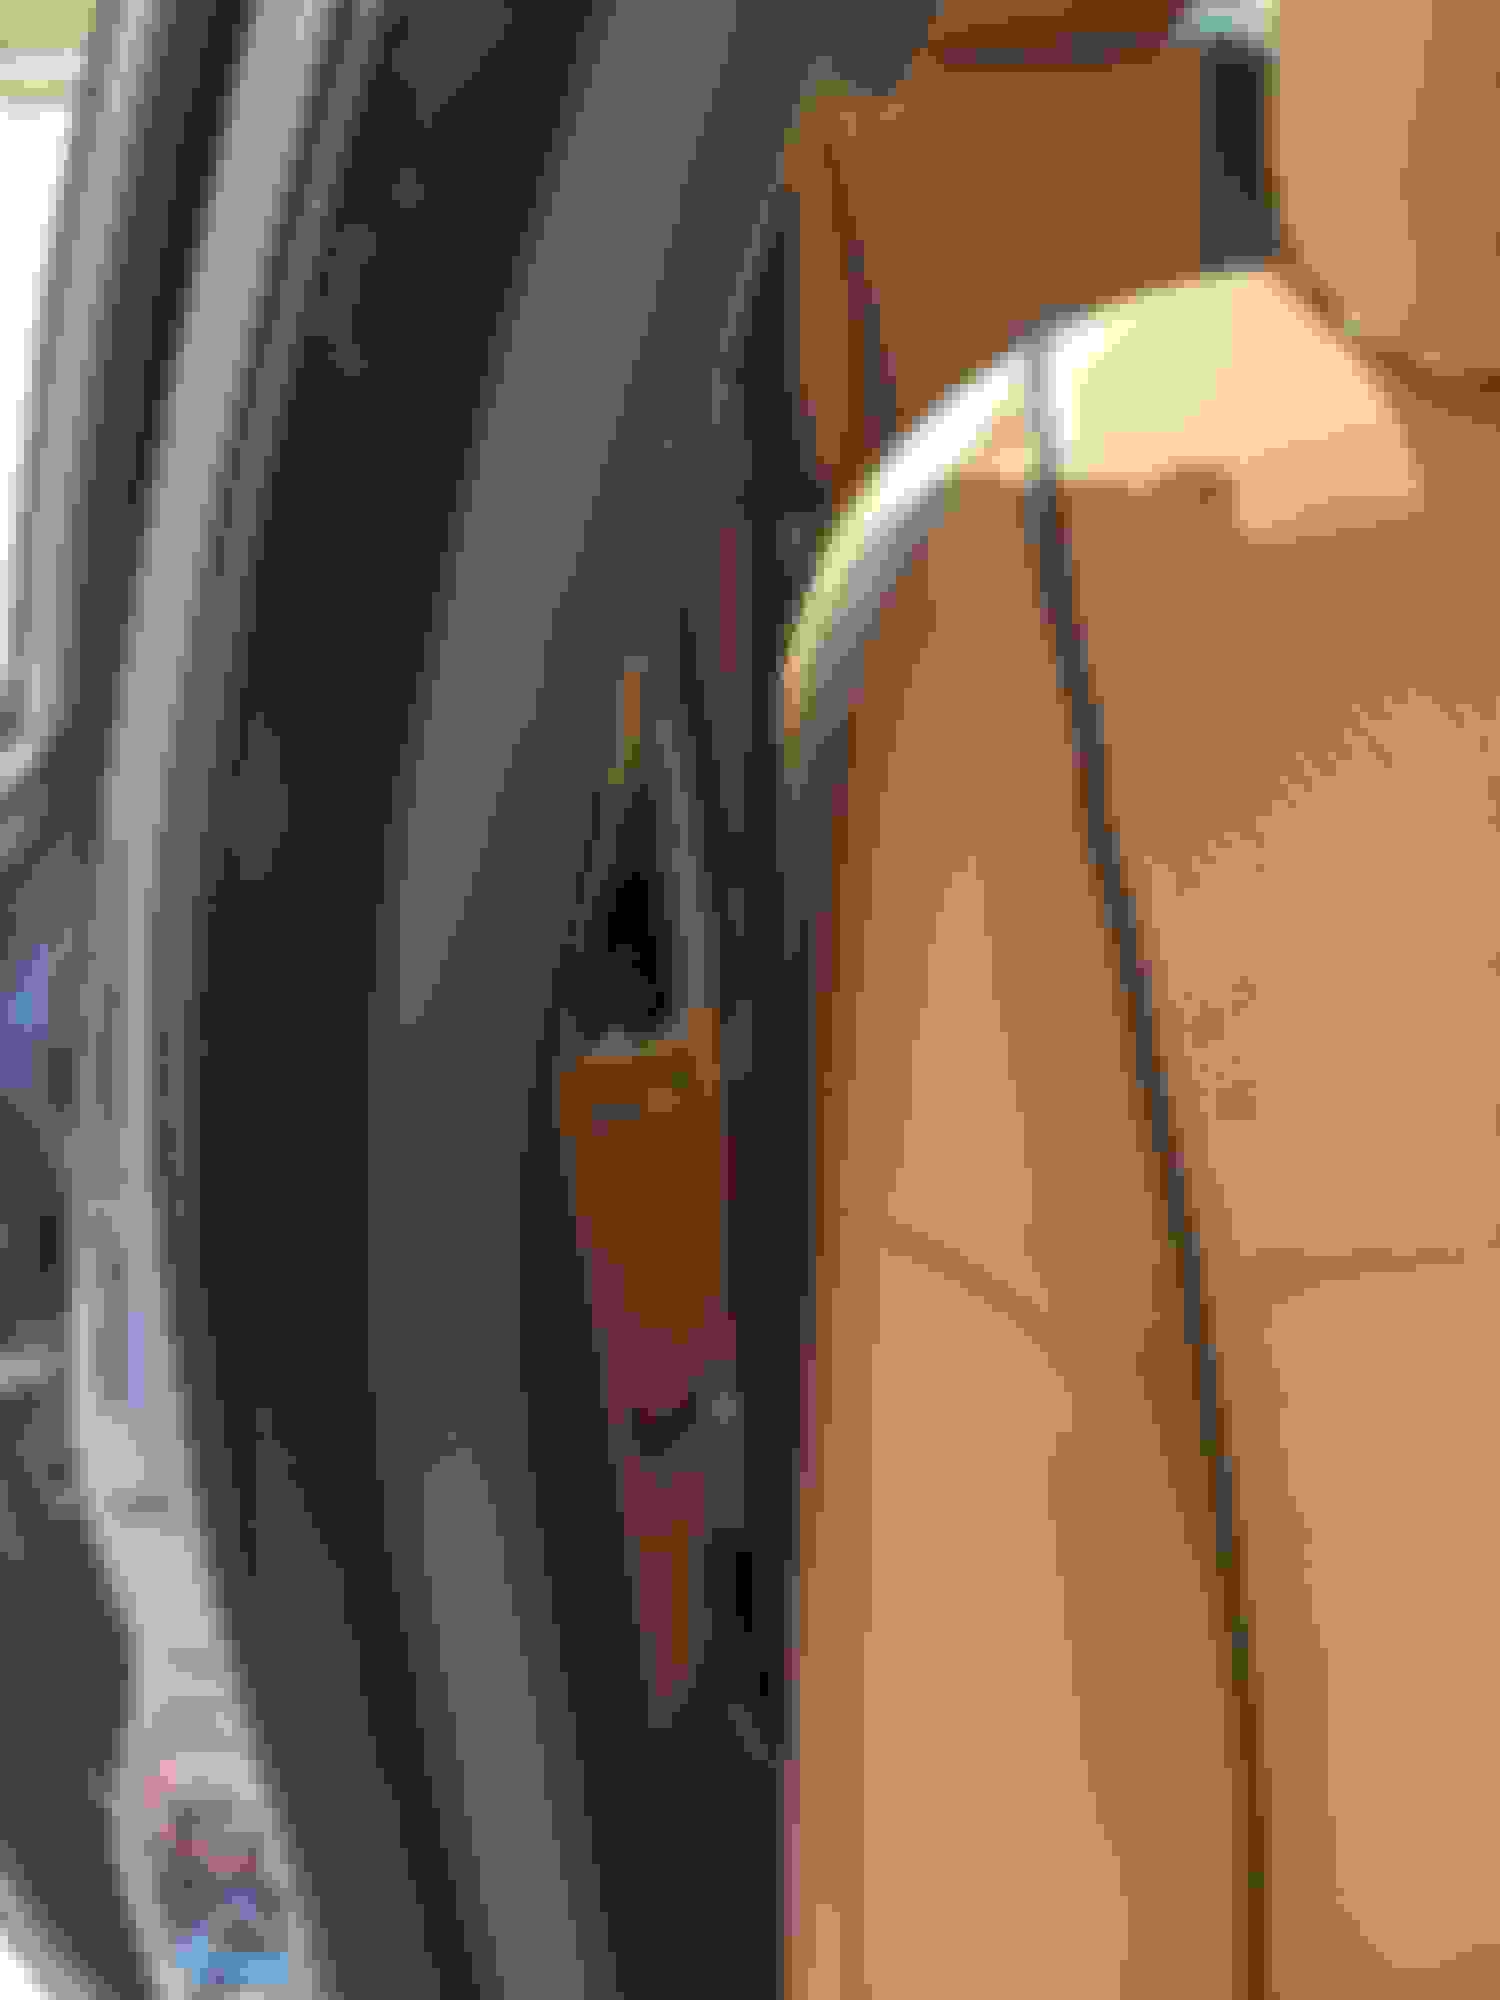
Here's a pic from the back seat view. Nice and clean. No more "swirls" from the brushed fabric. Notice the slight wavy look in the curves at the top. Not perfect but I can live with that.
And for the front passenger the edge is clean and smooth. I had already noticed that passengers tended to drag across that region and was causing the alcantara fabric to get pulled a bit, making it loose along the edge. Well that future problem is history now.
Ok now I have one side of the car done. Just need to apply the new vinyl to the other two pillars and pop them on. It looks so much better to me. Now the transition to the canvas colored headliner makes more sense. Here's a pic of both pieces for the full effect.
Its hard to capture just how well the color matches. Pics don't do it justice.
Because I "cheated" and just covered the B-Pillar without removing the existing foam/fabric I think this pillar took me about 3 hours. So far this work has been well worth the time. For the one side it was about $35 and 7-8 hours of effort.
Since the driver side is more of the same I don't plan to post any more about doing that side.
I have read where a few people have done an update of the front emblem for something with a little more bling.
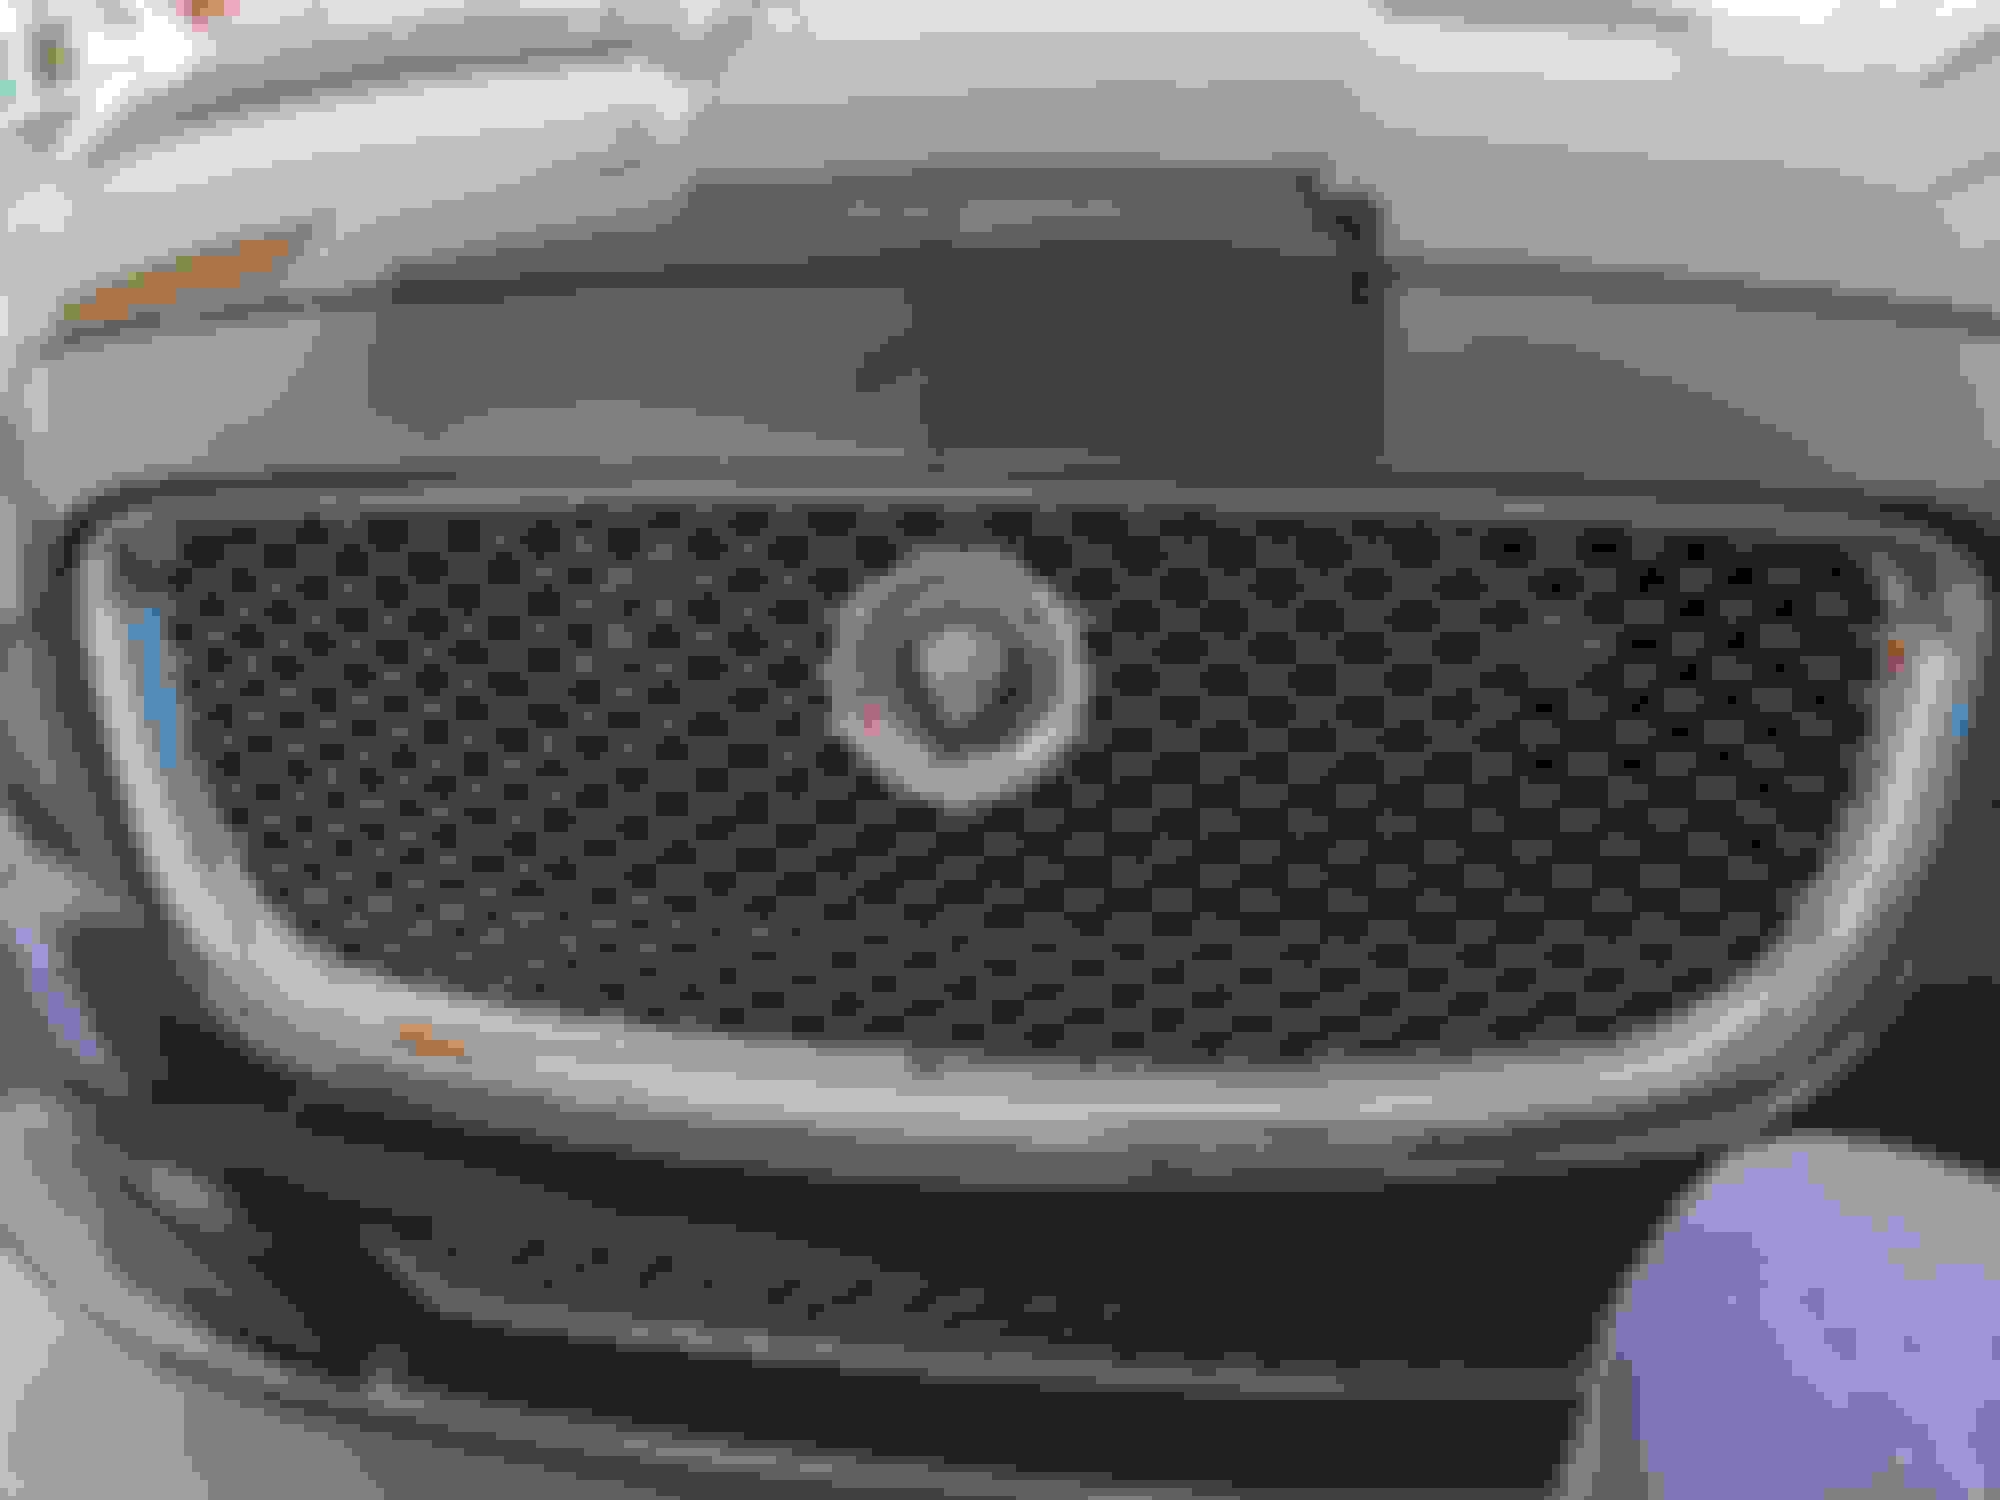
I do agree that the black emblem on my Stratus Gray XJL is pretty bland. Definitely needs some color or something.
The details on how to make this swap were pretty thin so I decided to document my DIY even though I am late to the party on this mod.
I generally don't modify my original parts and instead opt for an updated part to swap in when I have it ready.
So I found this emblem on Amazon for about $20
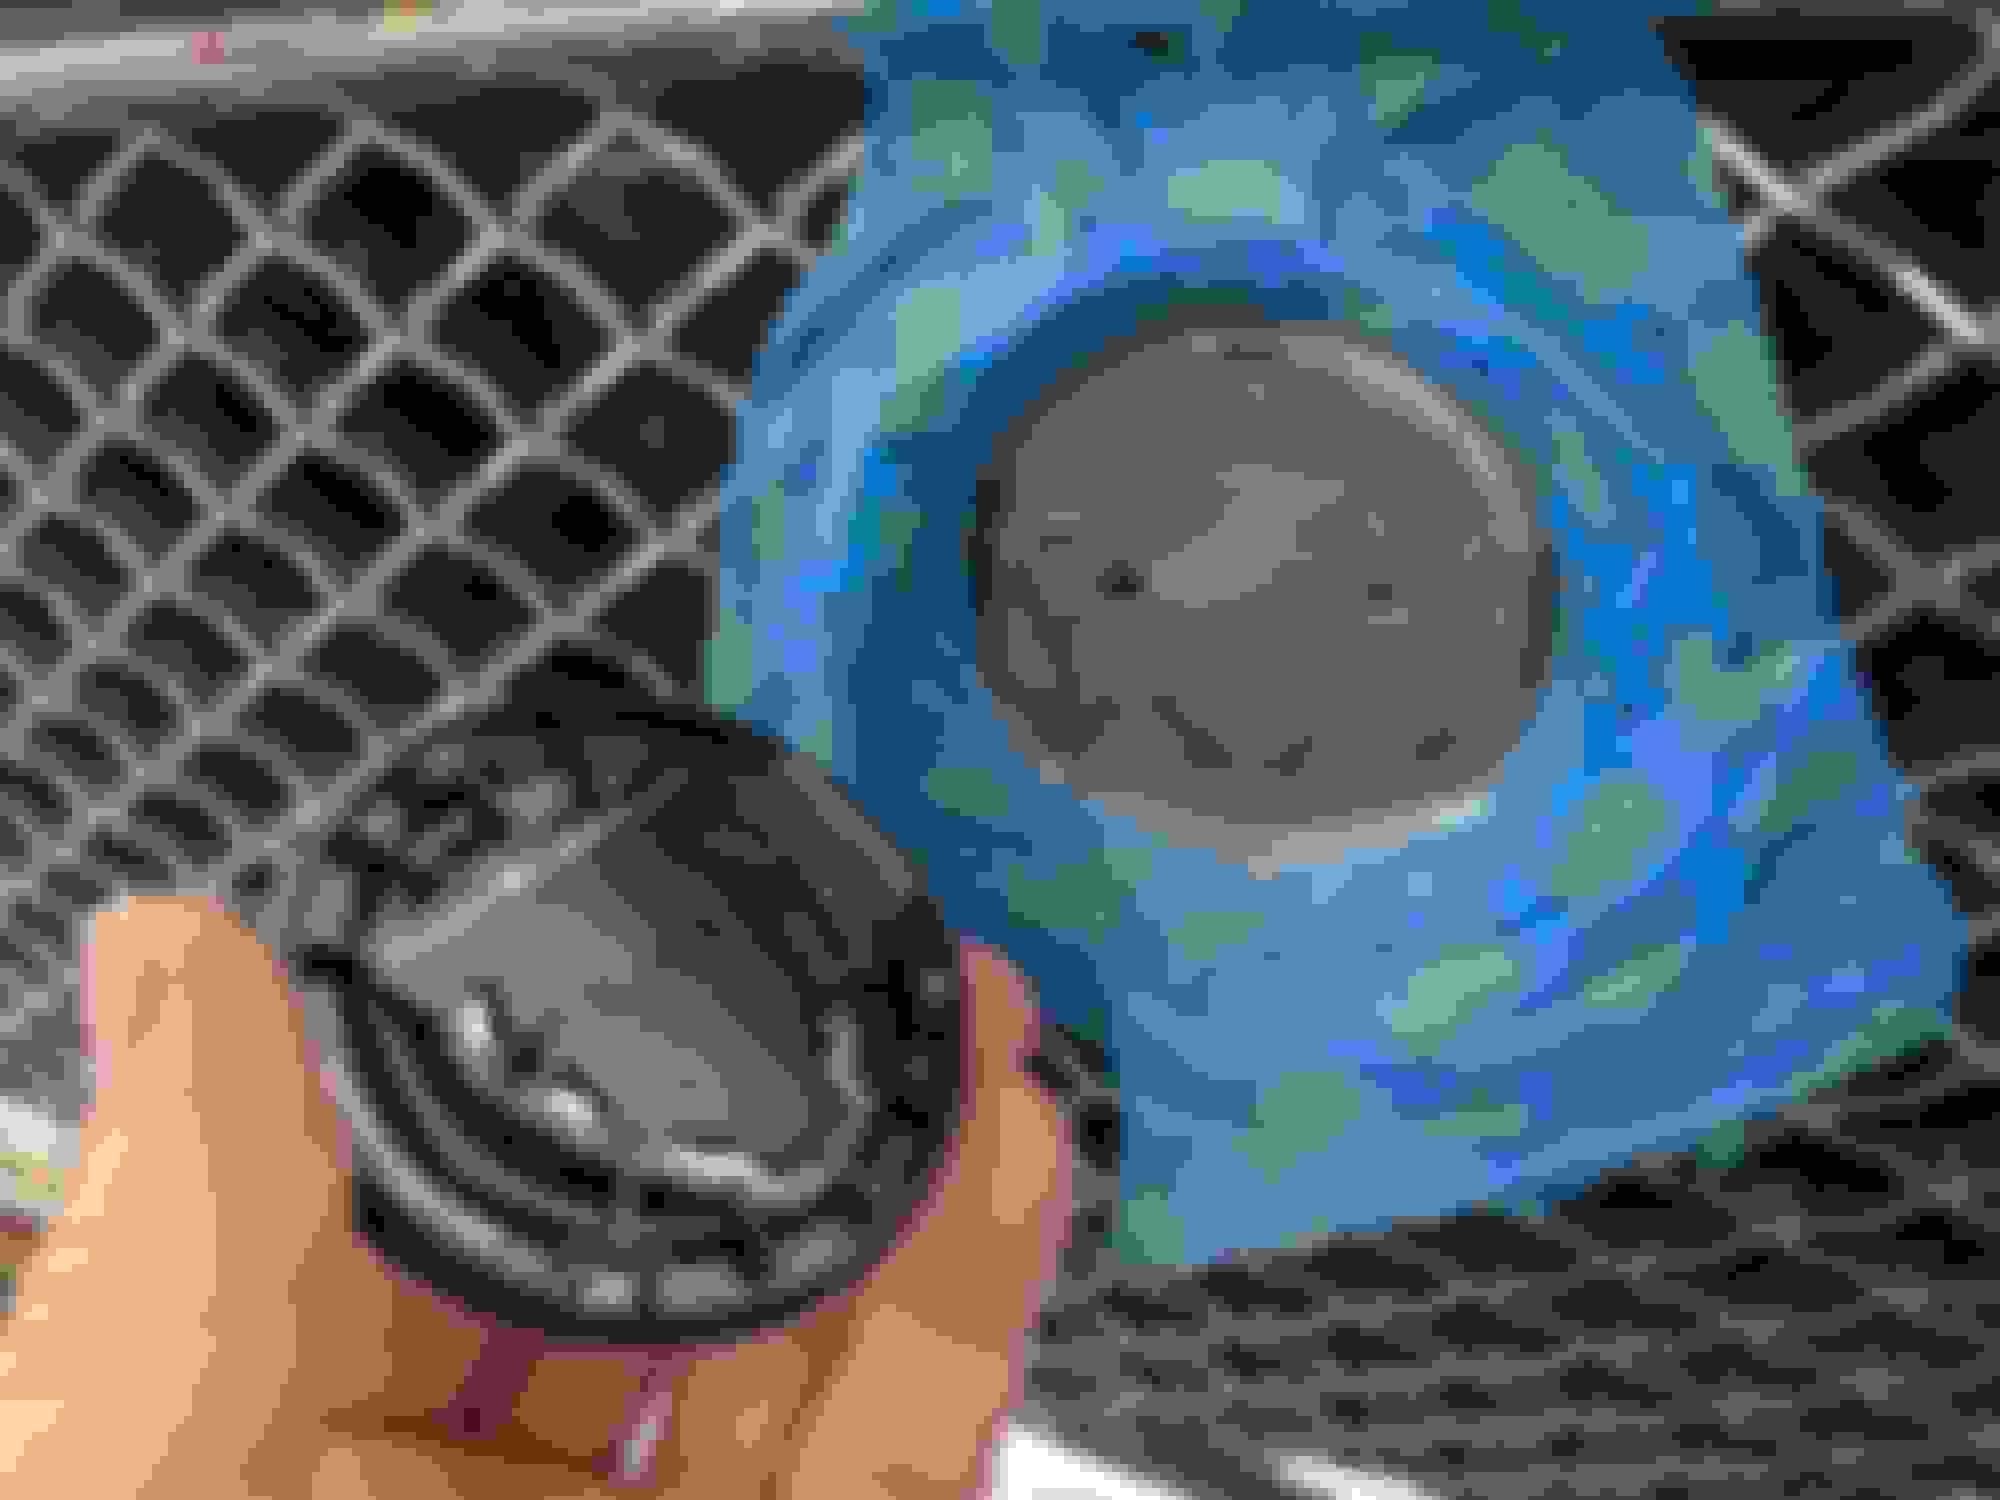
Removing the existing emblem is pretty easy since it is only held in place with adhesive.
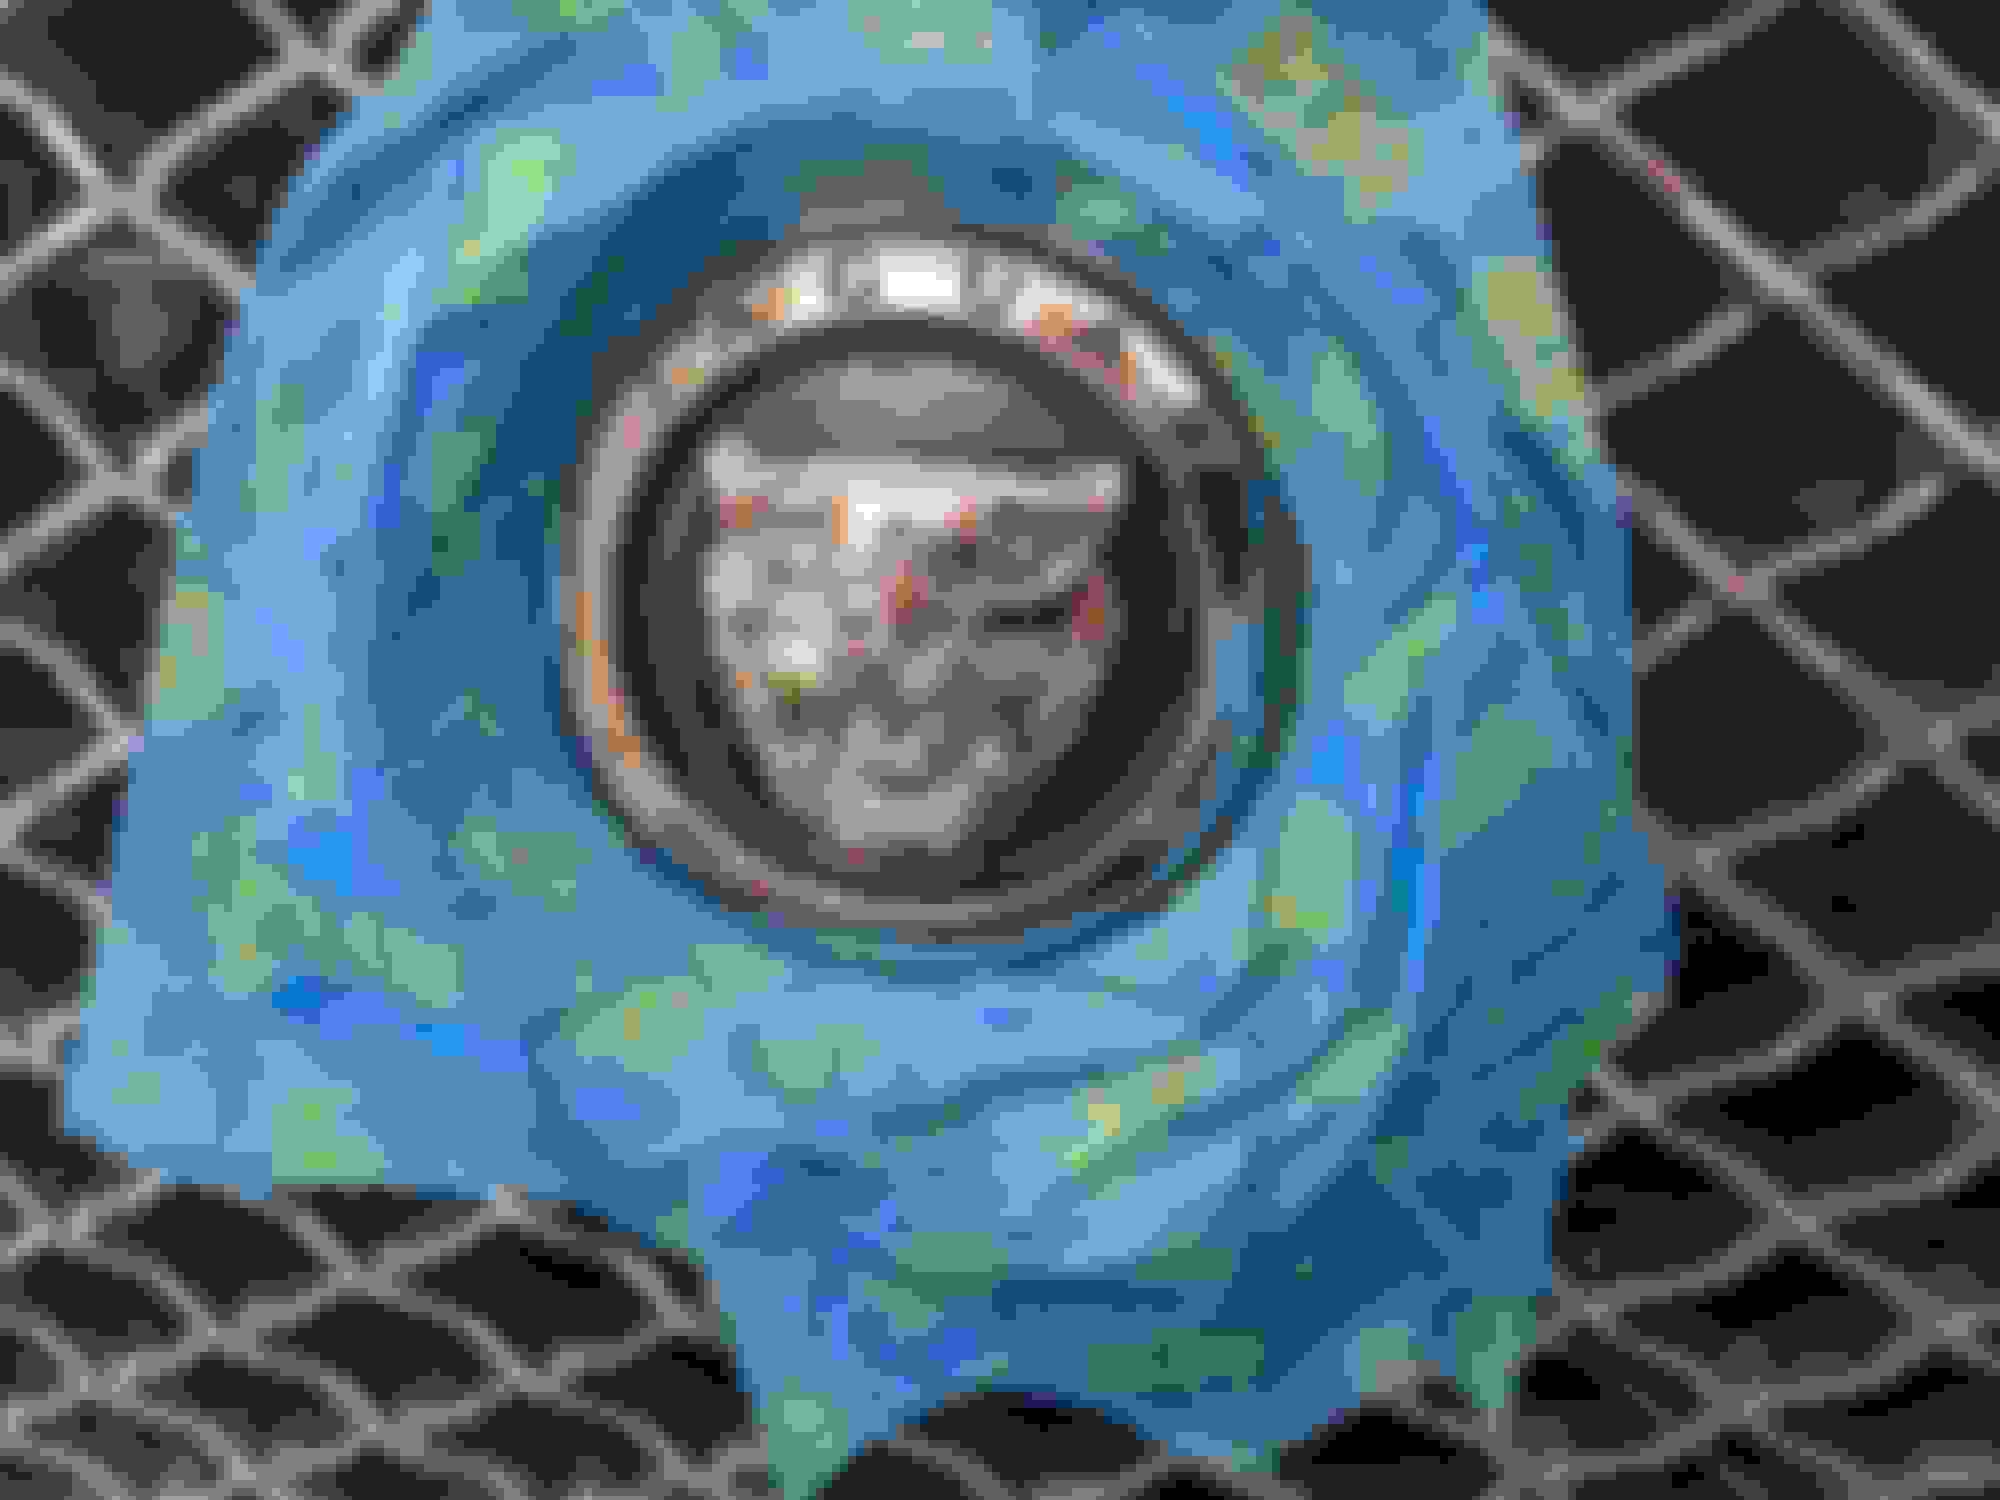
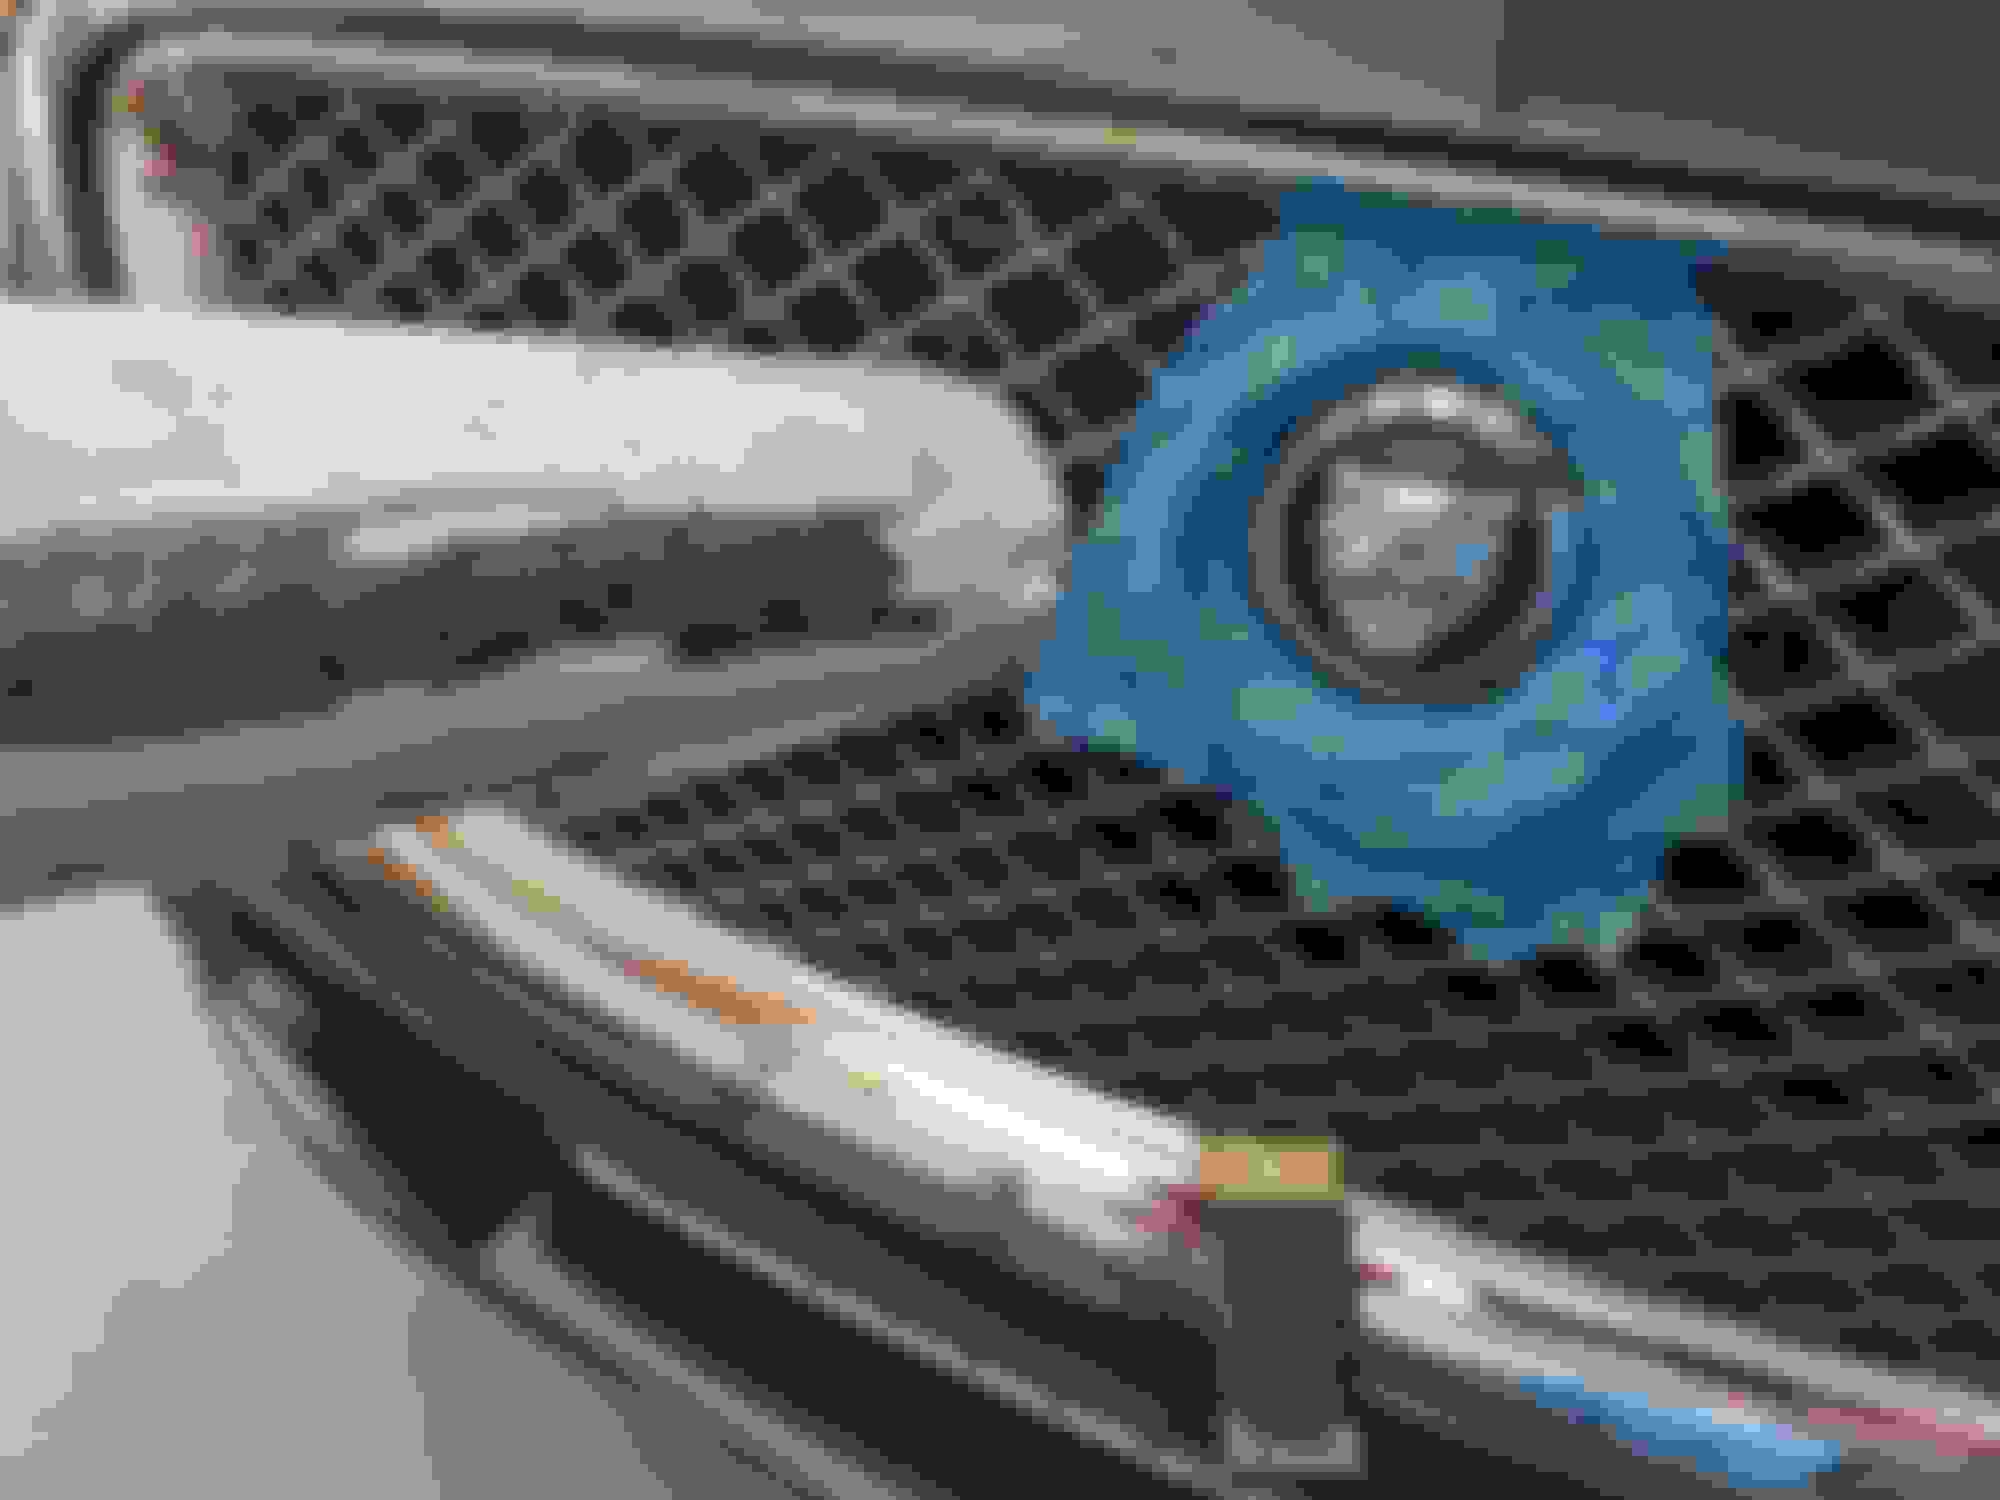
First mask off the area for scratch protection. Then use some strong thin wire to wrap around and get behind the emblem.
But before you start pulling on the wire you need to warm up the emblem and let that heat get thru to the adhesive layer so it will let go.
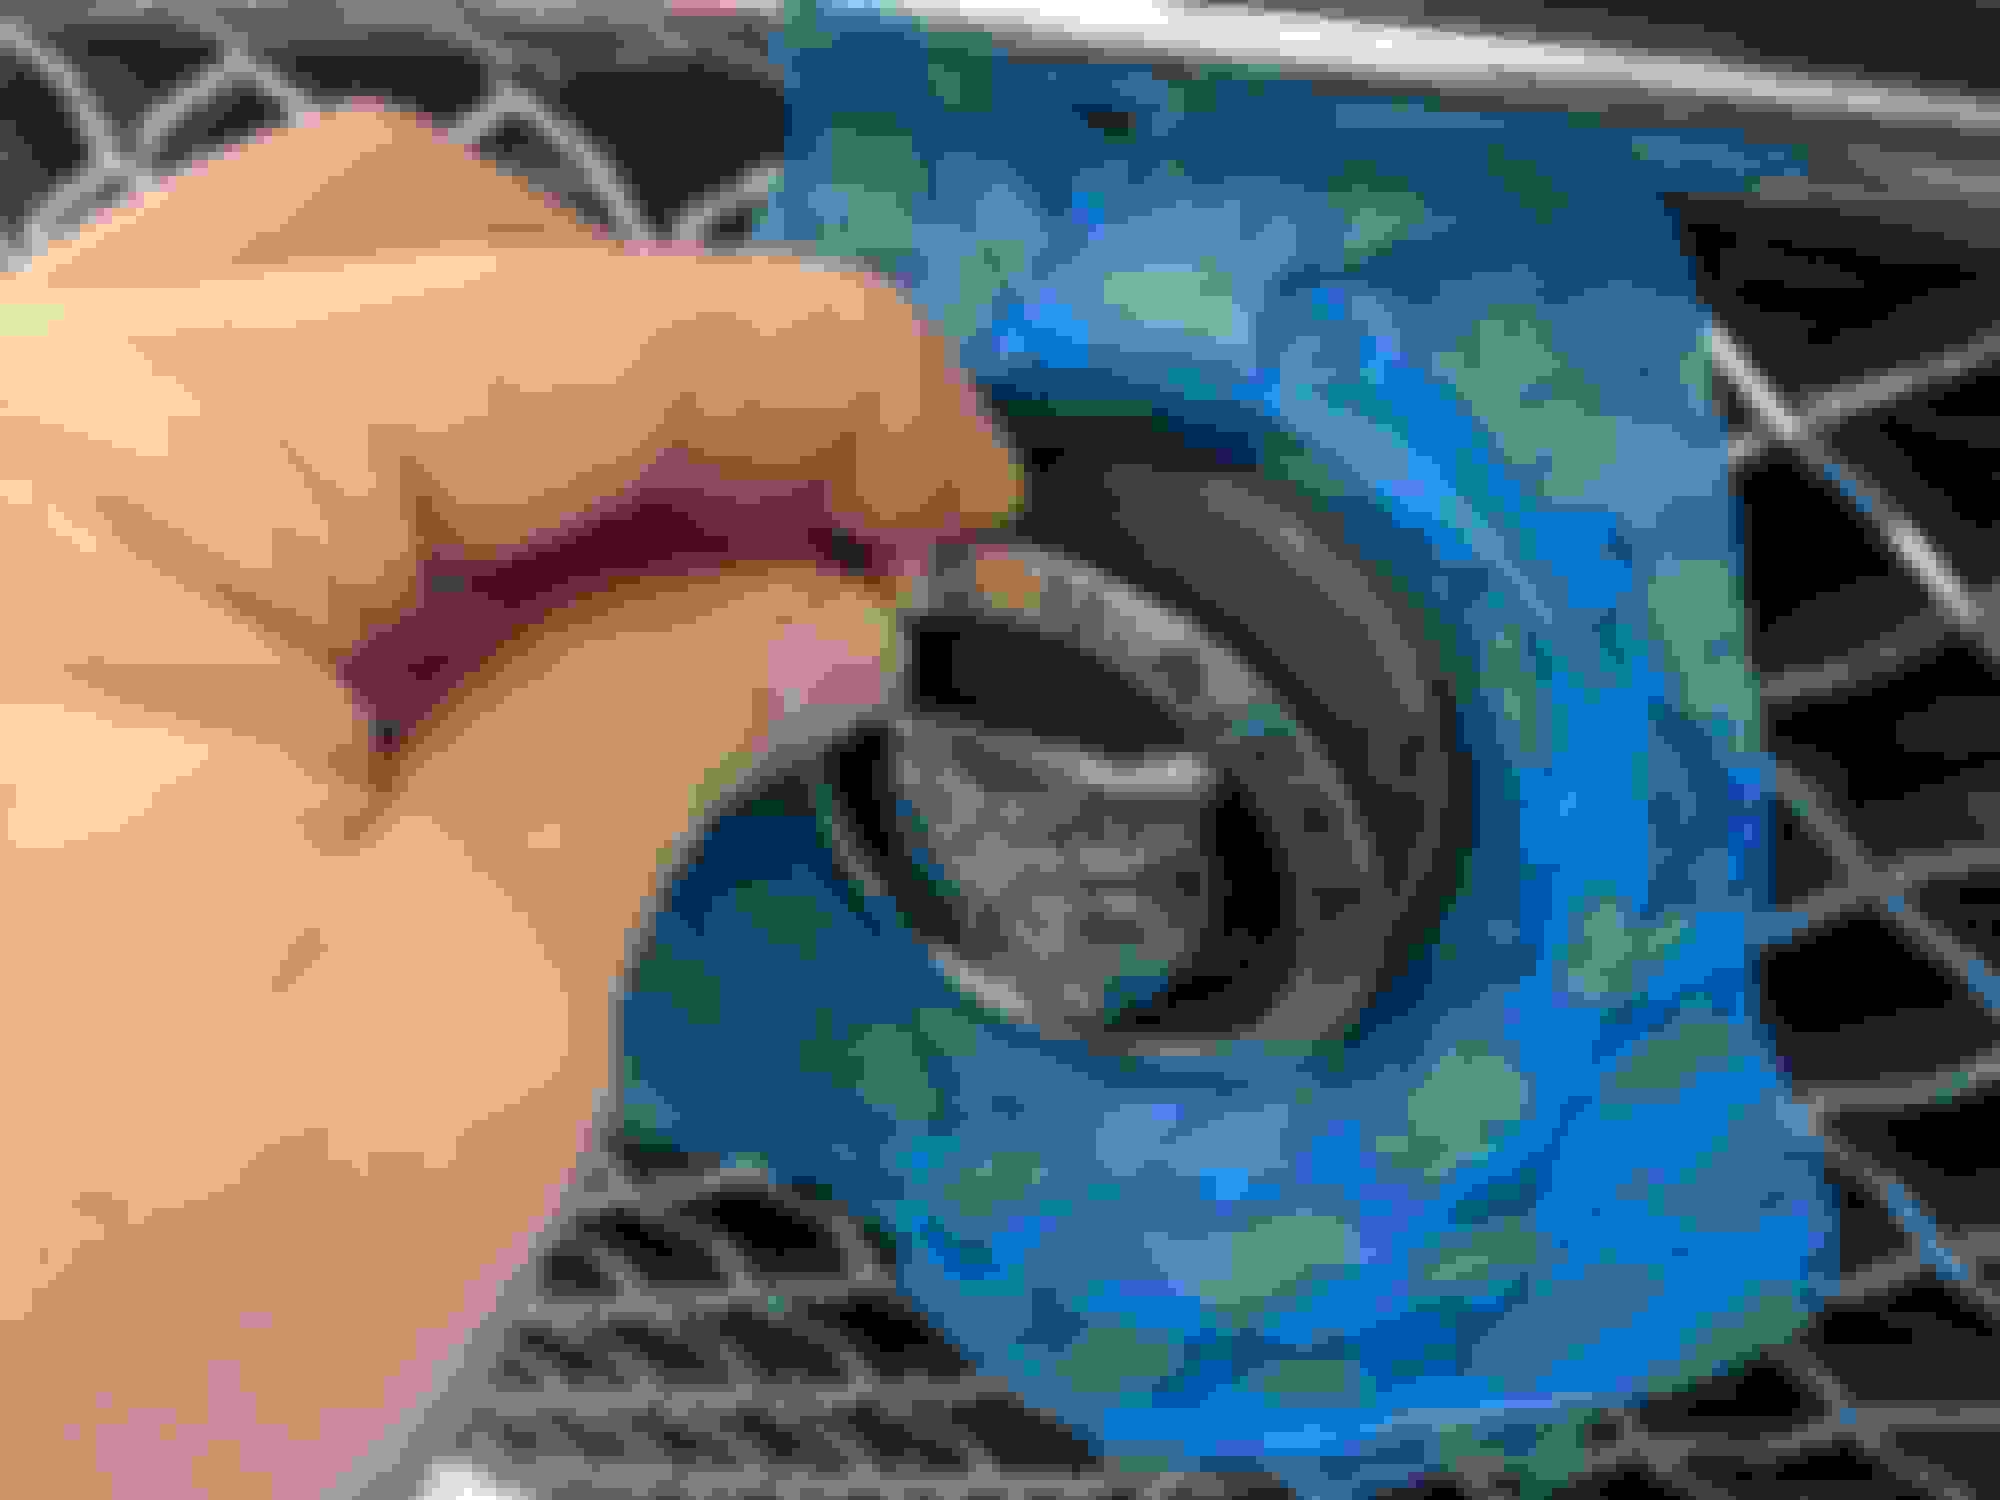
Once its warm give the wire a tug with some steady pressure and the emblem will start coming loose. Be ready to catch it.
And its off. Easy peasy. And the adhesive membrane is still intact so it can be reused if needed. You can see how little of the emblem actually mated to the adhesive layer. Not much really.
Ok so I got it off without much effort at all. Time to replace it with an updated version with some color and some bling.
But what color? The red plastic in the new emblem is pretty cheap looking in reality. And red is not the correct color fit I want for my car. I want something more unique.
After a bit of thought I decided that an amber color would work really well with my color car. And it gives a nod to the London Tan interior. Also will look good with the amber corner lights. Makes total sense to me.
So I went to the local hobby store and found this. Firey Orange Metallic Lacquer. Yeah that's the ticket.
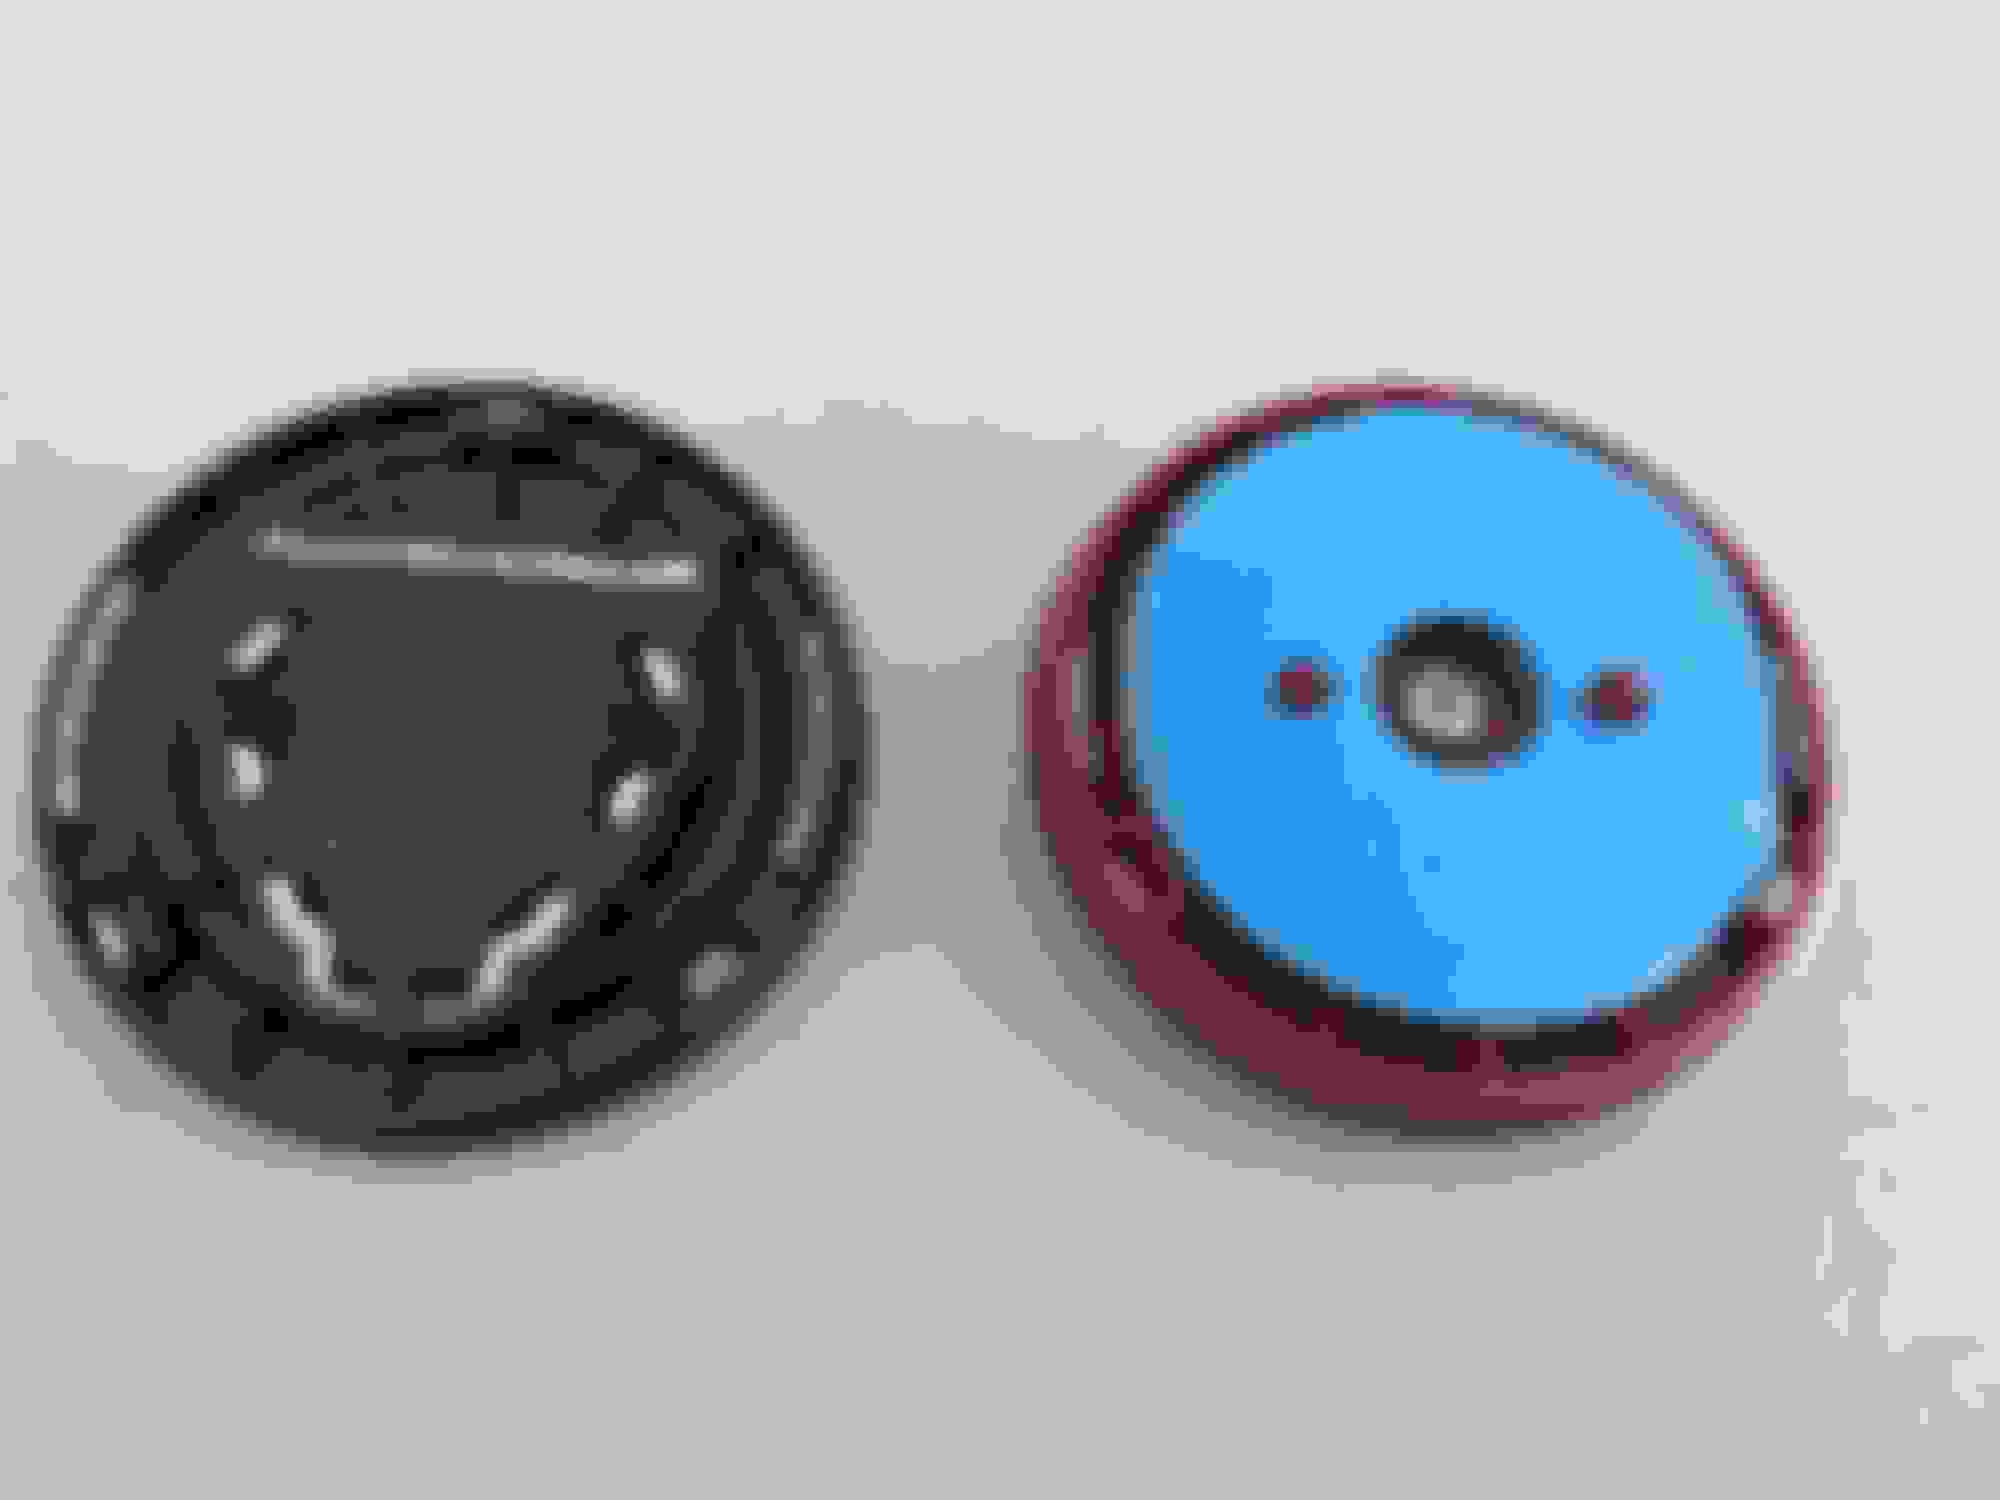
So I popped the new emblem apart and after a few minutes I have this. Now that's some bling color for sure.
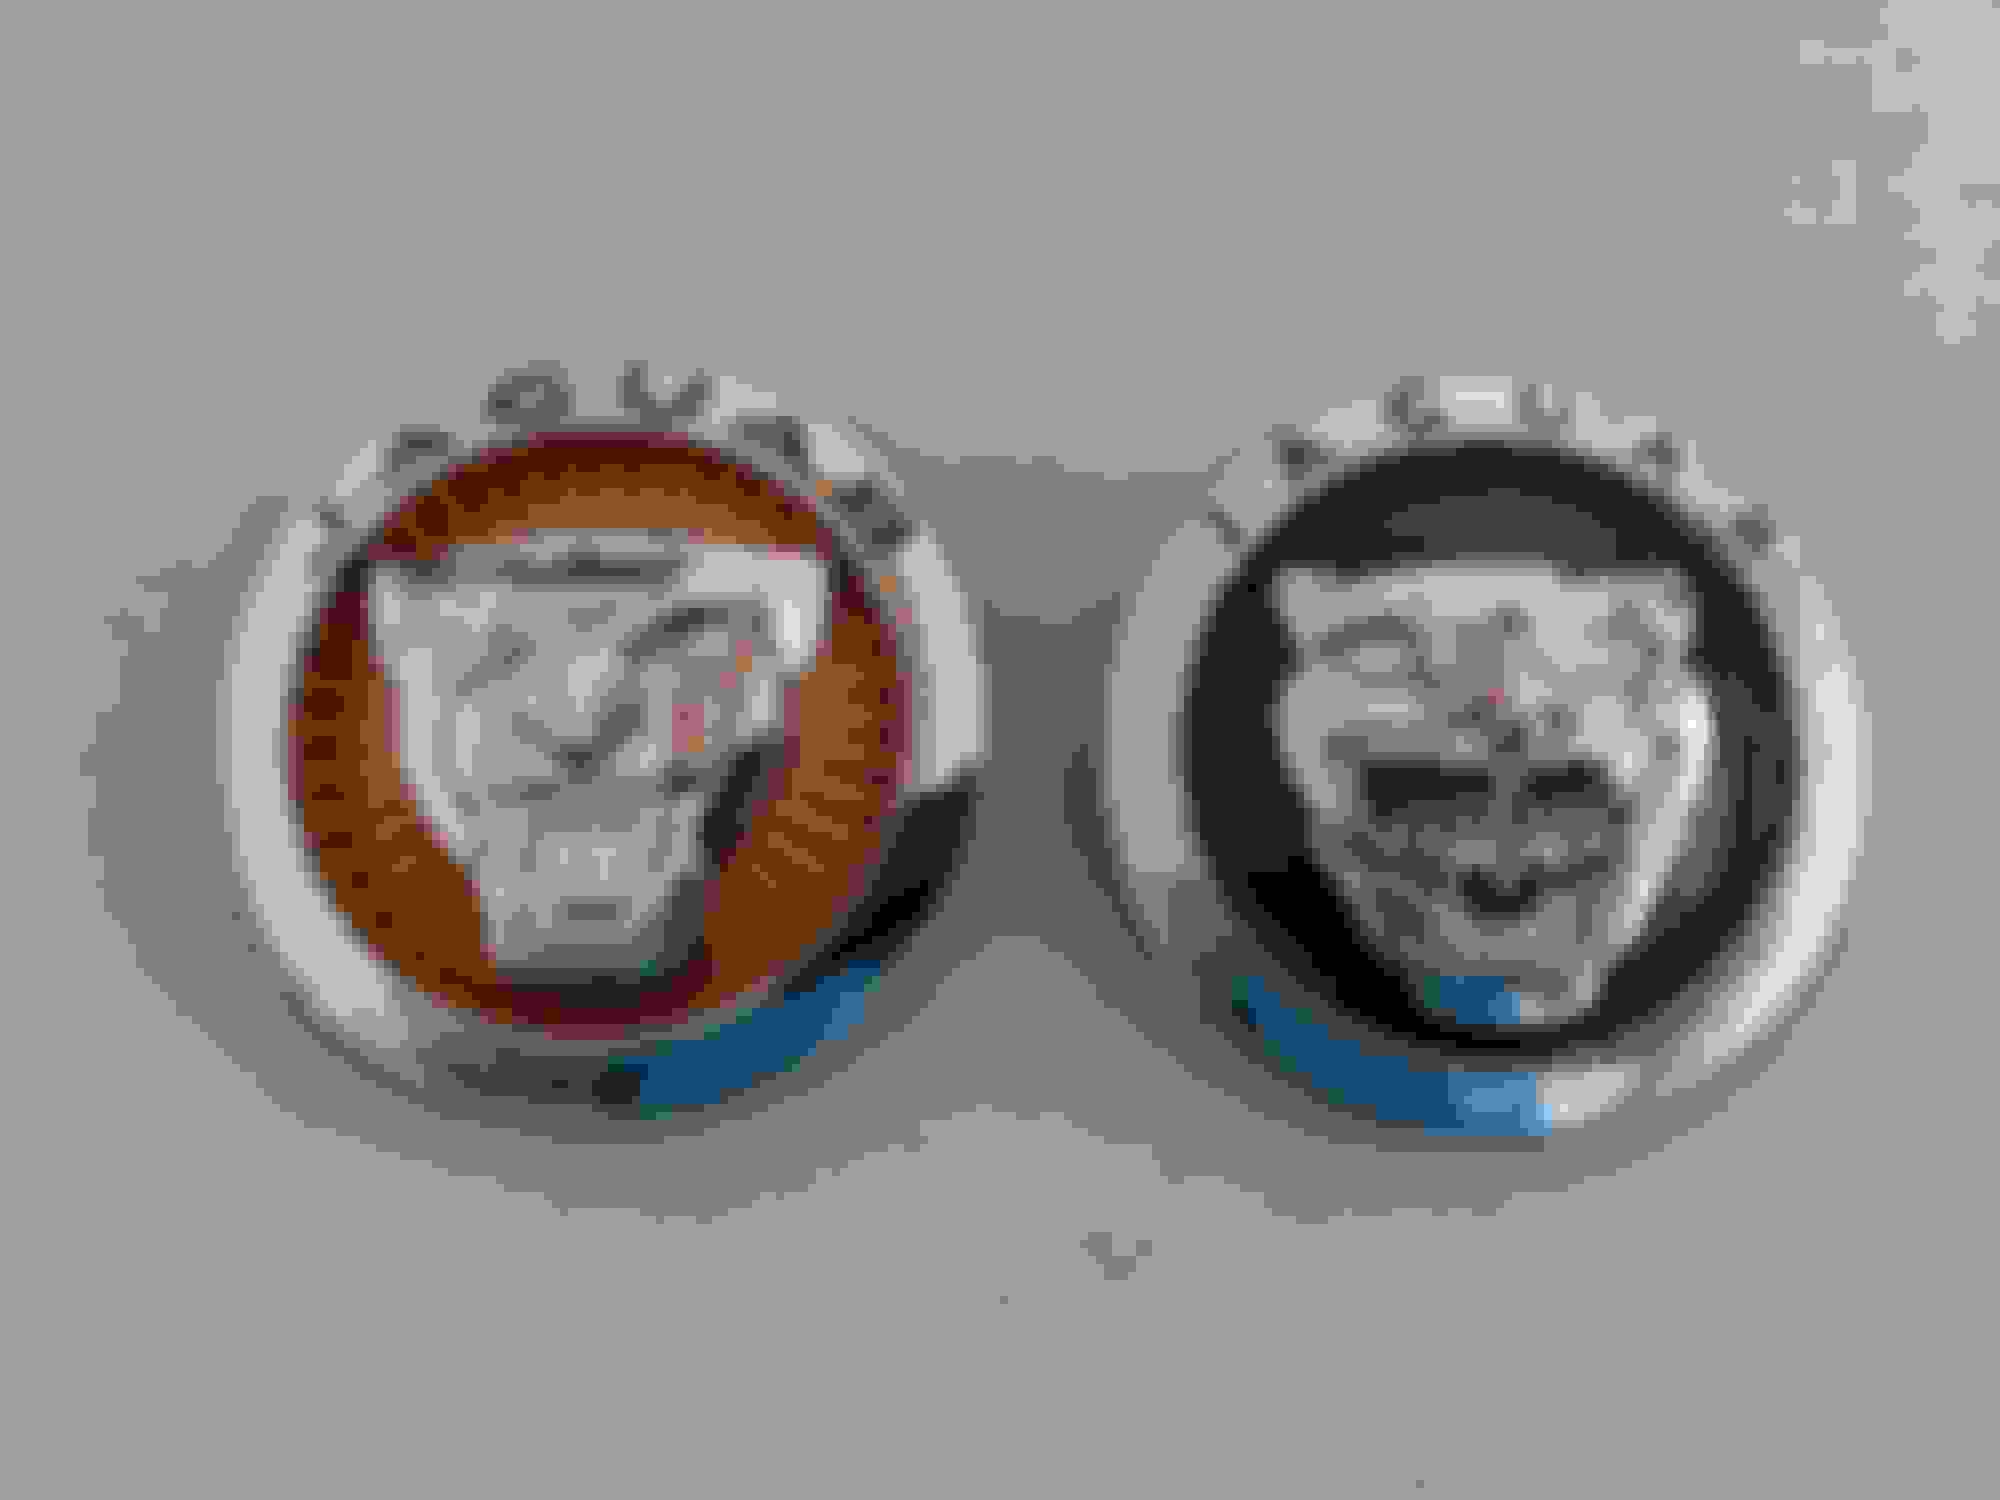
I let the new color dry for a few days then snapped it back together. Yeah the new emblem is quite a departure from the stock one. I like the color a lot too.
And I think I like the growler design of the knock off emblem better than the OEM design.
It's time to mount the new improved emblem. But wait a minute...something is not right here.
The new emblem has the locating pins in the wrong place. My solution was to just break off the pins and trust that I can align it without the aid of the locating pins.
Then I removed the new adhesive membrane from the new emblem since I won't need it. Moved that adhesive to the old emblem in case I need it someday.
Finally I warmed up the old adhesive a little bit to get it really tacky. Then a little eyeballing and pressure was all it took to get the new emblem mounted.
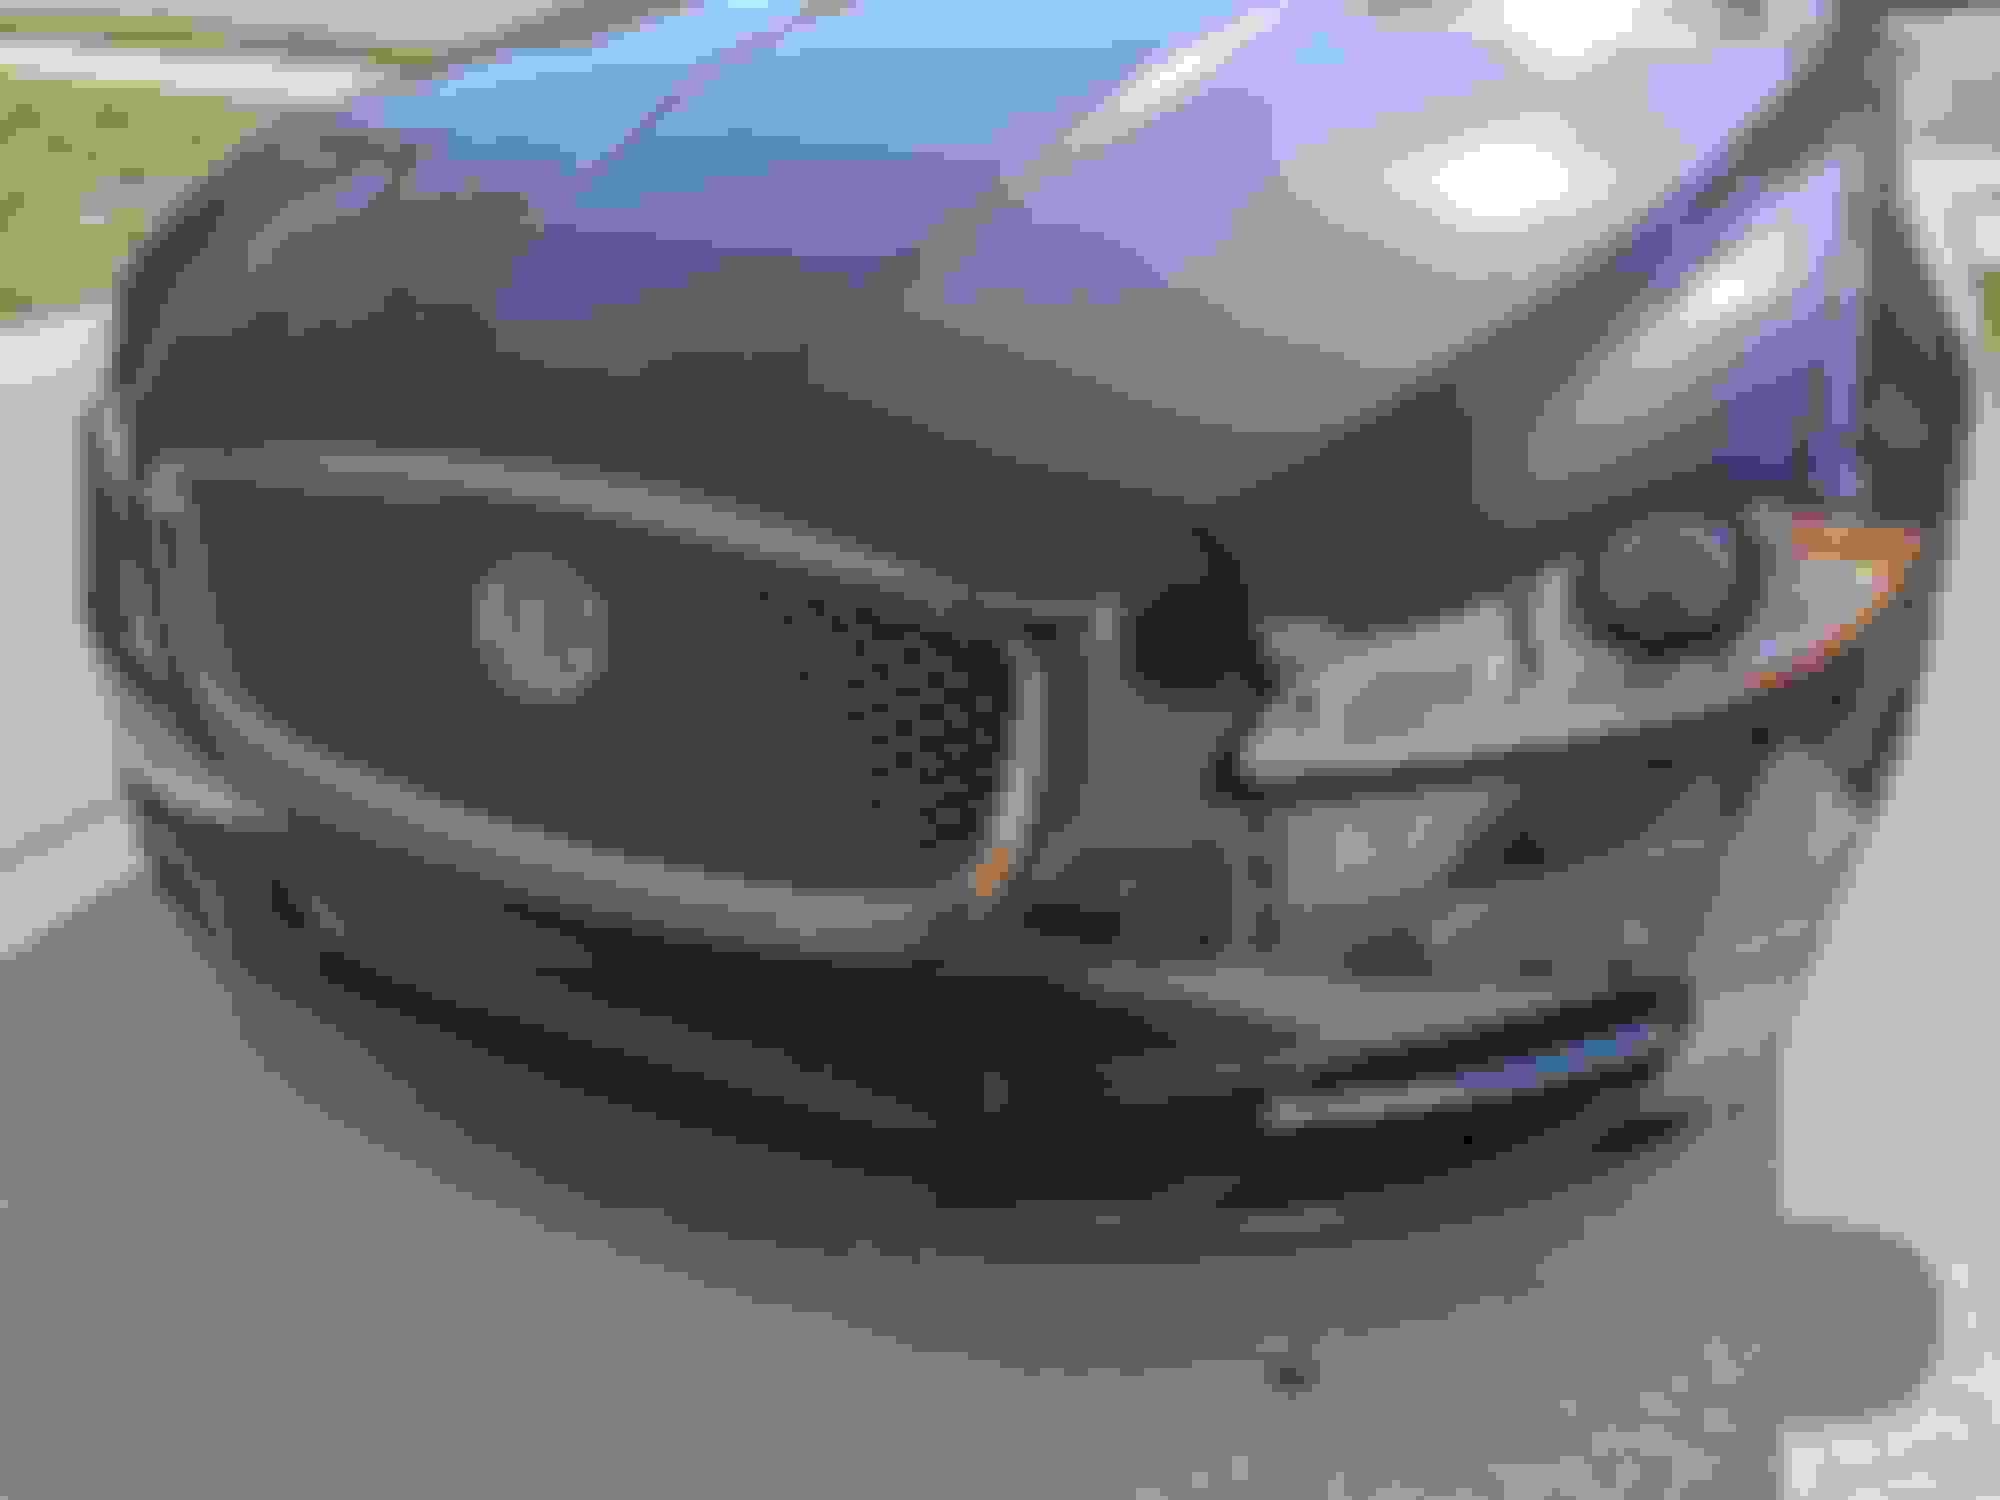
And it looks great. Really liking the color choice. Suits the car well with the interior color I have.
Up close it seems pretty bling. However its subtle in the big picture. And its a great match with the amber blinkers.
So this mod was cheap at about $30 and (excluding paint drying time) took about an hour to do.
Big improvement for such a small effort. Wish it all was this easy.
I may be wrong but I don't think your original black emblem was OEM. I've only ever seen that style Growler on aftermarket emblems. I wonder if someone has a Growler timeline that could shed some light on this.
I may be wrong but I don't think your original black emblem was OEM. I've only ever seen that style Growler on aftermarket emblems. I wonder if someone has a Growler timeline that could shed some light on this.
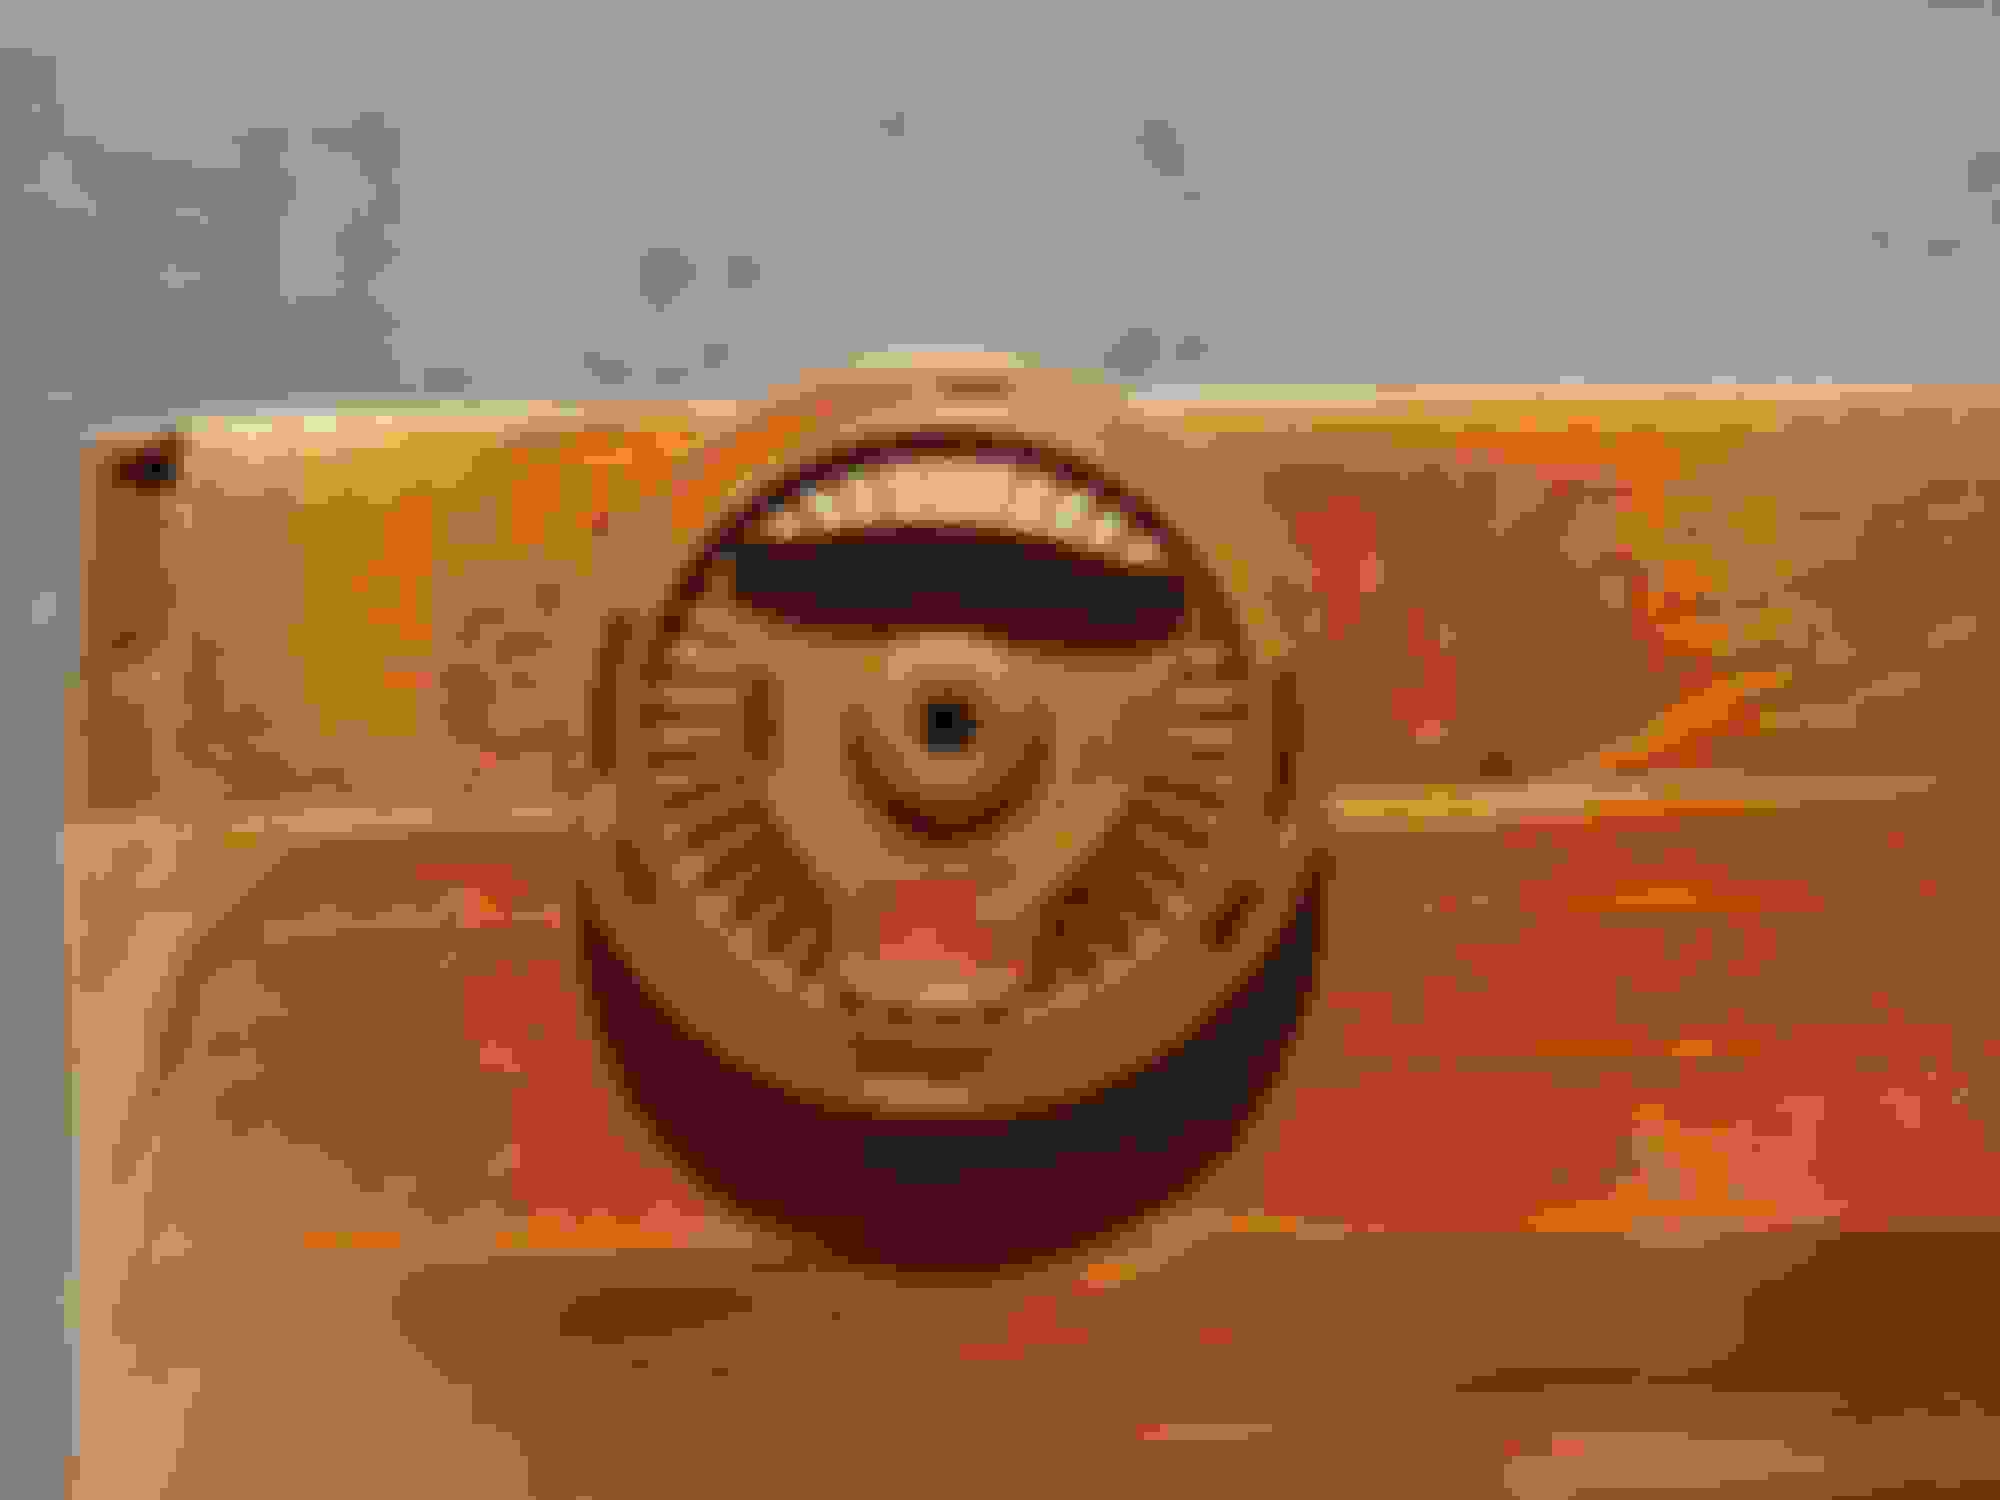
I am pretty sure the one I replaced was original. Here is an old publicity pic from Jaguar that I found on a site discussing the branding history.
The original growler on my 13XKR was black. It got damaged and I replaced it with a red growler then changed the hubcaps on the wheels with small red growlers as well. Do not do this with cheap aftermarket growlers as they will fade with time. Get the original equipment growlers from your dealer or on line, they are worth the extra $.
The original growler on my 13XKR was black. It got damaged and I replaced it with a red growler then changed the hubcaps on the wheels with small red growlers as well. Do not do this with cheap aftermarket growlers as they will fade with time. Get the original equipment growlers from your dealer or on line, they are worth the extra $.
In my case I got the cheap red plastic all lacquered up so I hope its durable. If not, I still got most of a can left.
I got the other A and B pillars recovered in the vinyl. While I wait for the adhesive smell to fade on these I finally got to swapping out the C-Pillar covers with the ebony colored ones I had bought. These were the from the matching ABC set I got before.
The instructions on how to get the two C covers out are pretty good from Jaguar. You need to remove the rear seat bottom to do this work. The rear seat back can stay in the car.
I took a few pics along the way just because I like to see actual along with artistic renderings.
First I pulled the sill plate to protect against scratches while I work. Plus the sills could use a good surface cleaning. Will get back to that later.
The instructions say to pull back the black felt edging but I did not find that was really needed. I did go ahead and pull back this piece that runs up from the floor the bottom of the C cover.
The upper C cover just pulls off pretty easy. You can see the holes and slots where the plastic tabs plugged in. You can also already see the wavy fabric that is losing its foam underneath. I am betting this will look a lot worse when I start grabbing all over it to pull it out.
After a bit of tugging and swearing the lower C cover is out.
Now that its out you can see how the fabric lost its grip due to the deteriorating foam backing. Someday I will use these plastic cores to recover in the vinyl like I did the A and B pillars. Will wait until the rear parcel shelf fades and then do the whole wrap around with the C Pillars. For now the "new" black fabric ones work just fine.
The lower C cover is popped back in. There are slots along the edge of the parcel shelf that you need to plug into as you slide it back in there. Also gotta plug that lower piece of trim back in too.
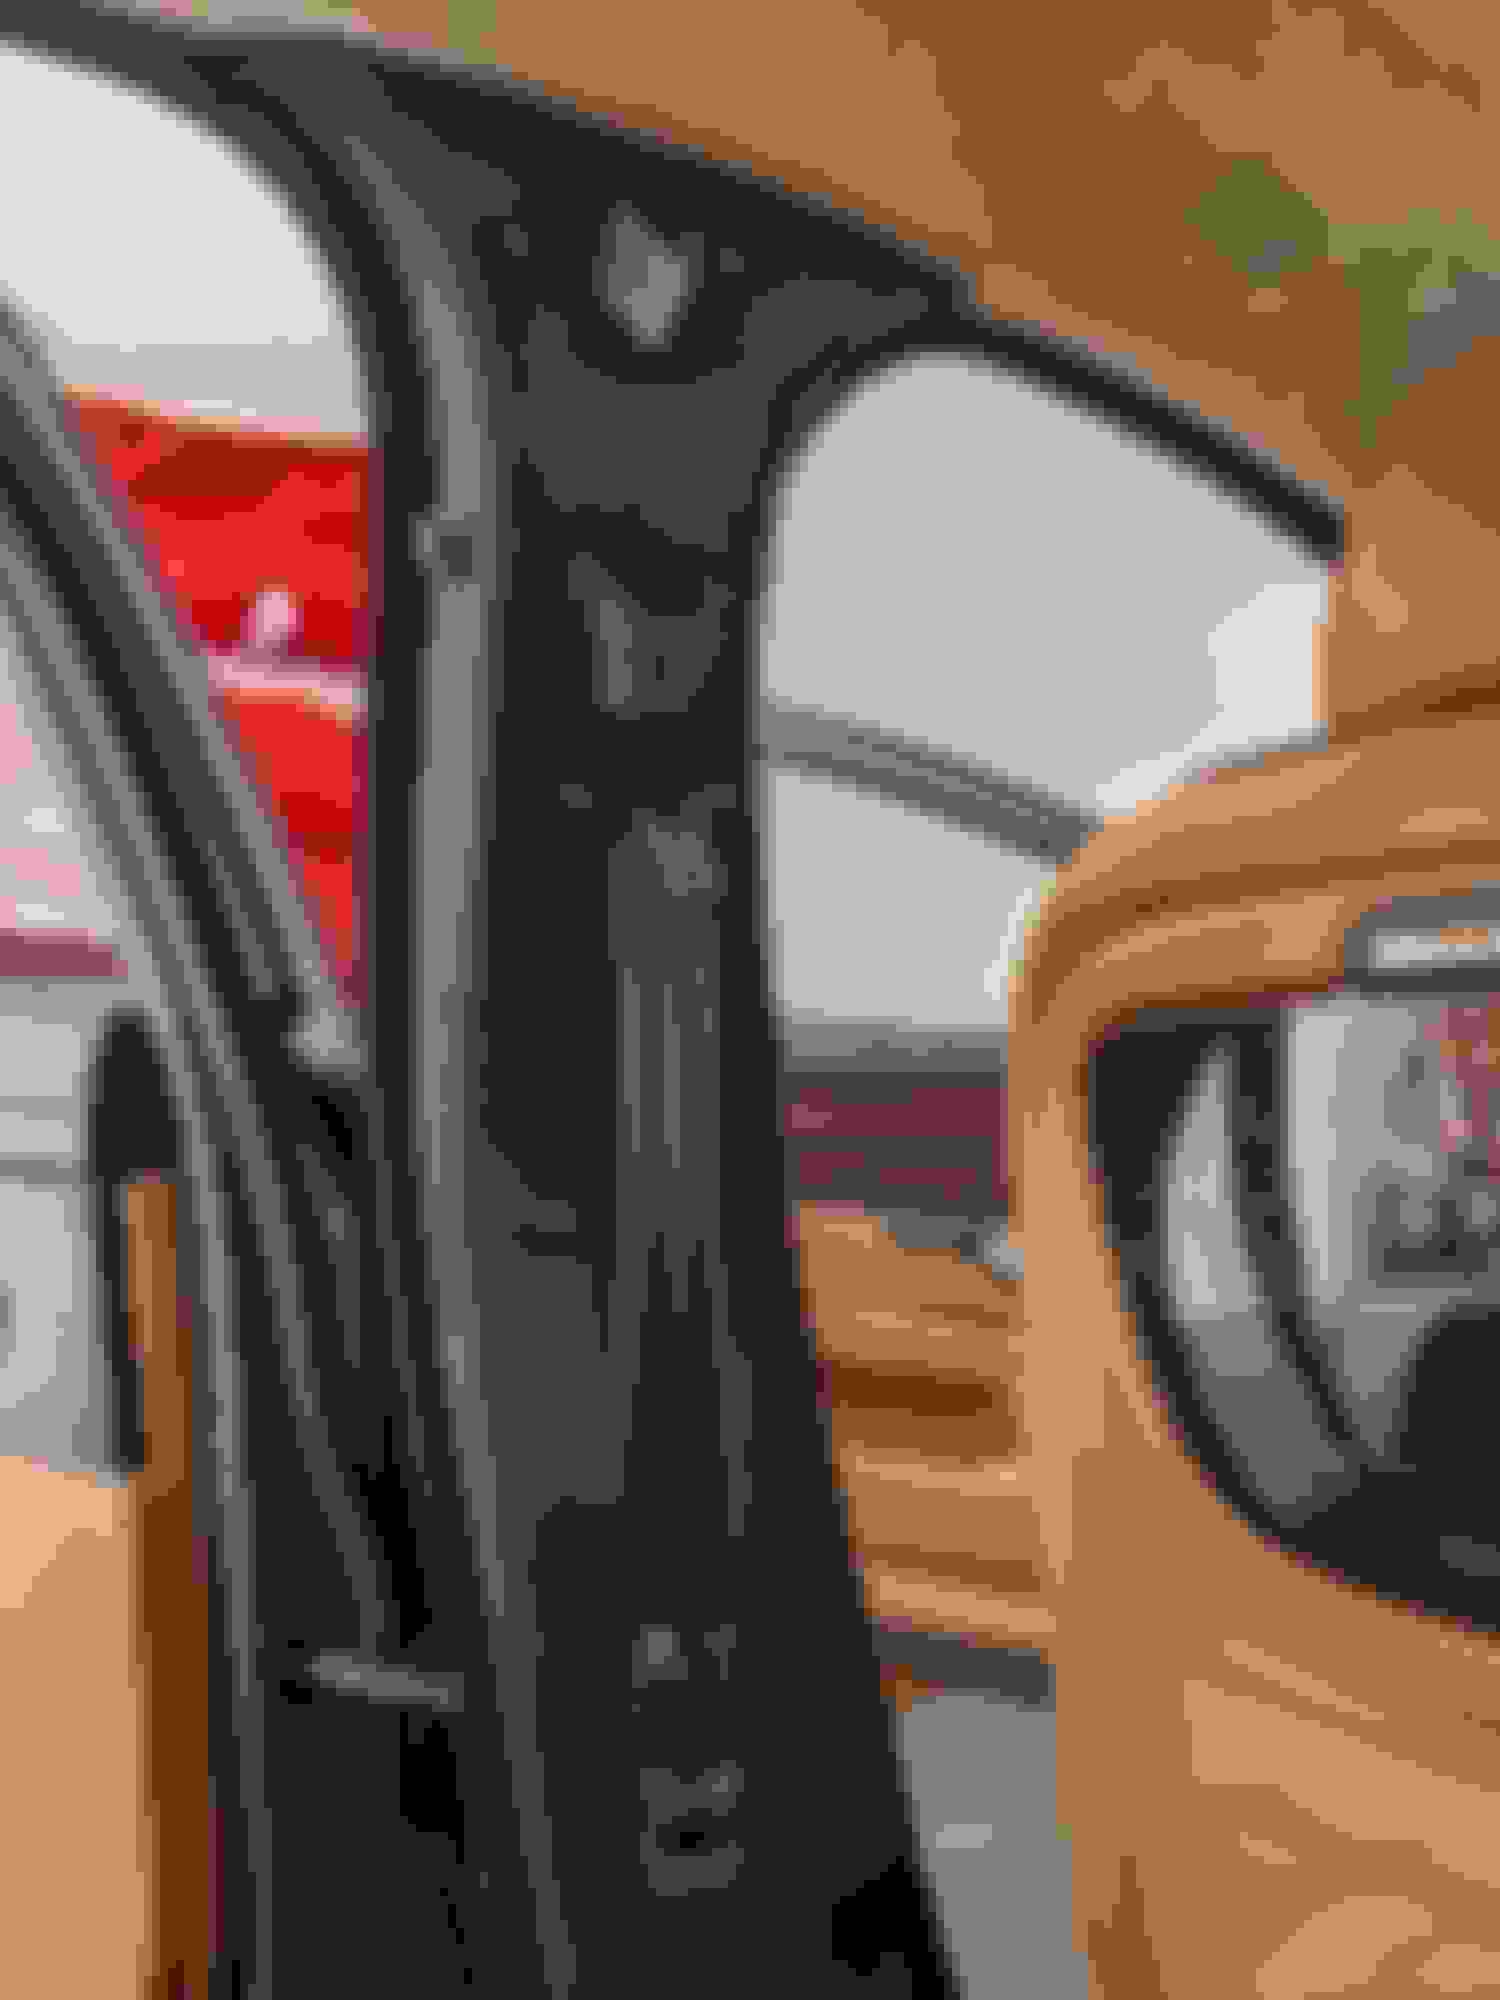
A few minutes later the upper C is popped on. Looking pretty good now and solves my main OCD concern of the canvas colored fabric being visible through the side window.
Seat belt is reattached. Seat back and bottom are put into place and I am done. Replacing these C covers takes a lot longer than the A and B. It was a full day in the garage with all the pieces removed and the cleaning of everything.
And I did get back to cleaning the sill plates.
I used a little dish soap and a scotch brite pad to gently follow the brush pattern end to end.
Got back some shine for sure.
Now that its been another day the A and B on driver side are ready to install.
A shot of the A cover for comparison. The upgrade is apparent.
A Pillar before
A Pillar after.
B Pillar before.
B Pillar after.
Old and New B covers for comparison.
While this was a multiple day effort, none of it was too difficult. Really pleased with the result.
I think the only place left that shows the odd canvas color through the windows is the front visors. Some window tinting will clean that up.
This mod is pretty extensive. I took a LOT of pics. Here goes...
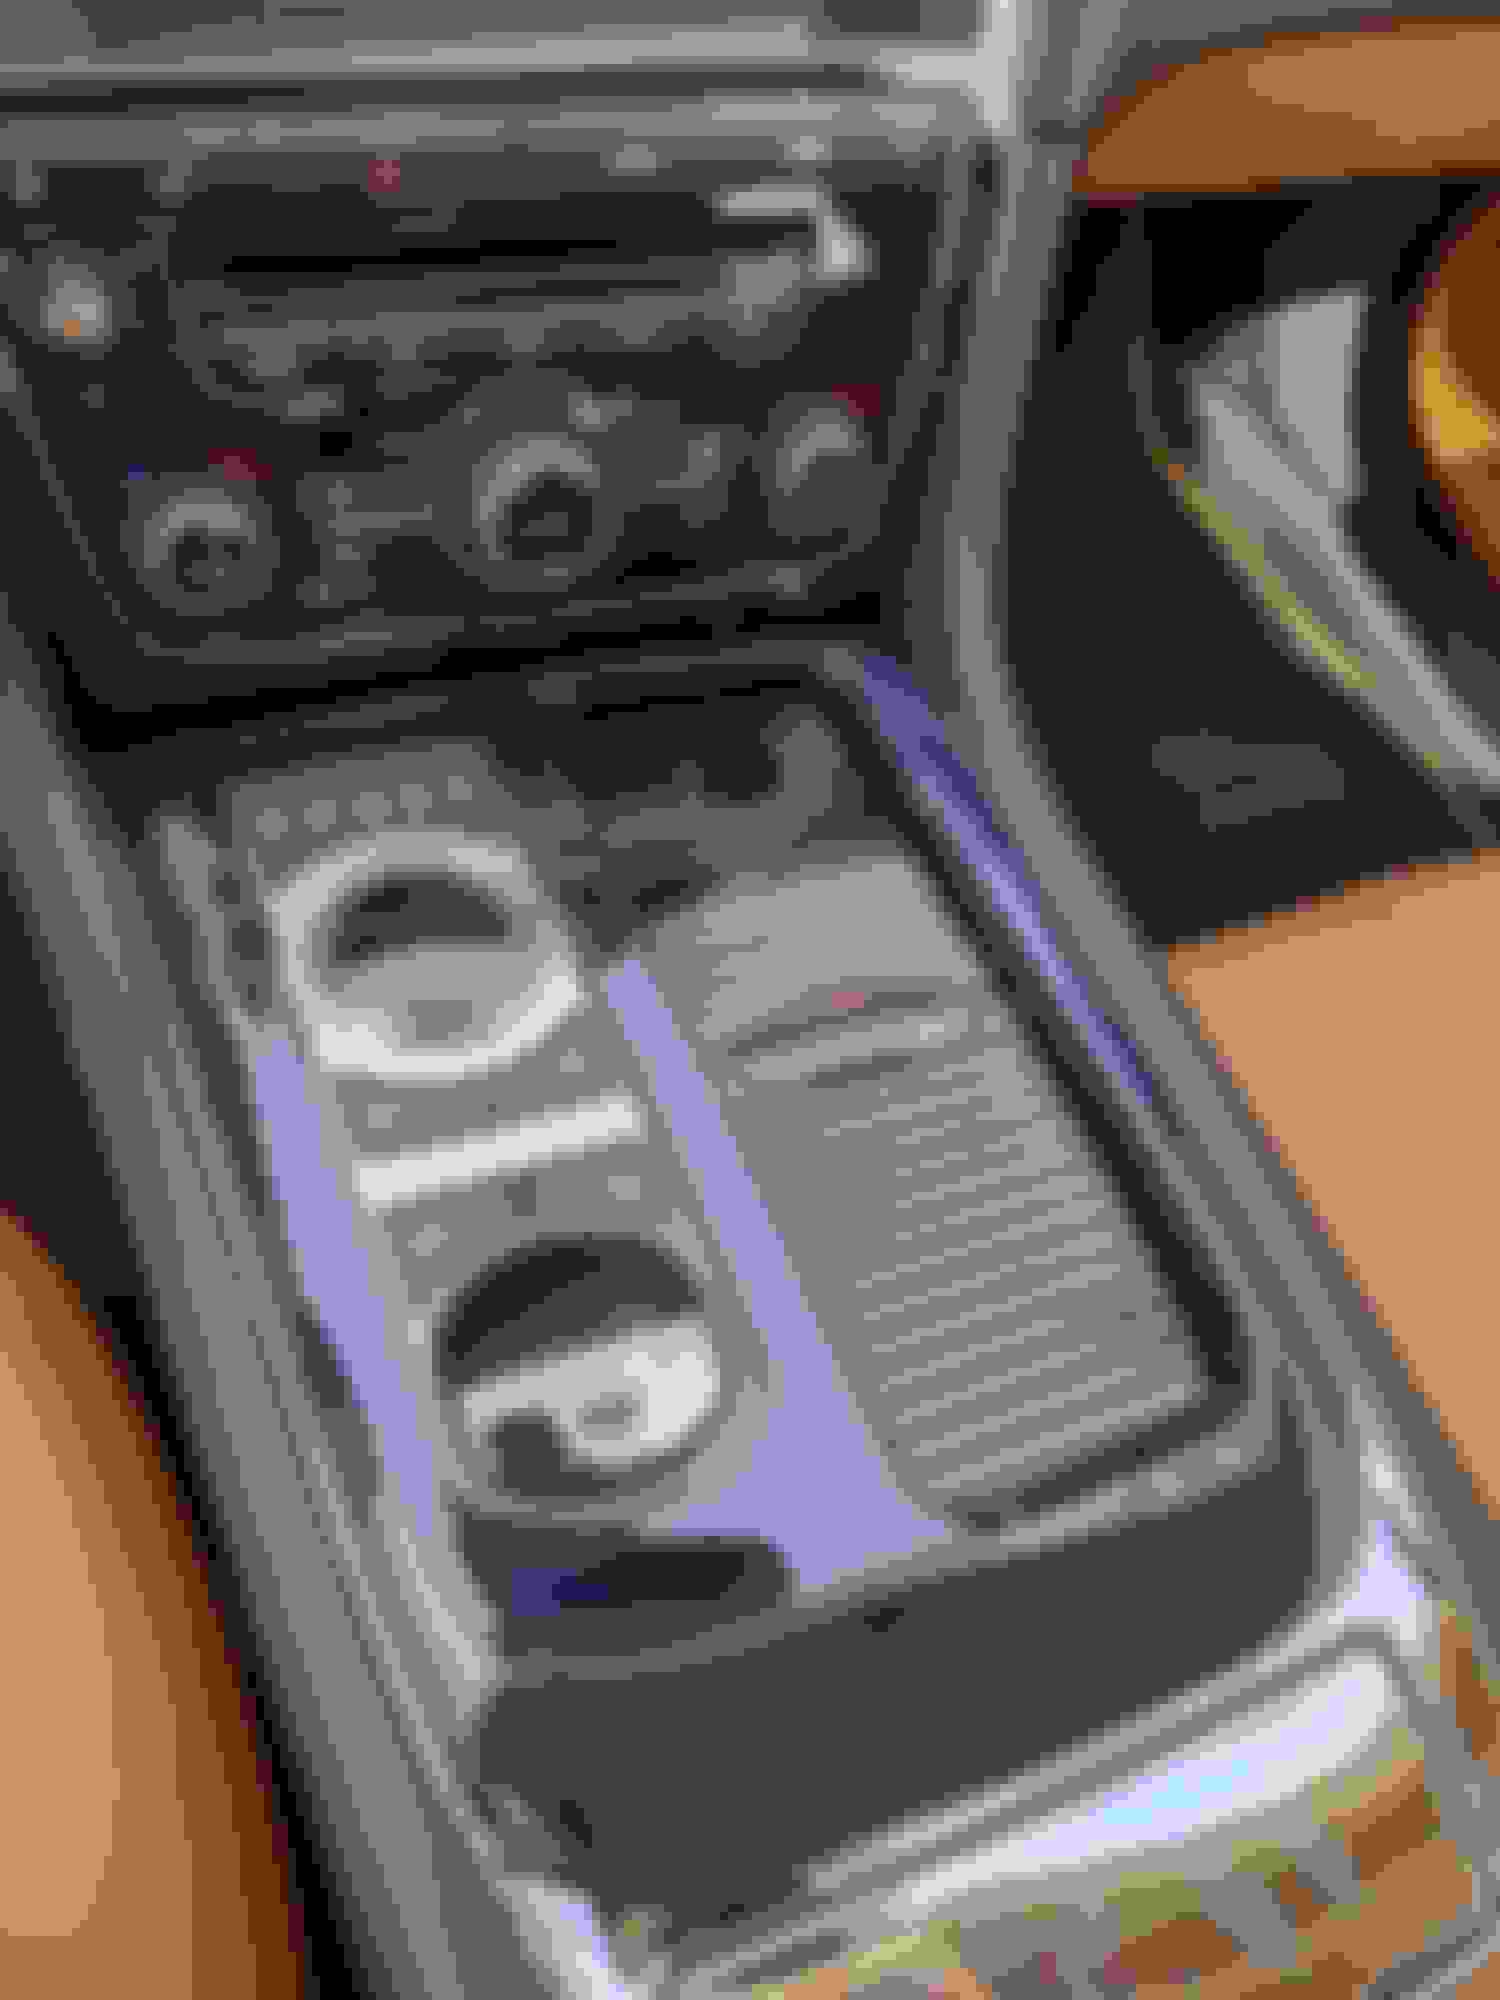
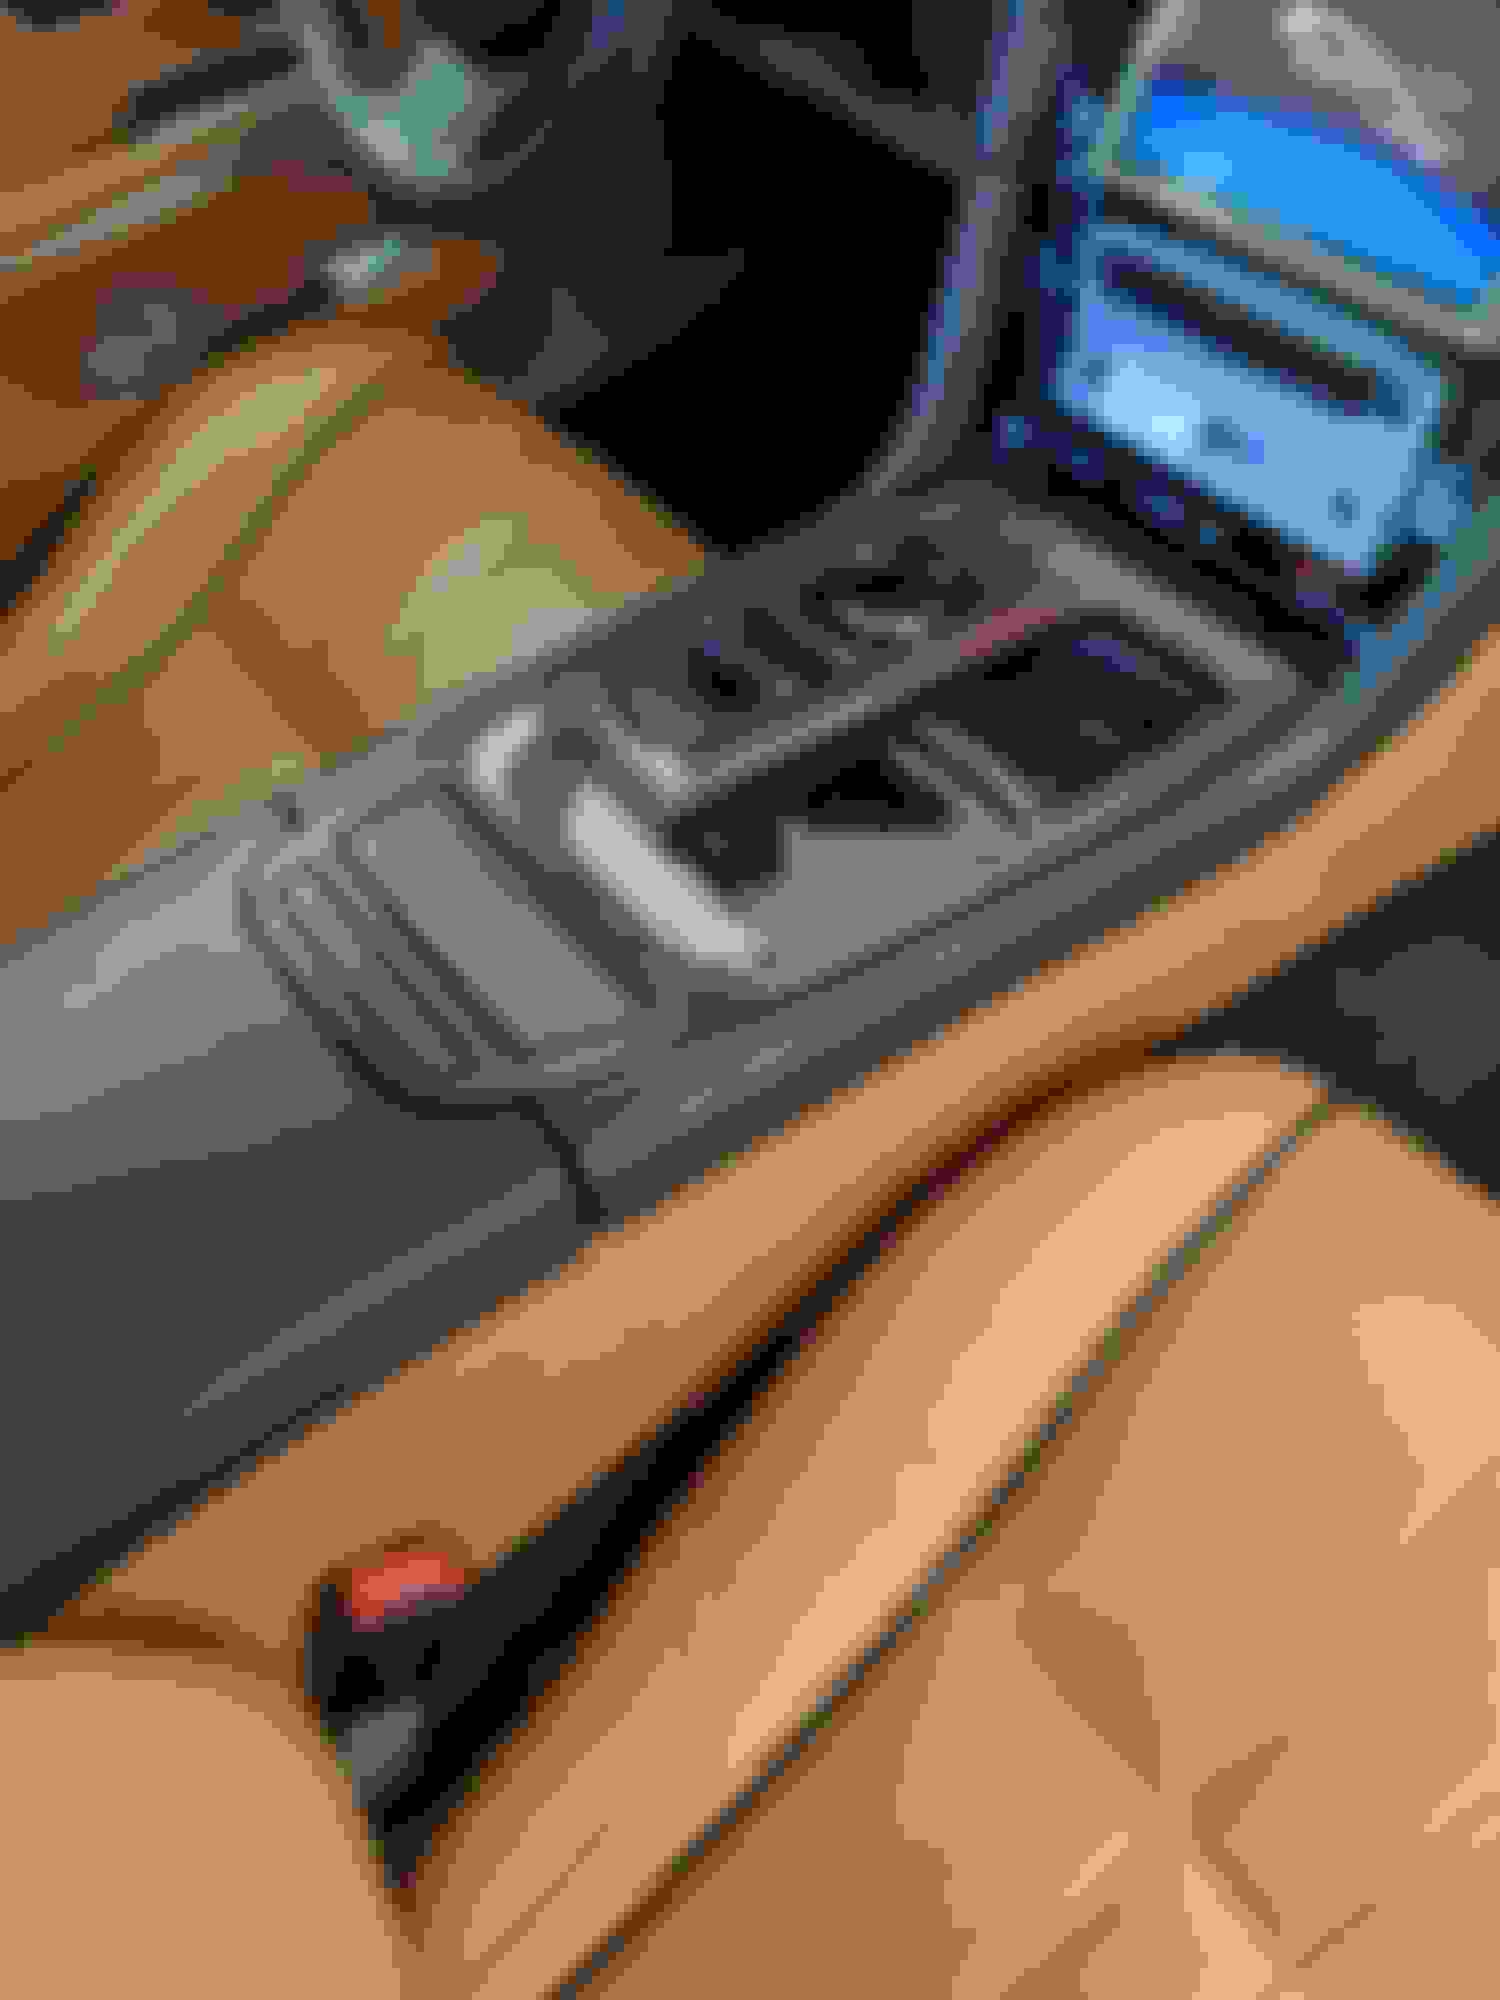
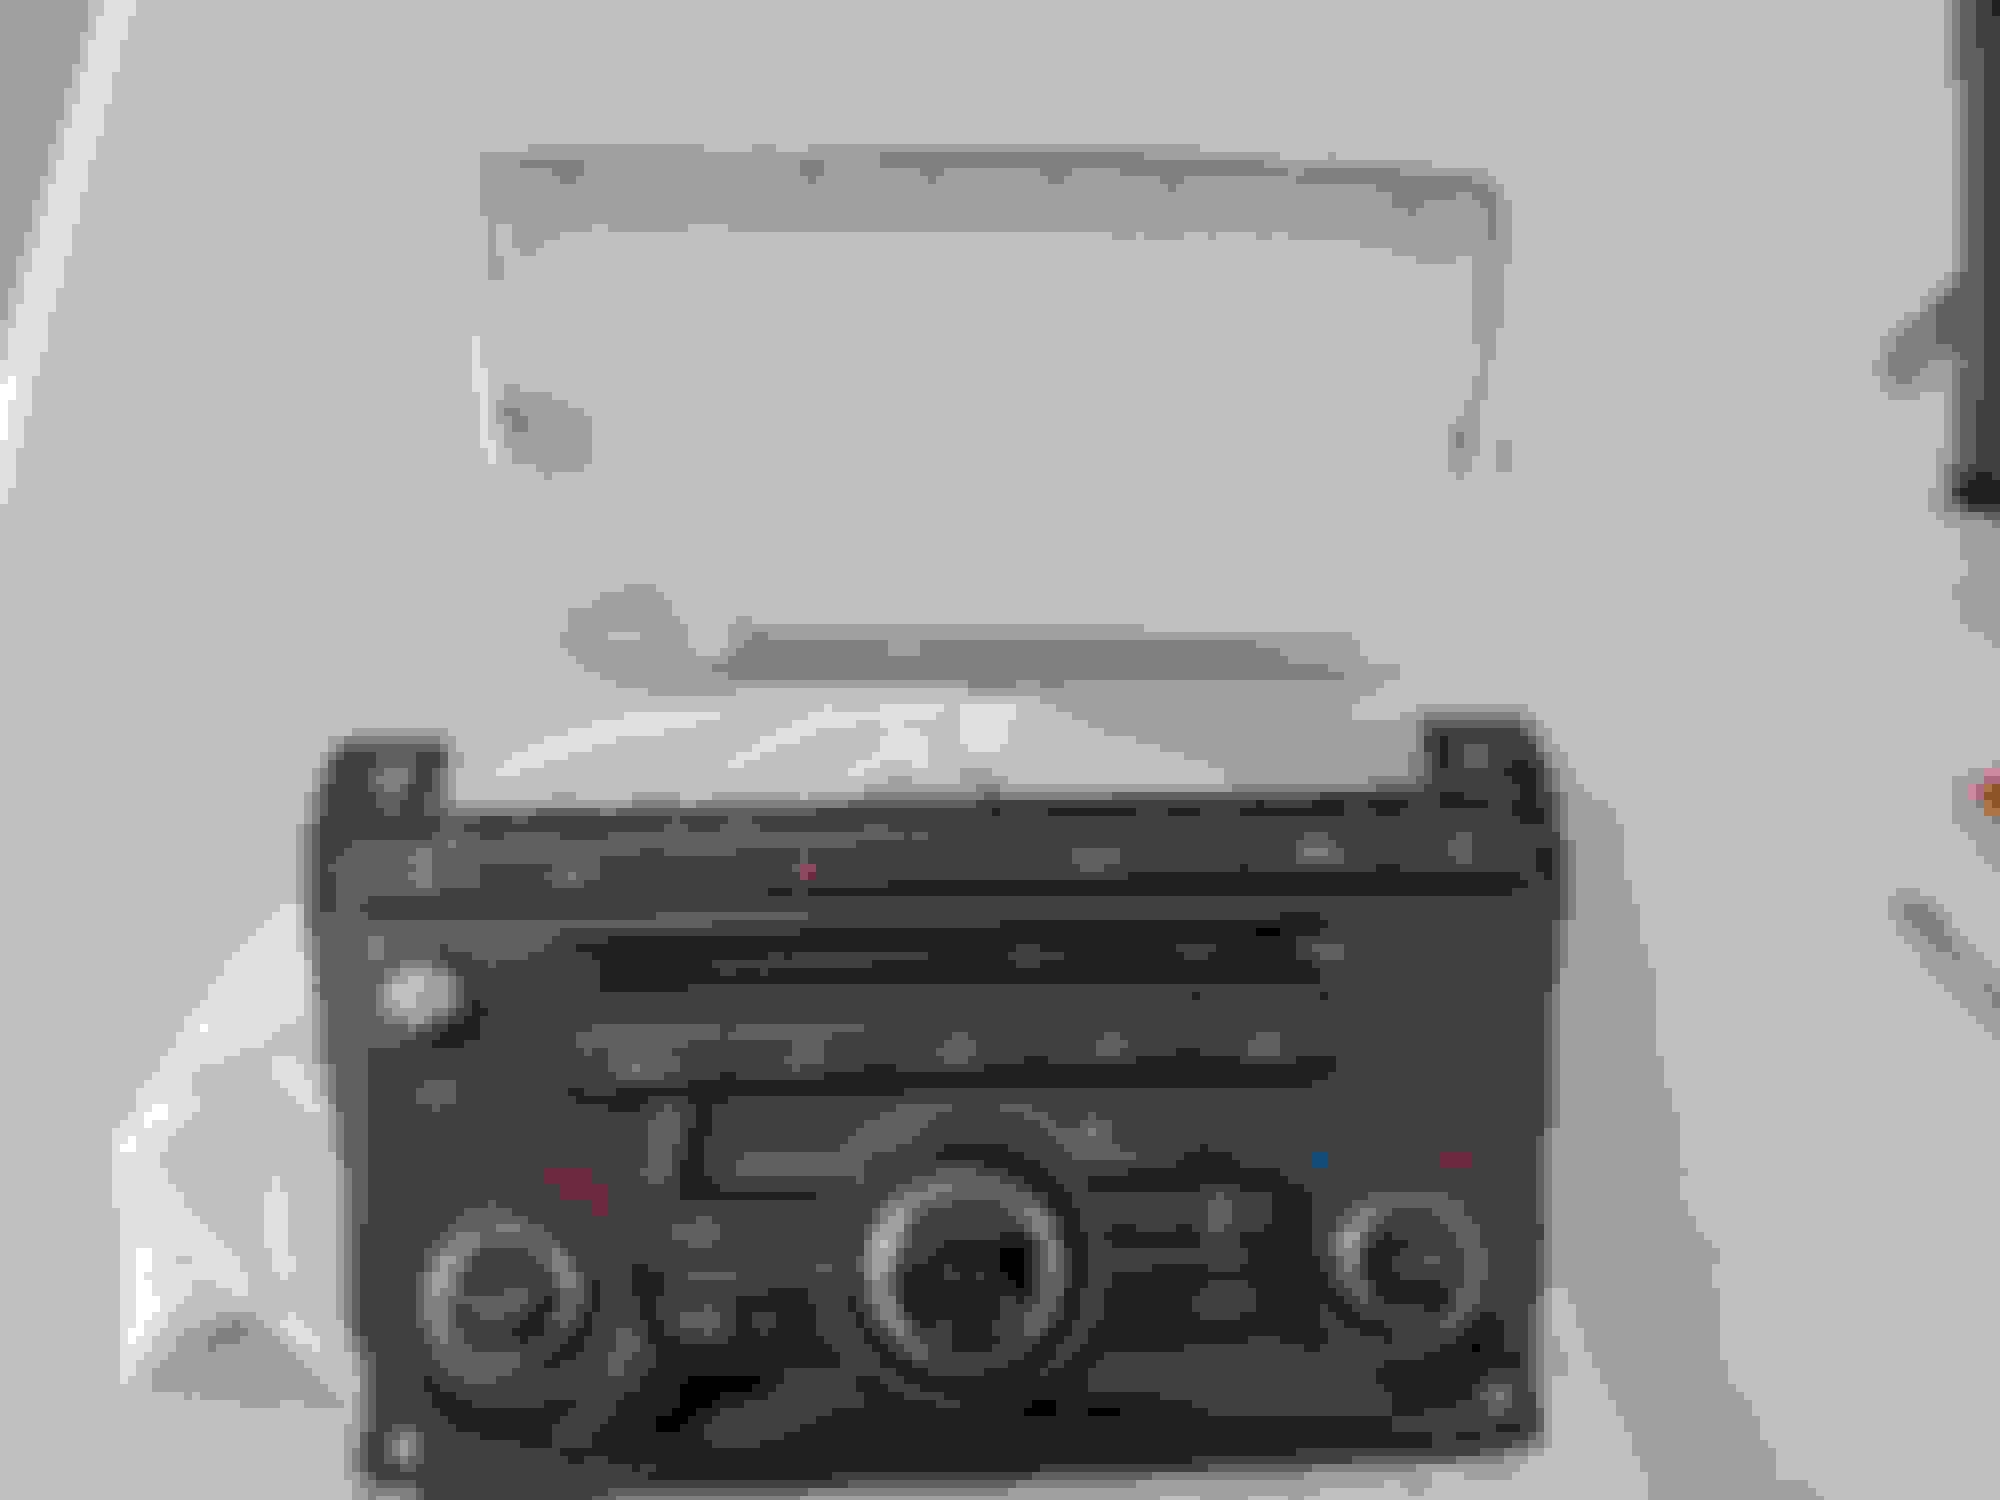
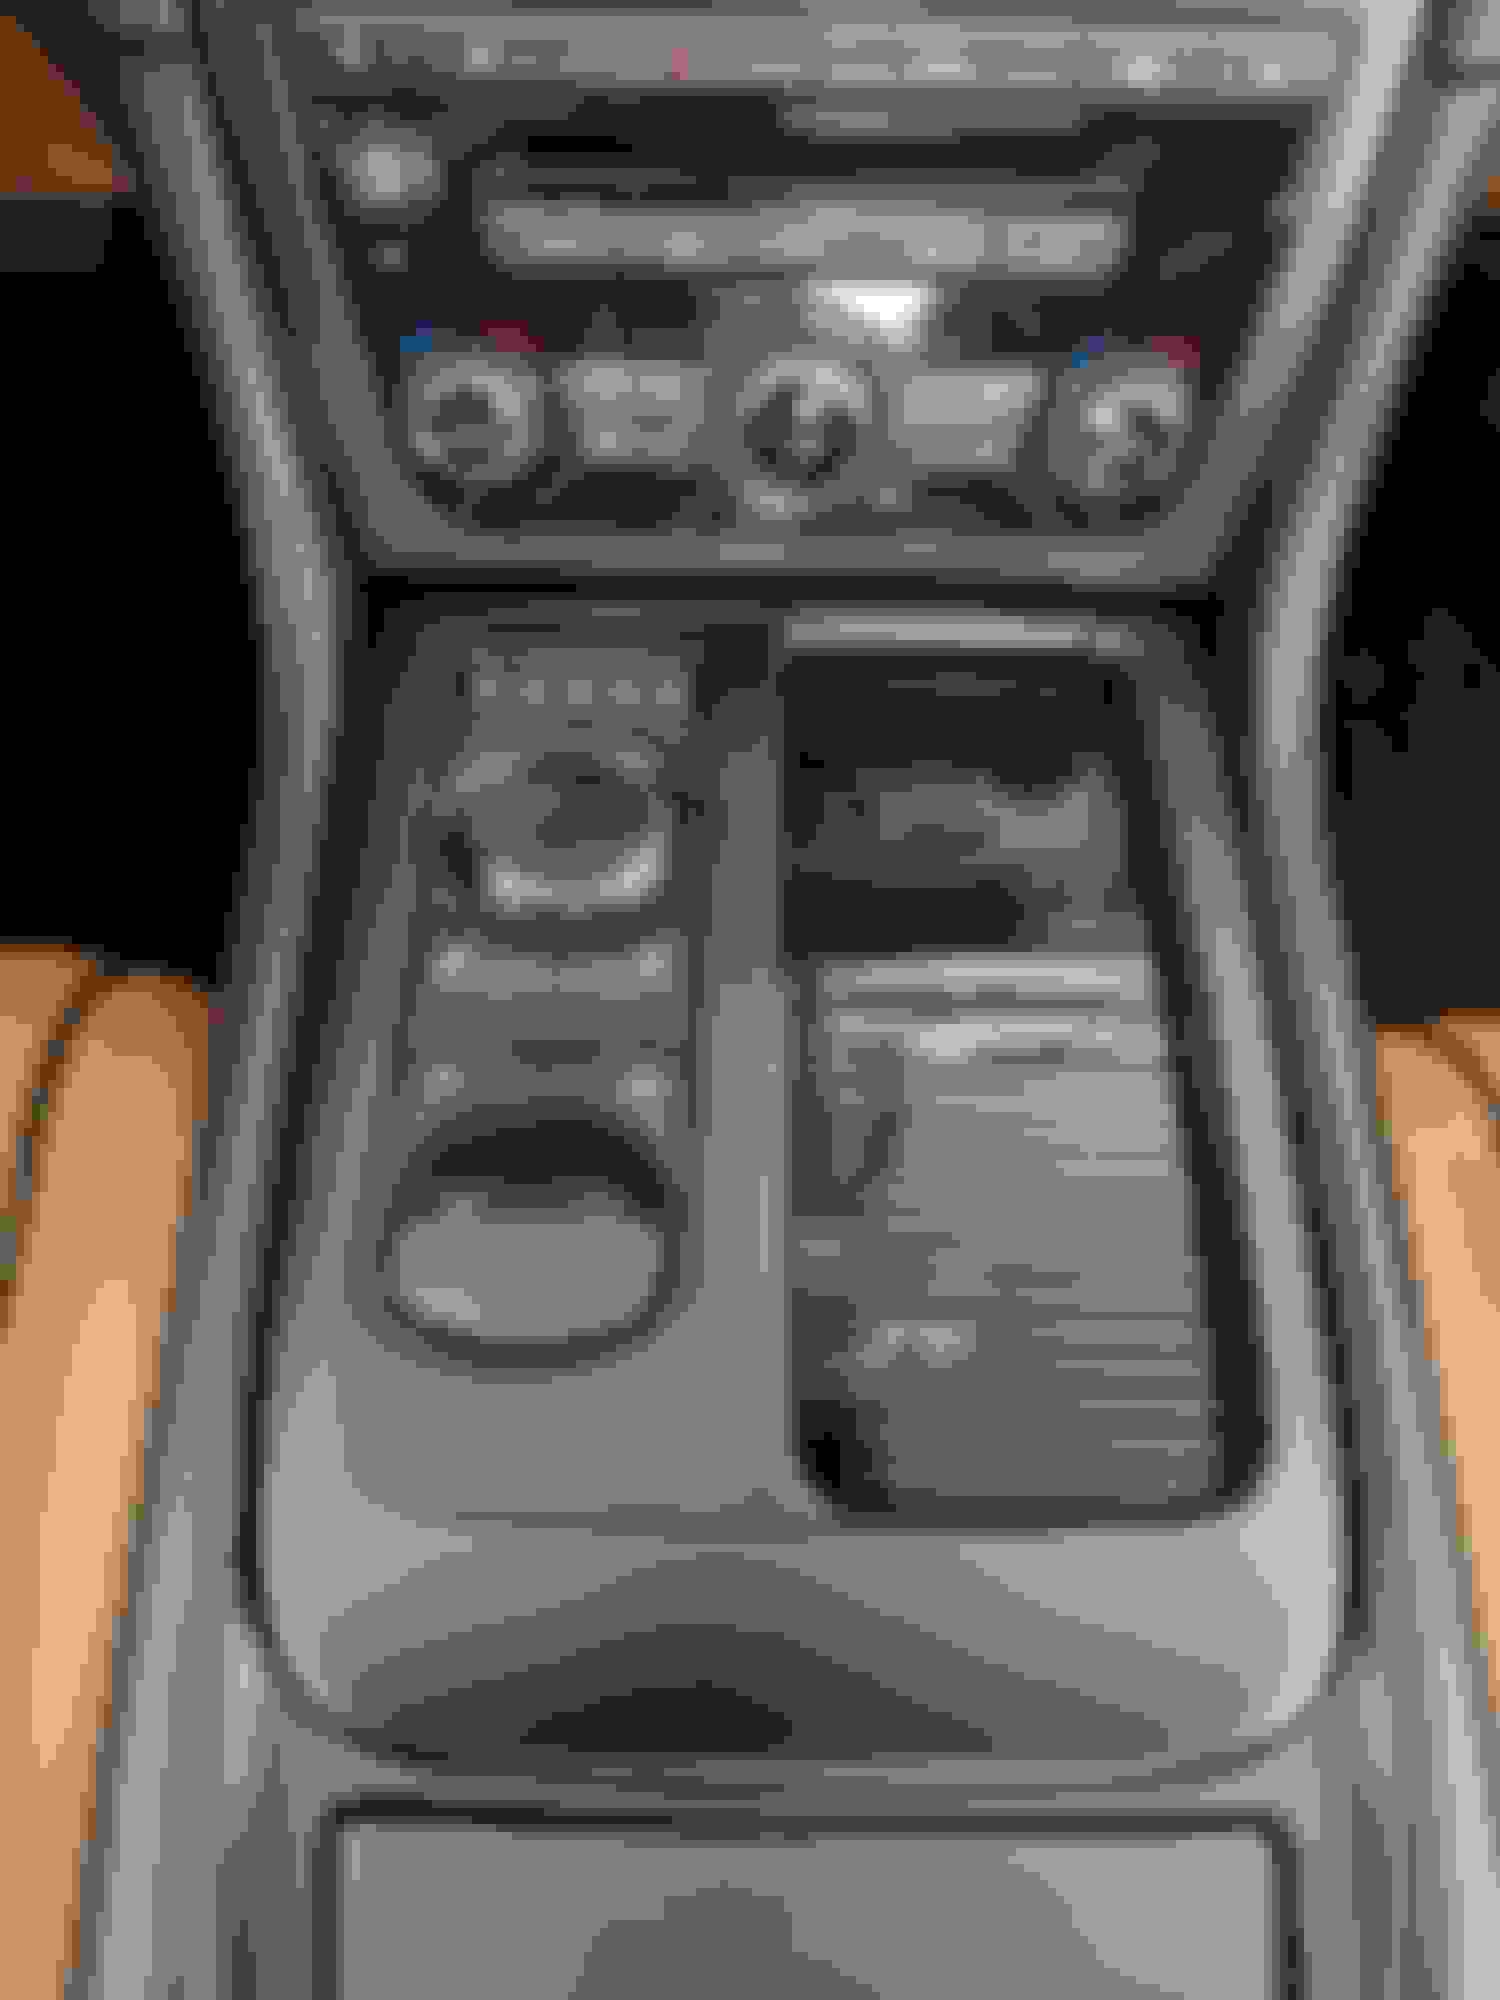
When I got this car about a year ago the console had the bluing plastics and generally looked like crap. There were a lot of issues here beyond just the blue stuff. The chrome plated pieces were a problem for me living in the Sunshine State. All that chrome in a spot where the reflections can be blinding at times. Clearly this was all designed where clouds and gloom rule the skies. Plus everything shows finger prints that I would prefer not to shine off all the time.
For a short term relief to my OCD I spent an hour and wrapped the lower blue bezel with some wood grain. It looked better but did nothing for my temporary blindness problems thanks to the chrome.
Now a year later I am getting back to sorting out the console a bit more. Going to get rid of that pesky chrome, redo the wood vinyl on the lower cover, and fix the gradually bluing upper cover. Should look way better when I am done.
Getting the pieces off is well documented so not going to cover that. A good set of interior tools is recommended. To get the shifter out (yes we are going to redo the shifter too) you will need a T30.
Once the bits are out of the car time to disassemble the base and get to wrapping it. I selected a vinyl that matches well with the ebony leather.
Ok got the vinyl cut and ready to go for it. I have not done much vinyl work like this so if you are a wrapping pro please be gentle in your critique.
I wrapped the ash tray cover first since it seemed easiest and I could use the practice before I tackle the big pieces. The cap pops off the latch release. Should make that piece easier to do.
Making good progress.
Wrapping the base was not as hard as I expected. Went pretty well. Worth mentioning that a real heat gun is essential. Your wife's hair dryer won't cut it.
Wrapped the lower blue cover again with some new wood. This wood grain vinyl is very hard to work with compared to the black. Not sure why. So the wood piece is not perfect by any measure. Someday I may revisit this piece again but I gotta move on. The car can't move until I get all this done.
A quick test fit confirms that I am going in the right direction. Time to clear coat the wood vinyl so that can dry while we move on - to the GSM.
In order to get the top plate off the GSM you have to completely disassemble it. No way around it due to a single screw in an inaccessible place.
The first bit to remove from the GSM is the plastic cover on the bottom. Just unsnaps. Now you can get to 4 of the 7 screws that secure the top plate. Takes a T10 for those.
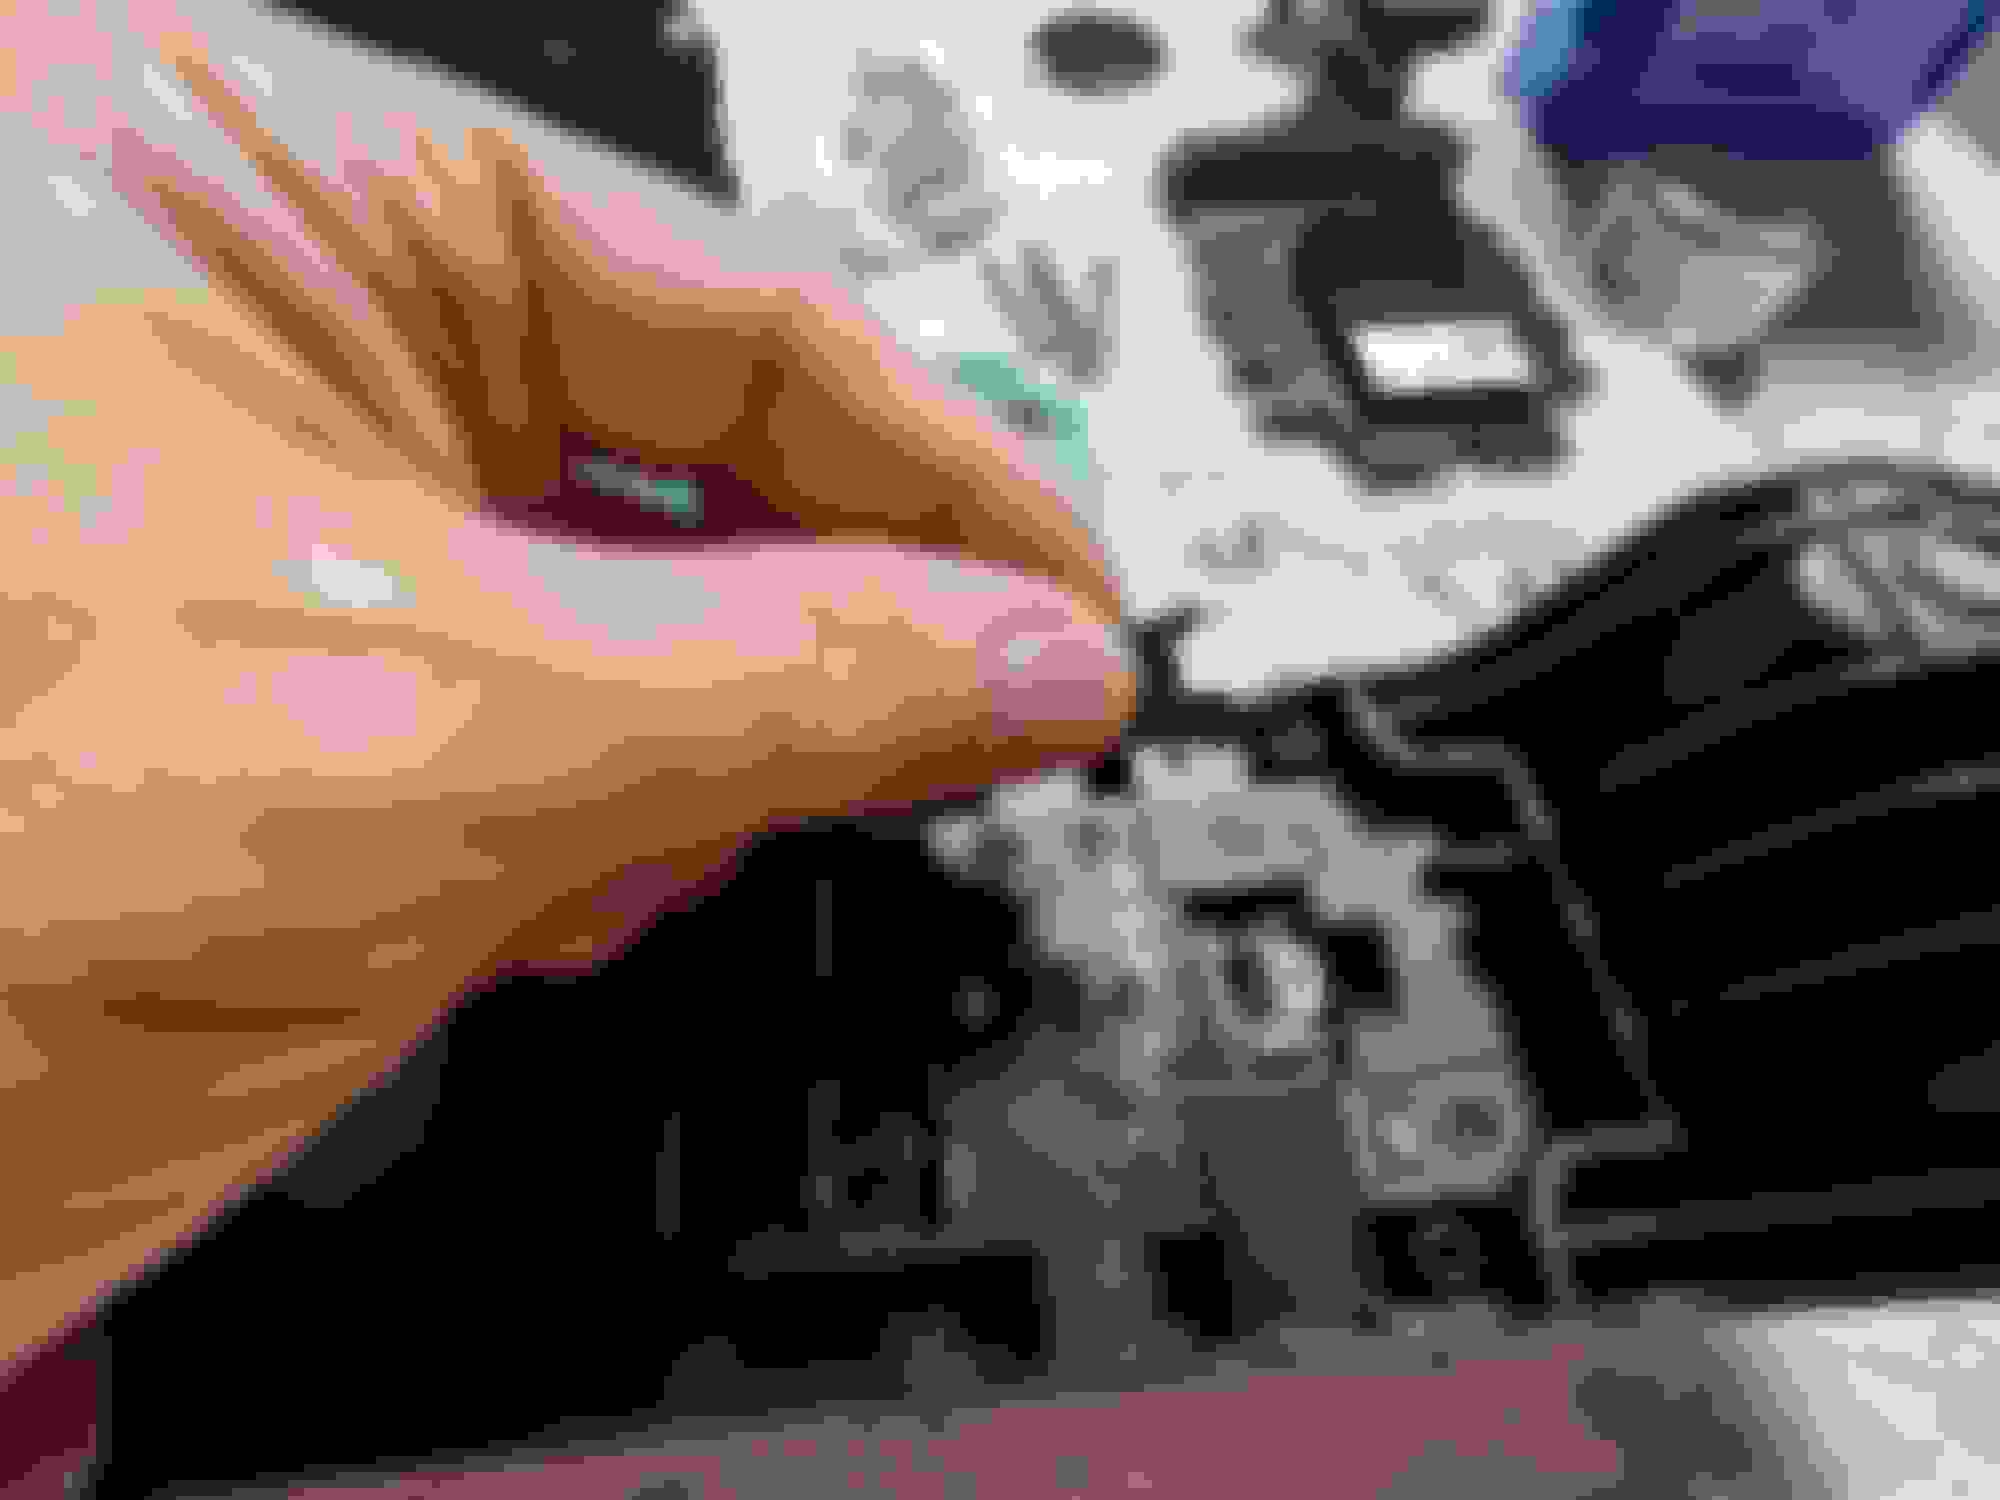
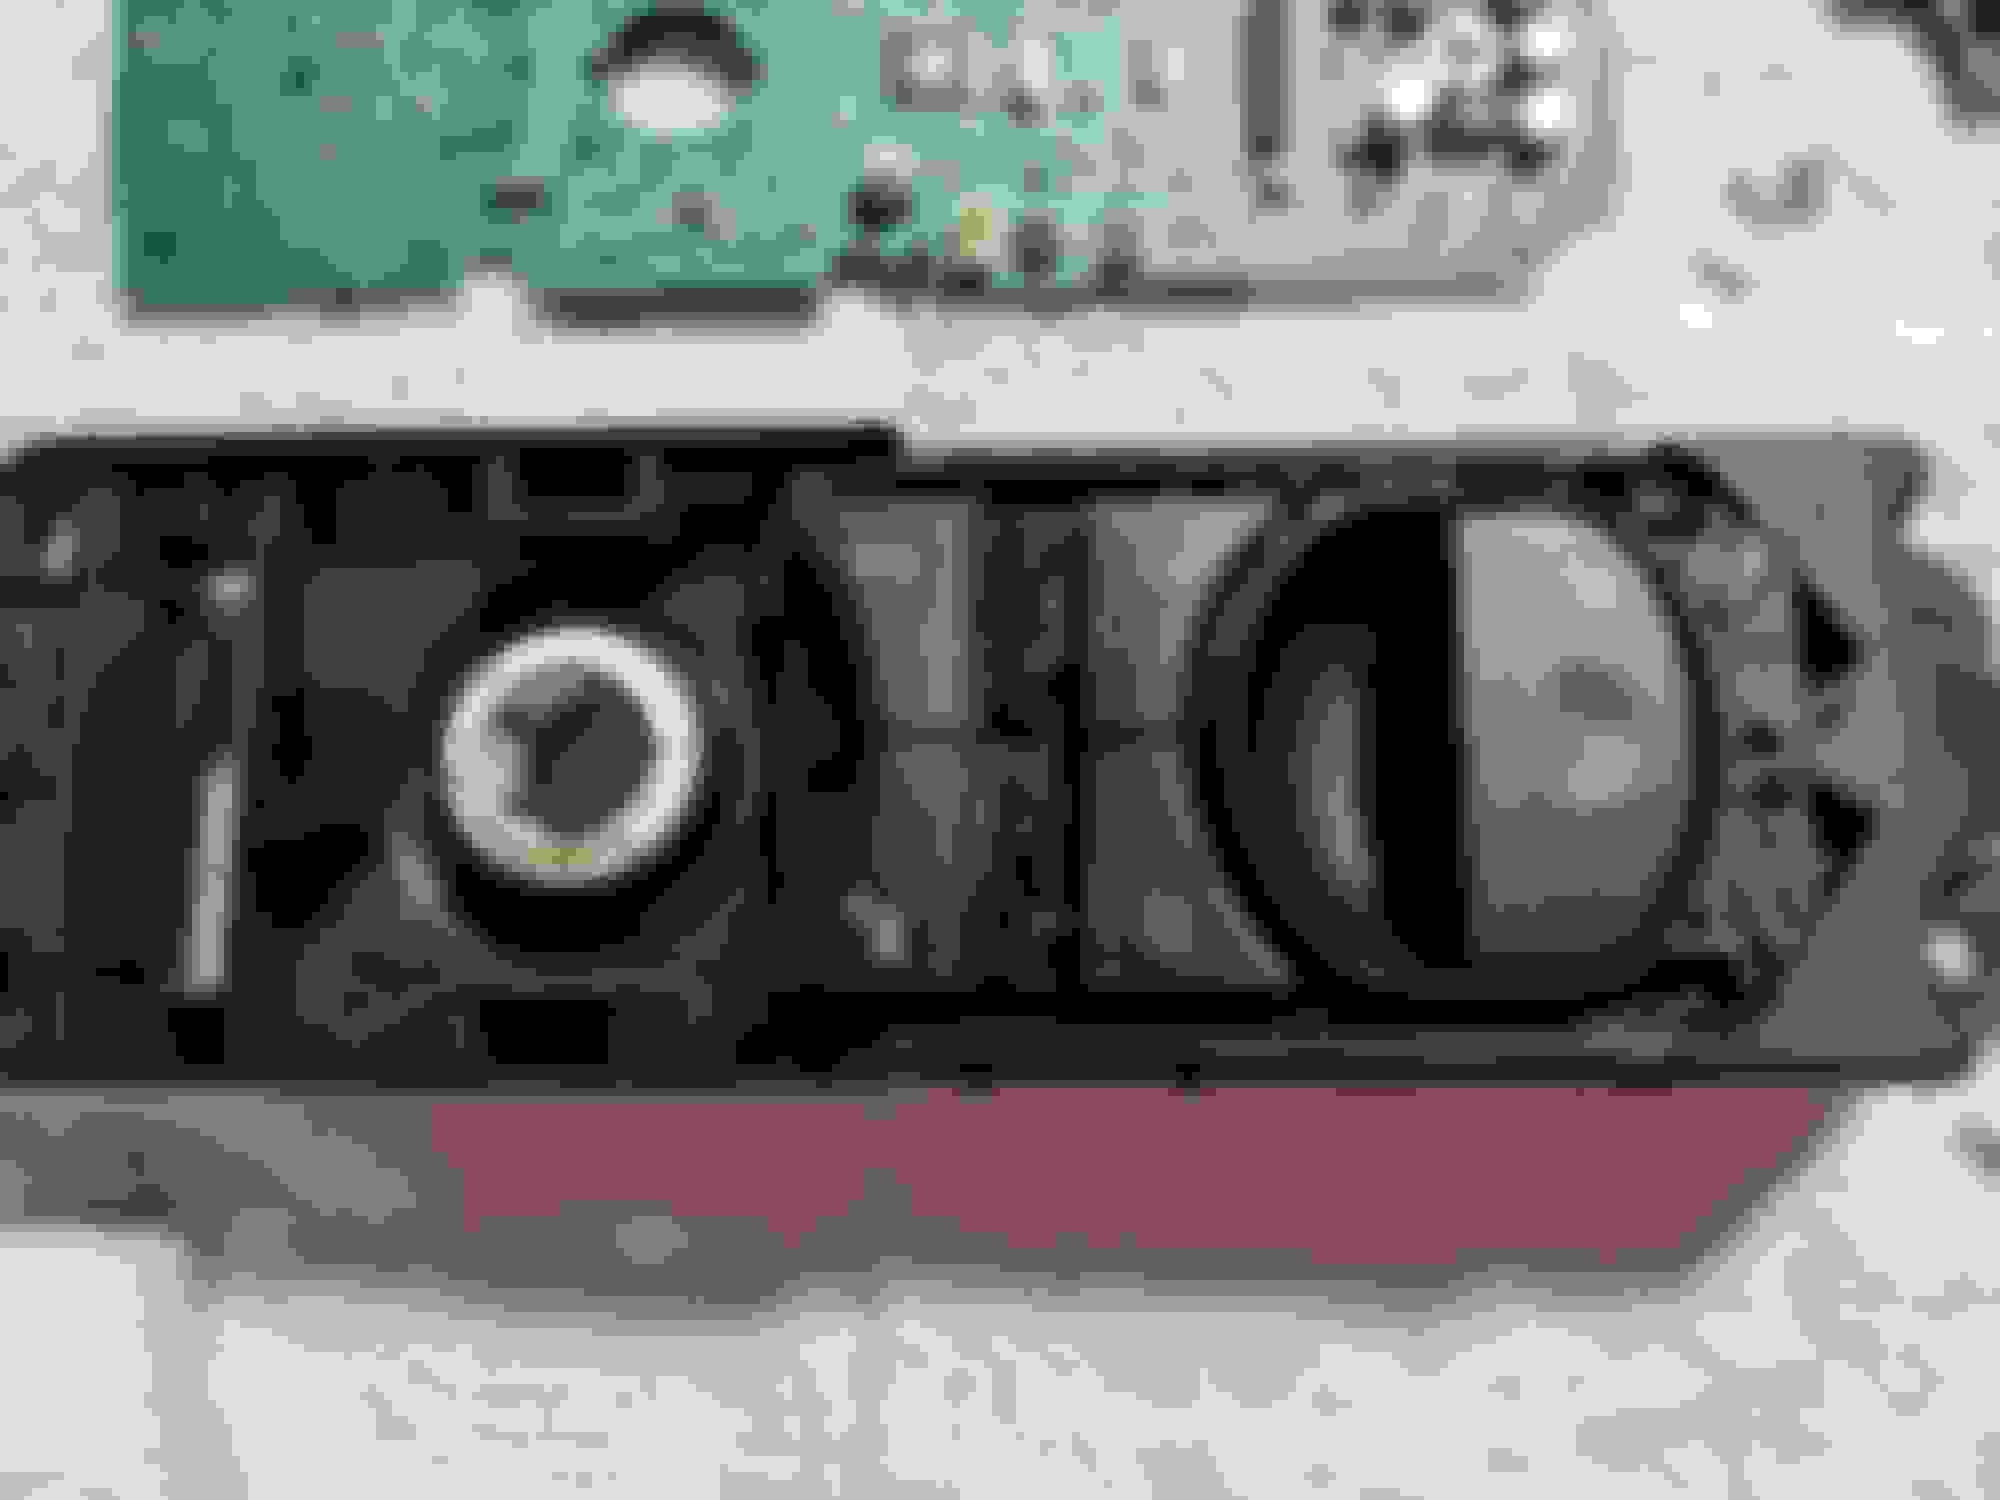
Removing the knob mechanism takes a T20. First you have to remove the plate on top of the knob. In my case I scratched it but I planned to redo it anyway to match the other black stuff. Once the knob is off you can remove the 4 screws that hold the entire mechanism and extract it. Careful when unplugging the wires. We want the car to work when we are done.
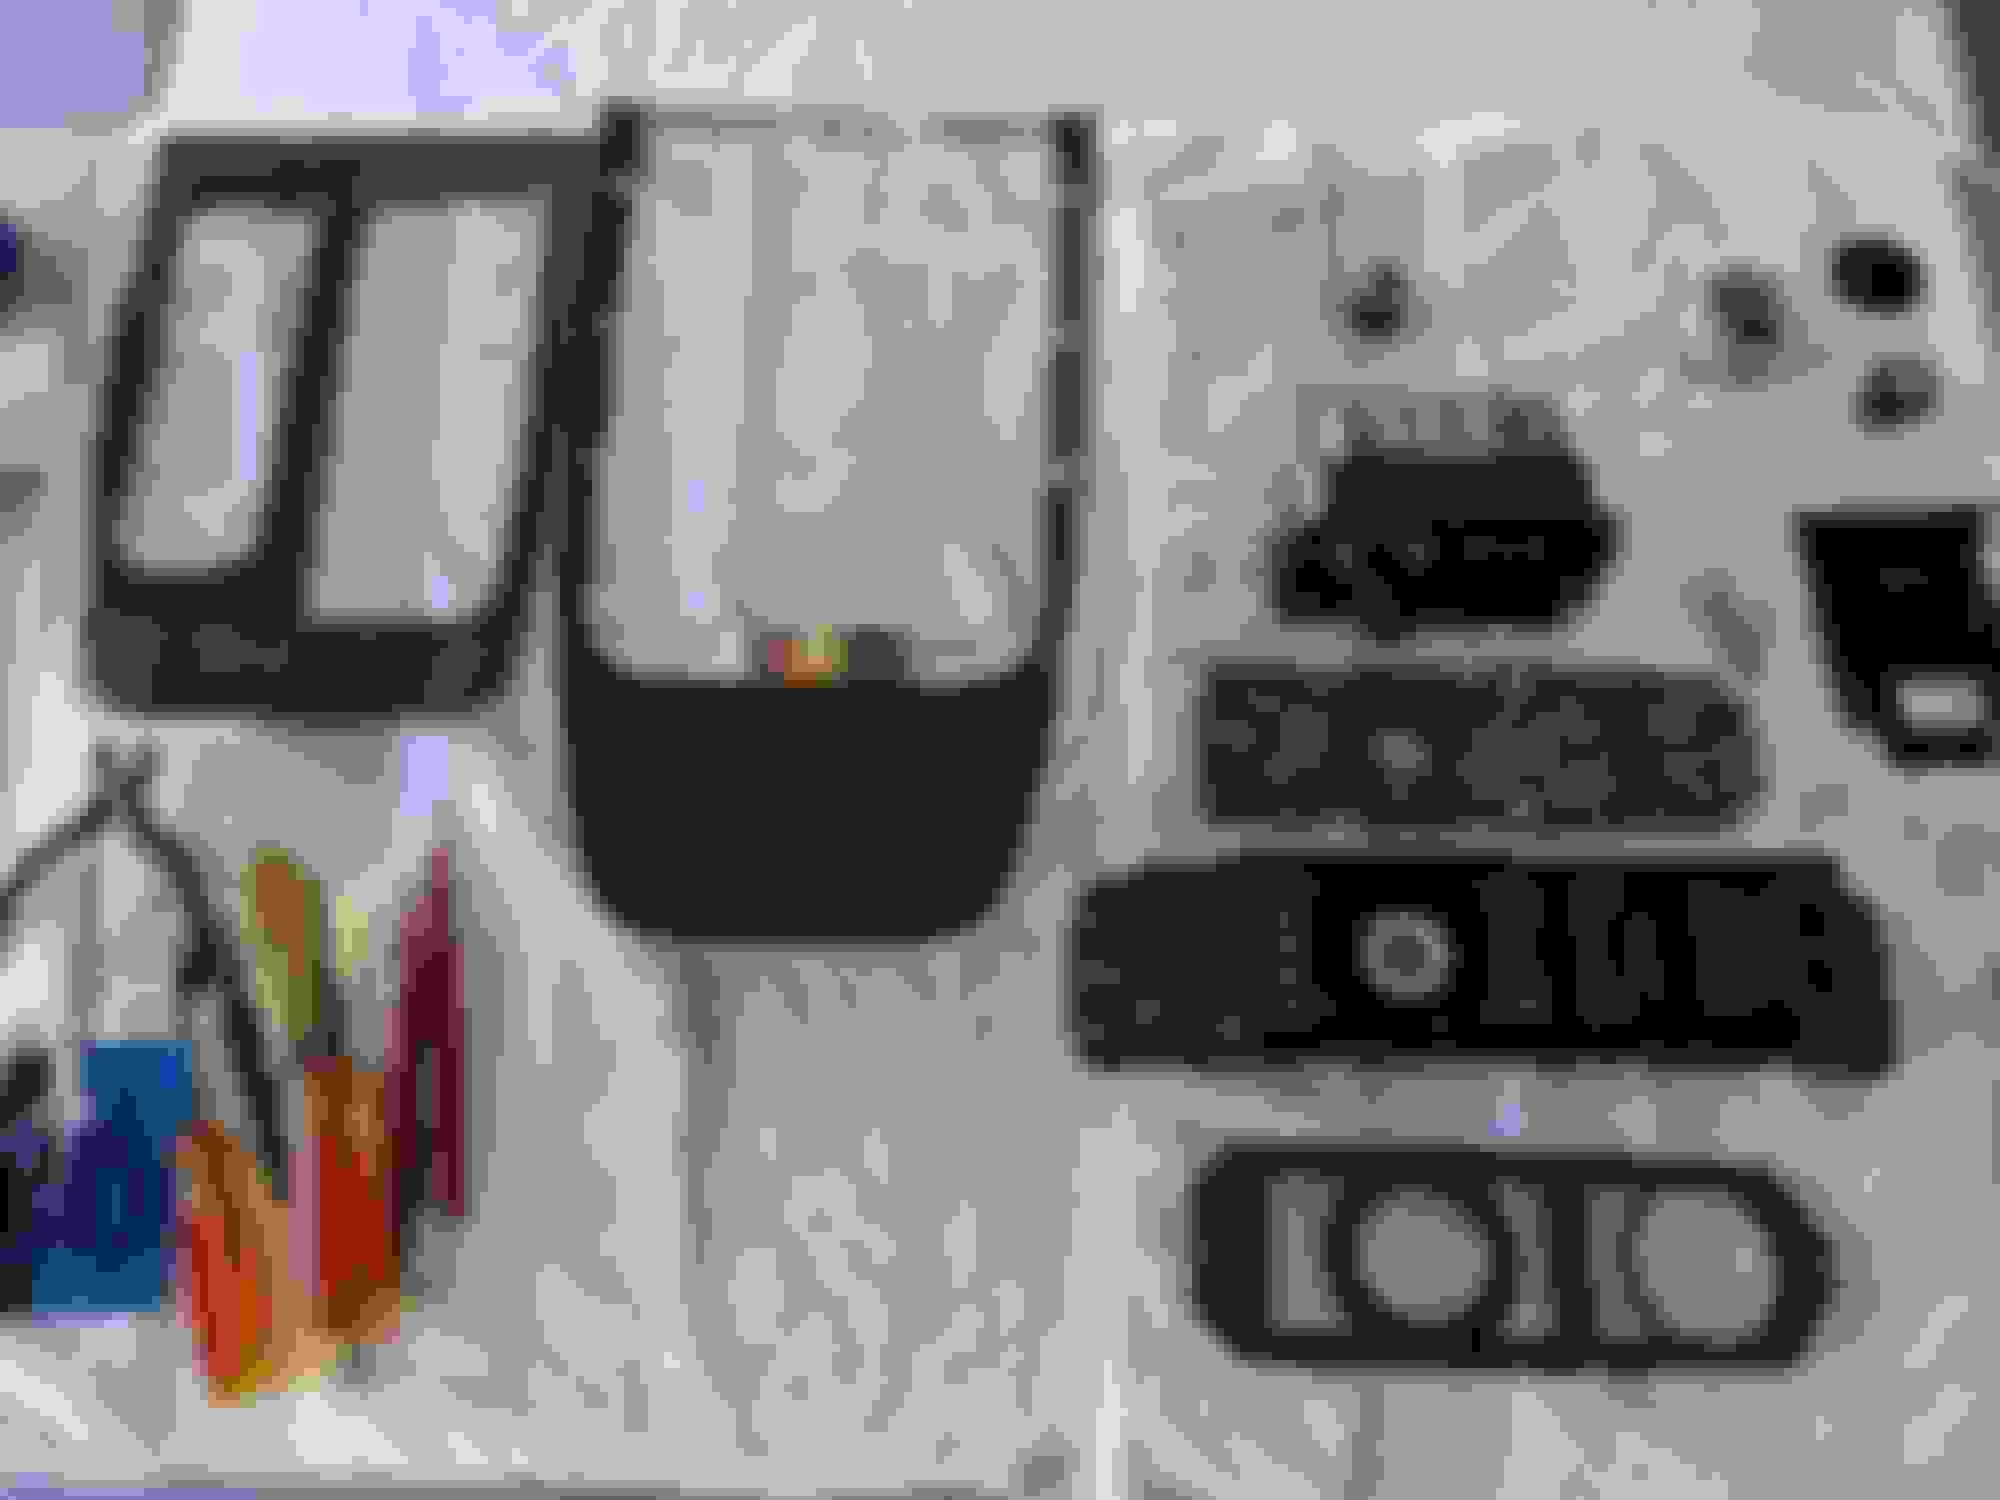
A few minutes later and GSM is in pieces. So far so good.
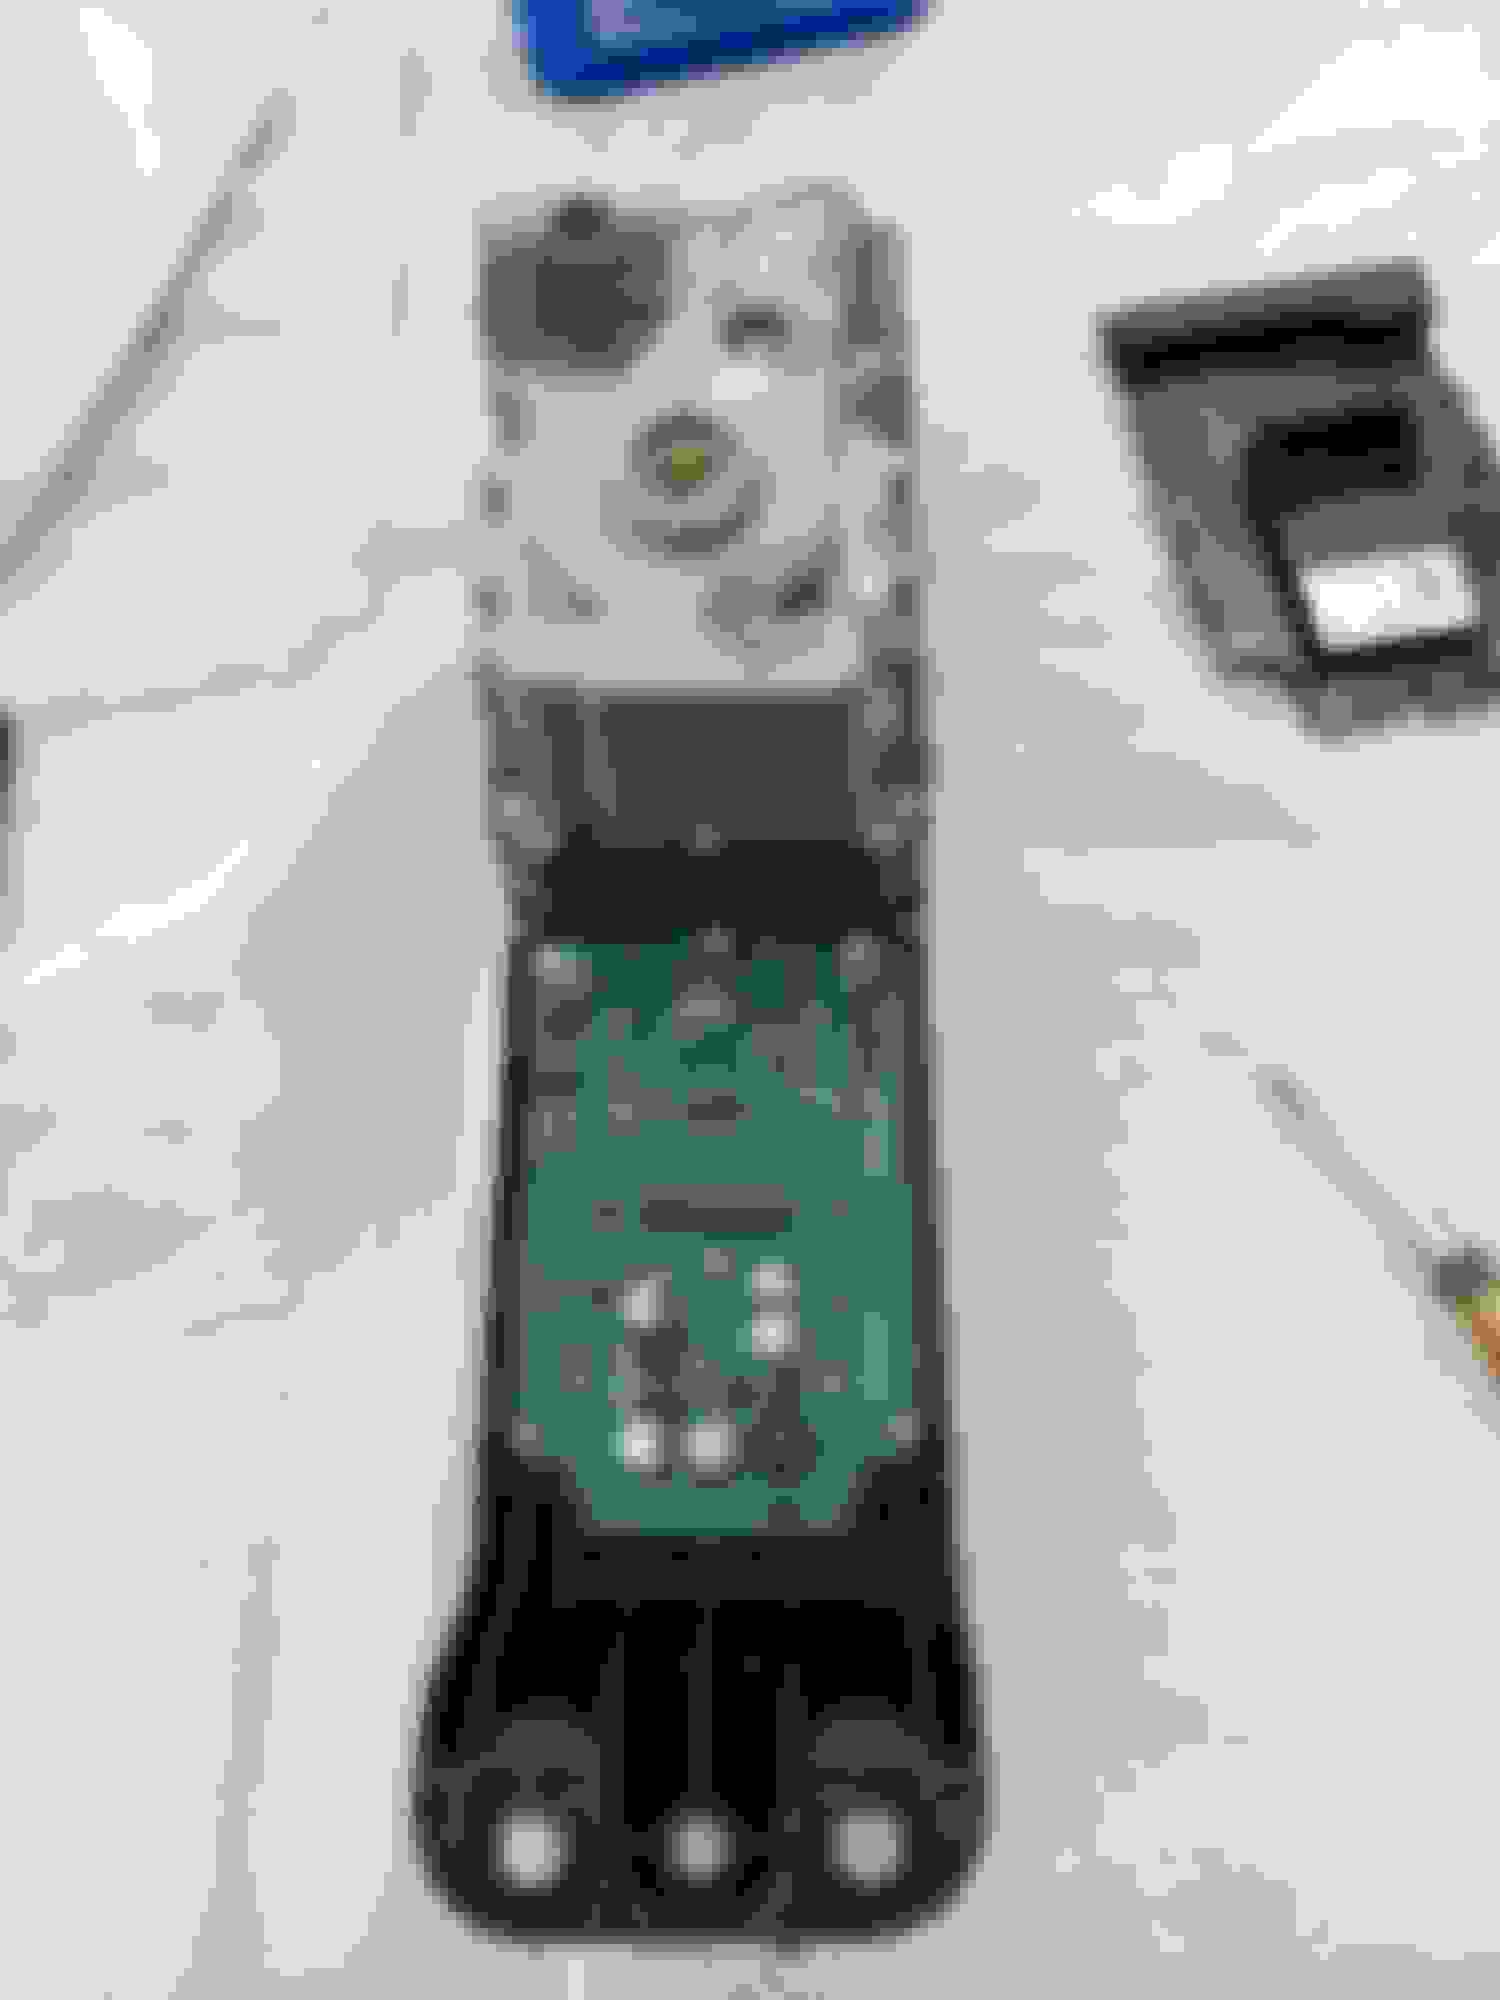
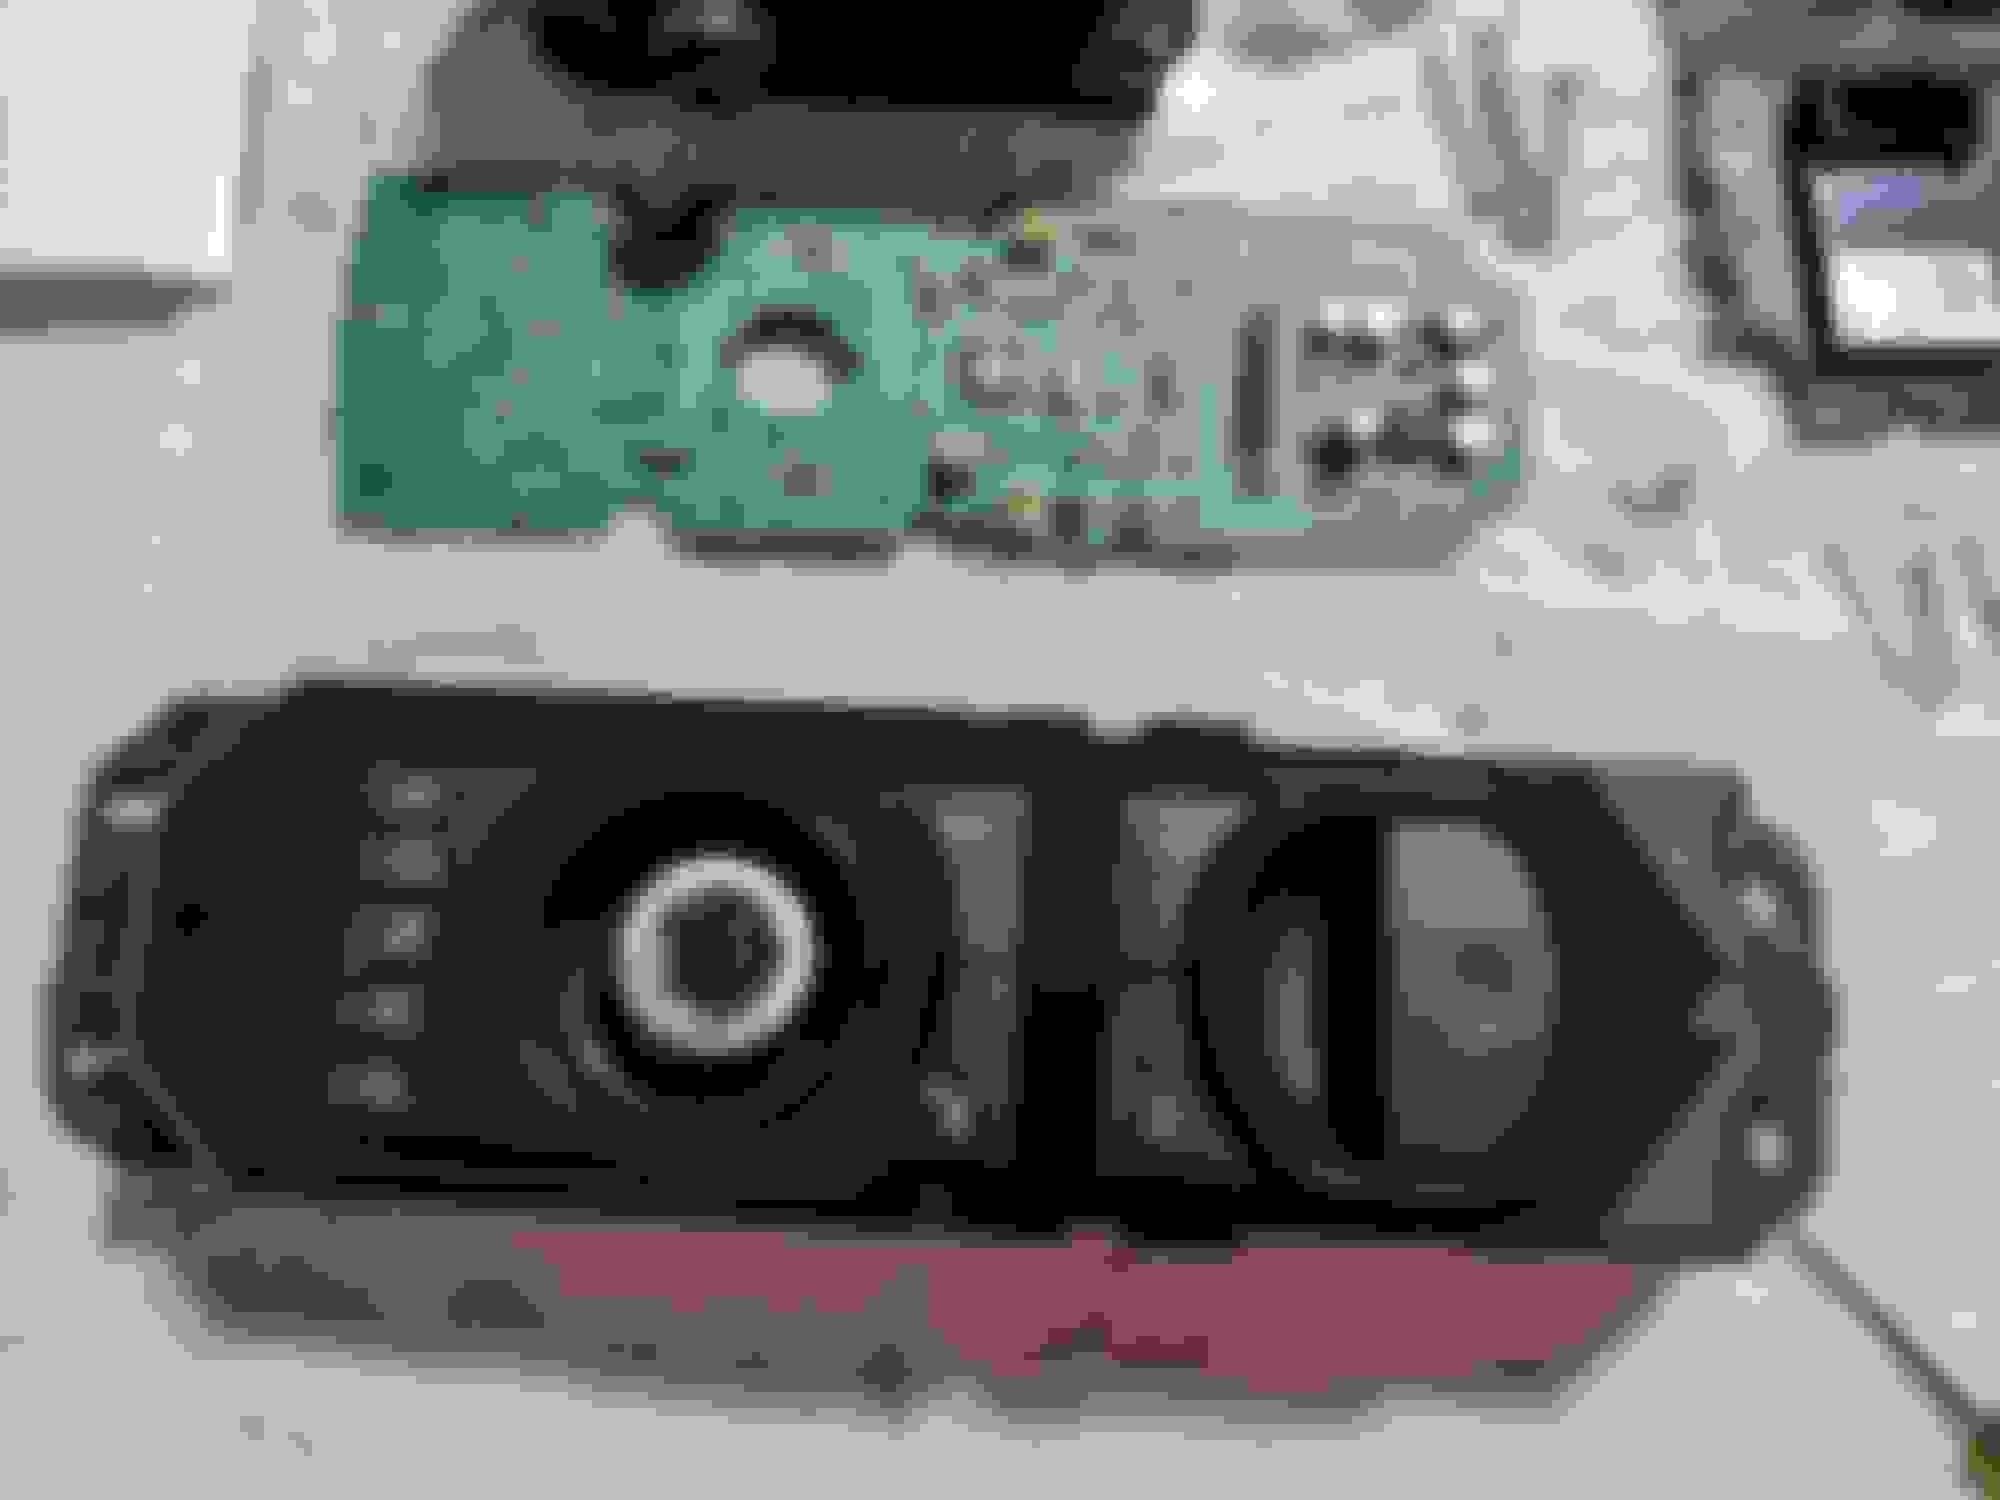
You can see remnants of the sticky buttons. In fact the buttons themselves are a mess. Will have to clean those up before reassembly. Going to order some new labels for the GSM that I saw online. Then this will come back apart someday to really address these.
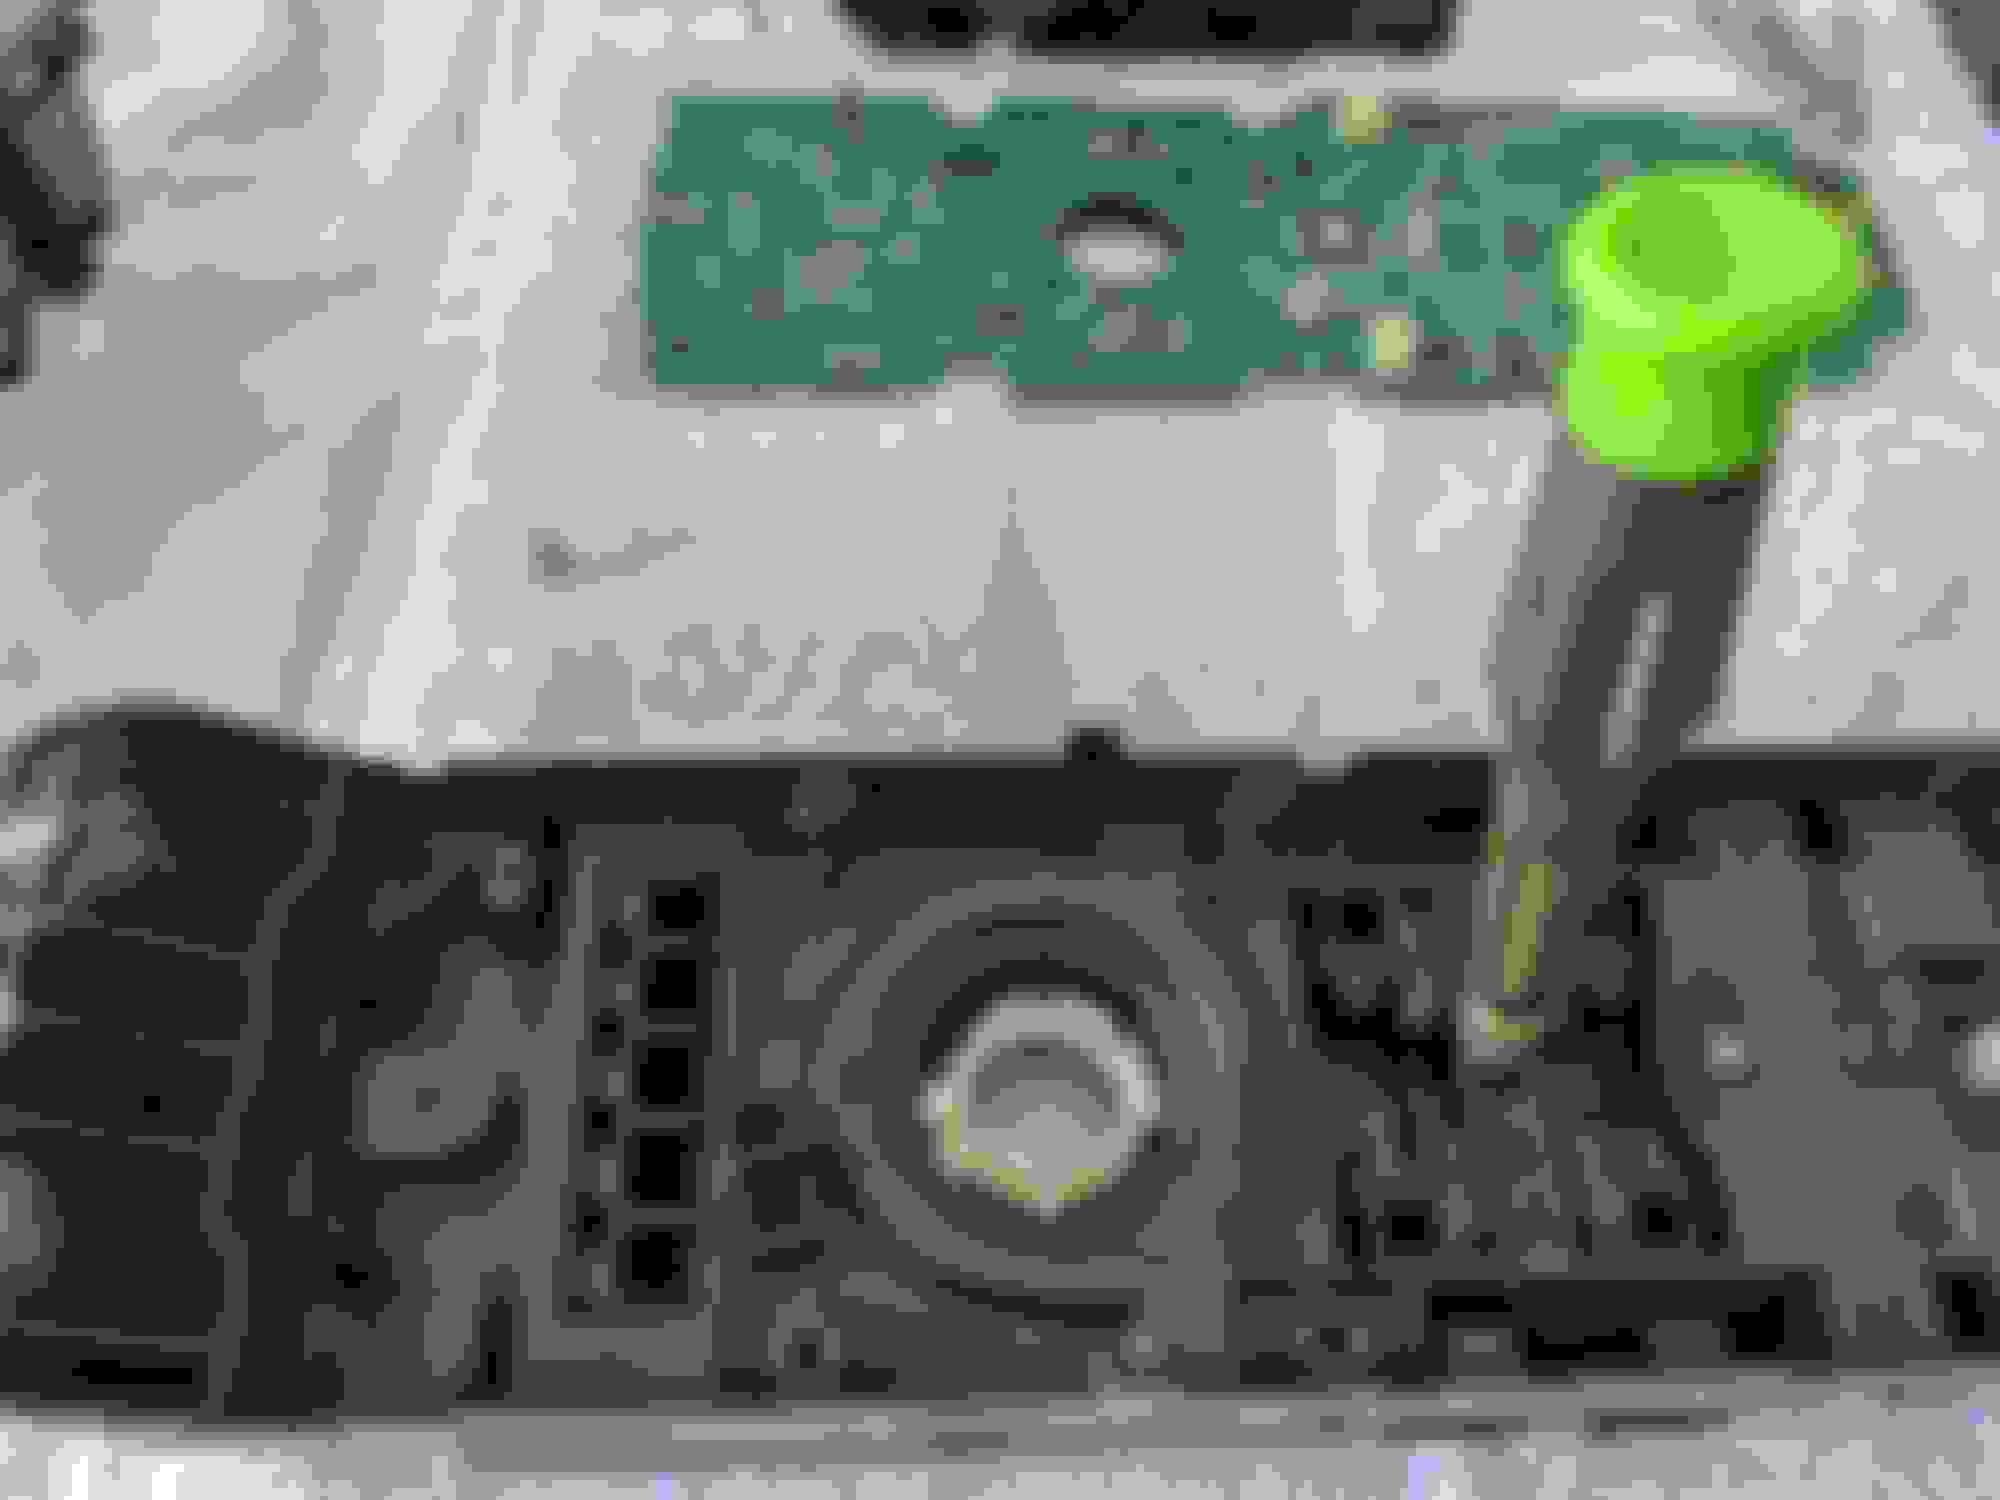
And here is where that 7th center screw is located.
Going to remove the E brake switch so we can wrap that too. Too much reflective surface to leave it. You can see the 3 T10 screws that need to be removed to loosen the switch assembly.
Careful of these little plastic bits that will fall out once the switch is loose.
Wrapping the switch handle is easy to do without taking the handle out. Debating about whether to cut out the spot for the lighted icon. Leaving it for now since I have a lot to do still. The color match is really good.
Popped that switch back in place. It is starting to come together well.
Time to go paint the top plate and the knob disc. The top plate is just too complex to wrap so going with
Before painting the top plate I removed the clear light pipes underneath. Worth noting there that if you paint the top cover you will lose the blue light lines that surround the two sections of the GSM. For me it was not even a consideration. I want the chrome gone at all costs.
Got the top plate and disc painted with several coats of the black. All the parts are now ready for reassembly.
A quick test fit confirms that yeah it is going to look okay in semi-gloss. You can see how bad the buttons are getting too.
A few minutes later it is all back together. The GSM is ready to go back into the car.
A final test fit and I am getting pretty happy with the results. Going to be a big difference.
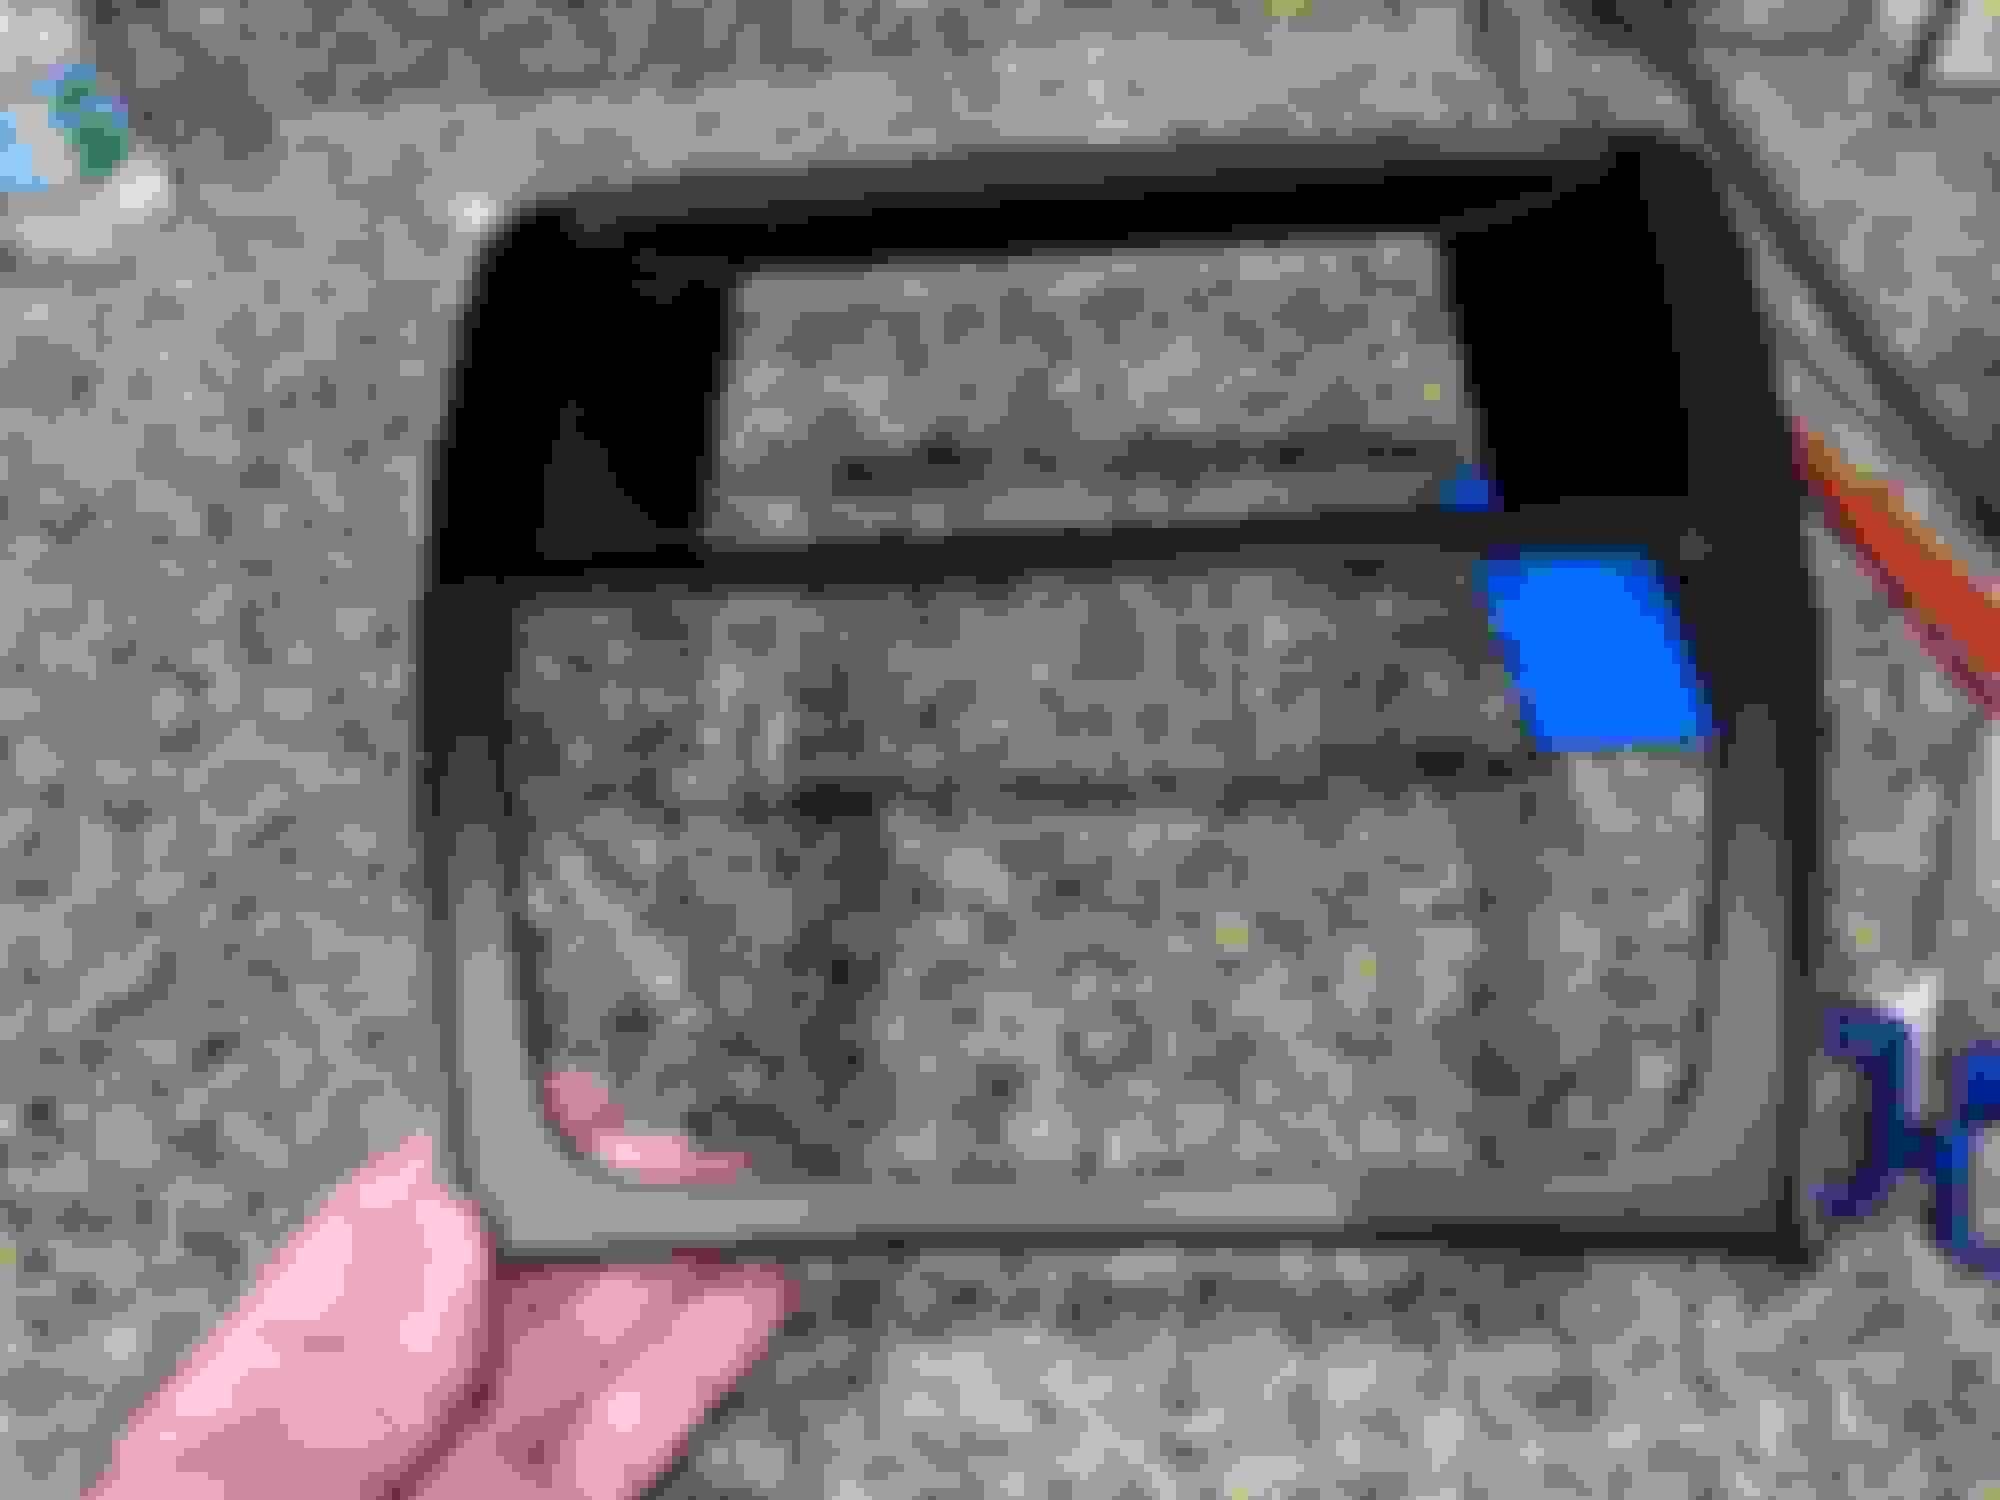
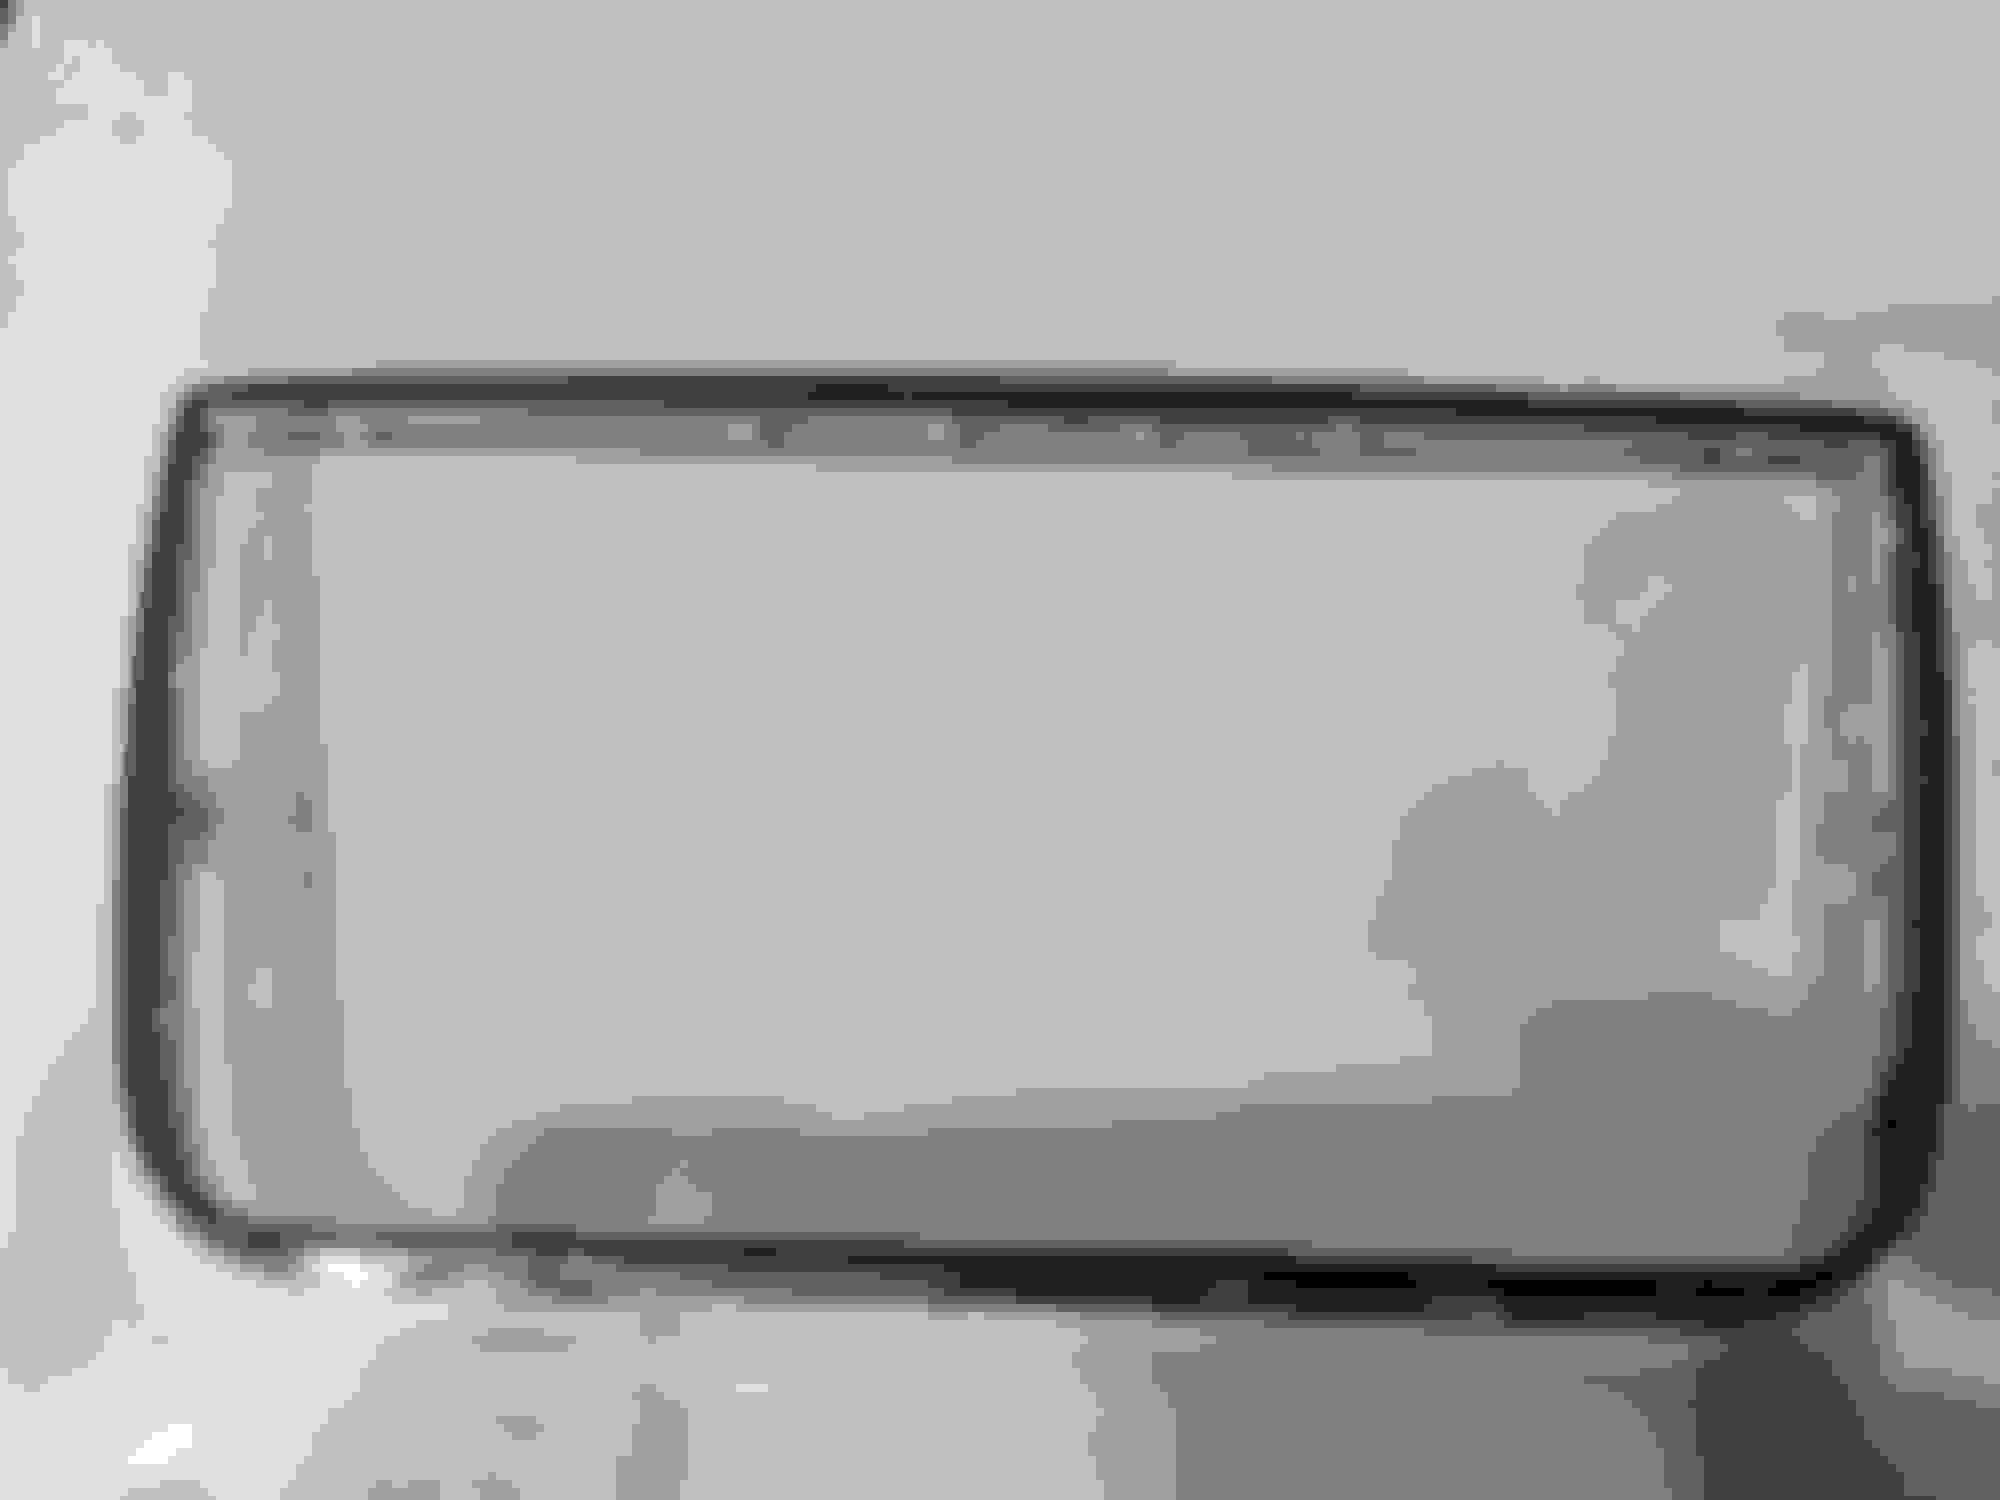
Time to move on to the upper bluing bezel. Going to wrap that one to match the console base.
I am including this pic as a "don't do what I did" warning. I did not leave enough vinyl at the top and it gave me trouble later. SO much so that I will likely redo this piece again now that I know what I am dealing with. Learning a lot about vinyl wrapping the hard way.
It took me several hours to wrap this piece. So many curves and edges to cut along. You have to really take your time and use a lot of heat in small areas.
But I got it almost. The top edge just doesn't have enough vinyl to go down into the channel like I want. Bummed but running out of time so it is going to have to be good enough for now.
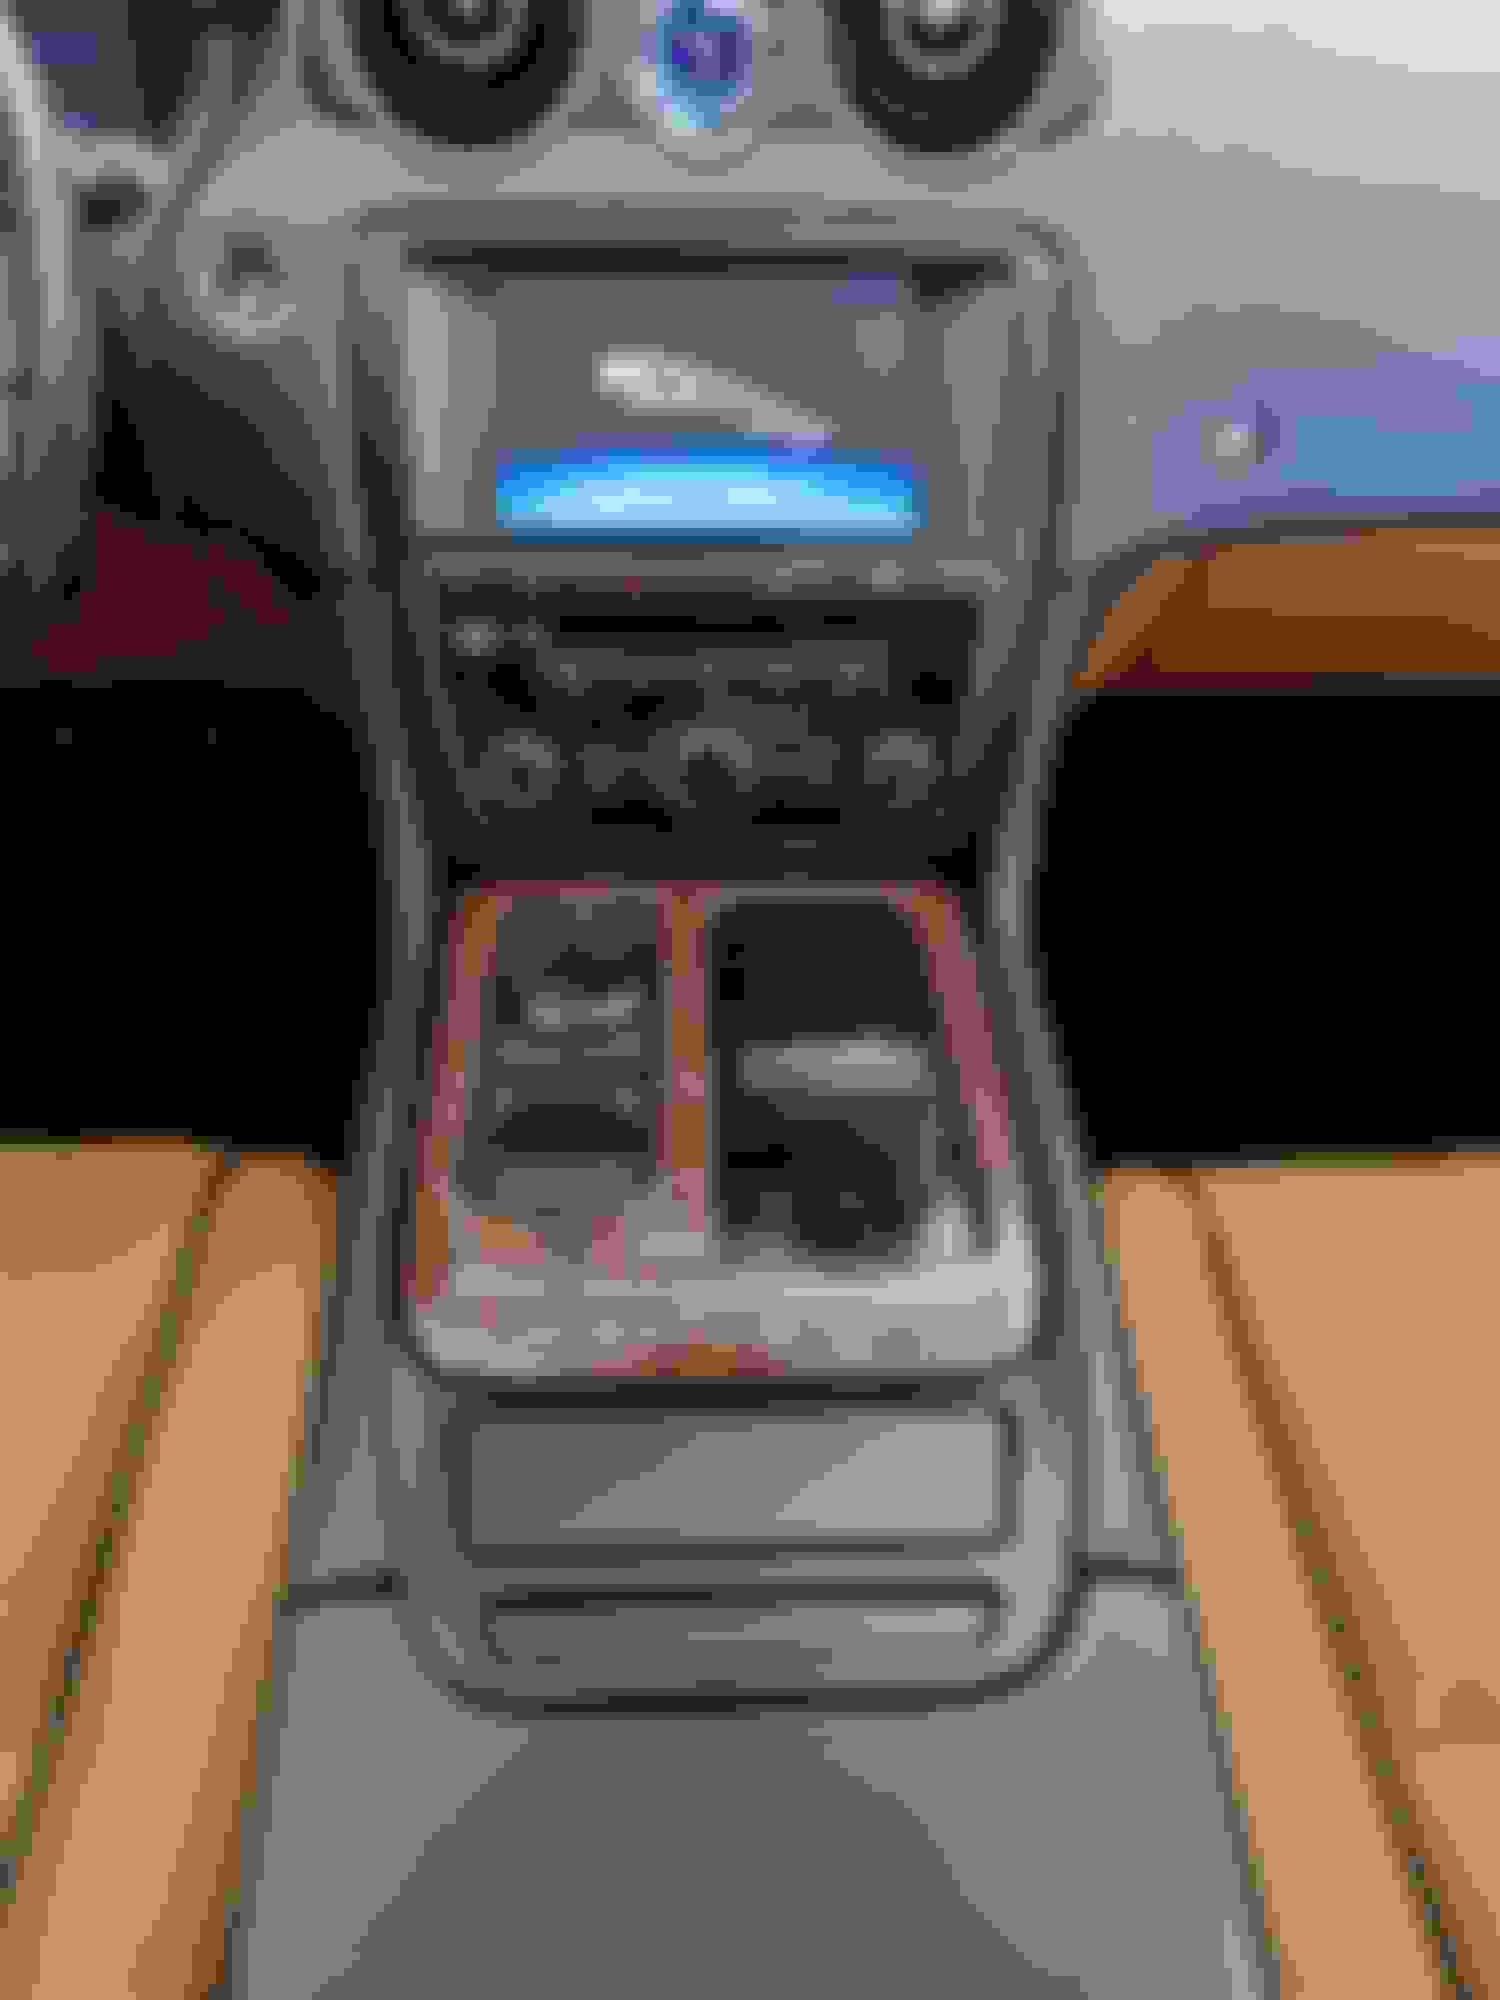
Back to the car to reinstall it all. First get the GSM remounted and then pop on the rest of the console base. Already looking good.
Popped the upper bezel back on and it is done!
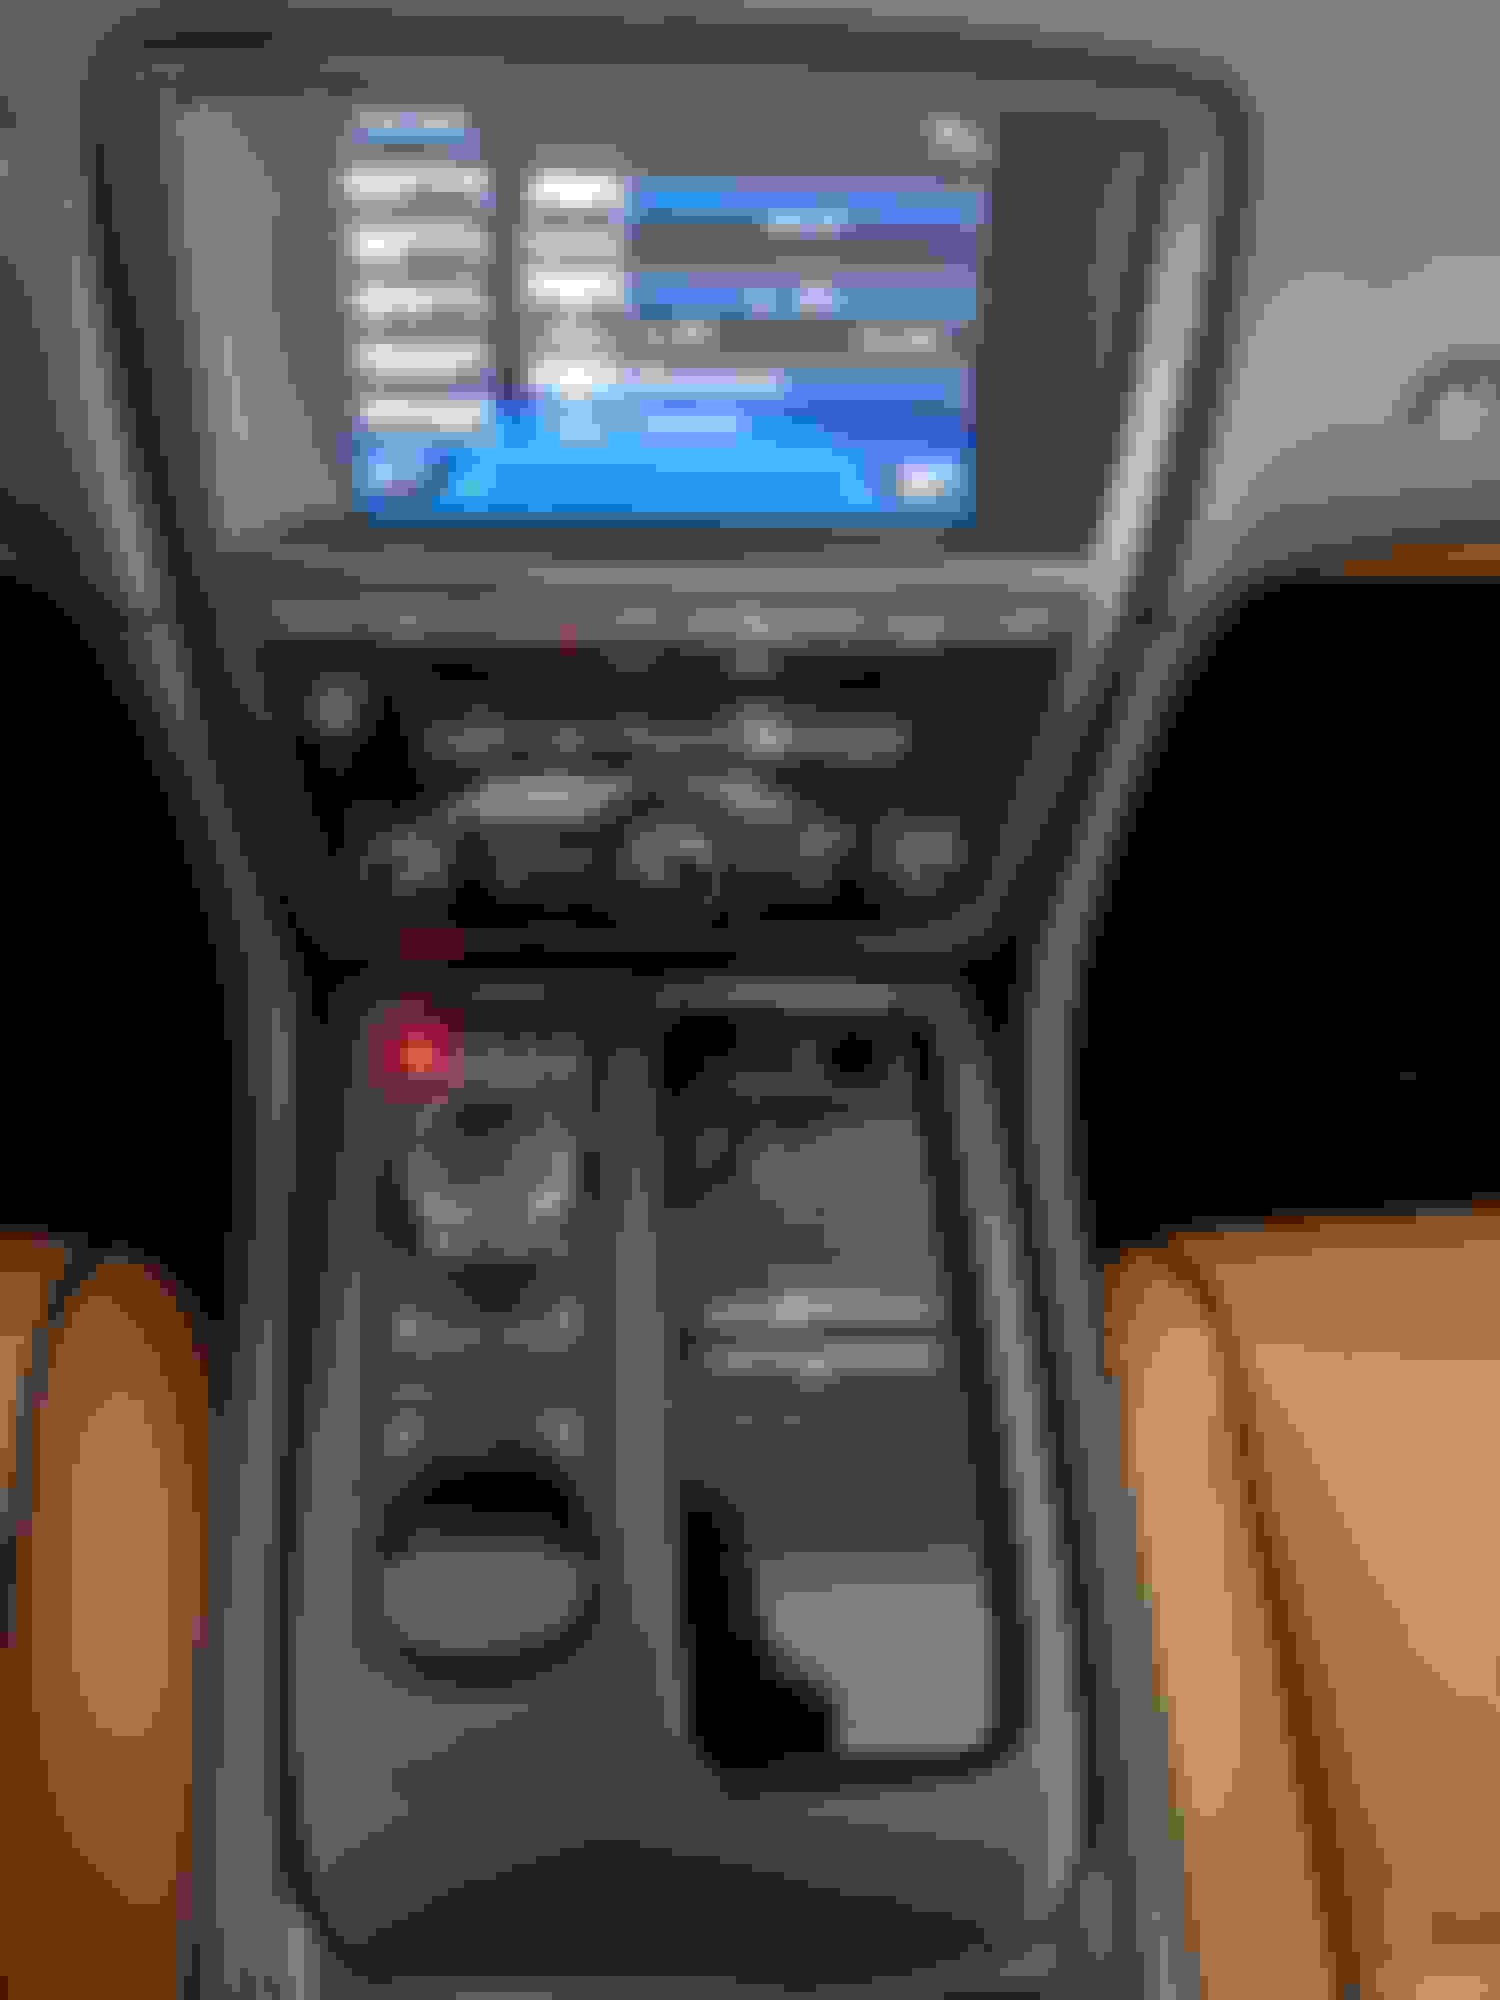
Now my car is how Jaguar should have done it originally. Way classy now. And no more blinding sun to deal with. And the car still works. I didn't bugger the GSM. Yay!
So this mod took a whole weekend to do. Maybe 12 hours total. Was not trivial but the results are worth it. I am really pleased with it all. May not be show quality but still looks way better.
I will take a pic in the dark later so we can see how much less blue accent light there is now. Not that it really matters to me though.
Now I am considering doing the chrome bezels on the A/C ducts. Those tend to catch the sun as well.
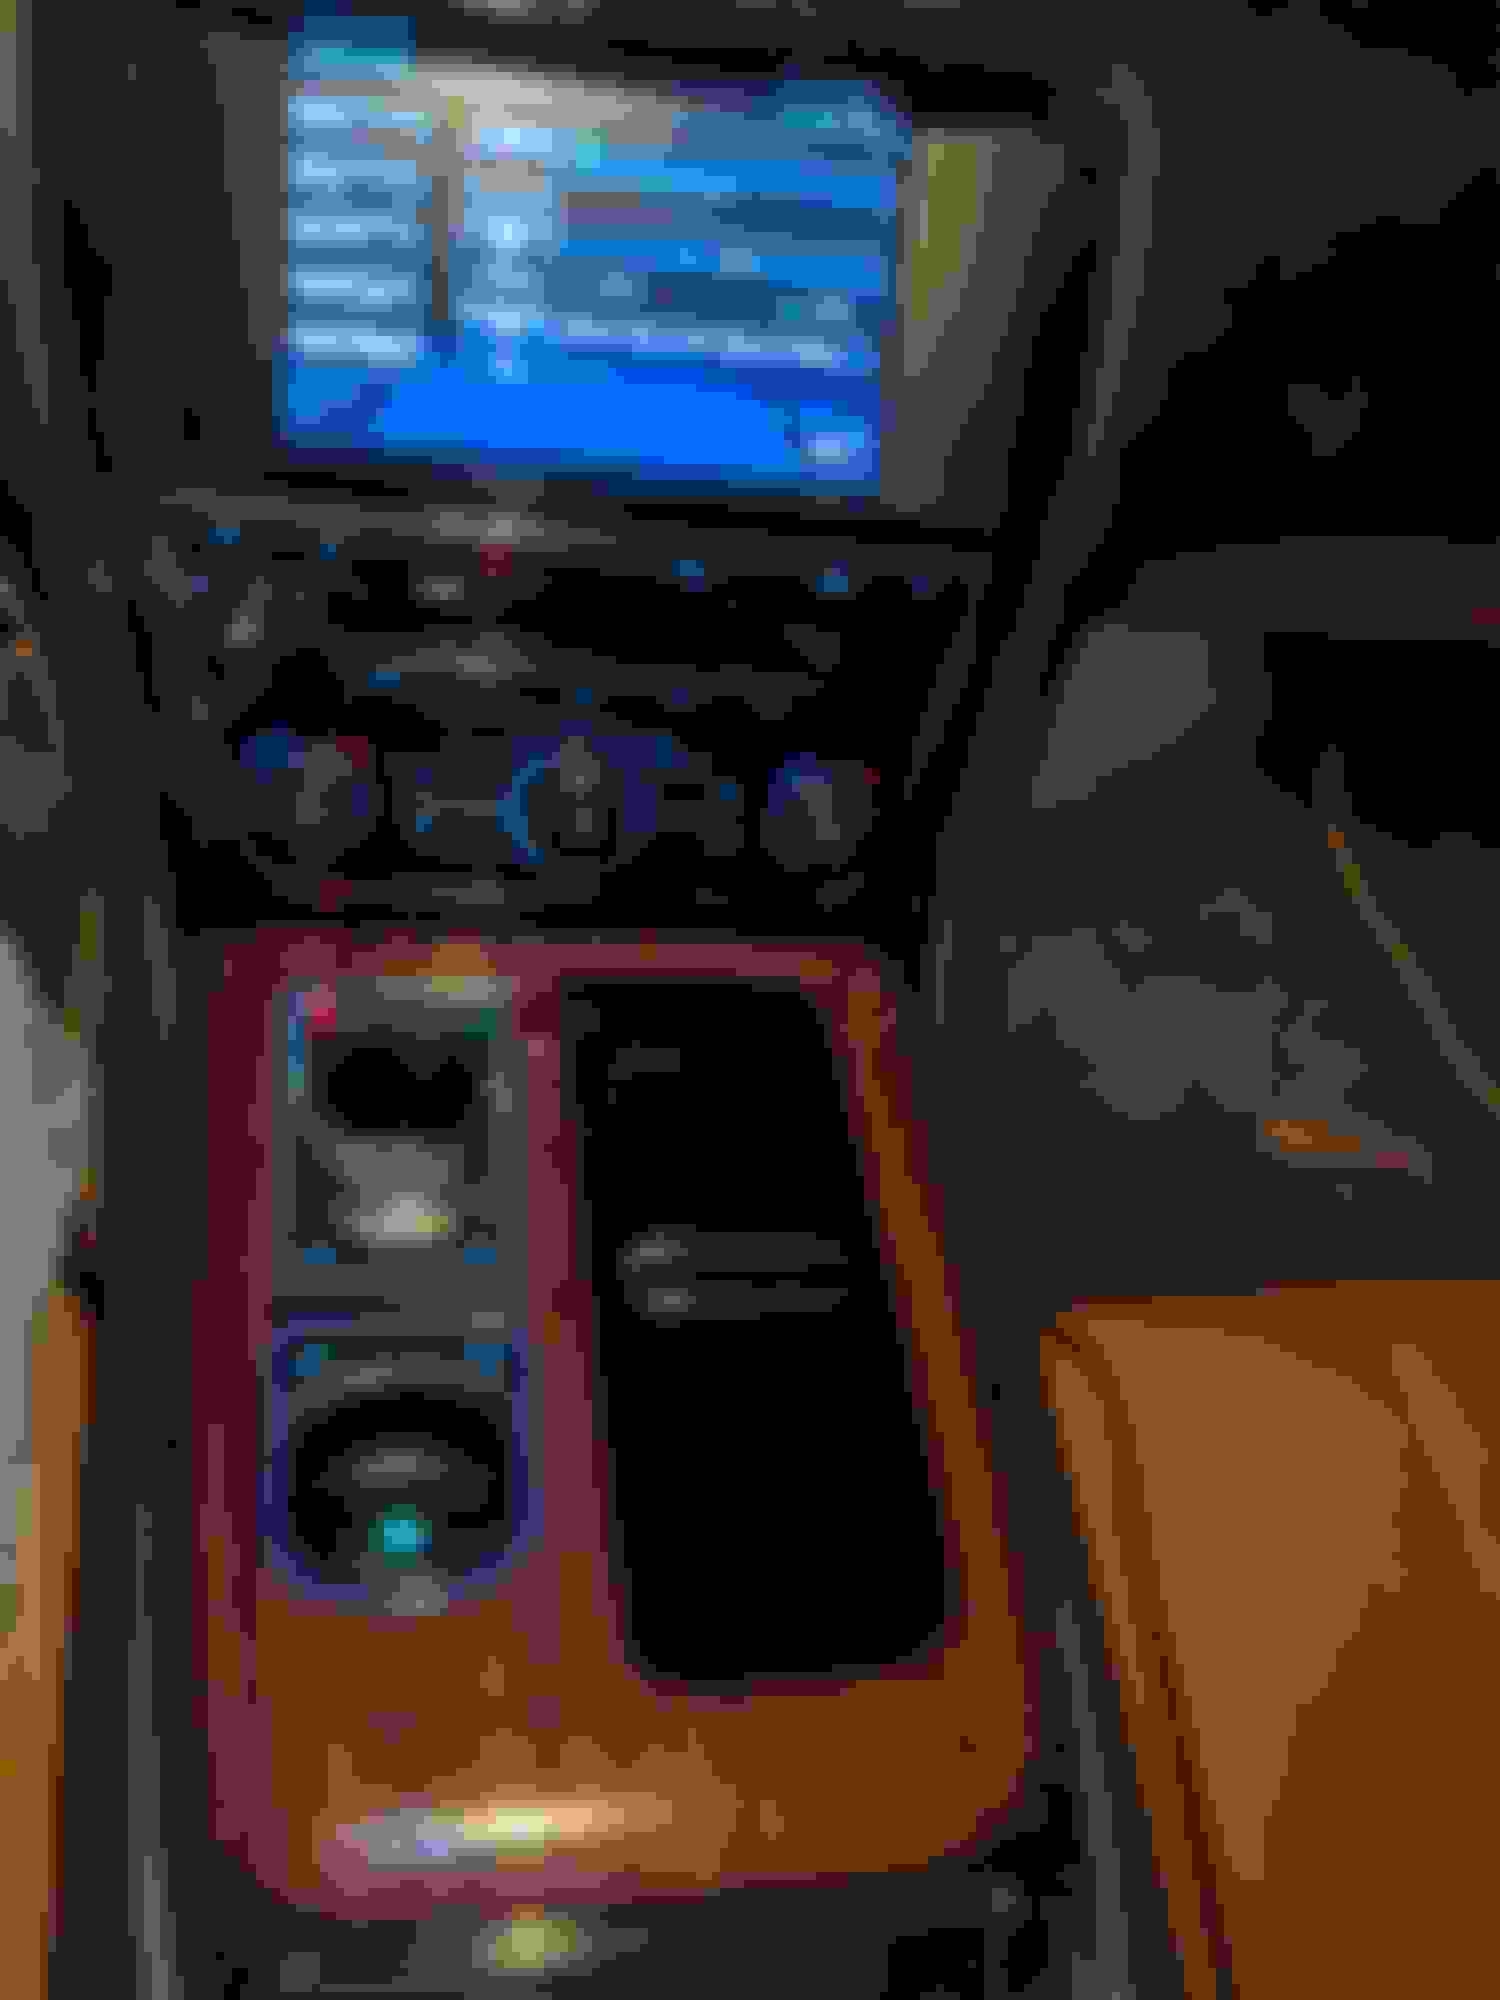
Took a few pics after dark to show the changes in the blue lighting. It still looks good. I do see a few things I can maybe improve next time I have it apart to really fix the sticky buttons.
That is seriously impressive. Nice work!! I have never worked with vinyl before.....is there any concern about durability of the vinyl? Do you see a scenario where you might scratch or rip it (keys being dropped on it etc.) or is it fairly durable?
Well done and thanks for sharing.
Cheers
Kevin
That is seriously impressive. Nice work!! I have never worked with vinyl before.....is there any concern about durability of the vinyl? Do you see a scenario where you might scratch or rip it (keys being dropped on it etc.) or is it fairly durable?
Well done and thanks for sharing.
Cheers
Kevin
The matte black vinyl wrap I used from VVivid is pretty good quality. I was able to scratch it with a screwdriver about as easily as I expect the chrome would have scratched. So I think its as durable as the original finish, but not more.
I had some time today so I went for round 2 of the blacking of the center console. The first effort went generally well but did not quite hit the mark I was going for.
I liked the wood wrapping on the center bezel but after a while I decided that it draws too much attention to the console. And it still is a bit reflective with the clear coat.
Plus the upper bezel around the touch screen turned out not so good and after a second attempt at that I decided that wrapping that piece is just too tricky for an amateur like me. Going to go with paint instead to match the wrapping I did pretty well on the lower console stuff.
So time to take it all apart again. Getting pretty good at it by now.
First I pulled out the upper bezel so I could paint it and let it dry in the sun. When I painted the parts in the shifter I user Dupli-Color engine enamel with ceramic. The result was a very durable finish. So I went with same type but in a matte finish that matches the black vinyl wrap pretty good. I sprayed the whole thing. Turned out amazing. Way better than my sh!tty wrapping job the first time.
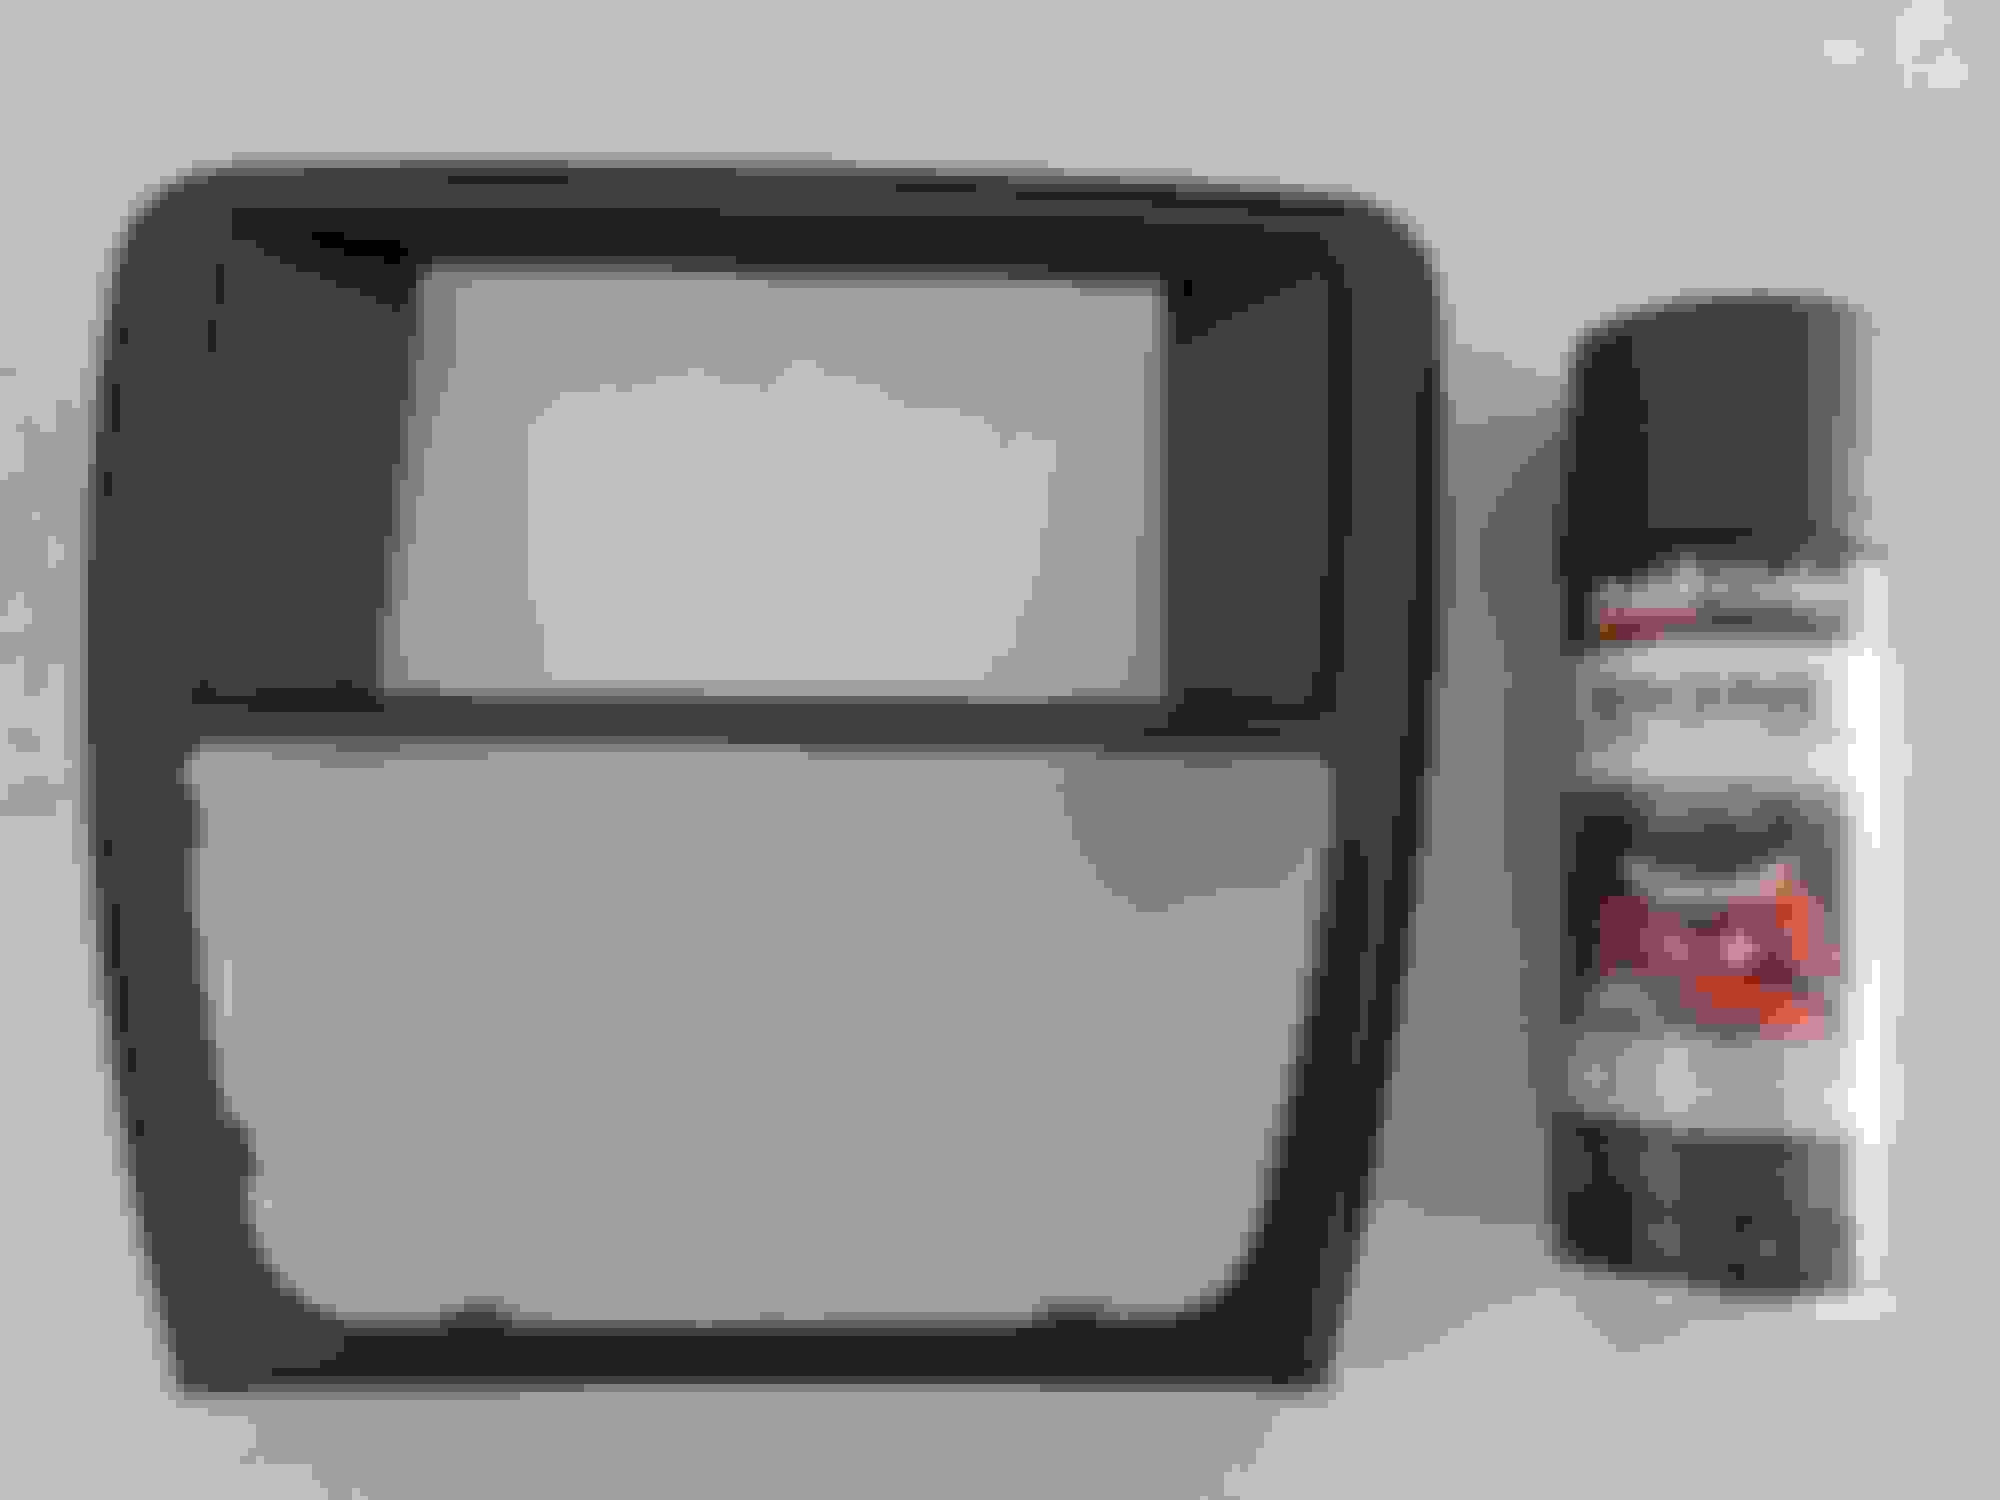
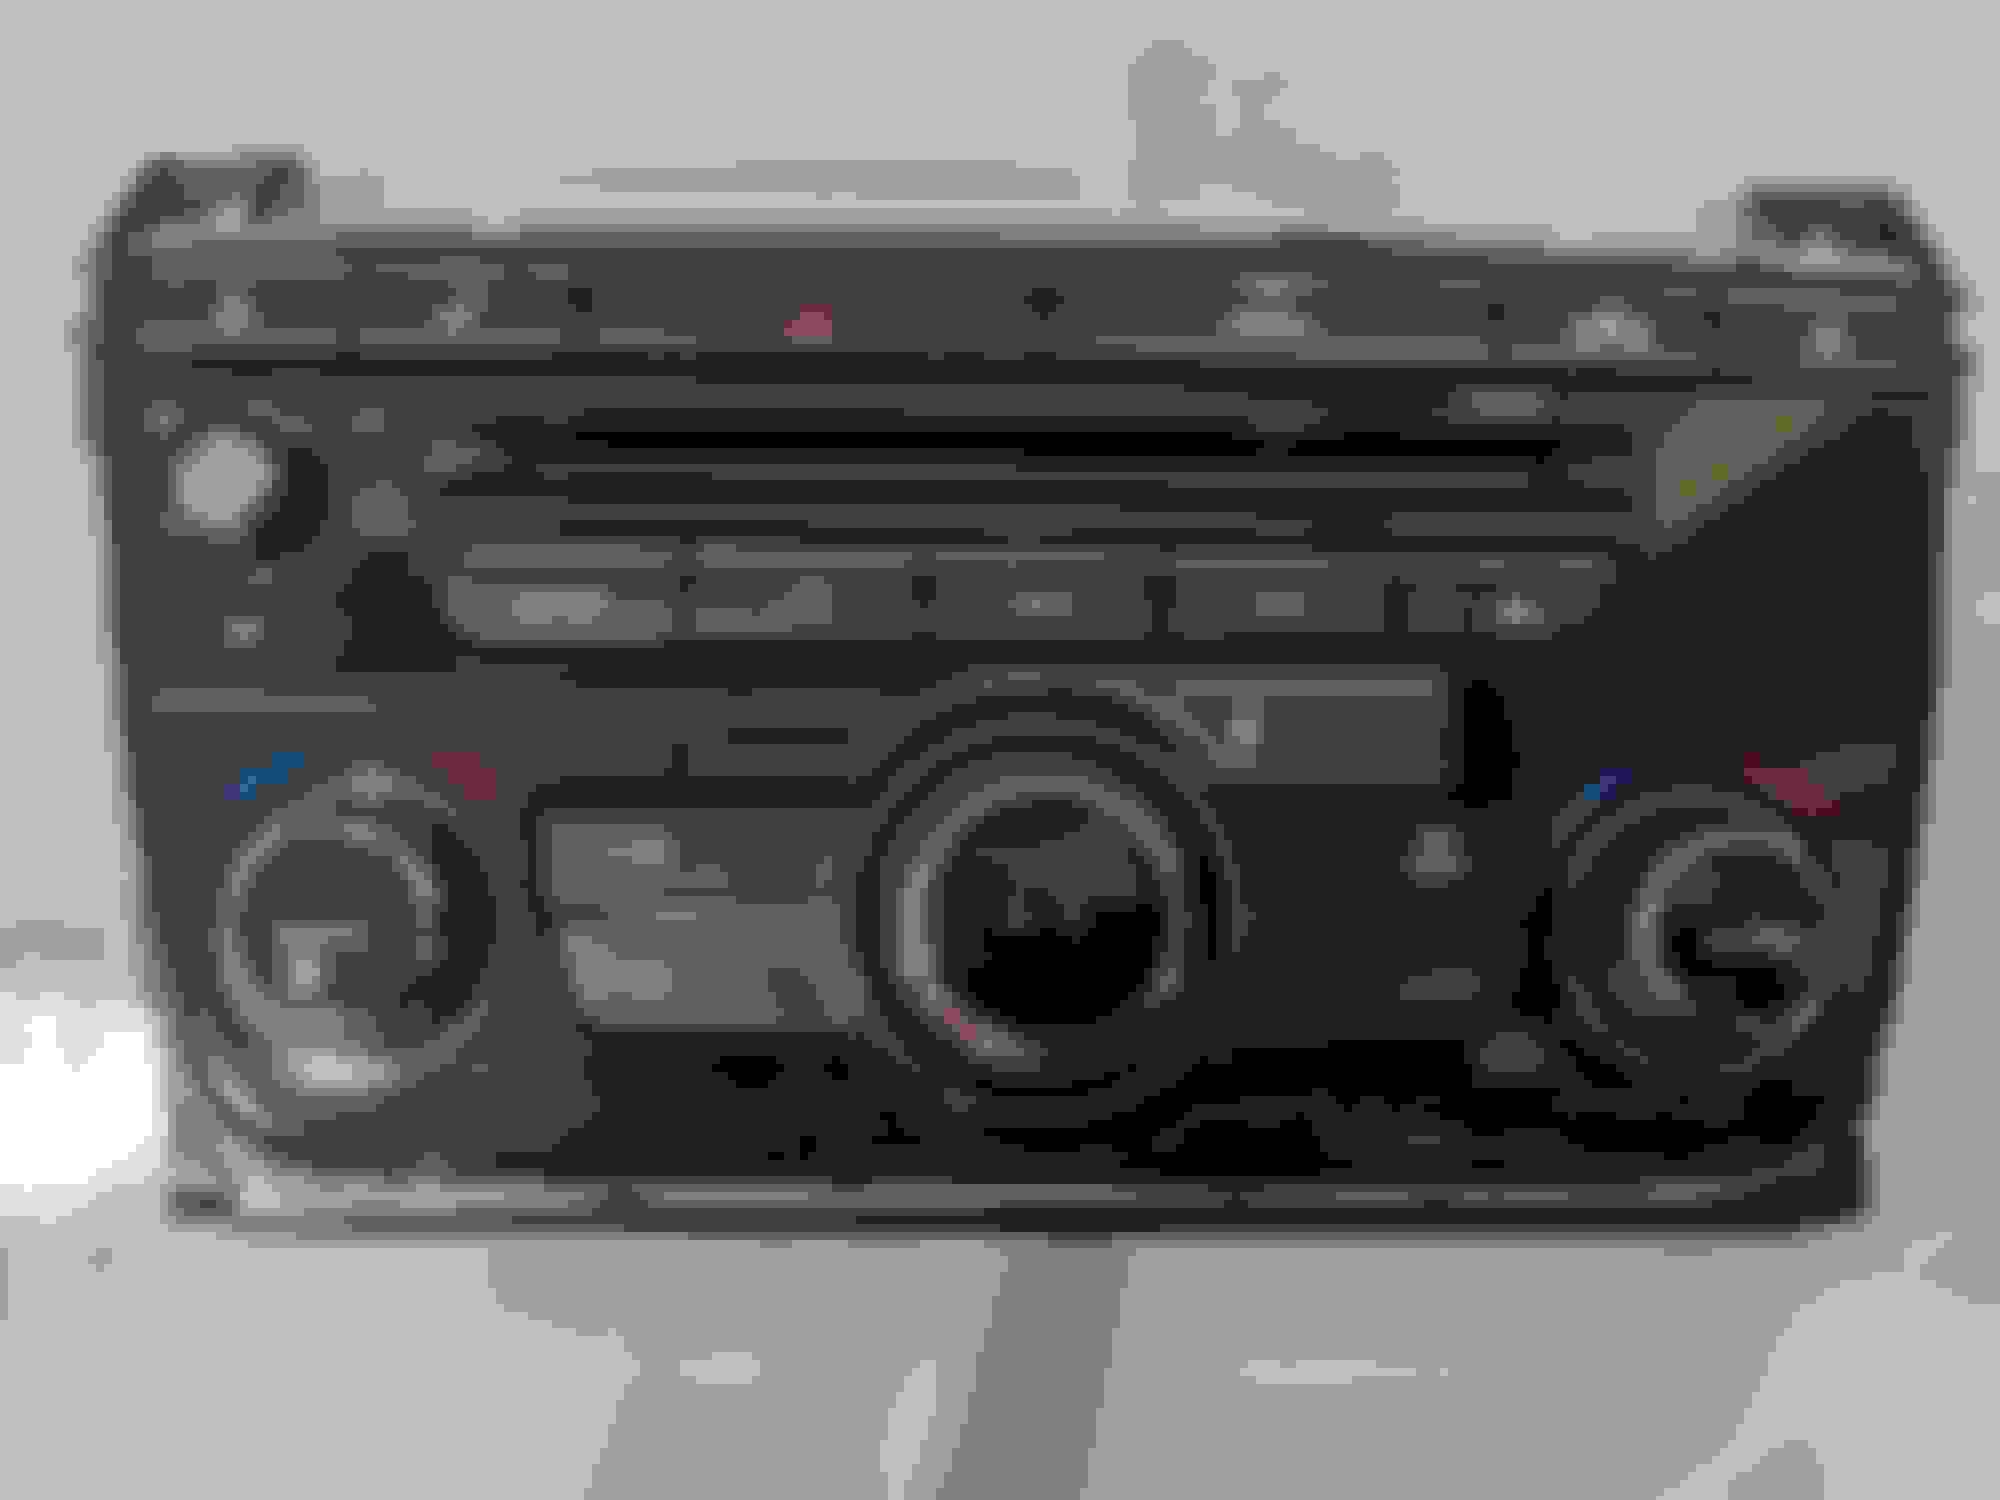
Since I needed to pull the climate control I decided to fix that ugly chrome trim ring. It just pops off with a small screw driver inserted into the 8 tabs.
I could just paint it but I had a small piece of the black vinyl left so I went with wrapping it. Figured it was good practice before I tackled the lower bezel to replace the wood grain.
Thirty minutes later it is done. Snapped it back on and looking good. Bye bye chrome ring.
A quick test fit to confirm I like it. Yep keeping this change.
On to the lower bezel. I really like the black vinyl from Vvivid. This stuff is so easy to work with.
Took me about an hour to do this piece. Turned out awesome.
All the parts are reassembled and ready to go back into the car. Going to look really good I think in all black.
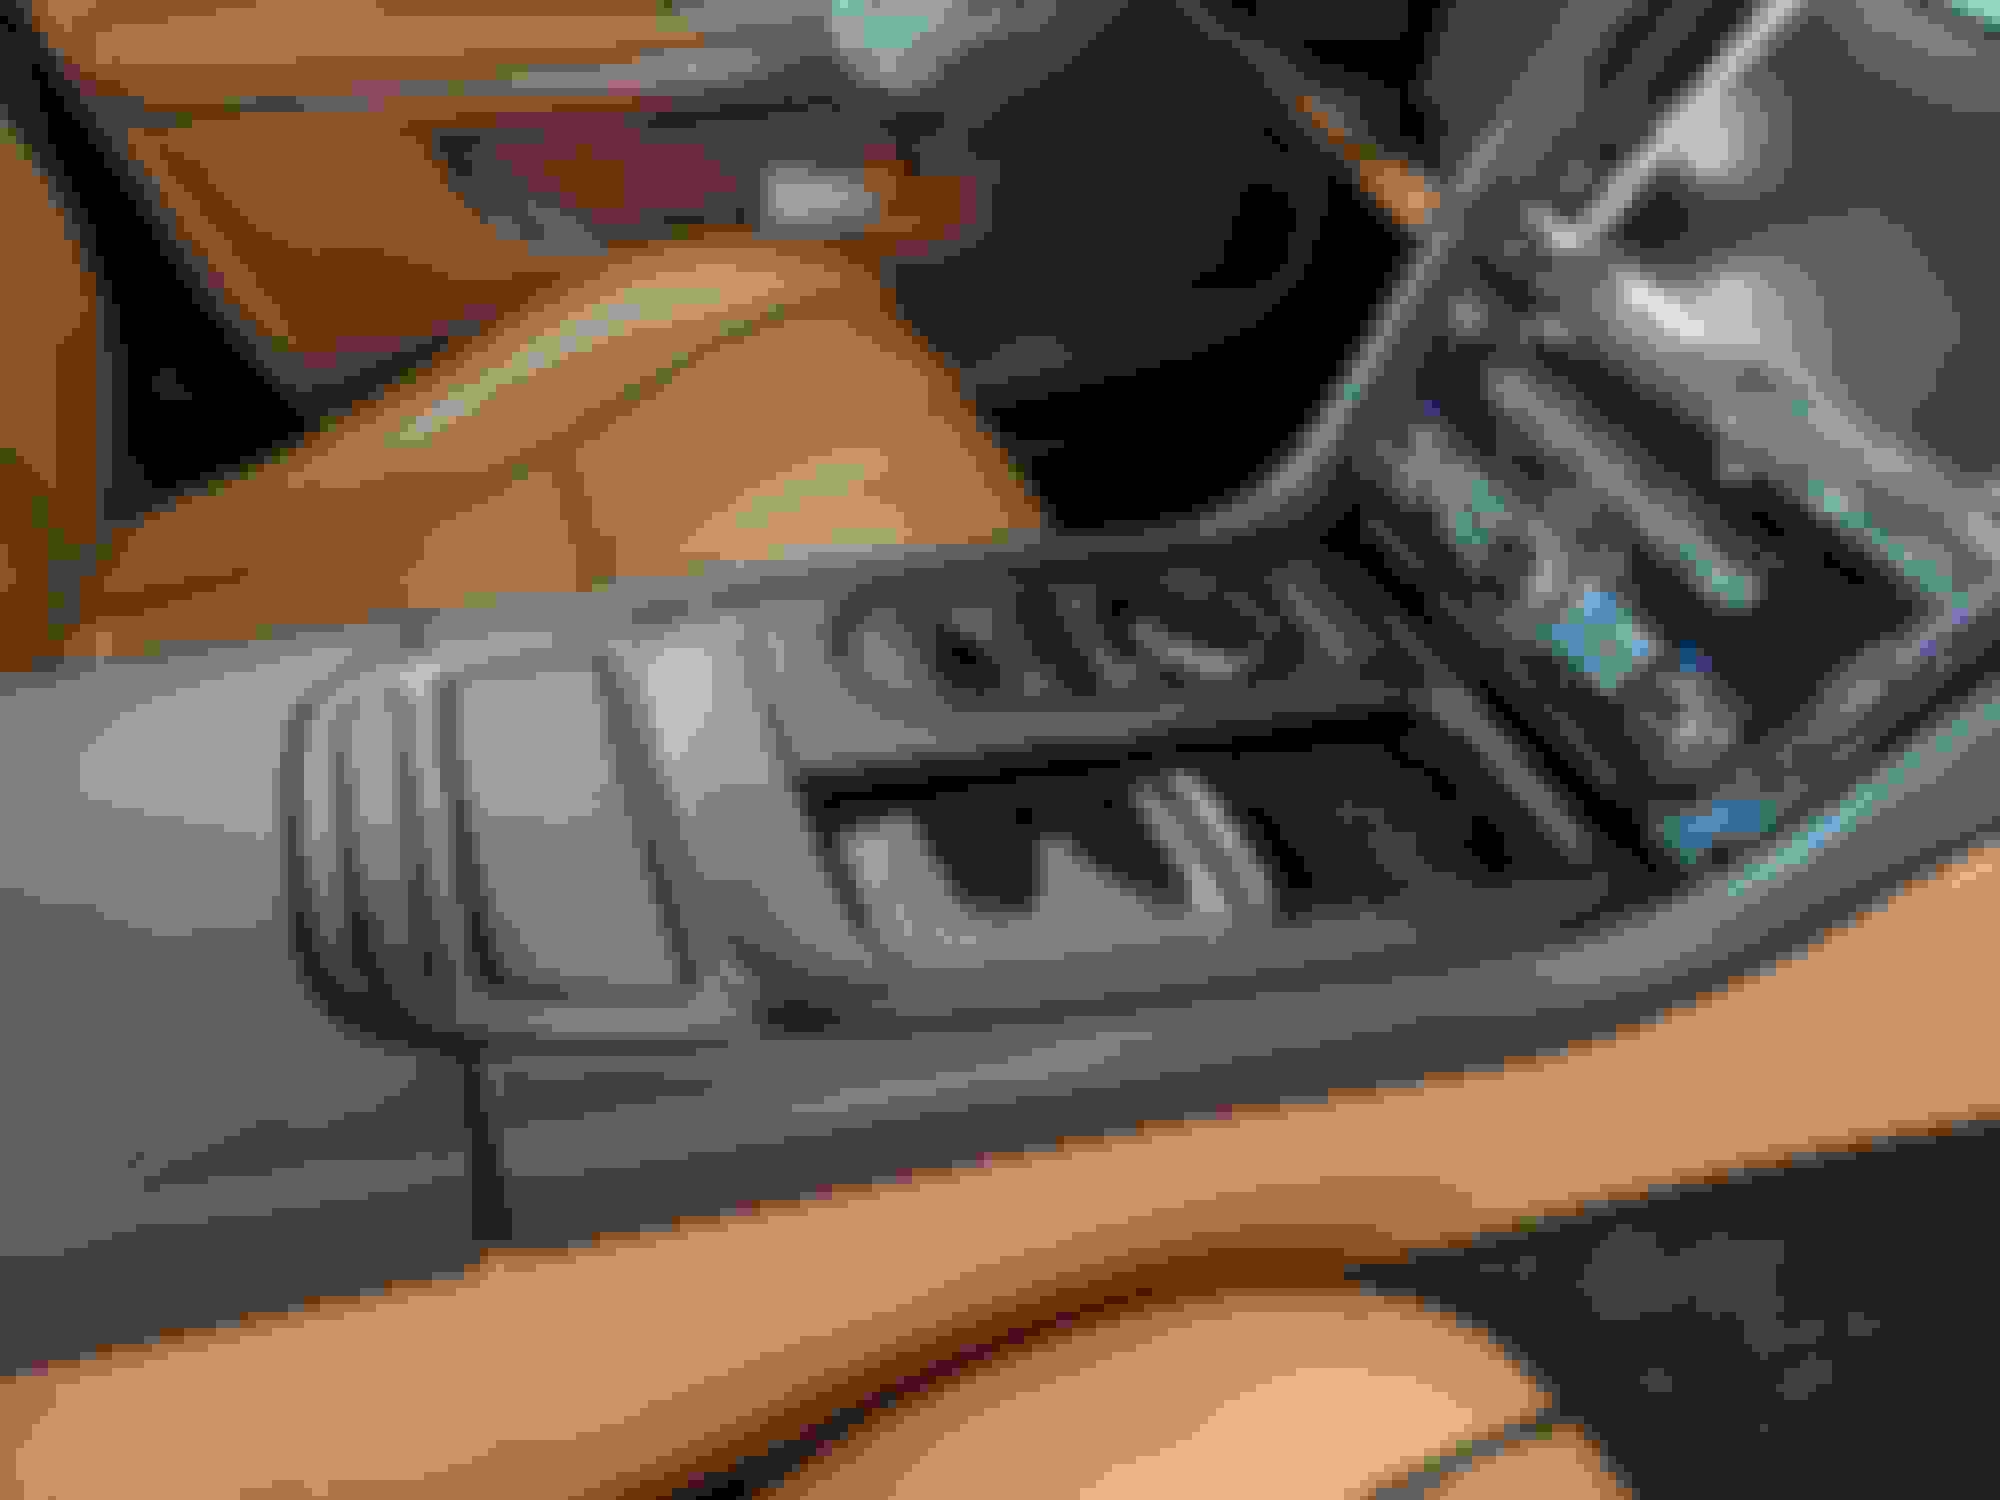
Popped the lower stuff back into place. Getting excited now.
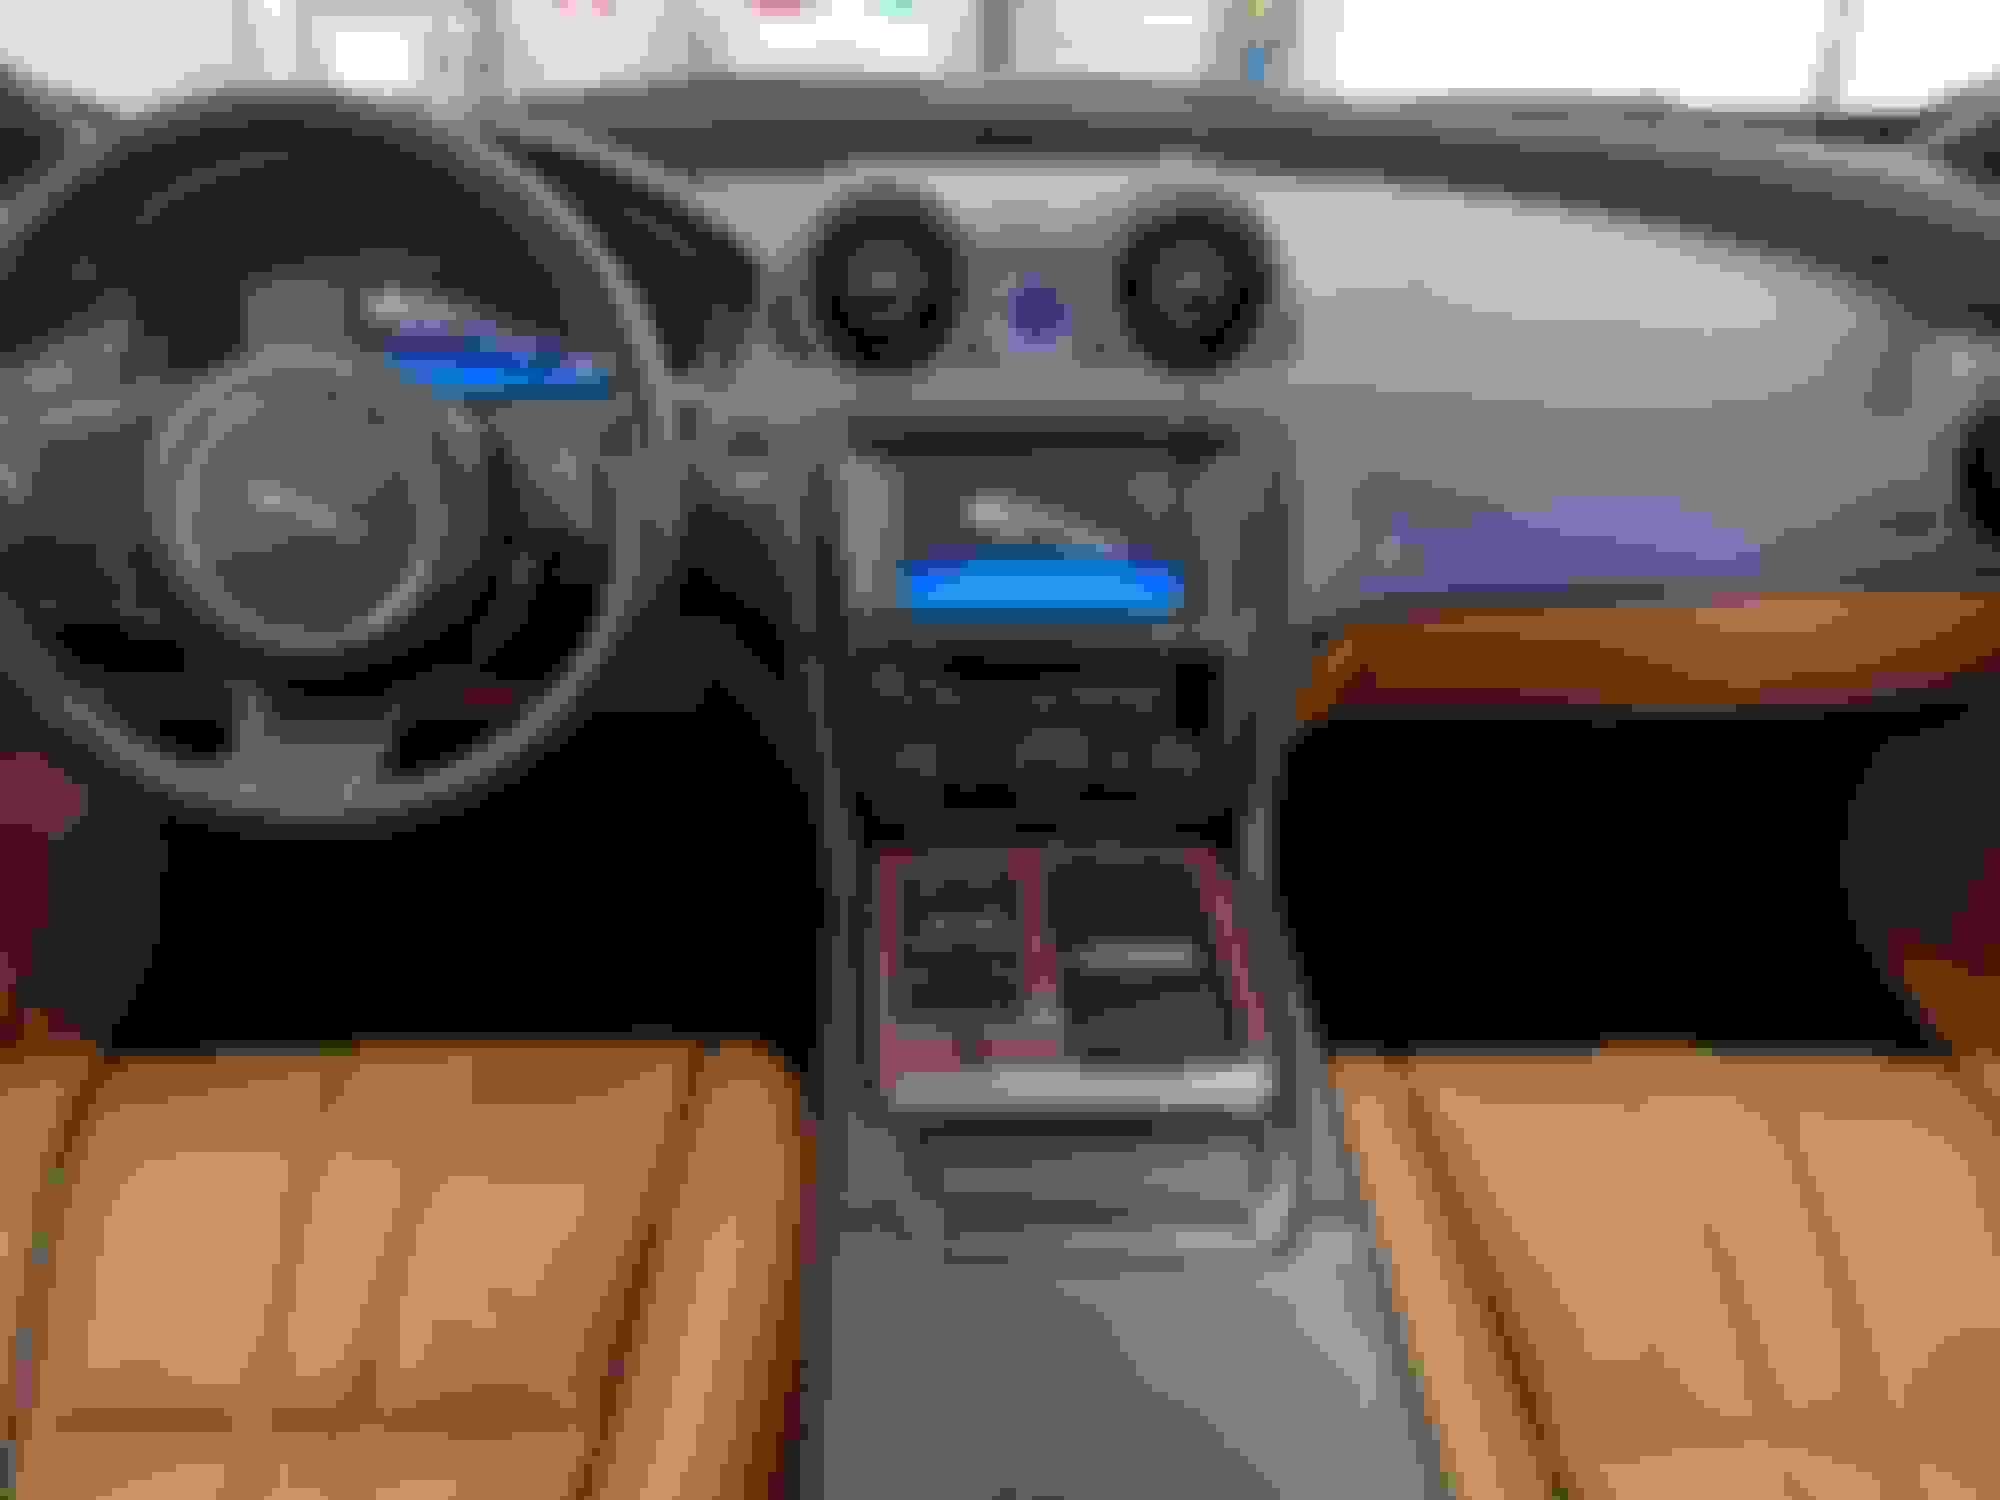
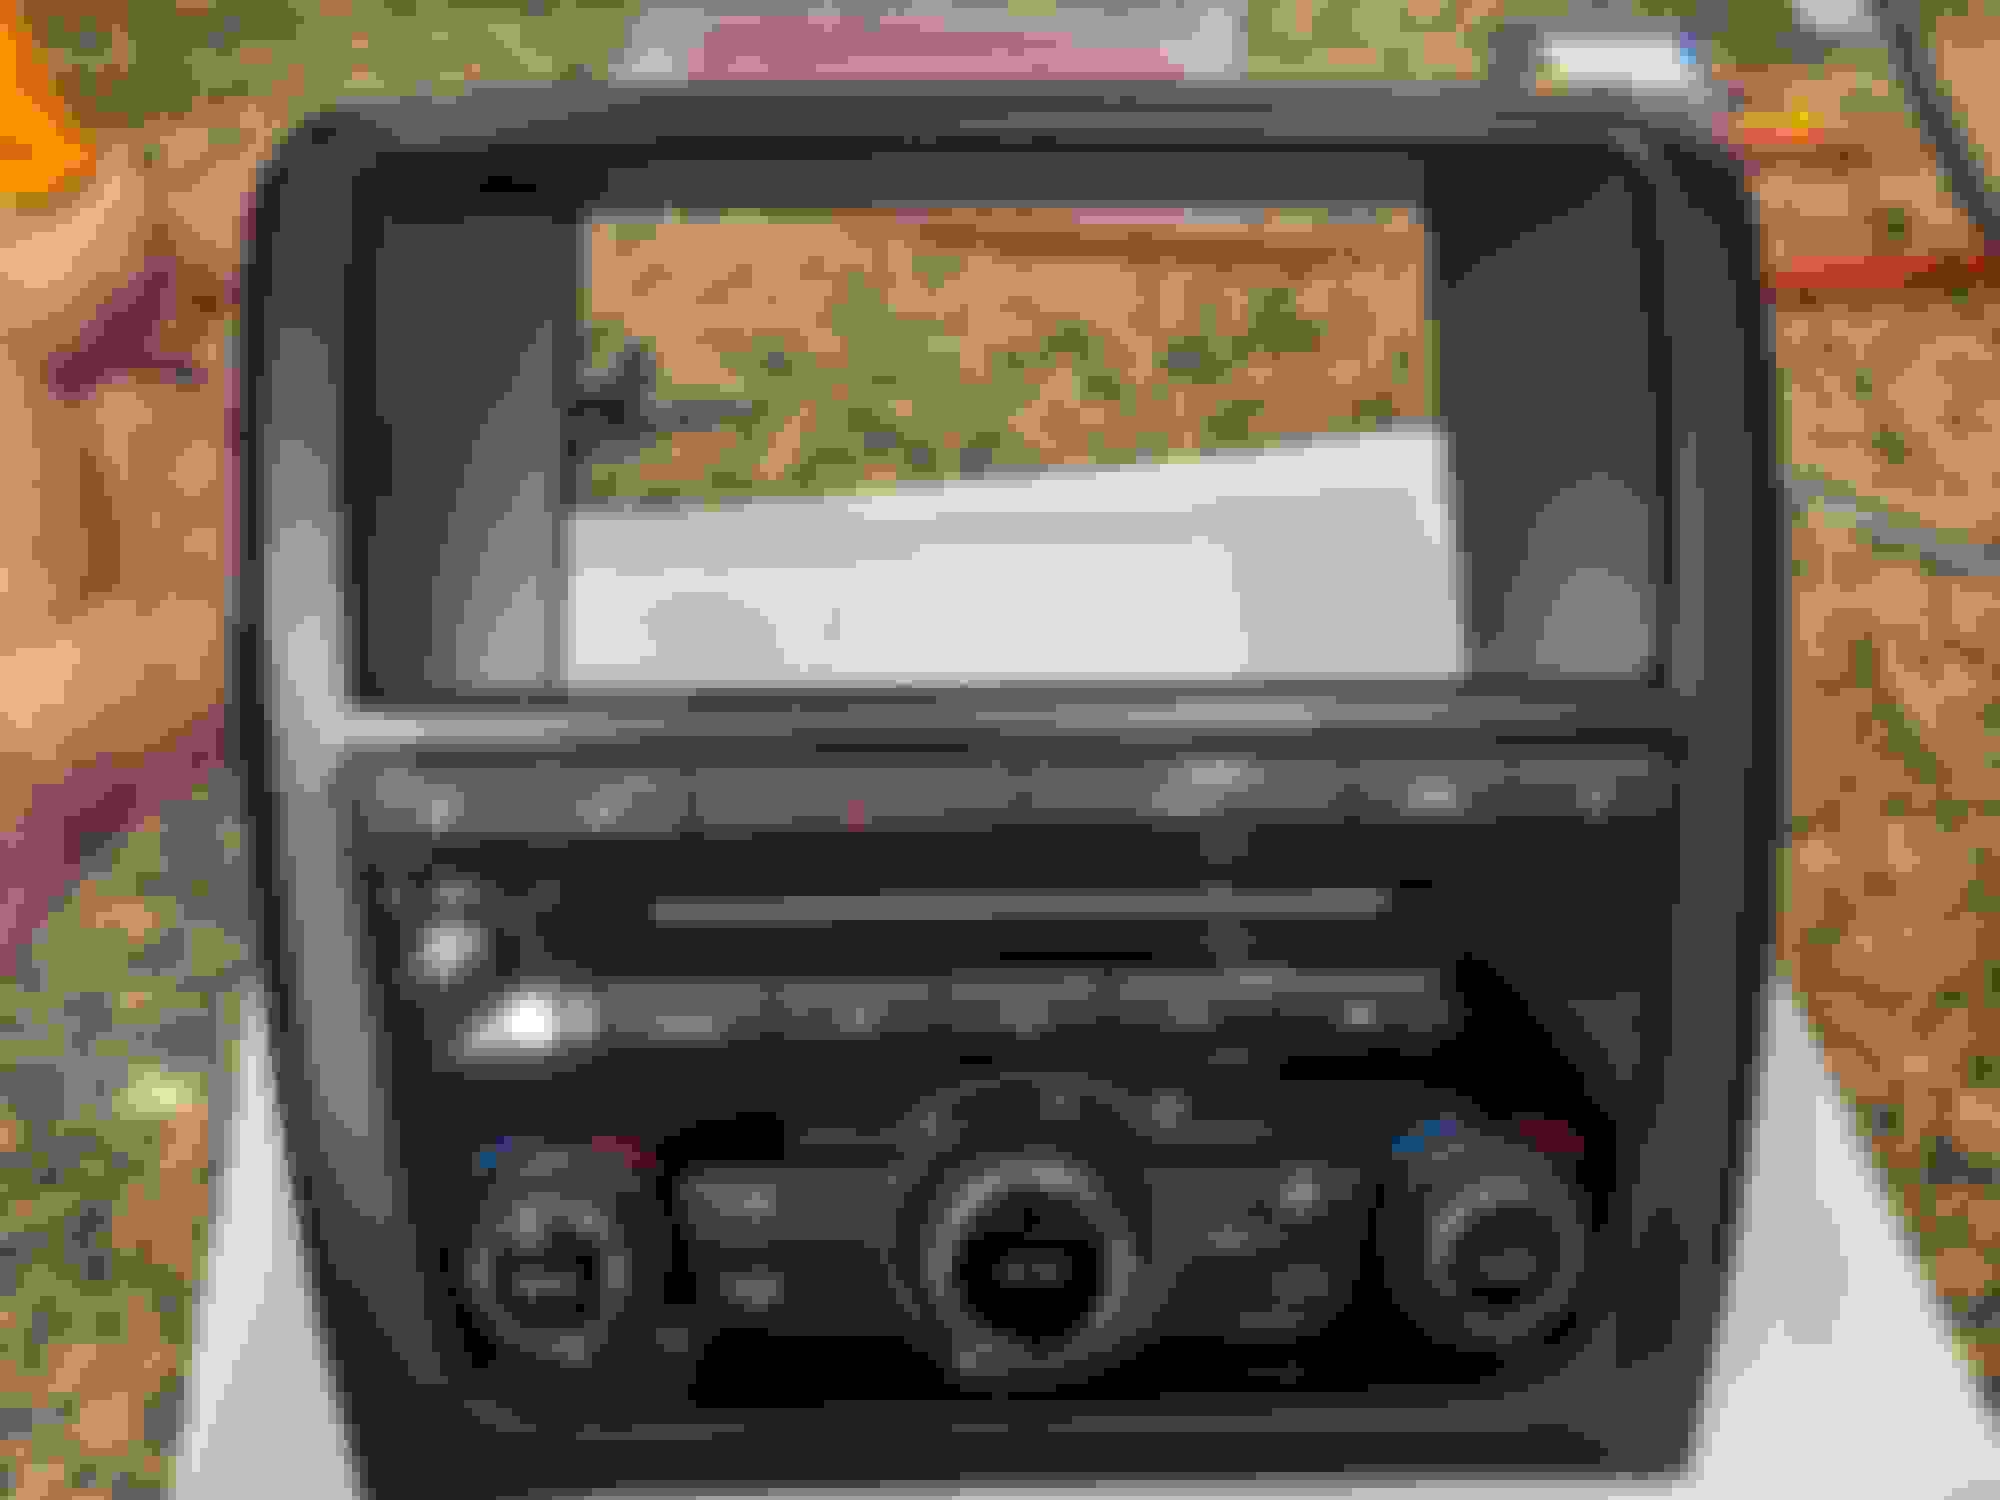
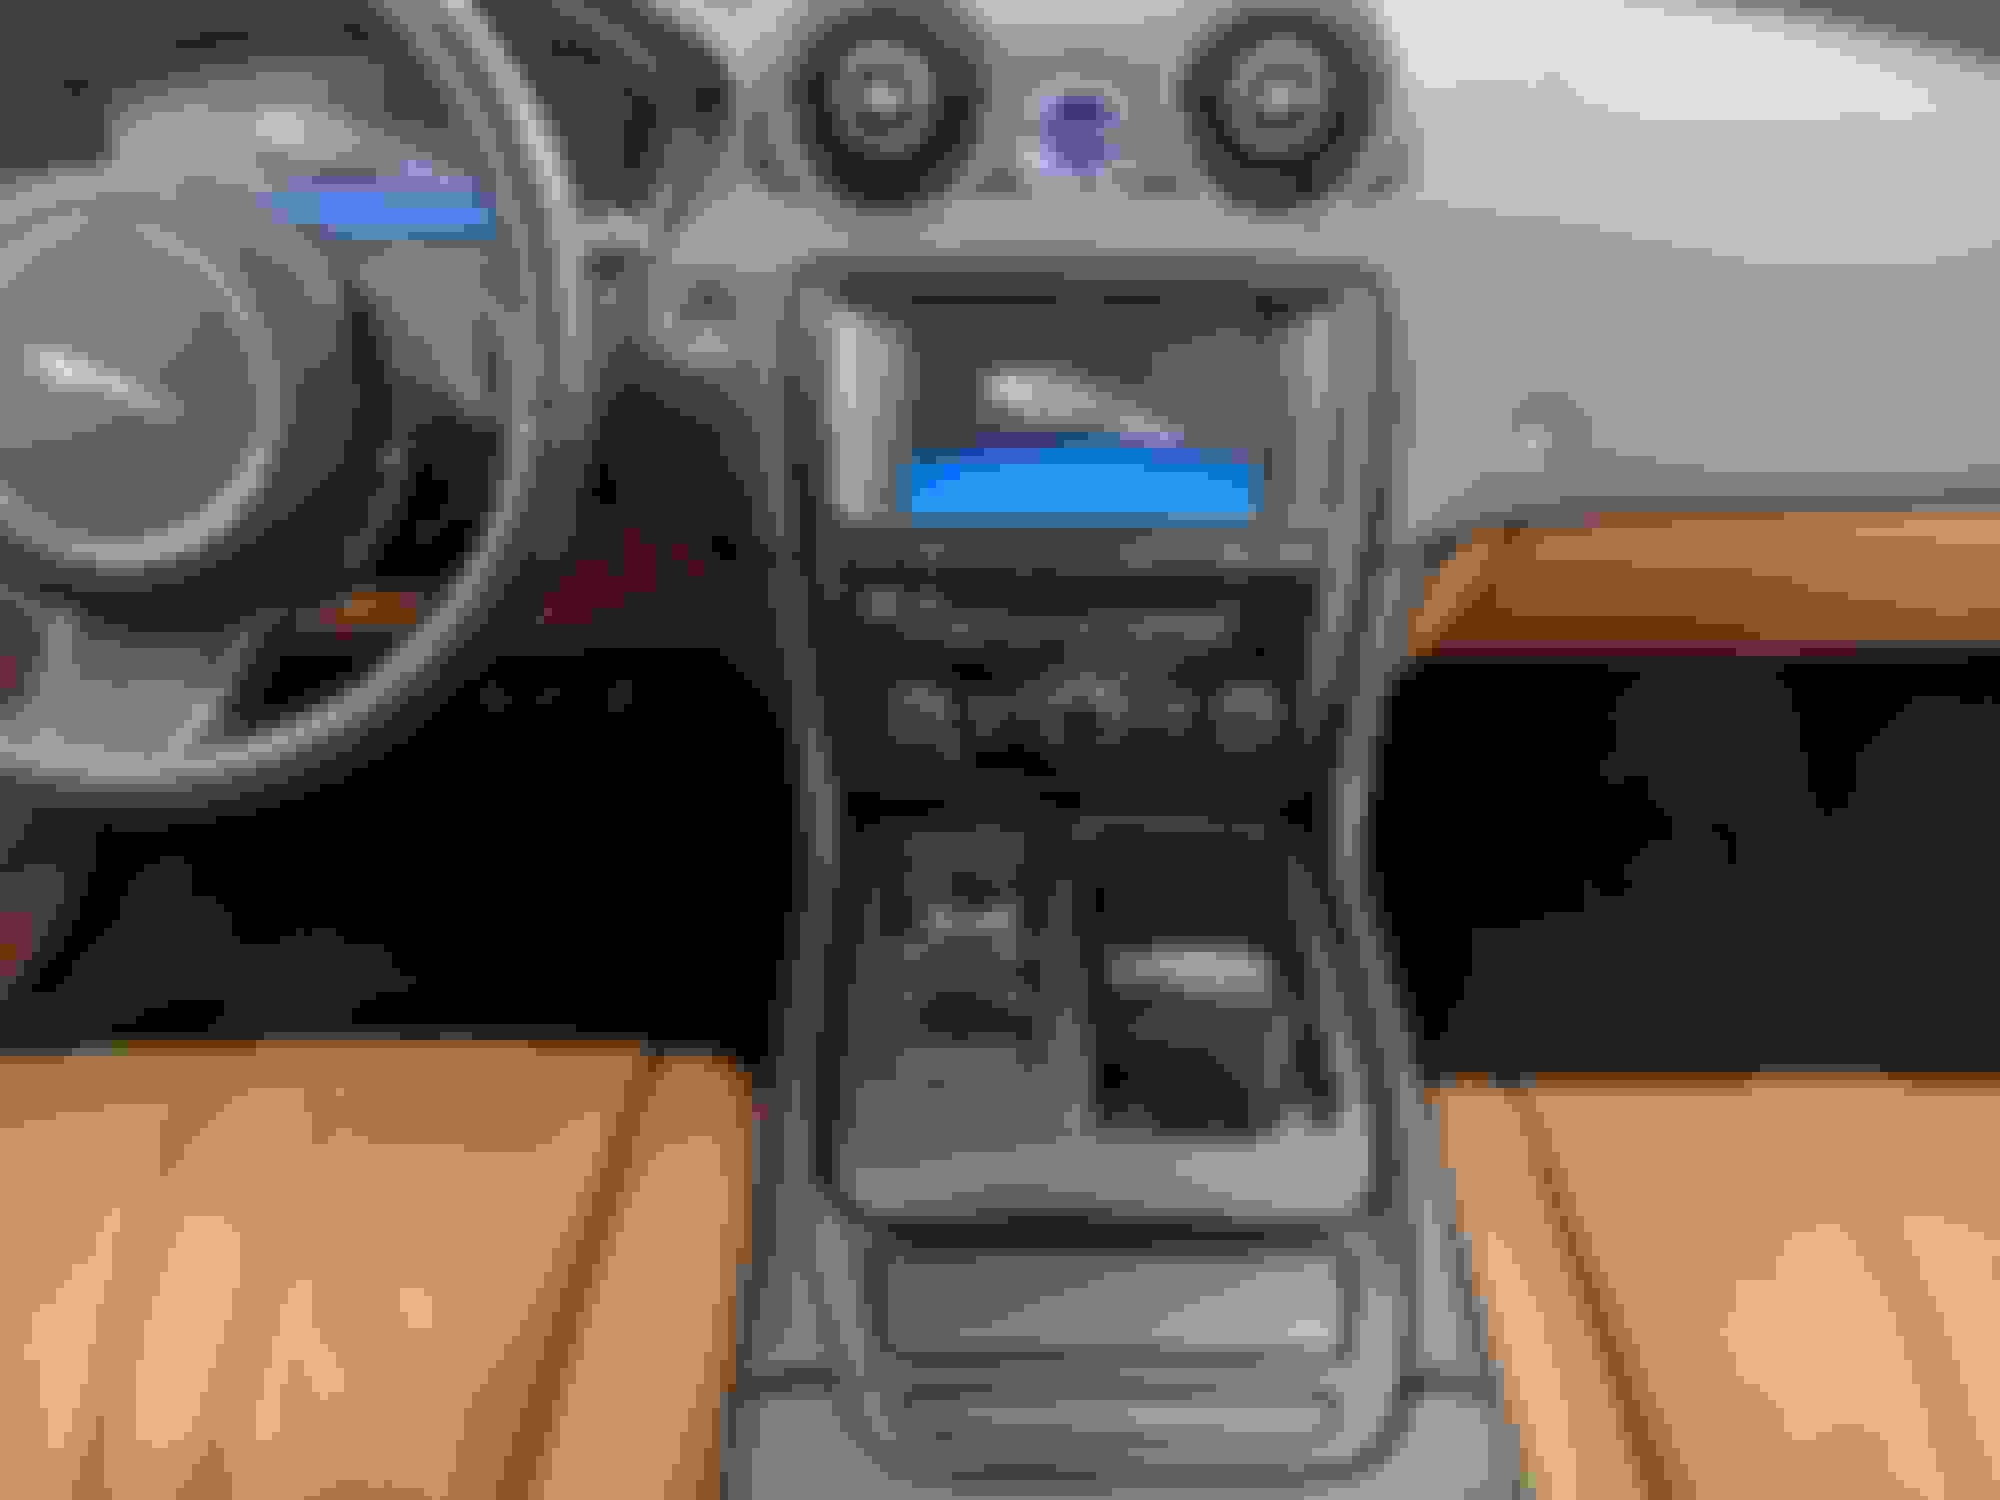
The climate control and upper bezel goes back in and viola! I think this is a keeper.
The painted upper bezel matches well. And so glad I did that trim ring on the climate control.
I think it is going to stay this way. Really happy now with the quality of the work.
At some point I am going to take the shifter back apart to replace the plastic buttons that lost some of their finish when I cleaned off the sticky bits that were hidden in the cracks. Those button stickers were not for me at $25 (geez). I found a complete shifter from a 2019 that is perfect so I will be using parts from that one to get mine back in pristine condition.
 07-31-2021, 12:21 PM


 So I decided I would have to get another set from LLoyds, this time getting the Luxe mats instead of the Ultimats.