When you click on links to various merchants on this site and make a purchase, this can result in this site earning a commission. Affiliate programs and affiliations include, but are not limited to, the eBay Partner Network.
I don't understand why cars built in the last 10 years or so do not have charging outlets in the trunk. I added them to my 2004 XK8 and they were extremely useful for charging devices while travelling, keeping those precious devices secured in the trunk instead of the interior where hiding them from sun and thieves is required.
Since the 2011 XJL doesn't have it I decided do a mod similar to what I did in the XK8.
that has the components I want. In the XK8 I used the switch. This time I don't see a need for a power switch since the LED component has a switch built in now. Definitely wanted both USB3.0 and PD3.0 so this kit seemed the best choice for the price.
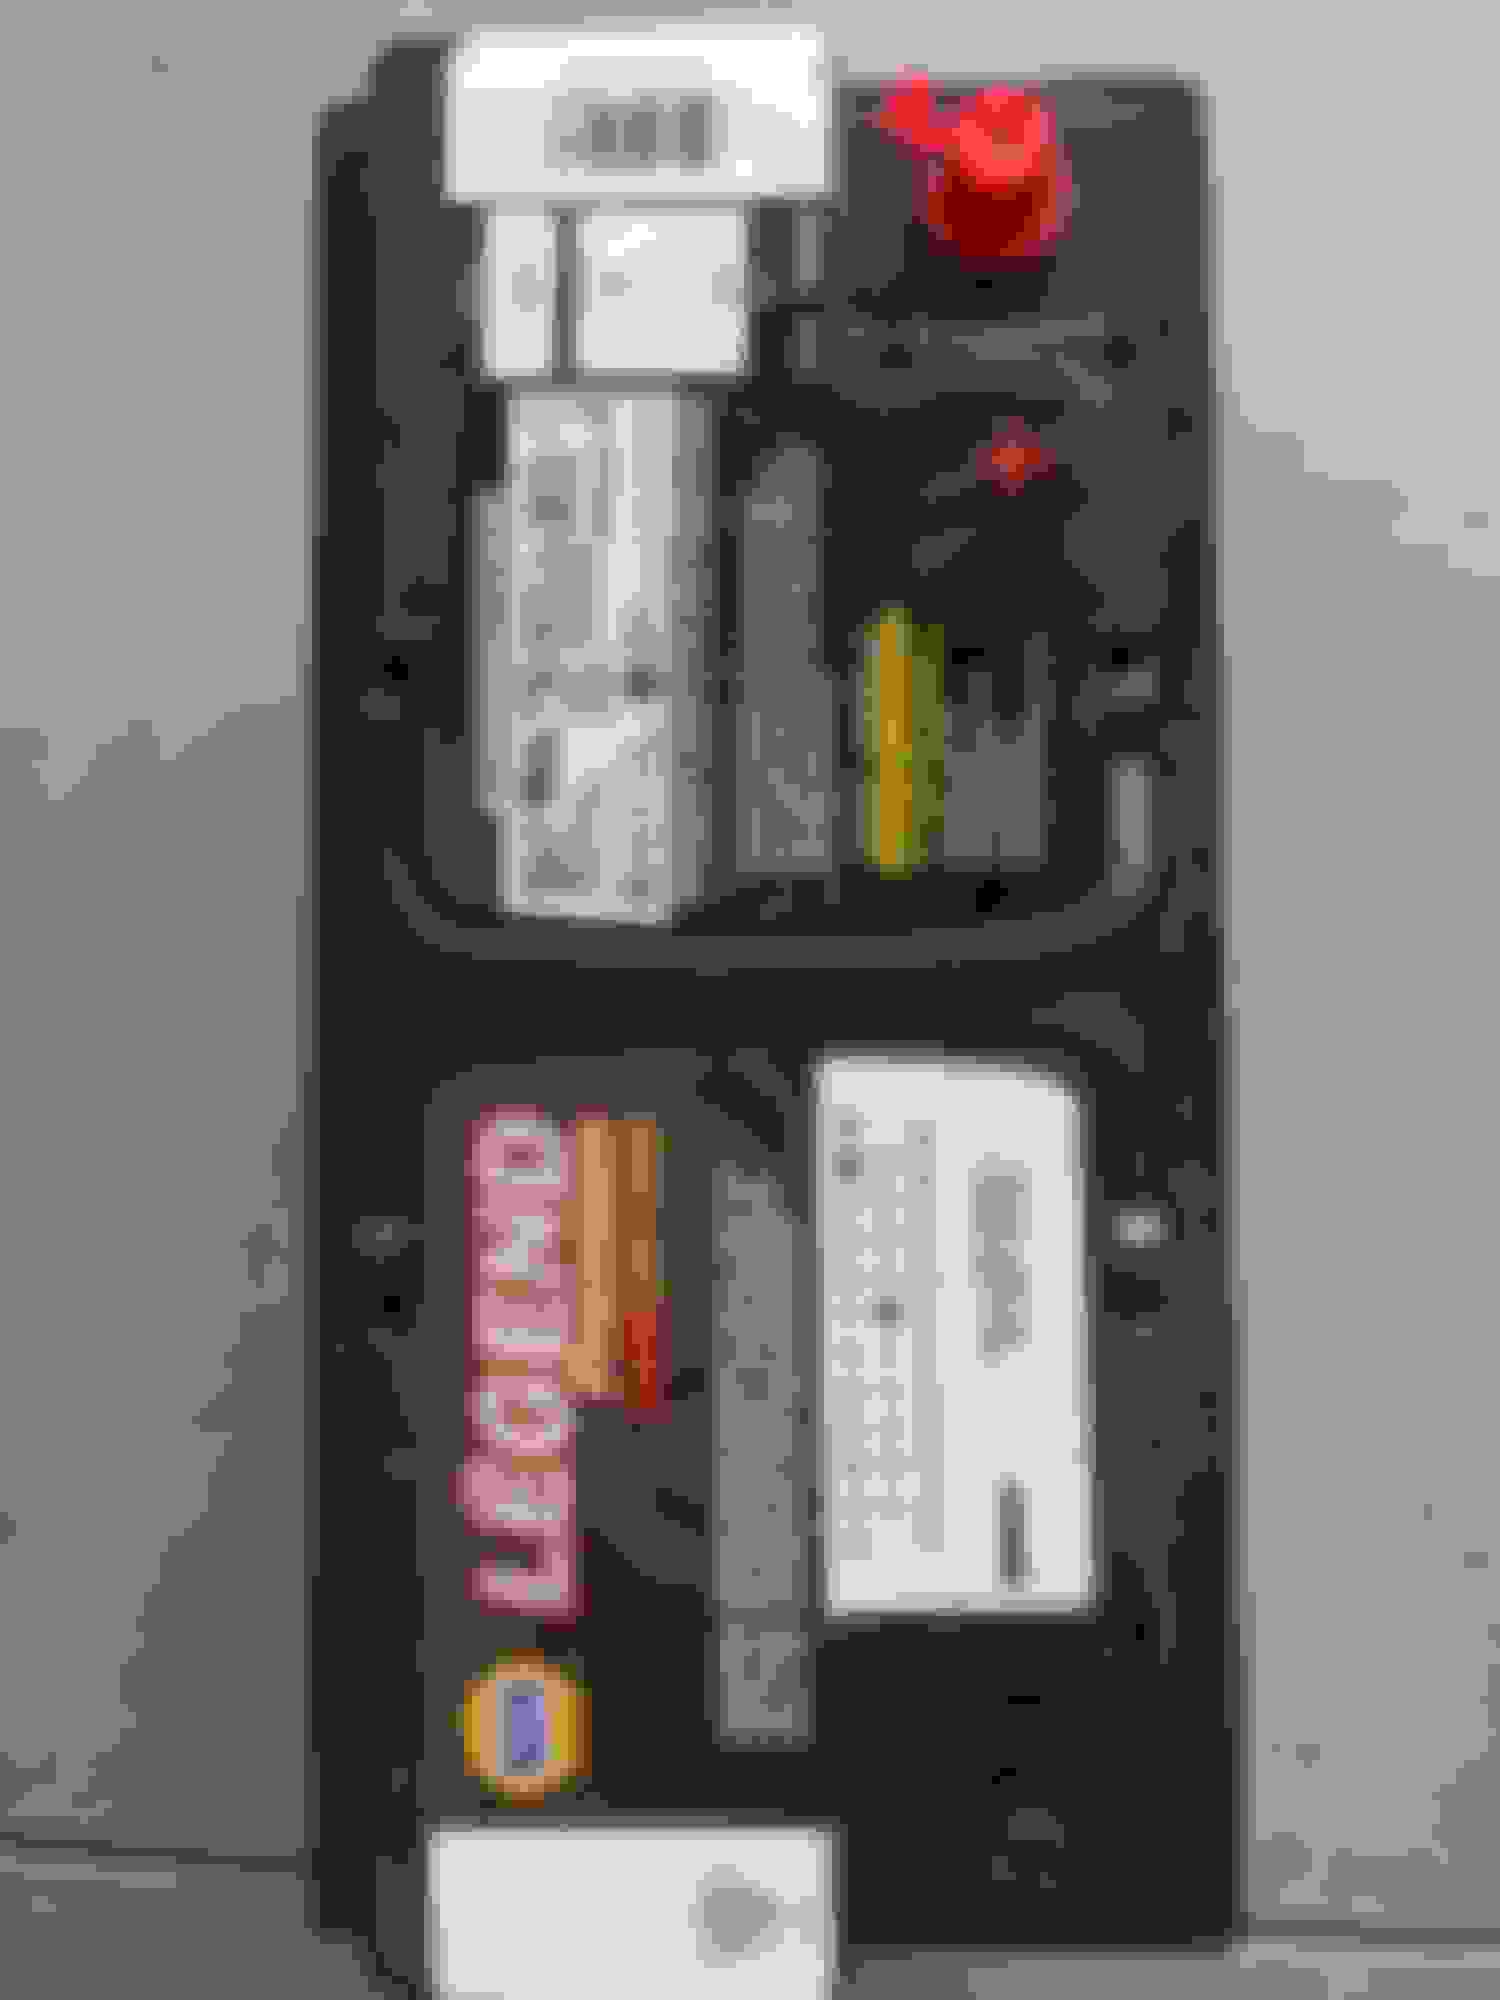
Now that I have the parts time to choose a location in the trunk and cut some holes. I chose the fuse panel access door. I used the face plate in the kit as a template to position the holes I need to cut. You will need a 32mm hole saw.
The material cuts really well and ends up with a nice clean hole. Cut from the inside to minimize the damage to the fabric on the front side.
Both holes are cut and ready to mount the components.
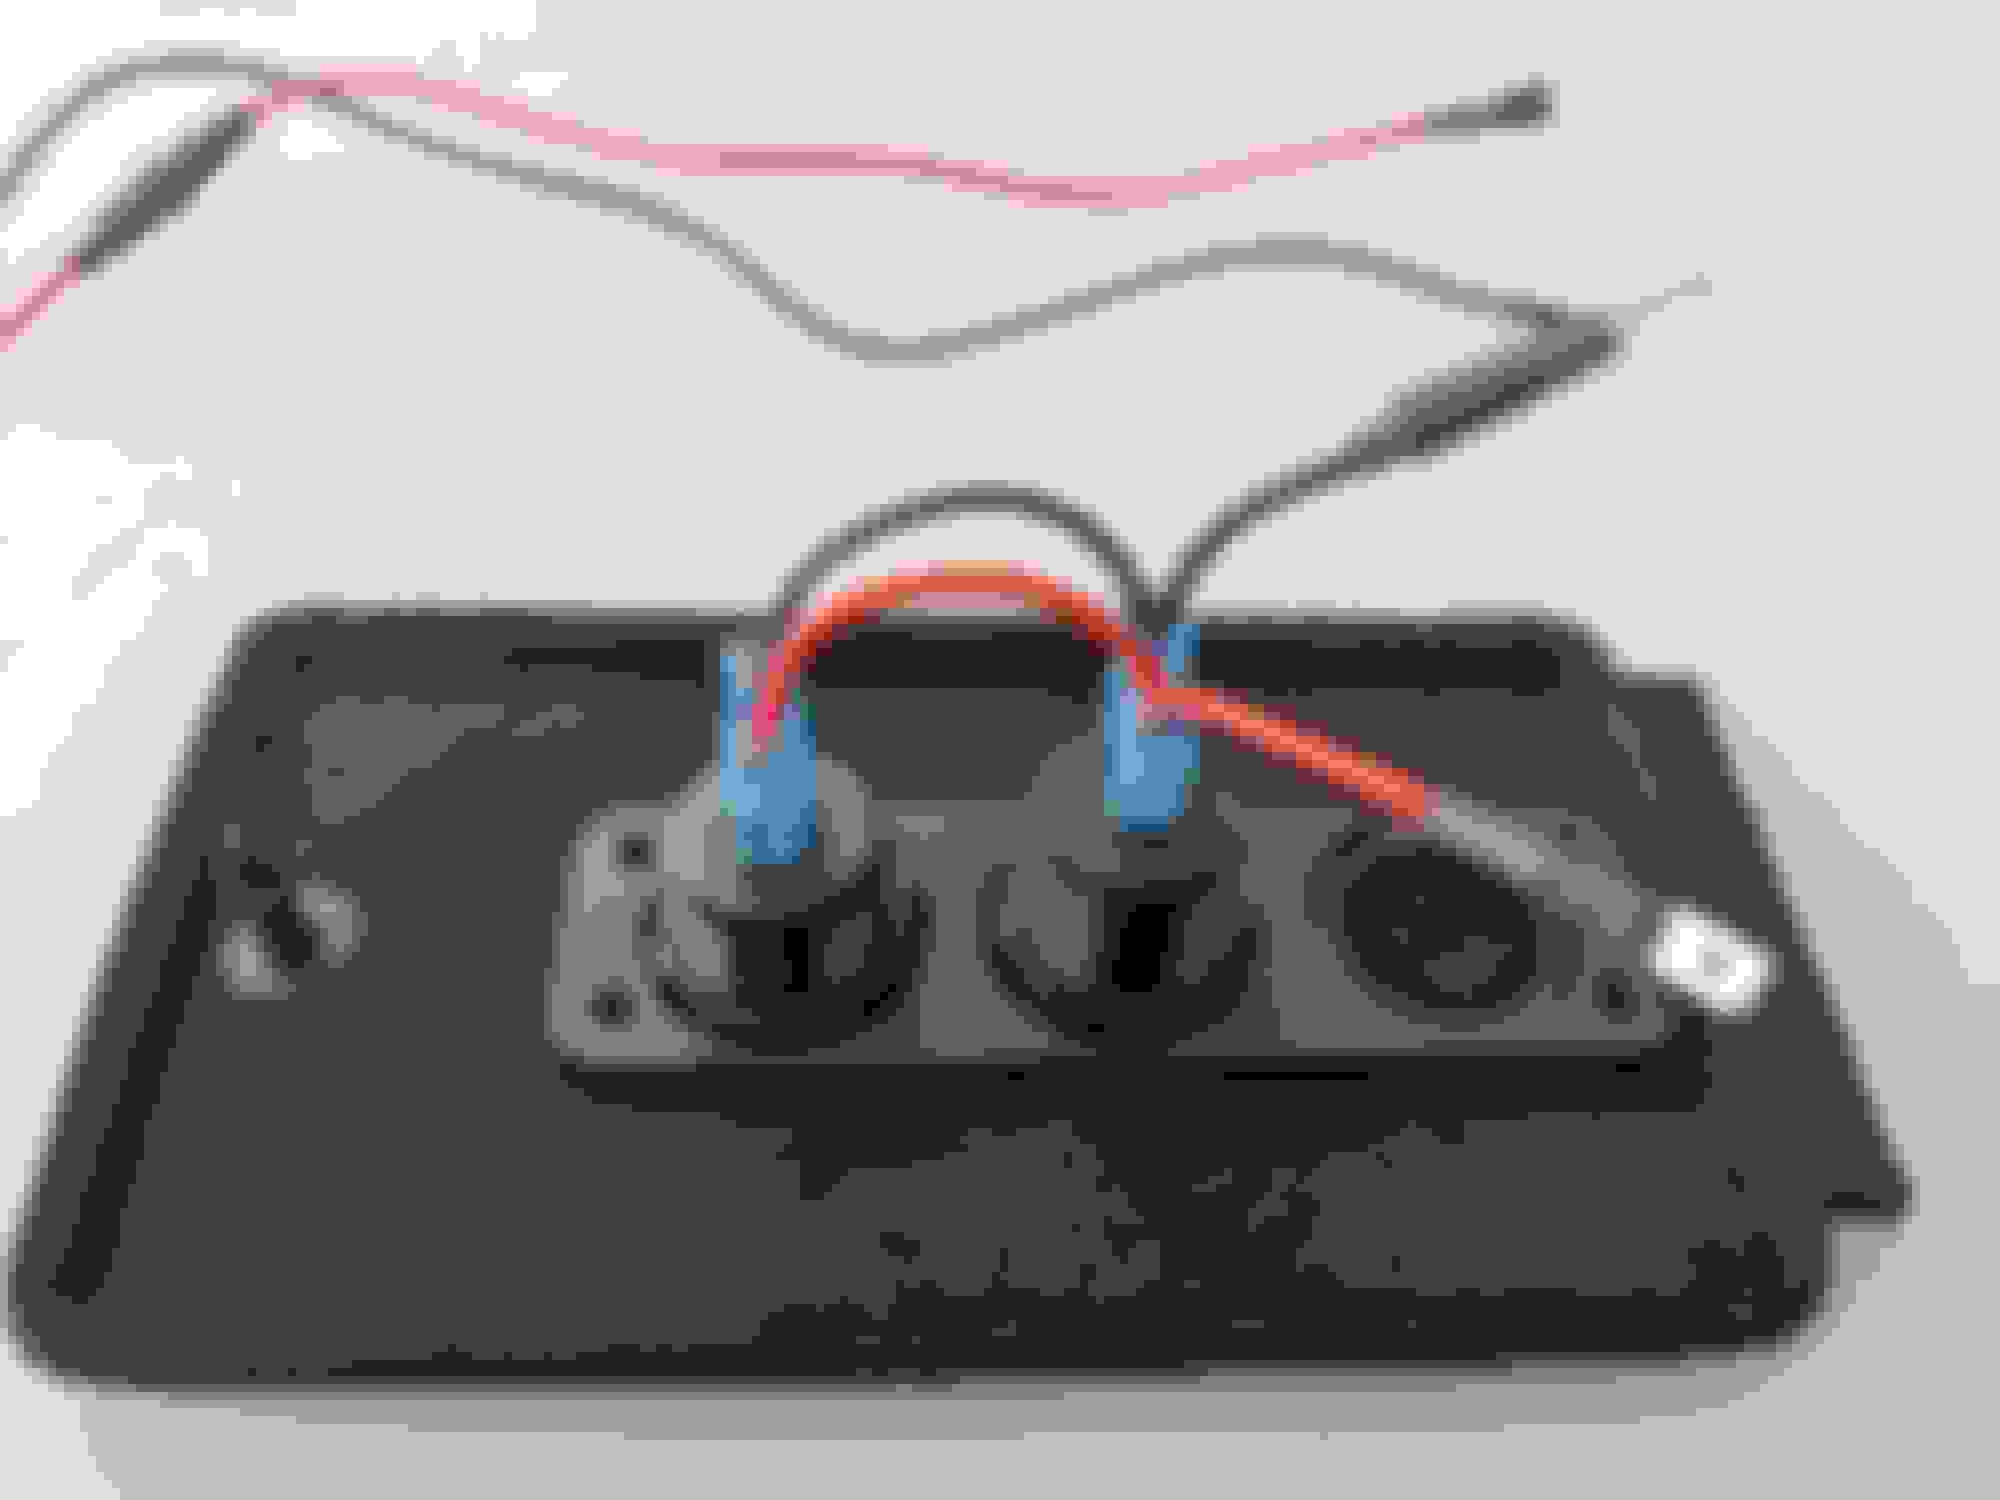
I used the face plate as a backing plate for stiffness since I did not want that plate on the front. I think the components look more "original" when mounted individually.
The kit comes with some wiring but not enough to do the job. After some cutting and crimping I now have the components wired up and a harness made to connect power to the whole rig.
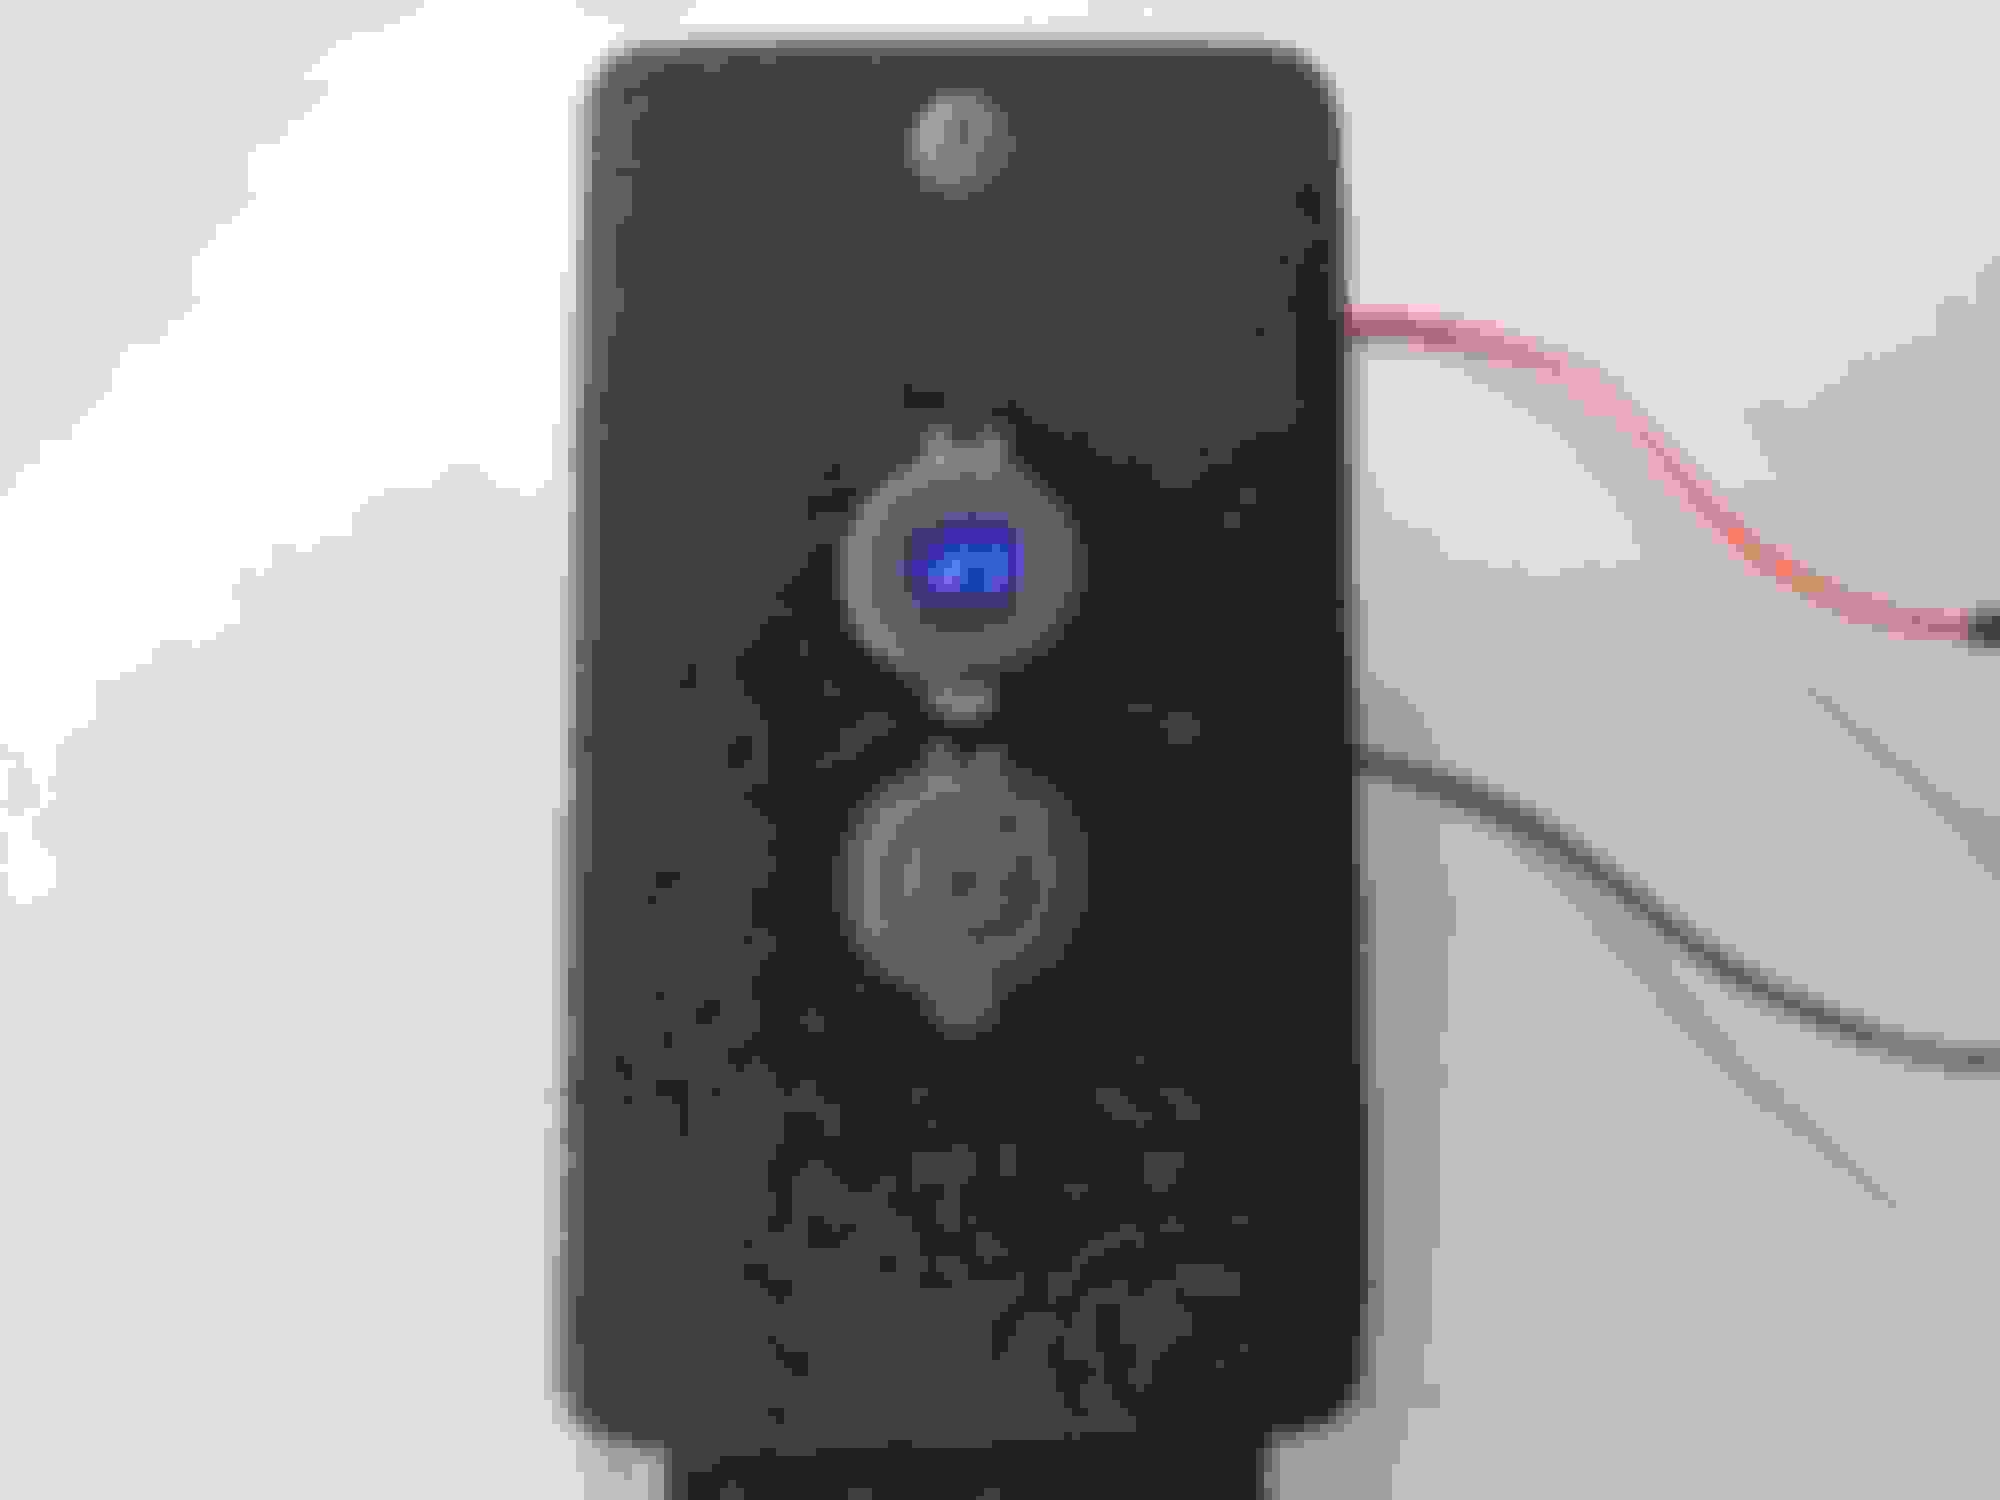
A quick test to confirm it all works.
The LED display can be activated without lifting the rubber cover. Handy when I just want to see the voltage for a sec.
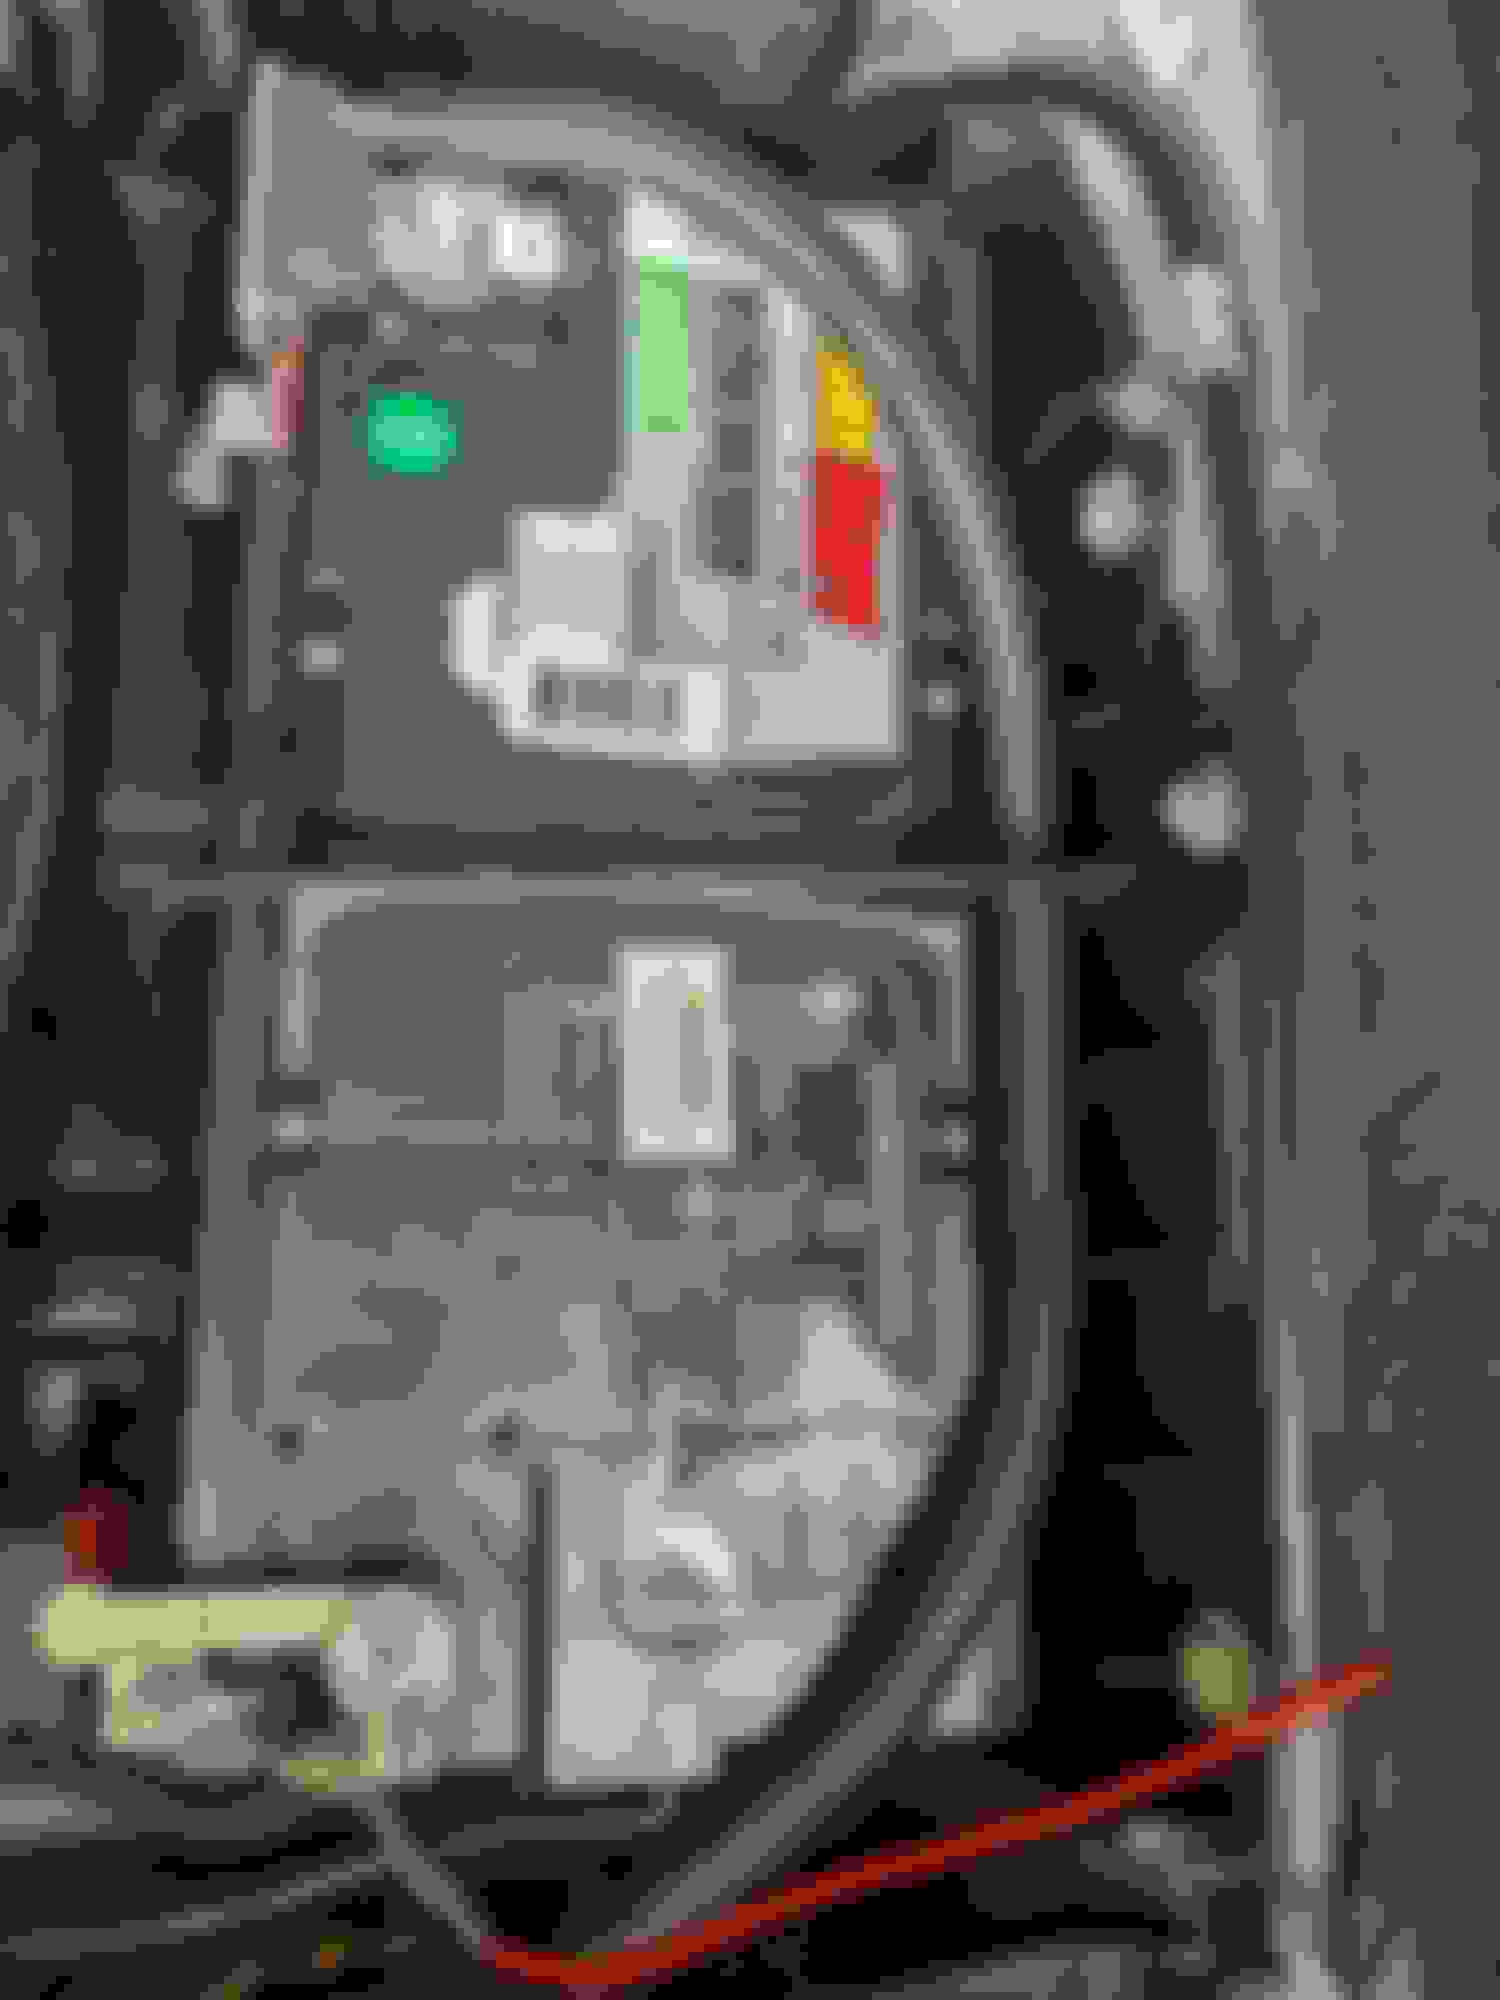
Time for a test fit. Looking good so far. There is just enough room to allow for the wiring.
Time to connect it to the battery power using this harness I made from the supplied wire and some connectors I had.
I put disconnects near the components to make it easier to remove while working on other stuff. You never know when this might be needed.
The power connections were made using the same spots that the Jaguar external battery charger kit would use. It was easy to snake the wires under the trunk liner. No need to remove all that.
A final test reveals that I need a new battery soon. This one is over 5 years old now.
Tested the power outlet using my nifty LED work light that I will now keep in the trunk for emergencies.
So this mod was not expensive and fairly easy to do if you are comfortable with electronics. Took a few hours, mostly to make the wiring bits. Cost under $30 and gives me the tech I needed to charge my devices.
The following 6 users liked this post by rothwell:
kroache (04-28-2022),QP7 (10-09-2023),ralphwg (05-01-2022),RoonieQ (04-28-2022),XJ8JR (05-02-2022),XJsss (04-28-2022) and 1 others liked this post. (Show less...)
I don't understand why cars built in the last 10 years or so do not have charging outlets in the trunk. I added them to my 2004 XK8 and they were extremely useful for charging devices while travelling, keeping those precious devices secured in the trunk instead of the interior where hiding them from sun and thieves is required.
Since the 2011 XJL doesn't have it I decided do a mod similar to what I did in the XK8.
I started with this kit from Amazon that has the components I want. In the XK8 I used the switch. This time I don't see a need for a power switch since the LED component has a switch built in now. Definitely wanted both USB3.0 and PD3.0 so this kit seemed the best choice for the price.
Now that I have the parts time to choose a location in the trunk and cut some holes. I chose the fuse panel access door. I used the face plate in the kit as a template to position the holes I need to cut. You will need a 32mm hole saw.
The material cuts really well and ends up with a nice clean hole. Cut from the inside to minimize the damage to the fabric on the front side.
Both holes are cut and ready to mount the components.
I used the face plate as a backing plate for stiffness since I did not want that plate on the front. I think the components look more "original" when mounted individually.
The kit comes with some wiring but not enough to do the job. After some cutting and crimping I now have the components wired up and a harness made to connect power to the whole rig.
A quick test to confirm it all works.
The LED display can be activated without lifting the rubber cover. Handy when I just want to see the voltage for a sec.
Time for a test fit. Looking good so far. There is just enough room to allow for the wiring.
Time to connect it to the battery power using this harness I made from the supplied wire and some connectors I had.
I put disconnects near the components to make it easier to remove while working on other stuff. You never know when this might be needed.
The power connections were made using the same spots that the Jaguar external battery charger kit would use. It was easy to snake the wires under the trunk liner. No need to remove all that.
A final test reveals that I need a new battery soon. This one is over 5 years old now.
Tested the power outlet using my nifty LED work light that I will now keep in the trunk for emergencies.
So this mod was not expensive and fairly easy to do if you are comfortable with electronics. Took a few hours, mostly to make the wiring bits. Cost under $30 and gives me the tech I needed to charge my devices.
I had the engine cover off for some routine inspection and cleanup.
I noticed that as I pushed the cover back on it was a bit droopy on one side.
Pulled it off and found that there was a grommet missing from one of the mountings. Probably missing since the car was new. It is definitely not going to fall out.
Went to the dealer to get one ordered. Dealer says "not sold separately". WTF? It's a rubber grommet. It's pretty sad how Jaguar has abandoned those of us who want to keep these cars on the road. Other brands may do it too but hey I only own this brand so my focus of concern ends there.
Enough soapbox whining I know. So anyway I had to research and determined that BMW (bless their heart ) uses the same grommet and they will sell us one. They fit the smaller 3 Series and also the Minis. P/N 13717588501 You can even get it aftermarket. Or even get an OEM one from FCP Euro.
Seems like since I got this car about a year ago I had always noticed a rattle coming from the key FOB. Was noticeable as I walked and the FOB bounced around in my pocket.
Finally got around to sorting this little rattle out. All I had to do was use a piece of something thin and durable on one side and sticky on the other. I happen to have some bits of the black vinyl I used in the console work and cut a small piece of that to stick on the inside of the key's swivel handle.
I tried to get a pic of the placement. Worked perfect.
Adding Air Vent Illumination - Phase 1 The Blackening
I had already decided that I would be removing all the air vents to de-chrome the outer bezels. All that chrome just had to go. So the last few weeks I had been trolling ebay, considering whether to buy another set of vents to redo in black to match the console changes. Then swap them out and store the originals as I have done for a lot of my "improvements".
To my good fortune I happen to notice one seller who had some vents with these interesting little wires attached. Each vent was a separate listing but they all were there, the illumination package vents with the LED rings. I managed to negotiate a good price with the seller for all 6 of them at $210 shipping included.
Now that I have them time to start the blackening process. These will be a little more complex due to the wiring involved but hopefully not too bad to disassemble.
The stack of parts is assembled in kind of an "all at once" snap together process. The outer chrome bezel is attached with simple plastic catches around the rear edge. As always this plastic is brittle and not really intended to be disassembled so expect to break a few tabs even if you are extremely careful. It won't be a big deal in the end.
After you start to get the outer bezel unhooked and moving you will find that it seats up against the shiny black dome part. This is where it takes a bit of faith to just keep pushing really hard on the outer bezel until the black dome pops out of its press fit into the revolving center mechanism. It will take more than you think it should but it will come loose.
Then you end up with the wire being the only thing holding it all together.
The wire is held in place by a small plastic cover that unsnaps easily.
With the wire cover unclipped you can then lift the black dome out from the front face of the bezel, pulling the wires through along the way.
After repeating the disassembly process for the rest of them I now have the outer bezels ready to coat in the same black I used for the console pieces. The bezels on the rear vents are a breeze to remove they just unsnap off the front without a need to disturb the vent mechanism or the wiring.
On one of the dash bezels there was some corrosion that will need to be sanded with 220 to get it smooth. Then they all have to be wet sanded with 600 to get them ready to bond with the paint. The chrome surface is not suitable to simply paint over.
A few hours later and I have them all sanded and painted. Left them alone for several days to cure the paint considering how much I will have to handle them during reassembly. Definitely nervous about scratching them because it will take a lot of pressure to snap it all back together and one mistake could be costly.
While I waited a few days for the paint curing I went back to the same ebay seller and found that he had the trunk lighted panel from the same car. Made him an offer of $50 and got that now too. Also did the research to find the same connectors that the vents use so I can build all the wiring needed to light them up. It is not part of the standard wiring harnesses in the dash or console but the connections are there for the trunk and the door sills.
The trunk panel plugs right in.
I have done all this and I have yet to figure out how I am going to pull the existing vents out of the dash. I looked into getting the special tool from the dealer but I was told "not available" so I had to improvise my own. I found this spring puller tool on Amazon and bought 2 of them. Found a small bolt to hold them together. Looks like it will work just fine. Way cheaper too at $16 for the pair.
The tool fits into the vent perfectly. You have to be careful to get the hooks around the vertical center rib that is behind the movable black dome. It is easy to see in there with a light.
Then you have to pull a LOT harder than you think you should have to pull to get the vent out - but it will come out. On mine a couple of the metal retention tabs were stuck and got bent in the removal but no big deal.
With the first one out I did a quick compare to verify I am going in the right direction. Yep gonna be awesome. Bye-bye chrome catastrophe.
On all the blackened vents I removed all of the metal retention tabs so I could pop them in and out easier while I fit everything.
A quick pop in of a center vent to get a good comparison of the change that is coming.
With the center vents out I can now address the clock bezel. You have to reach into each vent hole and press a small spring loaded tab on each side to release the clock then it slides right out.
The clock bezel is attached with a few catches in the plastic and easily pops off. Careful with the clock guts because they are loose without the bezel.
A little more of the same sanding, painting, waiting and we have a blackened clock. Looks way better now.
Time to reassemble all the vents. This took me a bit to figure out. There is a particular order that it all needs to be stacked and pressed back together.
First drop the wire down through the front face of the outer bezel. Next snap the wire cover back into position. Then find the orientation of the outer bezel to the base. It is not hard since it only fits one way due to the design of the slots. Make sure the vent is closed. Then align the knob, the bezel and the protruding wires like this. Once you have it aligned push down REALLY hard on the center and it will snap back together.
Worth mentioning that the black dome is not the same all way around and you need to have it positioned this way with the wider portion at the top before you push it together. It won't let you snap it together wrong but this might save you some wasted pushing if you happen to get it 180 degrees out.
Once a vent is pressed back together you need to get the wires back into place so they are not visible from the front. There is a small clip that holds the wires in a channel.
The wires have a black sheathe on them that needs to be butted up against the center otherwise you will see the wires.
The rear vent bezels just snap right back on. And the reassembly is done! Ready for a test fit. Leaving the metal retention tabs off for now since I still have to do all that wiring. Seems the press fit as it is now is likely enough to hold them anyway. I think the metal tabs are overkill.
The vents will only fit where they belong so you can't mix them up. They are all labeled left, right, center too. I had not realized that the outer dash vents have the bezels rotated slightly inward while the centers are straight down.
Popped the clock back into the center first then the last two vents are pushed into the holes.
The dash is now back together until I get the wiring built. Looks so much better to me already. The illumination of them will be pretty cool. I do plan to include a switch somewhere so I can turn the illumination off whenever its a distraction. These illuminated vents are just a passenger wow factor item anyway. Having that feature was an opportunistic extra bit of luck.
Going to replace the rear vents next after I look up how to remove the rear console control panel. Those vents are attached from the inside and do not remove like the dash vents. Will also look at turning that chrome ring around the rear climate control black like I did in the front one so they match.
Phase 1 is complete. I plan to take my time building all the wiring so Phase 2 will be a while before its done. I expect some amount of dash/console disassembly will be needed to route the wires. Probably will take a whole weekend to get it all wired up. It will be very cool when its done. Am definitely curious what it will look like at night without all the chrome exacerbating the blue glow.
So I am about $260 and 8 hours invested at this point. Am really happy with the results. An unaware passenger would never even notice the vent changes. And that is the whole point, one should not notice them at all. All that chrome was crazy noticeable to the point of being distracting.
The interior of this car is finally starting to feel right to me.
Going to swap out the vents on the rear console and black out that chrome trim in the climate control. Here's a before pick.
The rear housing just pulls off. There are two clips at the top and two at the bottom. You pull from the bottom then tilt out a bit and pull the top loose.
To my pleasant surprise, I find that the rear vent lighting is already prewired.
Now that makes me think I need to do a little digging in the dash to make sure the front vents don't have prewires hiding somewhere.
The climate control panel and the vents are held into the housing by torx screws and it came apart easy enough.
I popped a black vent in to get a comparison. Definitely the way to go.
To get to that chrome trim ring in the climate panel you have to pop off the face plate first. Just a few plastic tangs to unhook.
Then the face plate itself unsnaps into 3 pieces.
Decided to paint this piece since there was so little to work with and my wrapping skills are still under development.
I let the paint cure for a day then put it all back together. Used plastic polish on the shiny black pieces of the face plate to take out some swirls. Turned out great.
Reinstalled the assembly and its done. Looks a lot better without all that chrome for sure. And the lighted vents work as expected.
Next I get to poke around and look for more prewires in the dash. Hoping I get lucky and find some.
I thought that was the factory method but others got it out without removing the windshield?
I may not have remembered this correctly either?
I know my old S Type also claimed to require windshield removal but if you removed or even fully reclined the passenger seat. You could get the headliner in and out with some careful bending of the headliner itself.
.
.
.
When I bought my XJL the dealer had just replaced the headliner prior to sale. It doesn't look like the windshield was removed. Seems undisturbed to me. Don't know for certain though.
Thanks for posting the pics of the high-quality craftsman blacked-out job. I've considered doing something like that, but to be honest, I (more importantly my wife, since it's her car) think we'll stick with the silver after all. I guess the blacked-out look may be a bit sportier looking, but when we look at your flawless black-out results and my wife's factory config, the reasonably modest application of silver accents looks a little more tactfully tasteful to us than we had thought.
Stil a little annoyed with the sun occasionally reflecting off the center console, but the microfiber cloth she keeps in the door pocket easily covers that problem when needed.
Also - a heads-up if you're considering blacking-out your grill.
I'm browsing Rock Auto for parts for my wife's 2012, and see that they have the black grill available from 2 different suppliers, one for $85 and the other (SKP) for $112. They also have a black lower grill available for $78
They look pretty nice too.
When I bought this XJL it had a 5 year old battery in it that was generally working ok. The car would quickly complain about leaving the door open while I cleaned it. But other than that no problems. About a month ago I started seeing more little issues that I am sure were due to the battery nearing its end of life. Stuff like alarm going off in the garage, blind spots detection offline in one mirror, then the other mirror next time.
So I took a look at my handy display in the trunk and the old battery is down a few tenths. This reading was after a 30 minute drive. Overnight it drops down to 12.1 volts. Probably enough to cause the issues of late.
The old battery is this Napa one. Its a branded Deka (East Penn). At this point it is almost 7 years old so not too shabby.
I replaced it with this one after seeing it recommended by others here. It is Walmart's label but is made by Johnson Controls. I bought it on my Amex so I could bump my warranty from 4 years up to 5 years too.
It was pretty painless to swap it out. Had to reset a few display options but that was it. I did not reset the battery management.
Car seems happier. That makes me happy.
roughly how many miles do you think the old battery lasted?
I have a 2016 R-Sport pretty sure on its original battery, but only 44K miles, currently mainly use it as a weekend car and the current only issues are how you initially described it asking to start engine if have doors open >~10-15min at a time, just trying to gauge what to expect/look for when a replacement would be needed/worthwhile considering my limited usage of the car
I just got to the 30K mark a few weeks ago. I am trying to catch up.
This 2011 XJL had 14K on it when I bought it about 2 years ago. The date code on the battery is 11/16. From the records I have the car was at about 7K in 11/2016. So the Napa battery got about 1.4K a year's use the first 5 years, then I put 16K over the last 2 years. This car has had some pretty large gaps in its driving cycles. I don't know if the previous owner used a battery charger while the car was stored for long periods. Would not surprise me though considering how well this car was maintained.
 04-28-2022, 01:08 PM


 ) uses the same grommet and they will sell us one. They fit the smaller 3 Series and also the Minis. P/N 13717588501