When you click on links to various merchants on this site and make a purchase, this can result in this site earning a commission. Affiliate programs and affiliations include, but are not limited to, the eBay Partner Network.
Hi- I’m about to do the lower control arm bushings. I see the steering rack has to move, but what about the catalytic converters in the downpipes? Kinda looks like it’s in the way of pulling the giant lower fulcrum bolt. If I do have to pull the cat, that will change my approach to this project.
I rebuilt my front suspension a few years ago and had to remove both exhaust downpipes in order to remove the lower control arm pivot bolts.
A real PITA due to limited access, I used a crows foot spanner from above to undo the nuts I couldn't access from below with a socket.
+1
Your gonna want to have some refreshments available close by and plan on it taking twice as long as you think. But when done you will notice the difference. Good luck and use jack stands as she is heavy as f&#*k.
I have a four post lift, but the ramp gets in the way of the spring compressor. So I got a QuickJack 5000 but it doesn’t raise the car up high enough. So now I have it very high on truck jack stands but I really don’t want to get under it and pull those catalytic converters. I think I’ll take it back down and pull the cats with the car on the lift. Another possibility it to remove the subframe but that might be overly involved.
For the bushing removal... it was a great excuse to buy a (very) used lathe and make bushing drivers. That might turn out to be a fiasco too!
I did mine while the car was on jack stands with a trolley jack also supporting the front subframe.
I used a 3/4" threaded rod 22" long and the cross piece was a 5/16" bolt shaft 1 and 7/16" long.
The cross piece has to be short enough to pass through the hole in the spring pan and the top spring mount and long enough to fit securely into the notches in the top mount. The compressor has to be passed up through the spring pan and top mount with the cross piece aligned across the car and then turned 90 deg to engage in the top spring mount
In my pic of the compressor fitted to the suspension the nut is only finger tight so the spring is pretty much at full extension. It doesn’t have to be compressed much to be able to bolt up the spring pan.
Jeff where did you source your 3/4" threaded rod 22" long and how did you attach the 5/16" bolt shaft 1 and 7/16" long cross piece?
I'm assuming you drilled and welded the cross piece? I'm just plucking up courage to do my front end (parts are on the way) and can't decide whether to fab a spring compressor or buy an OTC7045B. Cheers
Originally Posted by watto700
G'day John,
I did mine while the car was on jack stands with a trolley jack also supporting the front subframe.
I used a 3/4" threaded rod 22" long and the cross piece was a 5/16" bolt shaft 1 and 7/16" long.
The cross piece has to be short enough to pass through the hole in the spring pan and the top spring mount and long enough to fit securely into the notches in the top mount. The compressor has to be passed up through the spring pan and top mount with the cross piece aligned across the car and then turned 90 deg to engage in the top spring mount
I bought my large threaded rod at a local hardware supplier, somewhere like Home Depot. For the length I needed I had the car on jack stands and passed a metal tape measure up through the middle of the spring and made a guesstimate. The crosspiece, which I had lying around, wasn't welded in I just flattened the centre of it a little with a cold chisel and then hammered it into the threaded rod which I had drilled.
I remembered from my high school days in my industrial art class when we tested some metal samples that a quarter inch sample of steel gave way under a tensile load of around two tons and that the load of each spring on a two ton car would be about half a ton and the load on the unloaded spring would be a lot less than half a ton so I figured that my 3/4" threaded rod would be more than adequate.
The hole in the spring pan is oval so I just made the crosspiece short enough to through the long axis. With the compressor engaged in the top spring turret there is very little lateral movement due to the thickness of the threaded rod.
I greased the threaded rod and nut and washer so the turning force with the spanner was reduced, the force required to compress the spring is not huge.
From memory, on the V12 cars, the exhaust downpipes have to be removed the get the bottom fulcrum bolt out, there are four nuts three of which can be removed from underneath but one has to be accessed from above with a crows foot spanner. The steering rack is also in the way and has to be removed.
I've used this setup a number of times over the years on different Jags with no problems so take your time and all will be good.
Cheers and get back to me if you need further advice,
Jeff.
I'm probably going to drop the whole sub assembly, assuming it's better to get the springs out first? As I understand it you remove shock, insert the threaded rod into the spring tower through the oval hole in the spring tower , twist so the cross piece engages on the sides and torque up, with the washer stack providing the platform underneath as seen in your photo. My concern is centering the drilled hole in the threaded rod as that seems to be the most probable point of failure. There must be enough meat there with 1/8th inch on each side. Appreciate the think through for my preplanning!
Originally Posted by watto700
G'day Oliver,
I bought my large threaded rod at a local hardware supplier, somewhere like Home Depot. For the length I needed I had the car on jack stands and passed a metal tape measure up through the middle of the spring and made a guesstimate. The crosspiece, which I had lying around, wasn't welded in I just flattened the centre of it a little with a cold chisel and then hammered it into the threaded rod which I had drilled.
I remembered from my high school days in my industrial art class when we tested some metal samples that a quarter inch sample of steel gave way under a tensile load of around two tons and that the load of each spring on a two ton car would be about half a ton and the load on the unloaded spring would be a lot less than half a ton so I figured that my 3/4" threaded rod would be more than adequate.
The hole in the spring pan is oval so I just made the crosspiece short enough to through the long axis. With the compressor engaged in the top spring turret there is very little lateral movement due to the thickness of the threaded rod.
I greased the threaded rod and nut and washer so the turning force with the spanner was reduced, the force required to compress the spring is not huge.
From memory, on the V12 cars, the exhaust downpipes have to be removed the get the bottom fulcrum bolt out, there are four nuts three of which can be removed from underneath but one has to be accessed from above with a crows foot spanner. The steering rack is also in the way and has to be removed.
I've used this setup a number of times over the years on different Jags with no problems so take your time and all will be good.
Cheers and get back to me if you need further advice,
Jeff.
When I overhauled my front suspension I removed the whole thing as you are going to do.
You don't remove the front shock absorber until you have the spring compressor in place as it is the shock which stops it all from springing apart.
Here is a write up I did at the time I rebuilt my front end.
"G’day Gents,
Ever since I bought my car, a 1995 V12 X300, there has been a slight wheel speed vibration which couldn’t be balanced out as well as a slight steering pull to the left. I took the car to a local workshop to get the wheels balanced and have a wheel alignment carried out. I discussed both problems with the technician and we put the car up on the hoist and examined the front undercarriage. Close examination of the front control arm bushings revealed significant wear and an obvious eccentricity of the fulcrum shafts in the bushings. The technician advised me to replace all the front control arm bushings before having the wheel alignment done as it would be a waste of time otherwise.
And so on to the wheel balance, there was an obvious problem with two of the wheel rims. Both had suffered impact damage from running over potholes or off the edge of the sealed surface. I needed to get the wheels repaired by a competent workshop. A local place did both wheels overnight and that fixed the vibration problem.
Now onto replacing the control arm bushes. On a V12 engined car the catalytic converters and steering rack prevent the bottom fulcrum shaft being removed so I decided to drop the front subframe and work on it off the car. Easier said than done! The subframe supports the engine so I had to make an engine support beam to hold the engine up while I dropped the subframe.
Engine support beams are available from auto spare parts suppliers but they only have one support point and cost several hundred dollars. The V12 engine has a lifting bracket at the front of each head so after reading Bernie Emden’s website about his XJ-S I decided to make a support beam myself. I did this using a treated pine sleeper, two threaded rods and a couple of ‘D’ shackles. See the pix in the album. After I had made up the support beam I lifted the engine off it’s mounts and left it suspended for two days and it didn’t settle at all so I figured it would be safe to work underneath the car.
Firstly jack the car up and support it on solid jackstands. I also place the removed wheels under the car with some packing timber on top just in case.
I won’t detail every step in the process, there are too many, but I will outline the general procedure I used. The front shocks in these cars are also the limiting mechanism for the spring extension, therefore you have to remove the front springs before you remove the shocks or the whole lot will go twang. Not good.
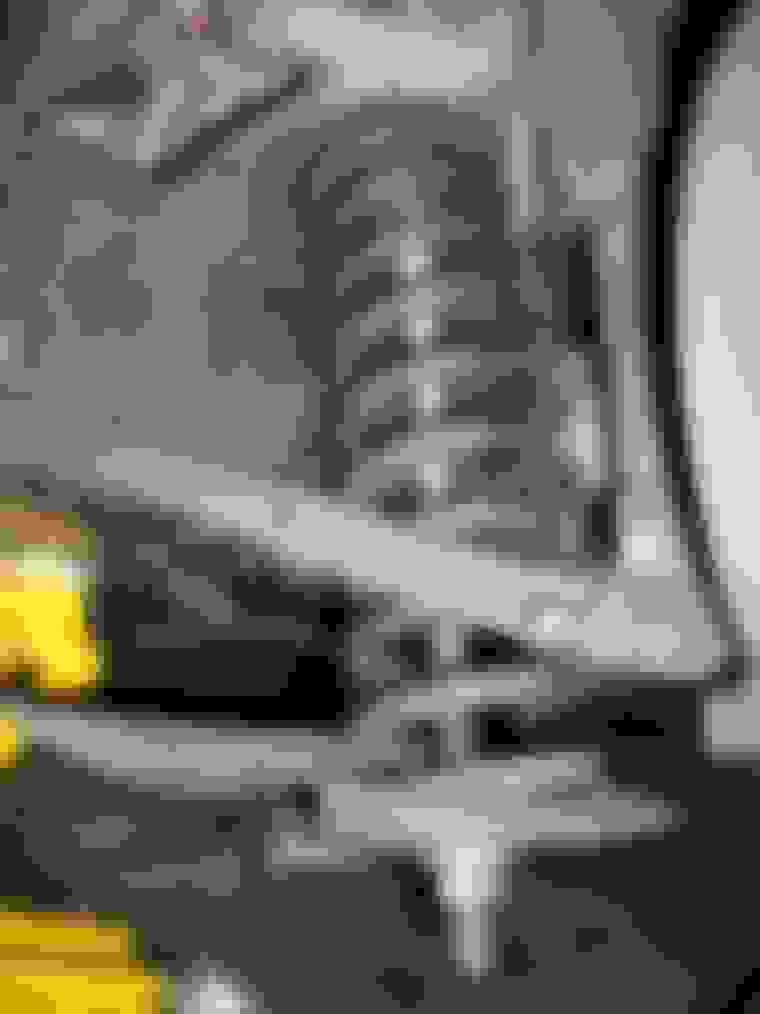
For this you need a spring compressor. I made one out of a large threaded rod and several large washers and a nut and a short piece of hi-tensile bolt shaft (33mm long). The anchor point at the top of the spring turret has a notch aligned with the axis of the car. You can insert a threaded rod up through the spring pan and into the turret but it’s almost impossible to get a rod through the hole in the top of the threaded rod as the spring coils are in the way. There must be a way I thought and I ran it across the solution in a Jag World article and it is quite simple. The top end of the threaded rod needs to have a short piece of rod inserted into the hole in it before it is passed up through the spring pan and the turret, it is then turned 90 degs to fit into the aforementioned notch. Have a look at the pix it will be a little clearer.
Once the front springs are off I then removed the front brake callipers, the stabiliser bar and the steering rack from the subframe to make it lighter and easier to manoeuvre around. The rest is just a matter of supporting the subframe with a trolley jack and unbolting the engine mounts and the front and rear subframe mounts. The front subframe mounts in my car were well worn so I replaced them as well as the control arm bushes.
I have a small, 12ton, hydraulic press so removing and replacing the control arm bushes was quite straight forward.
Reassembly is the reverse of removal so they say, but we all know that life is never that simple. It took a bit of wrestling and a few magical incantations but it all went back together pretty easily. All bolts and nuts were lubed using copper grease before reassembly.
I had the long awaited wheel alignment done this morning and the car runs straight and doesn’t vibrate so I’m happy with my efforts.
Ref the recent discussion concerning camber adjustment, there isn’t any in the X300 cars unlike the Series I, II & III XJs, and the Jaguar procedure for adjusting camber or steering pull involves shimming one side of the front subframe to give a pseudo half a$$ed sort of adjustment. This will be of no use if the front subframe ‘V’ mounts are worn as mine were. So if you’re having trouble with you car pulling to one side it’s more than likely worn ‘V’ mounts causing the problem.
Thanks Jeff, I've read your useful write up previously. I bough the 3/4 threaded rod and several washers and a good quality nut, will replicate your tool. I can't find a write up of dropping the sub assembly in the service manuals, did anyone ever find this anywhere? I'm in RTFM mode waiting for all the parts to arrive...
Anyone got any recommendations for the best bushings to use? i have bilstein shocks, lemforder ball joints ready to go, I haven't ordered the bushings yet and avoid URO brand based on past experiences with 60's & 70's Jags. SNG Barratt etc just say 'aftermarket' so unknown what will turn up unless you buy the official Jaguar$$$ parts. I'm doing the whole front end. Thanks
Anyone got any recommendations for the best bushings to use? i have bilstein shocks, lemforder ball joints ready to go, I haven't ordered the bushings yet and avoid URO brand based on past experiences with 60's & 70's Jags. SNG Barratt etc just say 'aftermarket' so unknown what will turn up unless you buy the official Jaguar$$$ parts. I'm doing the whole front end. Thanks
ill be following this closely as im about to do the job next. There is a guy here on the forums that has the JD tool for rent to decompress the springs for I believe 60 dollars if you don’t want to make one.
I'll take lots of pictures as I go, have some paint to do first while its hot so will be a few weeks before I get going, I have most of what I need lined up except bushings.
Originally Posted by John Baker
ill be following this closely as im about to do the job next. There is a guy here on the forums that has the JD tool for rent to decompress the springs for I believe 60 dollars if you don’t want to make one.
I'll take lots of pictures as I go, have some paint to do first while its hot so will be a few weeks before I get going, I have most of what I need lined up except bushings.
My thought process on which brand of bushings, this is a pretty big job dropping out the subframe like this. Not something you can easily get to again. So no way do I want to have to do this again in 5 years because the bushing didn't hold up. So it will be only OEM jag from the dealership for me. My dealership occasionally runs online specials with up to 30% discounts. Just waiting for that to happen again before the big order. Ohh and of course no shipping if you pick them up also save a bit.
My thought process on which brand of bushings, this is a pretty big job dropping out the subframe like this. Not something you can easily get to again. So no way do I want to have to do this again in 5 years because the bushing didn't hold up. So it will be only OEM jag from the dealership for me. My dealership occasionally runs online specials with up to 30% discounts. Just waiting for that to happen again before the big order. Ohh and of course no shipping if you pick them up also save a bit.
I think you're right, and there's no way I want to regret doing this job because of relatively inexpensive sub par bushings. Prices add up though, there's a lot of them....
Just a note on SNG Barratt part numbers, which can help you avoid URO parts when you wish to, but still get a better price than jaguar boxed parts. If the part number has no * or # after it, it is a Jaguar factory part. If it ends in *, it is aftermarket (Such as URO but could be anything). The best bargain is if it ends in #... which means it is made by the original supplier to Jaguar, but it’s not jaguar packaged. That’s the same thing you to get from Jaguar but lower price!
 03-08-2020, 08:06 PM