When you click on links to various merchants on this site and make a purchase, this can result in this site earning a commission. Affiliate programs and affiliations include, but are not limited to, the eBay Partner Network.
I got the passenger side cleared pretty easily, but the drivers side (as people have said) is a bit more difficult. Obviously I don't want to disconnect more than I have to, and I was wondering if I need remove the air intake and gas lines? I've been looking around, and I haven't seen it answered exactly. It also doesn't seem as though it's possible to remove the #8 ignition coil.. But was just looking for some input before going forward. If y'all say it's possible, I'll just keep at it.
Number 8 is the most difficult to remove, with 7 the second.
The oil spout unscrews, giving you more room to rotate the ratchet.
Extensions with a universal is how i did mine
But as far as removing the valve covers.
Have not yet had that particular pleasure.
Number 8 is the most difficult to remove, with 7 the second.
The oil spout unscrews, giving you more room to rotate the ratchet.
Extensions with a universal is how i did mine
But as far as removing the valve covers.
Have not yet had that particular pleasure.
Good to know it's possible! Sometimes when I'm working on the car my lower back starts to doubt the process😅 I'll keep at it
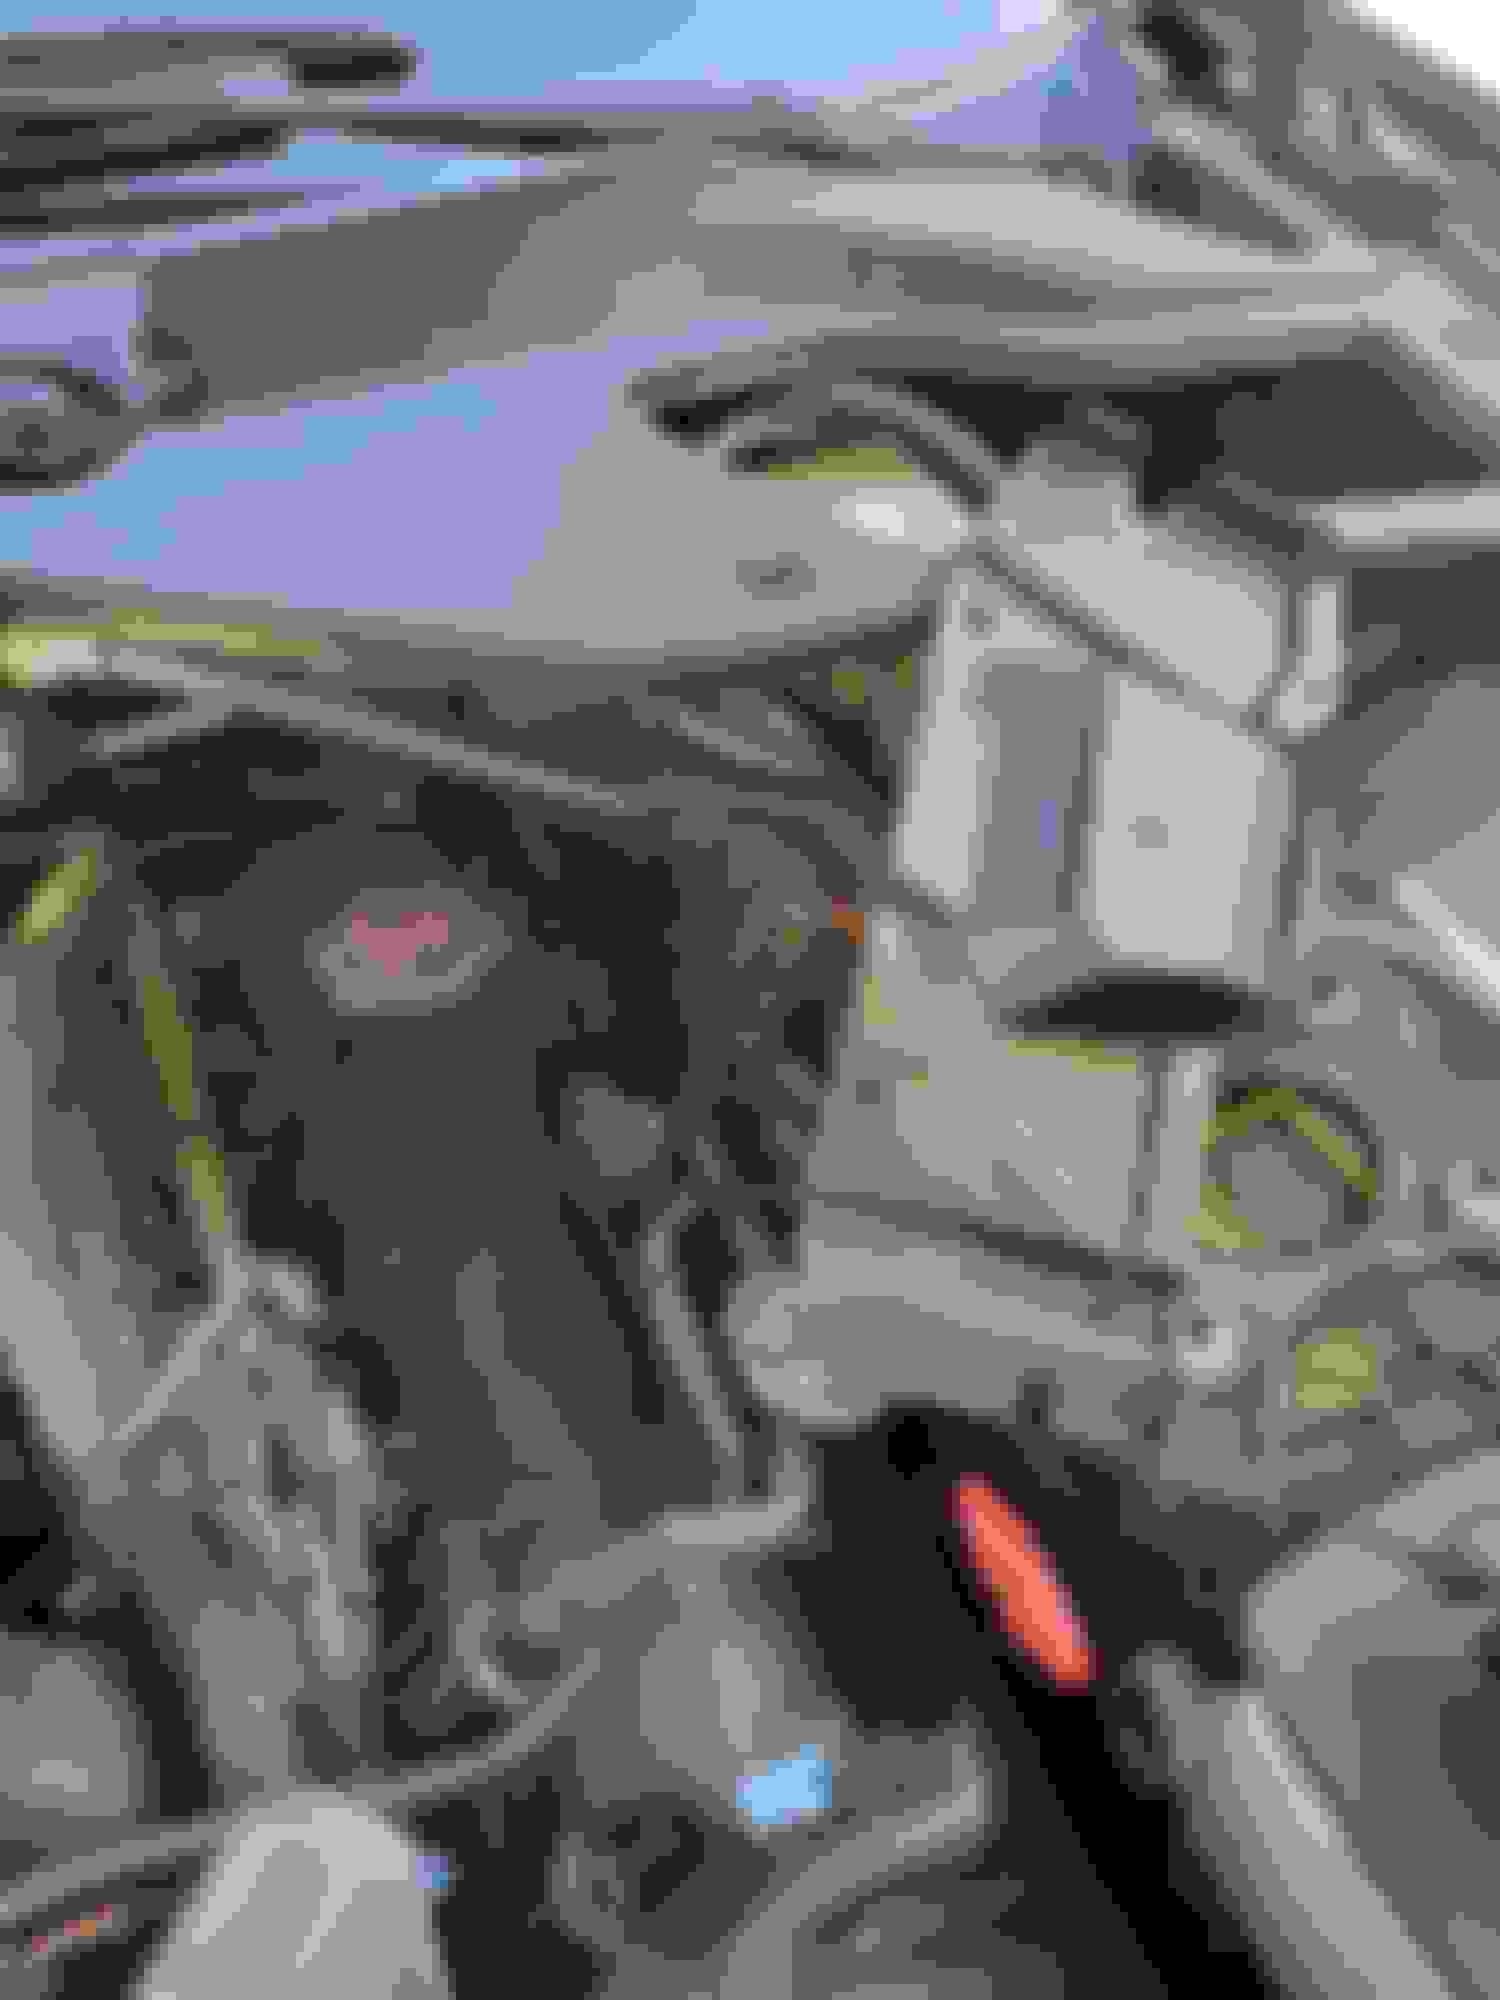
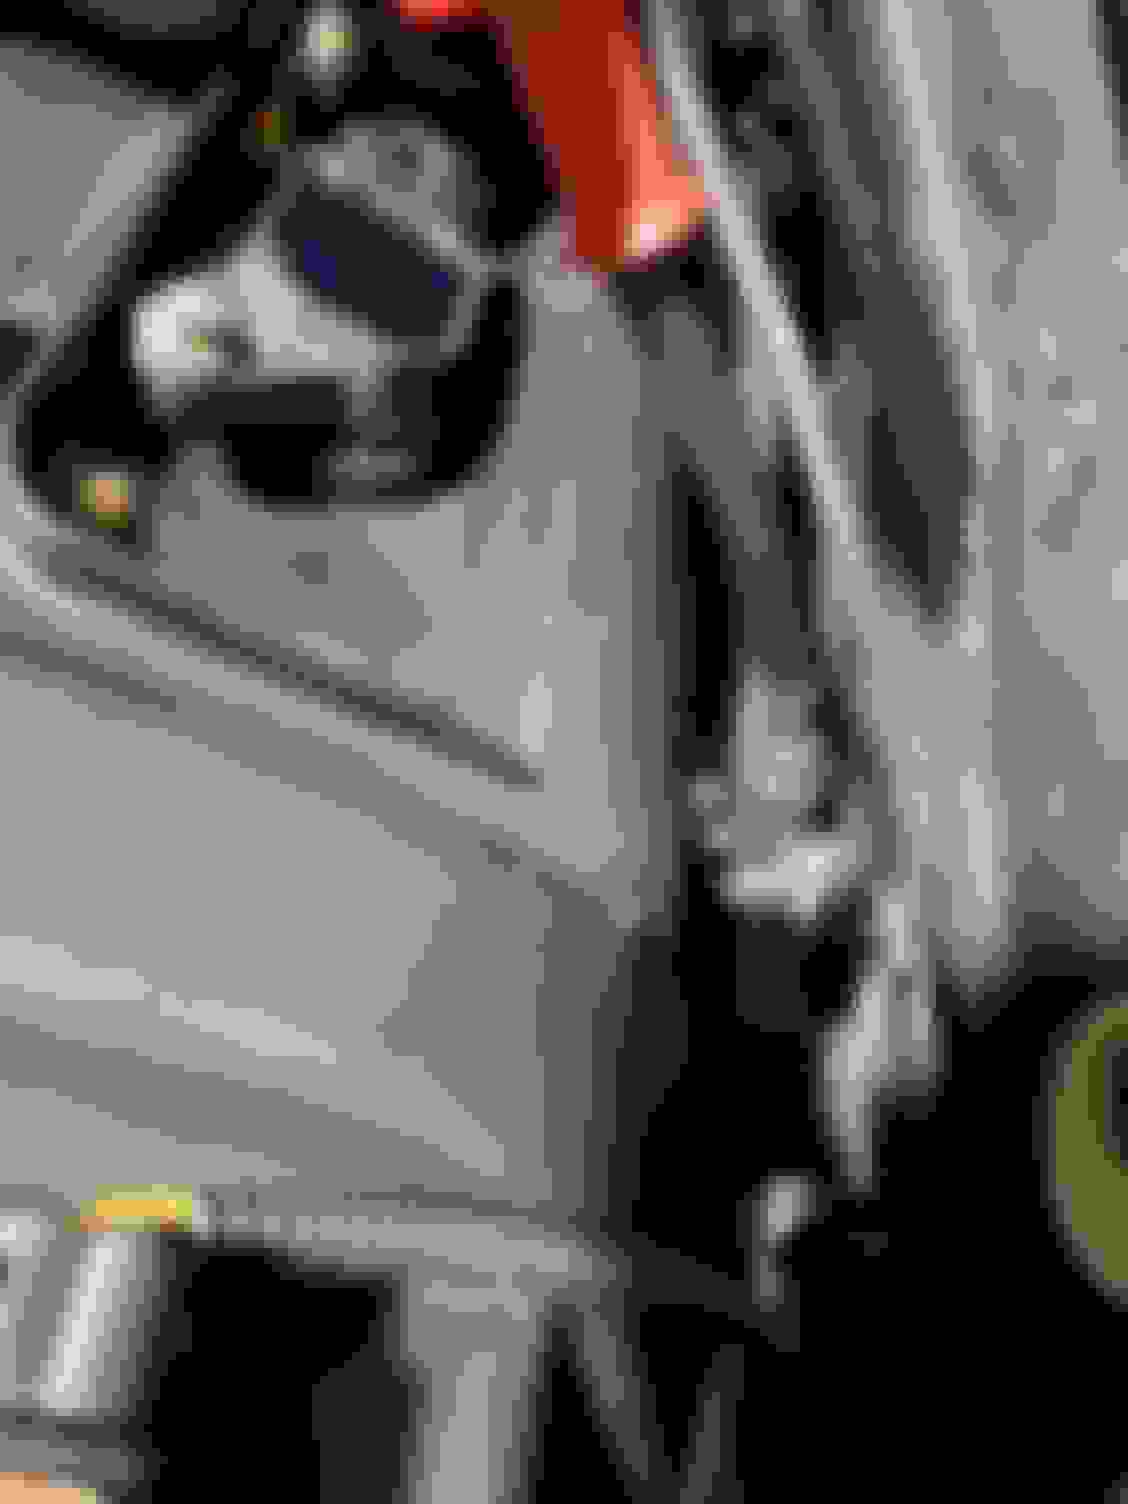
The only way to get the #8 coil out seemed to be by removing this plastic piece near the brake fluid reservoir. It has a few plastic clips holding it in place (don't forget the one at the bottom). Moving the bottom towards the drivers seat then towards the front of the car I was able to wiggle it out.
You must remove the fuel line at the quick connection after removing the spring clip. When removing the dipstick tube, DO NOT REMOVE THE DIPSTICK FROM THE TUBE, or you will have an extremely difficult time finding the hole in the sump when reinstalling it.
You must remove the fuel line at the quick connection after removing the spring clip. When removing the dipstick tube, DO NOT REMOVE THE DIPSTICK FROM THE TUBE, or you will have an extremely difficult time finding the hole in the sump when reinstalling it.
I would also recommend being careful when moving the plastic wire harnesses while the cover is off, being that they seem to crumble rather easily. I noticed lots of little pieces on the cover I had to blow off. You have to detached it in 3 places each side (if I remember correctly)
Dipstick bracket broke off while trying to reattach it to the valve cover. The welds were fairly weak. Thinking of using metal weld epoxy putty since the tube would be a pain to get back in, and a used tube could be in worse condition. Not sure though
Also I noticed it's easier to unseat the dipstick tube (just enough to move it out of the way) if you pull up the dipstick half an inch first. I think with it seated the gaskets on each end of the tube cause vacuum
I would try a weld first, but if you don't have access then I think Epoxy putty may do the trick. I don't recall the clearance available, but if you can use Epoxy putty and wrap it around the tube that should suffice. This can be done in a few applications. Another option, remove available dependent is to wrap it with some thin wire and then epoxy over that. Just make sure everything is degreased well - whether welding or epoxy. High temp epoxy should be used.
I followed the instructions (degreased, sanded) on the jb weld high temp putty and it broke pretty easily when screwing it down. I ending up removing the dipstick, and made my own bracket. It seems rather sturdy, and I've checked it after driving the last two weeks. Hasn't moved, and I can't unseat the dipstick no matter how hard I try (using a camera to check). I didn't have access to a welder, and the metal was so thin I was afraid of giving it to just anyone.
inserting the dipstick tube was not the easiest, but it could have been worse. Not possible without a small inspection camera as others have said. I had a cheap one from Amazon laying around. Before removing the tube I would recommend recording or taking a picture of the area it's located. It's much easier putting it back once you know where it was. You have to flip out upside down to remove it, pulling it towards the air box (which I removed). Also have to unbolt the power steering fluid.
Nice solution - I take it you bent the tabs down so the clamp would have something to catch. Did you install and seat the tube before final tightening of the screw clamp?
Nice solution - I take it you bent the tabs down so the clamp would have something to catch. Did you install and seat the tube before final tightening of the screw clamp?
Ya, I bent the bottom of the bracket so it wouldn't pull out. Under the heat shrink I also put some silicone tubing, so the clamp doesn't move up or down the pipe. The bracket is at the same height and angle as the old one. Had it seated before tightening down. So it seems pretty secure. I'll check it every other week, but I think it's stronger than the old one was.
Also for the valve cover - removing the air intake and unbolting the power steering fluid housing gave me much more room to work. You also need a gas line disconnect tool to remove the gas line (which every one probably already knew). I gently tied the line out of the way (didn't move very far, but it helped).
On the passenger side the gasket fit fairly snug in the cover, and you have a lot of room to work. I didn't have to use rtv to keep the gasket in place. But the driver side popped out once, and you barely have enough room to get it back in. Big pain. Fighting with the wire harness while trying to get it back over the vvt .. would have helped to have two sets of hands. I could have gotten more slack by unplugging the fuel injectors, but I tried one and the clip broke so I left it alone.
I changed the spark plugs while the cover was off (very carefully of course). They were much easier to access. Used NKG IFR5N10. It said they were gapped to .040 but seemed more like .039. I left them as they were.

 11-28-2020, 08:33 PM