When you click on links to various merchants on this site and make a purchase, this can result in this site earning a commission. Affiliate programs and affiliations include, but are not limited to, the eBay Partner Network.
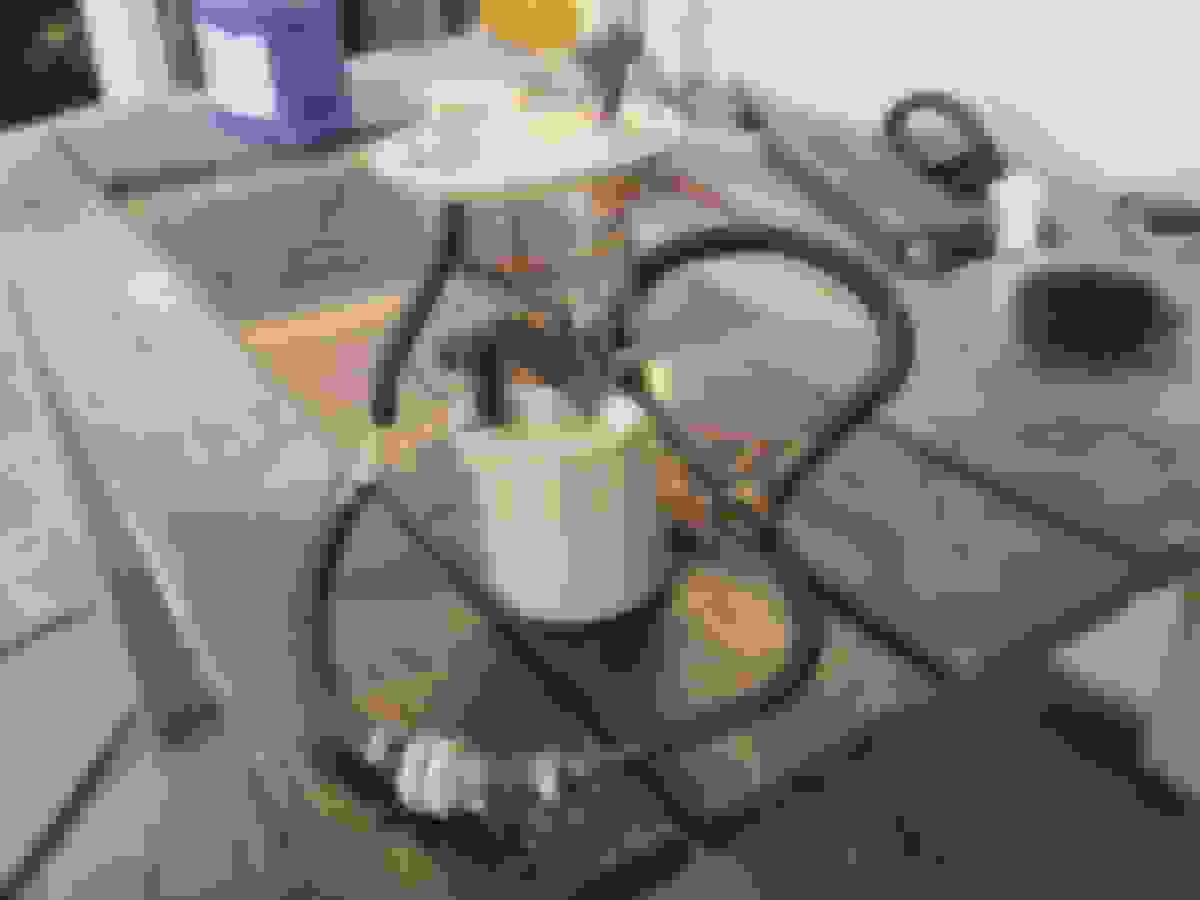
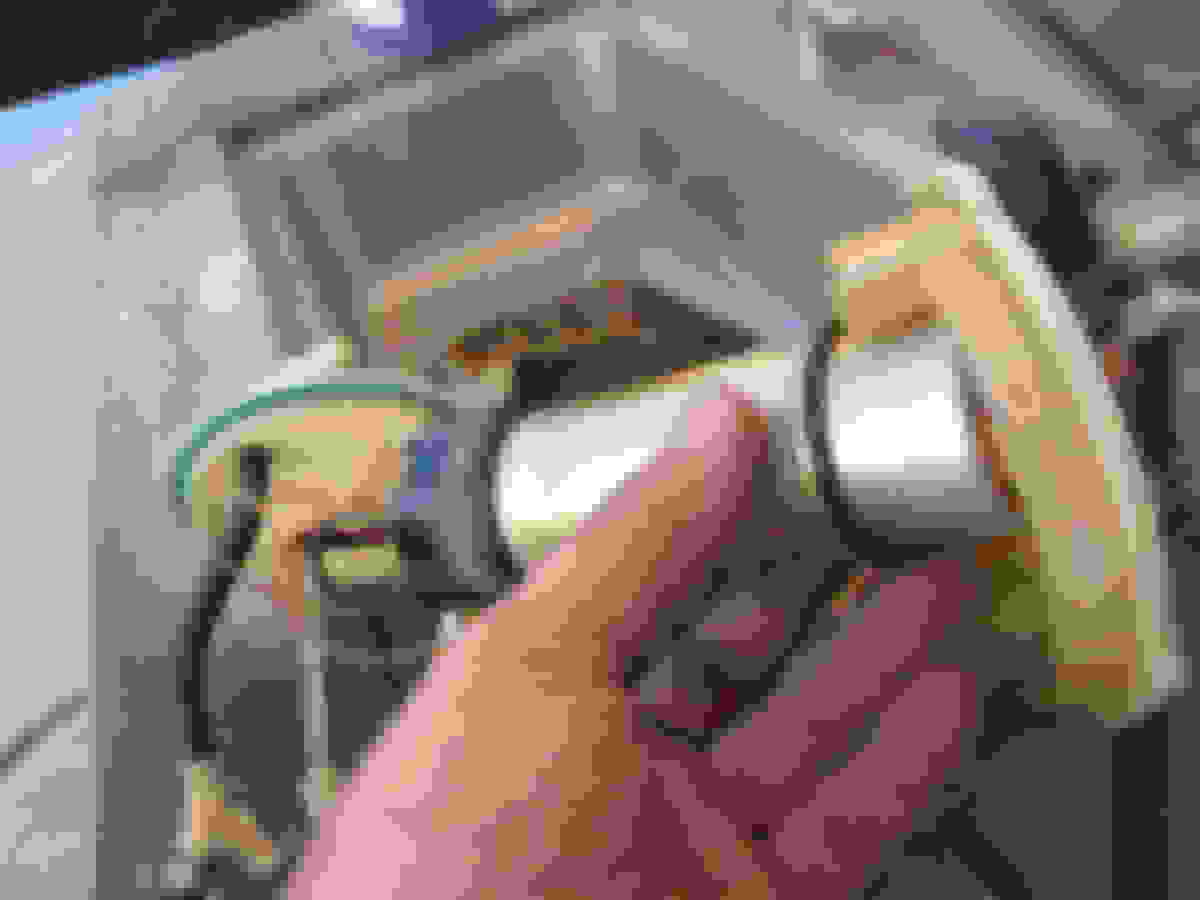
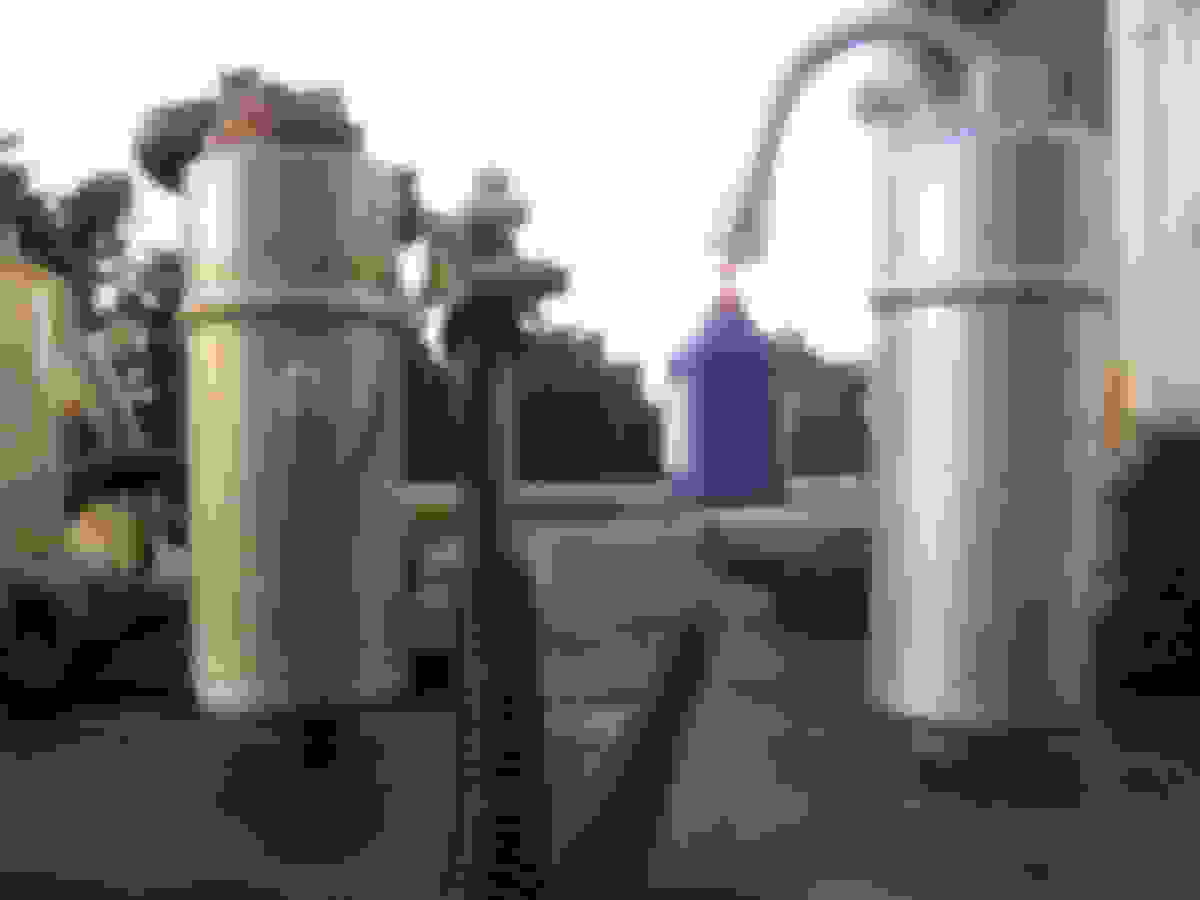
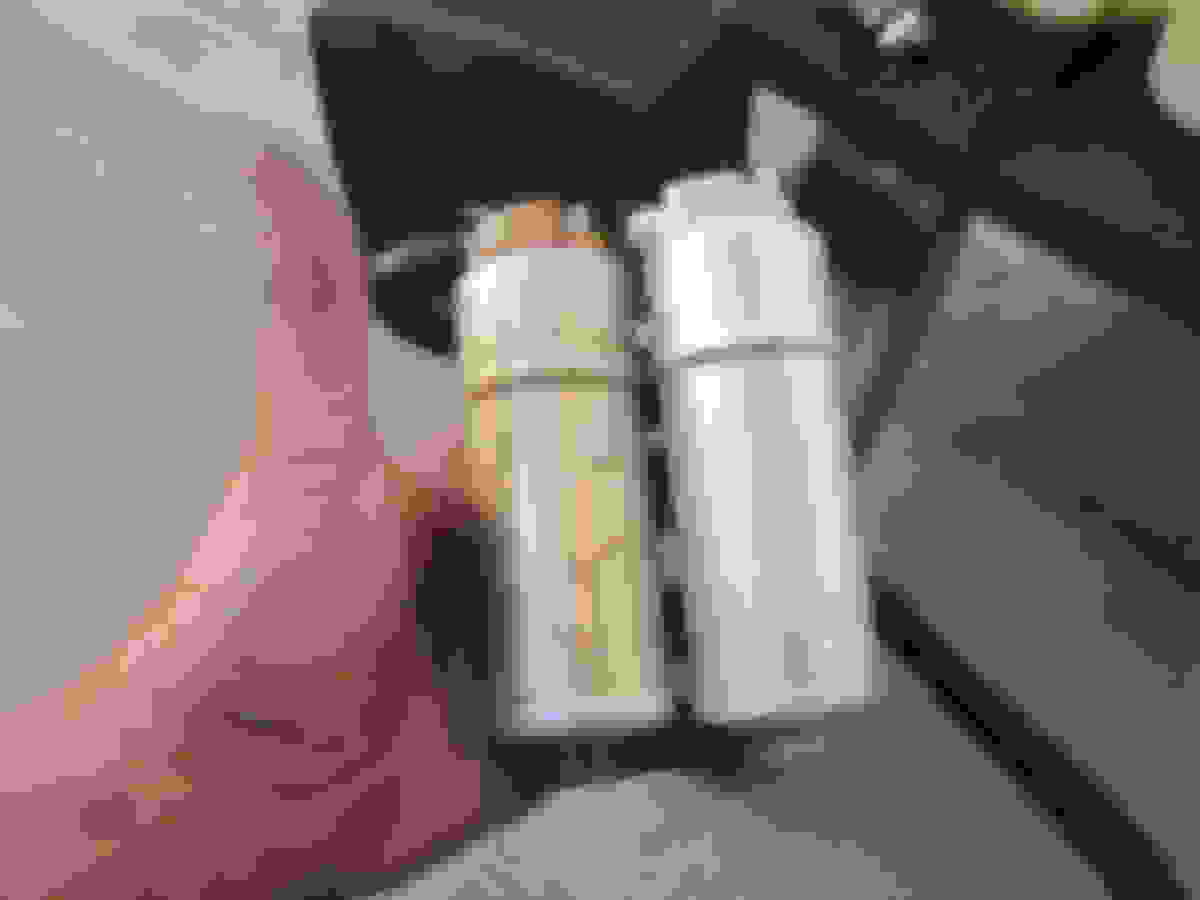
I managed to remove the rear seat and get access to the driver's side fuel pump. I had full intention of building the tool that is documented earlier in a link posted in this thread but decided to use a brass punch and a brass hammer to see if I could get the locking ring loose and it came right off without any issues. Now what I am looking for is the check valves. i wonder if the white inline gizmo that is shown in the picture attached is the check valve. I am sure there is probably one on the other side. If it is it is definitely bad.
If the fuel pump were to go bad, it looks like one can source it, keep the housing (assuming the housing is still good) and replace just the pump saving a boatload of money....
"If the fuel pump were to go bad, it looks like one can source it, keep the housing (assuming the housing is still good) and replace just the pump saving a boatload of money...."
I did that on a Saab years ago.........the pump itself was a Walbro.
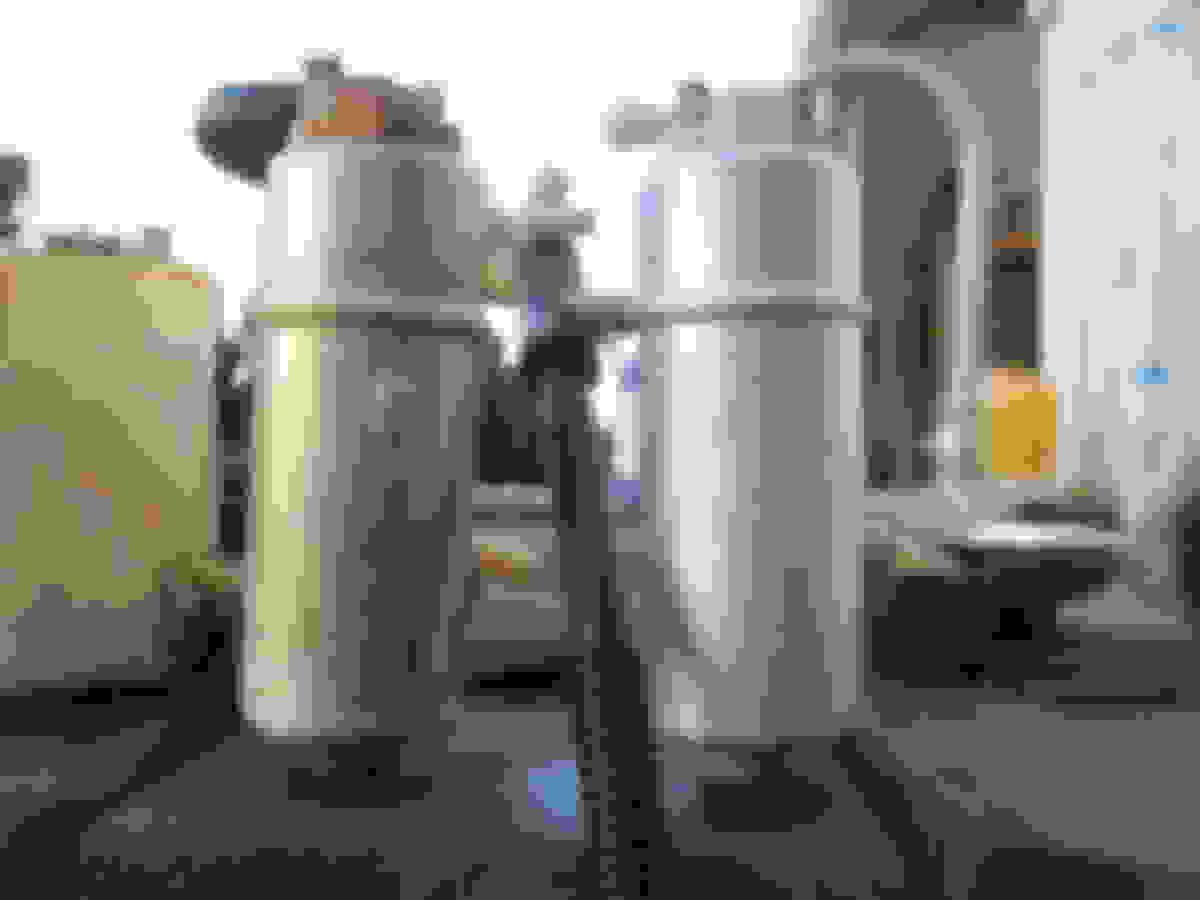
So I am not familiar with this time of fuel pump. It look like it is in two pieces. I can separate the top from the bottom by simply pulling the top part of the pump apart... is this normal? Check the following video:
My new pumps were the same, with the top part lifting out. Actually one of them was separated so it could fit in the box.
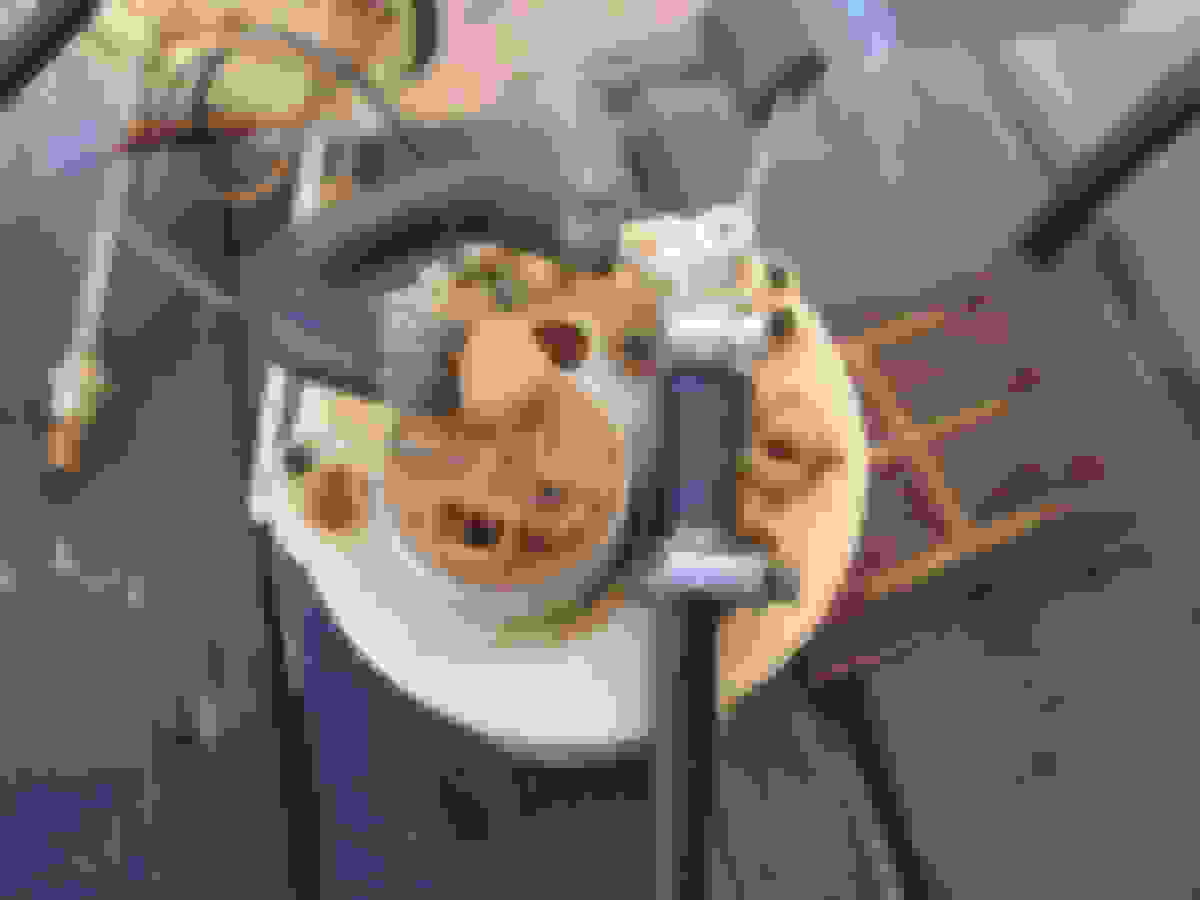
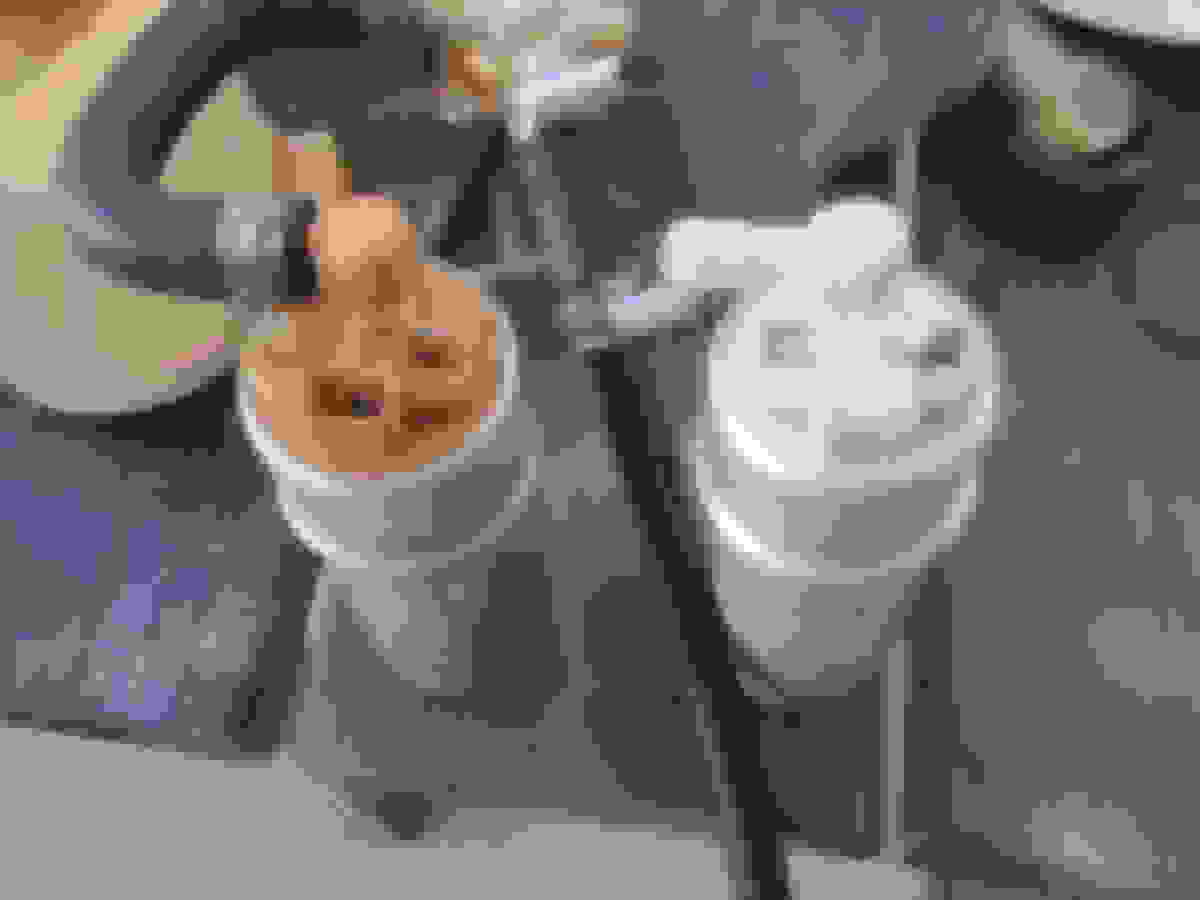
I am pretty sure that the check valves are the white plastic pieces as you noted, but cannot be 100% definite.
If I have time later i'll pull out my old pumps and see if I can disconnect that hose, check if that piece really is a check valve.
Cambo, that would help a lot if you can check that out for me. If that is the case, I can source some generic check valves, splice them in with new hose and see if that fixes my problem!
I just checked one of my old pumps. That white plastic thing in the line certainly appears to be a check valve. I disconnected the white plastic y-fitting off the housing (what you had marked as a pressure releif valve on your picture) and then tried to blow through the pipe. No go. Then i tried to suck through it and I got a mouth full of fuel vapour. I'm confident those are the check valves.
Good info on the OEM pump supplier. Can you take down the physical dimensions of the pump, we would be able to find an alternative, the flow rates and pressures are already known so it's just a matter of finding one that fits in the housing.
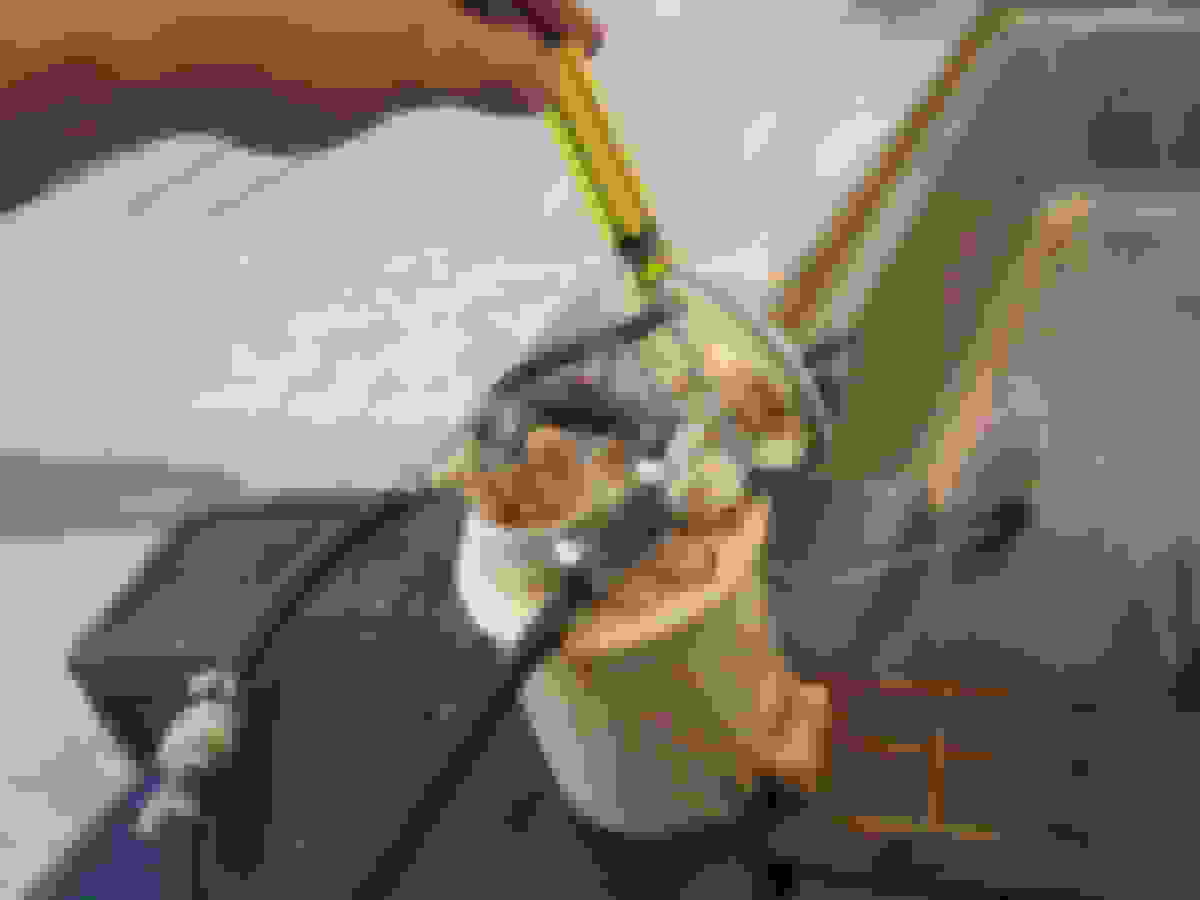
The check valve attached to the driver's side pump was stuck open. After blowing some air and resetting it, it started working! Now, I obviously had to cut the two flexible lines out to get to the check valve and reassembling the check valve to the driver's side pump was not easy. I kept trying different things and finally got. I will post on that endeavor a bit later.
For now, here's the video where it shows the pressure holding steady even after the car is turned off. The cheapy Harbor Freight pressure gauge shows 45psi but my OBDLink MX reader shows a pressure of 55psi
These are the two flex lines that I had to cut to get to the check valve
I tried different things to hook up the cleared check valve back to the pump assembly. I used these two hoses (had to cut the Dayco line to make it fit)
The final connection of the Dayco fuel line to the pump was made after a shoved the bottom part of the fuel pump assembly into the tank. That was the hardest part - connecting the in tank hoses, shoving the pump in, making the final connection and then screwing the cap on
One more piece of information that will most likely help someone in the future:
When I put the lids on both the fuel pumps, I needed to torque them to 60 N.m (that's what the book says). I did not want to use the drift and the hammer to line up the marks. That's when things break. Loosening things up with the drift - not a big deal.
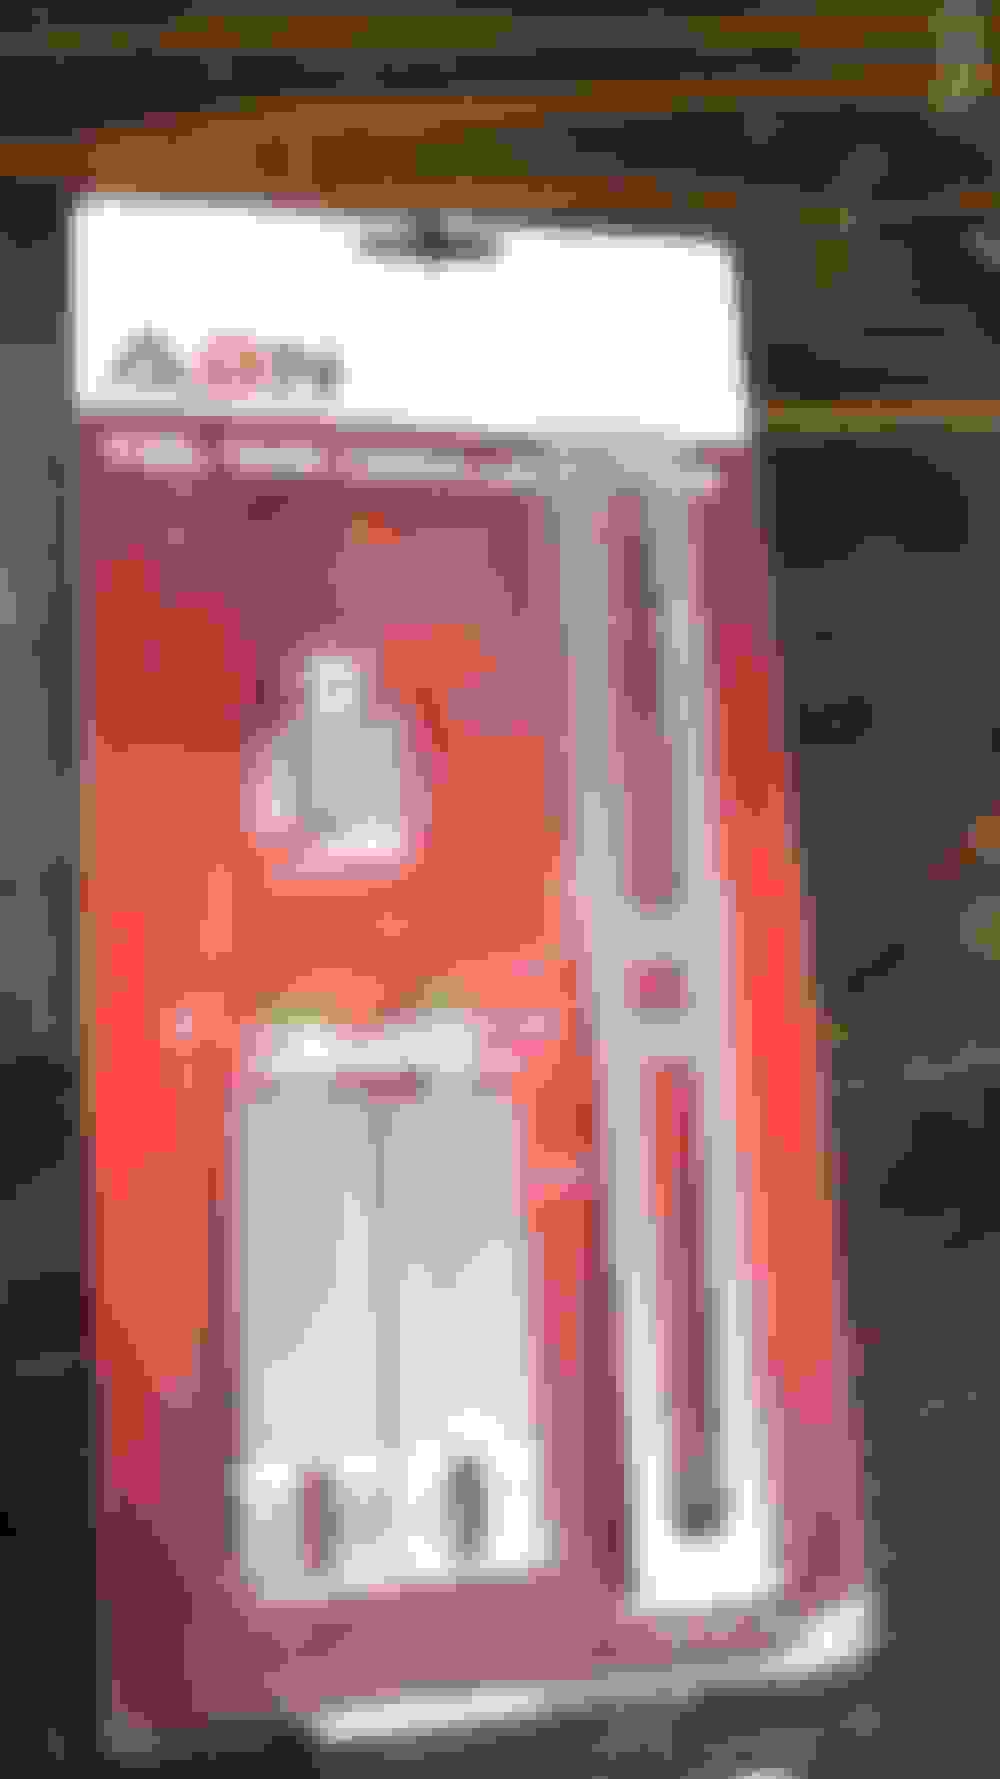
I received mine today and promptly went to work to secure the fuel pumps lids to the 60N.m torque value. It worked like a freaking charm!!! You can use the same tool to loosen or tighten the lids. And for $21.00! The specialized tool that Jaguar calls for costs over $500!
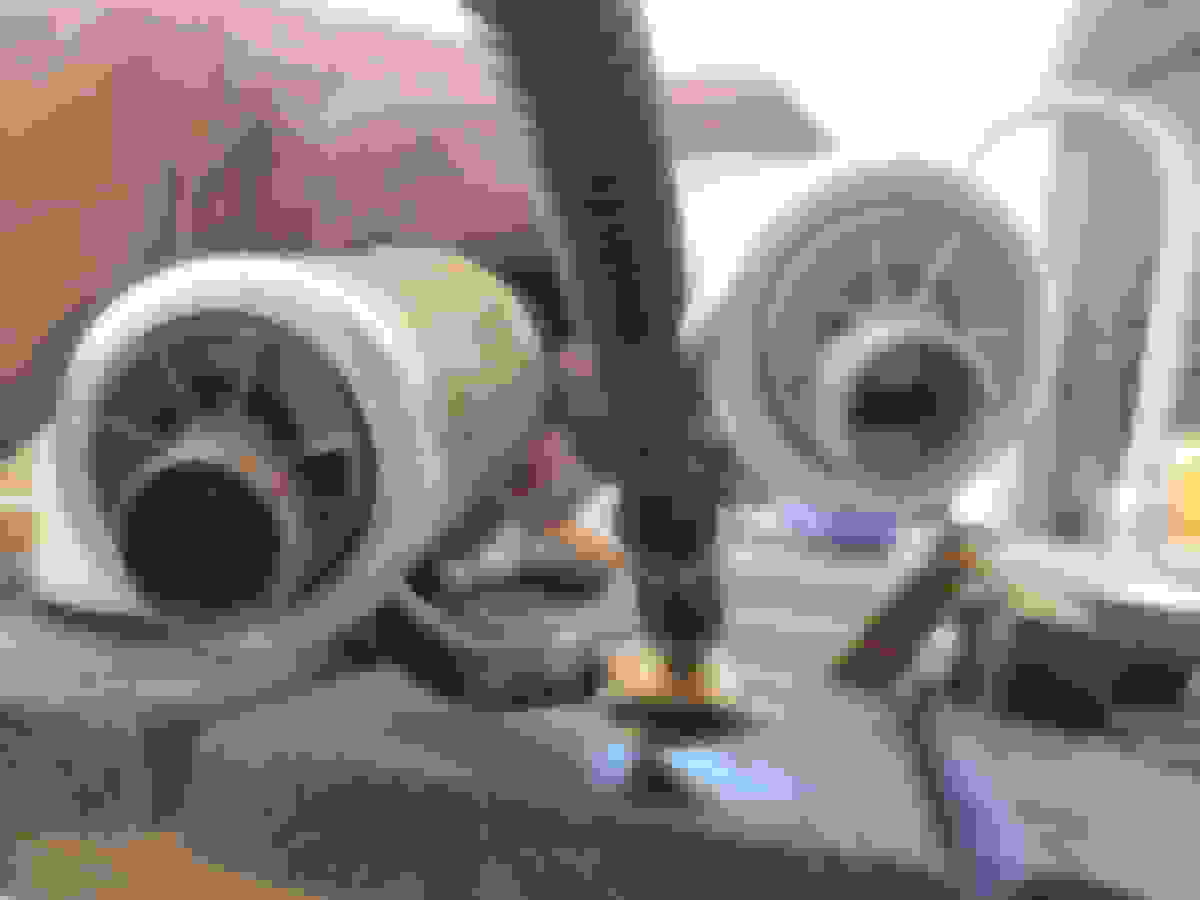
The dimensions of the fuel pump are:
- Diameter: 43mm
- Highest point on the pump to the bottom - Height: 153mm
I found this. The diameter matches, the top looks identical, but the height is off. I think when I took my measurement, I may have included part of the housing as part of the height. I know I did not remove the pump from the housing.
Thinking of getting one, playing with it and comparing it to, what appears to be, a set of dead pumps that my XJR now sports. Worst case I can rig it to do something useful around the shop.
Another piece of information. The Pieburg 7.28177.01.0 pump (the actual pump in the XJR) cross references to the Ford 2R 8U 9 350 AA. The search runs out of steam there. No further info.
Now this site, which I believe represents Pieburg, lists 7.28177.01.0 as not available: Type in 7.28177.01.0 for the article number once you "login".
Cambo (06-18-2016),Datsports (06-22-2017),Don B (03-16-2018),hafren (06-19-2016),meirion1 (06-18-2016),Panthro (02-15-2018),rtcosic (10-24-2017) and 2 others liked this post. (Show less...)
This old thread has been very helpful. I had no fuel pressure at the rail, and took out both fuel pumps. I think my problem is going to be the check valve - I can't blow through it in either direction. I did go ahead and order two new pumps though, since I have 110,000 and I don't want to go through this again. I found the original Pierburg pumps for $122.54 on Amazon.
Have you fitted the pumps yet? do they fit? looking at the same problem, dealer wants $1800 cdn, for the whole drop in assembly. I have an early vin, G26497, different part # for Vin after G27198, presumably something else in the fuel pump assembly, not the pump itself, I hope!
The brand name on the actual pump isn't pierburg, but they appear to be identical. Everything went back in with no trouble and I now have 60psi on the rail at idle. I had also replaced the fuel pressure sensor on the other rail, and it seems to run fine. All in all, I'm happy to get this done for right around $300.
Cambo (10-30-2017),Don B (10-30-2017),Panthro (11-19-2018),psg (10-31-2017),Thermite (08-15-2023),wwr (02-12-2018) and 1 others liked this post. (Show less...)
 11-20-2015, 06:09 PM