When you click on links to various merchants on this site and make a purchase, this can result in this site earning a commission. Affiliate programs and affiliations include, but are not limited to, the eBay Partner Network.
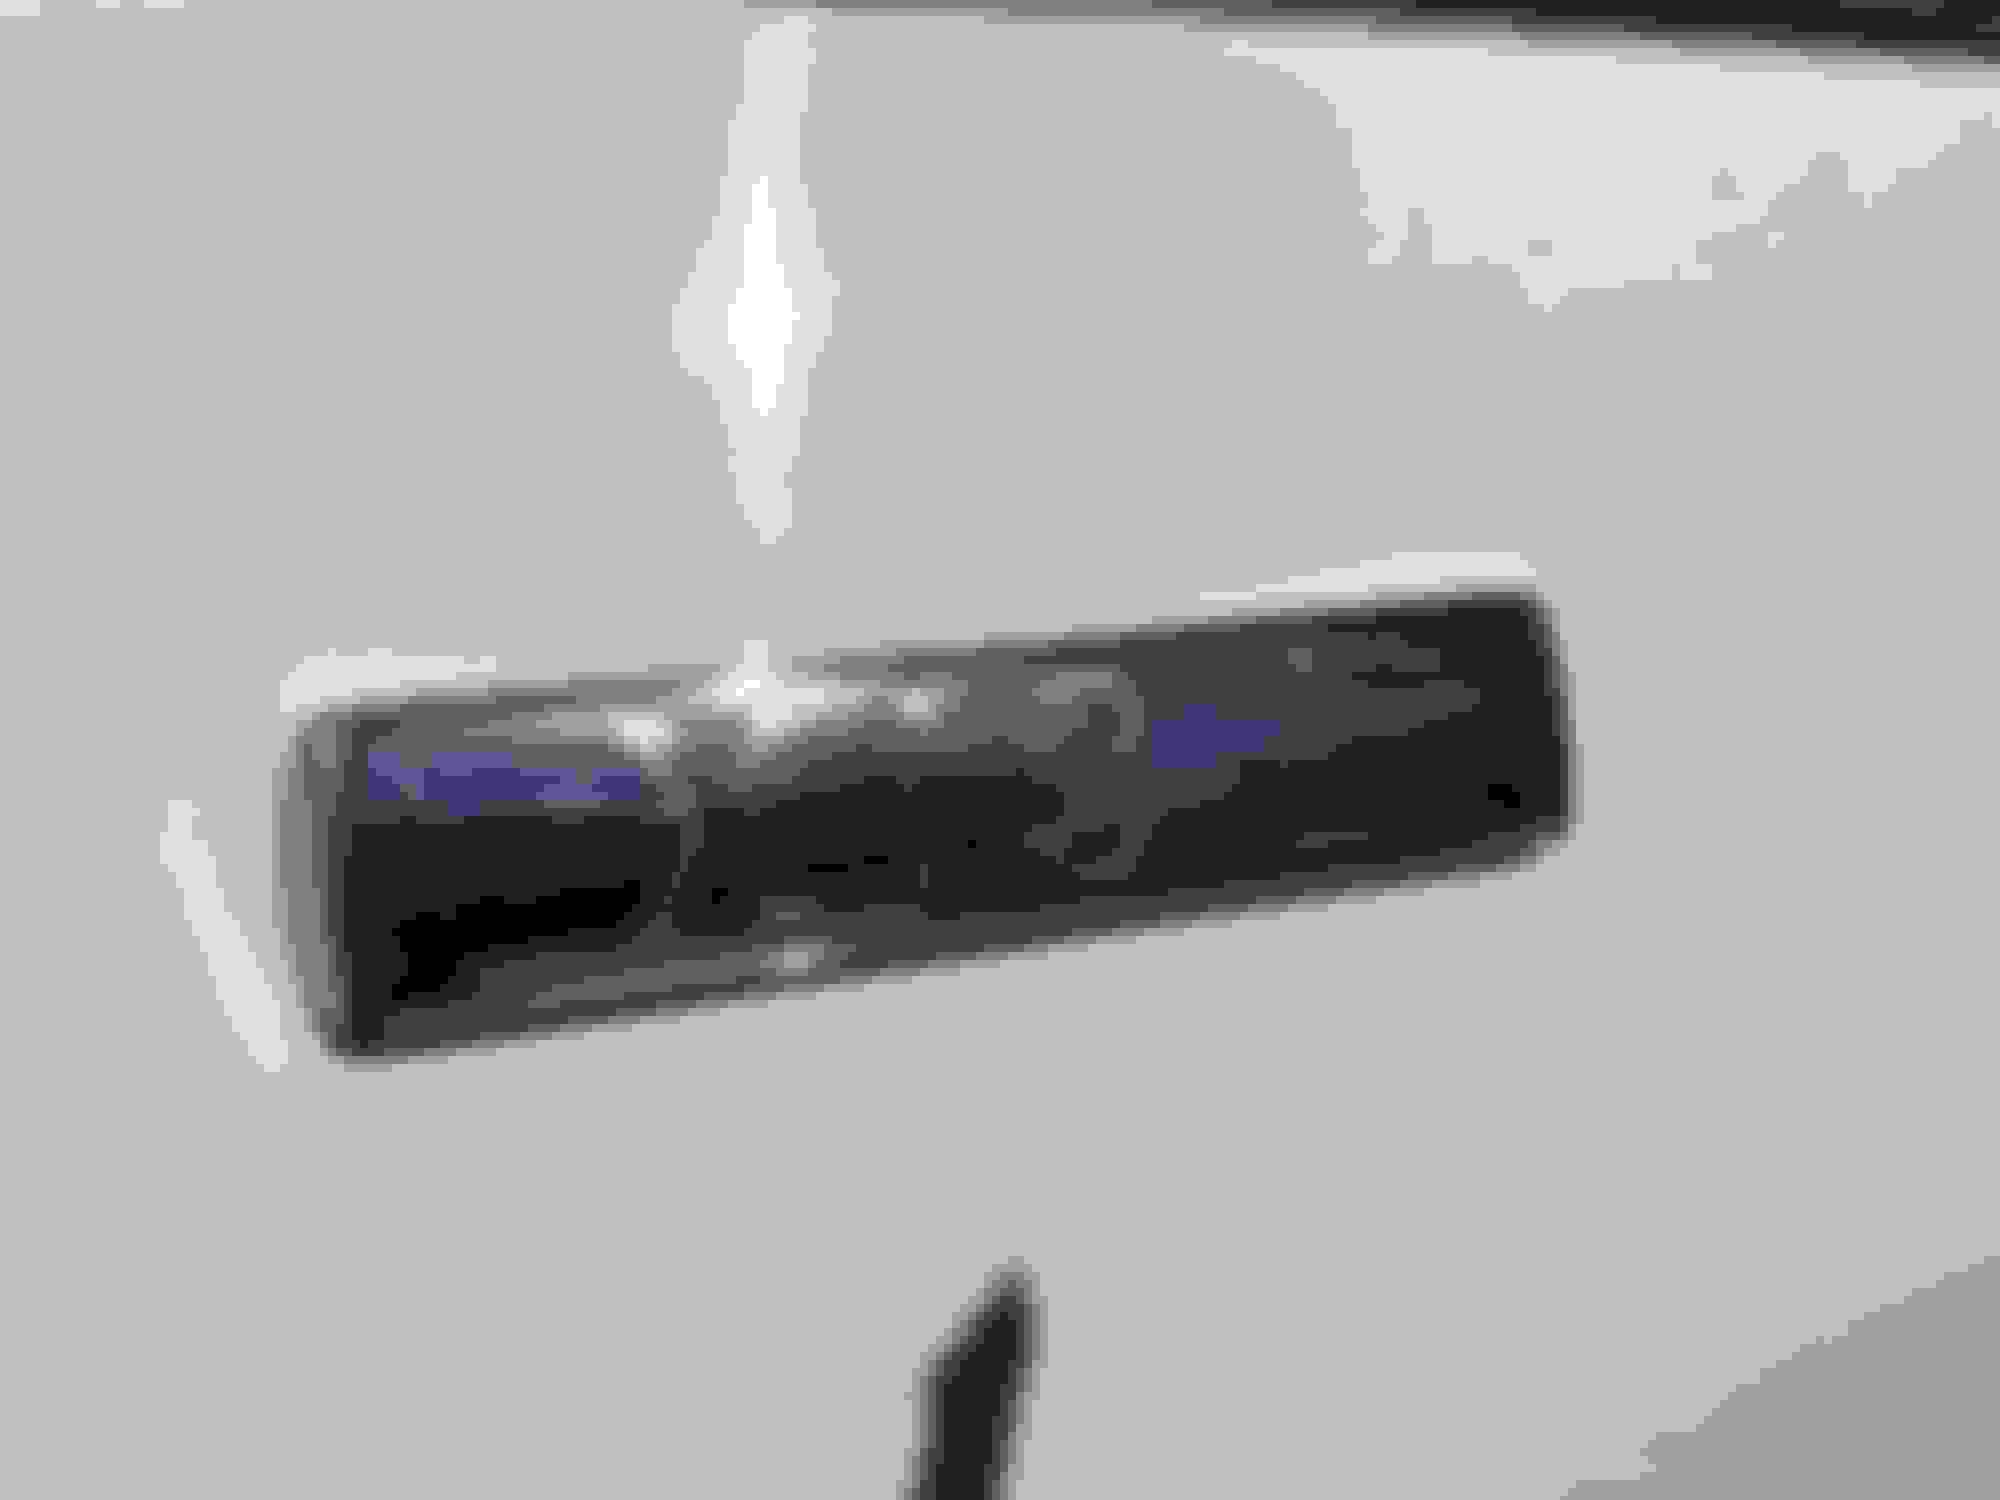
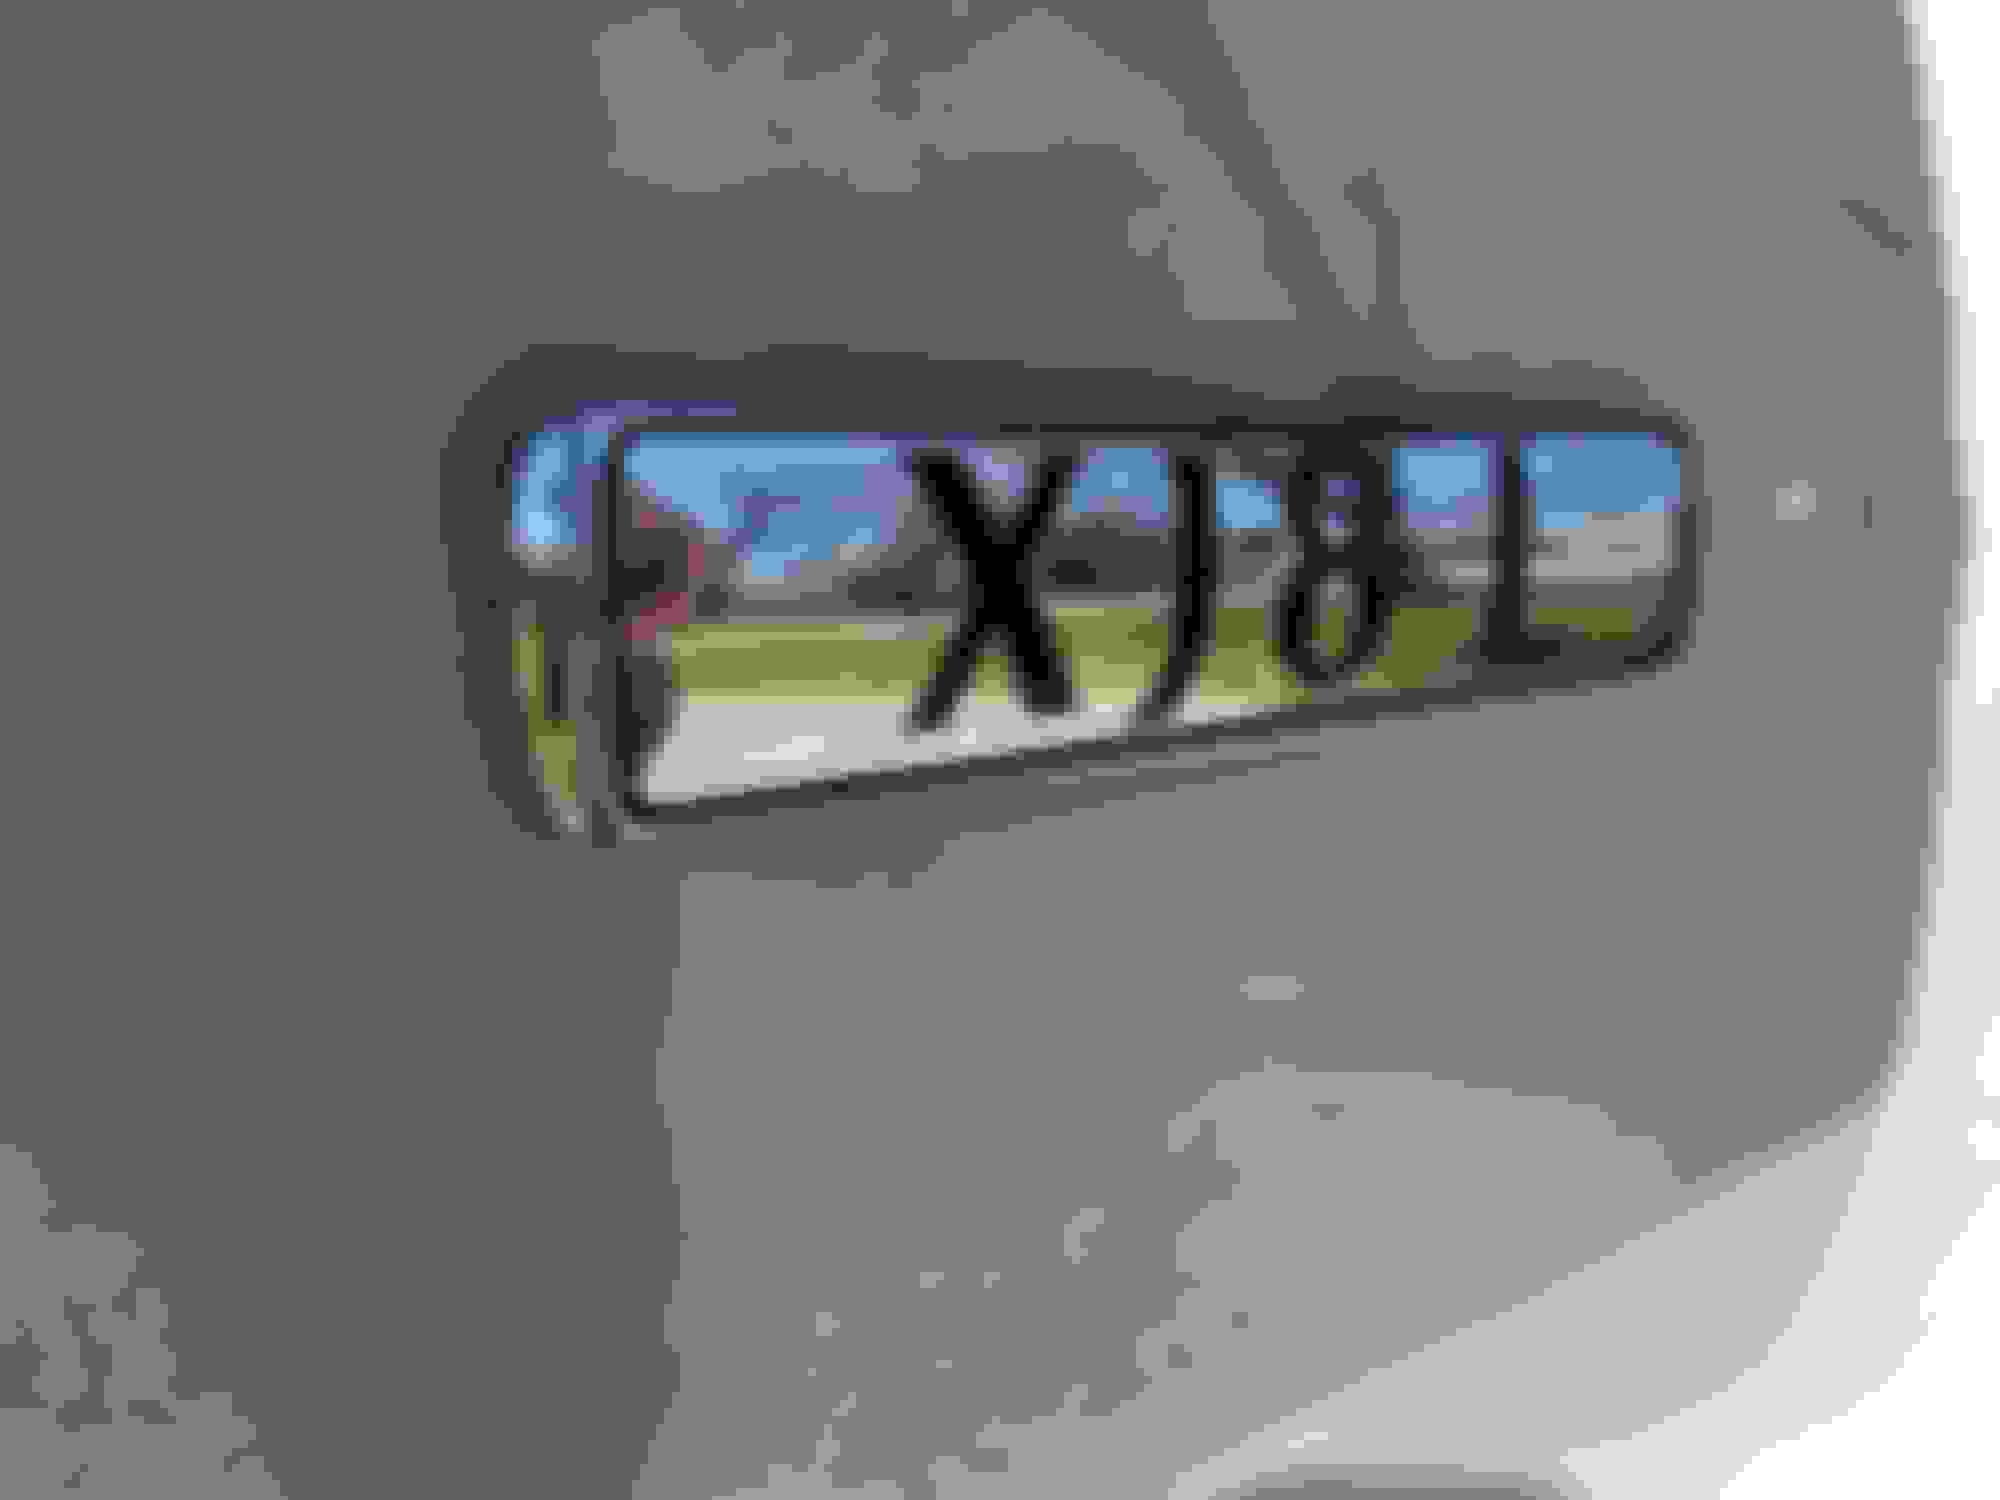
The years have taken a toll on my boot badge and trunk release button, so I decided to clean them up a bit. I had some extra gloss black enamel model paint laying around, and sourced a replacement button from ebay for a very fair price. A little time invested and I'm very happy with the results, just thought I would share.
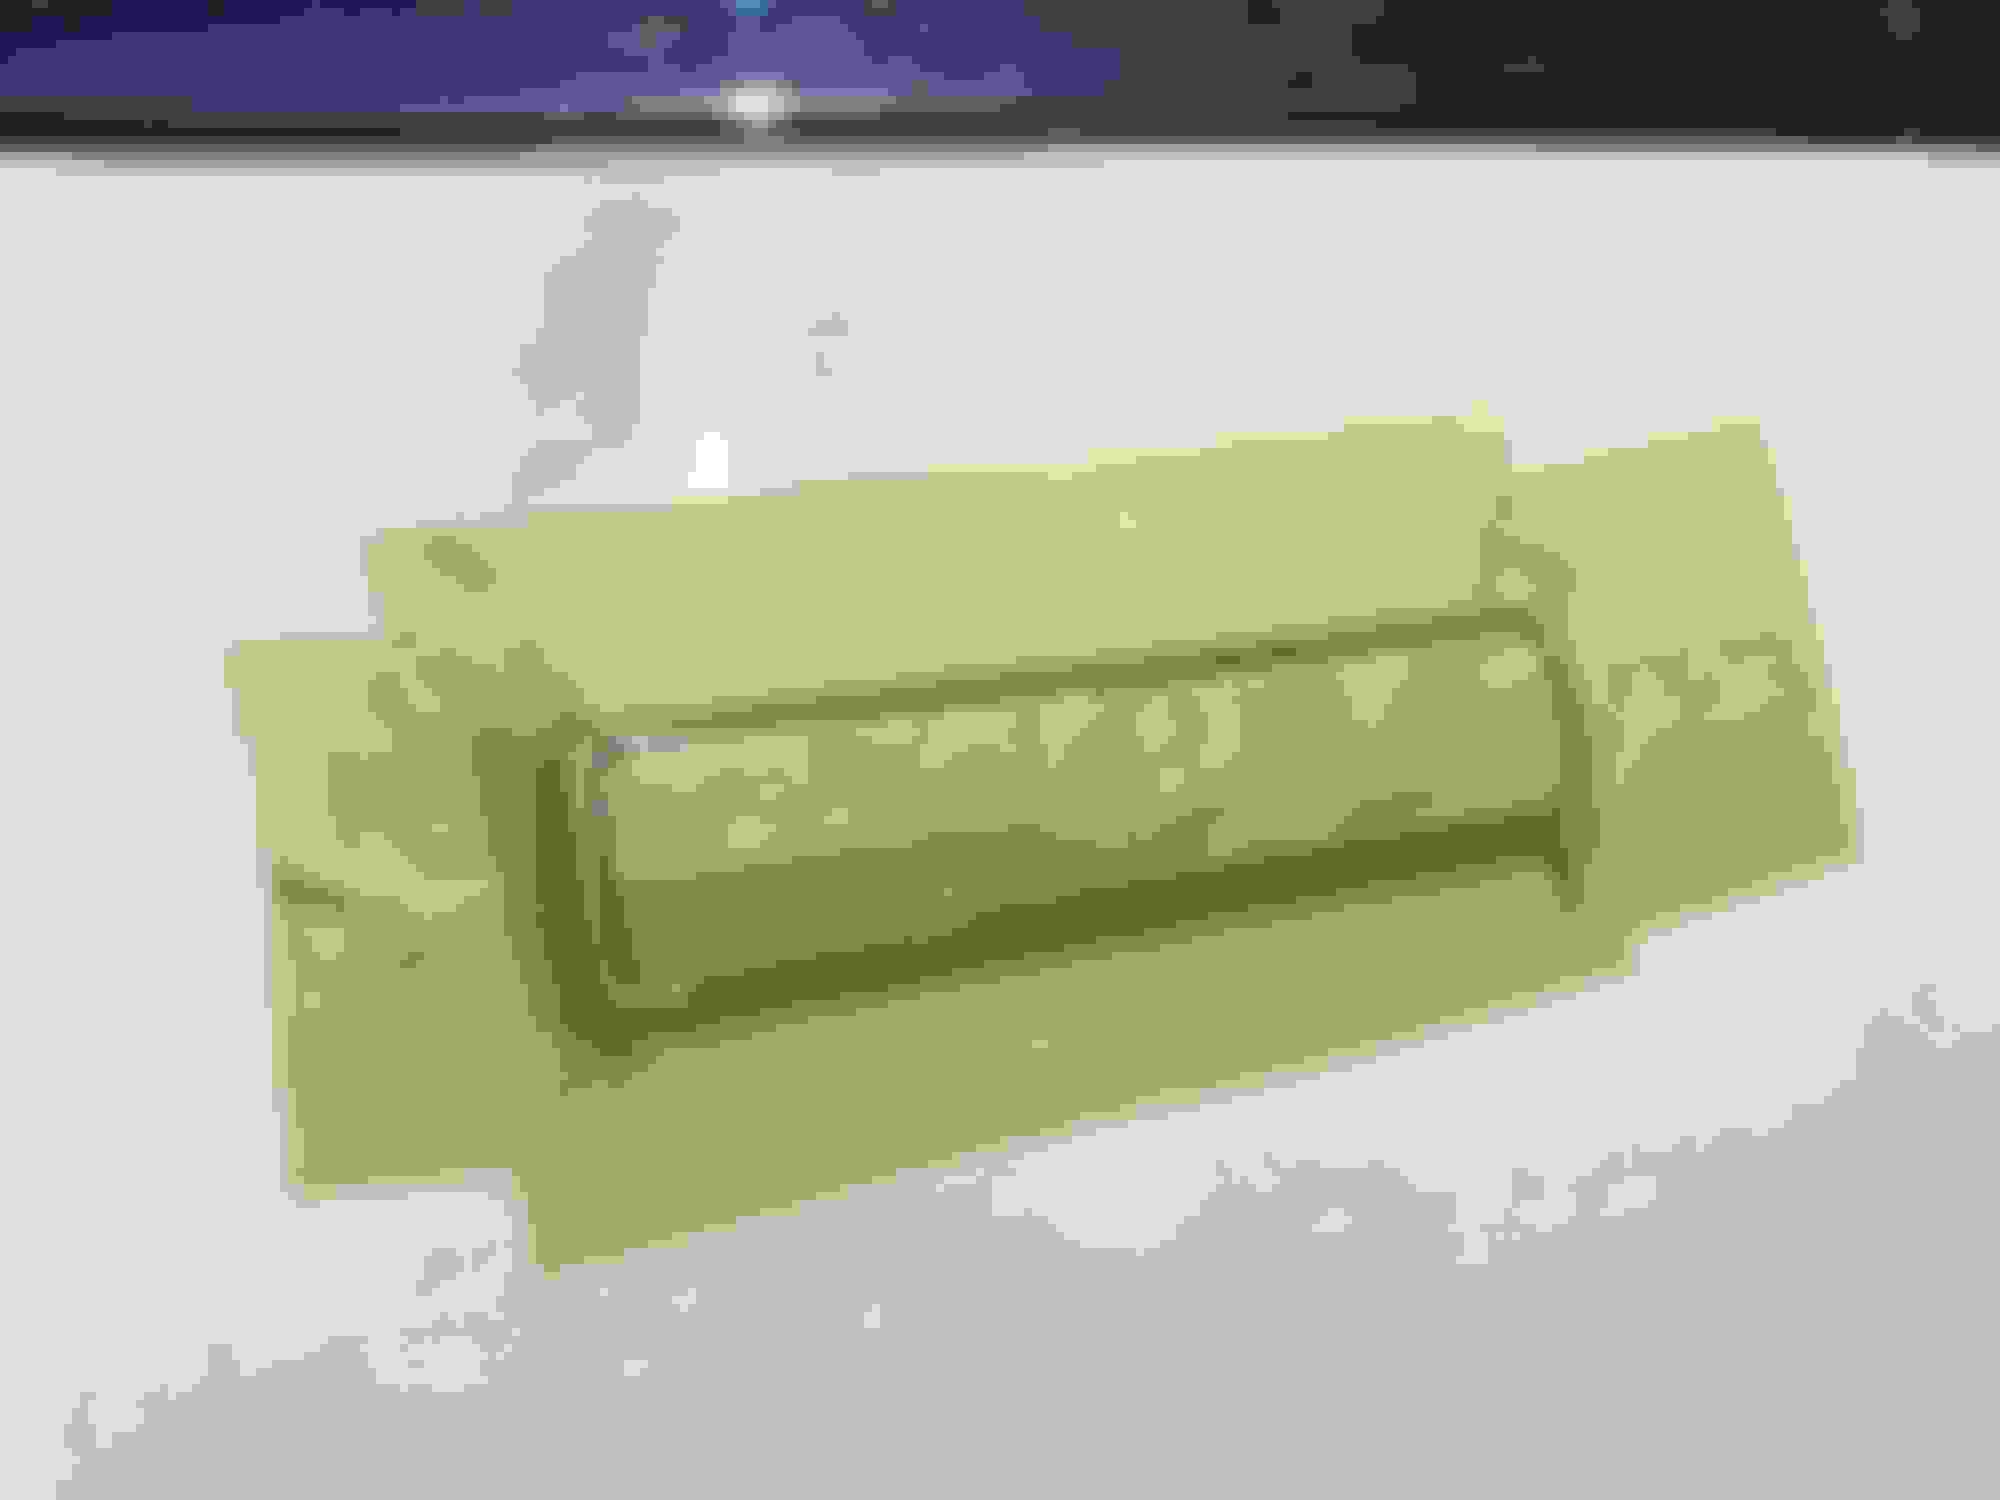
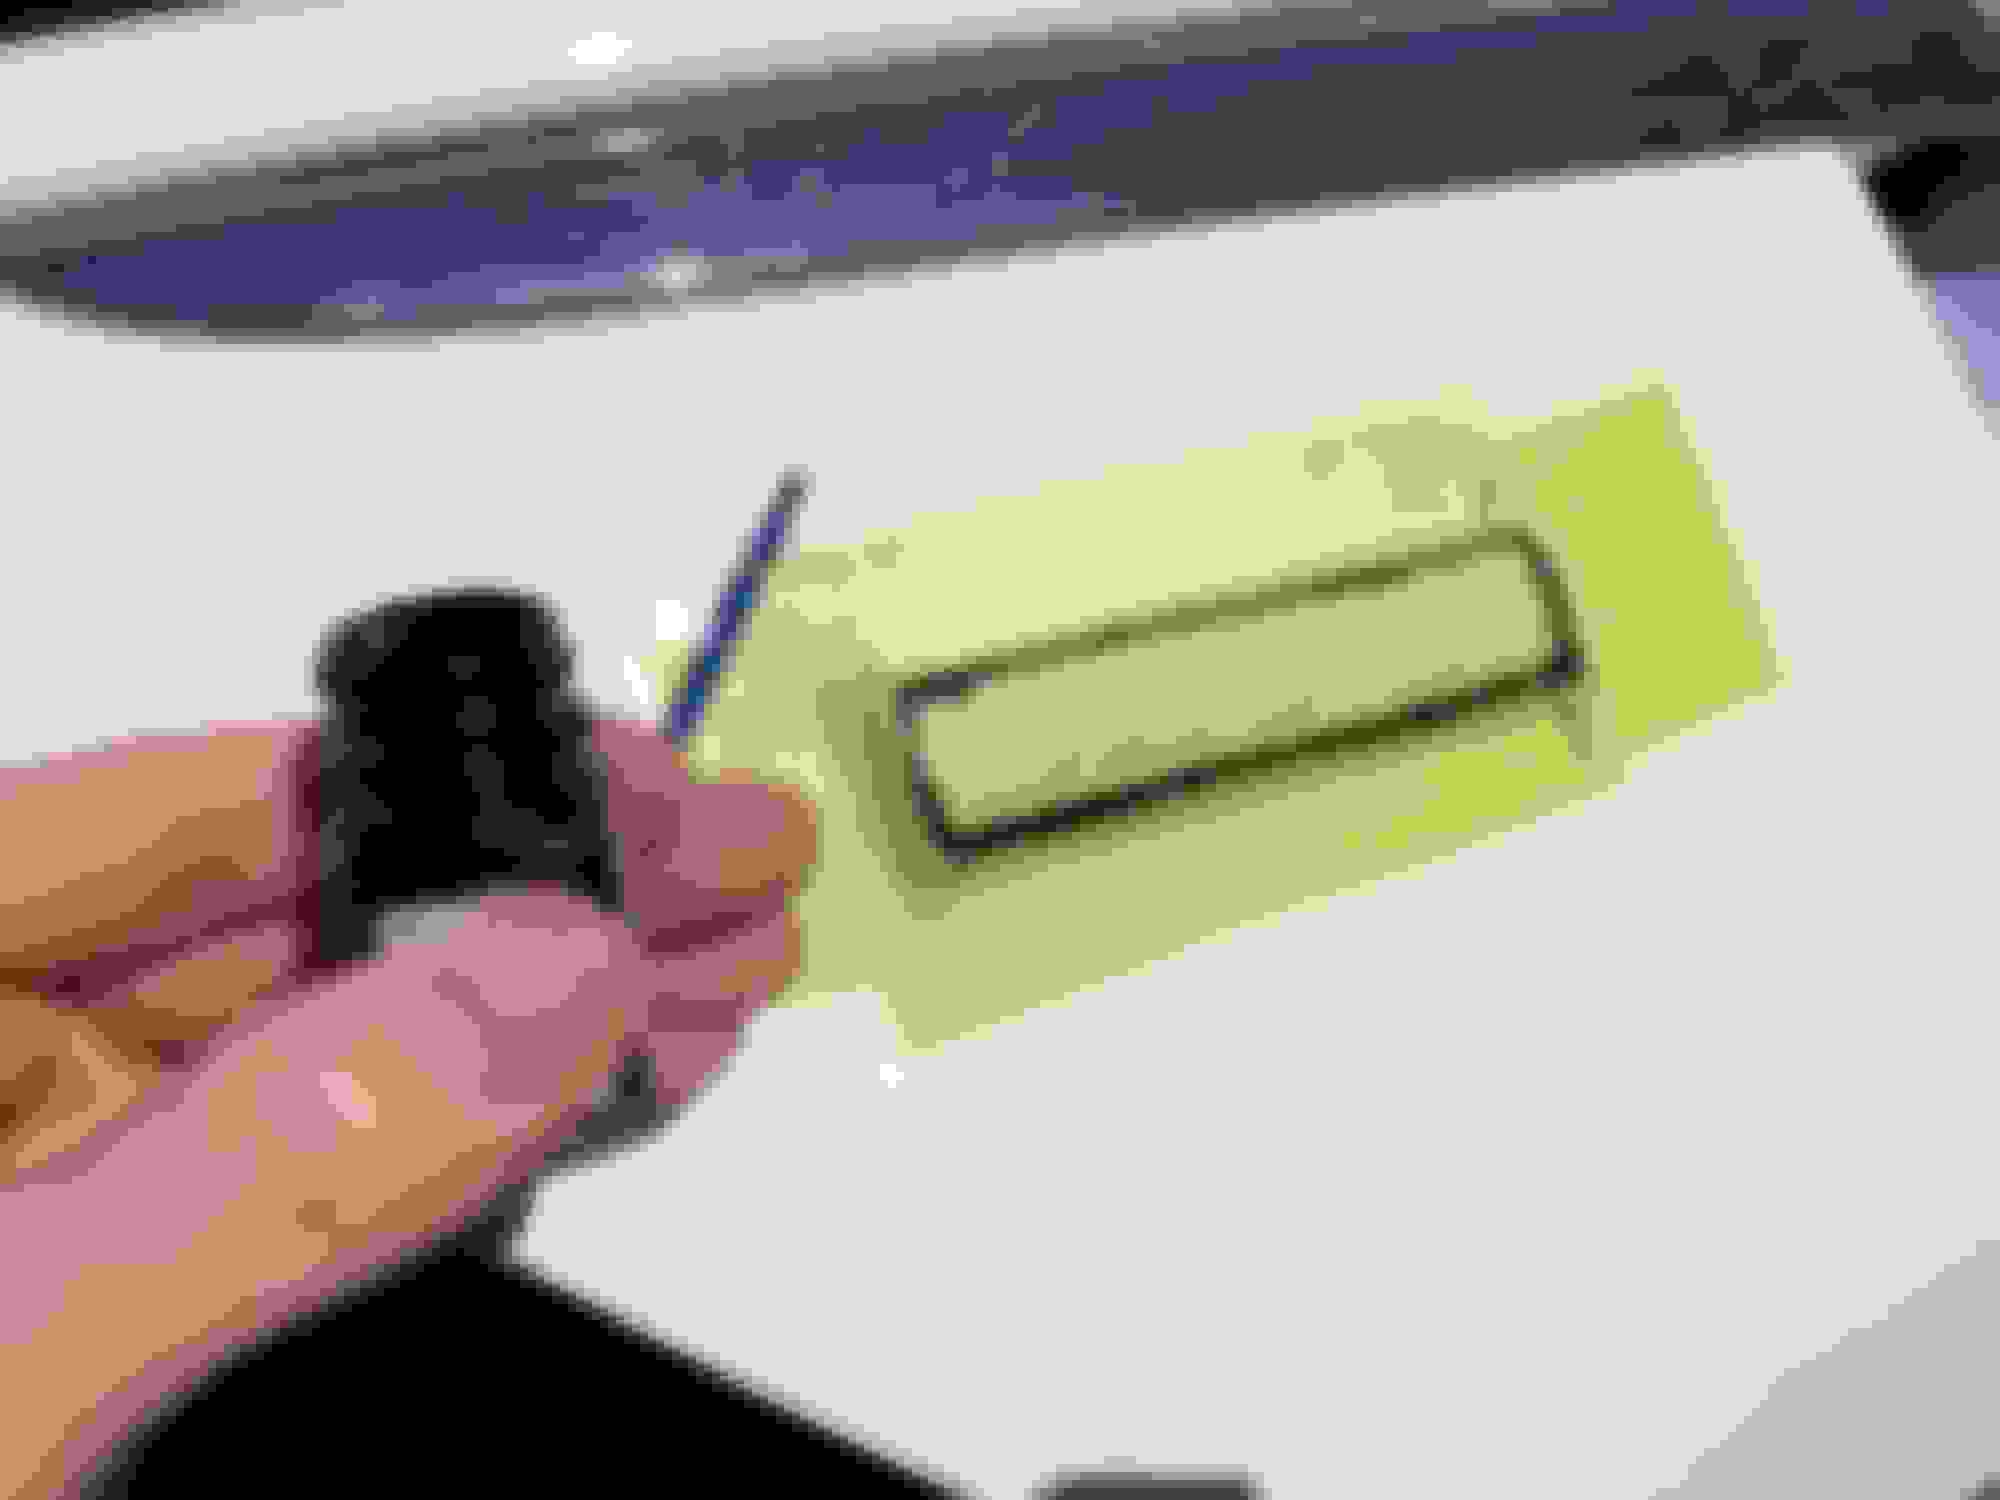
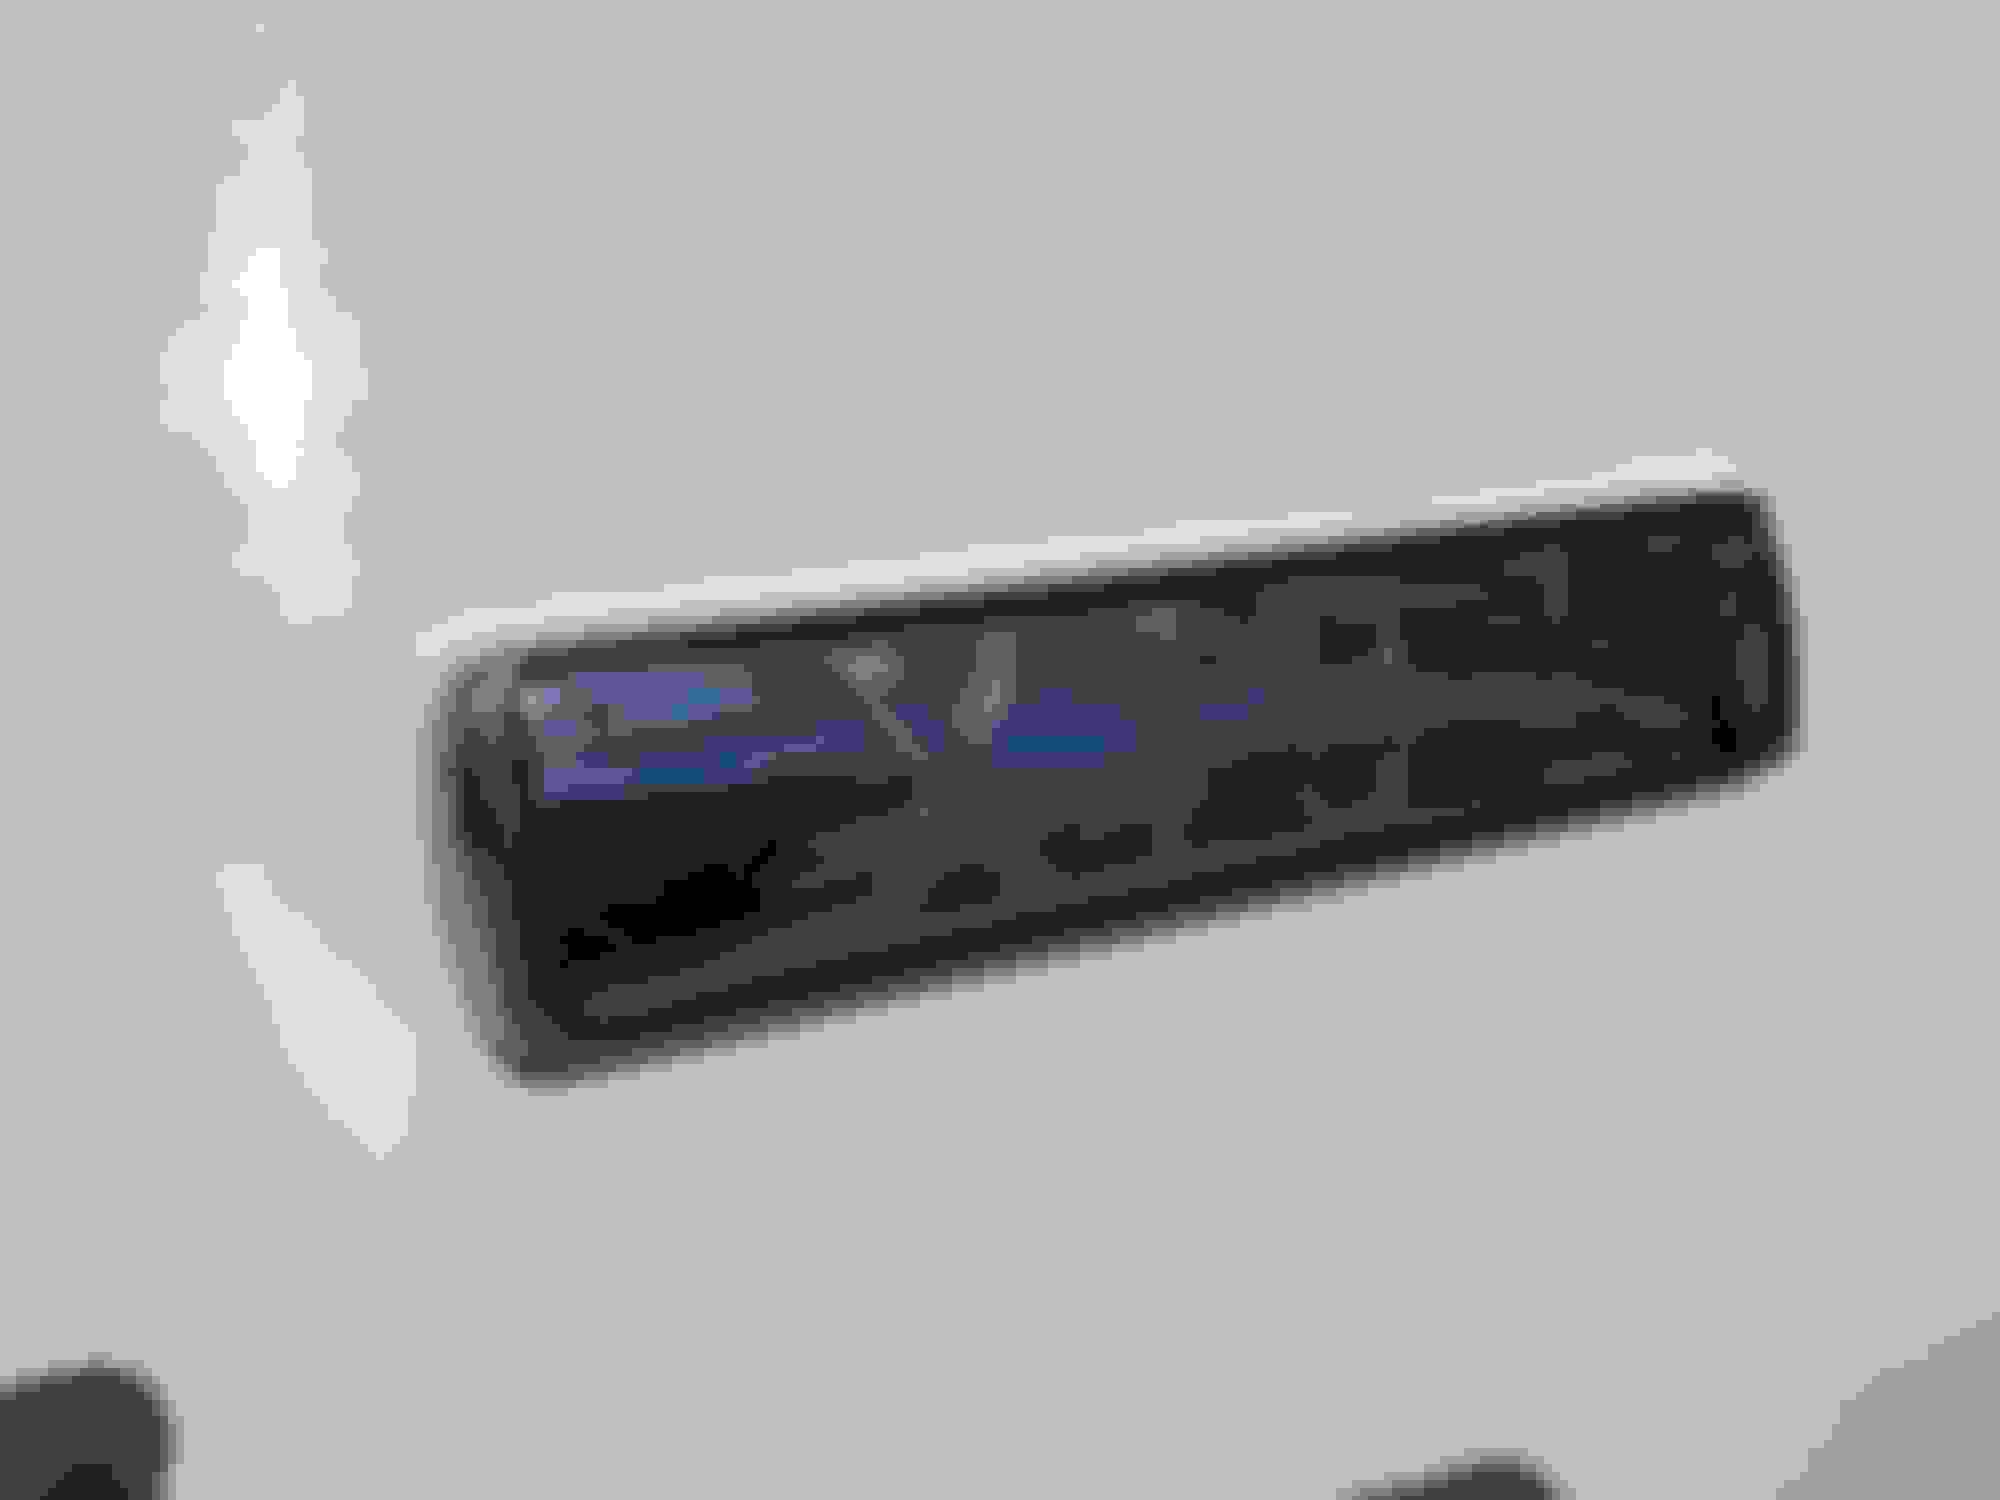
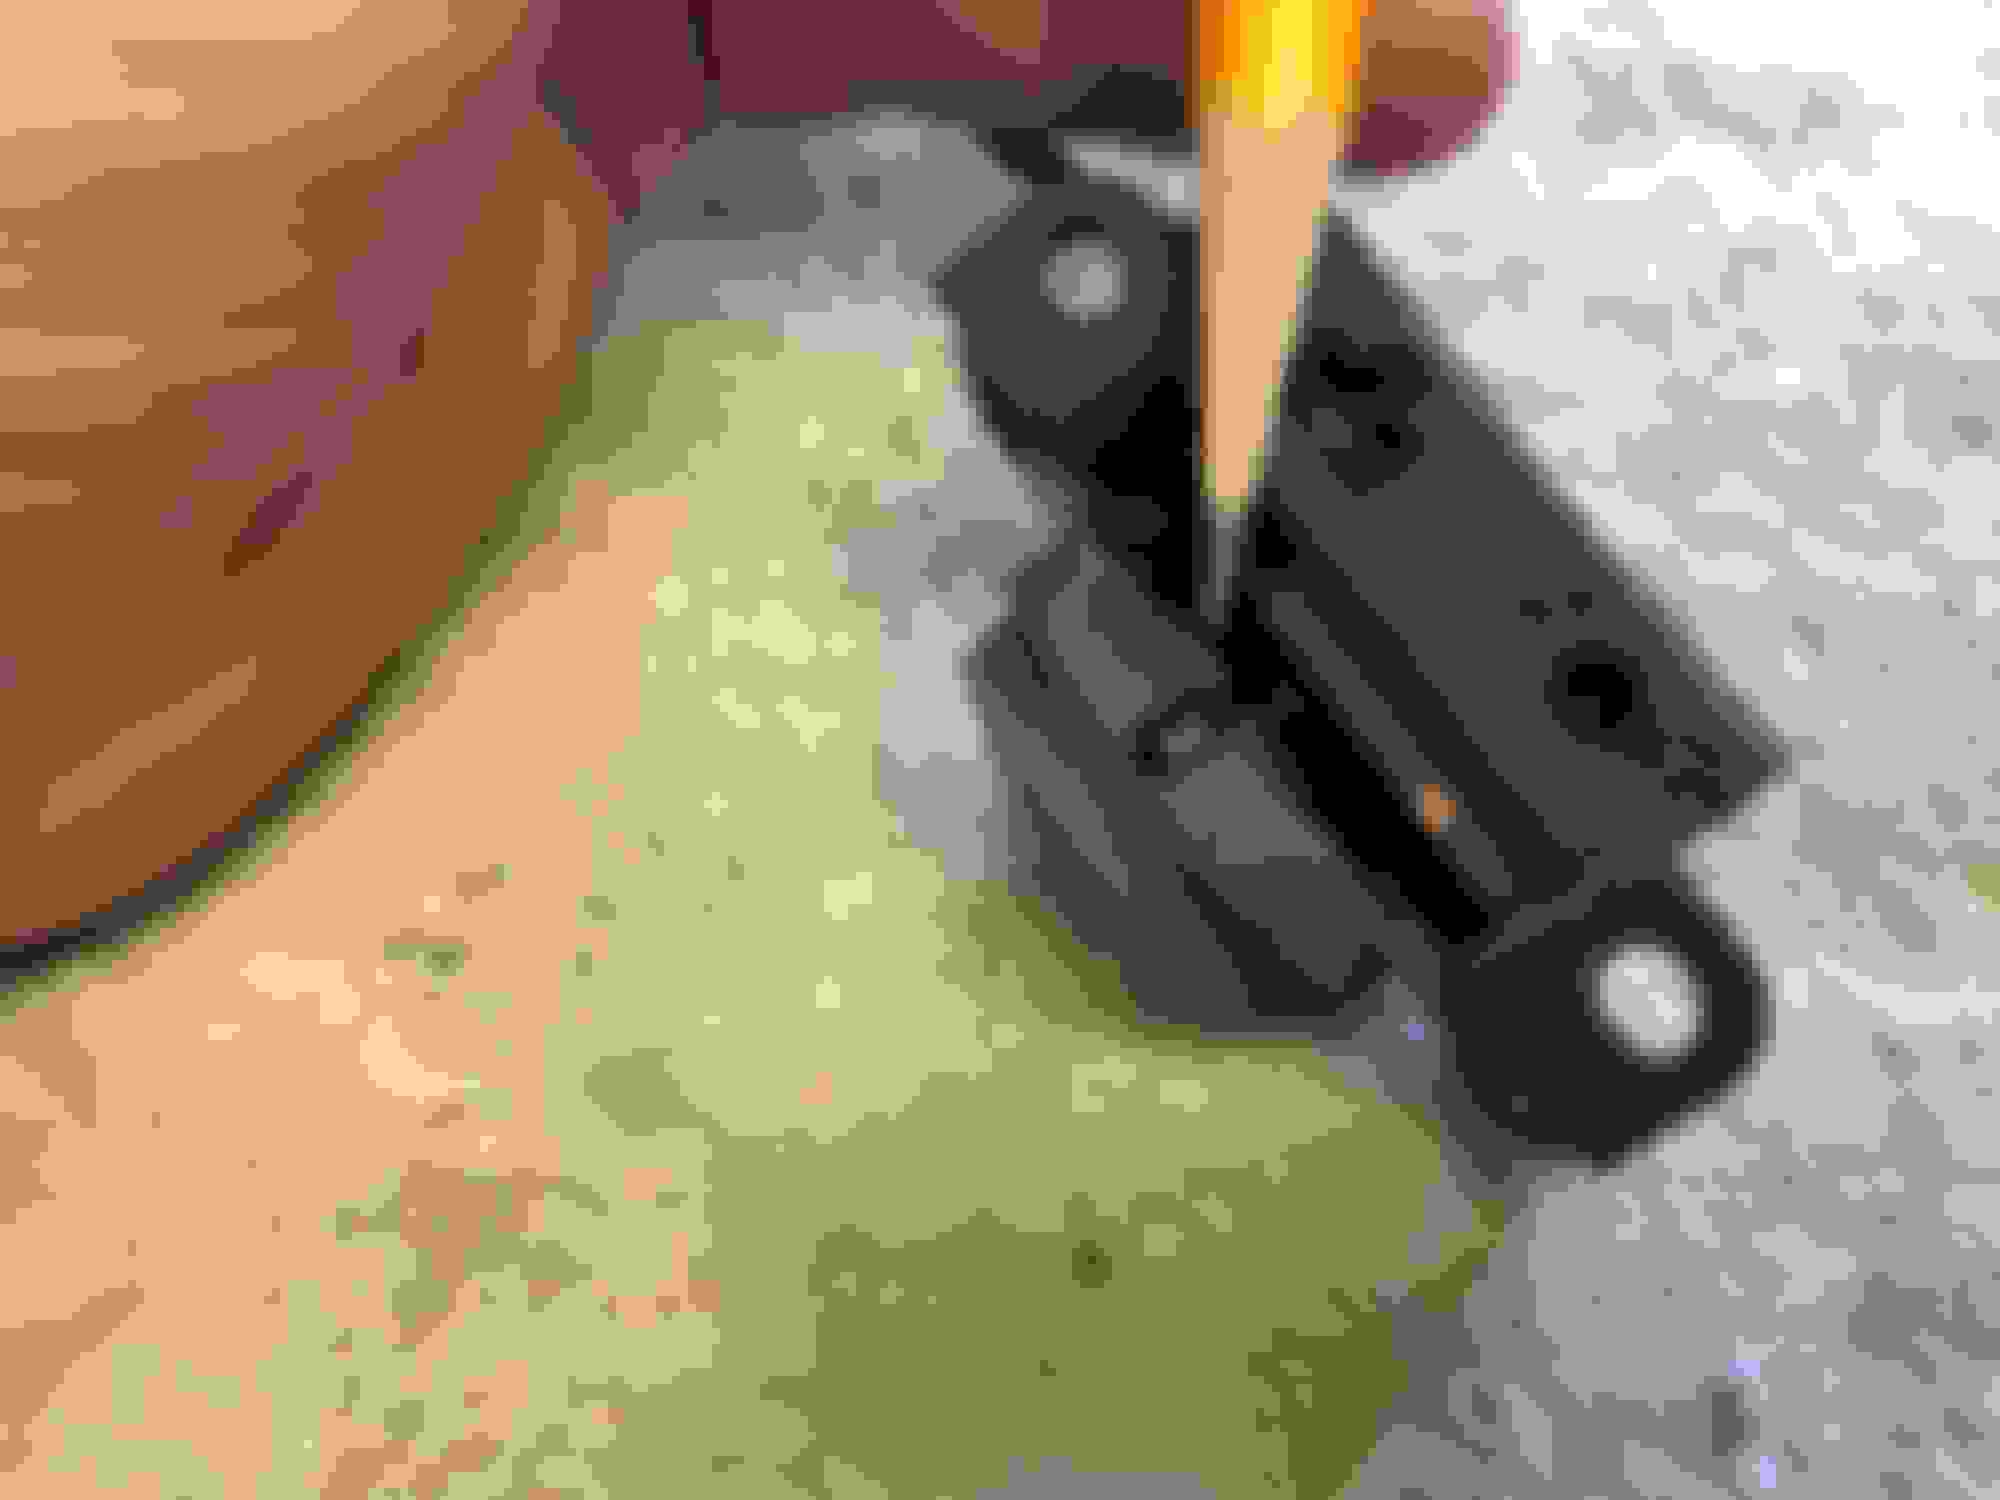
Looking pretty sad Border taped off Filled in Tape removed, then letters filled in by hand. A toothpick with one end cut to a wedge shape works excellent for cleaning up any coloring outside of the lines. Not bad for $0. Definitely seen better days Remove the retaining clips from trunk lid liner, and black plastic shroud around latch. Plinth comes off by removing now accessible six 10mm nuts and some gentle prying. Release button is held in by two small phillips screws. New 25mm button, slightly larger than the old. Some trimming will need to be done. It comes backed with a high quality 3M tape. Release the three equally spaced tabs to removed the button base. Base and spring. Peel the old button face from the base and clean the surface thoroughly. I've etched a pencil line where the ring needs to be sanded back to. I used a wide metal file, but a dremel, sandpaper, or careful handled razor knife would do the job. The button base now sits proud of the trim. Button face fitted Final product
Kudos for going the extra mile, but i ordered the same trunk button in orange and just taped it on top of the faded OEM button. Your button looks a bit better fit-wise, but it would be hard to see the difference and this route took 1 minute and looks fine. Thanks for the pictures and documenting it.
I think a quick wipe with paint thinners cleans the surface off. Dont touch it for a few mins as it can leave the surface a bit tacky. And thanks to th OP for this as i need to replace my melty number plate light holders and those pics help a lot.
I think a quick wipe with paint thinners cleans the surface off. Dont touch it for a few mins as it can leave the surface a bit tacky. And thanks to th OP for this as i need to replace my melty number plate light holders and those pics help a lot.
I used isopropyl alcohol to clean up the trunk button and it worked very well. Paint thinner should work about the same way I would think.
Just received my new green button cover from one of our listed vendors has a direct replacement button. Welsh Ent. Received mine today. No more black hazy sticky button for me. Looks black and silver until light hits it a certain way, then shows the green background.
Last edited by Mark in Maine; 11-05-2020 at 09:10 PM.

 03-26-2019, 07:20 AM