When you click on links to various merchants on this site and make a purchase, this can result in this site earning a commission. Affiliate programs and affiliations include, but are not limited to, the eBay Partner Network.
Since the leak is so slight; I think I'll wait a bit before attempting a repair. However, thanks to you all, I think I have the knowledge to go about it later. I will first check to see if it is the valve covers, ...
The oil filter adapter seal is what was leaking on mine. Runs down and minics an oil pan leak. Through cleaning in that area will probably reveal the leak. If you are working in that area change the oil pan seal also, easiest one I've ever changed.
Noticed significantly more oil leaking after a drive yesterday. Put her up a bit in the front, wiped up the oil & 10 hours later, not a drip. Am I correct in assuming if it is a gasket or a seal that it will leak more when warm?
And as to Terrific's point: Is he talking about the oil filter rubber gasket that is between the filter & its attachment point? Or, is it a seal above this?
I am quite confident that the oil drain plug is not leaking & while I'll doublecheck, don't think it is either the filter or the pan gasket. Assuming this all to be true, would the next things to be checked be the Cam covers & then the main seal? Or, is there another candidate, ideally an easier fix?
Obviously, the under cover remains off &, I believe the leak would be further back if it were the rear main; however, I am painfully aware that fluid dynamics can be consternating. I am hopeful that there is a not too difficult way to find the leak? I will start by pulling the plastic covers from atop the cam covers.
Steve; The oil filter adapter is the cast alum. piece that the filter screws to. It is held to the front of the block by three long cap screws. The lower screw hits the radiator and won't come out of hole until other two screws are also unbolted. There is a molded double O-ring between it and block. That's what was leaking on mine. Called oil filter adapter seal.
OK, this is puzzling. No leak spots last night, nor this morning. Ran at the idle for 20 minutes, still no leaky; so, I goosed her a couple of times. Except for a little oil on the towel I stuffed around the Filter adapter pointed out by Terrific. It will indeed be terrific if this it. I suspect there will eventually be some spots. This is troubling because after the drive mentioned yesterday, I actually had some puddling for the first time.
No indication of oil from the cam covers. There is no oil further aft than the crossbar connecting the 2 arms. I am hopeful that that means it is not the main seal.
I think it is likely what Terrific suggested & if it is, I owe him a beer next time he is in Seattle.
Jaguarparts.com has not responded to an email I sent requesting clarification as to whether or not their Oil Filter Adapter Seal will work on my car. None of my regular sources seem to have it.
After market gaskets worked fine for me, seemed identical. Just a molded piece of rubber product. Probably most made by the same people and sold to venders. Also oil pan gasket is so simple to change why not try the cheap one. Tom.
Thanks to everyone for your help, with a special thanks to Terrific. After removing the Oil Pan, the Oil Filter & the 2 Sensors, it doesn't appear that there is any leak above the Oil Filter Housing. It is unclear if it is the Housing, the Oil Pan Gasket or both that are leaking. Hence, I will attempt to replace them both. Up to this point, easy peasy.
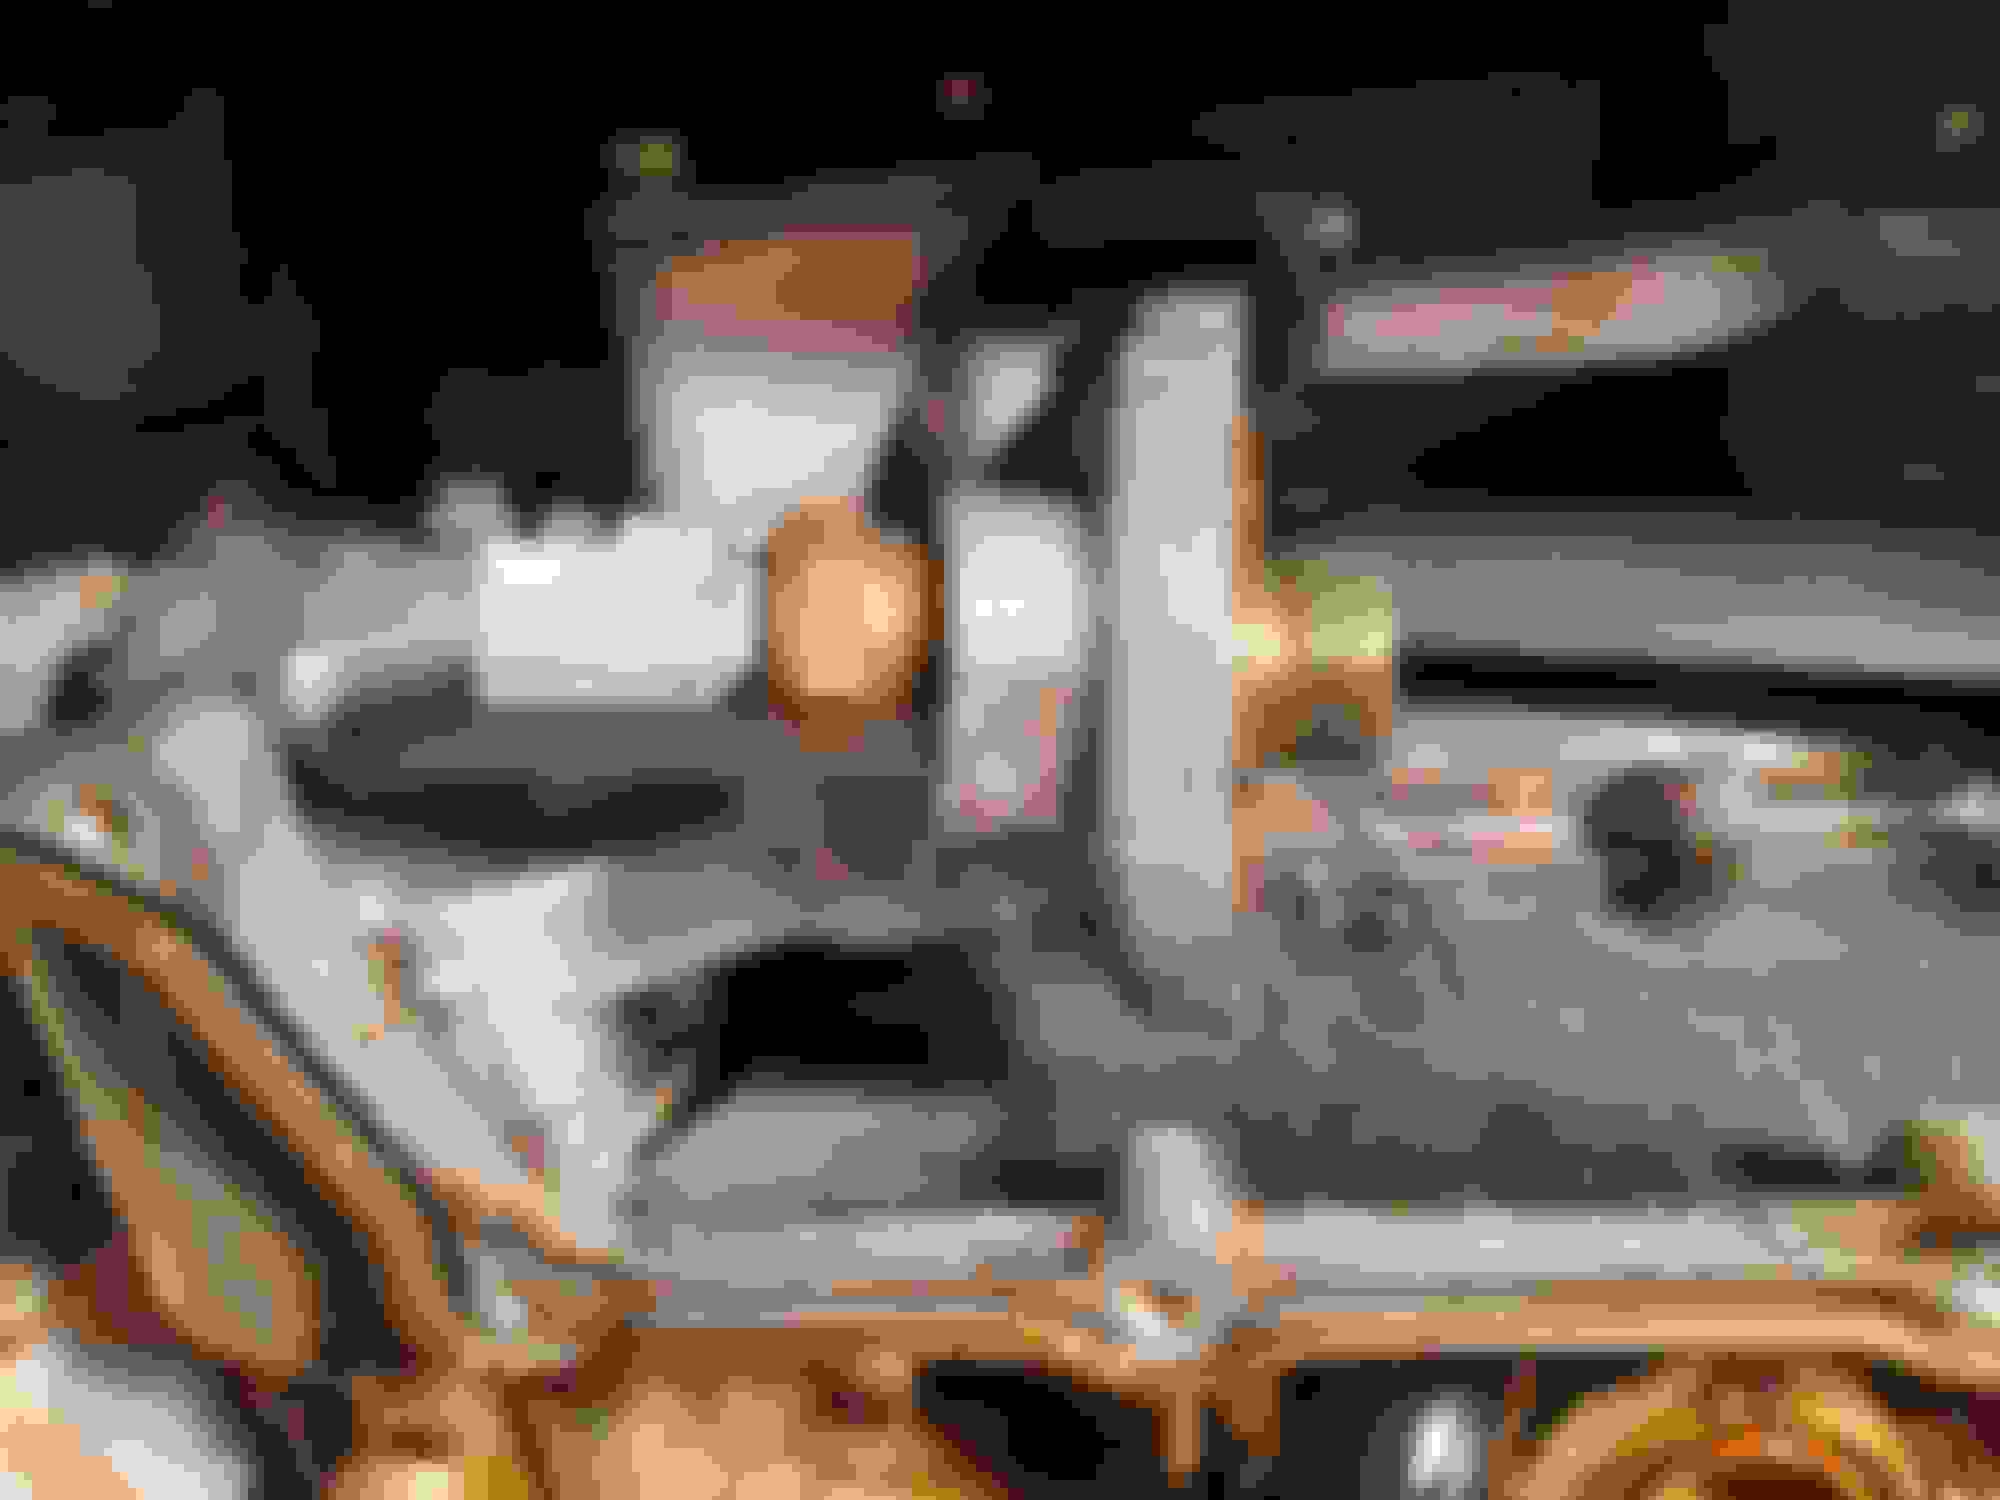
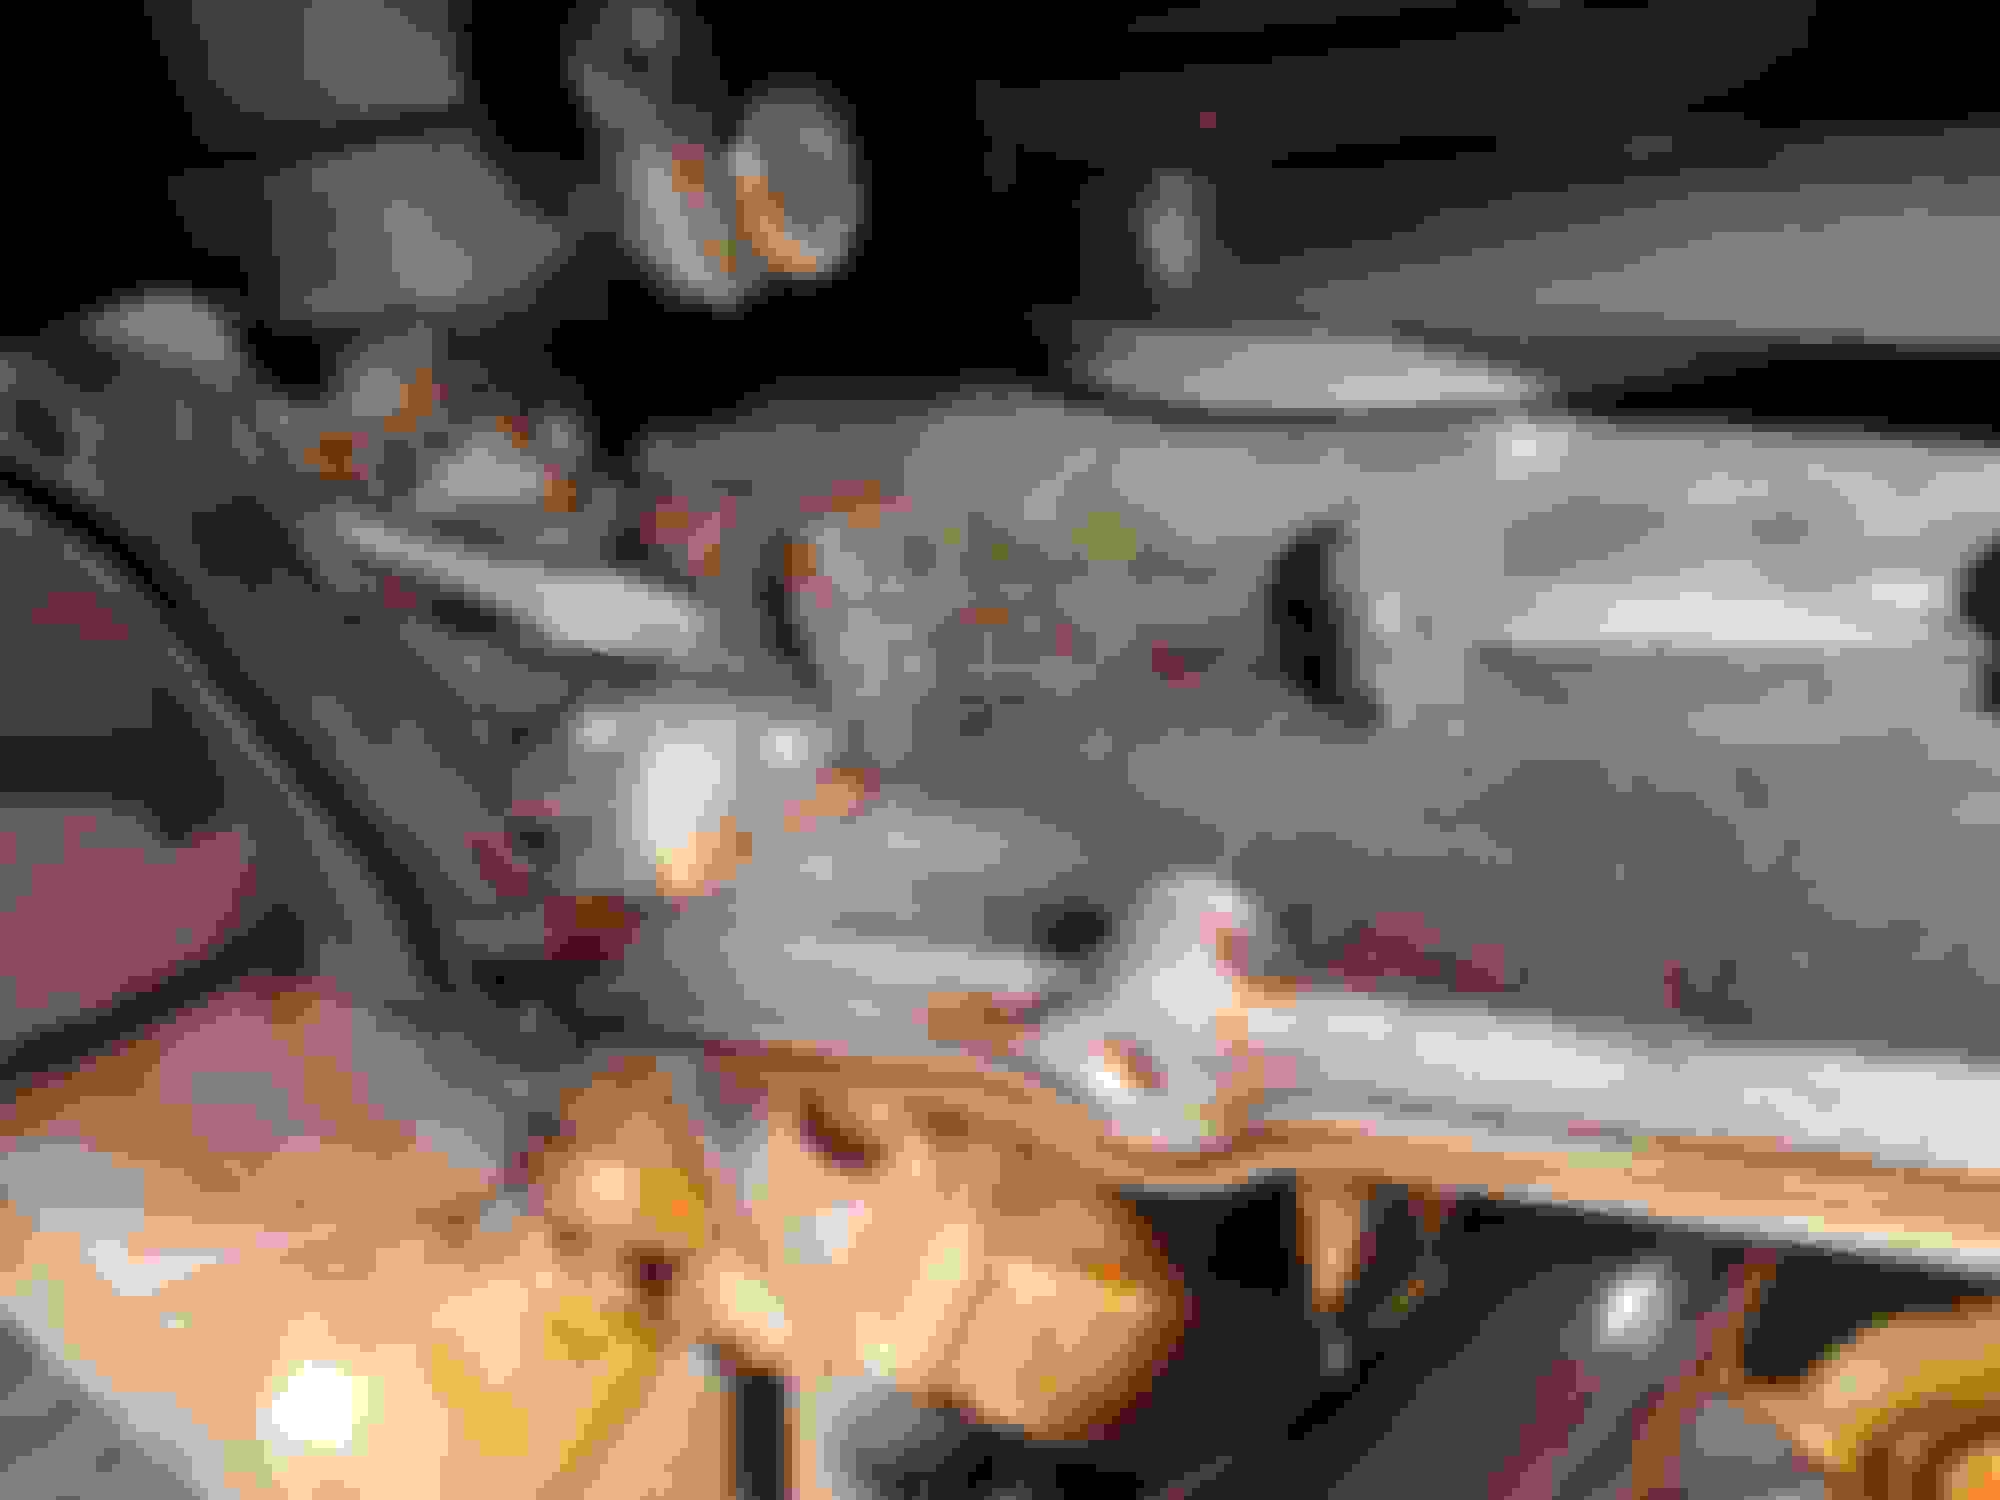
Pictures Below show a metal pipe that attaches to the Oil Filter Housing. I assume that must be unattached? The three bolts seem to be fairly intuitive & easy to remove (We'll soon see.). The Oil Cooler on my car is not in this area, but behind the front bumper; so, no interference. I searched the manual & couldn't find a description for my Filter Housing removal or installation; still haven't mastered searching the thousand plus page manual.
Shoutout to Autohauz in AZ! They were the only parts house that had both the gasket & the seals & they were very reasonable. Pipe attached to Oil Filter Housing Oil Filter Housing
Discovered a second similar pipe attached higher up & on the other side. They look identical. I removed the #8 bolt & washer attaching each pipe. I pulled the lower one out & it is fitted with an O-ring; it is my sense that the O-ring would not need to be replaced.
I haven't yet removed the 3 bolts holding the Housing on yet.
Does your car have a Supercharger? I did read in the manual that the cooler is in a different place for the non-Supercharged.
I will endeavor to find the description for removal & attachment in the manual again. I'm a little concerned about the sequencing of attaching bolts & pipes, especially the upper pipe.
Did a bit more searching in the manual & I'm a bit concerned about what I'm actually looking at. I'm beginning to think that the pipes are "oil cooler pipes" and the housing is actually called the "oil filter adaptor". However, the descriptions i have been able to find talk about disconnecting the Oil Filter Pipe in the singular & I have 2?
Beginning to wonder if I should just tighten the pipe fasteners & leave the adaptor alone & replace the pan & hope that the leak is the pan gasket?
Without a clearer description of the procedure, I'm disinclined to keep digging. Maybe I should start a separate thread on this part?
OK; the Oil Filter Housing (OFH) came off rather easily &, unless I'm missing something, should go on the same. The Double O-Ring Seal seems to be in good shape, but I will replace it anyway. Sadly, it appears that there may be a leak in the gasket of the cam cover; in the picture, it is where the screwdriver is pointing. There is no way I could have seen this without removing the OFH.
I will reinstall the OFH & the pan & see what happens. With some luck, the OFH and/or the pan was responsible for most, or all, of the leak &, if the cam cover is leaking perhaps it will be slight. We'll see.
Would it make any sense to try to tighten the bolts showing on the cam cover in hopes of stopping the leak? I know that the bolts are tightened to the same torque all around & I would only be able to tighten a few & this may do more harm than good. I suspect it wouldn't be possible to tighten all around without a lot of work? How much extra work would it be to replace the cam cover gasket before replacing the OFH? Where the screwdriver is, possibly a leak in the cam cover.
If you mean the camshaft covers on top of the cylinder heads, they are not too difficult to remove & replace. Here's the illustration of the left bank (Bank 2) cover:
If you mean the timing chain cover on the front of the engine, which appears to be the object in your photo, that is a much bigger job, with quite a bit of disassembly required. Here's the part illustration to give you an idea of all the things that would have to be removed in order to get this cover off:
I would not recommend trying to tighten the timing cover screws. They are torqued at the factory, and tightening them further runs the risk of breaking a screw, which will create a much bigger problem than a slight oil leak.

 04-16-2021, 03:43 PM


 .
.