When you click on links to various merchants on this site and make a purchase, this can result in this site earning a commission. Affiliate programs and affiliations include, but are not limited to, the eBay Partner Network.
I've seen this issue on a few cars, not sure how widespread it is, but wanted to share the solution.
My '06 radio developed a problem with the radio's LCD backlight about a year ago. It started with the backlight flickering dimly just a bit, then progressed to flickering off, until finally would almost never light up at all. This is the green illumination only--the LCD characters were still there and could be easily seen during daylight, but the screen would just be dark at night.
I ended up getting an S type radio off eBay which I used as a guinea pig to deconstruct and reverse engineer the backlight circuit. Long story short--the problem is due to bad solder joints on the backlight drive transistors.
The good news is that this is a very straightforward repair that costs $0. The bad news is that these solder joints are on the bottom of the PCB and the radio needs to be completely disassembled to access. It's not a technically difficult process, but considering the amount of disassembly you do need to be comfortable with microelectronics repair, as well as soldering on a PCB.
If anyone wants more details let me know. If your radio has this problem and you don't want to attempt repairing it yourself, PM me. I can fix this for a reasonable price.
Repair process:
Remove radio.
Remove top cover (remove 2 angle brackets and 3 screws on back edge).
Remove CD player (4 screws, need a magnetic driver for this), and carefully lift up to disconnect ribbon cable.
Remove faceplace (4 screws on side, 4 screws through back), carefully unclip plastic bezel and pull forward. You can now remove the faceplate back plate from the chassis (4 screws on side, 2 into bottom, and 1 into heat sink on front).
Desolder 2 tabs on top of RF module, bend tabs away.
Remove 8 screws from heatsink on side.
Remove screw from harness connector and remove daughter board.
Remove 4 screws holding the PCB to the chassis.
Flip the PCB over. These 9 joints need to be resoldered.
Thank you for tracking down the solution to this problem and taking the time to photograph and post the solution!
We're having the same issue on our '04 XJR and I knew I was going to have to eventually dig in to the radio to figure it out, but you've saved me a lot of time and hunting!
Those solder joints in the closeup photo look very familiar: our '93 XJ40 was full of them! In all the fuse boxes, relay modules and even a couple in the TCM. It's hard to believe that electronics from this century could still leave the factory with cold or starved joints, but we can't really blame Jaguar for most of these issues, since they purchased the radios and other electronic components from OEM suppliers. Alpine has been a long-term supplier of Jaguar's standard-grade radios. Did you notice any clues as to what company made the stock X350 radios?
... but we can't really blame Jaguar for most of these issues, since they purchased the radios and other electronic components from OEM suppliers.
Sure you can.
Jaguar bought them and in theory, QA the units.
In many cases, they also specified certain modifications which
force the use of the Jaguar variants of a normally commodity
item and mark them up accordingly.
It's like being Captain of the ship. Someone else can do the job,
but the Captain is ultimately responsible.
Thank you for tracking down the solution to this problem and taking the time to photograph and post the solution!
We're having the same issue on our '04 XJR and I knew I was going to have to eventually dig in to the radio to figure it out, but you've saved me a lot of time and hunting!
Those solder joints in the closeup photo look very familiar: our '93 XJ40 was full of them! In all the fuse boxes, relay modules and even a couple in the TCM. It's hard to believe that electronics from this century could still leave the factory with cold or starved joints, but we can't really blame Jaguar for most of these issues, since they purchased the radios and other electronic components from OEM suppliers. Alpine has been a long-term supplier of Jaguar's standard-grade radios. Did you notice any clues as to what company made the stock X350 radios?
Thanks again for the very helpful post!
Cheers,
Don
You're quite welcome! I'm glad this repair is useful to others! I kind of figured this issue had to be somewhat common, as both the radios I've dissected (made years apart) have the same solder joint failure. I will try and take some more photos to add to the above post, with more of the steps in-between.
Also many thanks to user veffremov, who is working on an aftermarket bluetooth adapter solution for these cars. He got me started down this path of fixing this issue on my radio.
I did find some interesting things to note about these radios:
1. No marking that points to any manufacturer, although Alpine is a good a guess as any since their name is on the speakers.
2. The radio is fairly basic in design, uses a Philips chipeset for CD decoding and audio processing, off the shelf chips for the audio amp, RDBS decoding, etc. Maybe one custom micro (no name on the chip, can't really say what it does). The radio can be powered on and will play with just 12v to it--no CAN bus signal is needed for security or anything like most modern radios.
3. There seems to be two board spins (one has an extra micro processor and some minor component changes) but otherwise identical function and design.
4. The radios for the X type, S type, and XJ are all identical, both for base audio and for the premium sound, minus the face plate difference. It surprised me a lot to find out that radios for premium sound models are the same (still provided with the 6-speaker audio output driver IC), but the firmware is changed to route the audio out of the optical port. In theory, if you could flash the radio's firmware to the premium sound model and add the rear amp/speakers, you could upgrade any vehicle. Maybe not even a flash--I'm not sure what options you can configure through SDD on the radio.
-Michael
PS - Oh, and don't get me started ranting on the quality of electronics today! If it's not bad solder joints, it will be failed electrolytic capacitors. Honestly, I do not see how any cars made in the last 20 years will function by the time they're 30 years old. We won't be rebuilding engine in the future, just replacing electronic modules :P I'm already finding bad electrolytics in the IP cluster of my 2006 model.
If it's not bad solder joints, it will be failed electrolytic capacitors.
Electrolytics! I'm no electronics expert like you, but I'm a guitarist and DIY home audio hobbyist, so I've been building and modifying my own gear since high school. Electrolytics have always had a limited lifespan (often 10 years or so), but as they've gotten smaller and smaller relative to their capacity, they seem to be more prone to failure, especially power supply filters.
I can't edit my first post, so I will add the additional photos down here:
1. Remove these 7 screws to get the top cover open
2. Next you can remove the harness connector daughterboard. Remove the single screw and wiggle it out carefully
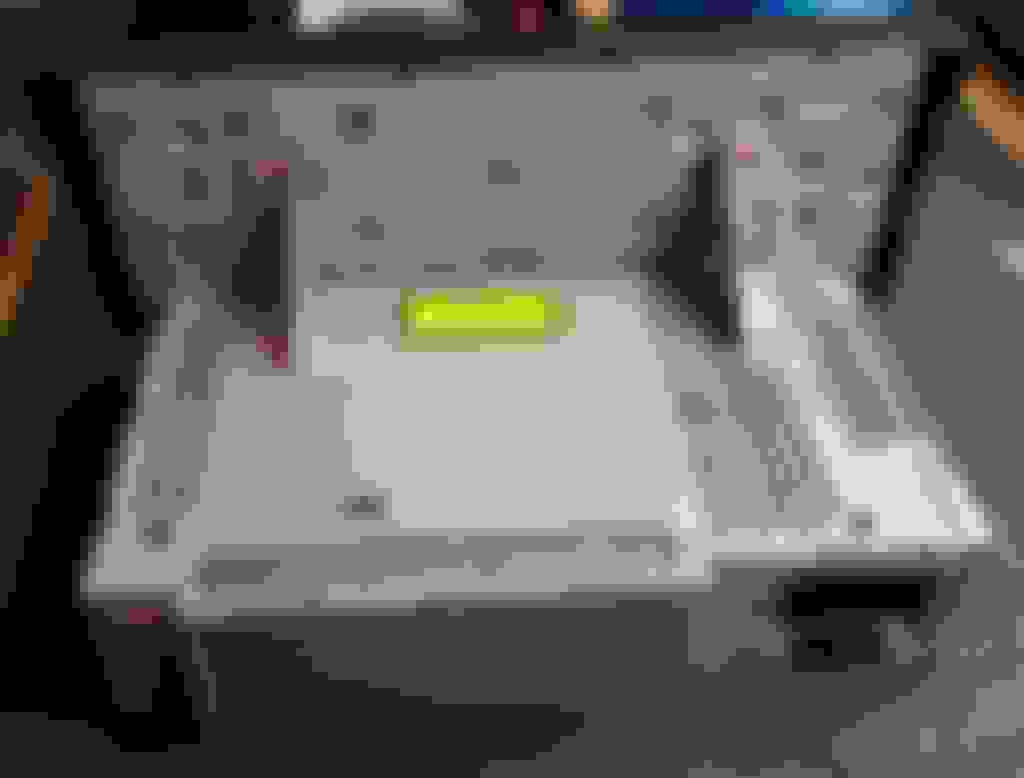
3. Now you can remove the CD player. Need a small magnetic philips head to get these without dropping them into the mechanism. Then you are free to remove the screws holding the faceplace on (yellow), and unsnap the plastic fascia from the top/bottom and pull straight off. Finally you can remove the fascia backplate (red screws).
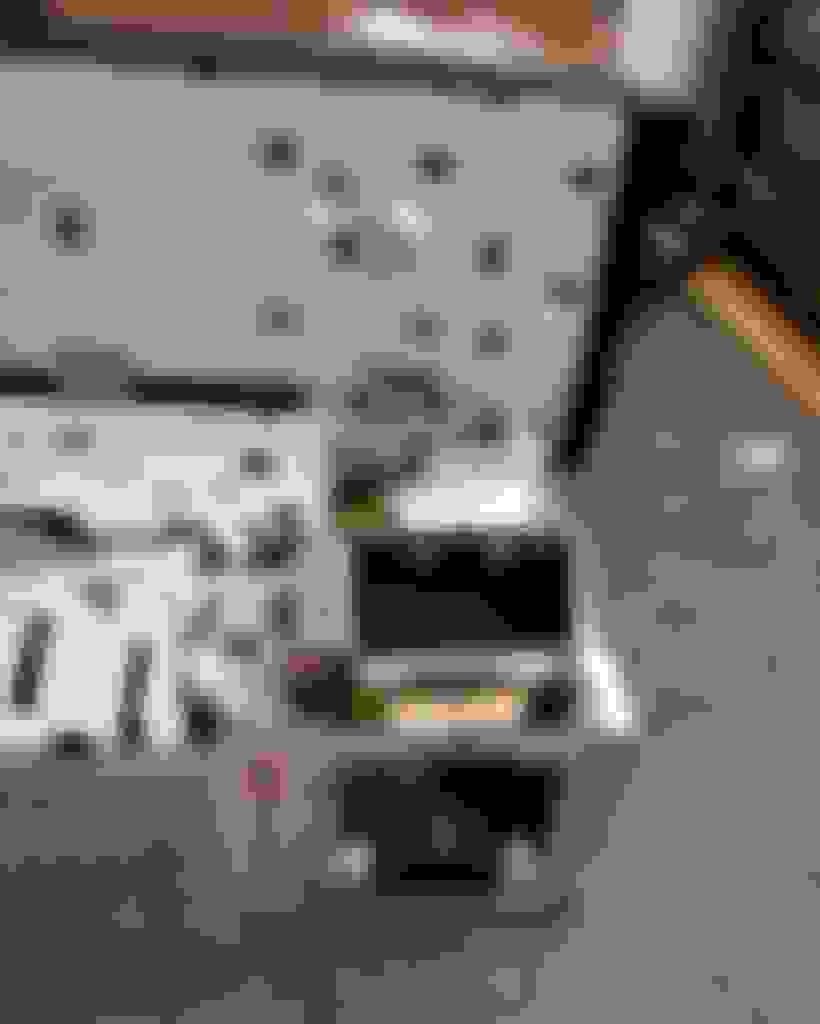
4. You will need to carefully desolder and bend back the tabs on top of the RF module
5. Remove the screws holding on the power amp heat sink
The rest of the steps are as above with regard to removing the PCB and resoldering the 9 bad joints.
Here is a photo of my freshly restored backlight working like new:
Believe it or not, cold solder joints are quite common on Ford gauge clusters and overhead consoles, while Cadillac and Infiniti from similar years have climate control modules exhibiting the same symptoms. Jaguars are not immune. I've seen some surface mounted resistors simply fall off the circuit boards too. Great write-up on this specific repair!
Hello guys!
I have a very similar problem, in my '04 stype 2.7
replaced original radio with android unit, and fitted a climate control module, just like the one in pics in previous post. problem is, only the lcd has backlight, all other buttons are dark. bought a second unit and it does exactly the same..
individual leds light up when probed...
Do I need to power these backlight leds in some special way??
thanks for support!
Hello guys!
I have a very similar problem, in my '04 stype 2.7
Hello dav781,
Welcome to the Jaguar Forums! It's great to have you with us.
Please visit the New Member Area - Intro a MUST and post a required introduction so we can learn something about you and your Jaguar and give you a proper welcome.
Mine's doing the same. I'll try your instructions in my soon to commence repair work.
It took me alsmost 6 years to stomach doing this work! It's now done and thank you so much for the instructions!
The difficult part is knowing where each screw goes because it is easier to have extra screws in the end when the job is done and have to retrace every step.
I took the video of the setup before I removed the screws so I could retrace my steps watching that video. Otherwise, it was super fun doing fixing the backlight and I am happy my COVID-19 lockdown Saturday was well spent!
This is a great thread. A few years back I purchased a junkyard radio for $50 which solved the problem. Now I have a backup ready to go in my basement!

 08-08-2015, 03:10 PM