When you click on links to various merchants on this site and make a purchase, this can result in this site earning a commission. Affiliate programs and affiliations include, but are not limited to, the eBay Partner Network.
It appears, that you're car (either a late 04, or early 05) still received the headlights with stepper motors. You do realize, you don't need them if the air suspension is working correctly. You can just replace the other ballast and everything would be right with the world again
Ah, I assumed that dip down and up that the headlights do when you start the car was some systems check to see if that function was working. Thank you for the clarification.
Whether or not the air suspension is working correctly is a good question. I believe it works but the ride height in the front seems a bit higher than it should so I need to get it to someone with SDD (or whatever it's called) diagnostic system to get all that checked out. I found a good post in this forum to help with that.
Thank you again and good luck to the Red Raiders this weekend!
Jkent, i had a similar issue. I replaced both of my ballasts and ended up having an air suspension fault even though the cars ride height was fine! I only needed to replace one ballast so I put the good 12 pin one back in and the fault went away and self leveling function returned!
ETA- That's interesting, thank you for the information, it's always good to hear other folks experiences with similar issues. I need to do some more research to learn a bit more about this car and it appears. For now the old LAD5G ballast that I switched back to seems to be hanging in there and hopefully it will until I get a chance to investigate further.
I am having problems with both of my lights (L&R) the left will not work (good fuze and new bulb) right going off & on now. I am going to check over the grounds. GREAT POST!!! This is why we all need to do the homework before we go and rip things apart and or spend $$$ that we do not need to!!! I thought the bulb was bad on the left side, BUT NO. I think it will be the ballast. Strange that this worked ok when I went it look at the car but 2 days later(after I brought it home) it stoped working This is not all I had problems with. I spent 3!!! DAYS!!! 16 hrs worth of time to get the dammed lug bolts of the car. I still love this car!! my car has 79,825 miles on it now and is a 2004 XJR. So the ballast thing sounds right. I will post what I find.
Hi an thanks despite the age of those posts here
those 40 min reading were perfect and real fun to go through .
got to get ballast for my 2003/05 xj8 now with the stepper motor
I ll be posting soon again
old ballast in left lamp is from 02. 2003 good for apparently 2000hours
well the car is from 05. 2003 and made so far 337500km/208000 miles on original ballast
Hi there this is what i found unplugging the connector to the headlight of the left side since i had everything ready changed the bulbs, the ballast , cleaned
drilled a hole through the broken stud , cleaned all other connections as well.
took the whole bumper of , cleaned that one *** well especially where the clips are meant to hold .
install this afternoon
Great write-up and a note from me regarding taking the headlights off and the bumper:
There's absolutely no need, whatsoever, to undo the splash guard and the parking lamp indicator; the former is not attached to the bumper in cover in any way, and the latter has no bearing on the procedure (your step 1)
Similarly, no need to take out the underskirt-to-bumper screws
The 12-pin LAD5G version previously had an SCP and/or CAN connection(s to the air suspension ECU, depending on the particular model. It used that signal to operate the servo unit inside the headlights, to achieve height adjustment. Now; I've had error messages on the dash of a few 2004 & 2005 X350s when doing a conversion like this, including an air suspension failure and light range error messages. That's because the extra pins carried back CAN/SCP messages regarding height and health of the modules, back to the relevant buss. The only way to resolve these had been to reconfigure the car, so that it accounts for the LAD5GL, and not to look for these bus messages (I used the Autel MaxySys for this - Mongoose just doesn't do it; you'll need a tool which is or is similar to the Jag VCS, which the Autel is).
All that's needed is undo the grill screws, the bumper tabs underneath the bonnet, and to pry out the bumper from the wing, with a plastic trim removal tool. You'll comfortably, and easily have enough space to take the headlight units out and put them back in without much effort.
Still, takes nothing away from your write-up or advise on conversion, the great documentation and the parts list.
Just a note?
With that kind of corrosion in the electrical plugs I have found DeOxIt will dissolve all the white/green deposits without scrubbing. Just spray and let it work a bit and then I blow it all dry with compressed air. This stuff is VERY good and all the other contact cleaners I have used will not dissolve the crud like this will.
My passenger side headlight has been flickering more often over the last couple months. Time to replace that ballast under and secured to the headlight.
This conversion is really only of interest to the 2003 (for you UK members) to the 2005-ish model years. I say 2005-ish, because I honestly don't know where the cutoff is where Jaguar stopped using the older 12-pin LAD5G to the newer 4-pin LAD5GL. The difference here is that the 12-pin is still being manufactured, but at prices around $250 each. The 4-pin is only $115 most internet sources, as there are many brands (Audi, VW, etc that use them)
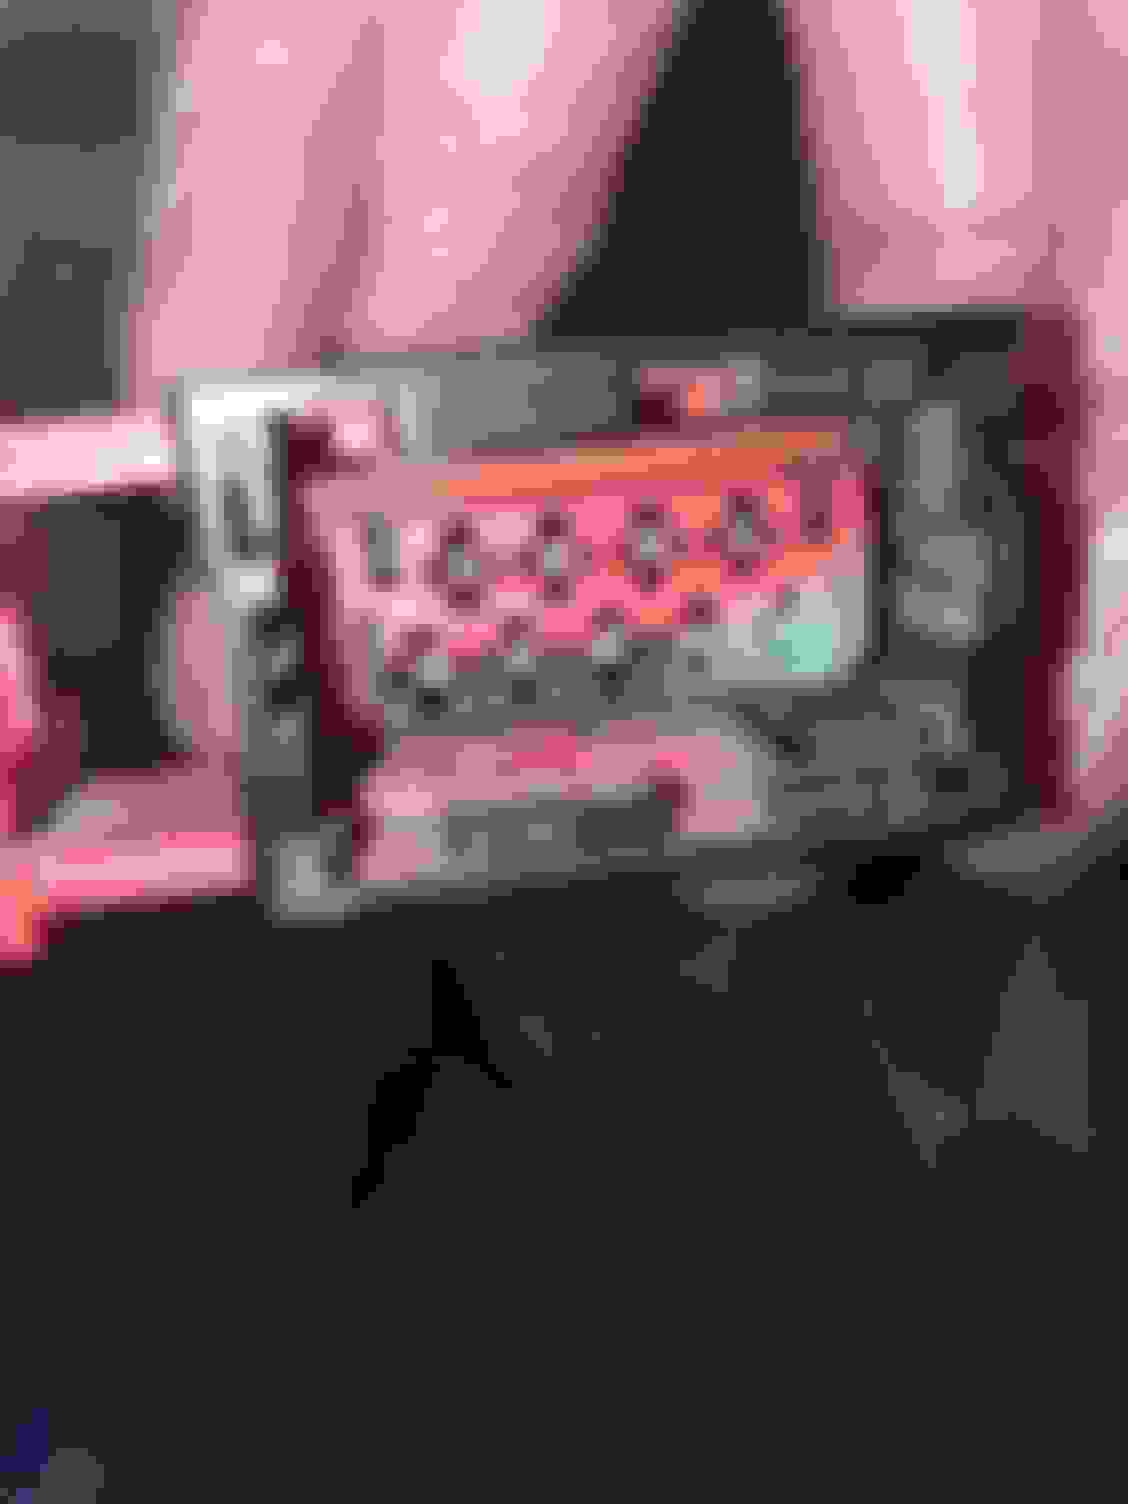
LAD5GL on the left, LAD5G on the right
Internet sources show the split was at VIN G40555, and I was somewhat relieved that my XJ has a VIN G40967, and it should have the newer Valeo unit in it.
I ordered a new LAD5GL, and proceeded to pull my headlight out to make a direct swap.
Note that the pictures in this thread also show how to get the headlamp off the car without totally removing the bumper. i figured others might like to know in order to replace their bulbs safely w/o screwing up the cover or the gasket that keeps it sealed. The bumper is really awkward and difficult to reinstall by oneself once it is completely pulled off of the car (as I have had it off twice before this) and this method doesn't require you to rest it on anything and worry about it being scratched in the process. No other lamps or wires need to be disconnected besides the headlamp itself.
1. Remove the single fender splash shield connector, and pry out the park lamp indicator from the bumper. I like to slide a credit card on the bottom side, get a small screwdriver under it, and tilt it outward. The spring clips are on the top, but this is easier to get to then going at it from up top, where any slip of a tool can be easily seen.
2. Remove all of the fasteners (5 I think) from the underside of the bumper to where it meets the underskirt.
3. Remove the torx screw on each side of the grille, lift its side 'wings' from their position atop that guide and carefully maneuver it away pulling it straight ahead. There are three flat legs that slip through openings in the bumper, so wiggling it and making sure they aren't still snagged on their paths. (sorry no pics of this, but there are others in the 'bumper removal' thread.
4. Lift the bumper cover tabs (2 at each headlight) so that it is loose.
5. Pull the bumper cover away from the fender well but lifting slightling, and pulling hard outward. Its just a snap-lock type of fit. The cover can now slide forward just enough that you can get to all three bolts for the headlamp (one on top, two on the underside) and turn, twist, and squeeze it from the opening. When you have some space, reach down and lift the red 'tab' piece of the headlamps electrical connector first, then you can pull it free. That red piece is integral in 'locking' the connector to the rear of the lamp. Putting it back on, and pressing the red tab slides it further and seats it completely.
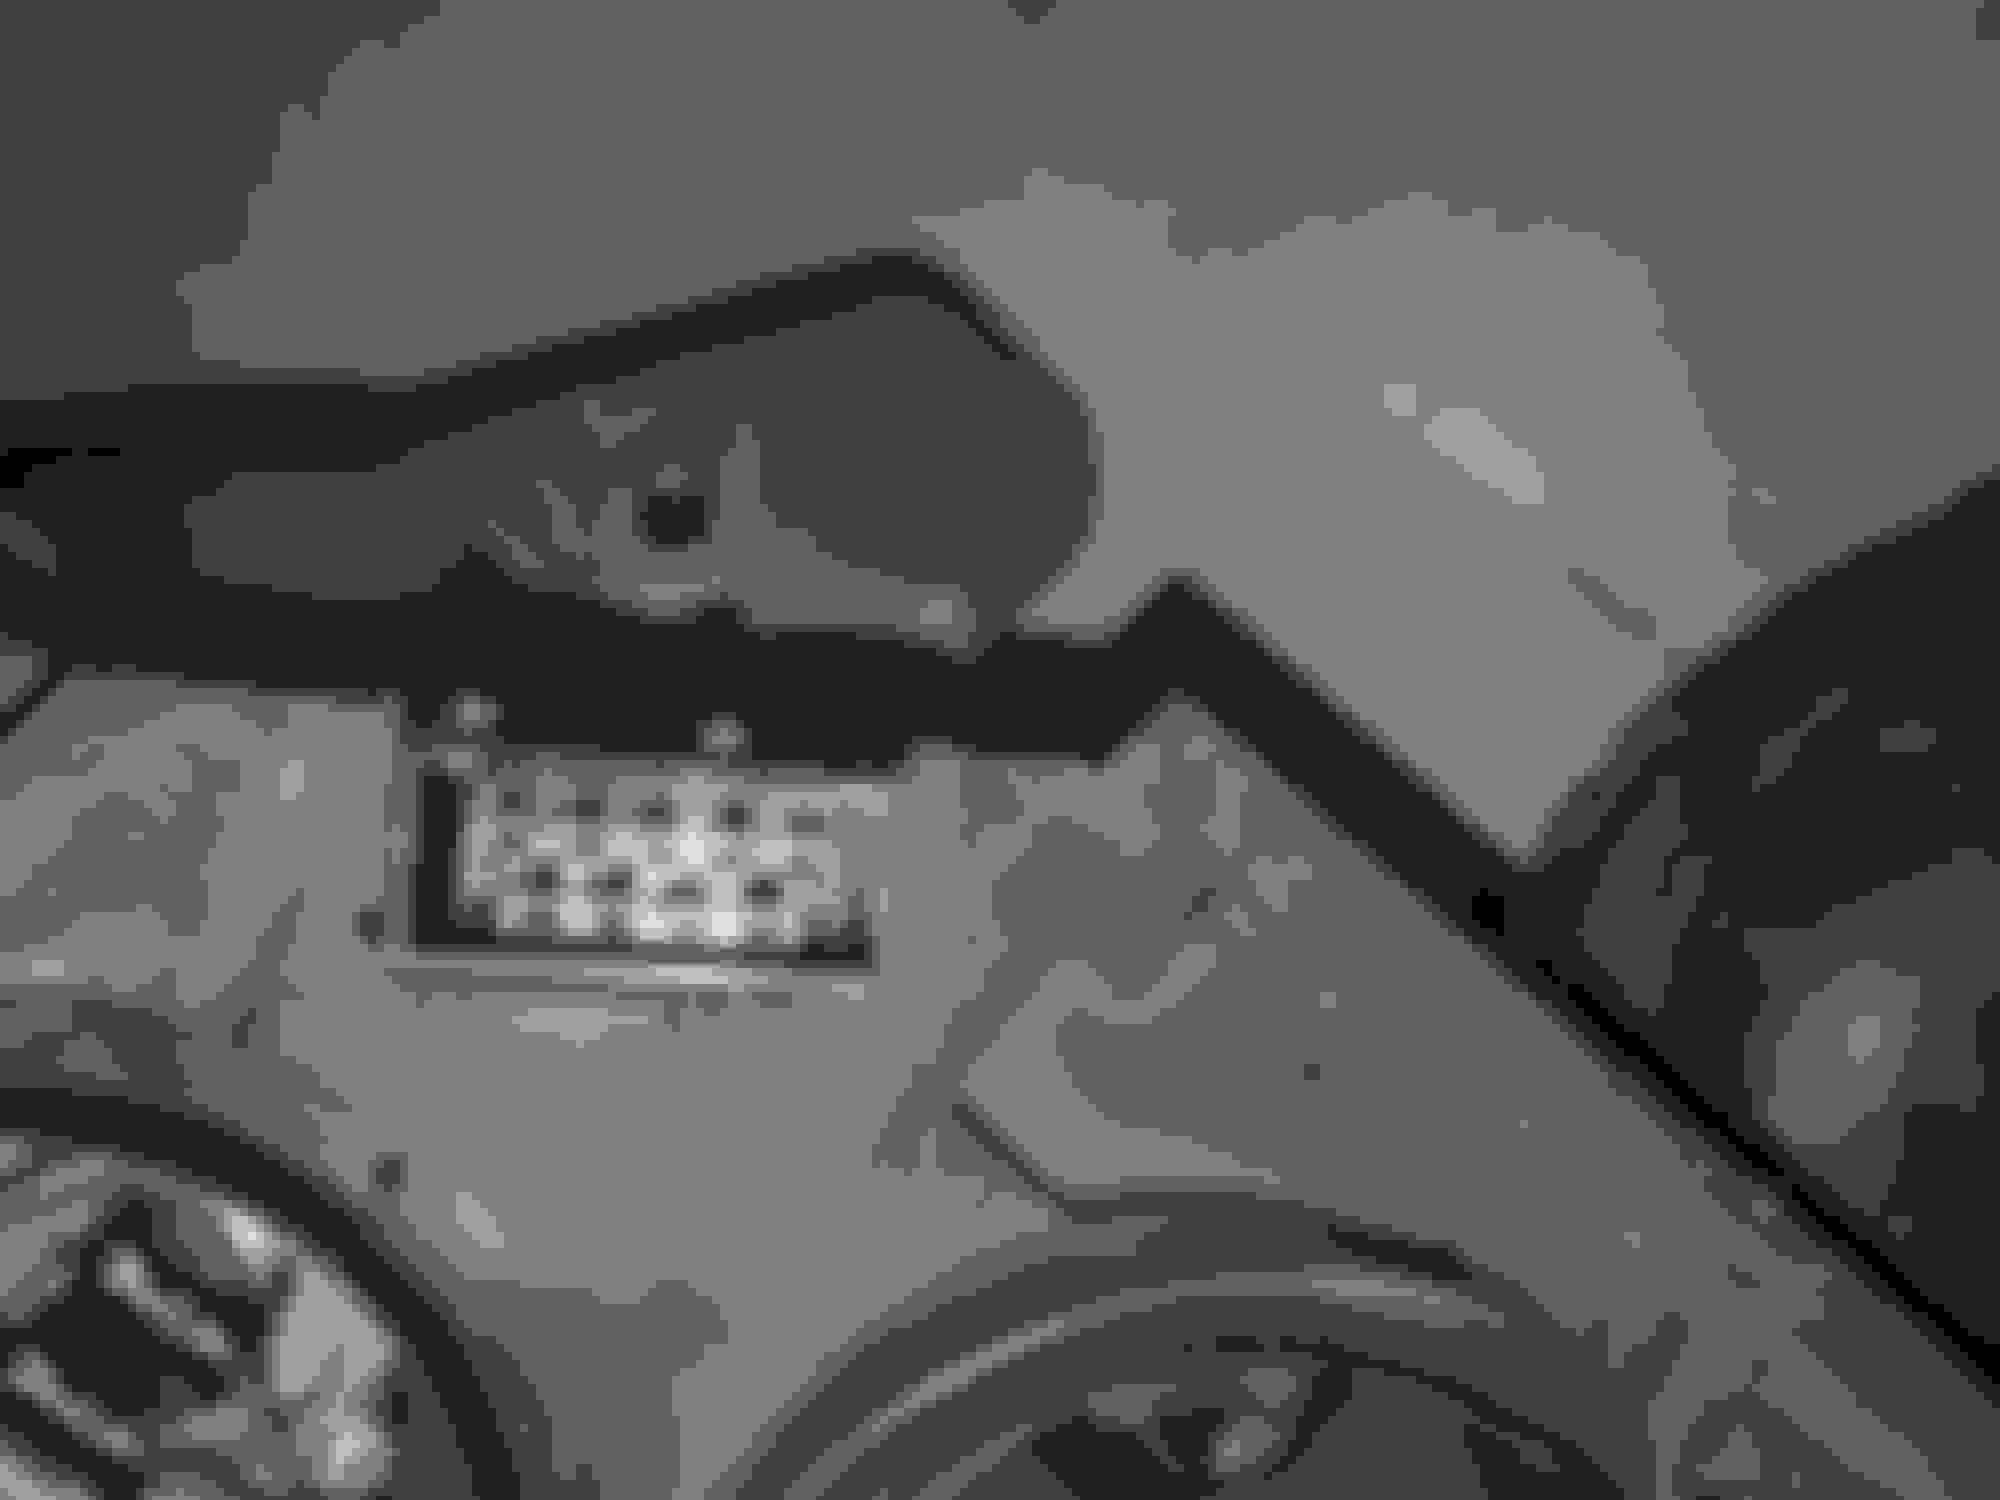
See pic for Item 1.
What do I find underneath my headlamp? A 12-pin LAD5G. Guess that VIN cutoff information isn't correct after all.
You'll notice that there are several wires still on this 12-pin, and another connector lay unused in the housting. No idea what that was for, and after I completed my little conversion, all functions still work.
I took a week to ponder on it, and google some other's similar experiences, I found a thread in the Audi forums that described how to use the newer LAD5GL ballast on an older Audi that originally uses the older ballast and has a 12-pin harness. The trick is to know that the vehicle doesn't use the other pins in that harness to control something of the ballast, and those extra 4 wires of that unused skinny connector aren't attached to something else. Perhaps such as the automatic leveling in my xk8 (which I know has the 12-pin ballasts) I'm not sure that this 'conversion' would work on it, and I hope I don't have to find out, my lights ware fine on that car.
Our x350, however, uses the air suspension to provide the 'headlight' leveling, so I was willing to try this same conversion that the BMW and Audi owners were successfully completing.
The cheapest, and most destructive option, is to cut apart the 12-pin plug so that it ends up the same 4-pin plug needed on the new LAD5GL ballast. It can be done, but I didn't like that approach. So, I wanted a 12-pin to 4-in adapter, and found it here on ebay - $30
My only concern was making sure the +12V and ground were correct from our harness as the audi's. The 4-pin side obviously was confirmed to work on the LAD5GL already. Connectors matched up perfectly.
After I had the headlamp out, I checked the pins of the headlamp harness with my voltmeter, and the locations for +12v and ground were exactly where they were supposed to be using this connector; I didn't have to jack with this adapter at all!!
Be sure to transfer the gasket carefully from the old unit to the new one. Dimensions are the same, it fit perfect in the old spot in the housing.
Plugged it into the car (lamp not put back in yet, obviously to test)
SUCCESS!
Total spent - $150, a savings of $100 over the original 12-pin LAD5G would have cost me. If I notice anything weird at all as a result of this little project, I'll definitely let everyone know and update this thread. But, I'm pretty confident this fix is permanent, and no other systems were harmed in the process.
Thank you very much for this play by play! It is extremely helpful!


 10-15-2014, 08:54 AM

 This is not all I had problems with. I spent 3!!! DAYS!!! 16 hrs worth of time to get the dammed lug bolts of the car. I still love this car!! my car has 79,825 miles on it now and is a 2004 XJR. So the ballast thing sounds right. I will post what I find.


 Guess that VIN cutoff information isn't correct after all.


