When you click on links to various merchants on this site and make a purchase, this can result in this site earning a commission. Affiliate programs and affiliations include, but are not limited to, the eBay Partner Network.
Three days into owning a 2005 XJ8 Vanden Plas.
It is a quantum leap beyond my old 2000 XJ8!
Luckily, the problems are cosmetic.
Is it possible to remove the exhaust tips to clean them? I do not see a bolt holding then on.
Actually, I seem to recall you can remove them. I believe there's a bolt on the underside towards the rear. However, they may be stuck on with years of gunk and corrosion so you may need a BFH.
No bolt to be found. I did spray them with chrome wheel cleaner and then used a wheel brush. This removed a lot of the road grime.
They are still stained at the lip.
The wire wool is a good suggestion and I will use it in conjunction with bathroom cleaner cream.
Be careful not to use anything too abrasive, I used the green side of a dishwashing sponge and it was scratching the tips, lucky I saw it quickly and switched to an old tooth brush and a rag.
My 2004 XJ-8 has the chrome exhaust tips held on by a 5mm hex head, stainless steel bolt.
I take them off and put them in a 5 gallon household bucket with solution of 2 gallons hot water, 1/2 cup of ammonia and a few squirts of Dawn dish detergent. Mix well. Let the chrome tips soak in the solution for about 30 minutes.
Remove and dry with a soft cloth. Next, I used No.7 polishing compound by hand (it was lying around), applied, buffed, polished and repeated. I had my Dremel tool near by so I dabbed some No.7 on the tip of the tips and buffed using, well, a buffing wheel.
A tip: when doing the polishing I wrapped the hand holding the chrome tip with an old towel and inserted it into the tip so I could rotate the tip and better see the area I needed to polish.
A tip: putting the tips back on can be frustrating because they have to line up just so in the triangular bracket that is inside the polished tip. So the last time I did this (18 months ago?) I had dabbed the exhaust pipe with silicon grease and the next time the chrome pieces slipped on more easily.
Snug up the stainless steel bolt and remove any fingerprints with a dry soft cloth. The polished tip has an elliptical slot cut into it so you can adjust the tips forward or back about 1/2".
That would appear to be an complete and exhaustive treatment.
Doing your own work on anything, and doing it well, requires way more time than many realize. As your lost in the sizing up of the situation, as well as the best form of attack. Often very different than the way illustrated in shop the factory shop manuals. As well as the way it's actually done when your not there to see.
My 2004 XJ-8 has the chrome exhaust tips held on by a 5mm hex head, stainless steel bolt.
I take them off and put them in a 5 gallon household bucket with solution of 2 gallons hot water, 1/2 cup of ammonia and a few squirts of Dawn dish detergent. Mix well. Let the chrome tips soak in the solution for about 30 minutes.
Remove and dry with a soft cloth. Next, I used No.7 polishing compound by hand (it was lying around), applied, buffed, polished and repeated. I had my Dremel tool near by so I dabbed some No.7 on the tip of the tips and buffed using, well, a buffing wheel.
A tip: when doing the polishing I wrapped the hand holding the chrome tip with an old towel and inserted it into the tip so I could rotate the tip and better see the area I needed to polish.
A tip: putting the tips back on can be frustrating because they have to line up just so in the triangular bracket that is inside the polished tip. So the last time I did this (18 months ago?) I had dabbed the exhaust pipe with silicon grease and the next time the chrome pieces slipped on more easily.
Snug up the stainless steel bolt and remove any fingerprints with a dry soft cloth. The polished tip has an elliptical slot cut into it so you can adjust the tips forward or back about 1/2".
Hi rsa760041,
I read about your successeful removal and cleaning of these exhaust chromed tips. I have a new pair still in their sleeves sitting in my garage. I'm hoping to be able to install them on my 05 super v8 some day. During the summer I attempted to remove one (unbolted the bolt first, of course) an try to push it outwards off the muffler. I managed to displace it just few millimeters a bit outward also it "wiggled" a bit on left -right. It was a real pain, i even used a rubber hammer, but it was so hard that I thougt it could not be done or they are welded somewhere inside.
Now you say you've able to remove them, could you explain in detail how to do it, this is a job I would like to do soon, if technically possible (meaning if the tips are indeed not welded, afterall why sell them as speres?). This topic will defenetly help many owners, since it's recurrent. But NOBODY on my knoledge ever explaned in detail how to do it.
Thanks in advance.
It would nice to see a picture of the location of this this bolt for starters.
I have looked and not found it.
Perhaps careful heating with a gas torch would then assist in tip removal?
Used 0000 steel wool and bathroom cleaner cream to take the combustion deposits off of the tips. Now nice and pretty. No scratches. Tips look fat.
Used a liquid wax to ward off fresh dirt.
Was down on my hands and knees detailing the exhaust ends. A better workout than the gym!
My wife's 2013 Volvo S80 tips were harder to clean; deposits tougher. Jaguar quality comes shining through!
Sure...I'll take a few pics and post as soon as I slay other dragons. As far as removing stubborn tips...after removing the 5mm hex bolt I liberally sprayed PB Blaster penetrate into the chrome tip where it slides onto the tail pipe. Waited 20-30 minutes then used a small wooden block placed against the chrome adjacent to the last muffler and with a rubber hammer (most any hammer would do I suppose) tapped, tapped, tapped until the chrome piece broke free. Do this gently or you will find the chrome tip 2 or 3 feet away and lying in your garage or driveway. Wipe off the PB Blaster while you are at it.
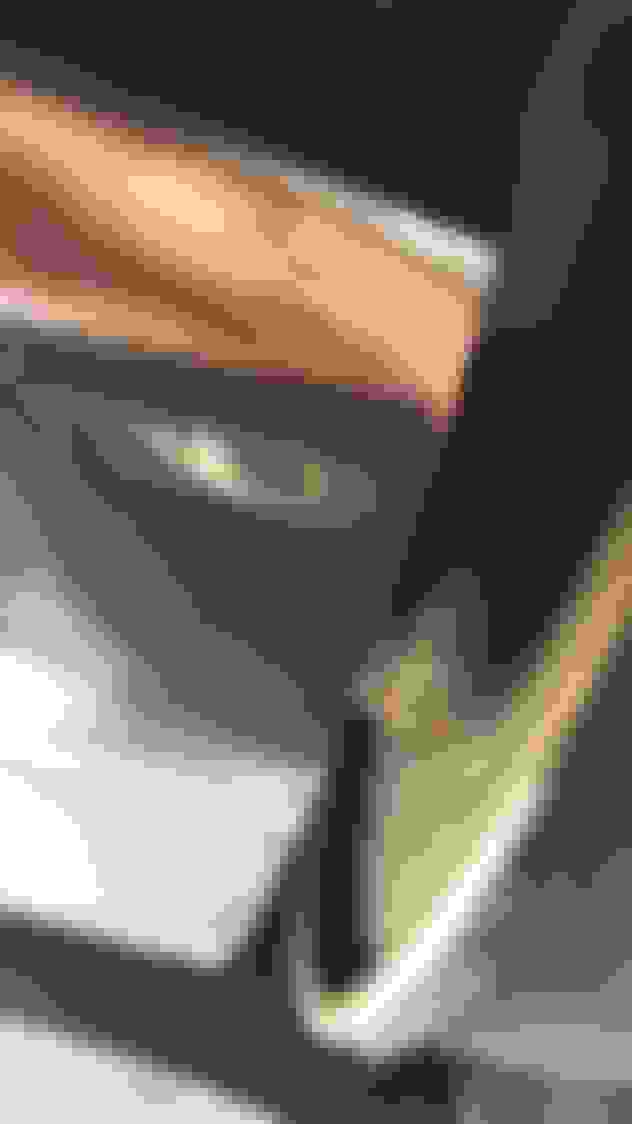
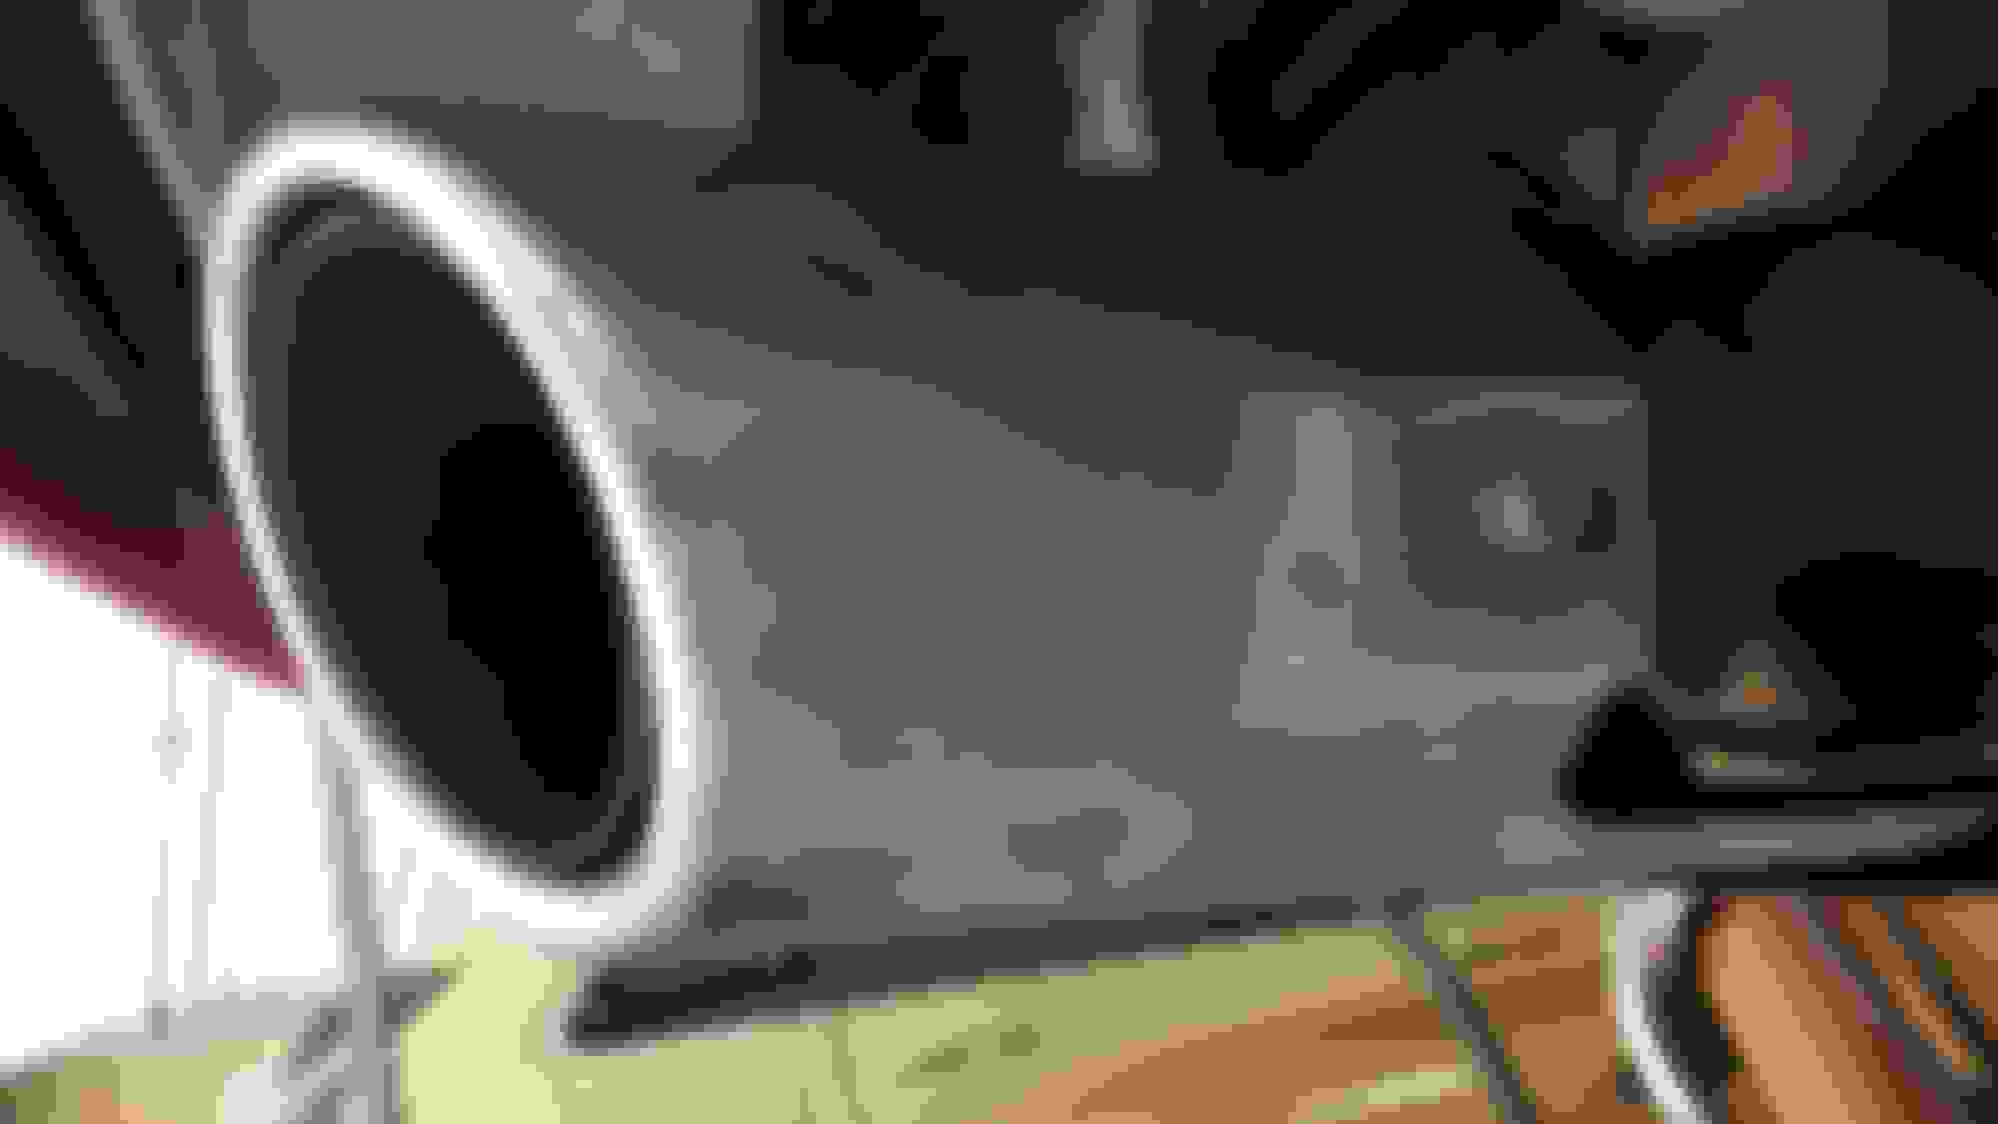
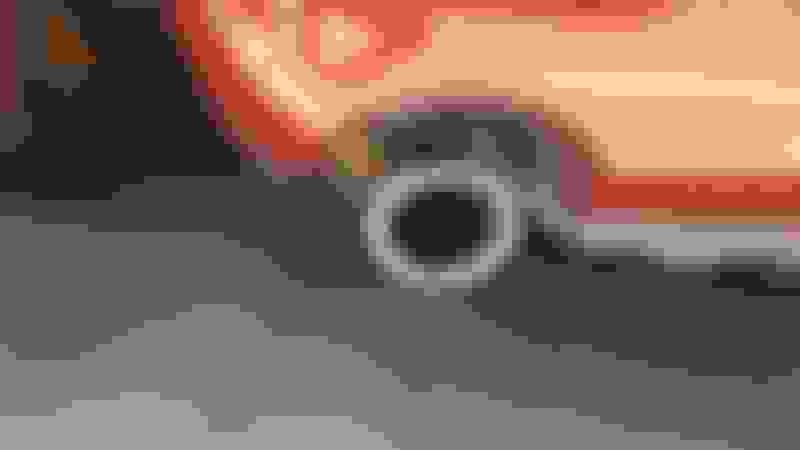
HYG...pics that I hope help. Some photos slipped in that are of no use and some I did not caption. D'oh.
My chrome tips cleaning kit. 5mm hex wrench, wooden block and rubber hammer. Bucket, sponge, Dawn and ammonia. Do not use the abrasive side of the sponge. Polishing compound, applicator pad, buffing cloth and Dremel tool with buffing wheel. Finished chrome tip and silicon grease. Tail pipe without chrome tip. You will want to use the silicon grease here and on the bracket inside the chrome tip. I suppose a high temp anti-seize paste would work well. The 5mm bolt holding the chrome tip. 5mm wrench ready to go. Chrome with polishing compound. Chrome buffed by hand and Dremel tool for end of chrome tip. Looking good. Car needs a wash and mini-detail. Close up of chrome tip showing 5mm bolt. Garage needs cleaning, too.
I just cleaned my tips today using suggestions on this thread. The 0000 steel wool is definitely a plus for sure and doesn't scratch the finish.
The tips were dirty, no issues getting them off or back on. I dabbed the head of the 5mm hex bolt with anti seize for safe measure.
I soaked both exhaust tips in ammonia solution and cleaned up with chrome wheel cleaner and the 0000 steel wool, placed back on and polished up one more time.
Forum members' feedback and shared ideas is exactly why I am a member here.
The 0000 steel wool idea was mentioned in an early post, but I went with polishing compound only and probably could have saved myself some elbow grease.
I've used 0000 steel wool the last (4) decades decades for guitar and bass fretboards but never on chrome. Now I know better. Oviously there are more than one way to skin The Cat.
Keep up the good work gang; thanks for all the DIYs and cost saving suggestions.

 09-11-2017, 11:58 AM