When you click on links to various merchants on this site and make a purchase, this can result in this site earning a commission. Affiliate programs and affiliations include, but are not limited to, the eBay Partner Network.
I thought I might make a thread detailing the modifications to my 2003 XJR. I love this car, it is 100% the best car I have ever owned and with careful maintenance gave me 1/4 of a million miles of trouble free driving heaven.
unfortunately, 250K was all she could manage when she blew a head gasket. It is pretty much impossible to change a head gasket on these with the engine in situ, and taking the engine out was a major task.
some pretty major decisions needed to be made - was it time to move on to a new car ? Could I ever find a new car as comfortable or exhilarating or stylish as my XJR ?
so I made the crazy decision to do a complete nut and bolt rebuild of the old girl on the basis that as an essentially brand new X350, she will probably outlive me !
I also figured that if I�m doing a total rebuild, then I could make some improvements along the way - power is not something lacking on an XJR, but power is addictive, so more is always good 😊 (more on that in a later post).
but if I am going to add more power, then I also need better handling and better stopping power.
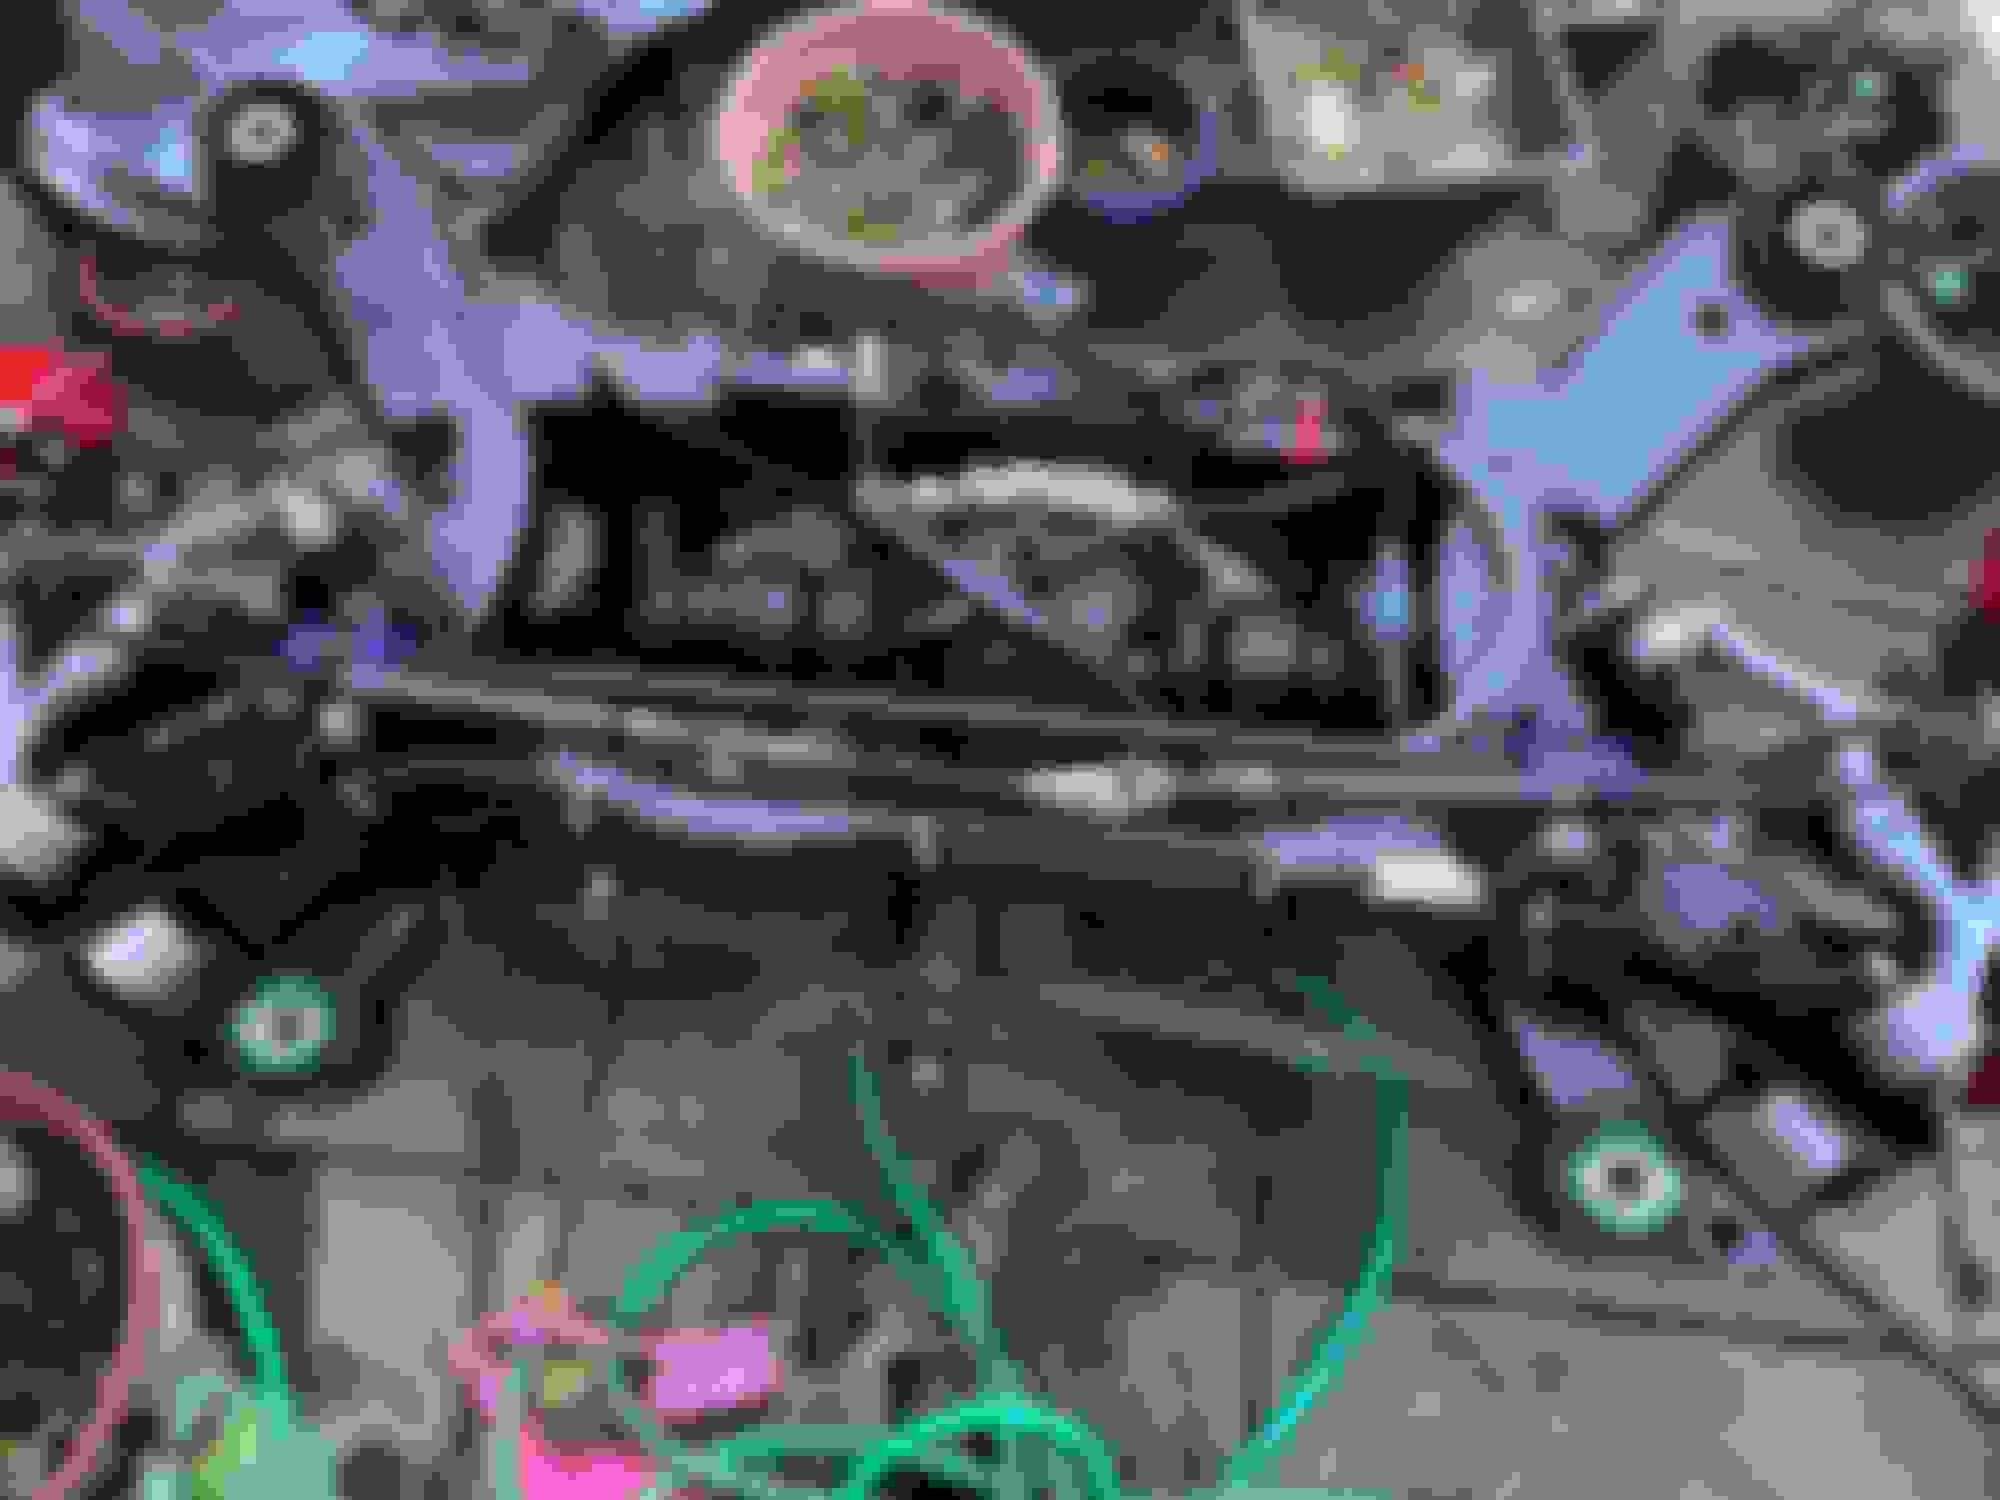
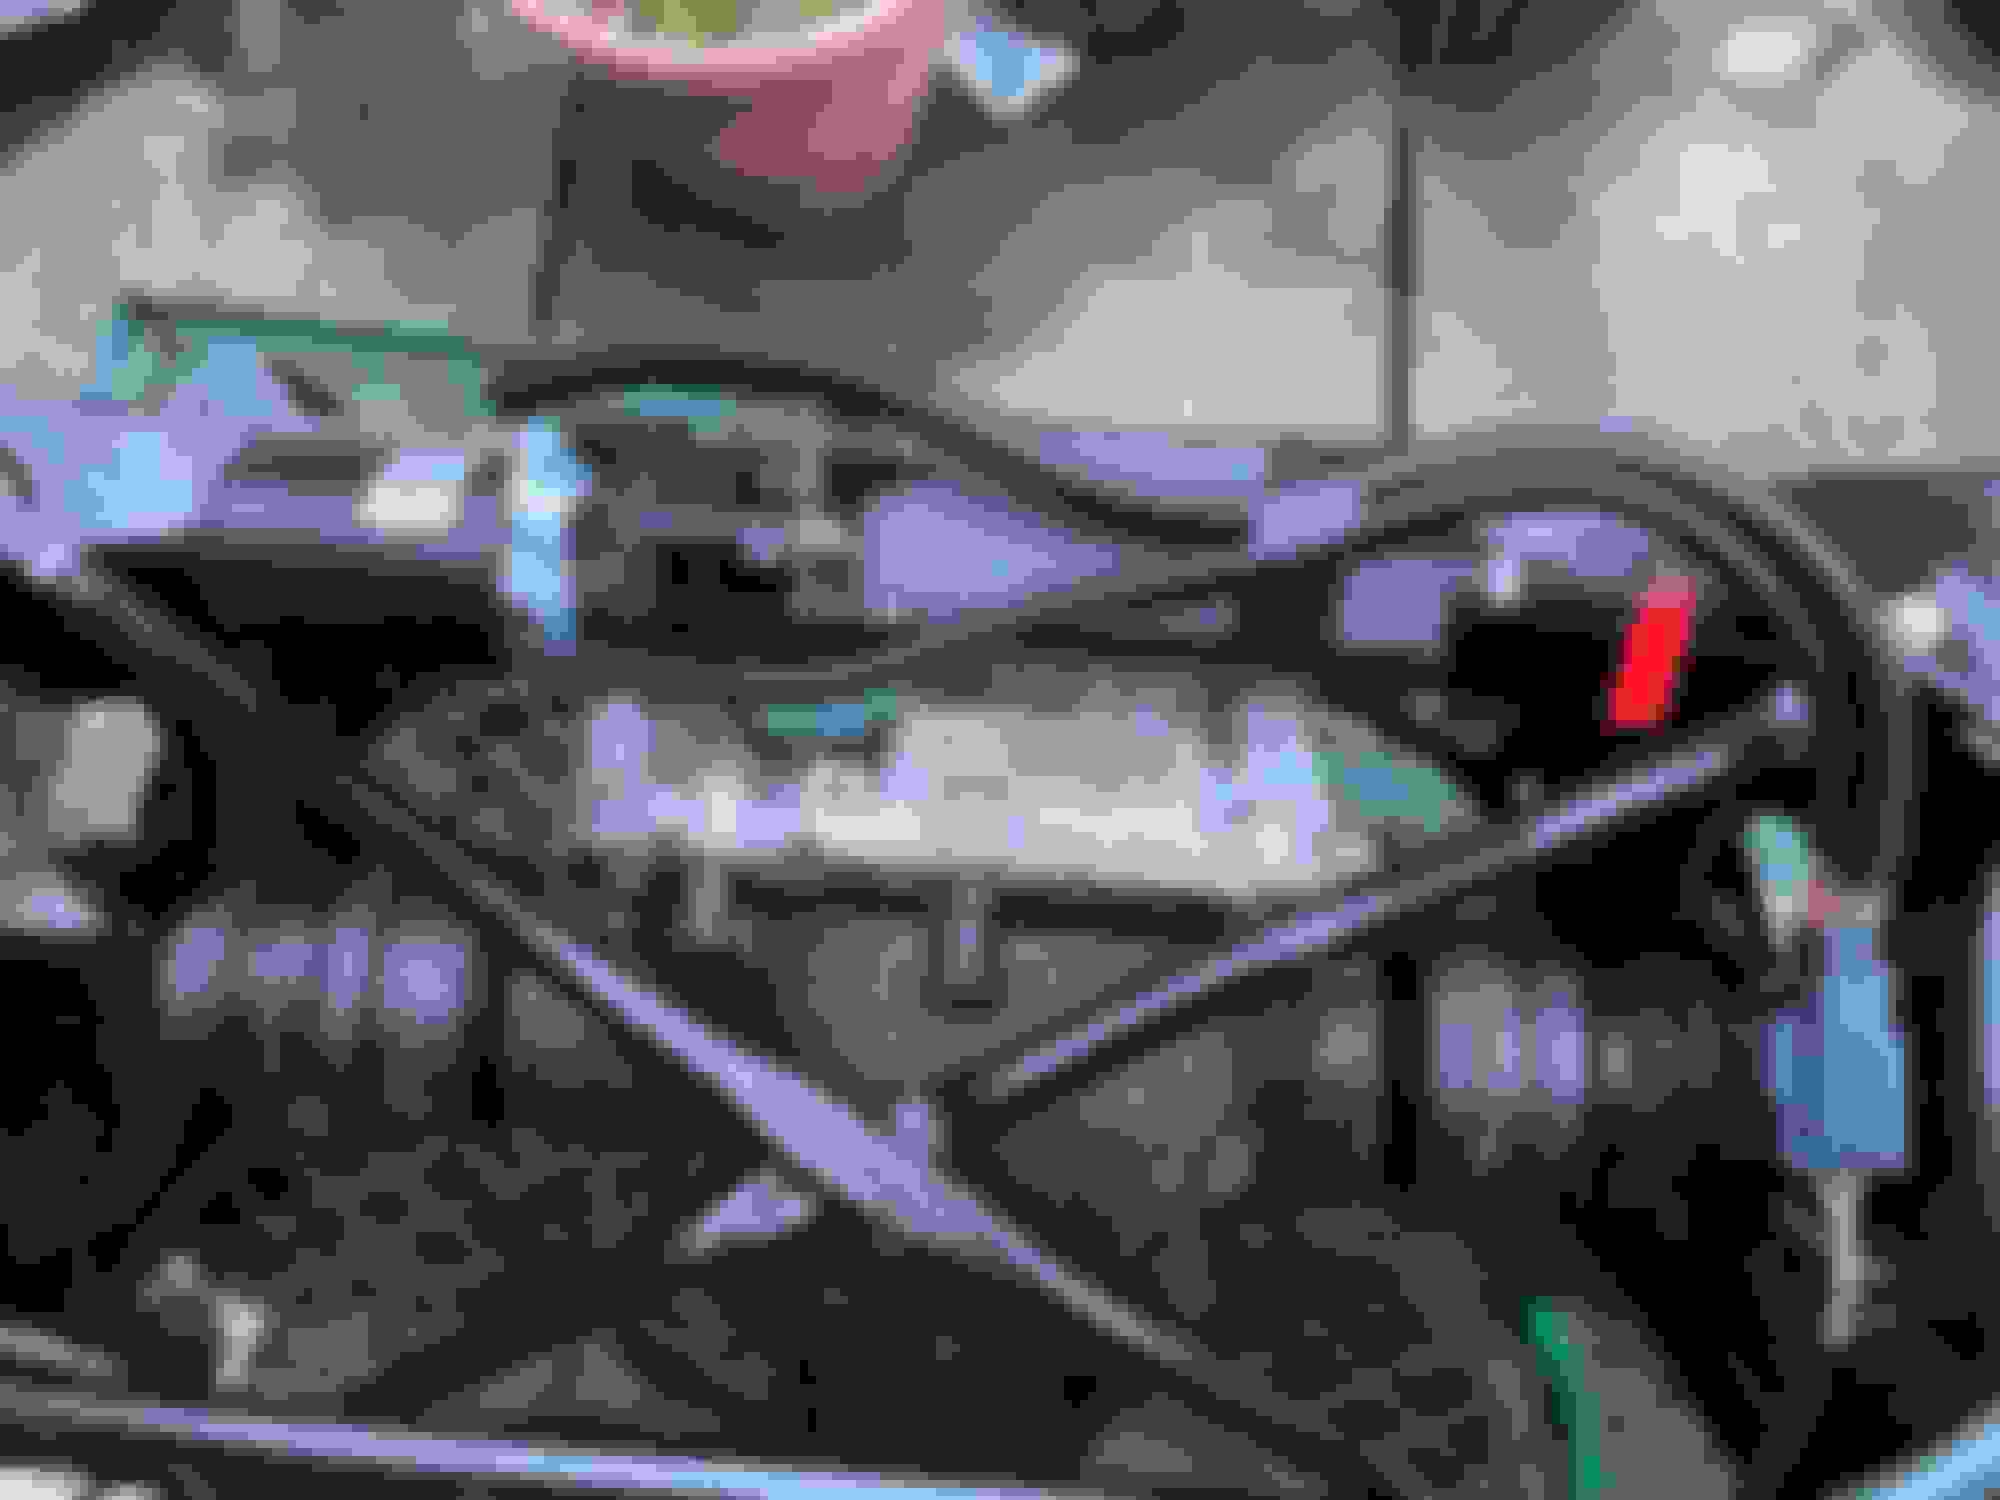
I am already quite a way into this build and have a few things I should post to bring you all up to speed, but I�m going to start with my freshly completed rear subframe, about to go back on the car.
When I took the subframe off, it was rusty as hell (aren�t they all ?), but structurally sound, so I had it and the diff protection X member blasted and powder coated. The subframe to body bushes were replaced for new and the diff mounting bushes which had essentially disintegrated were likewise pressed out and replaced.
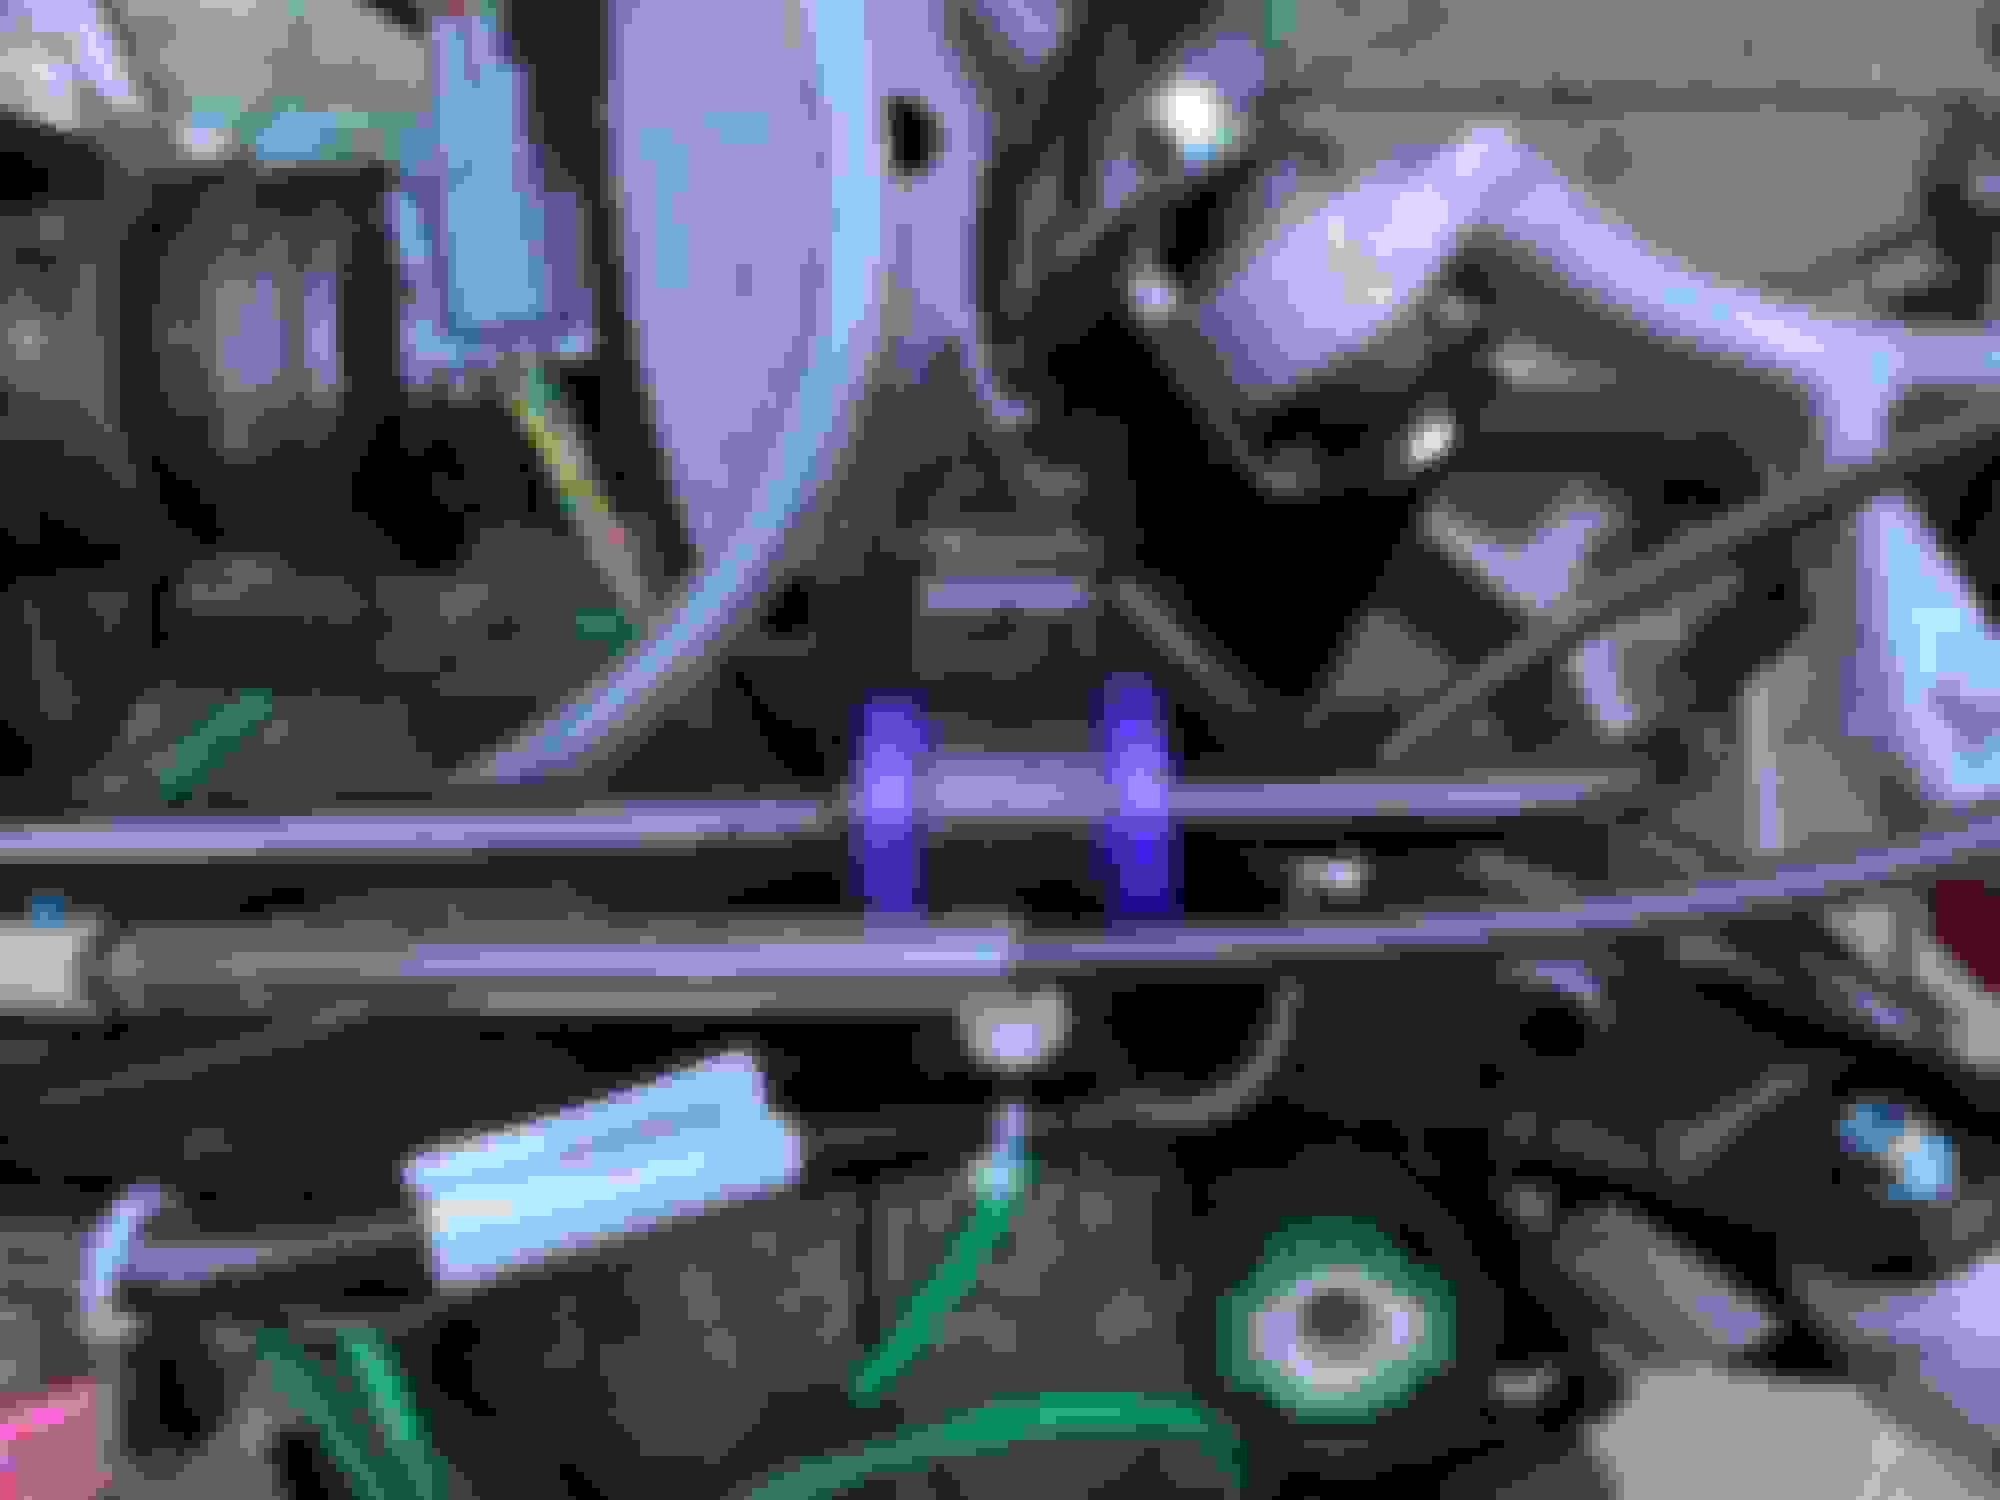
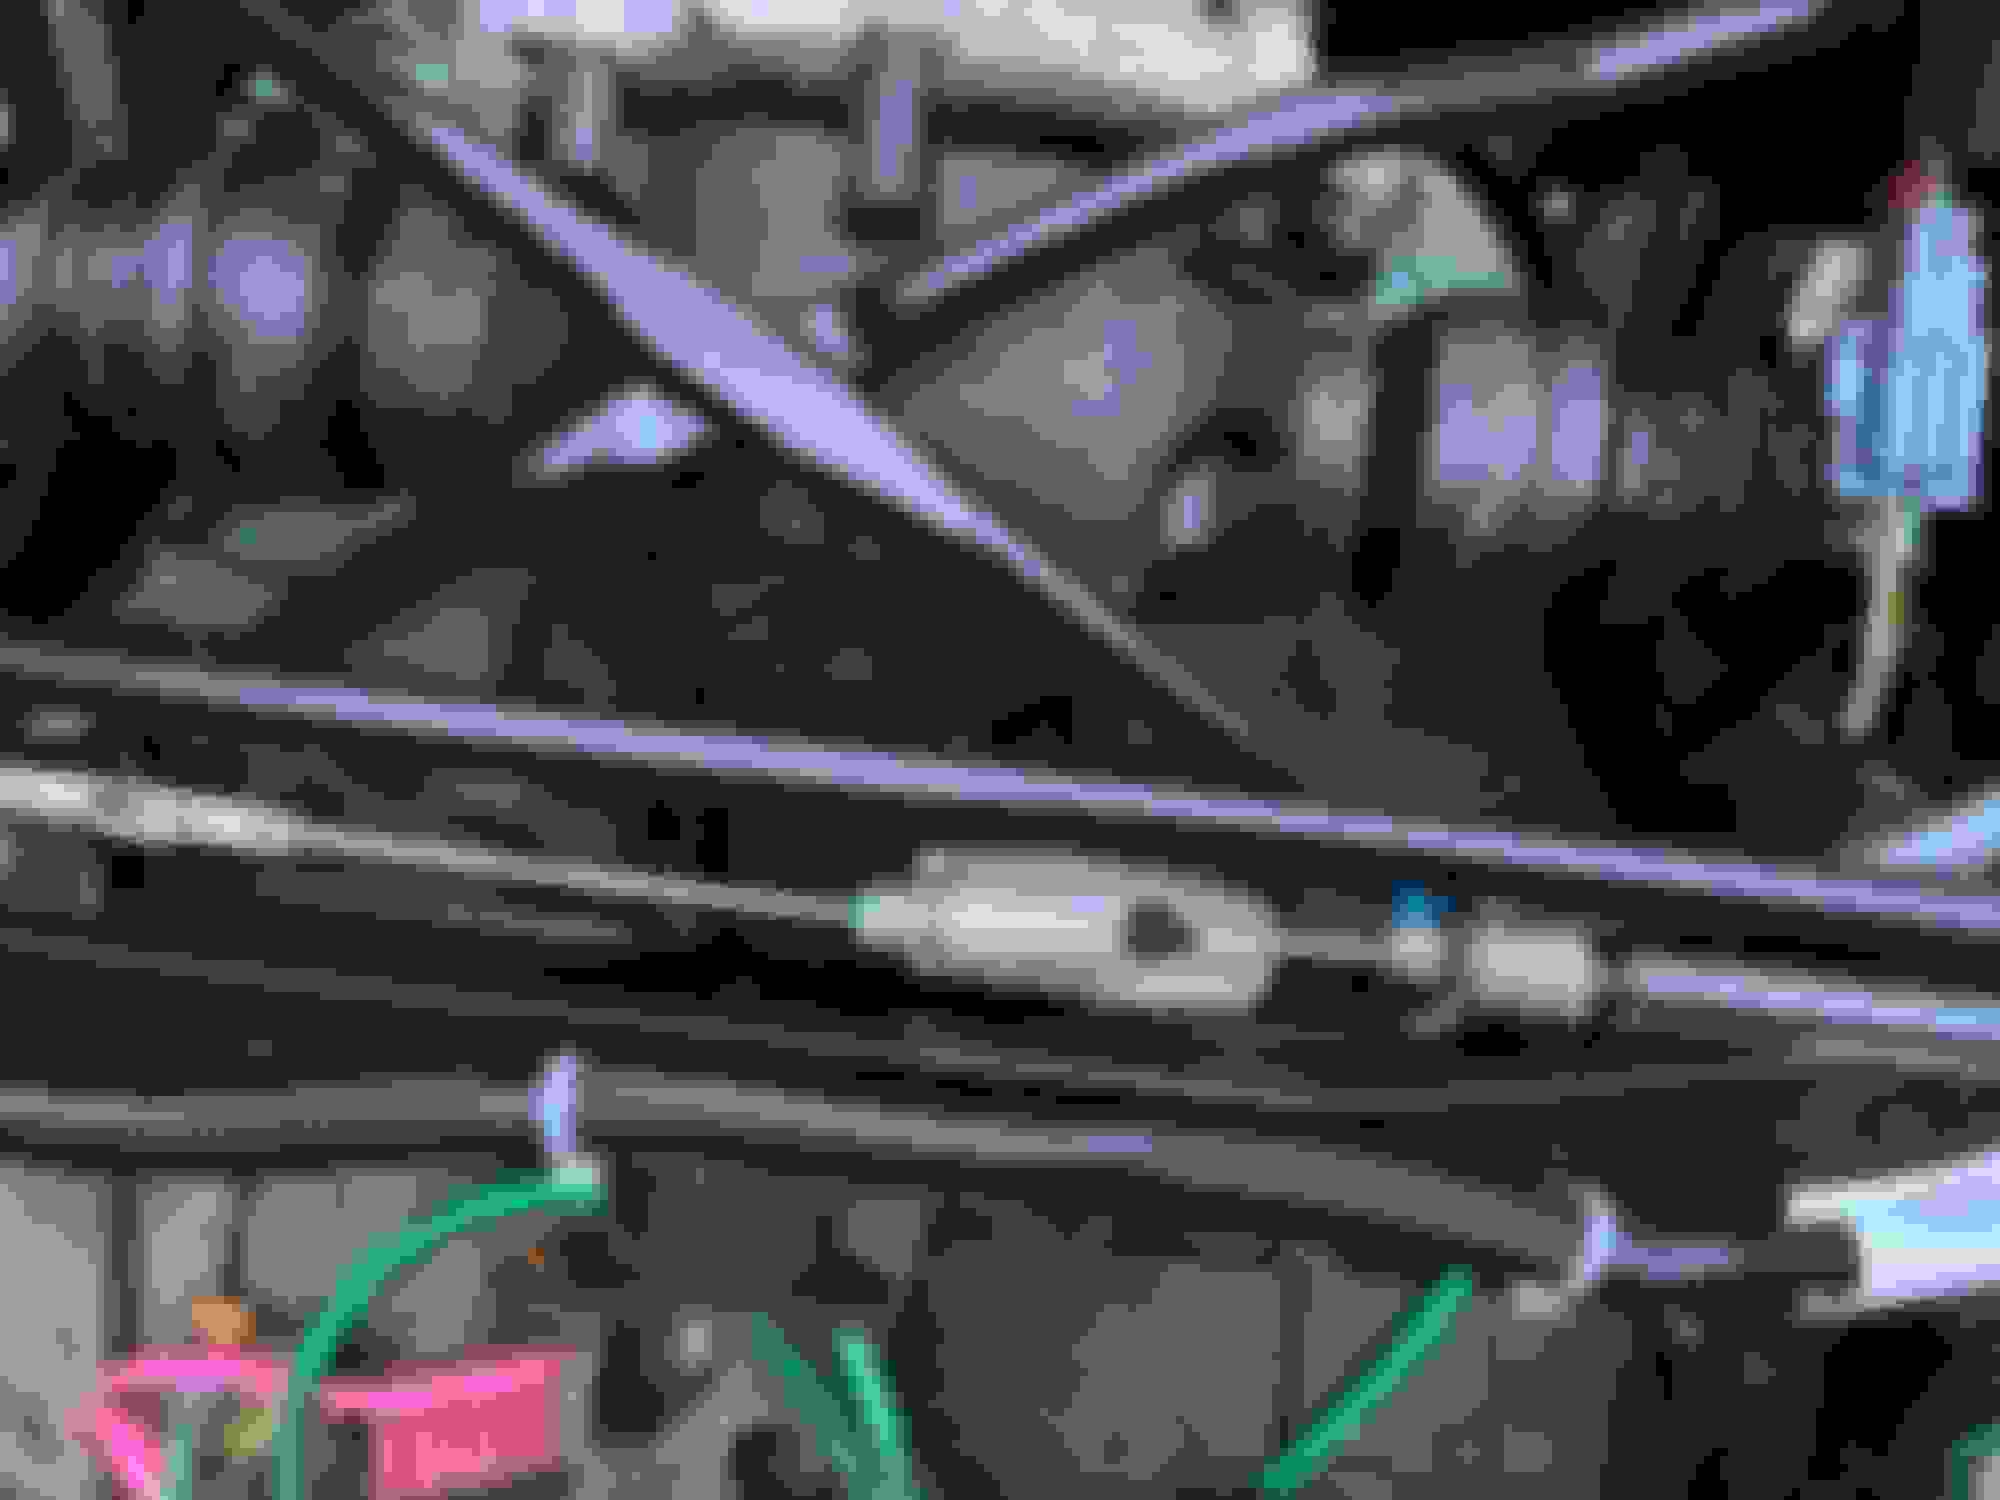
all the arms and bushes are brand new as are all the mounting bolts. The driveshafts were professionally rebuilt and the parking brake motor and cables are brand new. The roll bar bushes are poly, but all the others remain rubber as poly bushes really foul up the handling and feel at the rear end
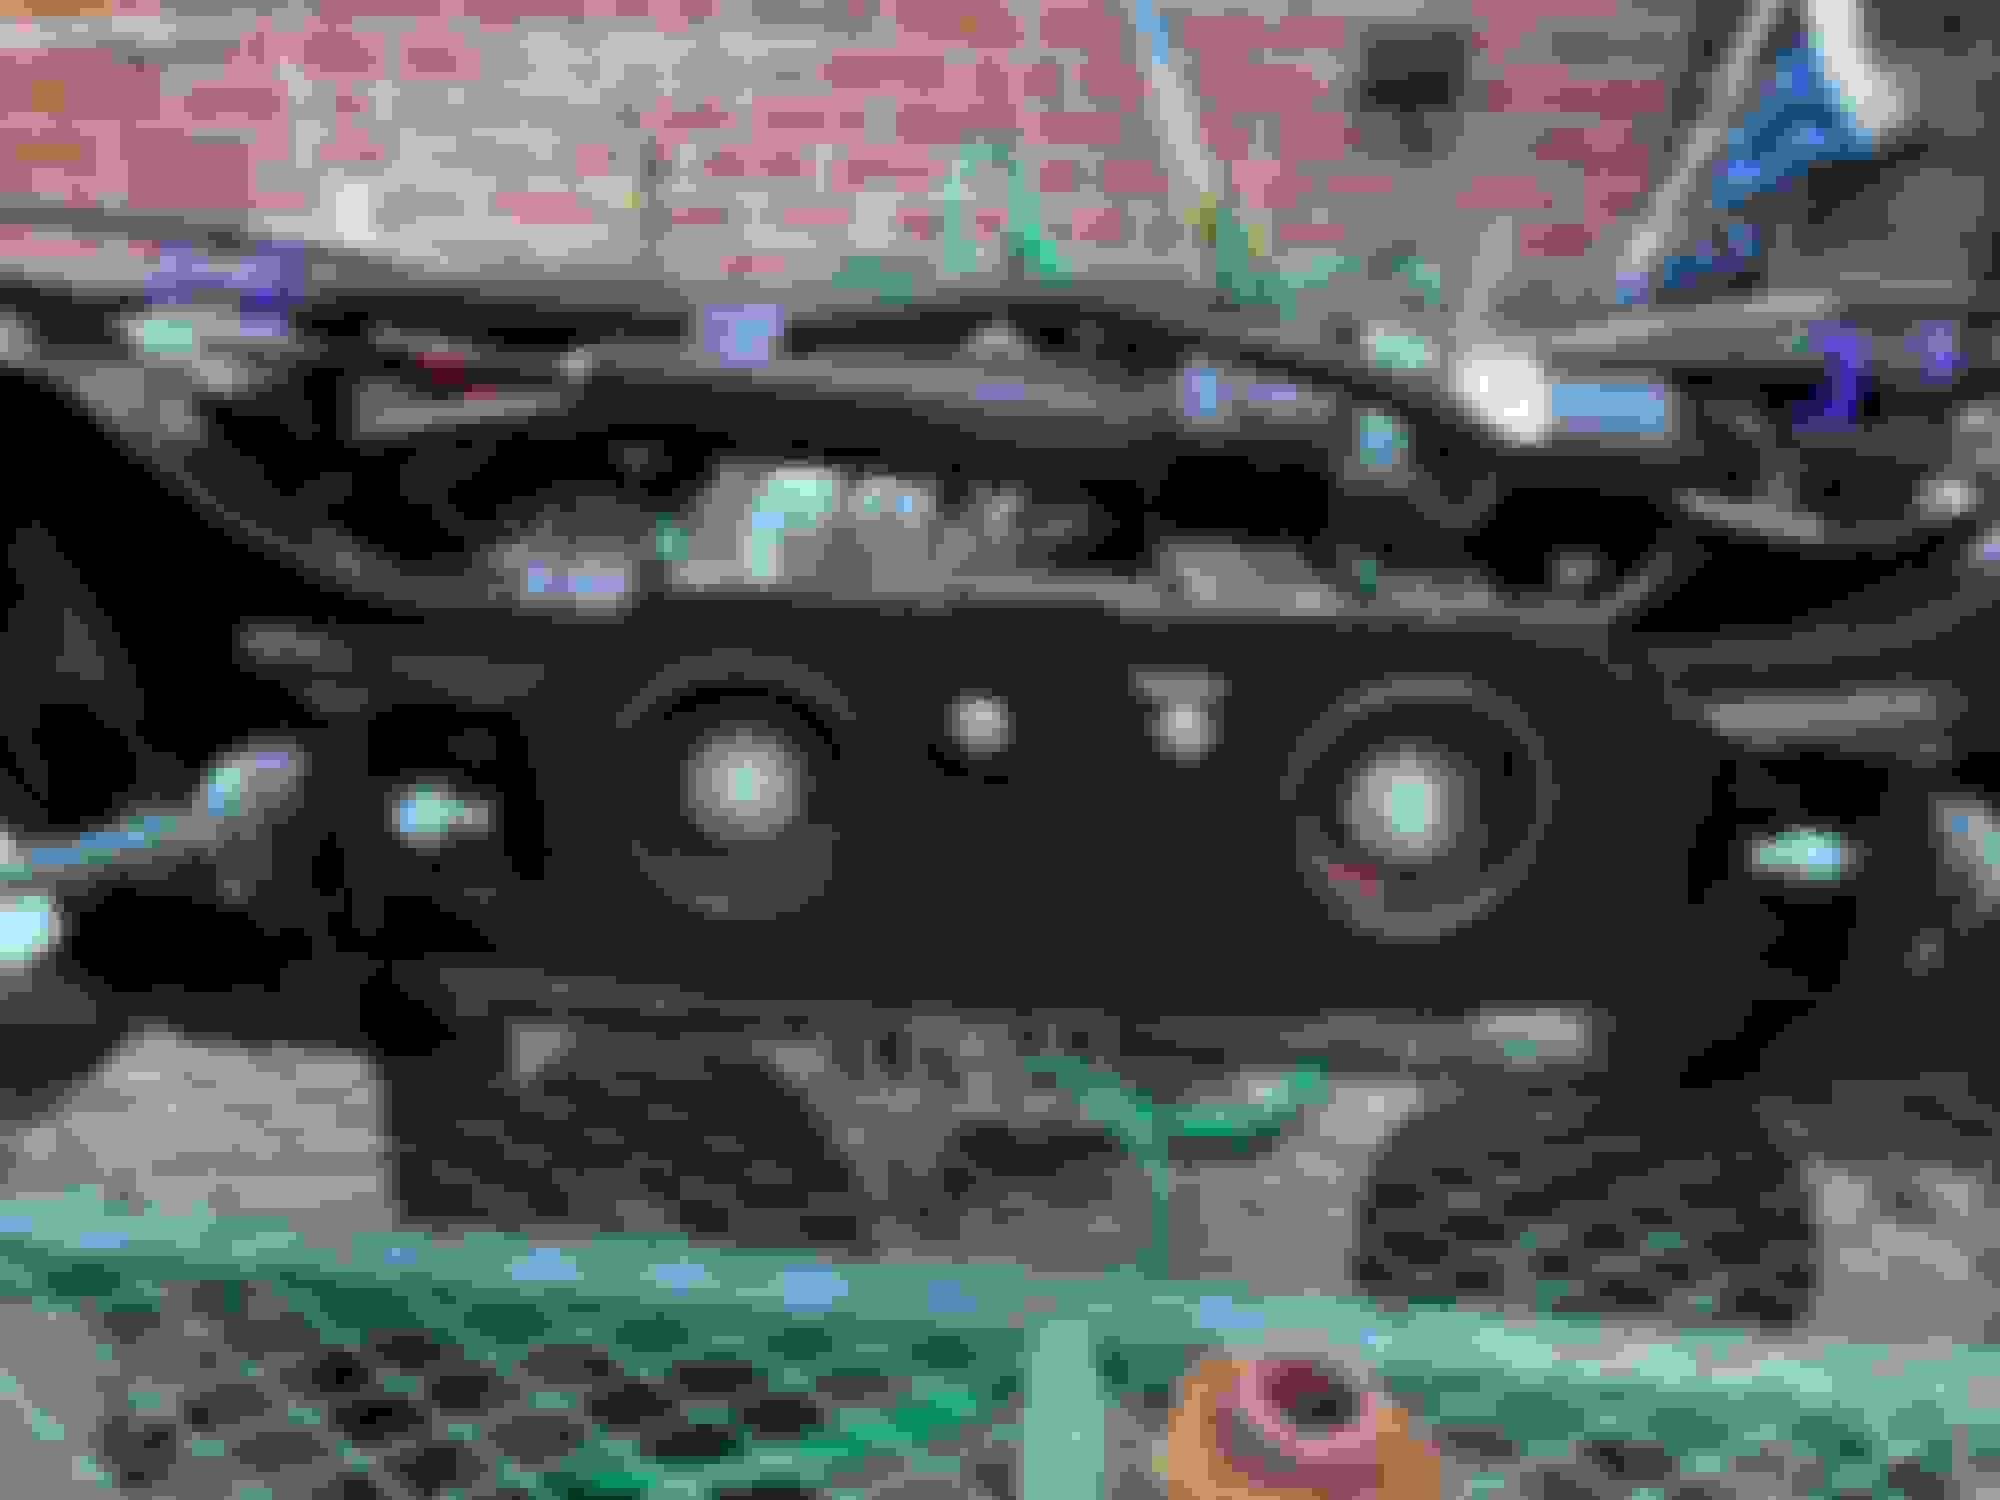
the diff was also professionally rebuilt, but at the same time the open diff was replaced with an uprated quaife limited slip item to handle the extra power.
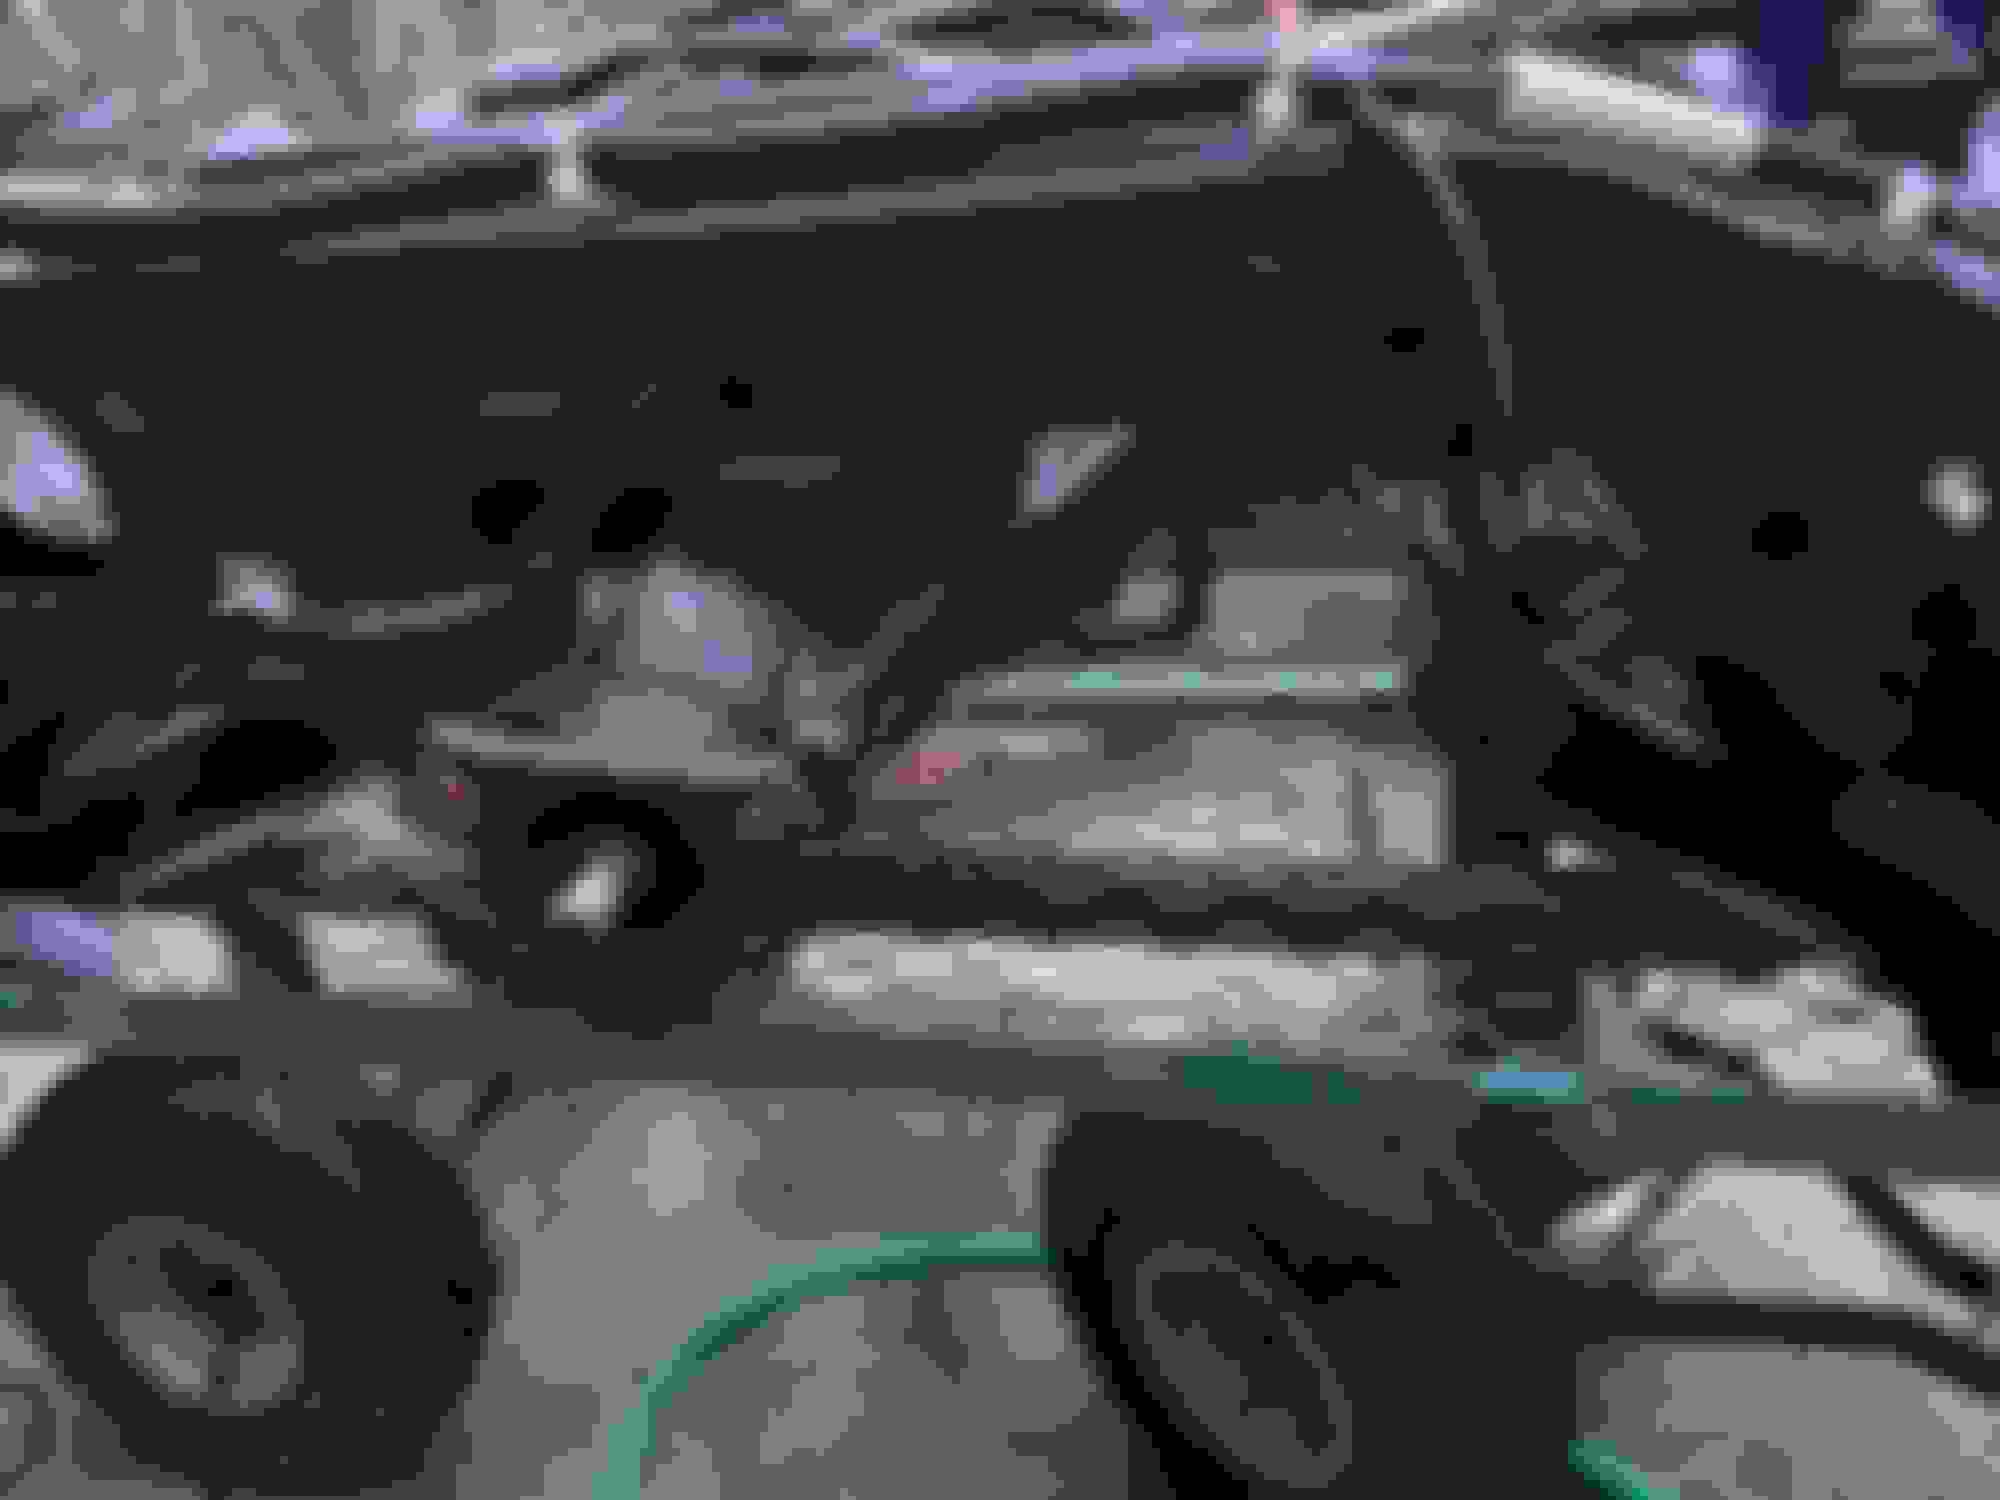
the hub carriers I could not find new for all the tea in China, and despite all my best efforts to clean them up, they still look like 250k mile items. I have however had brand new bearings fitted, and they�re not visible behind the brakes anyway
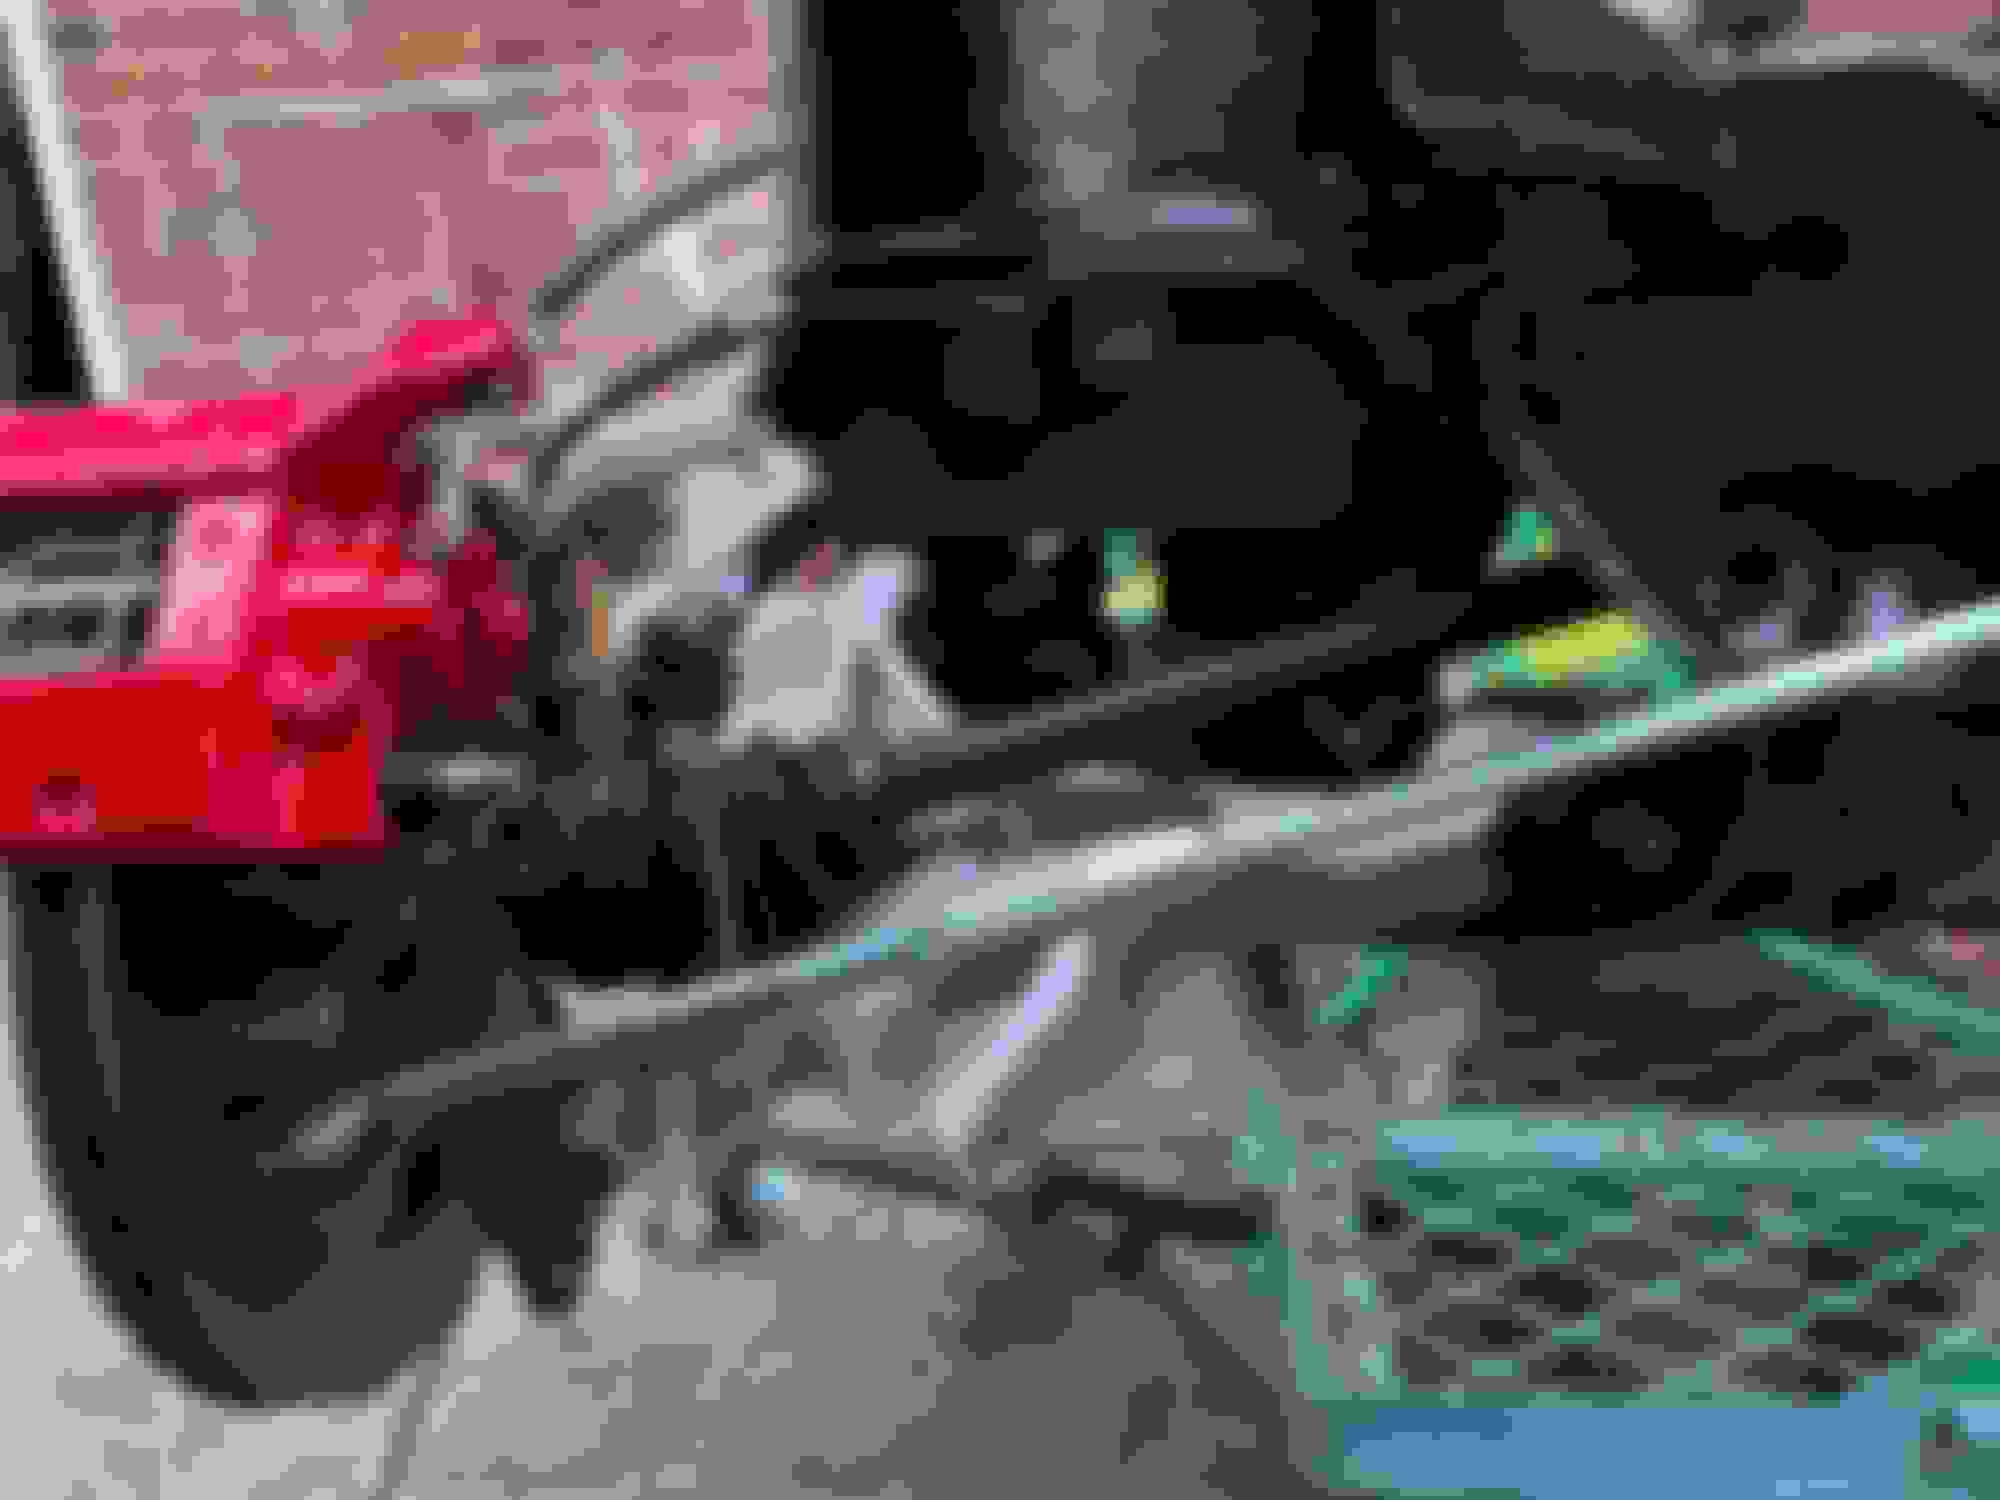
the big and obvious change is the brakes - the XJR was originally fitted with Brembo brakes which had good stopping power but always suffered disc warping and could fade due to overheating during vigorous track driving. So they have been replaced with custom made monsters
the original 330mm solid discs are now 375mm slotted and dimpled ventilated discs. The original 2 pot hydraulic callipers have been replaced with custom 4 pot callipers on Aston Martin virage pads. The parking brake callipers are original, though widened to accommodate the wider vented discs
Overview photo of subframe from above Near side brake assembly View into subframe from diff drive flange Near side hydraulic calliper Roll bar bushes and parking brake cable runs Diff and parking brake Parking brake motor Near side arms and track rod New diff bushes - who says it can�t be done ! Off side arms and track rod View down on off side
wow....impressive and look forward to your posts on the progress. Takes real guts to tackle a project like this over buying a newer Jaguar. Glad you chose this route.
I really admire your dedication to preserving this wonderful car. Keep us posted.
Also, just curious about how the ZF gearbox has held up. Have you had it rebuilt or replaced in 250k miles?
Regards
Jeff
it was never rebuilt or replaced in my tenure (about half its life). It was still working absolutely fine when I took it out, but it�s been sold now as I have a new gearbox going in as part of the performance upgrade watch out for the posting in a few days !
May I suggest you purchase "declared value insurance".
i had thought about something along those lines, but of course it is always really hard with total rebuild cars like this to put a realistic value on it
oh and this is the 6-pot calliper going on the front on 380mm discs. I’ll upload some pics once I actually put them on the car. The front subframe has been refurbed in the same way as the rear one. The front subframe is already on the car with new bushes, wishbones and air springs as well as a fully refurbed steering rack
i had thought about something along those lines, but of course it is always really hard with total rebuild cars like this to put a realistic value on it
It shouldn't be difficult. Keep your receipts for starters. Totally rebuilt cars can be appraised. Placing declared value is a no brainer. Let me tell you a story.
I had a 1994 Mustang GT. The engine was purpose built, with a 2.1 L Kenne Bell 9 psi of boost, a hardened AOD-E transmission and 3.73 gears. I could light-up the tires in any gear. In addition, to make all this work, I had to learn to how to program my stand-alone ECU (Series 1 AEM). The car was T-boned and was written off. I had a declared value of $20,000. The insurance company paid out $17,500. Considering '94/95 Mustangs GT's were worth about $4,000 that extra $13,500 left me whole.
With all the expense I have outlaid on brakes, it is absolutely necessary to be able to see them ! I have to move up to 20" wheels as my 19" wheels can no longer accommodate the front brakes, so the hunt was on for a 20" wheel that will fit the car, looks good as has a narrow spoke design so as to allow maximum visibility of the gorgeous brakes. The fruit of my labours was the jaguar Farallon wheel as fitted to the X351 XJR. If you are not familiar with this wheel, it looks a little like this
These are available in technical grey (shown, although this one if pretty beaten up) or silver sparkle. on the X351 these were 9.5J on the front and 10J on the back.
Now I decided my colour scheme long ago, and although the car is currently Platinum Silver, I wanted it black and chrome when done (old fashioned I know, but hey that's just how I roll !) - not just any Black, but Jaguar code PEL, called Santorini black in the Land Rover world, or Ultimate Black on a Jaguar, a beautiful micatallic paint that just pops with green and purple and other subtle colour particles when exposed to direct sunlight. To this end I wanted Farallons in chrome (well not actually chrome as it is pretty much impossible to chrome plate alloy), so I obtained a set of 4 Farallons (2x10J & 2x 9.5J) and passed them onto my tame metal polisher who painstakingly polished them to a mirror finish by hand
In case you're not aware, polished aluminium oxidises over a period of time to a dull grey, so these wheels have been powder coated in a clear lacquer to maintain this shine. I haven't put tyres on these yet which is why the front brakes are not yet on the car (still on 19" wheels), and probably won't put them on until the car is painted for full effect
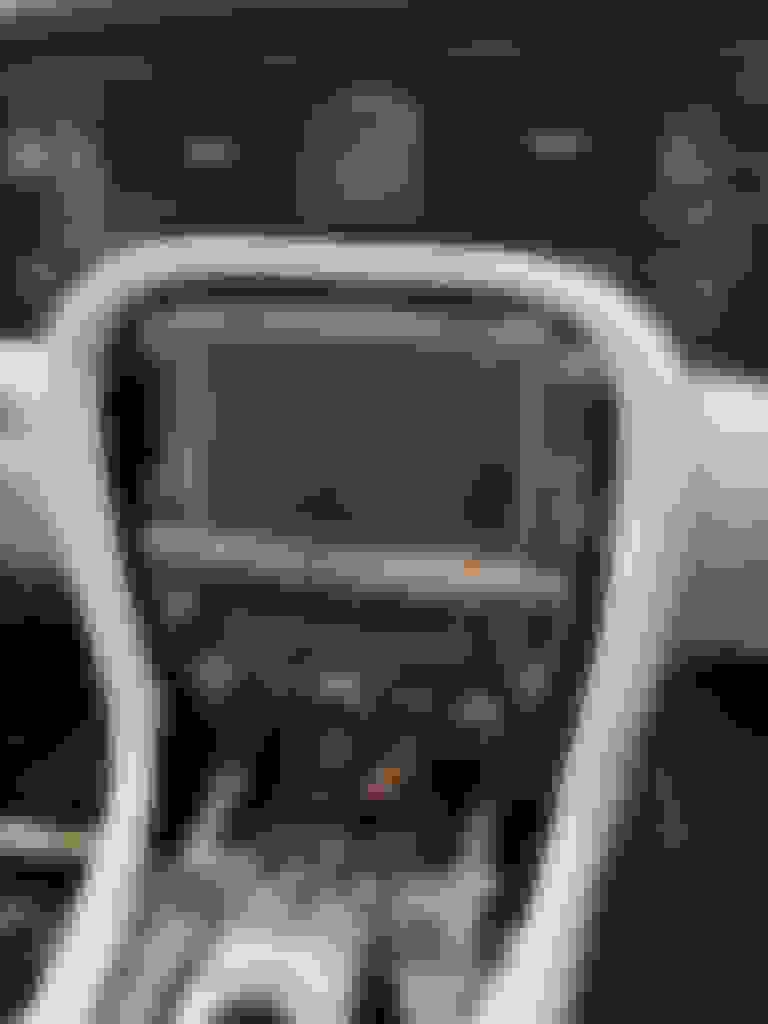
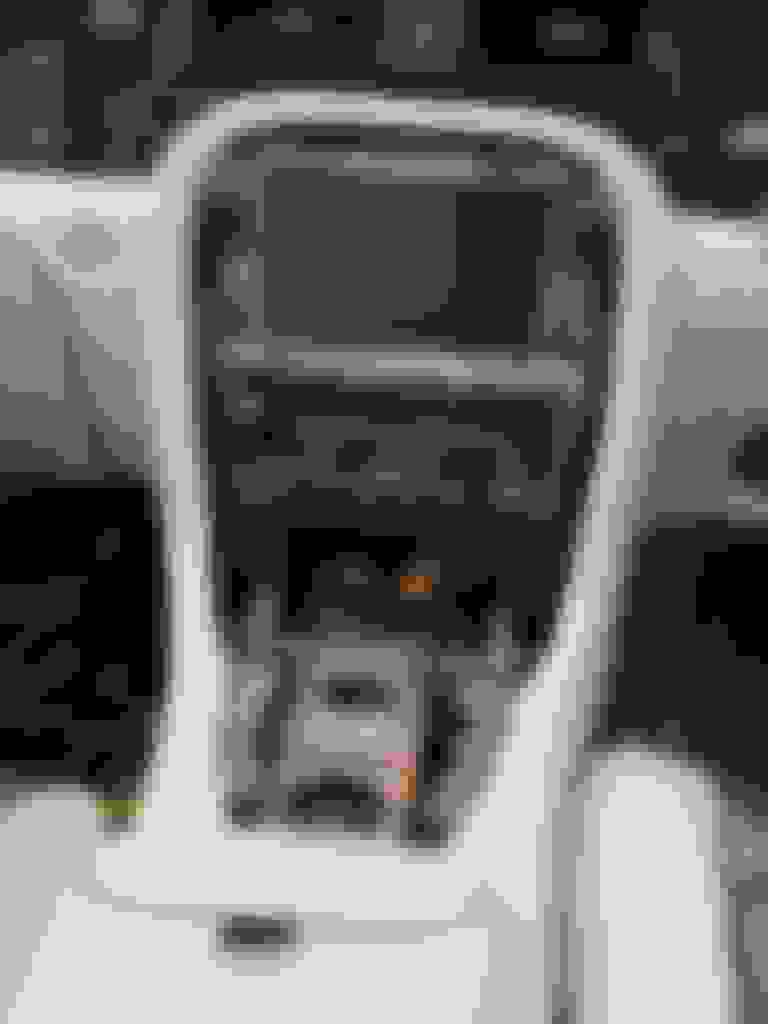
OK, time for some interior photos, and this may give you all a clue to the extent of the update I'm undertaking here. This is the revised centre console. The wiring behind this is already modified and in place. I hope there is no-one who cannot see what's changed :-)
Still need some facia making up and there are physical issues around the instrument panel, but it's getting there !

 12-30-2020, 03:24 AM