When you click on links to various merchants on this site and make a purchase, this can result in this site earning a commission. Affiliate programs and affiliations include, but are not limited to, the eBay Partner Network.
After wrestling with the power steering and a/c brackets for hours, removing the passenger side cylinder head was almost anticlimactic!
I did encounter some surprises on this part of the job. I expected the head to be firmly sealed to the block once the head bolts were removed, and I anticipated needing to coax the head off the dowel pins. Not so... as soon as the bolts where off, I could move the cylinder head with one hand. The cause... the gasket is shot and delaminated into various layers. I'm glad I undertook the job, when all is done (3-4 weeks I think given lack of time until weekends) the car should be much happier.
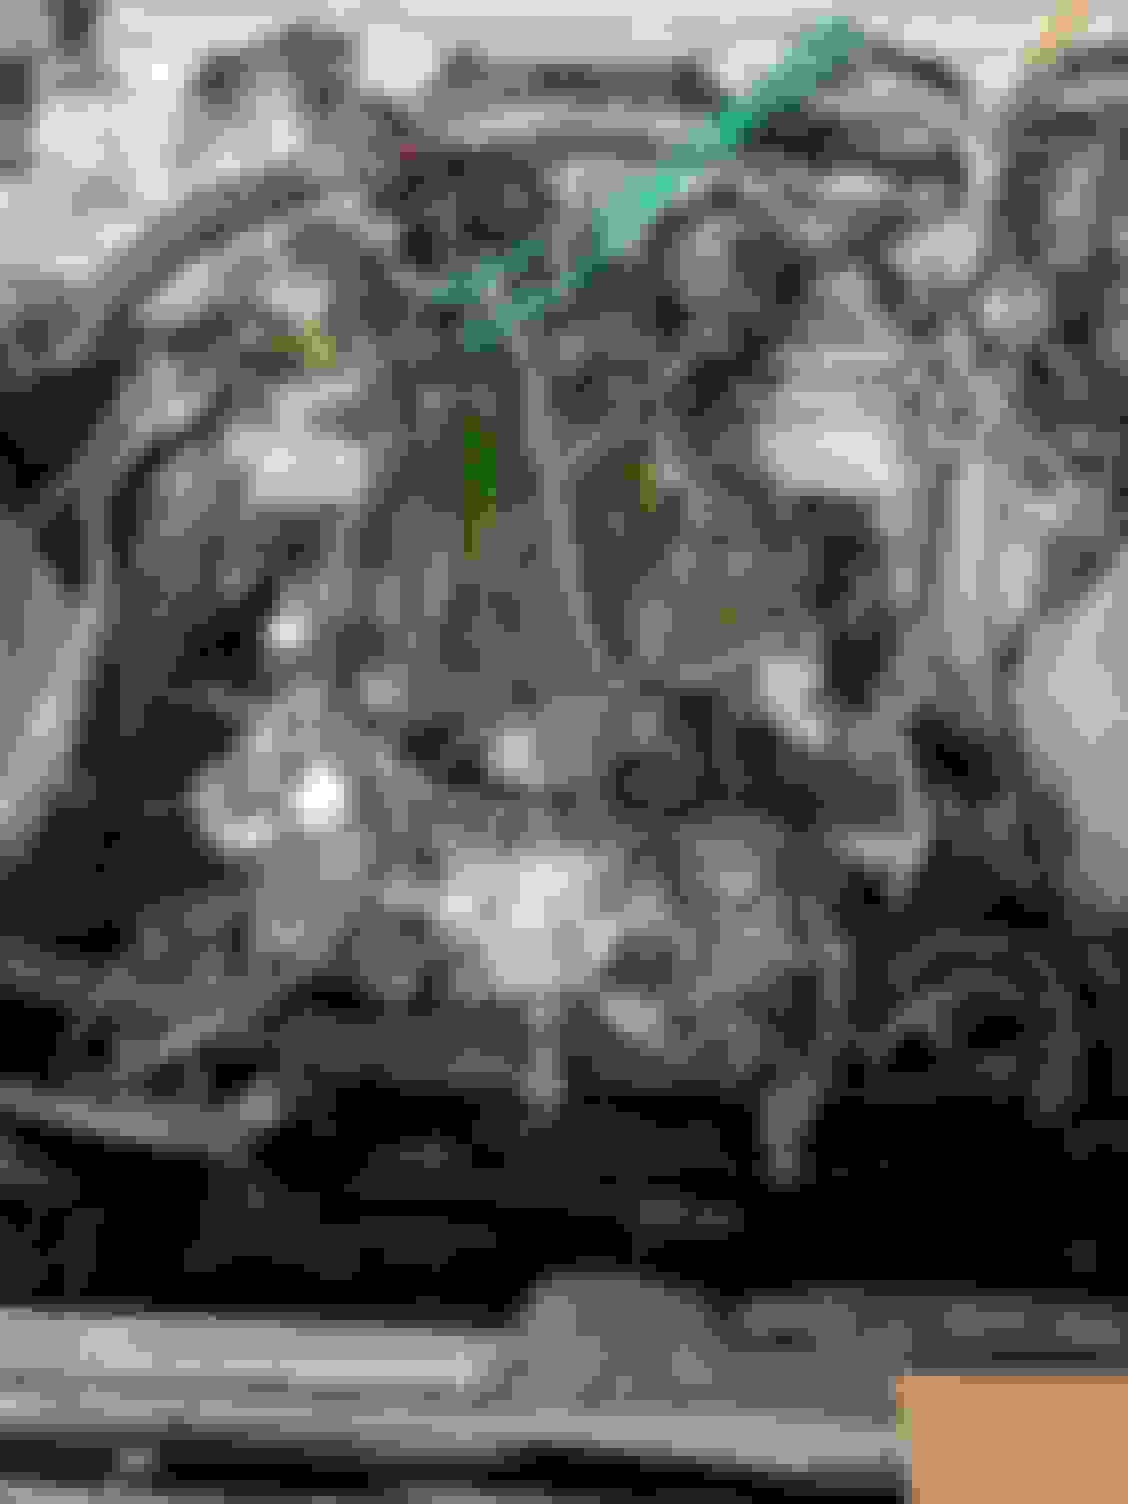
Below are some pictures, one of the engine bay and two of the gasket (the side view reveals the delamination).
Now, the question presented to me upon inspection of the engine bay.... do I take this opportunity while the heads are being serviced (I've done valves once and I didn't enjoy it and I lack the specialty tools to do it well, so outsourced goes the valve work!) to replace the alternator? It's just sitting right there, and I'll never have easier access to it (assuming I don't have to pull the motor ever.... fingers crossed).
Passenger cylinder head removed Tired head gasket Layers of head gasket splitting apart
The following 6 users liked this post by scooterforever:
jackra_1 (03-03-2021),JX350 (03-26-2021),RoadMaster2 (03-16-2022),sukhoy1972 (03-04-2021),wwr (05-01-2021),XJ8JR (03-12-2021) and 1 others liked this post. (Show less...)
It overheated for the prior owner repeatedly and he concluded it was a head gasket issue and I purchased it knowing it needed engine work. It never overheated for me, but it did consistently over-pressurize the cooling system once I put load on it. The engine block test (the blue liquid) showed an intermittent leak (fluid turned green, but not full yellow) which is consistent with a pressurization under load issue. Basically it would idle consistently fine, but driving would result in fluid being forced out of the 14 psi pressure cap. Cylinder 5 in the picture above shows some evidence of 'steam cleaning' from coolant as well, and how easily the head came off reinforced my conclusion that the gasket had failed.
I have a 2004 VDP and I have a question. I acquired a engine/transmission (March madness sale $250.00). I removed the engine/transmission out of the bottom of the car. There is not that much to undo. Pull the 4 bolts holding the subframe and whole things drops out. Lowered it with a engine hoist. That experience convinced me that if I had to pull heads etc. it would be easier to pull the whole engine and be much easier to work on. I do have the advantage of having a portable hoist but I have done the same procedure on other cars with just a floor jack and car stands. Curious if anyone else dropped it out of the bottom.
I have a 2004 VDP and I have a question. I acquired a engine/transmission (March madness sale $250.00). I removed the engine/transmission out of the bottom of the car. There is not that much to undo. Pull the 4 bolts holding the subframe and whole things drops out. Lowered it with a engine hoist. That experience convinced me that if I had to pull heads etc. it would be easier to pull the whole engine and be much easier to work on. I do have the advantage of having a portable hoist but I have done the same procedure on other cars with just a floor jack and car stands. Curious if anyone else dropped it out of the bottom.
That's a great picture, did you use the engine lift to raise the front of the car?
I don't have access to a 2 post lift and my garage isn't that tall, so dropping the engine wasn't an option, but in hindsight next time I might pull the engine out and work on it outside of the car. Everything is a struggle for room inside the car: EGR bolts, supercharger elbow bolts, and the dreaded power steering and A/C brackets. If I had experience in pulling the Jaguar transmission, I'd have pulled the engine out. Next time . All in all the head gasket job isn't too bad a job, there's just a lot of "layers" to move out of the way.
It is one of of those things that might be worth to look at. Mine died at around 85k and it was painful. But it depends on the mileage / use of the car. I have been in the EXACT point you are with your cat. Same head... my advice is take a good look at the starter... it is right there... kind of easy to remove. Just a tip...
and about removing the engine from the bottom... that would be ideal BUT I live in a regular house, not much space, barely for a hoist but never to remove the engine from the bottom ( I doubt wife would be happy either lol ). It would take away a lot of aggravation indeed but... no space!
my advice is take a good look at the starter... it is right there
+ 1 on these. Its a pita to get to the upper bolt from underneath, i had to remove the passenger side engine mount to get access. Look for �Denso starter repair kit� on ebay for about 20 bucks and change just the worn parts of your starter.
Alternators to my knowledge are one of the most reliable electrical parts on cars.
Quick update -- I am going to replace the starter this weekend, it's good advice you all have given on that point. I can easily access the top bolt with a socket flex union (with the head removed). I expect to receive the heads at the end of the month after the valves have been serviced, and in the mean time plan on the following work:
* clean injectors and replace o-rings
* starter motor replacement
* replace radiator
* replace knock sensors
* replace oil filter housing gasket
* replace broken electrical connectors with new connectors (I'll post later on this with part numbers)
In the mean time, here's a picture of the engine bay with both cylinder heads removed.
The timing components look great, I was really surprised. The sprockets are unworn, the timing chain looks excellent, and all the tensioners (metal) look fine and continue to have tension / 'spring' to them. The guides are un-cracked. I had already acquired tensioners and guides and so I'll replace those anyway but I feel I could reuse the original components.
First setback... my machinist called and while he could take the warp out of the head surfaces (they are now flat), the warp extended to the cam journals. He's hopeful that he can polish that out and get them spinning freely, otherwise I'll have to source new heads (ugh) or just pull the motor and replace the whole assembly (double ugh). I'm hopeful at this point. For good news, the valves look great. I am however haunted by the phrase "It's never just the head gaskets...."
Today I dropped off two A/C compressors at my machinist -- both have broken bolts on the low pressure line connectors. One is the original from my SV8, and the second is a $99 XJ8 VDP compressor with low miles from a junkyard that ended up suffering from the same broken bolt issue (looking closer at the A/C compressor pictures on car-part.com, it appears to be a common problem). My flux core welder wasn't up to the task of welding a nut on to remove the broken bolt, so off to the machine shop they went.
While there, I got good news. The cams so far are responding well to polishing. Attached is a picture of the passenger side head, which cleaned up really nicely for 142k miles.
Made modest progress this weekend. I cleaned up the A/C and Power Steering brackets and the oil filter housing. I installed the new starter and new(er) alternator. The normally-hidden top bolt of the starter is easy to access with a 1/4" socket extension and a swivel joint with the head is off. Without the head off, I think I would have had to taped an endoscope to a 13mm socket on a short extension and used the camera to locate the bolt.
The alternator was straight forward -- without the head it just lifts out -- though freeing it from the bottom bracket took some effort. My replacement alternator bolt housing was 0.006" wider than the original (which was squeezed in pretty tightly), and so I had to file a bit of the bolt housing surface to get it to smoothly fit. Biggest issue was I didn't pay attention with the final fitting of the alternator and snapped the electrical connector. Oh well... just another connector I will need to repair. The current list of broken connectors:
TPS (done)
Various fuel injectors
ECT sensor
MAF
MAP
Alternator
The A/C lines into the compressor appear to be 12mm ID x 2mm cross section which is easy to fine in HBNR, but the low pressure line appears to be 24mm ID x 2mm cross section which I can find in NBR but not HBNR. NBR is not supposed to be compatible with r134a... but I can't find an option yet and haven't come up with a Jaguar part number.
The A/C lines into the compressor appear to be 12mm ID x 2mm cross section which is easy to fine in HBNR, but the low pressure line appears to be 24mm ID x 2mm cross section which I can find in NBR but not HBNR. NBR is not supposed to be compatible with r134a... but I can't find an option yet and haven't come up with a Jaguar part number.
The AC orings on these vehicles are a PIA. All seem to be non-standard. I have 2 complete ac o-ring assortments and couldn't find matches. I had to go to the dealer to get the 2 o-rings for the condenser lines when I replaced mine. They are not the normal green (HNBR?), but rather a purple color and not a common size. you'll end up paying $6-7 for each o-ring from the dealer but rather have the right ones than a leaking connection. Try www.terrysjag.com if you can wait a few day for the mail. They're usually very helpful.
Yeah, I had a 'A/C reseal' kit for supposedly the SV8 and not a single ring was a perfect match for either of the two o-rings I removed, and nothing came even close on the bigger ring. I measured them at 2mm cross section by 12 mm for the high pressure line and 2mm by 24mm for the low pressure line. I just ordered both in EPDM (could not find the larger ring in HNBR anywhere) from the O-Ring Store. Also ordered NBR oil cooler lines to oil filter housing o-rings from them. I think the shipping exceeded the cost of the o-rings themselves, revealing what we all know, that the dealer prices on o-rings have huge % markups.
Weekend update. The machine shop successfully revolved the binding cams issue through polishing the journals. I should have the heads with serviced valves back by the end of the week or the start of the following week. In the mean time, I am crossing off the remaining preparation items so I'm ready to install the heads when they are ready.
Yesterday I soldered in replacement connectors for the alternator, MAP sensor and ECT sensor. I'm half way through rewiring the injector harnesses, and finished Bank B earlier today. I had trouble finding replacement injector connectors, but Ford F-150 connectors from the same era seem to be a good match. I cleaned and tested the injectors with their corresponding (new) injector clips.
I don't have that much preparatory work left after I finish the Bank A injector wiring harness later today. The timing cover and valve covers have been cleaned, the block mating surfaces have been 95% cleaned (want to do one final pass on each bank). I only have the following steps remaining until I need the heads before going further:
final cleaning of mating surfaces
rotate the crank to clean out any carbon flakes on the edge of the piston, lightly oil the cylinder walls then reinstall the crank positioning tool
clean and dry the front cover bolt holes and A/C and power steering bracket holes (plan to use brake cleaner followed by pressurized air)
clean and dry the head bolt holes
vacuum everything
wipe down all mating services with brake cleaner to prepare for gaskets or RTV (depending on surface)
I don't know if I'll have the completed heads back on Friday this week or later next week, but I'm getting the final preparations in place for installing the cylinder heads. There are a few videos on AJ-V8 head gasket replacement on YouTube, and in a Range Rover Sport (if memory serves) video the owner demonstrated what I think is a neat trick of using the old head bolts as locating pins. So I made two of my own, picture attached. Basically just cleaned up the old head bolts, cut the heads off and cut in a slot for a screw driver. For the cylinder head install I will screw these into two corner (opposing) head bolt holes, then place the head gasket and head, then use the slots and a screwdriver to remove the bolts before the new ones go in.
 03-02-2021, 11:40 PM


 . All in all the head gasket job isn't too bad a job, there's just a lot of "layers" to move out of the way.