When you click on links to various merchants on this site and make a purchase, this can result in this site earning a commission. Affiliate programs and affiliations include, but are not limited to, the eBay Partner Network.
This has been a ton of work and a labor of love. Thank you so much for documenting this journey of yours! It will be helpful for anyone following along in your footsteps in the future!
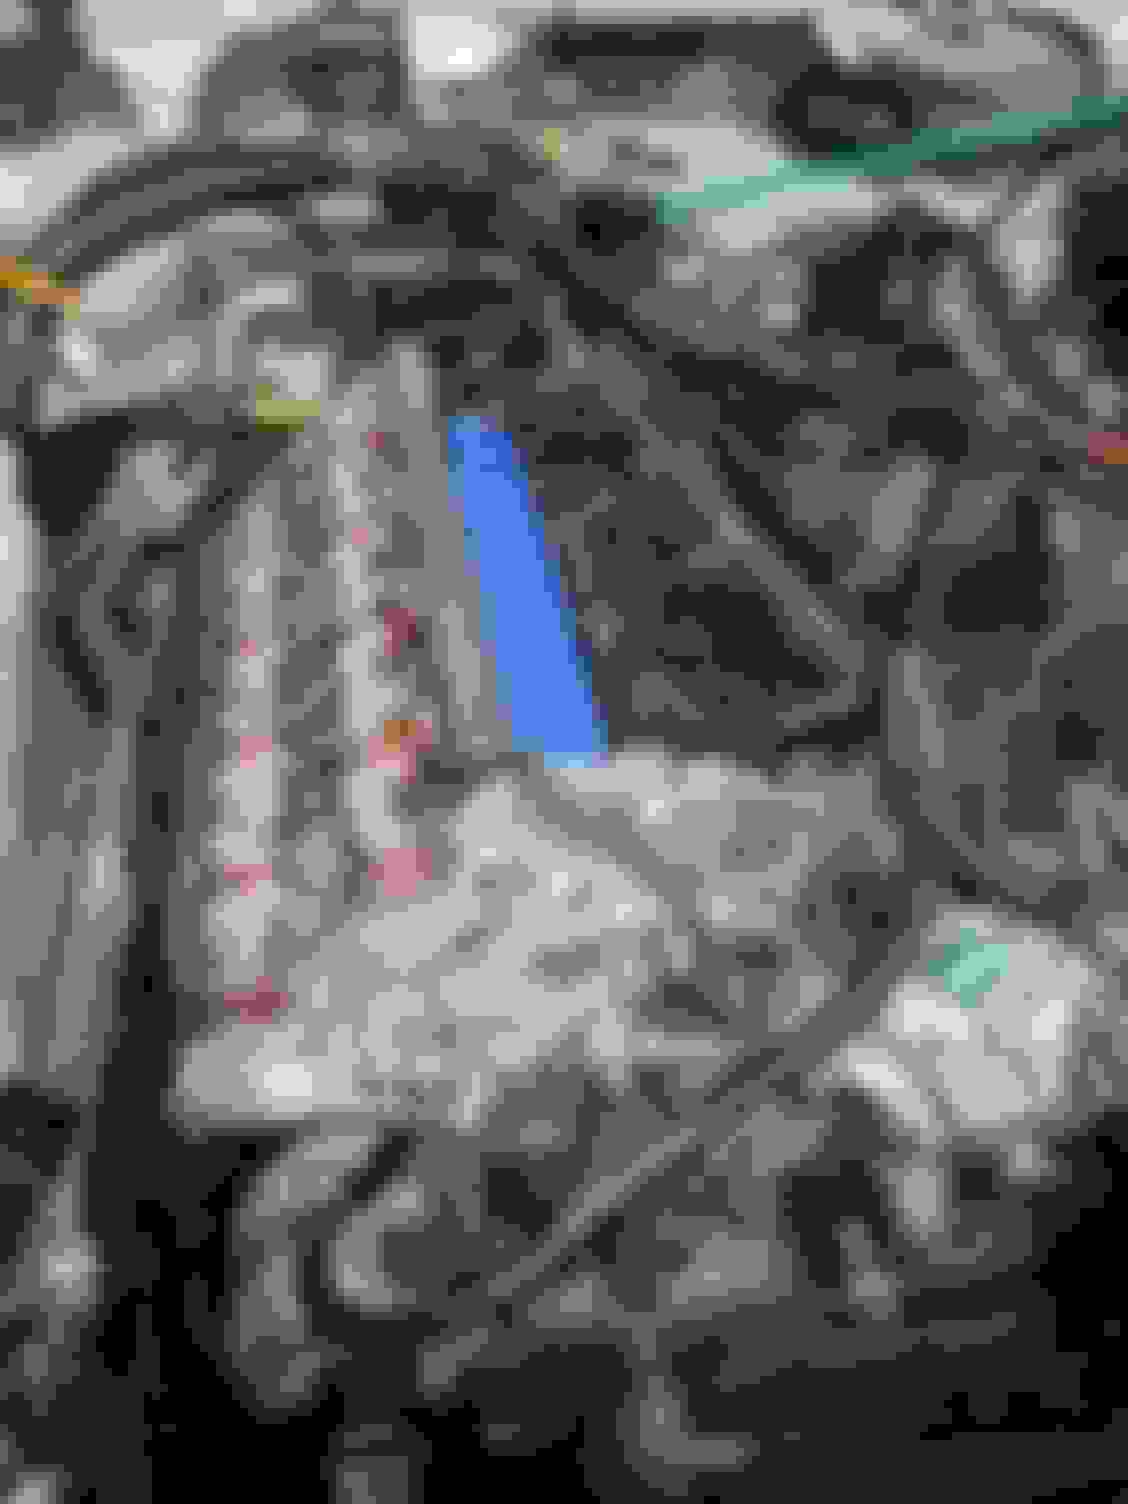
Quick update. Still waiting on the heads, my machinist has been pretty busy so it might be next week. I'm taking my time to clean up the block surfaces, and thought I would post a picture of the tools I used to clean up and prepare the block surfaces for the heads.
The picture below has most of the tools, I realized I left out grey scotch brite pads and brake cleaner. The full list:
1. plastic razor blades (not steel)
2. scotch brite pads, grey
3. WD-40 -- used any time I was working on surface prep
4. 400 grit adhesive-backed sand paper attached to a heavy, flat bar of aluminum that I had flattened by polishing it on a 0.001" flat granite block with sandpiper. For small difficult to clean locations I used a small torn off piece.
5. 0.001" precise straight edges, short and long (the pricing these has gotten very reasonable, the OEM one pictured is less than $50, which is roughly what I paid for the shorter Starret straight edge used years ago)
6. the 8" rod nozzle I used to blow out the head bolt holes. I hit them first with brake cleaner, then flushed / dried them with pressurized air via the nozzle which was narrow and long enough to reach the bottom of the hole.
7. I created a thread cleaning tool from an old head bolt, cutting groves into two sides (when you cut threads with an angle grinder, if you have a nut on it already you can correct the threads with the nut after the initial cut)
8. feeler gauges for verifying flatness.
I used no metal on the block surfaces, and used WD-40 when using the plastic razor blades, scotch brite pads and sanding bar. I only used the sanding bar to knock down a few high spots on the block, identified via the straight edges and feelers. No rotary tools, I did all the work by hand.
My goal with surface preparation was "clean, smooth and flat." I did not care about shiny or pretty. If there was a bit of a stain, but the surface was clean, smooth and flat, I ignored the stain. Just using the plastic blades, the pads and the 400 grit bar, I got the block down to 0.002" flat. At the machine shop (and outside of the car) my machinist has the heads down to 0.001" flat. Combined I'm estimating that the total amount of warp between the two surfaces will not exceed 0.003", and the factory spec for max warp is 0.0049" so I am feeling confident.
Next step in preparation is to attach the gaskets to the valve and timing covers. I have run out of ultra grey RTV so need to grab some before that step; the valve covers in particular benefit from a small amount of RTV to hold the gaskets in place until mounted to the car.
Good eye! Yeah, the coolant is wrong, it's the green universal coolant. I've already back-flushed the heater core and with all the parts removed there's not much left to purge but I should do the block once the heads are back on. With the weather warming I might just refill it with distilled water first.
Quick update. I should be able to start posting pictures this weekend. I received the finished and rebuilt heads on Monday. Last night I assembled the passenger side head with the exhaust manifold. Even after the head had been professionally cleaned, the exhaust manifold bolt holes were very dirty. I made M6 and M8 thread cleaners using old bolts (same process as when I made the head bolt thread cleaner) and cleaned out each manifold hole. Assembling the exhaust manifold is not complicated, there is a 3-layer gasket, and given the weight of everything I recommend assembling the exhaust manifold with the intake facing down so that gravity will hold the exhaust manifold in place. This requires that you support the block b/c the water port protrudes on the inlet side.
I also rechecked the head bolt holes that I had already cleaned and... some of them still are not 100% clean, so will do that again and for good measure will send an endoscope down each one to confirm.
So, stay tuned, hopefully I will have meaningful updates and pictures this weekend.
- Scott
Well, I had hoped to have both cylinder heads in place last night and torqued down, but I just don't have the muscle to position each head in the engine bay and slowly drop it in. Lift it out, sure, but that's not a precision motion. Positioning it exactly over the dowel pins while leaning into the engine bay... I tried, but with the cast iron exhaust manifold attached I'm at my limit. So I need to pick up a load leveler and I'll set them precisely in with my engine hoist. Probably will happen tomorrow. In the meantime, here is a picture of the new gasket in place and ready to go. I bought the Eurospares complete gasket kit, but I found that the head gaskets were not packaged as well as they could have been and they arrived with light scuffs in the gasket coating. Probably still usable, but after all this work I want the gaskets to be pristine so I bought Payen gaskets and they arrived individually packaged in much better shape.
The load leveler + engine hoist worked. I ended up not using the modified locating pins (old head bolts with the heads cut off) that I had made, there just wasn't enough room. Instead I positioned the head in place and then slid head bolts into the top, outer locating pins on the engine block. The angles were not aligned at the start, but with a 1/2" gap between the head and the block I could verify that the head bolts were on the inside of the dowel pins. After lowering the head in place and shifting it around, on correct alignment both head bolts fell into lace and the head came down on the two locating pins.
Took me several tries to get the lifting configuration correct; in order to clear the strut tower, the load leveler hooks must be attached at the outermost valve cover bolt holes.
Some pictures. The first os the load leveler with the head attached. Not this was not the final configuration, the hooks in this picture are on the inner holes. The second is the head installed.
The following 6 users liked this post by scooterforever:
jackra_1 (04-26-2021),jazzyjags (04-27-2021),jya (04-26-2021),mhamilton (04-26-2021),paydase (04-26-2021),wwr (05-01-2021) and 1 others liked this post. (Show less...)
Edit: so I made not just 1 mistake but 2 mistakes on the cam sprocket bolts. In addition to the chain slack being on the wrong side I describe below, I should have had secondary and primary chains in place when tightening the cam sprocket bolts. I did not have the primary chains on, so I will need to redo this step.
Update from the weekend. I installed and torqued down the second cylinder head. What took many attempts at trial and error re: best approach to install the head on the passenger side, with the first one done the second one took only 30 minutes from attaching the cylinder head to the hoist to having the head bolts hand tight. I also torqued down the cam shafts and installed the secondary timing chains.
Attached is a pic of where I am currently at. For the second head install, I ditched the heavy duty engine lifting brackets from load leveler that for a cylinder head are way overkill and used M6-1.0 hooks and a light chain. This worked much better as it allowed for more access when dropping the head into position around the strut tower. I positioned the head to within about 1/2 an inch of the block and then slid in the head bolts and visually confirmed they entered the locating dowels in the upper corner, then added a few more head bolts and slid the entire head into place.
Some lessons learned:
The crazy expensive head bolt tool I acquired was too long for about 4 of the head bolts on each side and I had to use a 10mm allen socket for those. The allen socket works, but it's not a 100% perfect fit and they did want to "walk" out of the hole so I applied pressure while turning on the 90 degree turns.
Using a torque angle dial proved cumbersome, and made the space problem mentioned above worse. I ended up forgoing the torque angle gauge and instead, I marked the head bolts with yellow paint at their tops. I then did the 90 degree turns by what I thought was just shy of 90 degrees, and visually inspected the yellow dot to confirm 90 degrees had been achieved.
The timing guides take some time to figure out what goes where but watching the various youtube videos helps. I should have taken more pictures of the front timing setup before removing.
If you are installing new guides, you may need to transfer over the steel pivot bushings from the old set. My just slid out, they do not appear pressed in.
For installing the cams, I did not install them in the lock down position, rather I installed them as close to a locked down position where turning them to the proper orientation would not require a full pass to maximum valve extension on any cylinder that has the piston in the "up" position (I tried to install them in the correct position, but the cams kept binding up on me b/c one set of lobes want to almost fully open a set of valves). With the crank positioned at the exact correct location, 4 pistons are "down" and 4 pistons are "up" -- these are not top dead center, but they are about 1/2" from the top of the cylinder. There may be enough room for valve travel, but I didn't want to take any chances. My machinist emphasized just how narrow the Jaguar valve stems are and that they will be bent very easily. To install the cam lock down bars, I used a combination of wrenches (there's a middle part of the camshaft where there is a bit for a wrench to grab), temporarily attaching an old cam bold (these are toque to yield so don't use a new one if you are going to remove the bolt), or using the timing kit ratchet (fits the exhaust sprockets). On the cams, just go slow and spread the tightening across the cam caps, don't try to fully tighten them in order.
The manual has detailed instructions on how to tighten the cam sprocket bolts. You will need the Jaguar timing tools for this process. This is where I made one mistake and I have new cam bolts on order to try again (as torque to yield bolts on a part that will do great damage if it comes loose, I'm investing $8 + shipping in a do-over). The secondary tensioners only apply tension to one side. In the picture below you can see that it's the side with the orange pin in place. On Bank A (passenger US) this is the lower part of the chain. On Bank B (US drivers side) this is the upper part of the chain. You apply counterclockwise force with the timing tool ratchet on the exhaust cam sprocket. I am presuming this is to tension the non-tensioned side of the chain. On Bank A I did this correctly. On Bank B, I left slack in the chain. I need to redo this. Tightening the cam bolts while holding the ratchet on the exhaust sprocket is a bit awkward, and I did much better on my second pass (Bank A) than my first.
Cylinder heads and cam shafts installed.
Last edited by scooterforever; 05-03-2021 at 11:57 AM.
I got everything buttoned up this weekend. I charged the battery to full, loaded the car with fluids (distilled water, P/S fluid and oil) and...
turns over but doesn't start
but hey, it turns over!
So... I need to run down checking off air / fuel / spark. Does anyone have any links to a X350 "turns but doesn't start" checklist? I'm starting with the fuel pump fuses.
Quick update... the ground wires for all ignition coils have a single point of failure: junction PIS43, which splits the ground source from engine bay ground G26 (LHD cars, the rear passenger side engine bay post). Every ignition ground was reading no less than 2,000 Ohms, so the junction is bad. I don't know where PIS43 is precisely located in the loom, but am guessing the connection broke in moving the wiring around for head removal / replacement. I added a separate G26 source to the Bank A ignition clip ground wire, and all the ground wire connections' resistance instantly dropped from >2,000 Ohm to under 1 Ohm.
The process to get to this point involved various checklists, once I'm done with everything I plan to do a "Head Gasket Replacement" writeup and I'll do a writeup on my "no start" journey.
So the jaguar's new life so far has been limited to backing out of my garage and warming up for a couple minutes until I realized that the continuous drips from under the car were not from the power steering reservoir or pump, but rather from a large leak that had broken out in the transmission cooler lines when I replaced the radiator. I knew I had to replace these lines at some point -- their failure is well documented on these forums (the crimp on the flex hose inevitably starts to leak) -- but I had hoped to not have to tackle the job of replacing the power steering lines for another year or so.
Of the car repair jobs that I hate, two close to the top of my list are a) removing and installing valves (I'm not good at it, and I seem to drop every other keeper on the floor. This is why I know an automotive machinist), and b) replacing ATF lines. On ATF lines, there's never enough room, and routing them out and new ones back in is always a hassle.
So.... I followed the path documented by various posters on this forum (the S-Type owners have documented their work around re: the transmission cooler lines pretty well) and removed the flexible hose ends and converted to AN fittings. I used 4 Russell 639233 hard line adapter fittings (two per line) together with nylon braided steel-reinforced hose with AN fittings (one straight and one 45 degree per hose). Attached below are pictures of the removed hose sections, the small tube cutter I used and the installed AN fittings.
Leaking crimp joints and flex hose removed AN fittings installed. Pictured here are Russell 639233 hard line adapters installed at the new ends of each cooler line
Car is done and on the road. In retrospect, the head gaskets were a ton of work and I don't know if it would not have been easier to have swapped the motor. Though admittedly the biggest time drain was that I kept replacing various components and undertook a lot of preventative replacement work along the way. When I get time in the next couple weeks I'll write up a 'head gasket how to' guide. The full list of the work done in the last six months (I did everything except the supercharger snout rebuild and the valve work):
Engine
• Cylinder head gaskets replaced with new gaskets and Jaguar head bolts.
• Light cleaning of the piston tops
• Cylinder heads rebuilt and valves serviced, cylinder heads and block surfaces prepared flat
• New ignition coils
• New spark plugs
• New valve cover seals and gaskets
• New timing cover crank seal and timing cover seal
• Fuel injectors cleaned and o-rings replaced
• PCV hose replaced with new hose
• Timing guides replaced (new)
• New oil pan gasket
Cooling system
• Water pump replaced (new)
• Radiator replaced (new)
• Thermostat (new)
• Auxiliary coolant pump (heating system) replaced (new)
• Supercharger coolant pump replaced with Bosch upgraded unit (new)
• Heater core back-flushed
• All cooling system hoses replaced (save for one discontinued hose which is in good condition -- but if anyone comes up with a source for the 270 degree hose from the supercharger cooler to the supercharger coolant pump please let me know!)
Supercharger
• Snout replaced with rebuilt unit
• Coupler replaced (new)
• Oil replaced
Transmission
• Transmission cooler line hose and hose crimps (known leak points) have been replaced with AN fittings and braided nylon steel-reenforced hose
Sensors Replaced
• Both oxygen sensors replaced (new)
• Both knock sensors replaced (new)
• MAP sensor replaced (new)
• ECT sensor replaced (new)
• Numerous broken electrical connectors replaced with new connectors including MAP, TPS, all fuel injector connectors, alternator.
Accessories / Other Components Replaced
• Throttle body replaced (new)
• Starter motor replaced (new rebuilt unit)
• Alternator replaced (45k miles used replacement)
• Power steering pump replaced (68k mile used replacement)
• A/C compressor replaced (81k mile used replacement)
• Primary and secondary tensioners replaced (new)
• Accessory and supercharger belts replaced (new)
• Under hood insulation replaced with new thermal insulation
Thanks, yeah I think you're right, I think a motor swap is the faster route. In fact it might even be faster to pull the motor with the accessories and supercharger in place and then replace the gaskets outside of the car. I must have spent 5 hours struggling with the AC and power steering components and brackets, which if the motor is pulled turn into a 10 minute job. There's just very little room, and removing the power steering and AC compressor requires raising and lowering the engine to get access to bolts. Same thing for the EGR / throttle body removal, what is ~ 2 hours on the car turns into minutes with the engine pulled and on an engine stand.
One of the reasons I wanted to do the head gaskets was because I have another car with this motor - my LR3 uses the naturally aspirated AJV8 and the gasket and timing component replacement procedures are extremely similar and so my learning on the jaguar will port over to the LR3 if that motor ever tires out (206k miles and counting).
Did you clean the injectors yourself or send them off somewhere? Been wanting to get mine done for a long time, I'm sure getting an even spray pattern back will smooth things out.
In prior builds (hobby/ enthusiast, not professional) I have outsourced the injector servicing b/c they come back with new gaskets and a flow sheet that can be matched to the fuel rail (e.g., end of the rail can see less pressure and therefore may benefit from a slightly higher flowing injector), but for this build I didn't outsource I just cleaned them myself. I picked up a cheap injector tester kit on eBay which had various pulse modes and came with an injector holder. Basically I just put each injector into the holder, wired it to the tester and sprayed cleaning agent into the holder, then flipped the injector around. At > 140k miles I thought the injectors were in good shape, a little bit of residue came out but not much. While the injectors can seem intimidating once all the parts in the way are removed and a quick disconnect is used on the fuel supply line, it's not that bad a job. The issue of course is all the stuff in the way.
Quick update on the trans cooler lines; my AN fitting repair ended up leaking, and ultimately I decided to just replace the lines with new OEM lines which I'm having an indie shop do now. In hindsight I should have carefully cut off the crimp and used the underlying beads to secure a new hose but... next time. Motor is working great, just need to get the rear sun-shade working and install a backup camera. Oh... and then there's the limited slip differential... fall project, maybe?
Yeah, I had a 'A/C reseal' kit for supposedly the SV8 and not a single ring was a perfect match for either of the two o-rings I removed, and nothing came even close on the bigger ring. I measured them at 2mm cross section by 12 mm for the high pressure line and 2mm by 24mm for the low pressure line. I just ordered both in EPDM (could not find the larger ring in HNBR anywhere) from the O-Ring Store. Also ordered NBR oil cooler lines to oil filter housing o-rings from them. I think the shipping exceeded the cost of the o-rings themselves, revealing what we all know, that the dealer prices on o-rings have huge % markups.
Weird. I am swapping my compressor out today, and discovered my o-rings to be ~ 2.5mm rather than 2mm. Scooterforever, did you find that 2mm worked just fine for you? I have all of the 2mm o-rings I need, but I am not too keen on using o-rings that are smaller than the ones I pulled out and I don't have the luxury of time to order more. I may be forced to reuse the old ones, which is a very risky option.
-j


 04-07-2021, 04:09 PM