When you click on links to various merchants on this site and make a purchase, this can result in this site earning a commission. Affiliate programs and affiliations include, but are not limited to, the eBay Partner Network.
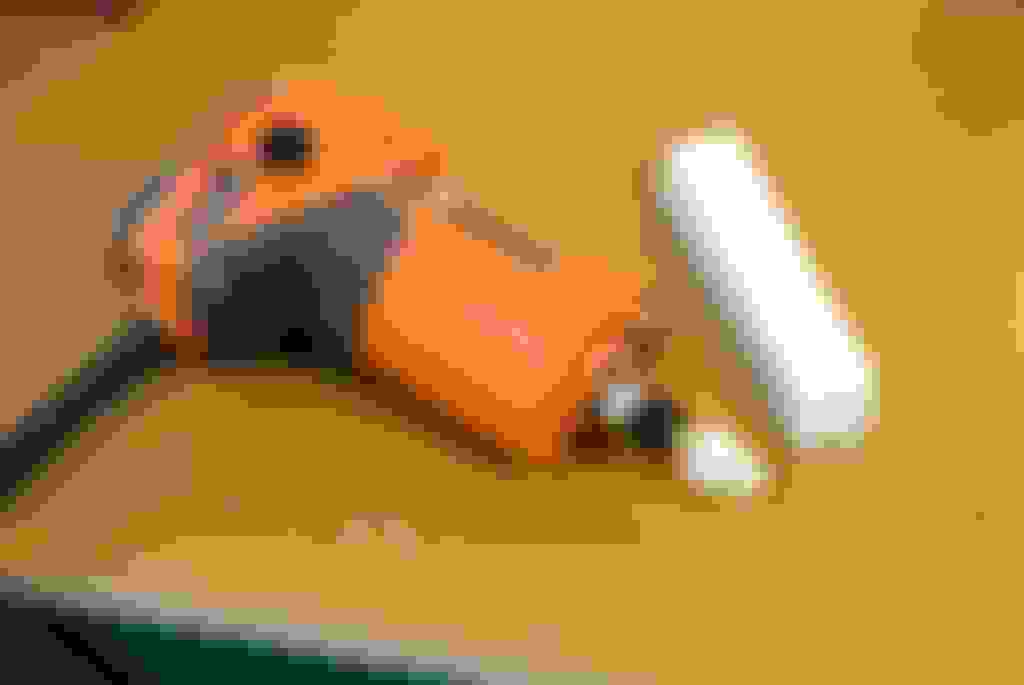
I have seen on here a few posts where folks were complaining that the "chrome" trim on their cars has some oxidation or bloom on in that is very hard to remove. I don't think that the trim is really chrome, it looks more like polished stainless steel to me. In any case, my XJR has it bad!!!
Today, I thought I would have a try at polishing the trim to see it I could clean it up. I tried three kinds if metal polish, granite polish, paint compound, even fine lapping compound. None of these were a great solution. Some did nothing at all, and some made it look marginally better, but none were great.
I was out doing some errands and stoped by my local harbor freight. There I found this:
This kit has loads of polishing pads in it for various applications. It was on sale for $14.99.
All the buffing pads have a 1/4" shaft that fits in a drill, or luckily, a laminate/trim router. However, the larger buffing wheels had a max RPM of 2800, so would need to go in a drill. The smallest pads were rated at up to 20,000 RPM. My trim router is adjustable from 20,000 to 30,000. I removed the base from my router so that I could use just the motor. I then installed the pad and turned the router to it's slowest setting.
The polishing kit comes with three buffing compound sticks and I used the white one which is the finest. I wanted to test the polisher somewhere inconspicuous (not really that easy on this car) so tried it on the trim behind the side mirror.
As you can see, it is not perfect, but I think that it is a vast improvement over everything else that I tried. I did about 12" of trim before I had to go out for the rest of the day, but I plan on finishing the job tomorrow. All in all, I think it was $15 well spent.
One last piece of advice. I recommend that you cover the adjacent paintwork with painters tape as the polisher could likely go through your clear coat quite quickly if you accidentally touched the paint.
Hope this helps. After all that I've learned here, I though it was time to give back a little.
Thanks for the guide, I did something similar to my old XJ and it was an improvement.
Apparently there is a clear coat over the alloy, do recon it is the clear coat clouding or the metal underneath?
Apparently there is a clear coat over the alloy, do recon it is the clear coat clouding or the metal underneath?
I took a very close look at this and I'm not convinced that there is a clear coat. Not a spayed on paint type one at least. Certainly nothing that thick. Then again, you would expect the buffing pad to turn black if you were polishing directly on the metal, and mine was not.
If aluminum definitely black..Not so sure if its stainless would it turn black. Could be a clear coat anodized finish. Not sure. I tried several products and no luck. It helped ever so slightly
Ok Mr White, I've ordered a set for �14.95 and will give it a go, here's hoping it works for me too.
Mine isn't that bad but could certainly do with a little help in places.
Ok Mr White, I've ordered a set for �14.95 and will give it a go, here's hoping it works for me too.
Mine isn't that bad but could certainly do with a little help in places.
Jim,
I think that the trick is putting the polisher in a tool that spins it fast enough and also using a light touch. I don't know if a drill will do it. It might, but it might take longer. Do you have a small router to put it in?
I managed to get the driver's side done today. It took longer that I was expecting and I ran out of time. I'll do the passenger side tomorrow.
I don't know what it is either, but I think JAGUAR owes it to the owners of the many 350's (and maybe others) on the road and tell us what it really is.
Jaguar lets it's car owners down in area's such as this. You know they know that it is a problem, but it seems their only help is to sell you another, and just allows their cars to run around with trashy parts for all to see. SAD!
Well, I got it all finished. I did both the arched trim above the windows and the straight trim where the bottom of the window meets the door. I'm quite happy with the way this worked out, the trim looks waaaaay better.
I still don't know what the metal, but I'm leaning towards it having some sort of very hard coating on in. I don't think that it is a sprayed on, paint type polish, because the polishing method that I just used (high speed polisher with buffing compound) would have blown through paint clear coat in seconds.
The trim under the windows was definitely more difficult and masking tape in this area is a MUST. It would be very likely that the paint on the top edge of the door would get messed up if not masked off. I pretty much used up one of the polishing cones by the time I had both sides of the car done. It took me about 4 hours to do it all. I also polished the very thin trim around the front and rear windows, but this cleaned up nicely with just aluminum and mag polish and a rag. I didn't use the router on these bits.
The next day I used a headlight restoration kit to polish the lenses of my headlights. They came out looking like new. I'm now working on clay baring all the paint and I will start polishing tomorrow. I need to go buy a polisher today.
could be an anodized finish if aluminum. If plastic I think it would get messy. I lean away from stainless because I tried a water spot remover and it made not a difference.. Still me nice to know what it really
is!
Maybe the single "USP" of the Sport versions is that all the bits normally chrome, are black. My 2003 car still has almost perfect window trims in gloss black.
could be an anodized finish if aluminum. If plastic I think it would get messy. I lean away from stainless because I tried a water spot remover and it made not a difference.. Still me nice to know what it really
is!
I've removed the part in the past and removed the finish. The finish is clear coat and once removed, I polished the aluminum and the pad turned black. Body shop confirmed for me that my part was aluminum. I did the polishing thing first as well and once the compound dries, the cloudiness returned for me.
I think the degree of separation of the clear coat from the aluminum determines the "fix". For me, complete removal of the clear coat was the solution and the over door trims are definitely aluminum, not plastic, not stainless and not chrome.
Clear coat and aluminum aren't the greatest combination. you can high speed polish it which will improve the outer surface but the separation requires something more.
One might consider taking it to a shop to have it nickel plated. I'm guessing it wouldn't cost much. I have an XK now and it's starting to do the same so I may just take it in for an estimate when I get her out of storage.
All that said, for $15 and an hour's time, why not try it?
Mine still looks good, but if I did see some oxidization, I'd likely give a Mr. Clean magic eraser (Melamine Foam) a shot.
I've recently used it on my light colored leather and it cleaned it up like I couldn't believe! I then went over everything with a nice leather conditioner to add the oils back to it. I wouldn't recommend doing it often as I'm sure it's not great for the leather, but man does it come clean!
I do think that it is some sort of clear coat, and it is definitely metal. However, I don't think that it is normal "paint type" clear coat. This polishing method would have gone right through clear paint very quickly and that didn't happen. My polishing pad never turned black. It worked quite well though. We'll see how long it lasts. It's been over a week now and no signs of dulling.
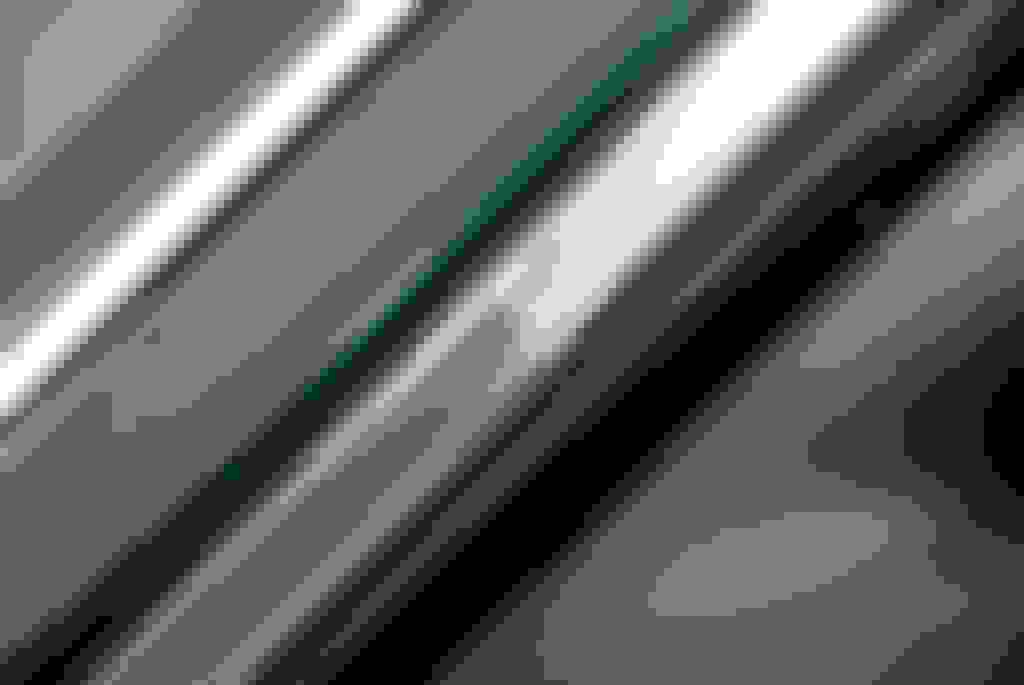
As far as the black paint goes, my XJR has some of that too. If you look at my pictures above, you can see the metal trim (nearest the green paint) which is attached to the body of the vehicle. Then lower, you can see the shiny black strip (nearest the plastic mirror housing) that is part of the door frame. The B-pillars in between the front and back windows are also black on my car. I like this better as I think the chrome ones look a little OTT. I'm still in the process of detailing the car and fine cut cleaner followed by polish have made the black parts look amazing (like a newly lacquered piano, shiny).
Jim, did you get your kit yet? How has it worked for you?
I do think that it is some sort of clear coat, and it is definitely metal. However, I don't think that it is normal "paint type" clear coat. This polishing method would have gone right through clear paint very quickly and that didn't happen. My polishing pad never turned black. It worked quite well though. We'll see how long it lasts. It's been over a week now and no signs of dulling.
I agree the clearcoat isn't "paint type". Paint remover had no effect on it, sanding took a long time and the aluminum got too hot to holde without gloves. Curious.
I agree the clearcoat isn't "paint type". Paint remover had no effect on it, sanding took a long time and the aluminum got too hot to holde without gloves. Curious.
Glad to read that it hasn't dulled for you.
I've just finished detailing the exterior of my car and it has really come out nicely. One thing that I did while polishing and waxing the paint was to also let the DA polisher ride over the trim. I applied two coats of Meguiar's Ultimate Liquid Wax to the trim to give it a little extra added protection from future UV or oxidation damage. I don't know if it will work out as I intended, but I figured that it couldn't hurt. I hope it stays looking as good as it does now.
Mr White. I your first pick you have a cone shaped pad attached to your tool. Is that stone? If not, what's the material please? Also what speed did you use when applying?
I ask because I have a dremel but don't know if 1/4" will attach and not sure if the rotation on my drill would be fast enough.
How's it holding up?
New (to me) XK150, same problem as before. I would just pull the trim and strip down to the aluminum again like I did on my SV8 but if I screw it up, the XK150 parts are harder and pricier to come by.
when you were in Harbor Freight, did you happen to notice if they also sell a cheap electric buffer to use with these? A battery powered one would be ideal, if its high voltage enough and has a spare battery to charge while buffing.
 02-07-2016, 11:20 PM