When you click on links to various merchants on this site and make a purchase, this can result in this site earning a commission. Affiliate programs and affiliations include, but are not limited to, the eBay Partner Network.
This is a writeup on how I replaced my power steering pump. There are probably variations on this but this approach worked for me. This took me, in total, start to finish about 4 hours, but I had done this before and knew where to find the various bolts and knew what to watch out for. An experienced jaguar mechanic would probably be faster. If this is the first time you have done this job you should budget more time. Please see the disclaimer at the end.
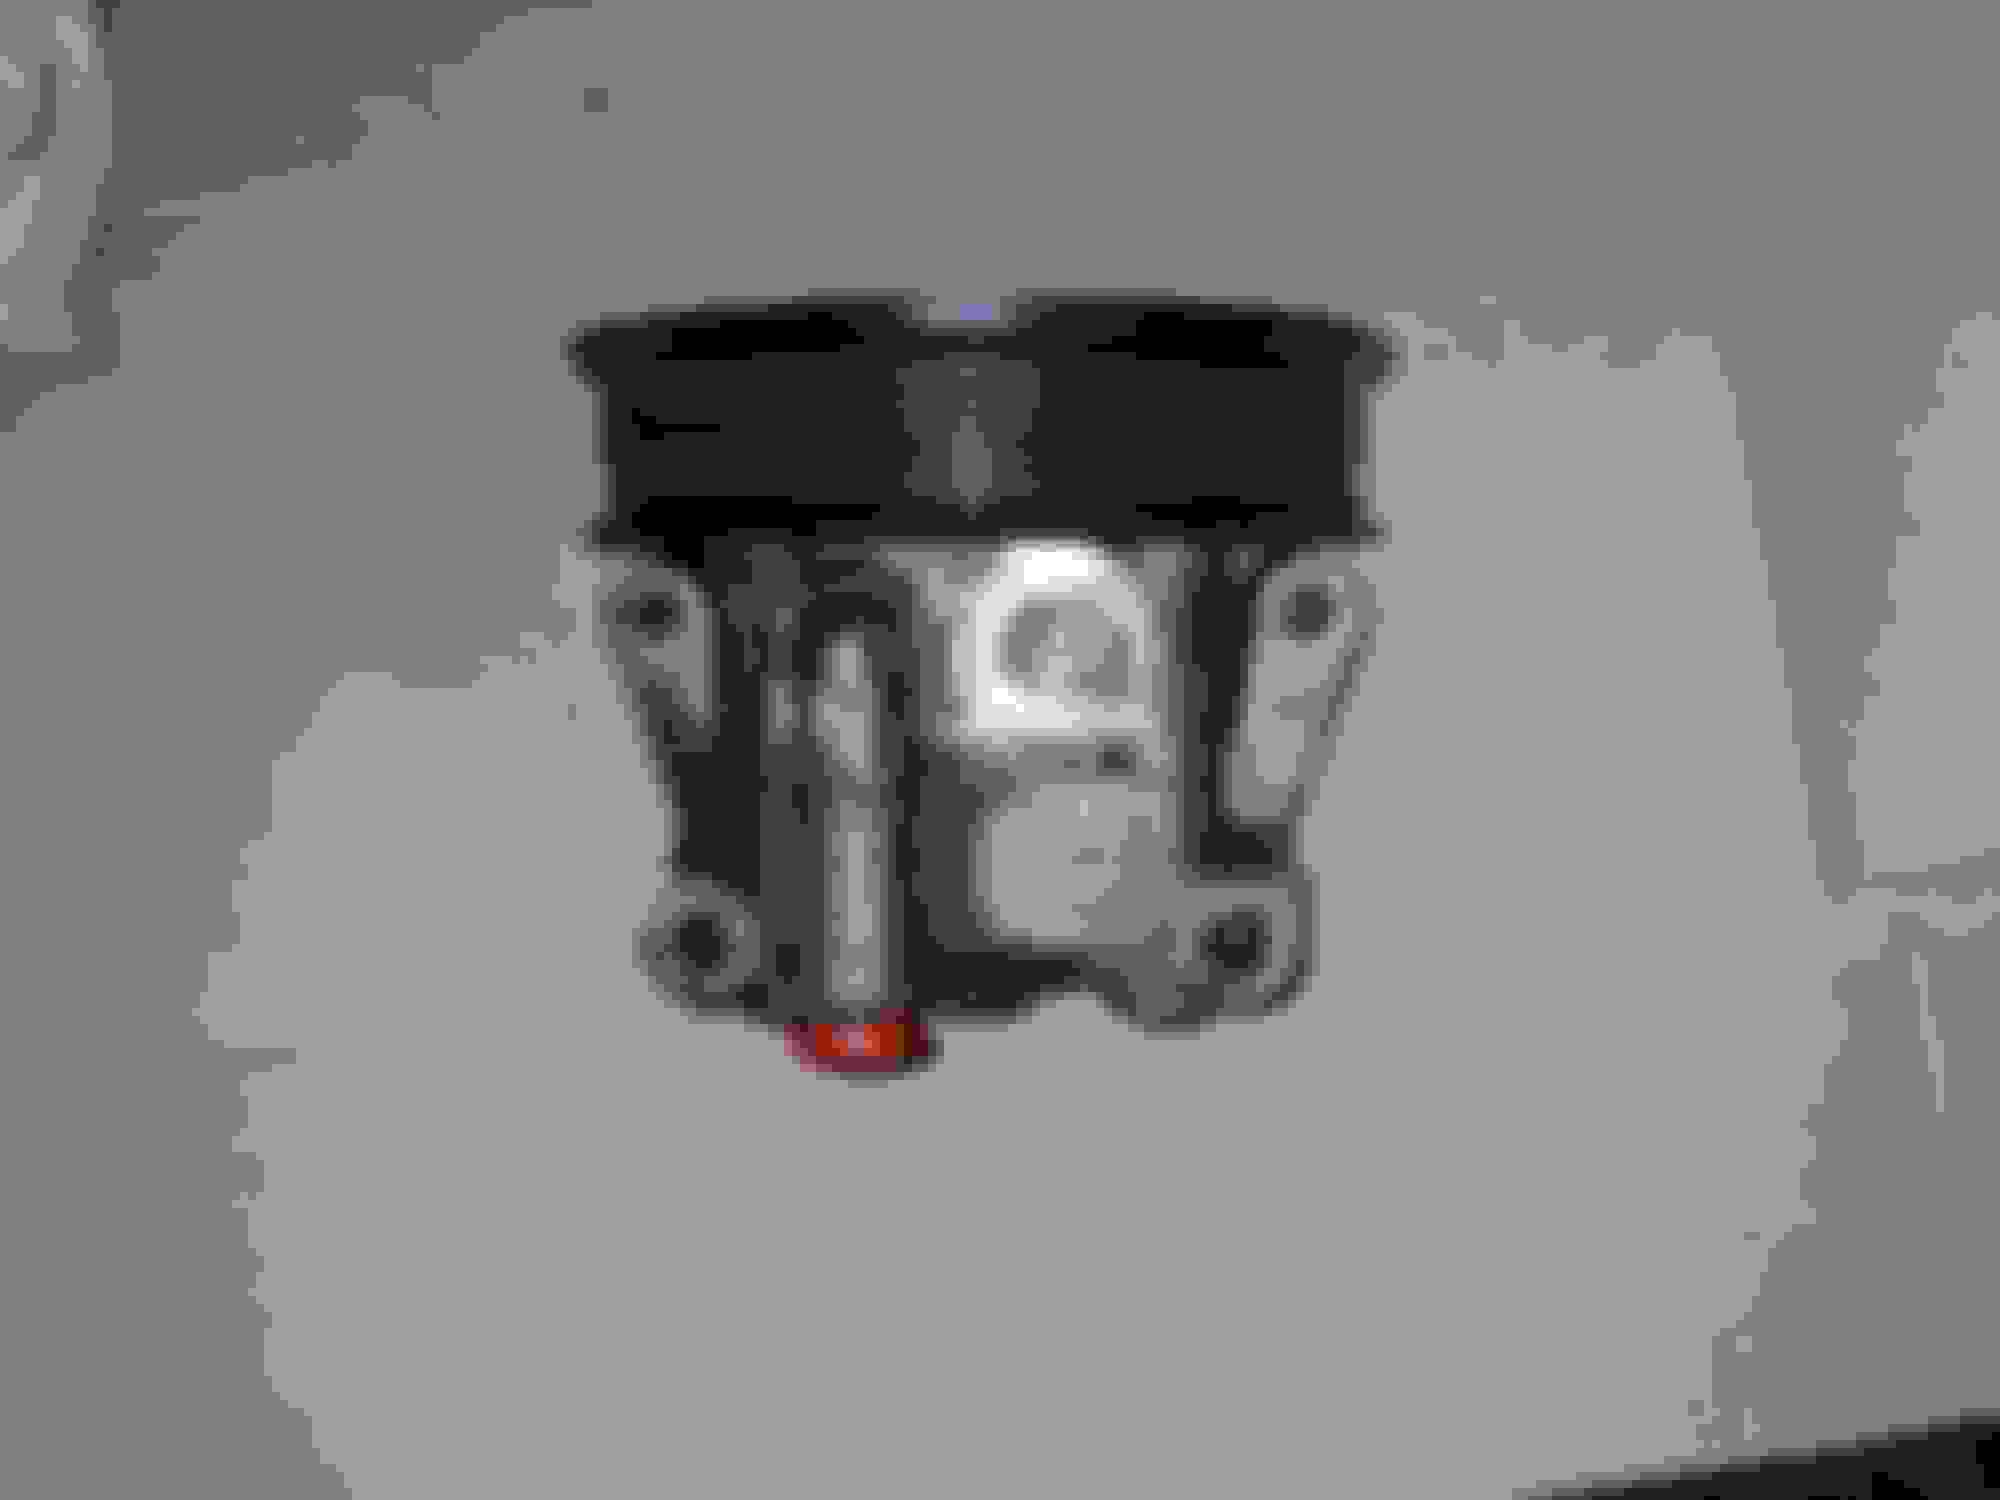
In summary, you first have to remove the A/C compressor to get access to the power steering pump, then you remove the power steering pump. As a result, if your A/C compressor is failing this is a good time to change both the compressor and the pump. With the proper tools and raising and lowering the engine, you have pretty good access to all the bolts and lines. There are three bolts to the A/C compressor (front top, front bottom, and rear middle). There are four bolts to the power steering pump (front top, front bottom, rear top and rear bottom -- see the attached picture).
For those of you doing head gaskets or timing maintenance with the engine in the car, this also details a necessary step in getting access to the timing cover (both the pump and compressor must come off to get access to the corresponding brackets, which also must come off to get the timing cover off).
Some gotcha-points of this job to be aware of are detailed in the steps below but to review them now:
1. Remove the lower front pump bolt with the engine raised, or there is a good chance you will strip the bolt � with the engine lowered it looks like you can hit it straight on from the driver�s wheel well, but you�re actually at an angle.
2. It might look like the high-pressure flare nut can be accessed from the top of the engine bay; I would ignore this approach because with a crows foot you have direct access from below via the driver�s side wheel well.
3. Do not remove the A/C lines from the compressor � it�s not necessary and the bolts on these lines are prone to snap.
4. To remove the top rear pump bolt you will need to have the pump off its mounting posts first and you will need to rotate the pump to have access. Accordingly, do this bolt last, and when you place the new pump on the bracket have this bolt already fed into its hole on the pump.
Tools that I used:
� Two jacks and jack stands to lift the front end
� 3/8� drive socket wrench and/or breaker bar (bar is for the accessory belt tensioner)
� �� drive socket wrench
� 16 mm claw foot wrench for the power steering high pressure line on the pump
� hose clamp pliers or similar for removing hose clamps
� 8 mm �� drive socket
� 10 mm �� drive socket
� 10 mm ratchets of varying lengths, and flex heads can be useful
� Short bungie cord for holding hoses out of the way
� 15 mm 3/8� drive socket for engine mount nuts
� Engine lifting device � hoist, lifting bar or, if you don�t mind taking a chance with the oil pan, jack with cushion for the oil pan (a jack is not the factory procedure)
� �� flex u-joint
� Suction pump to remove old power steering fluid
Supplies needed:
� Gloves of your choice
� Power steering fluid, I used Pentosin ATF 1
Removal and replacement procedure I followed
1. Raise car (two jacks and jack stands required if not using a lift).
2. Remove front drivers side wheel.
3. Remove air intake, air cleaner box and MAF assembly, and elbow pipe to the supercharger inlet. The screw clamps on my intake components took an 8 mm socket.
4. Review the accessory belt. I did not find it necessary to remove the supercharger belt, and I left the coolant expansion tank in place.
5. My replacement pump required flushing the power steering fluid prior to pump installation to check for metal flakes (in which case they state that both the rack and the pump would need to be changed out). I found no metal flakes and continued.
6. Drain the power steering fluid from the reservoir using some sort of suction pump.
7. Remove return and supply power steering fluid lines from the reservoir (hose clamp removal pliers are useful here).
8. Remove the reservoir from the car (it is held in place with 2 bolts with 8mm hex heads). Remaining fluid can be drained from the supply tube (see the first picture below).
9. Remove engine mount nuts (each is a 15 mm nut).
10. Drain coolant from radiator.
11. Remove lower radiator hose at the crossover pipe to provide for additional room (I removed the hose entirely because I was replacing the transmission cooler o-rings).
12. There is a flexible line that will block clear line of sight to the high-pressure power steering line exiting the pump. You can see this in the second picture below, it�s the nylon braided host. While you can push this out of the way by hand, it is more helpful to hold the line out of the way with a small bungie cord or similar.
13. Using a 16 mm crows foot wrench on a socket extension, loosen the power steering high pressure line flare nut by approaching it from below via the driver�s side wheel well, then remove the power steering high pressure line. See the second picture below. Leave the supply line that had been attached to the reservoir in place on the pump for now (you will transfer this to the new pump once it�s out of the car).
14. Remove the upper front A/C compressor bolt.
15. Remove the rear lower power steering pump bolt. This is easy to access from below via the driver�s side wheel well.
16. Raise the engine to expose the lower A/C compressor bolts, front and rear. Remove these.
17. With the engine still raised, move the A/C compressor off its mounting posts to clear access to the front lower power steering pump bolt. I was not able to remove the compressor from the posts by hand, I needed to use a pry bar.
18. Important: with the engine still raised and the A/C compressor moved to the side (do not remove the A/C lines, it�s not necessary and you will probably break one or both line retaining bolts in removing the A/C lines from the compressor), you now have a nearly straight shot at the front lower power steering pump bolt. Remove this bolt using a 10 mm socket. Do not attempt to remove this bolt with the engine lowered � it looks like a socket can fit straight on, but with the engine lowered you are at an angle and the bolt may strip. With the engine raised, you can put a socket nearly straight on this bolt.
19. With the engine still raised, you should have access to the front and rear top power steering pump bolts from above with ratchets. Remove the top front bolt. Loosen the top rear bolt until it slides free of its threads. You will need to pull the pump off its mounting posts and rotate the power steering pump in order to have access to remove the top rear bolt. When installing the new pump, remember that you should already have this top rear bolt in its mounting hole in the new pump before you mount the pump to its mounting posts.
20. To install the new pump, following the reverse process of the above instructions.
21. Bleed the power steering fluid. The manual�s bleeding procedure is as follows:
a. Fill the reservoir to the MAX mark. Do not start the engine.
b. Turn the steering from lock to lock.
c. Check the fluid level. Fill the reservoir to the MAX mark if necessary.
d. Start the engine and turn the steering from lock to lock.
e. Switch the engine off.
f. Check the fluid level. Fill the reservoir to the MAX mark if necessary.
g. Start the engine, turn the steering wheel from lock to lock. If excessive noise is apparent or shudder is evident through the steering wheel, repeat the bleed procedure.
Disclaimer: I am not a mechanic and have not been trained as a mechanic. This information is provided as is and all responsibility for any liabilities is disclaimed.
First picture: draining power steering fluid from the supply line using a suction pump.
Second picture: crows foot wrench on the high pressure flare nut on the pump accessed from the driver's side wheel well.
Third picture: power steering pump with 4 bolt holes.
Thanks for a clear and informative write up! I'm going to put it in my archive for when my 2005 Super V8 needs the pump changed out. Can I ask how many miles are on your car?
Yeah, about 142k miles. The pump when I replaced it was working fine but I swapped in a low-mileage unit when I replaced the head gaskets, and that junkyard special was not in good working order. The remanufactured unit is great so far.
Thanks for the great writeup! I just finished a pump replacement thanks to your guide - I found it very difficult, and needed several trips to various hardware stores to buy things like flexible extensions or u-joints (I know, I should've already had that...). I worked here and there over 4 evenings, and just wrapped up. Here are the places which I found very difficult. Also - I read elsewhere that the Lincoln LS pump is a direct fit, for less money, but I had trouble with the rear bolts being longer than the pump mounting bracket, which resulted in them not clamping & me needing to use a stack of washers to make it fit.
1) 16mm crow's foot to remove the high-pressure supply line fitting from the pump - such little space with the frame rail, and the nut positioned 45* angled towards the frame rail, and the pump reservior supply fittting eliminating another approach. I found this extremely tedious
2) Accessing the bottom pump bolts was very easy, however accessing the top bolts was very tedious. I had a set of 3/8" drive ratchets & shallow sockets, and there was no chance of me fitting on a socket. To remove, I used the open end of a box wrench, which is extermely tight on the top rear bolt. I needed a reason to get a set of ratcheting wrenches... I found that to me much better!
3) When installing the replacement pump, a reman Cardone branded pump for a 2006 Lincoln LS, I found the 2x rear bolts to the pump would reach the end of threads with about an inch of bolt before contacting the replacement pump. I tried re-installing 2 or 3 times, finally bought some washers and hoping I don't have to re-do this job in the near future
4) I chose to reconnect the pump reservoir supply hose to the replacement pump at the very end, which was very difficult to grab the hose clamp (spring style); fortunately I already had a remote hose clamp tool, but I still fiddled with that for 20+ mins to get it snug
Originally Posted by scooterforever
Power Steering Pump Replacement
This is a writeup on how I replaced my power steering pump. There are probably variations on this but this approach worked for me. This took me, in total, start to finish about 4 hours, but I had done this before and knew where to find the various bolts and knew what to watch out for. An experienced jaguar mechanic would probably be faster. If this is the first time you have done this job you should budget more time. Please see the disclaimer at the end.
13. Using a 16 mm crows foot wrench on a socket extension, loosen the power steering high pressure line flare nut by approaching it from below via the driver’s side wheel well, then remove the power steering high pressure line. See the second picture below. Leave the supply line that had been attached to the reservoir in place on the pump for now (you will transfer this to the new pump once it’s out of the car).
19. With the engine still raised, you should have access to the front and rear top power steering pump bolts from above with ratchets. Remove the top front bolt. Loosen the top rear bolt until it slides free of its threads. You will need to pull the pump off its mounting posts and rotate the power steering pump in order to have access to remove the top rear bolt. When installing the new pump, remember that you should already have this top rear bolt in its mounting hole in the new pump before you mount the pump to its mounting posts.
Last edited by Vanden Nate; 04-30-2023 at 10:51 PM.
In case my experience with the Lincoln LS rebuilt pump isn't clear, look at these two photos:
Jaguar x350 Power Steering pump photo - notice the length of the bolt channel for the rear mounting bolts (longer bolt; flush with surface)
Lincoln LS Power Steering pump photo - the bolt channel is about an inch shorter; so your Jaguar power steering pump bolts may not seat in the rear mounts. I bought 10 stainless washers from Lowe's, and that only help get one bolt seating!!
Rock Auto listings for the Jaguar x350 power steering pump options. Note - none of these ship with the pulley, which will be 2 extra steps (removal of pulley, and mounting to replacement pump). However, these should have the matching bolt channel length
Rock Auto listings for Lincoln LS pump - lower priced and include the pulley with the pump. However, the bolt channel length will be short
 06-18-2021, 12:06 AM