When you click on links to various merchants on this site and make a purchase, this can result in this site earning a commission. Affiliate programs and affiliations include, but are not limited to, the eBay Partner Network.
I did this about eight years ago to replug all modules on wall. But now getting water in passenger rear footwell. It has been raining like Noah moved here the last month.
Think the water is coming under the seat bottom. Have not seen water stains on headliner,
no water in trunk.
I have forgotten how to pull rear seats to track this leak. Tried just pulling bottom. But I did not yank hard to pull it up.
Can someone give me advise.
This one stumped me for a bit too the first time I did it.
There's 4 latches at specific positions that have a finger pull tab that you push outward (to the left if I remember correctly) to disengage. They're the white pieces in the picture below.
You'll need to find some stuff to act as shims so they don't re-engage when you unlatch them one by one.
There are two latches on each side of the propshaft/driveshaft tunnel:
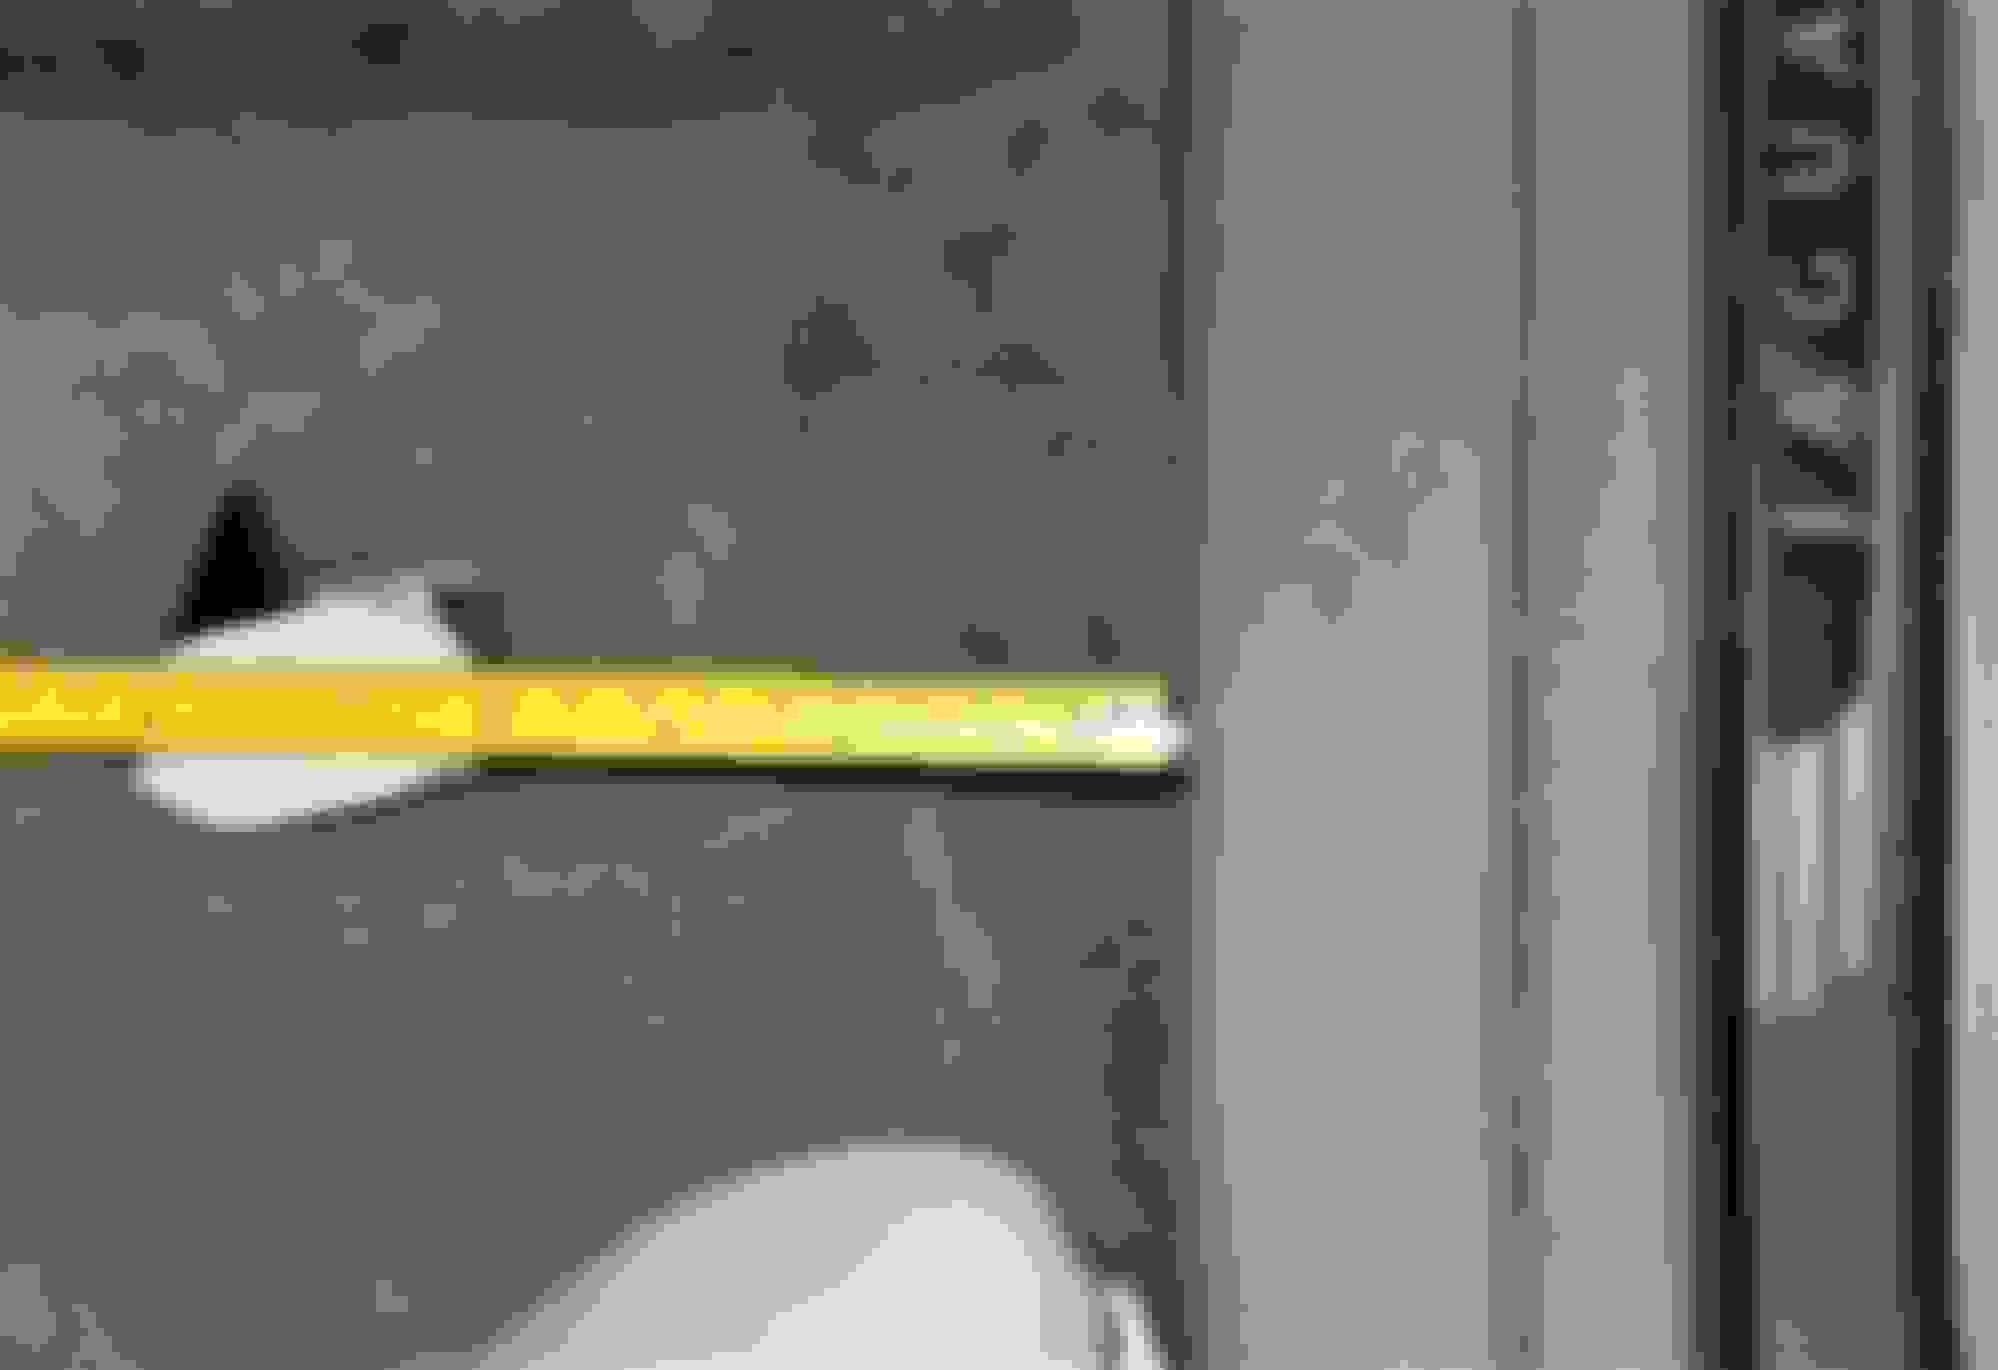
On some cars, especially those whose rear seat cushion has never been removed, the latches can be difficult to reach and release. There may just barely be enough room to force your fingers between the lower edge of the seat cushion and the carpeted floor. Knowing the latch locations is helpful. Measuring from the edge of the door sill plastic trim, the outer latch is approximately 5.5 in. / 14 cm toward the propshaft/driveshaft tunnel:
The inner latch is approximately 15 in. / 38 cm toward the tunnel:
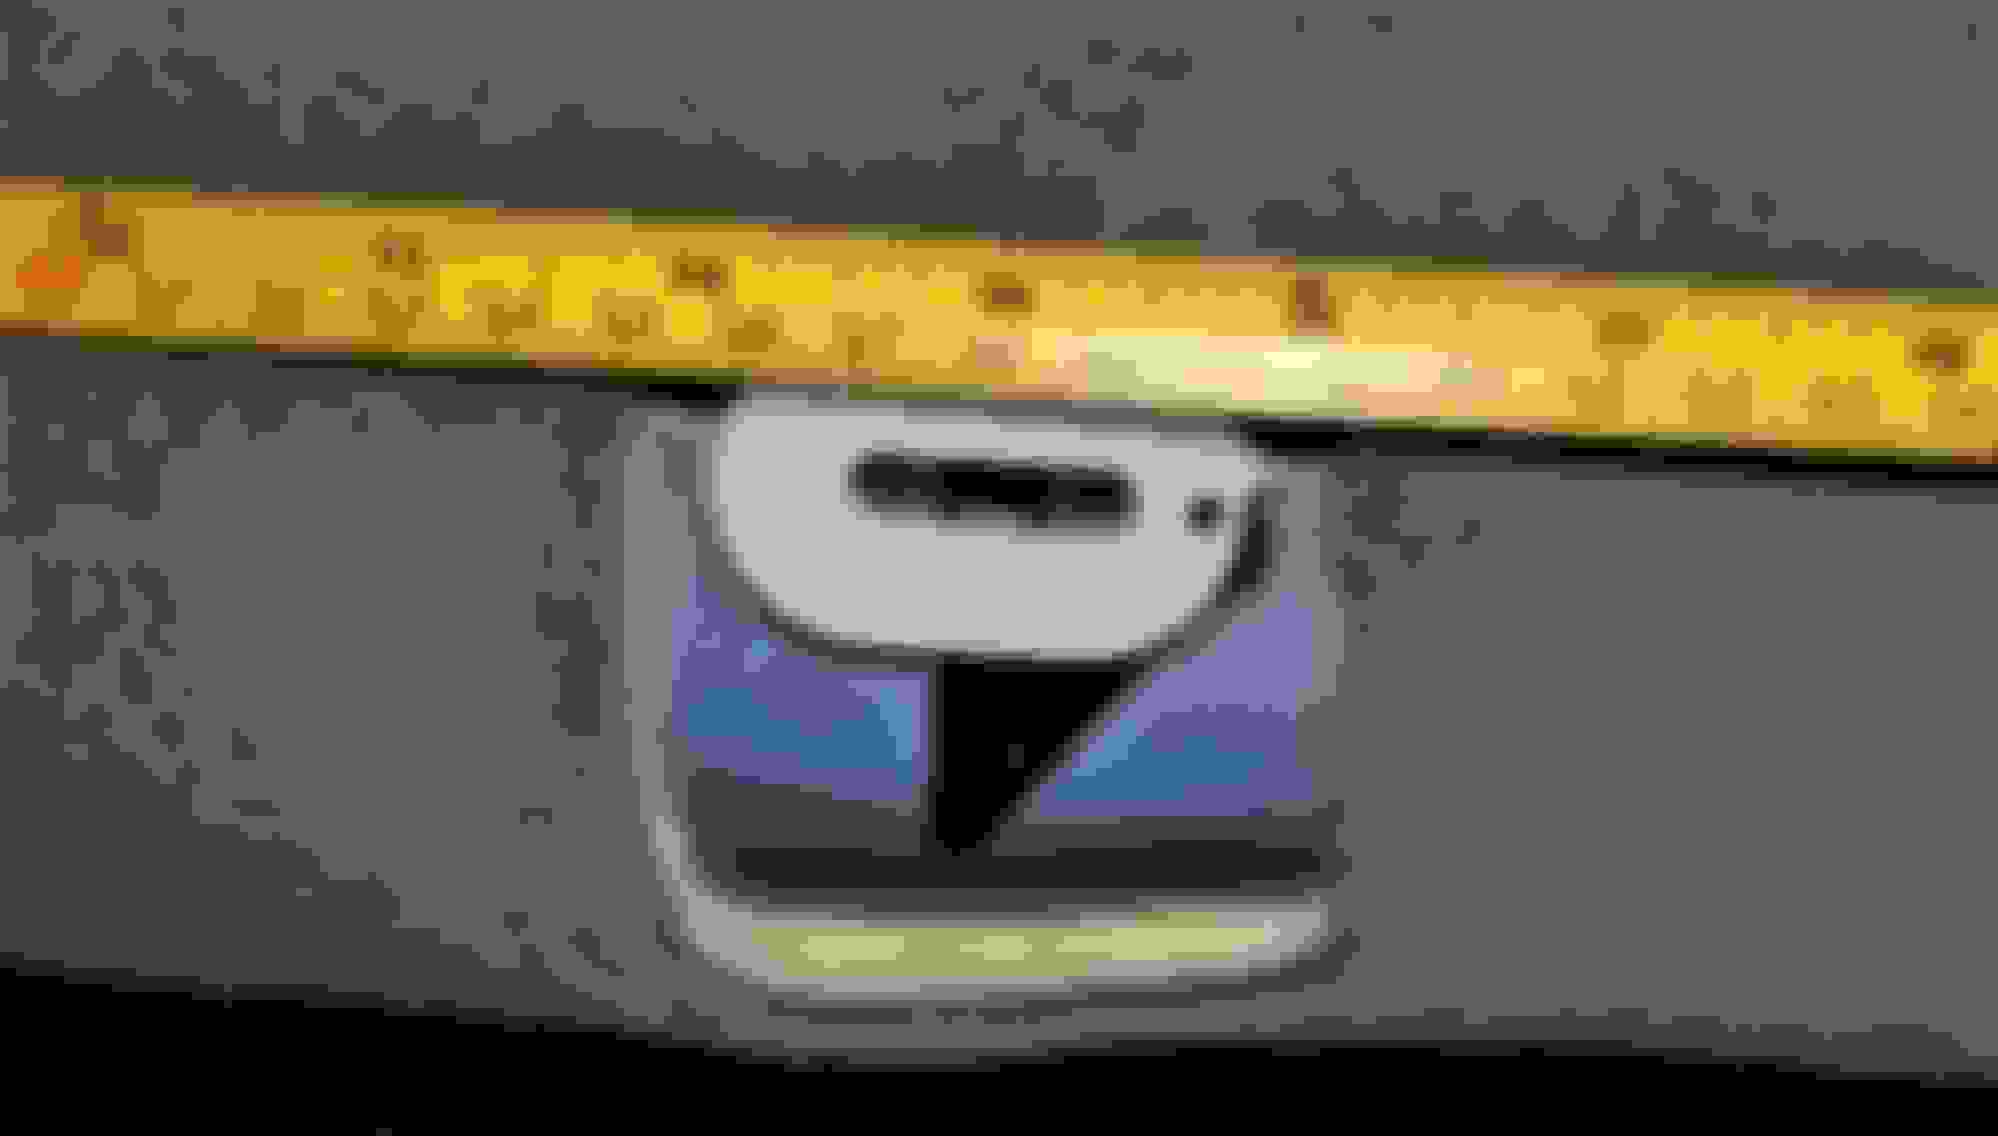
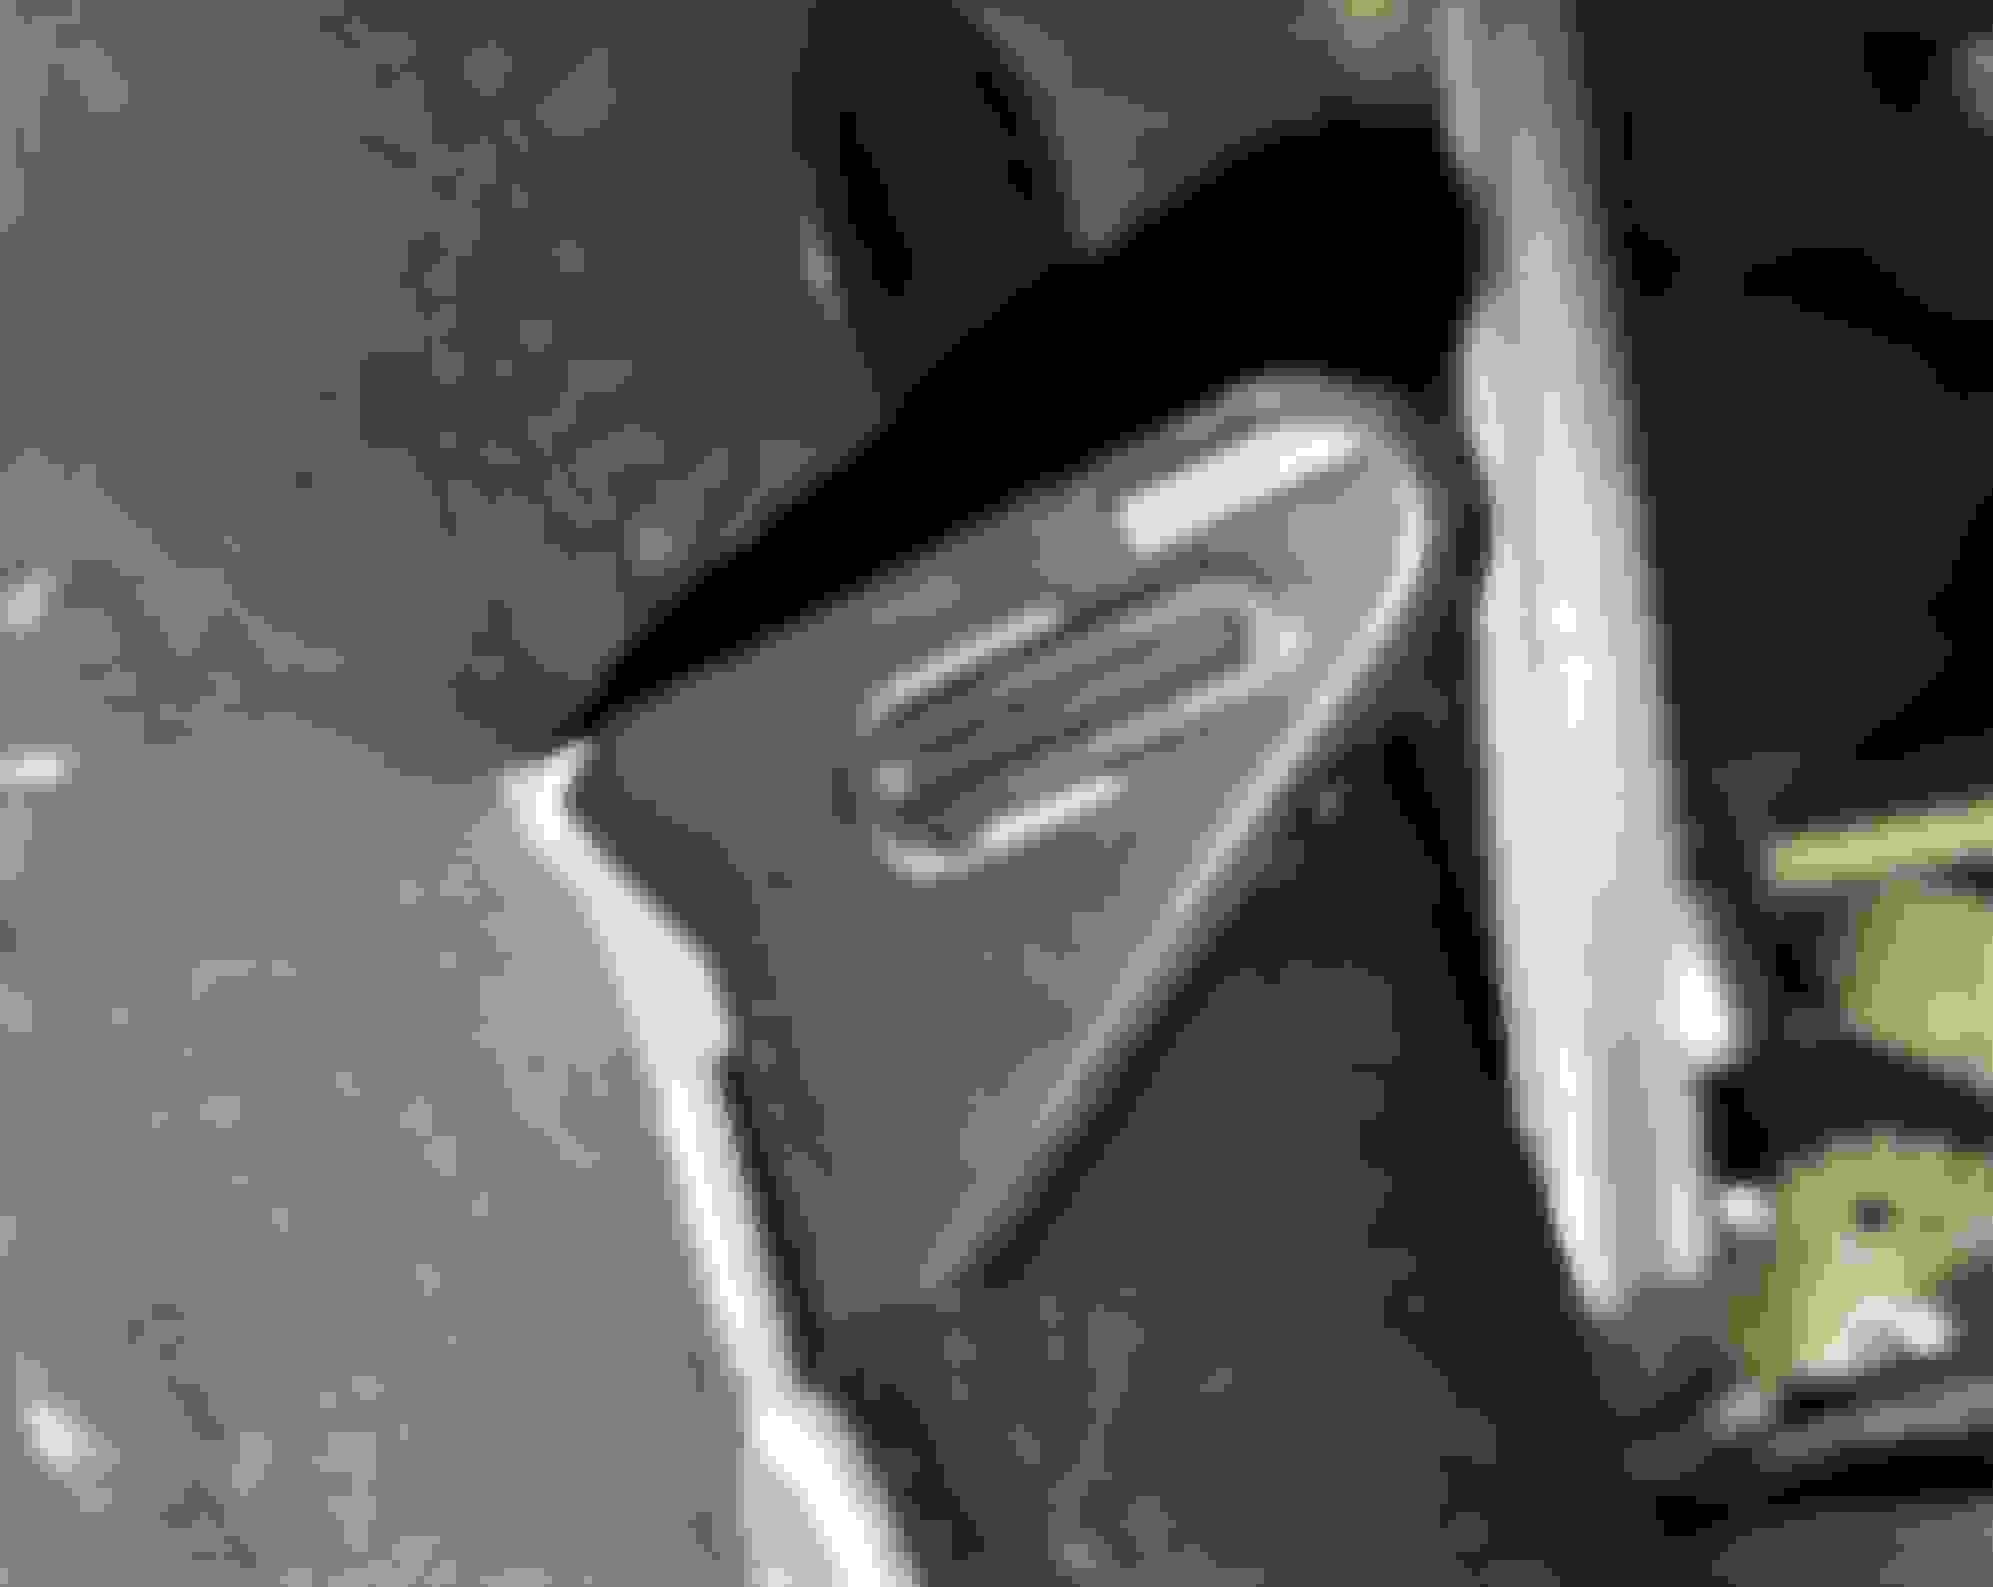
Here is a clip in its latched position:
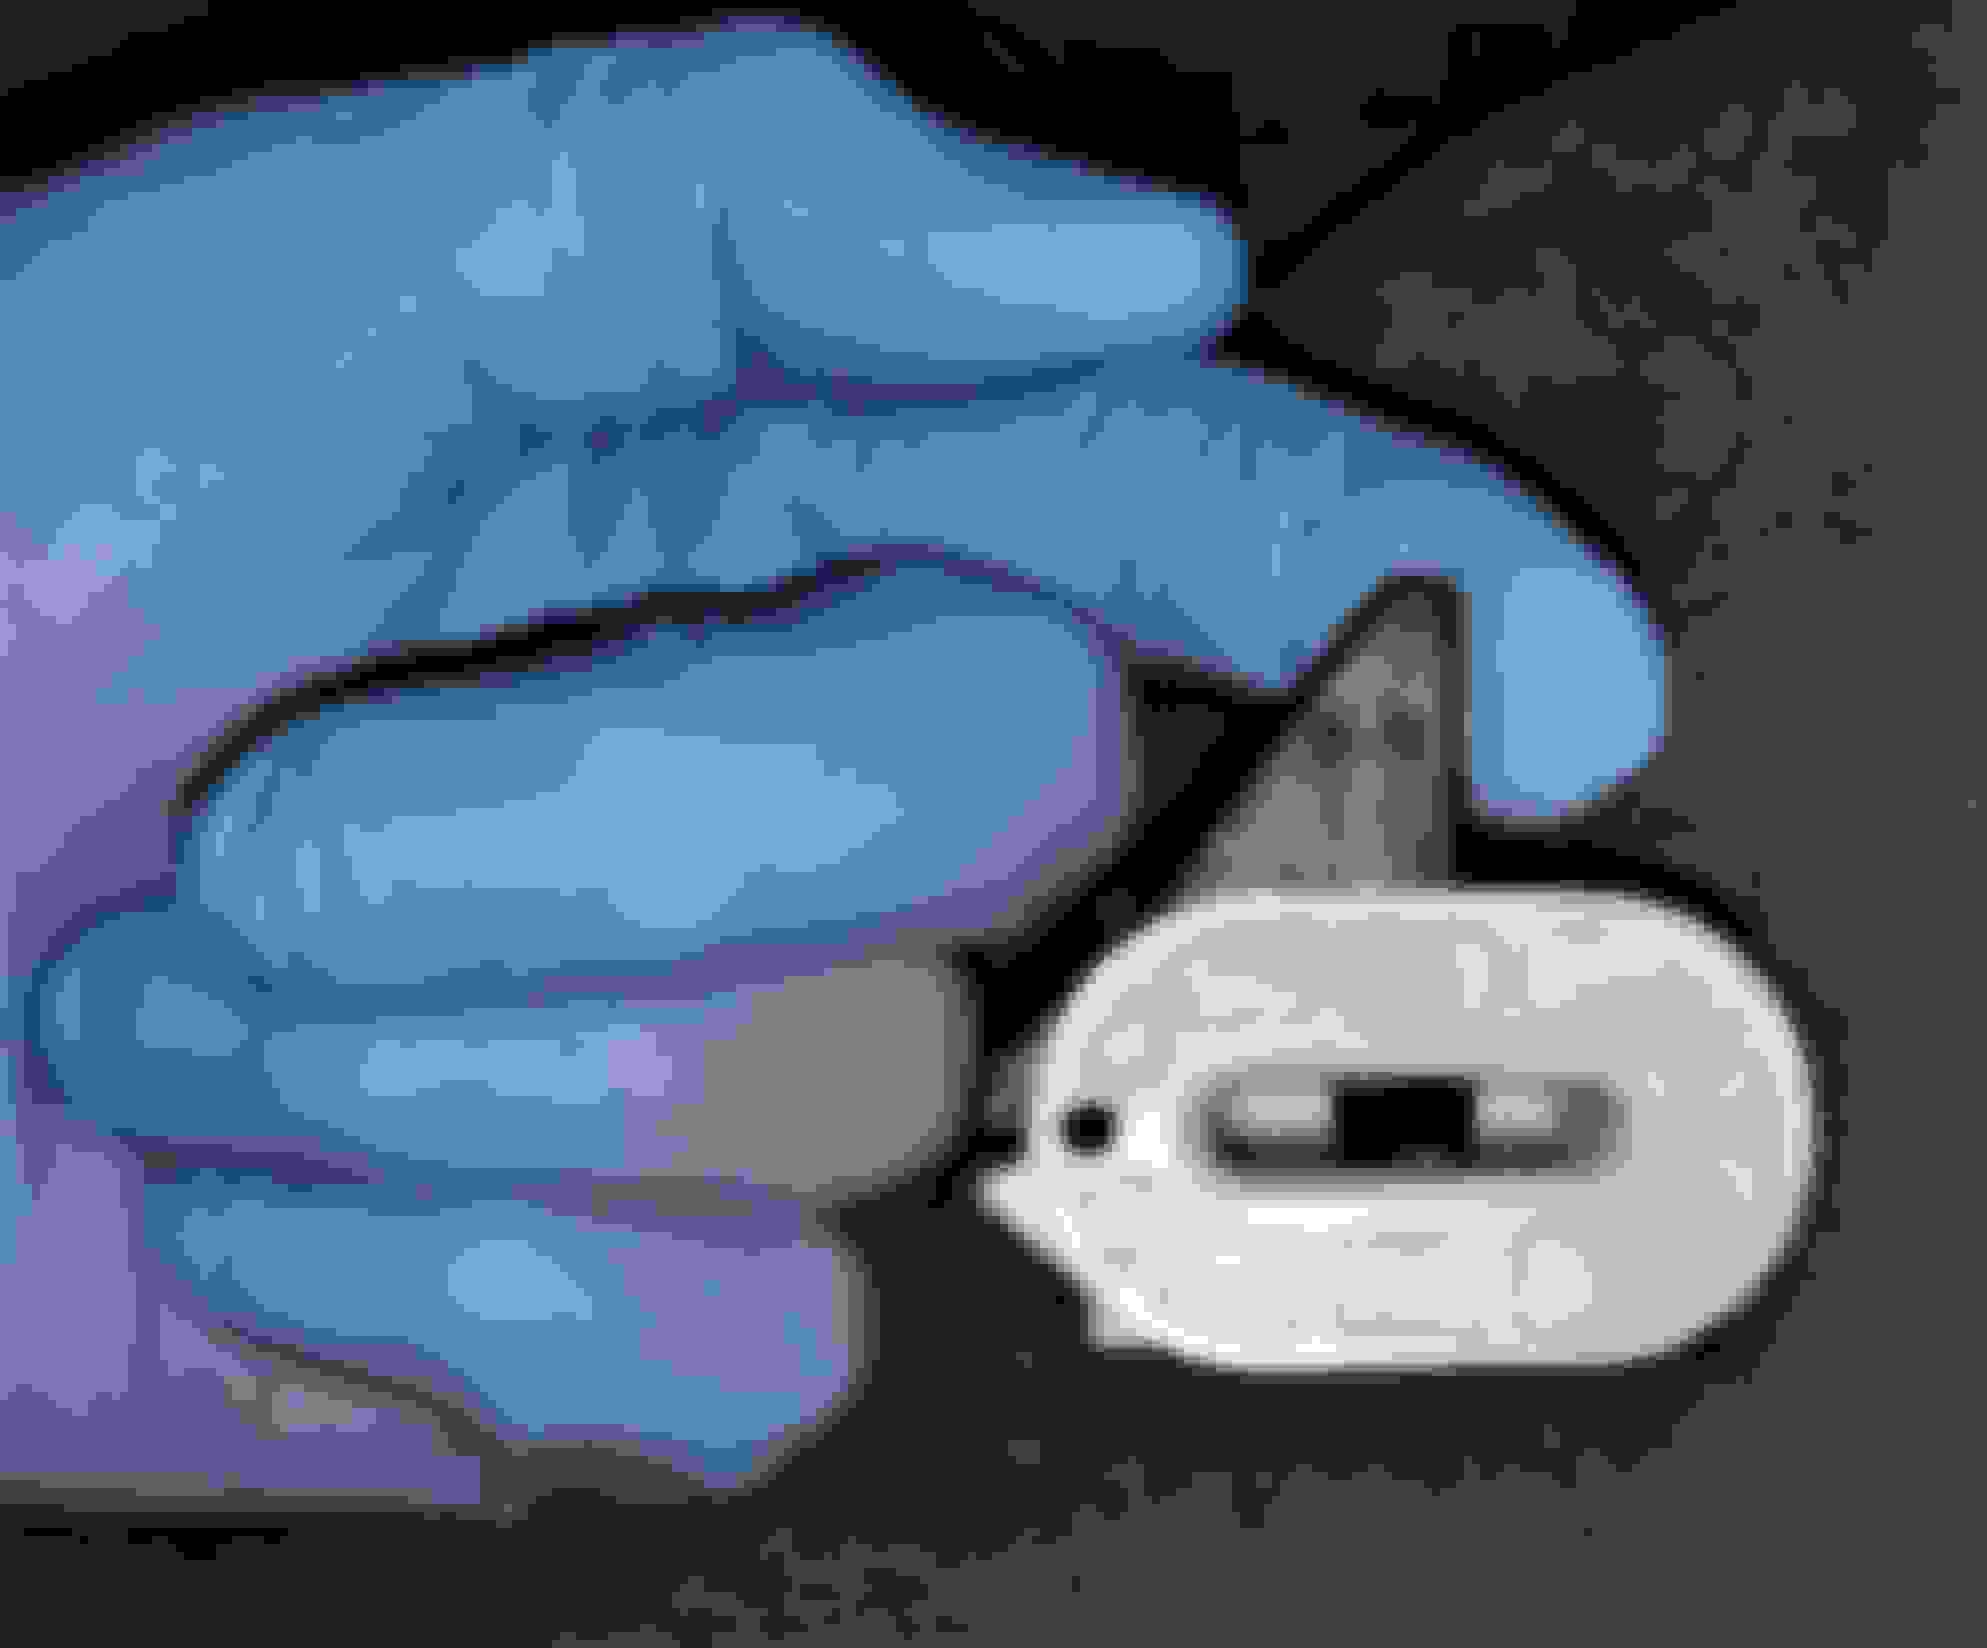
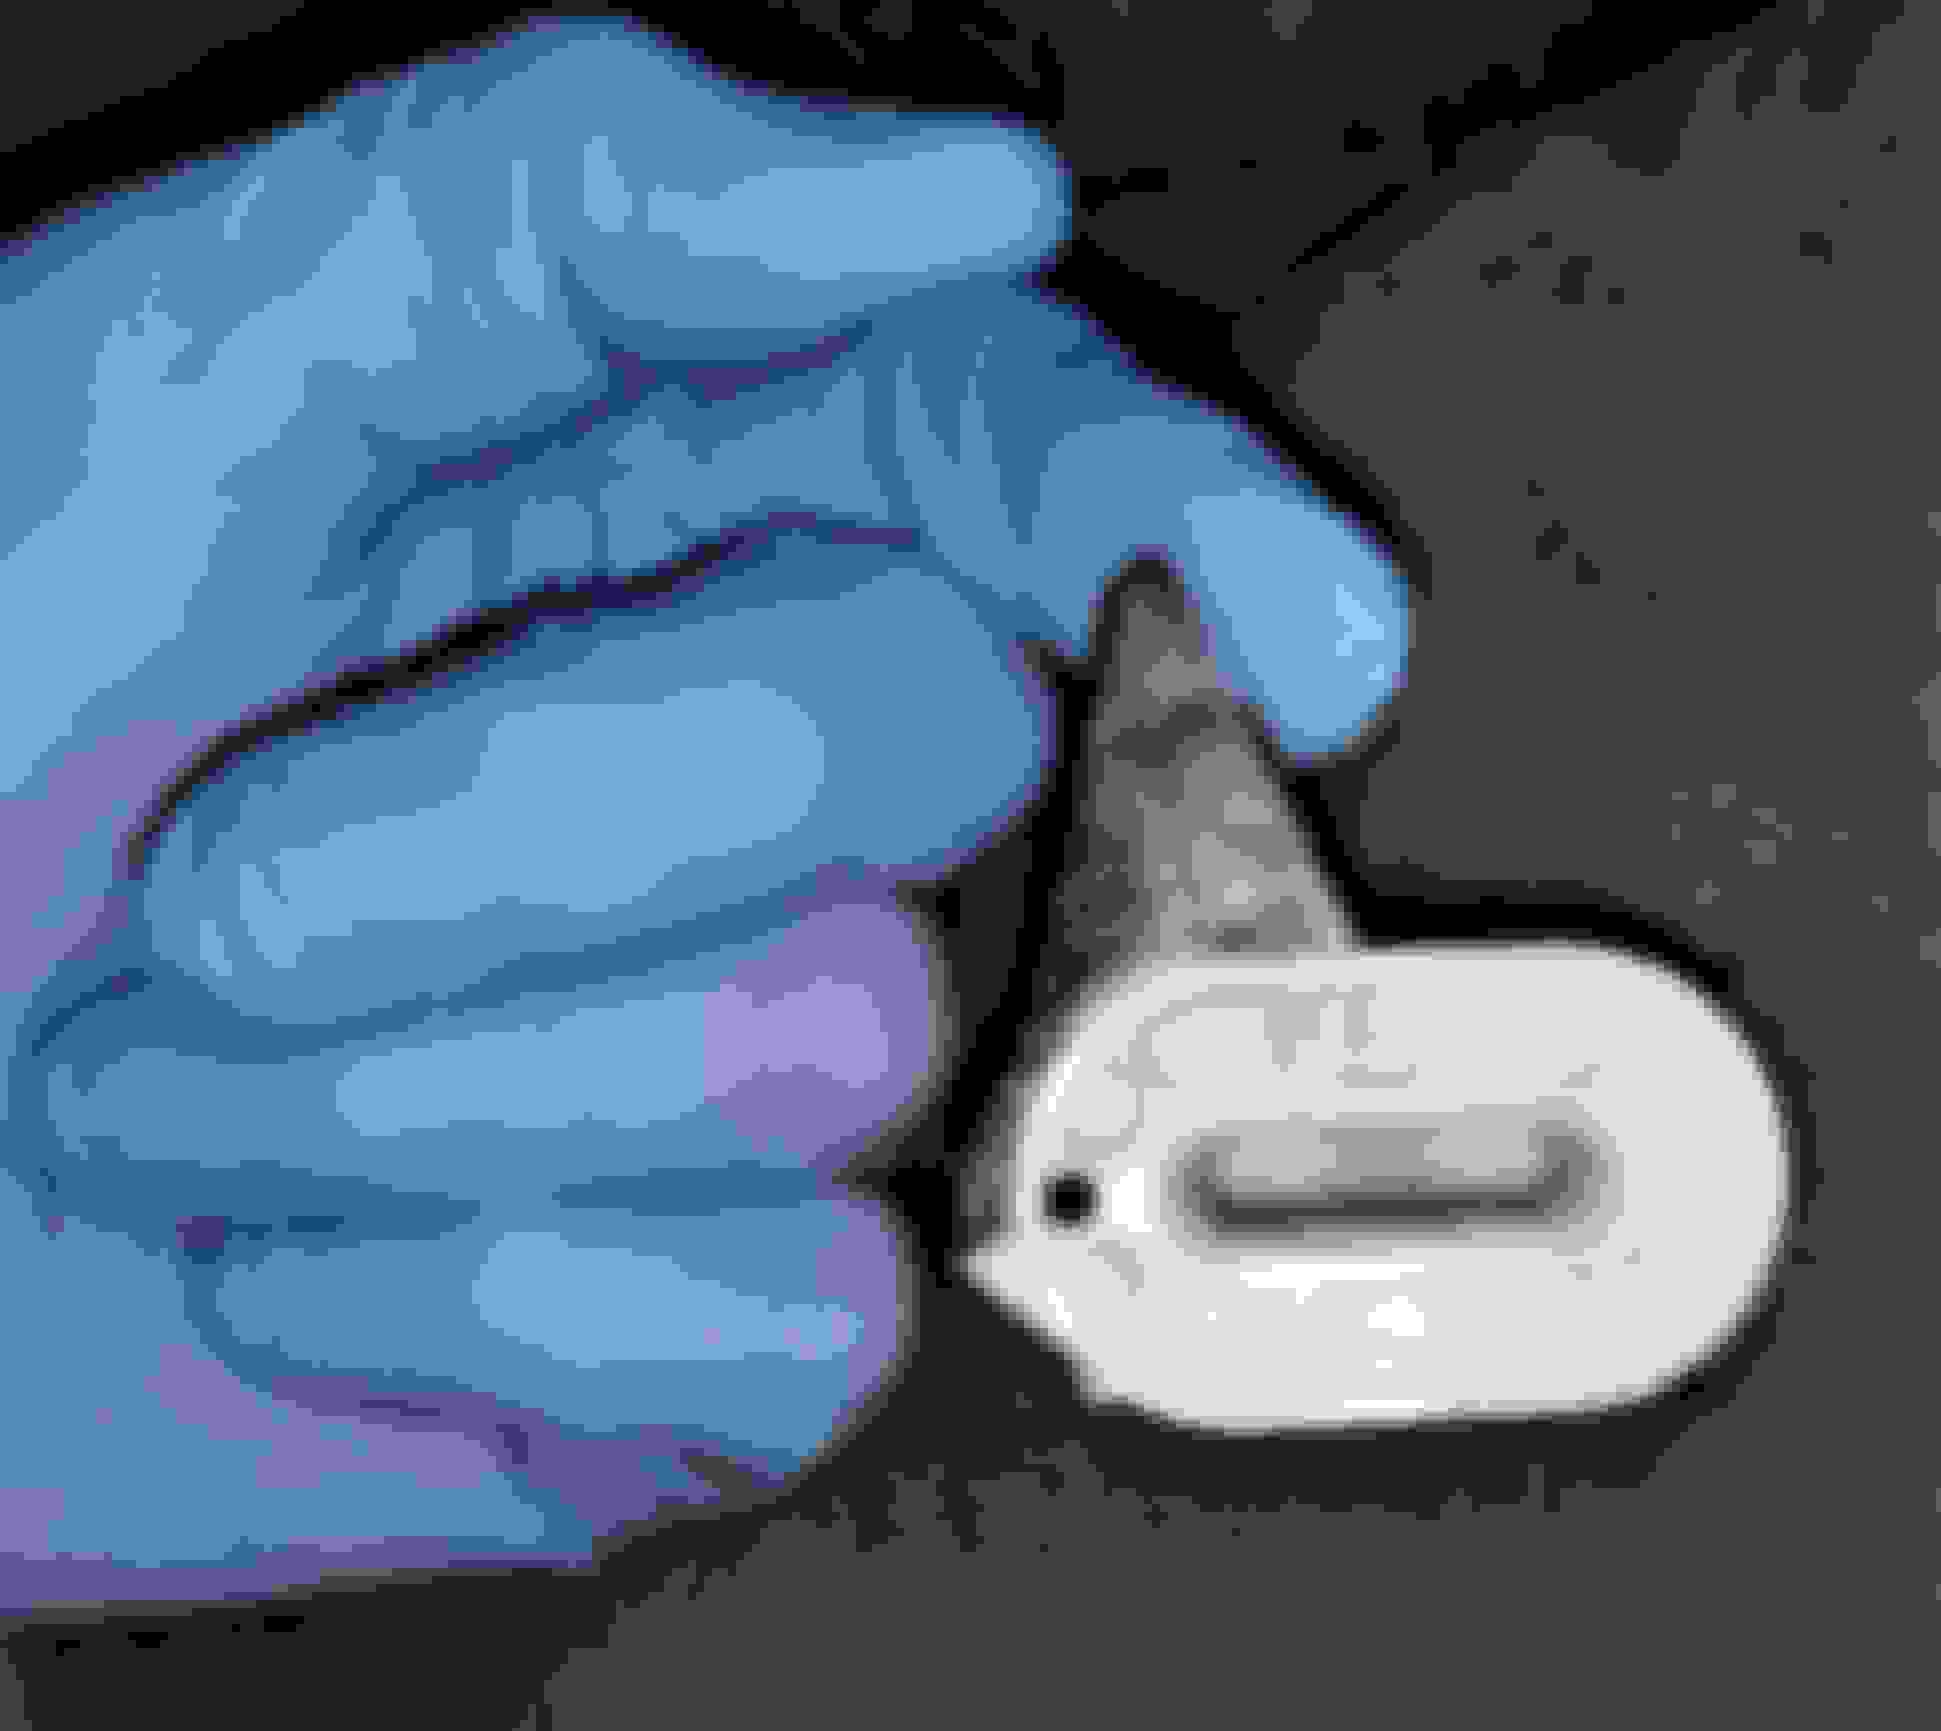
The black plastic tab on the lever engages a U-shaped steel loop on the underside of the seat cushion:
When the lever on the latch is pushed toward the left side of the car, the tab retracts and releases the U-shaped loop:
Some seat cushions are so flexible that once you release the latches on one side, the cushion will remain released so you can then work on the other side. But some cushions are stiff, and if you unlatch one side and then let go of the cushion, it will re-latch itself. If this happens, just release the latches again and slip the floormat up under the seat cushion to prevent it from re-latching. Then you can release the other side of the cushion.
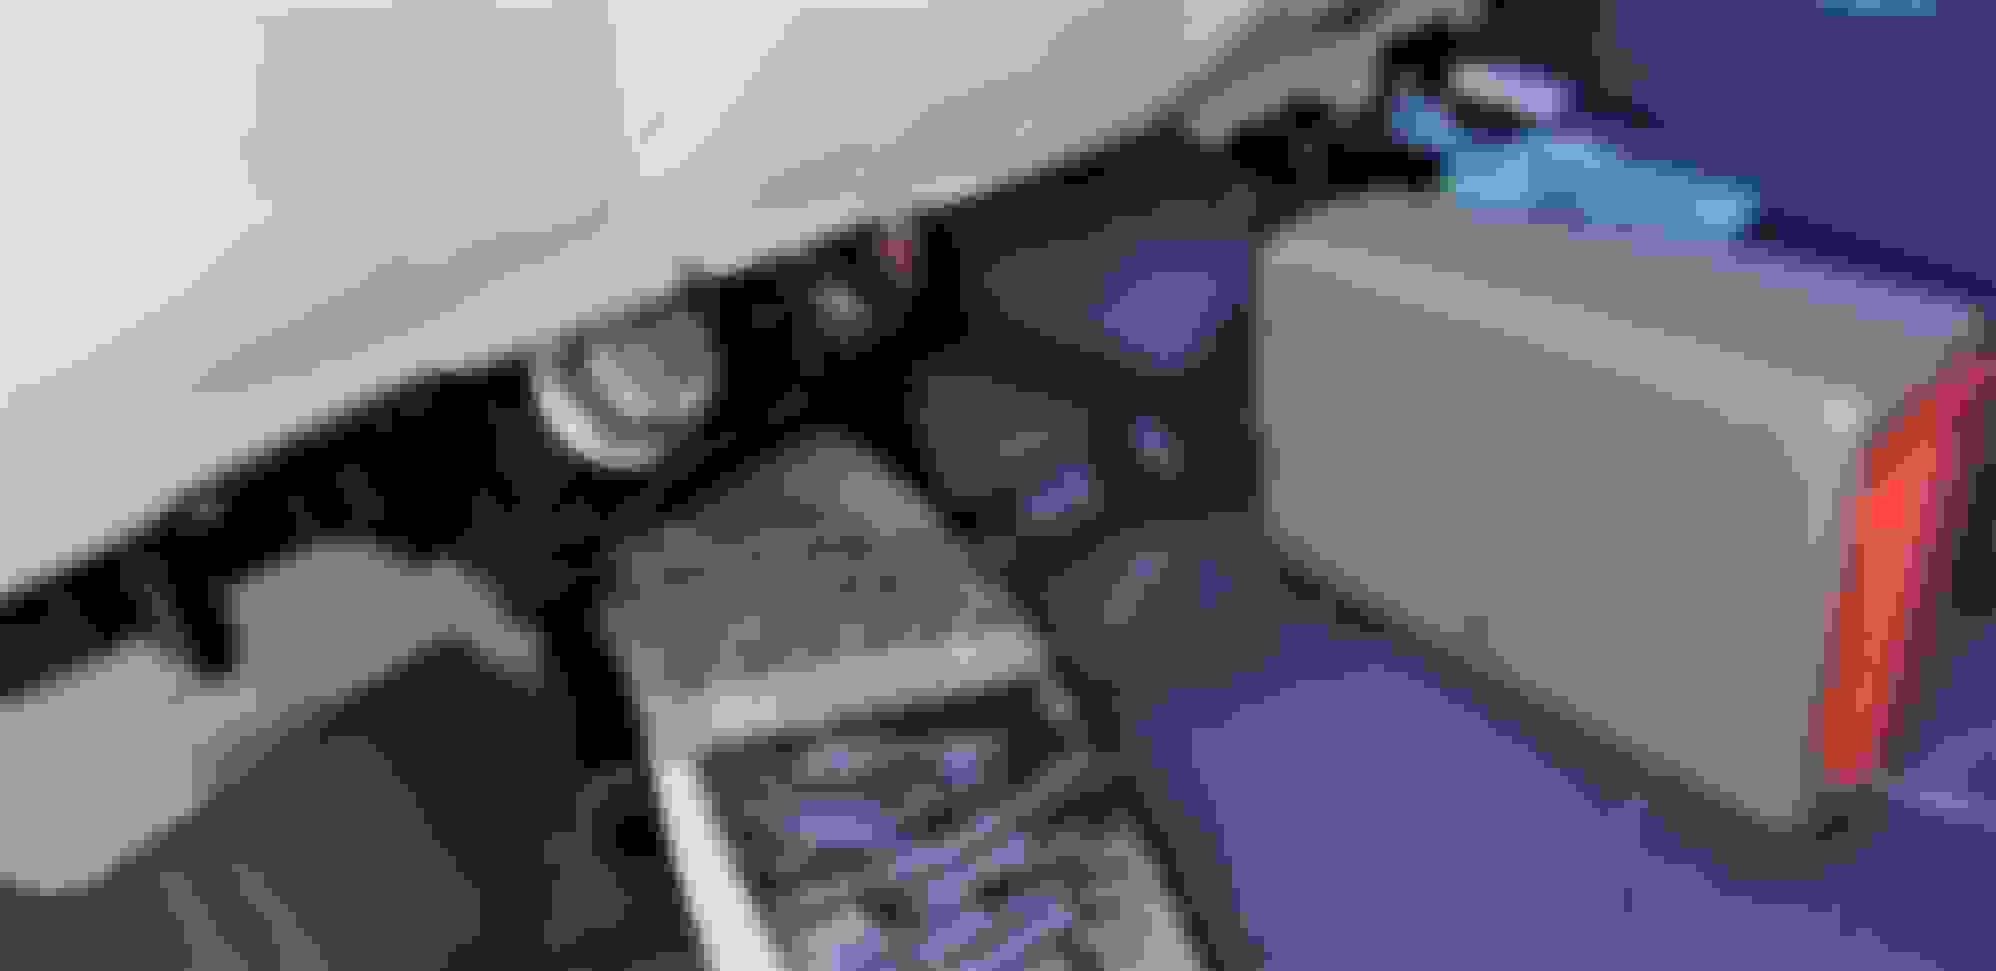
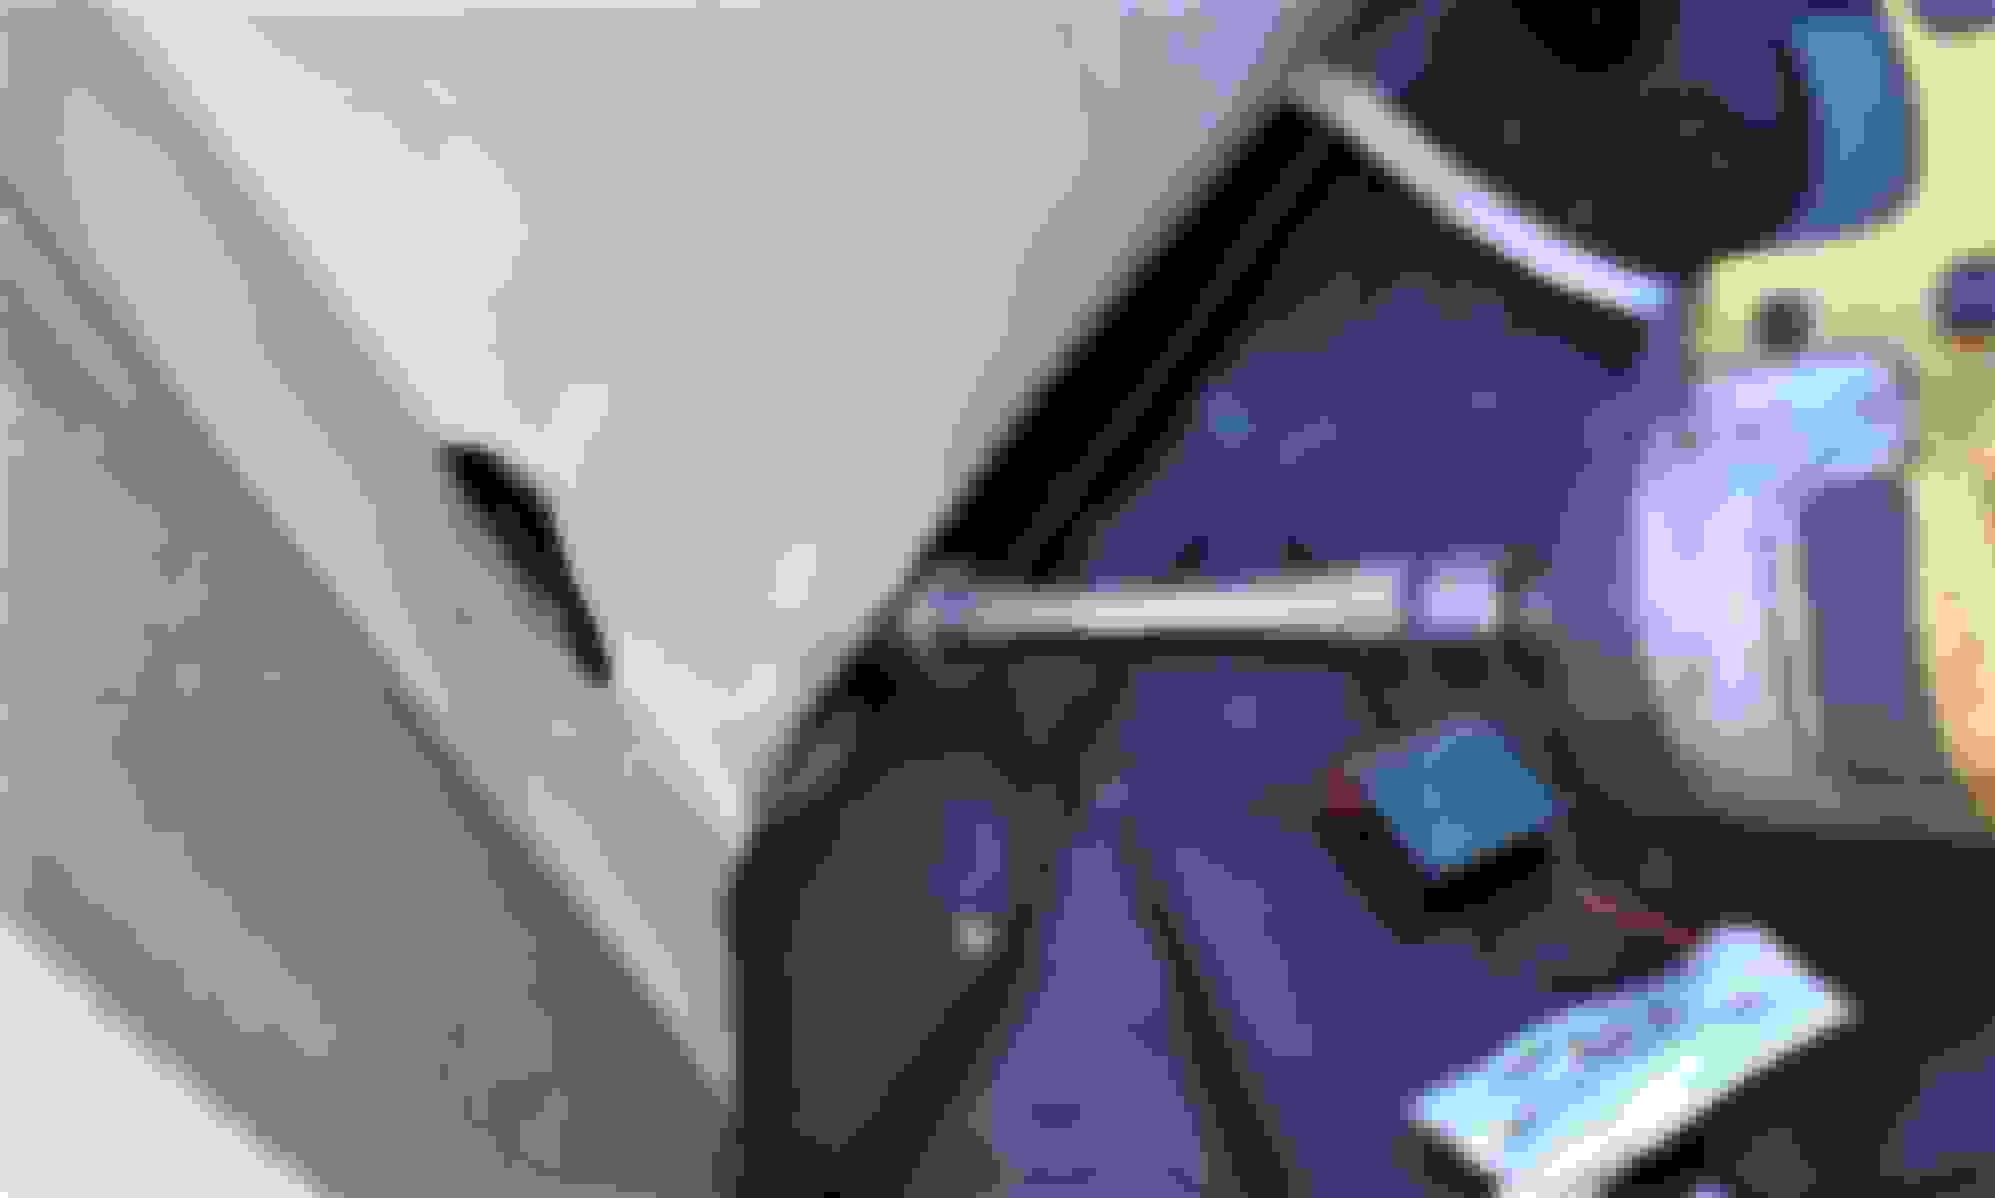
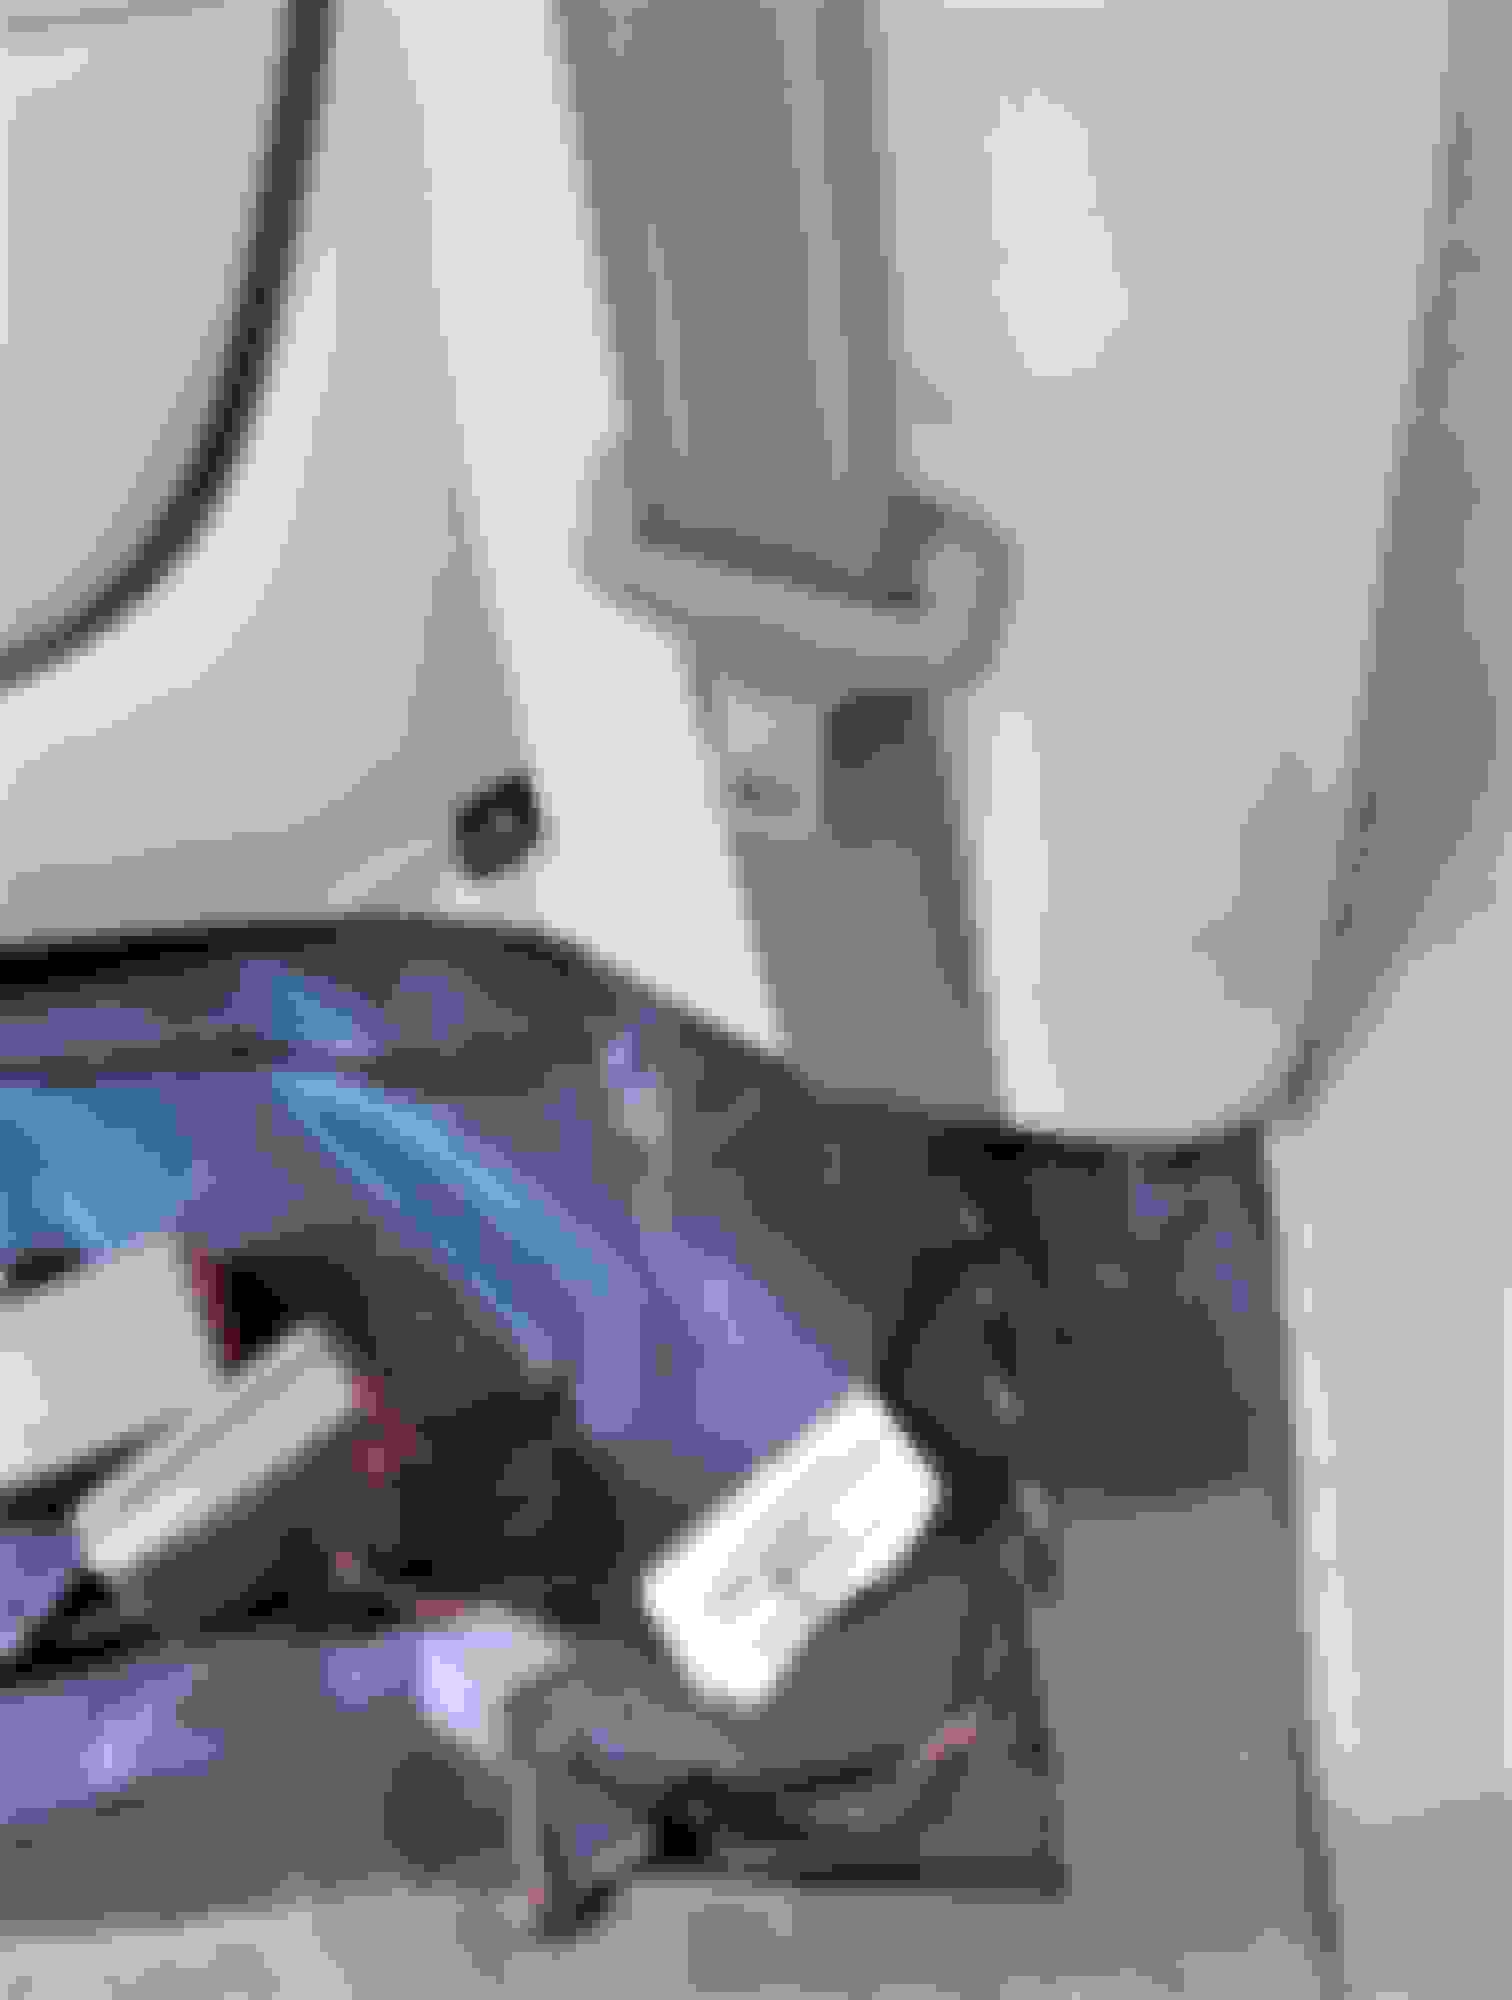
Once you have all four latches disconnected, tilt the seat up and disconnect any electrical connectors you find, typically at the outer ends of the cushion:
Rear Seat Back Removal:
Prior to removing the seat back, lower the headrests all the way down. If your headrests are not motorized, there is a latch on one of the support rods on each headrest:
Push the latch button toward the rod to release the latch and push the headrest down:
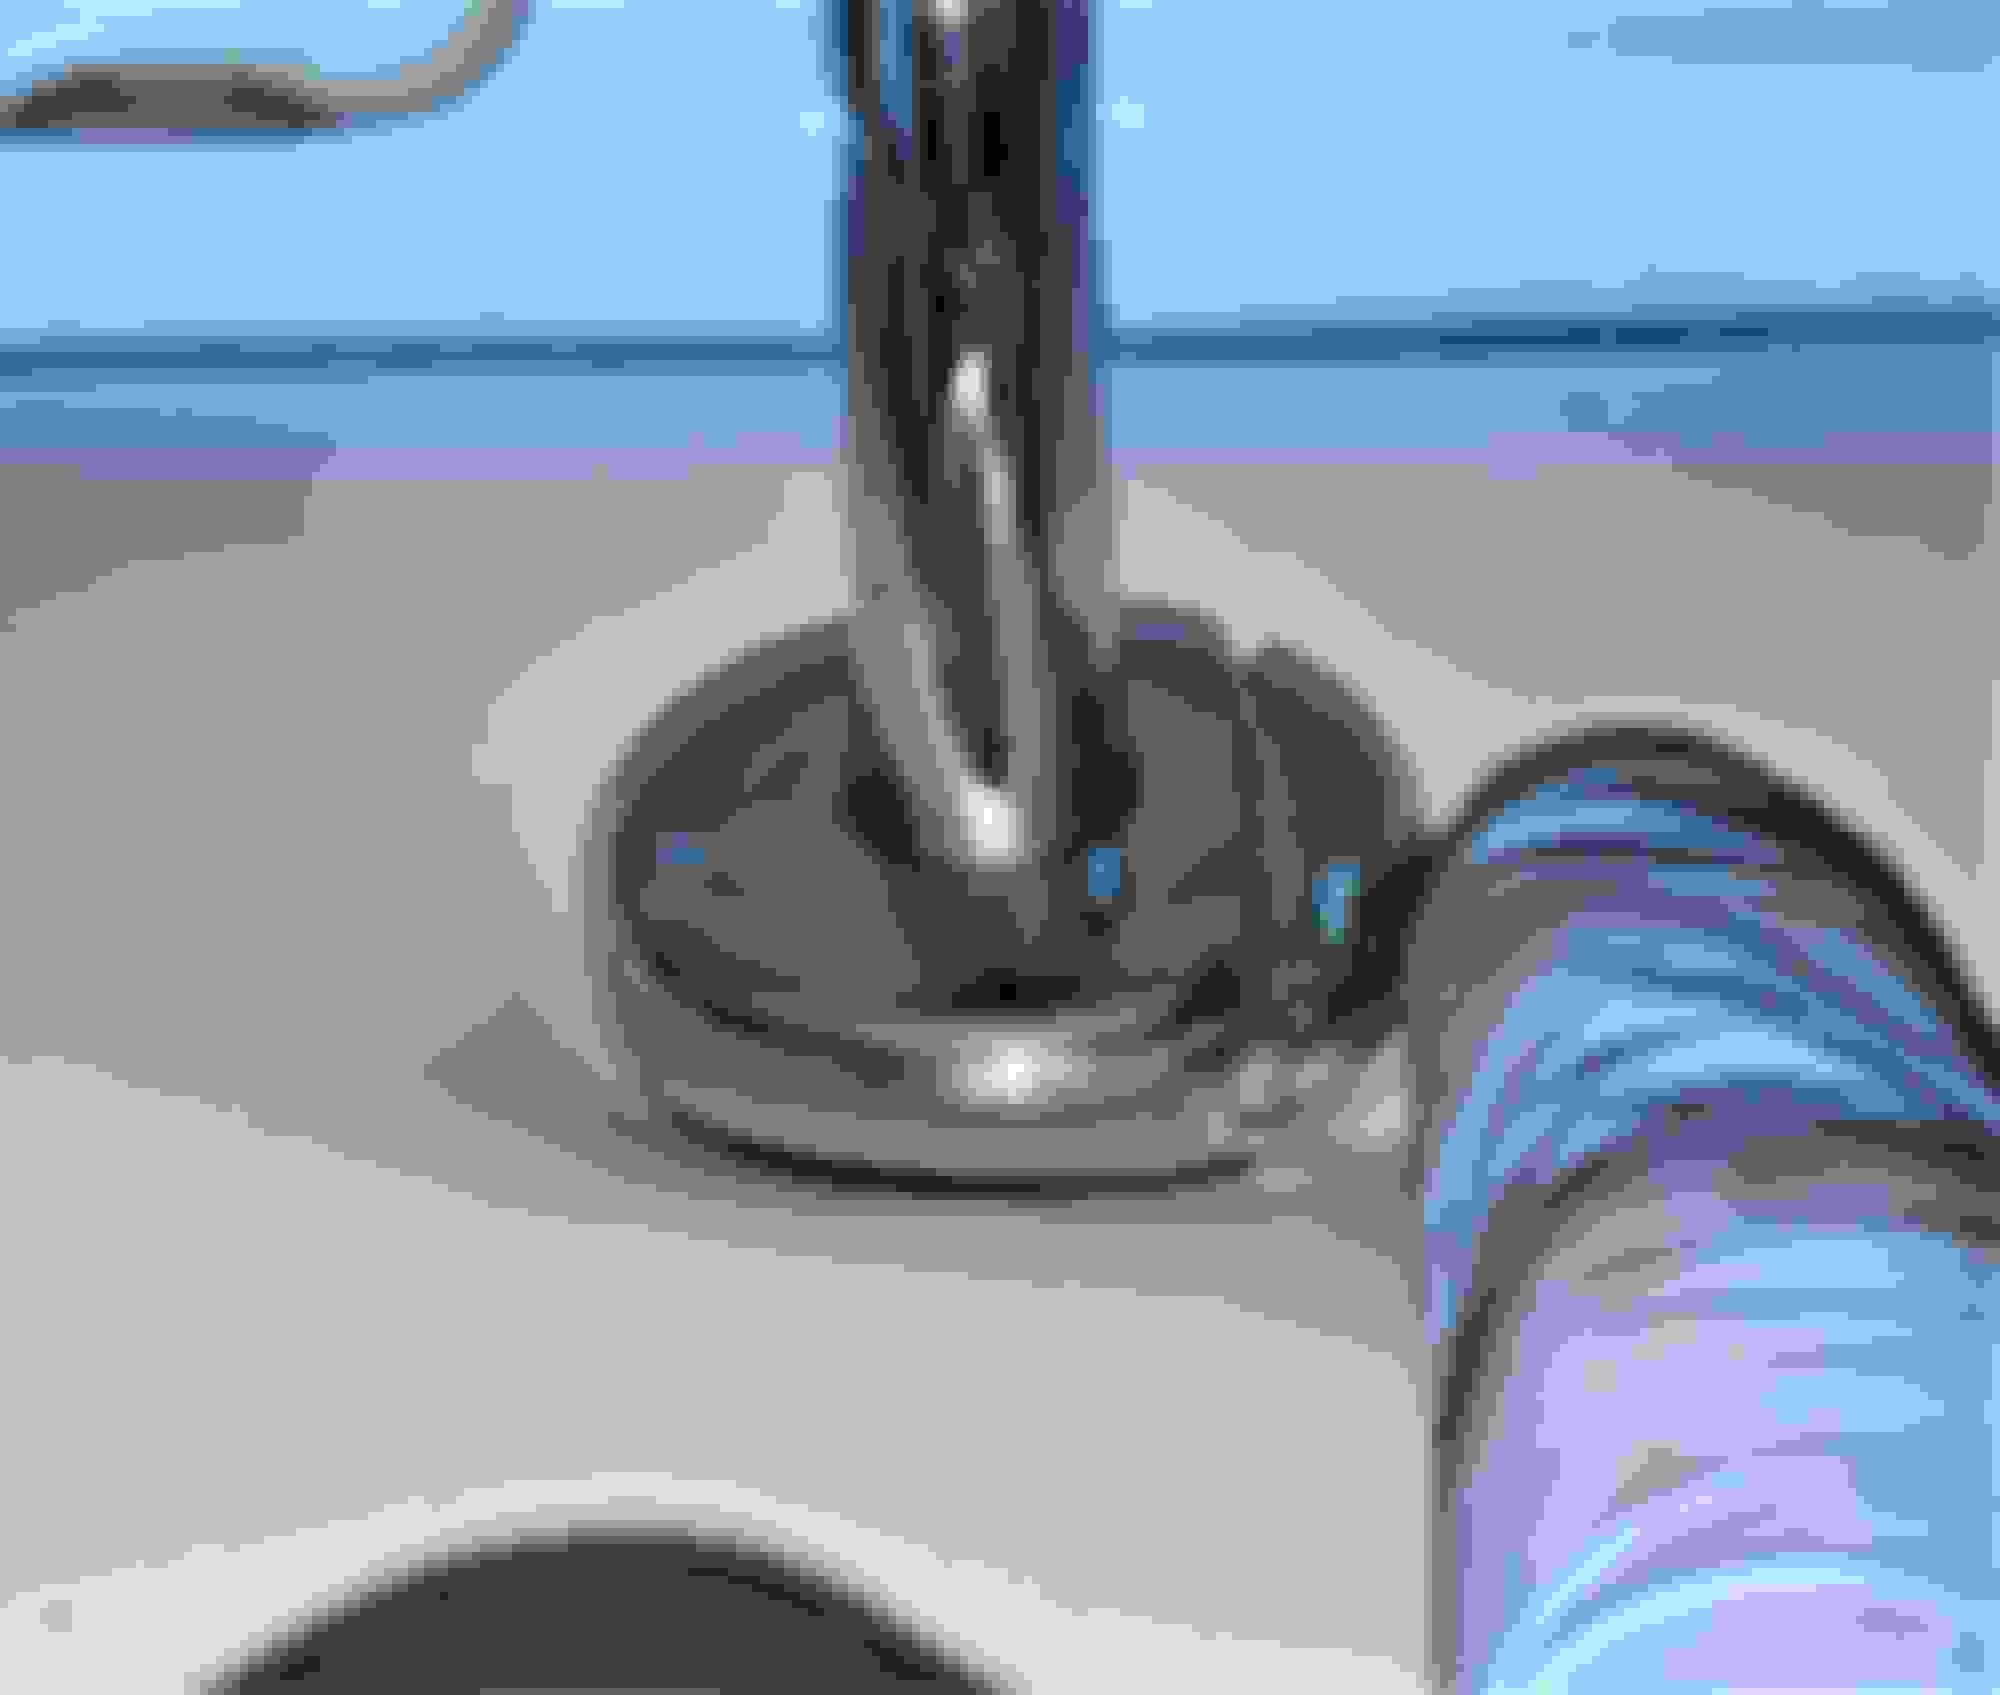
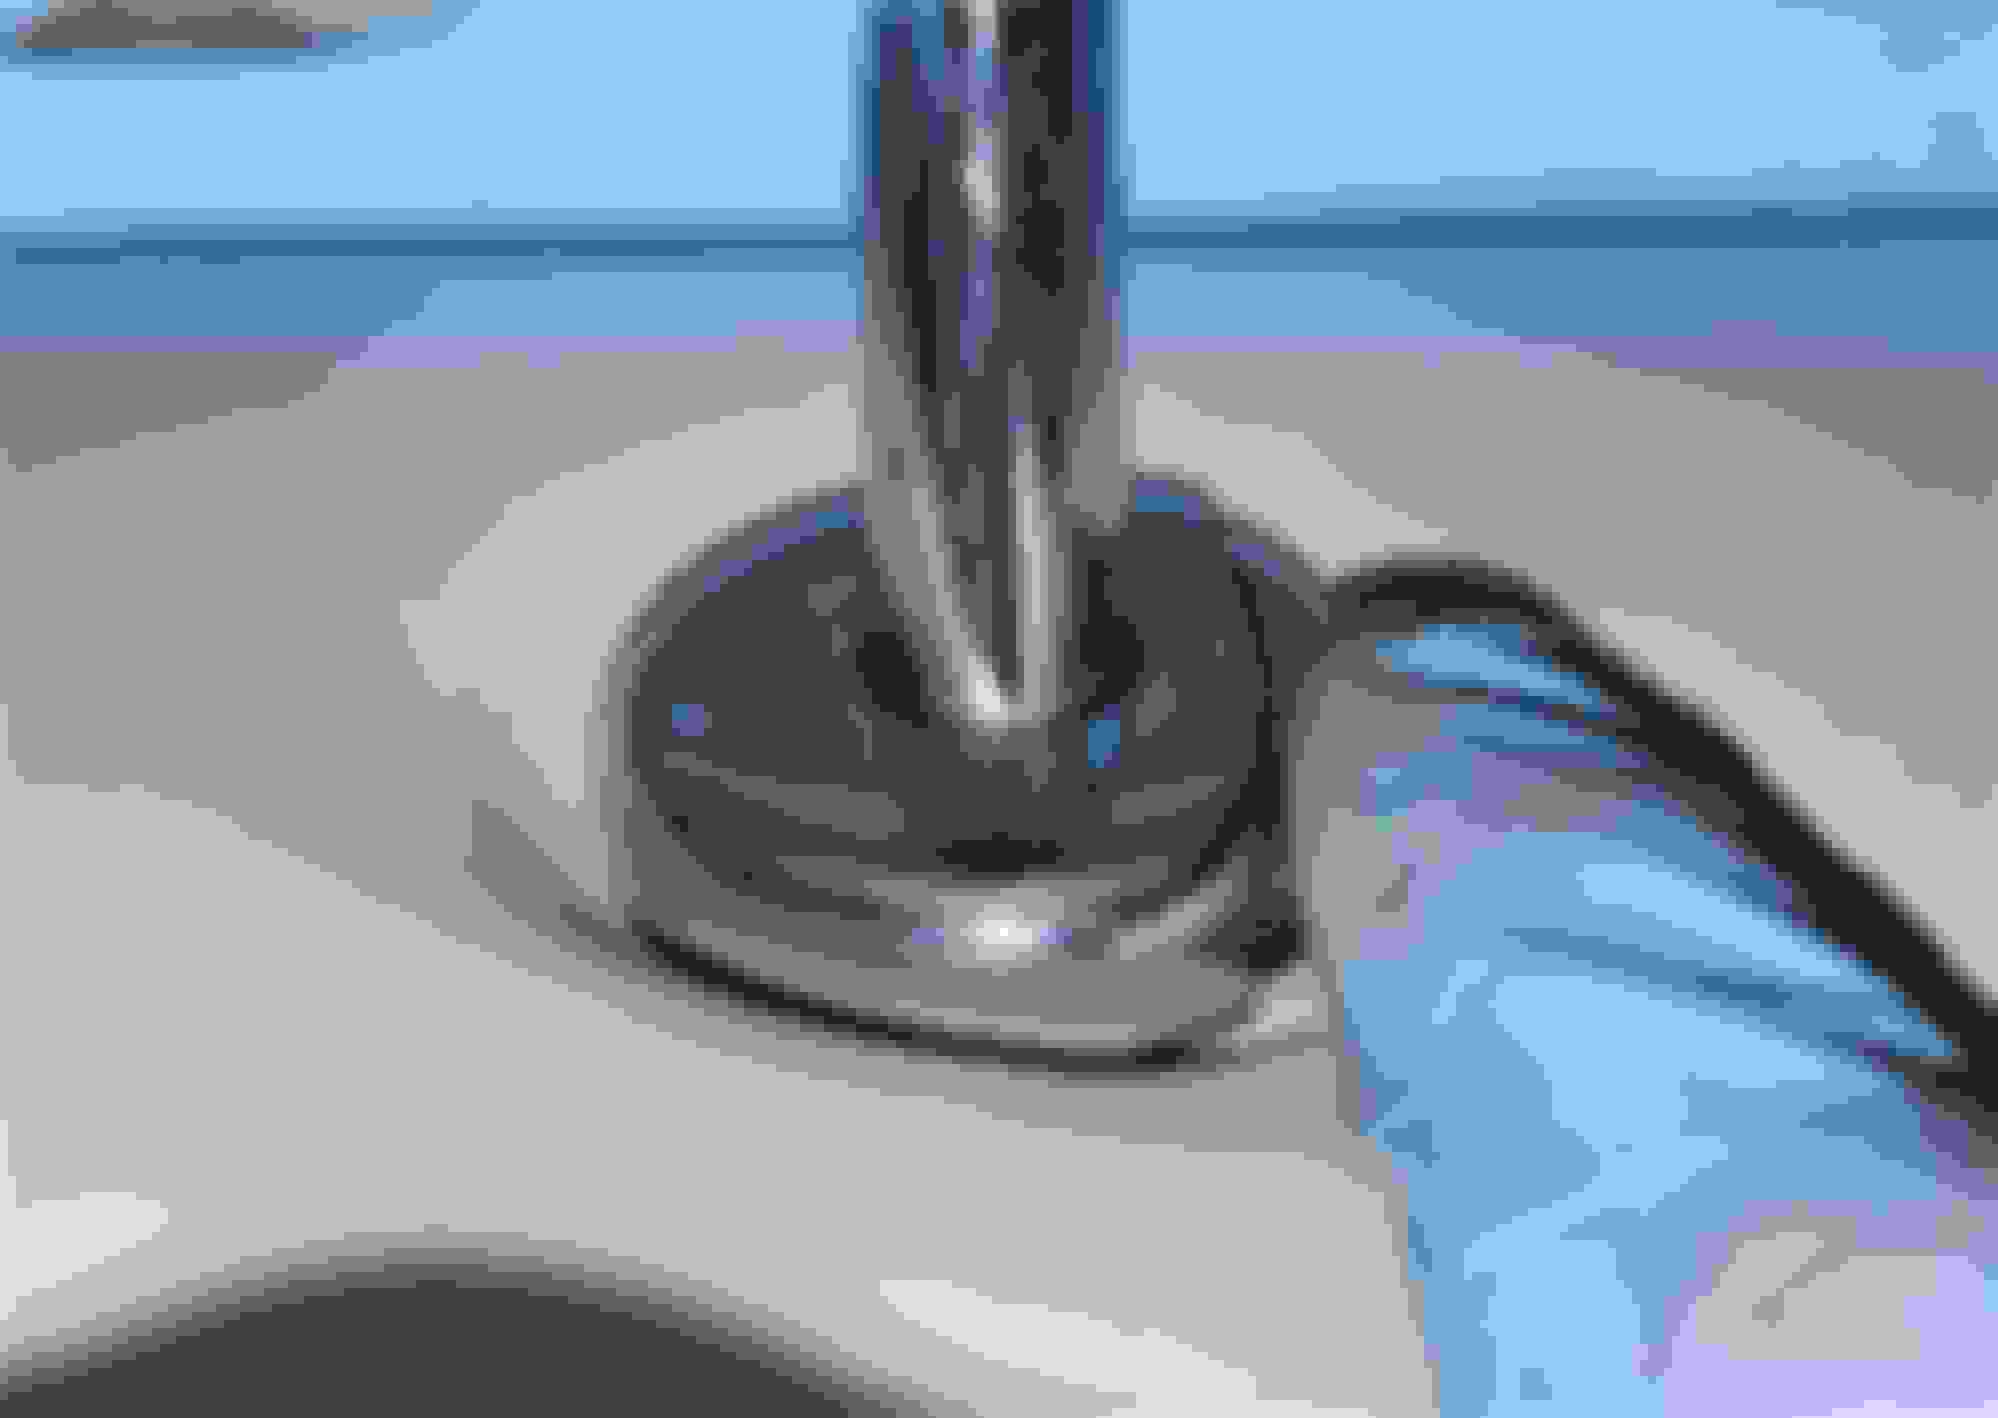
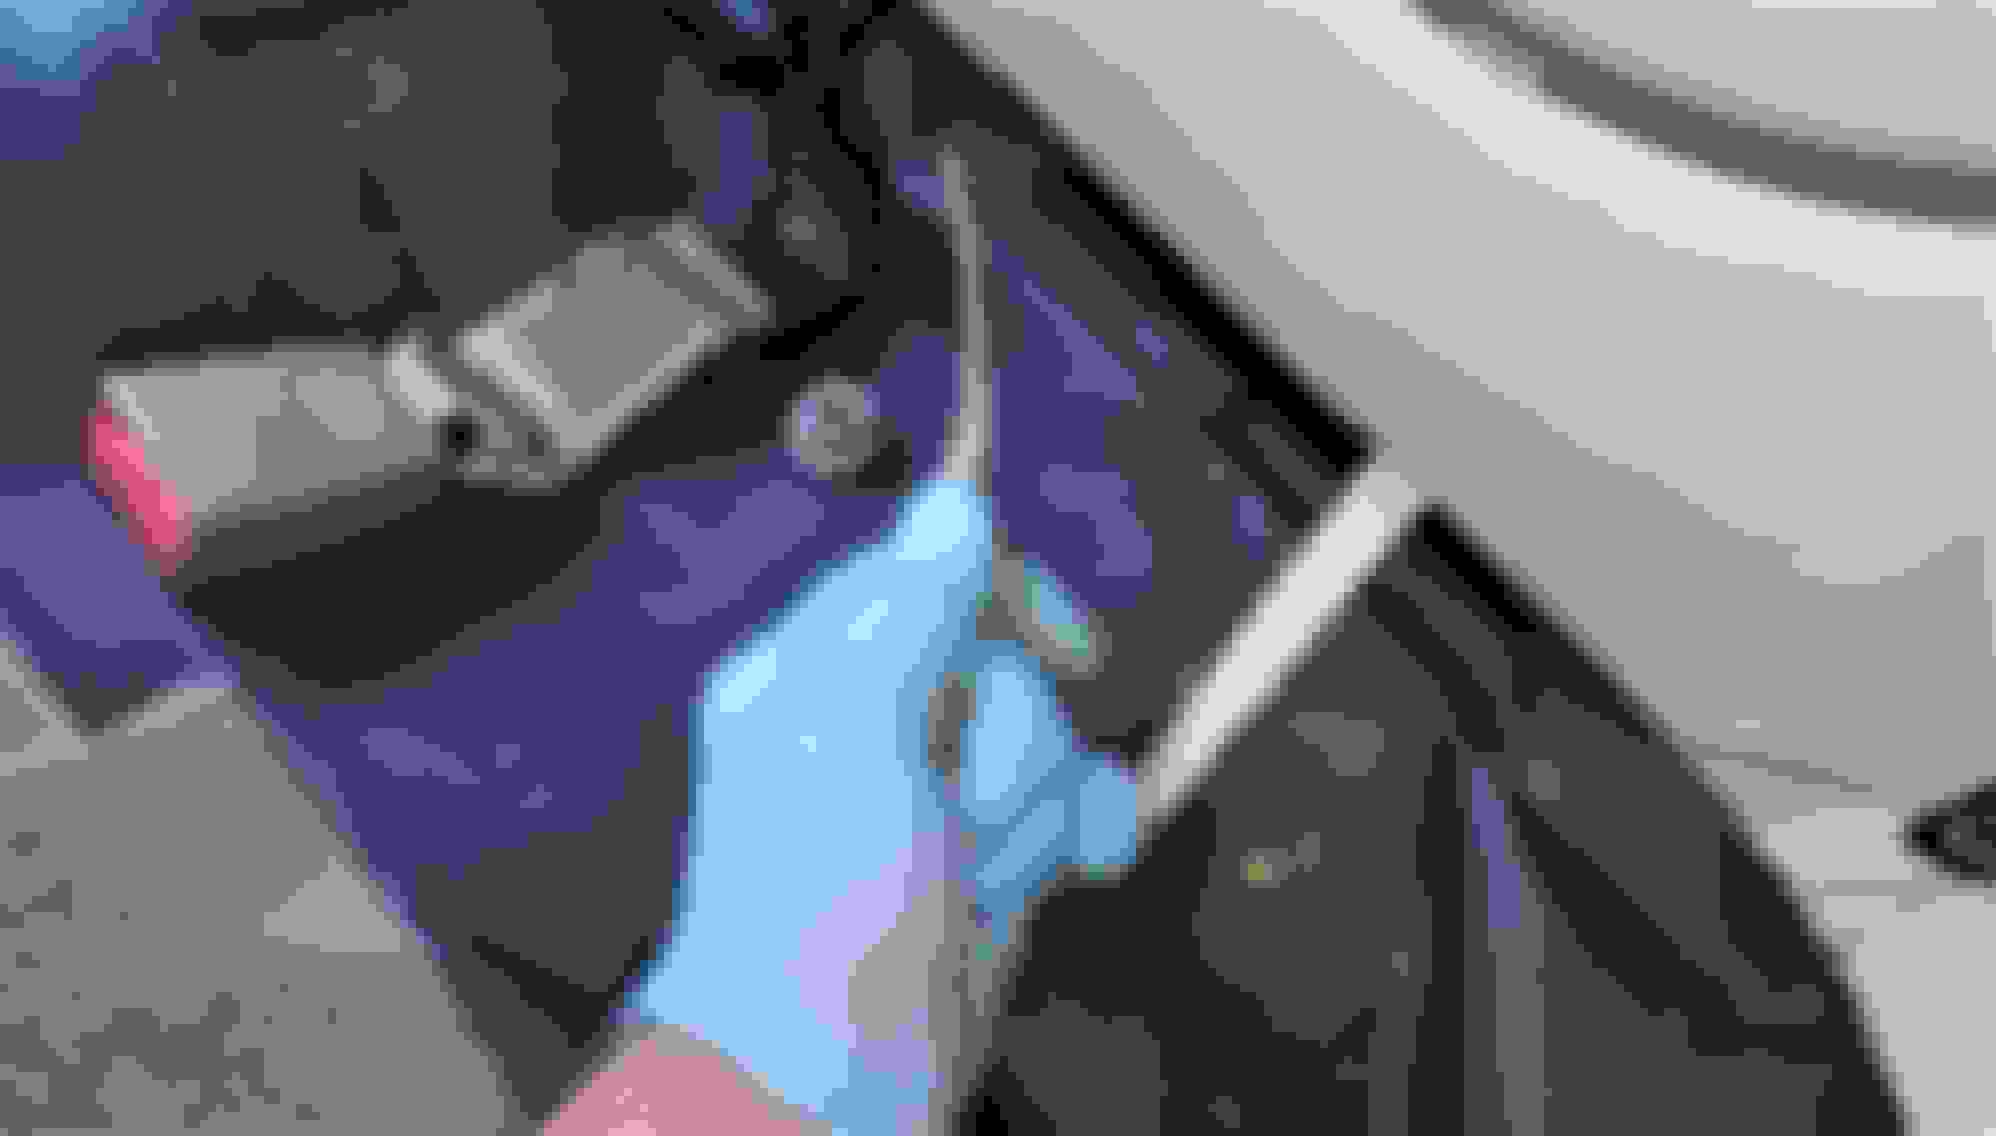
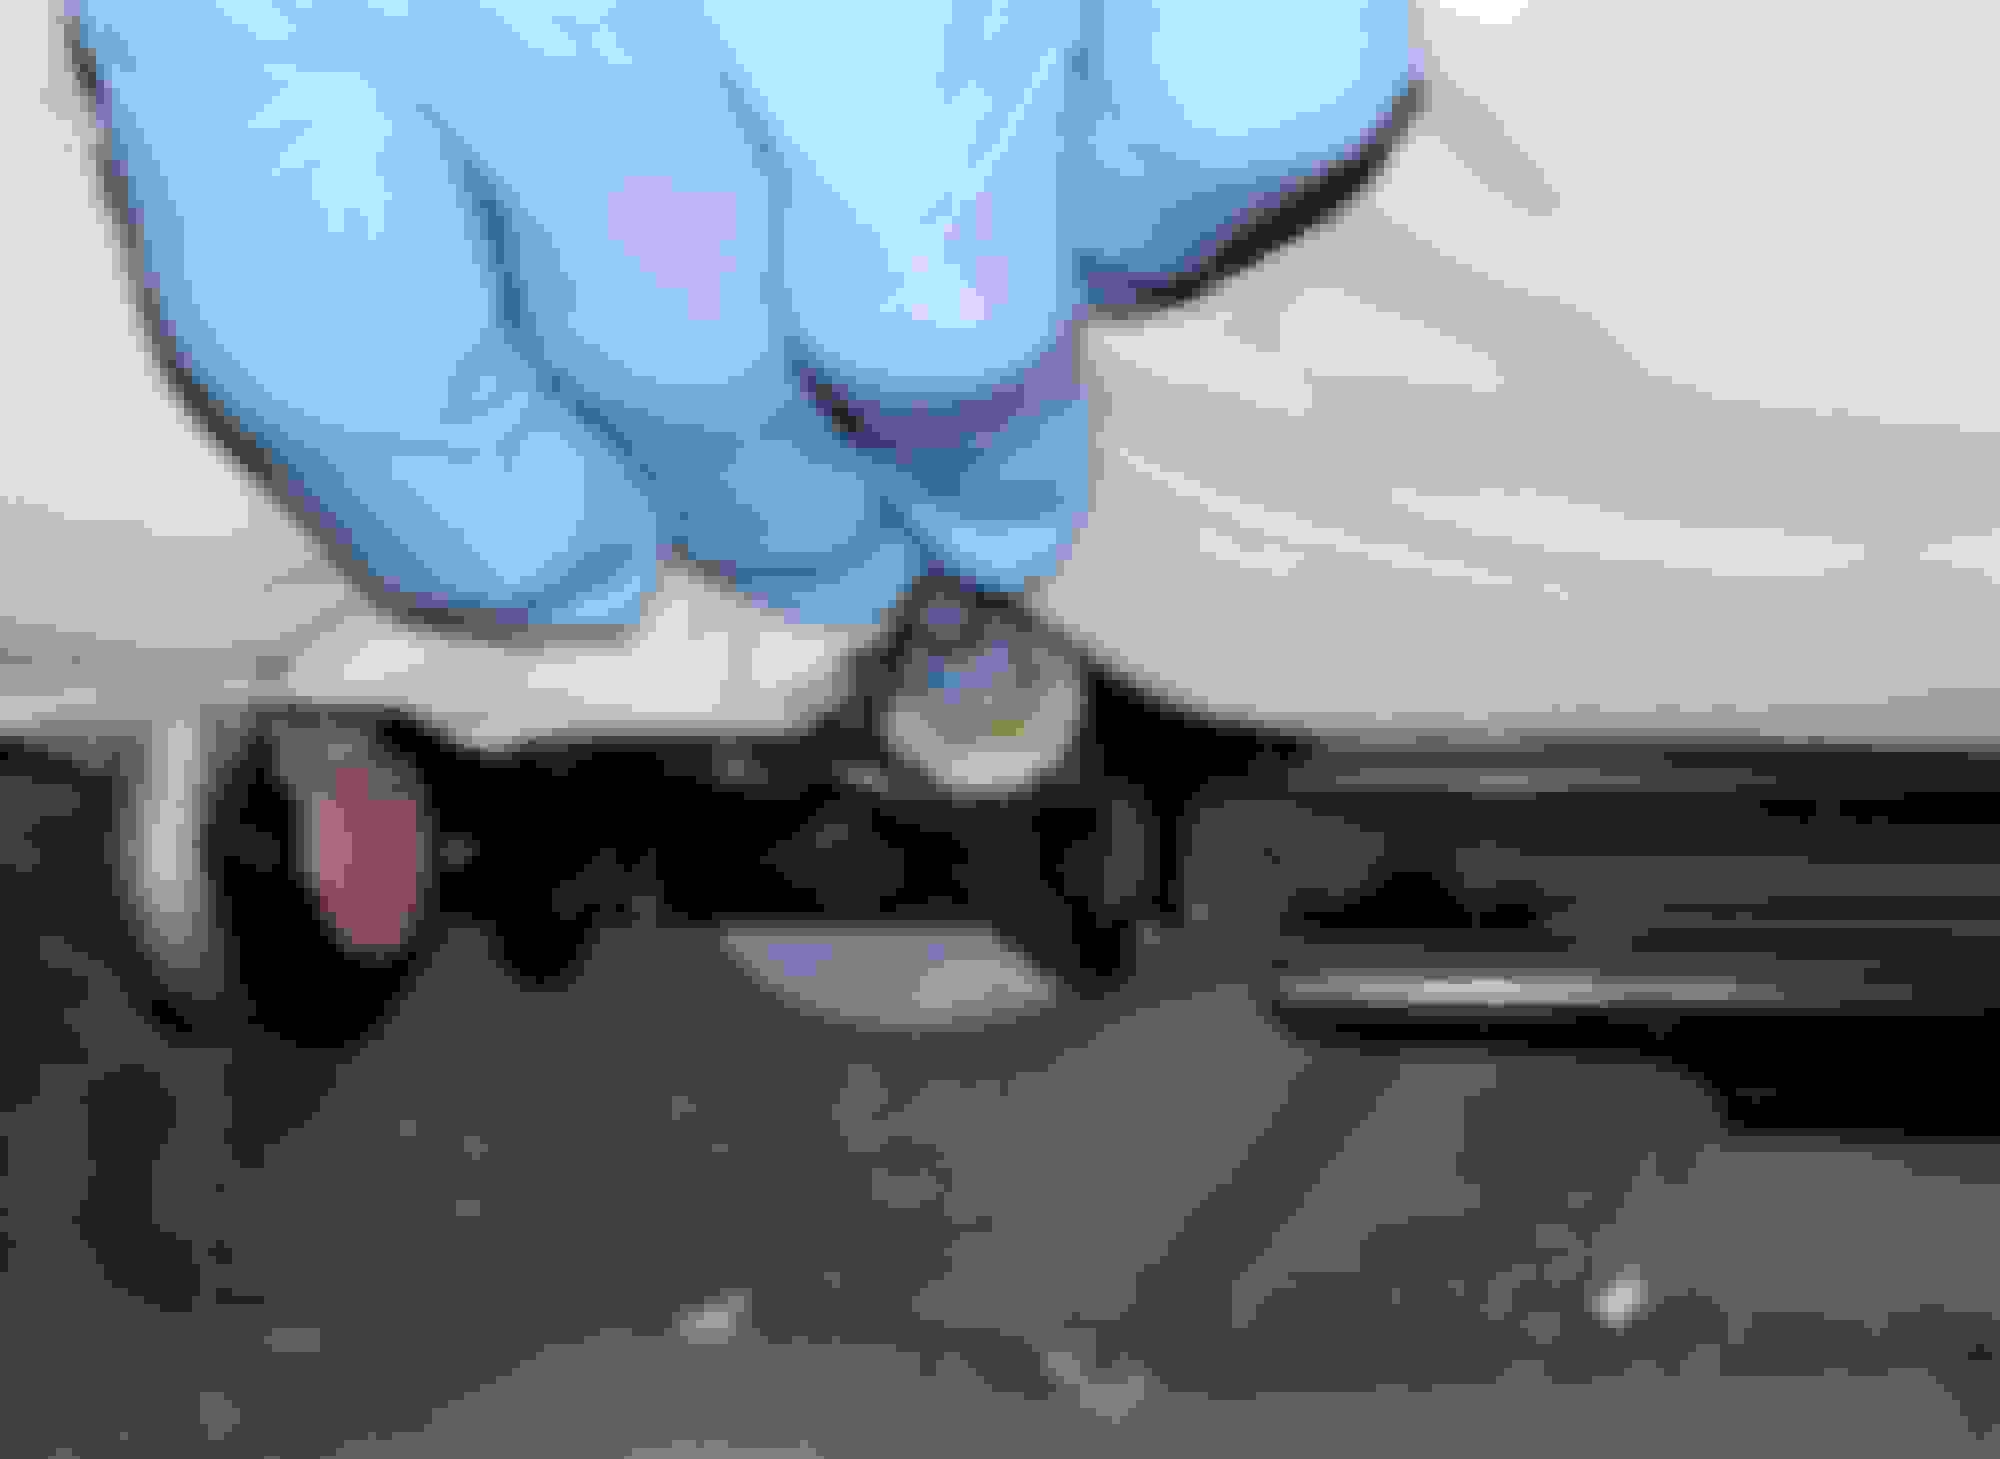
Next, the center seat belt must be disconnected at its lower end, where it is secured by an 18mm nut. Note how the center seat belt end and the buckle for the right passenger seat belt are oriented on the stud for reassembly:
Remove the nut, disconnect the seat belt and lay it up on the parcel shelf. Protect the parcel shelf from dust and dirt with a paper towel:
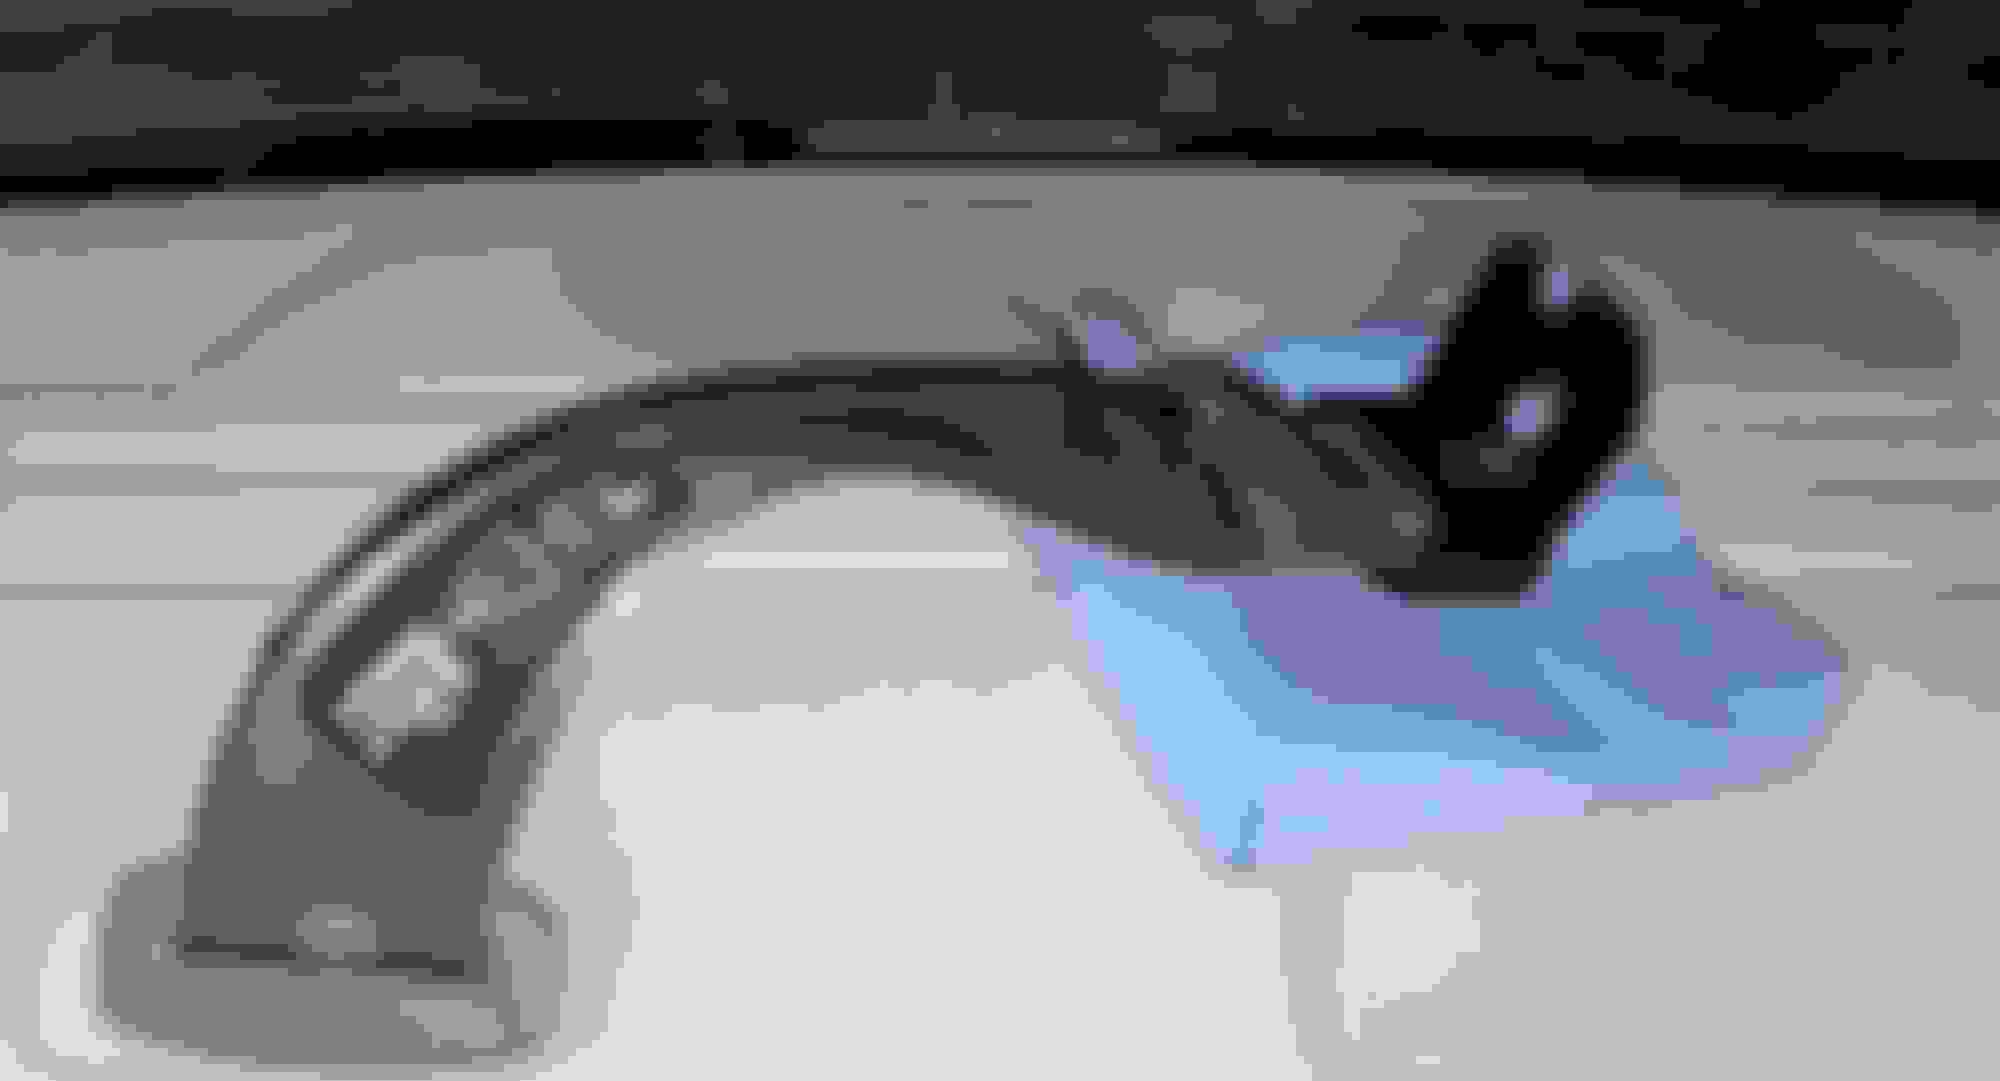
The seat back has four short studs along its lower edge that rest in U-shaped slots in brackets bolted to the body. Don't worry if your studs are rusted. They all seem to be. It must have something to do with the metallurgy of the studs. The upper end of the seat back is secured by two spring latches, one on either side, located directly below the headrests. Here is one of the four studs:
Here's a view of one of the bracket slots showing the white plastic liner:
Here's a view of a stud in its slot:
There are two webbed seat back release straps, one on each side. Theoretically, pulling on the straps releases the upper latches, and by simultaneously lifting and pulling the seat back, it should pull away from the body upright section and up and out of the slots on the lower bracket. Here's the left side strap:
More often than not, the latches do not want to release properly. Sometimes, you can persuade them to release by striking the seat back with the butt of your fist or palm of your hand just below the headrest:
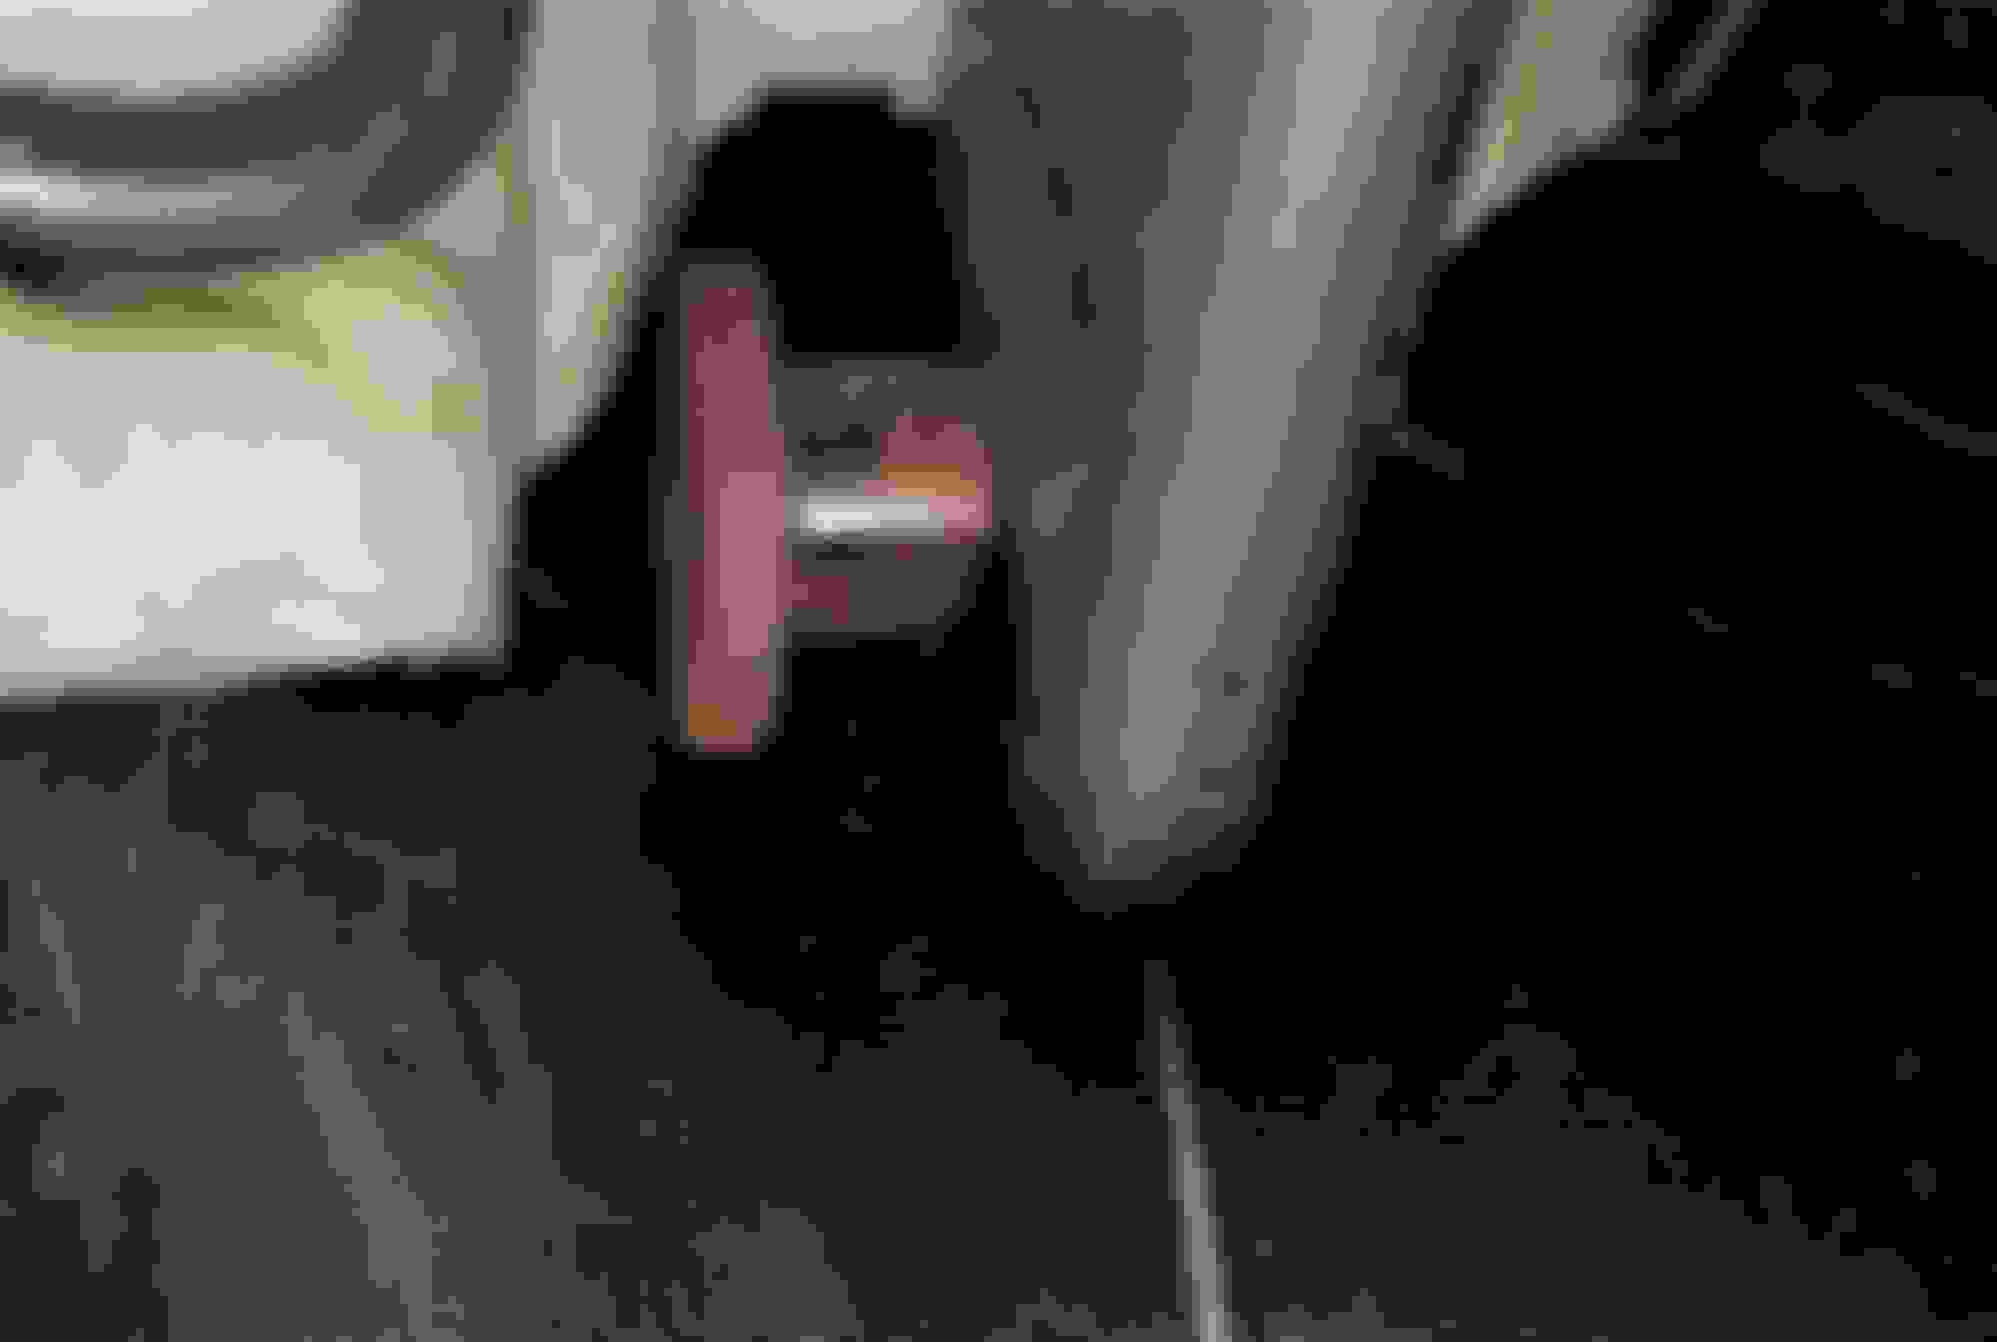
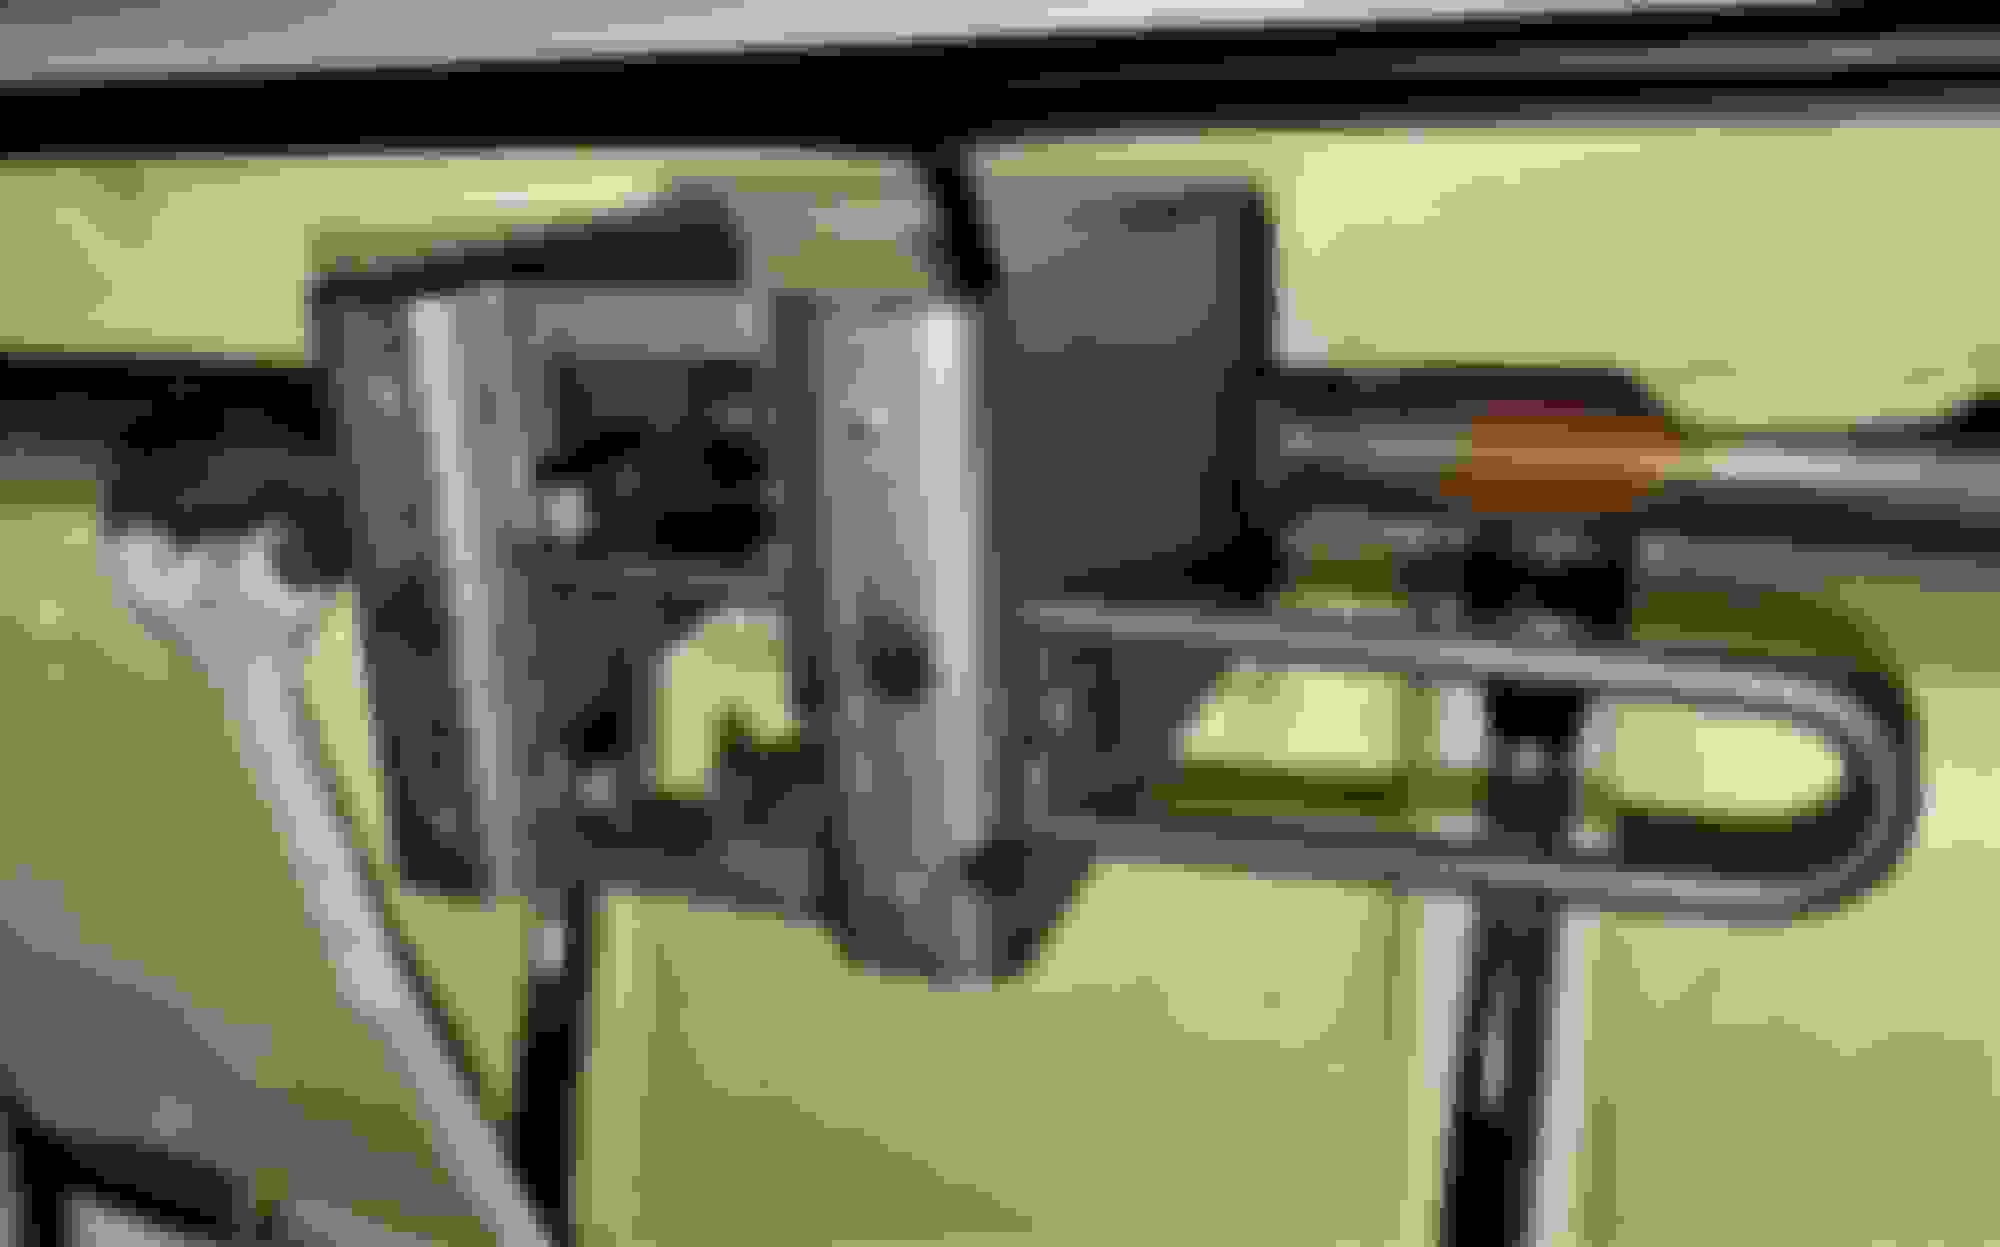
The seat back is supported by, and latches to, two triangular support-hooks, one on each side below the headrests. The support-hooks have black plastic covers:
Each side of the seat back has a latch with a spring-loaded rod connected to the webbed strap. Below is a latch in its latched or at-rest position. The top of the rectangular opening in the latch frame rests on the top of the triangular support-hook. The spring-loaded rod fits into the slot on the underside of the support-hook:
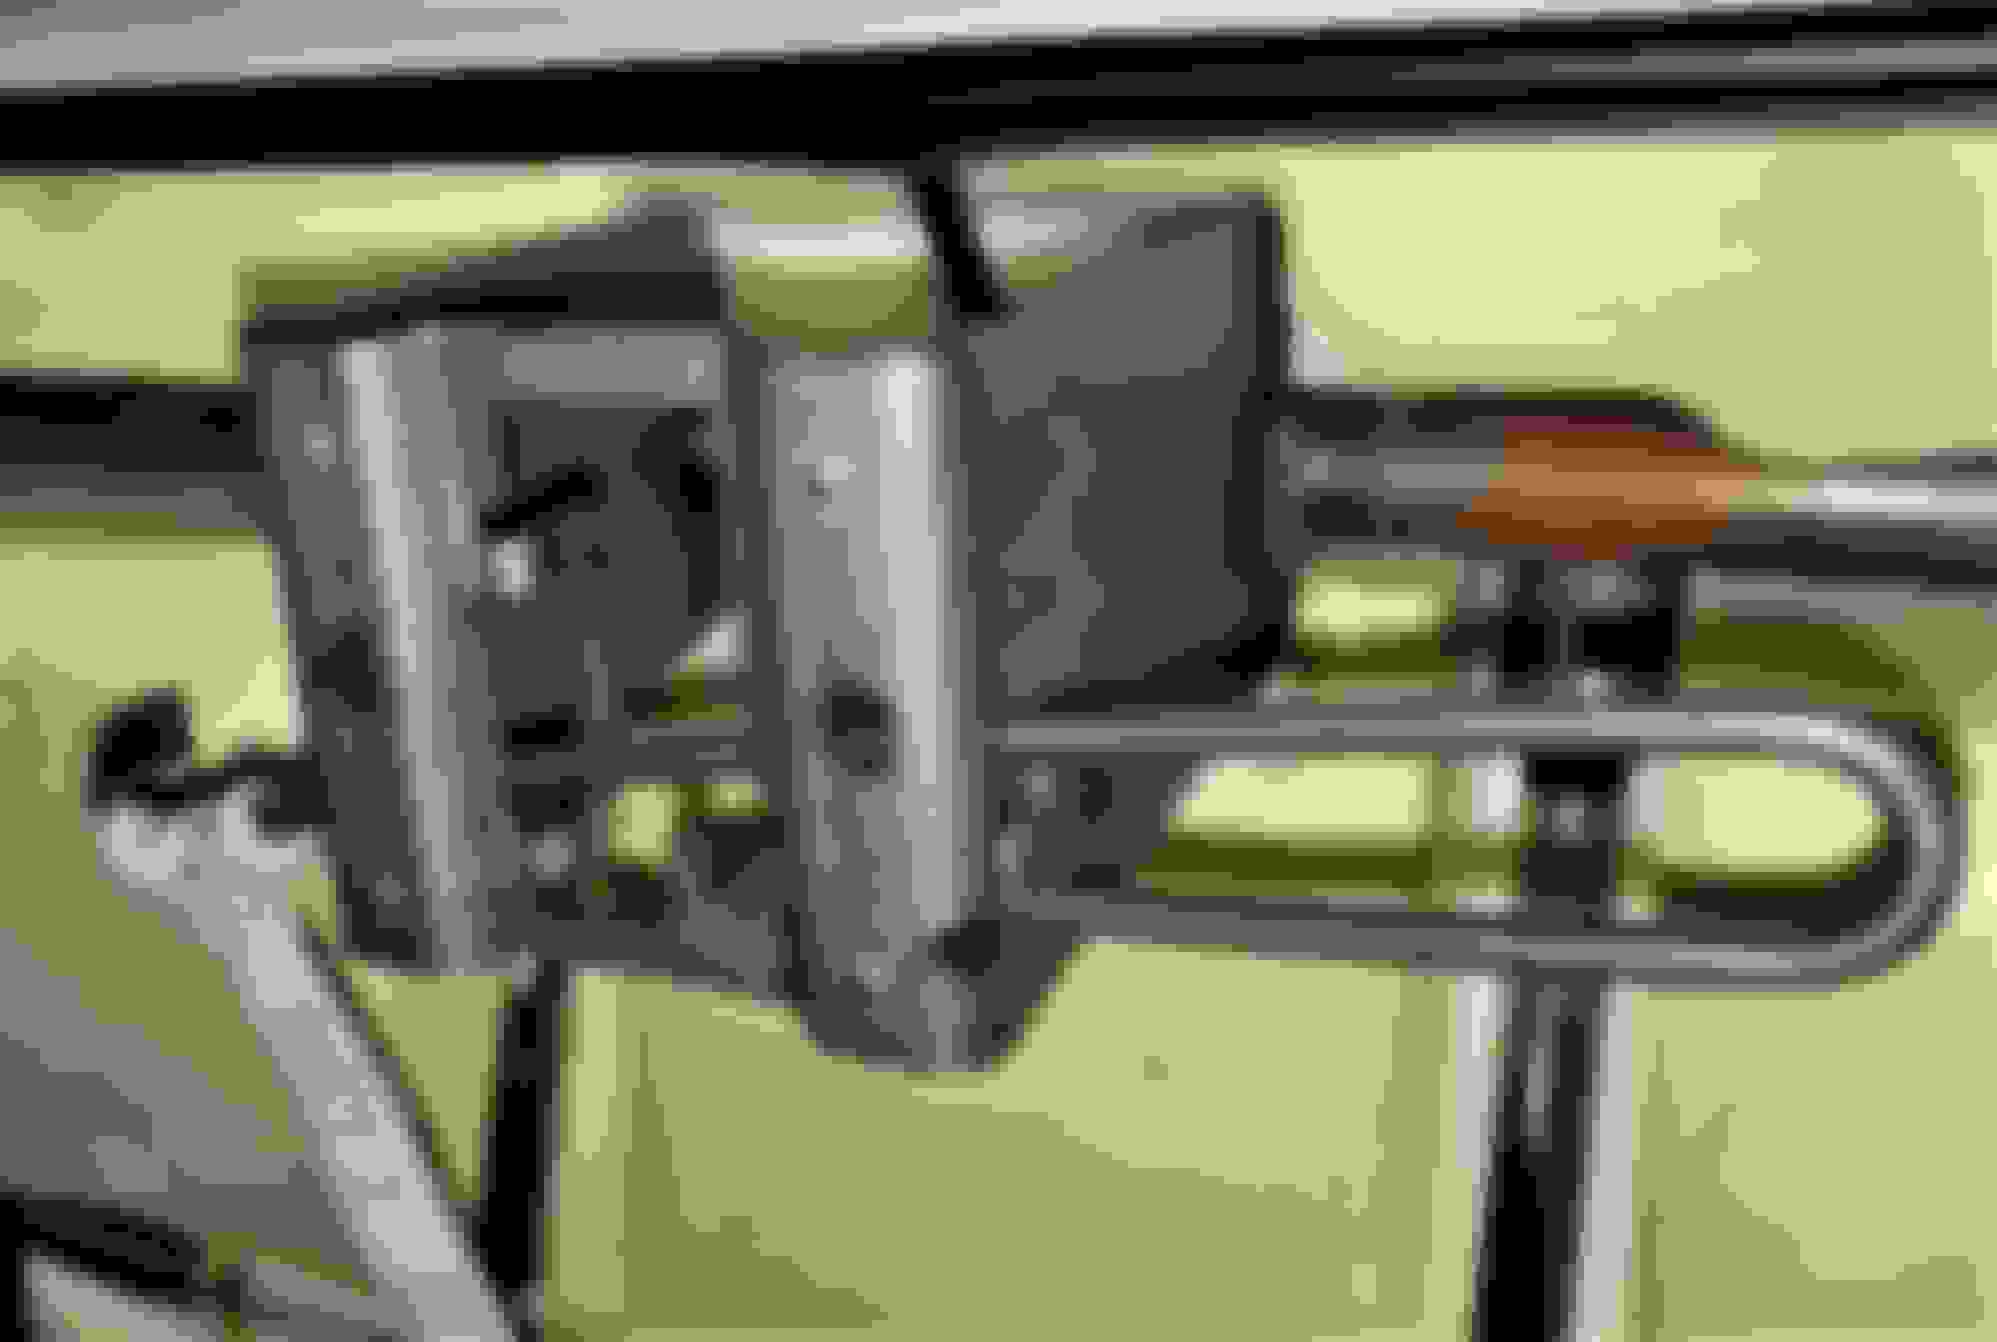
When the webbed release strap is pulled, the spring-loaded rod is pulled down, releasing the seat back from the support-hook:
Often, one or both latches just does not want to release. Sometimes you must climb into the car facing the seat back and straddle the driveshaft tunnel so you can pull both straps simultaneously while also lifting the seat back up out of the slots and pulling it toward you off of the upper hooks. Sometimes repeatedly pulling and releasing the straps will help work the spring-loaded latch rods free of the support-hooks. Sometimes you also need to strike the top of the seat back with your hand as well.
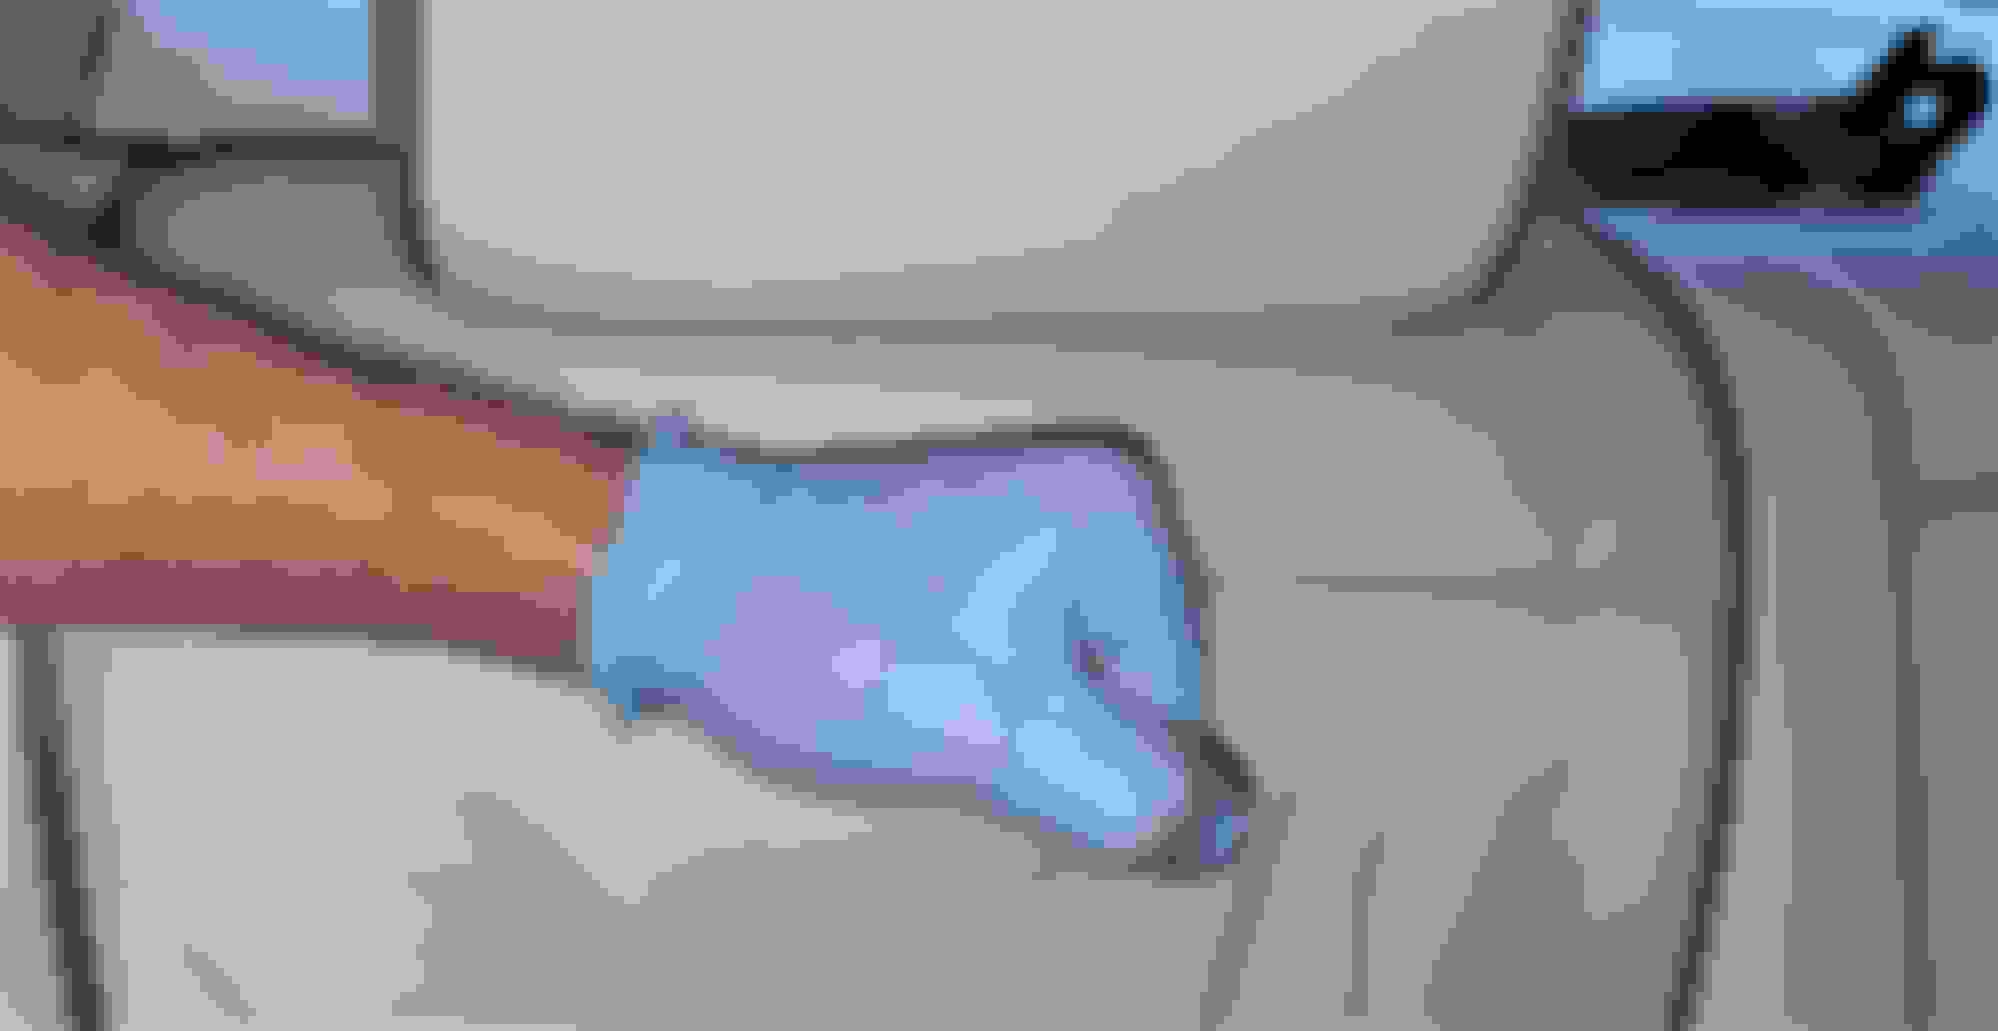
If you just can't get the seat back to release, don't lose hope. Try removing the lower brackets. In addition to the one nut you have already removed for the center seat belt, there is another 18mm nut on the other side of the tunnel, plus two 13 mm nuts towards each outer end of the seat back, usually hidden by the lower edge of the leather:
To avoid staining the leather and fabric, clean your 13 mm deep socket and a short extension. This will help keep your dirty ratchet or impact tool away from the leather:
With the brackets disconnected, you should be able to work the seat back off while pulling the straps and lifting/pulling the seat back. Repeat all the above techniques and you'll get it.
You do not have to remove the seat back from the vehicle - you can just lean it forward while you install the Electronic Bypass Module:
When reinstalling the seat back, before pressing it into the upper latches, ensure that the seat belts are positioned on the front of the seat back and that the electrical connectors are not trapped behind the seat back:
As VR6Rado mentioned, it's helpful to have something to hold the rear seat up after you unlatch the outer ends so they don't re-latch while you're working on other latches. I just slide the rear floor mats under the seat after I get an outer end latch undone, then slide it farther toward the driveshaft tunnel when I get the inner latch undone. Then I can go work on the other end without the end I have unlatched relatching itself.
The rain has mostly stopped. May weight until tomorrow to be safe. I removed the bottom and back a long time ago. Could not remember the drill.
I plan on unplugging and replugging all connectors. The carpet under the rear seat is wet. May cause gremlins later.
Further to Don's excellent description, here's a trick that I have learned from an English Jaguar Forum:
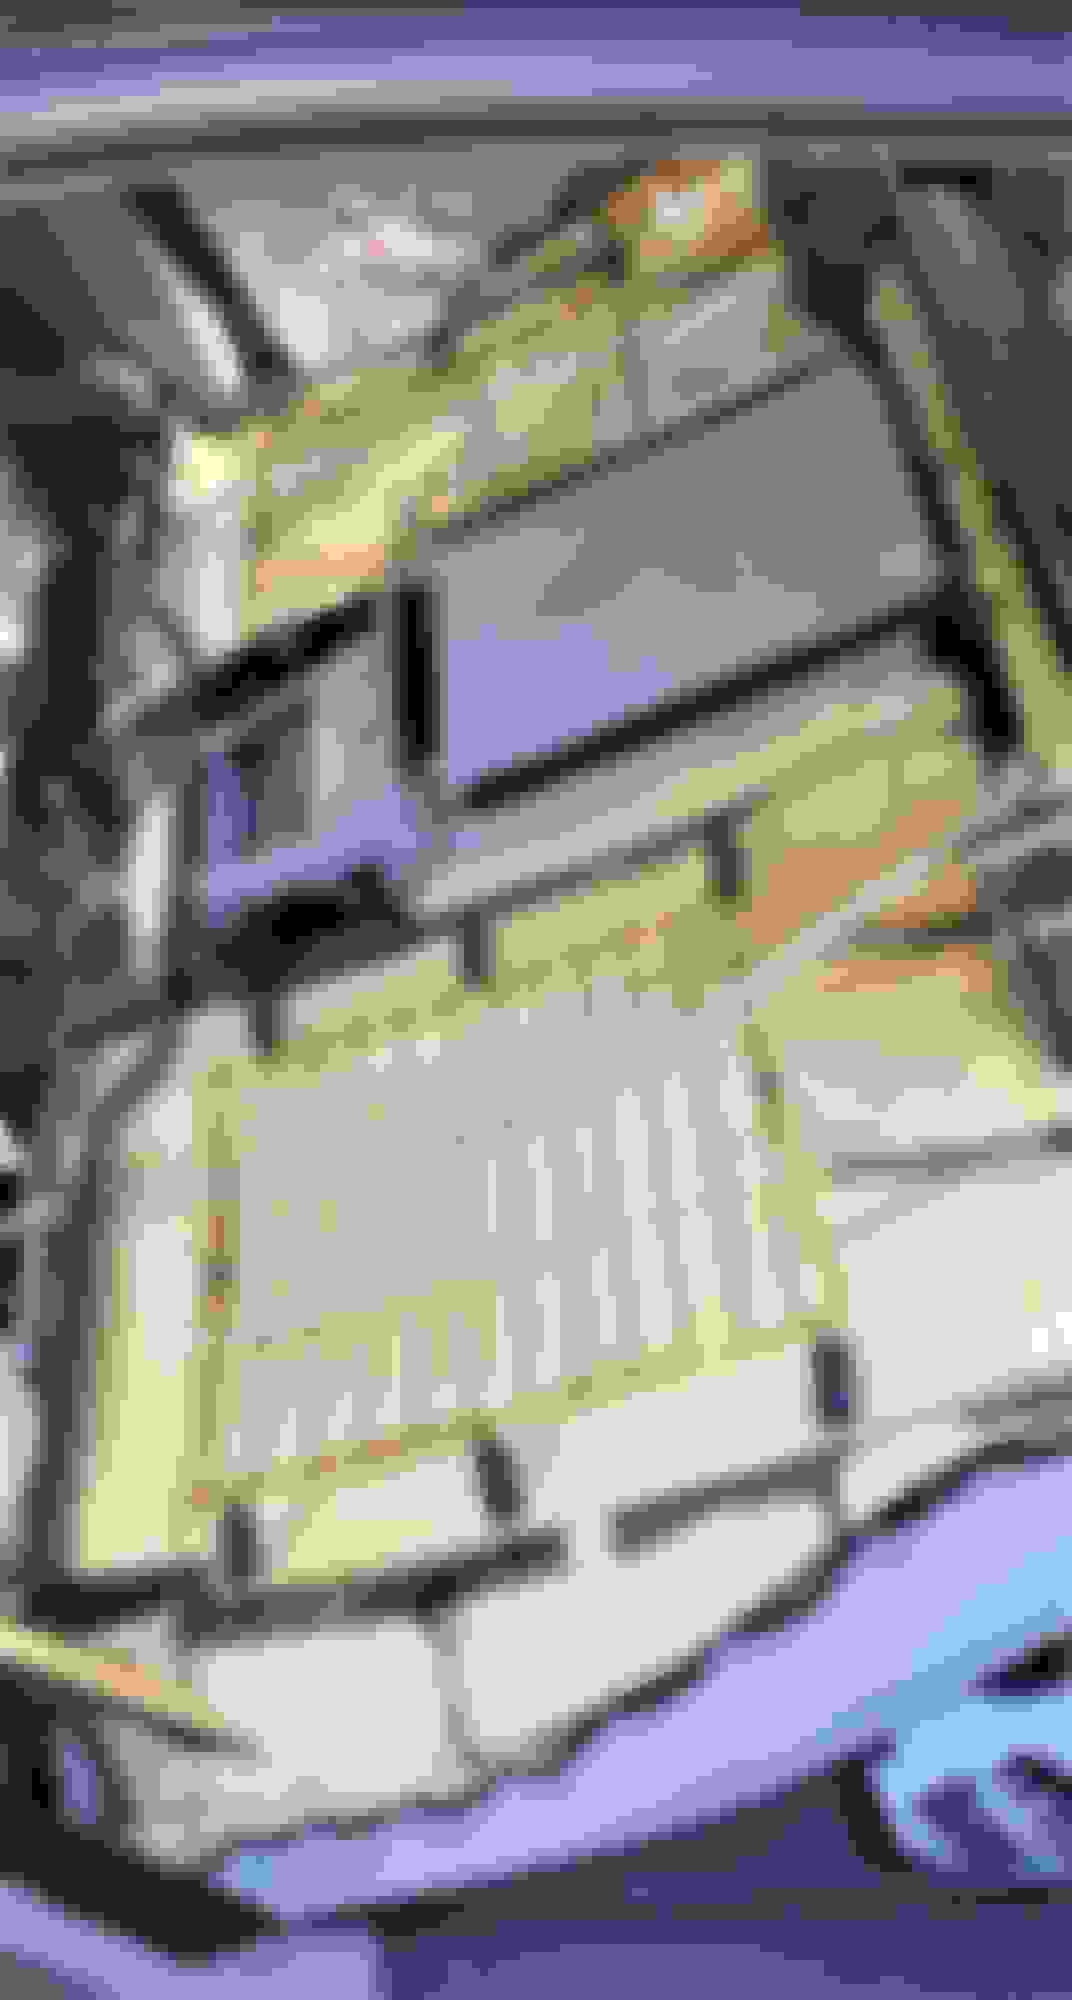
to facilitate a future removal of the back seat, you can drill a hole into each of the four latches and attach some shoestrings,as shownin the picture:
The shoestring can be hidden easily once the back seat is back in, and the make a further removal so much easier and fingernail-friendly...

 05-31-2024, 07:44 AM