When you click on links to various merchants on this site and make a purchase, this can result in this site earning a commission. Affiliate programs and affiliations include, but are not limited to, the eBay Partner Network.
Got some ideas in my head for a little upgrade tomorrow, it didn't start that way though, let me explain.
My center console latch broke a few days ago, the latch that controls actuation of the armrest vertically and horizontal.
So I just didn't know what to do, it wouldn't budge, stuck in the forward position.. I didn't see any way to open it without breaking it or disassembling the entire console to get to the underside of the mechanism.
So I removed the center console.
I had to disassemble the armrest from the underside to get to the latch, one of the plastic tabs that holds the cables in place was broken. I managed to realign it and epoxy the broken plastic piece, so the problem is solved.
I was surprised at how easy it was to remove the center console down to the carpet, I underestimated how simple it was. I will post a bunch of pictures and stuff tomorrow of my fix and the disassemble.
Since I have the console out and that epoxy is curing overnight, I figured I would go ahead and set up a Bluetooth system in the car, while installing a few usb ports in that center storage area.
I did this in my bmw.
Installed a 10in Samsung tablet in the dash, all bluetooth, installed 4 extra usb ports and three 12 v outlets in the glove compartment just for fun.
I love it, it's just so convenient. And costed me almost nothing really, 60$ or so.
I'll post pictures and stuff like I said, but my idea is straight forward;
Tap the rca lines in the rear multimedia station, run the wires secretly to the center via an RCA to AUX adapter, run that to the bluetooth transmiter.
Power the transmitter and USB ports off of a 12v tap in, that is hidden in the cubby hole.
I have one question. Is the cigarette lighter in the back a switched outlet?
In the BMW it has the same auto "sleep" feature where after exiting the car the outlets/flashlight are switched off automatically after an hour or so.
Anyone know if our cars are the same? Is the outlet switched?
Cheers guys.
Last edited by Naso--Lituratus; 12-05-2015 at 08:40 PM.
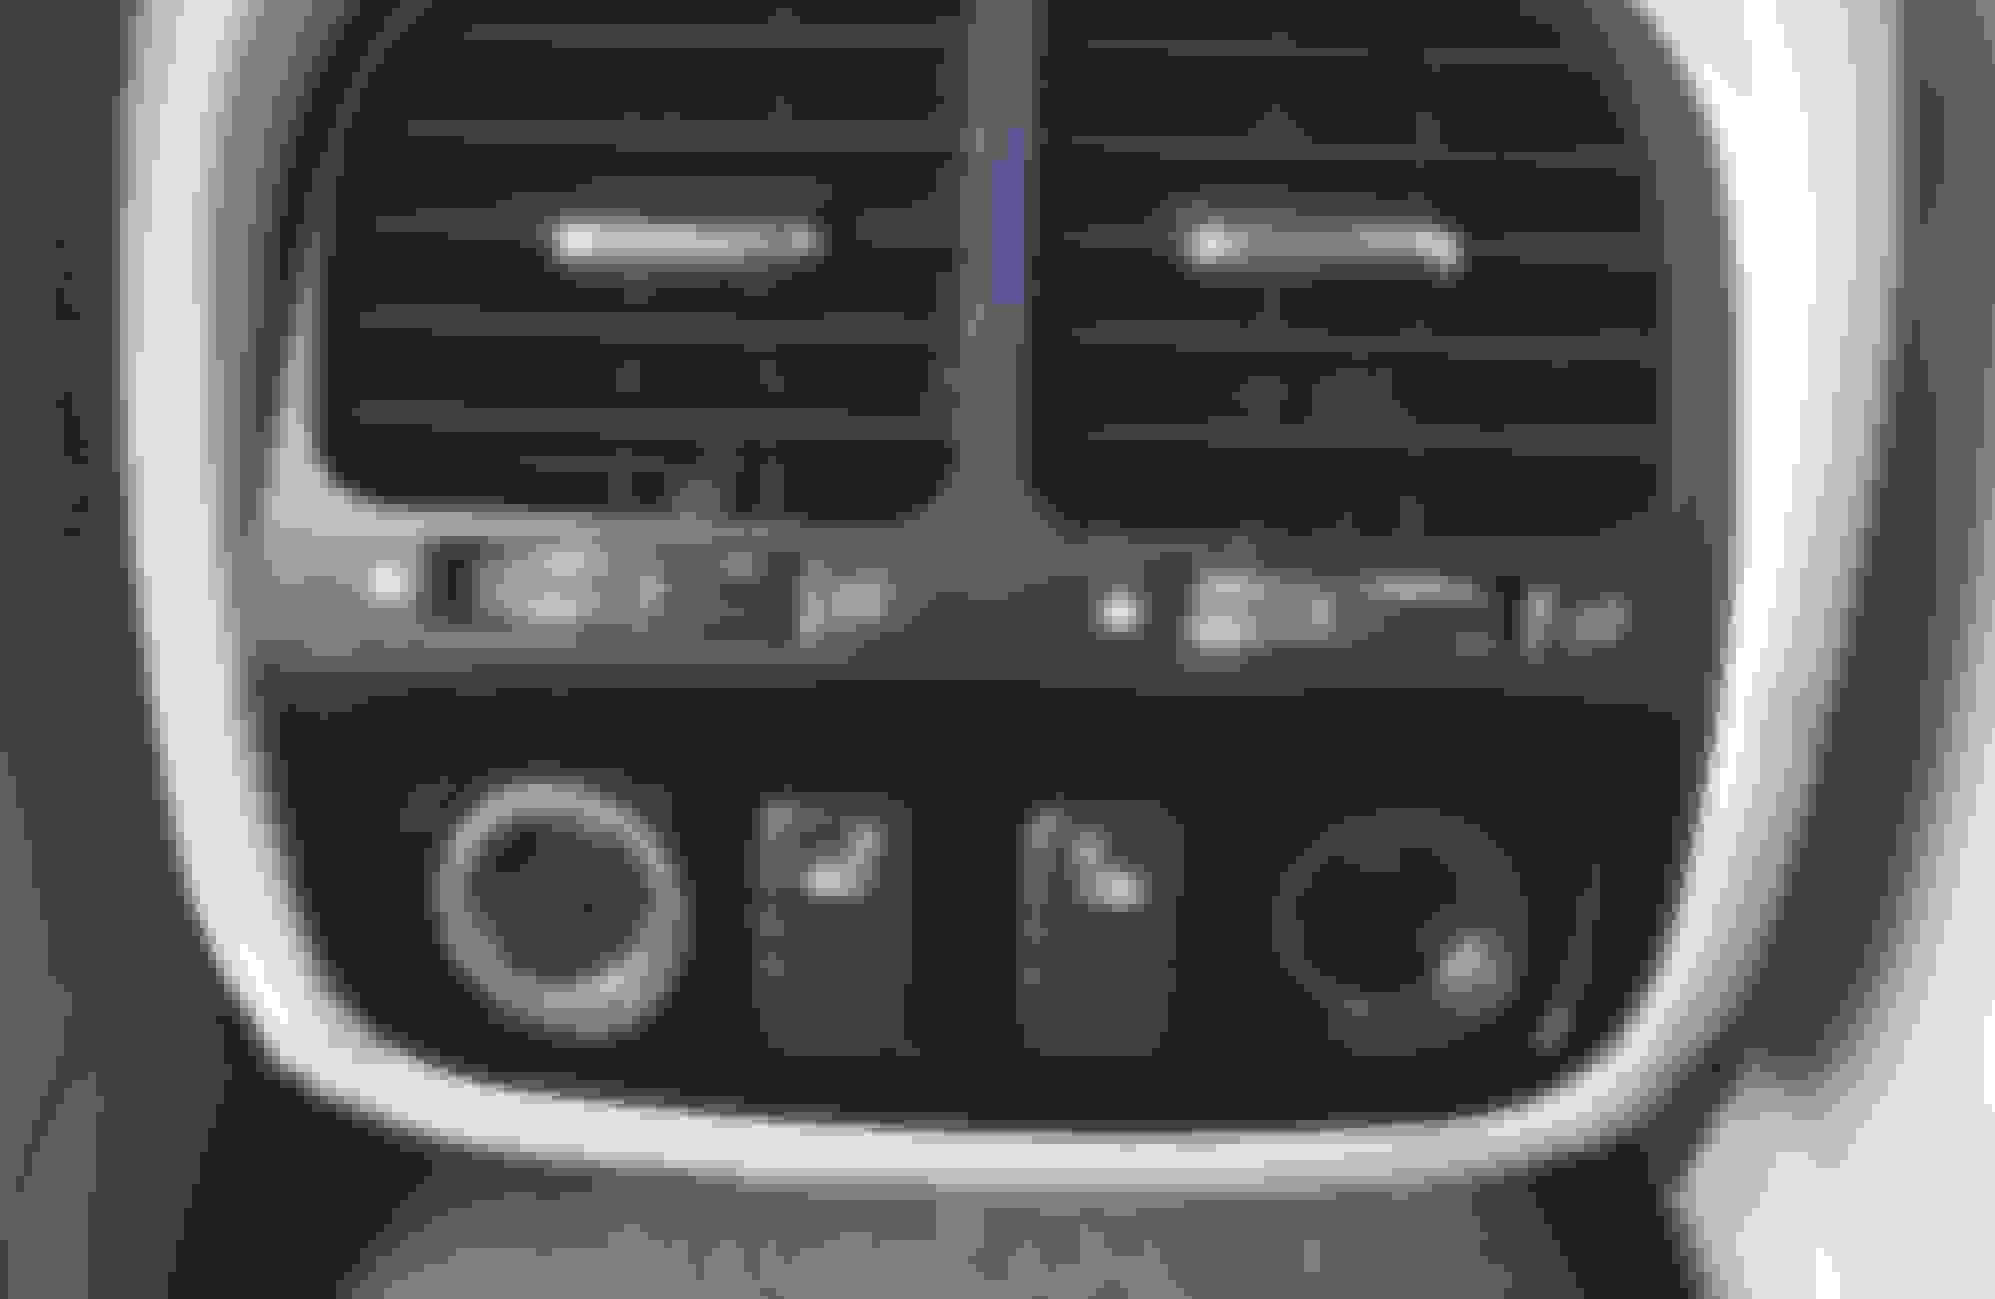
There are two sockets to provide a power source for accessories, such as a 12-volt vacuum cleaner or mobile phone. One is fitted to the end of the centre console to the left of the cigar lighter, beneath a flip lid. The other accessories socket is located in the glove compartment (not shown). A cigar lighter is fitted to the rear of the centre console. Do not use any cigar lighter socket for connecting accessories as it can be damaged.
Not sure if that's answering your question though. looking for my wiring diagrams
Naso,
If you have the rear climate control, could you see if there is a P/N visible on the rear blower, before you button it all back up. I need to obtain a replacement blower prior to pulling the center console up, but cannot confirm or obtain that the P/N is the same as the front. I'm trying to avoid removing the console twice, just to get a part number.
Thanks
There are two sockets to provide a power source for accessories, such as a 12-volt vacuum cleaner or mobile phone. One is fitted to the end of the centre console to the left of the cigar lighter, beneath a flip lid. The other accessories socket is located in the glove compartment (not shown). A cigar lighter is fitted to the rear of the centre console. Do not use any cigar lighter socket for connecting accessories as it can be damaged.
Not sure if that's answering your question though. looking for my wiring diagrams
I have two sockets on my rear console, this suggests not to tap into them, or that one is safe and one isn't suggested? I haven't noticed another outlet up front by the ashtray.
What page is that from brother?
Last edited by Naso--Lituratus; 12-05-2015 at 10:58 PM.
Wire cutter/strippers
Torx bit set
Plastic pry tool
Electrical connectors x2
Electric tape
Mod equipment:
RCA to AUX ADAPTER
12 FT AUX CORD
USB CHARGING PORT
BLUETOOTH TO AUX ADAPTER
DIY Difficulty and time:
2/10 - 1.5 Hrs
I use a PLASTIC pry tool too remove anything trim related, dont ever use metal, just dont. Everything i remove easily pries out with a small amout of leverage.
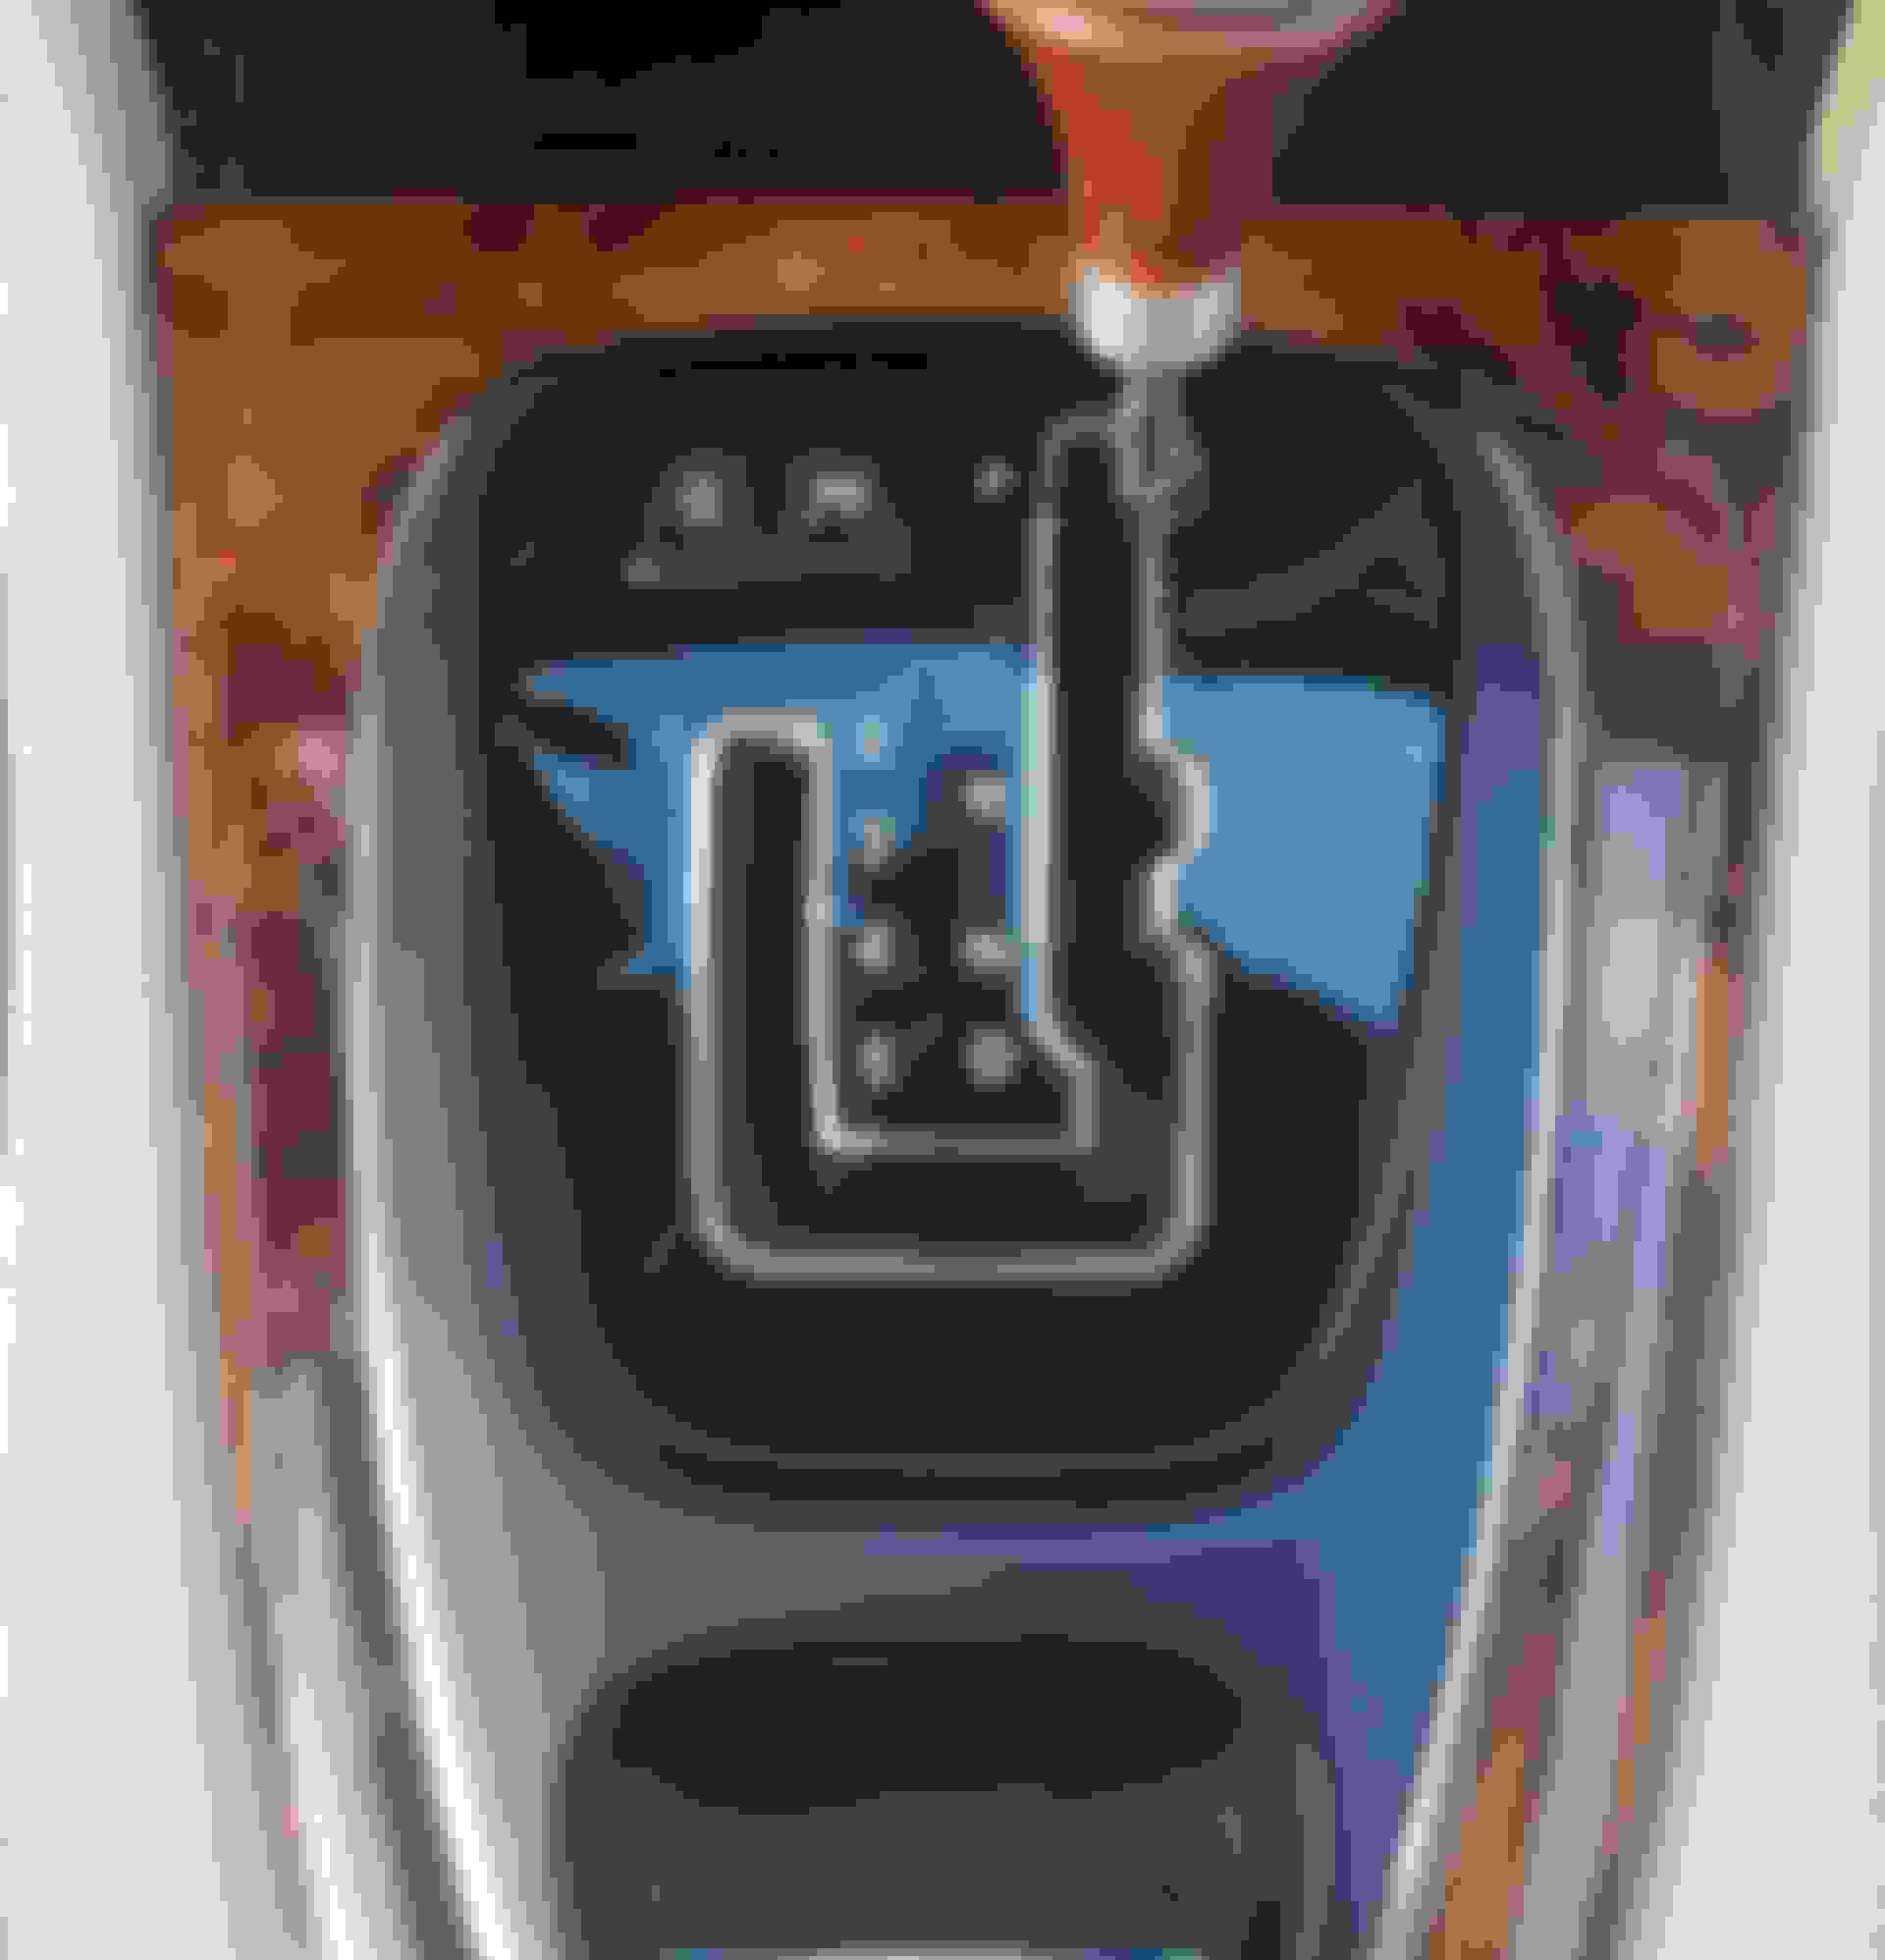
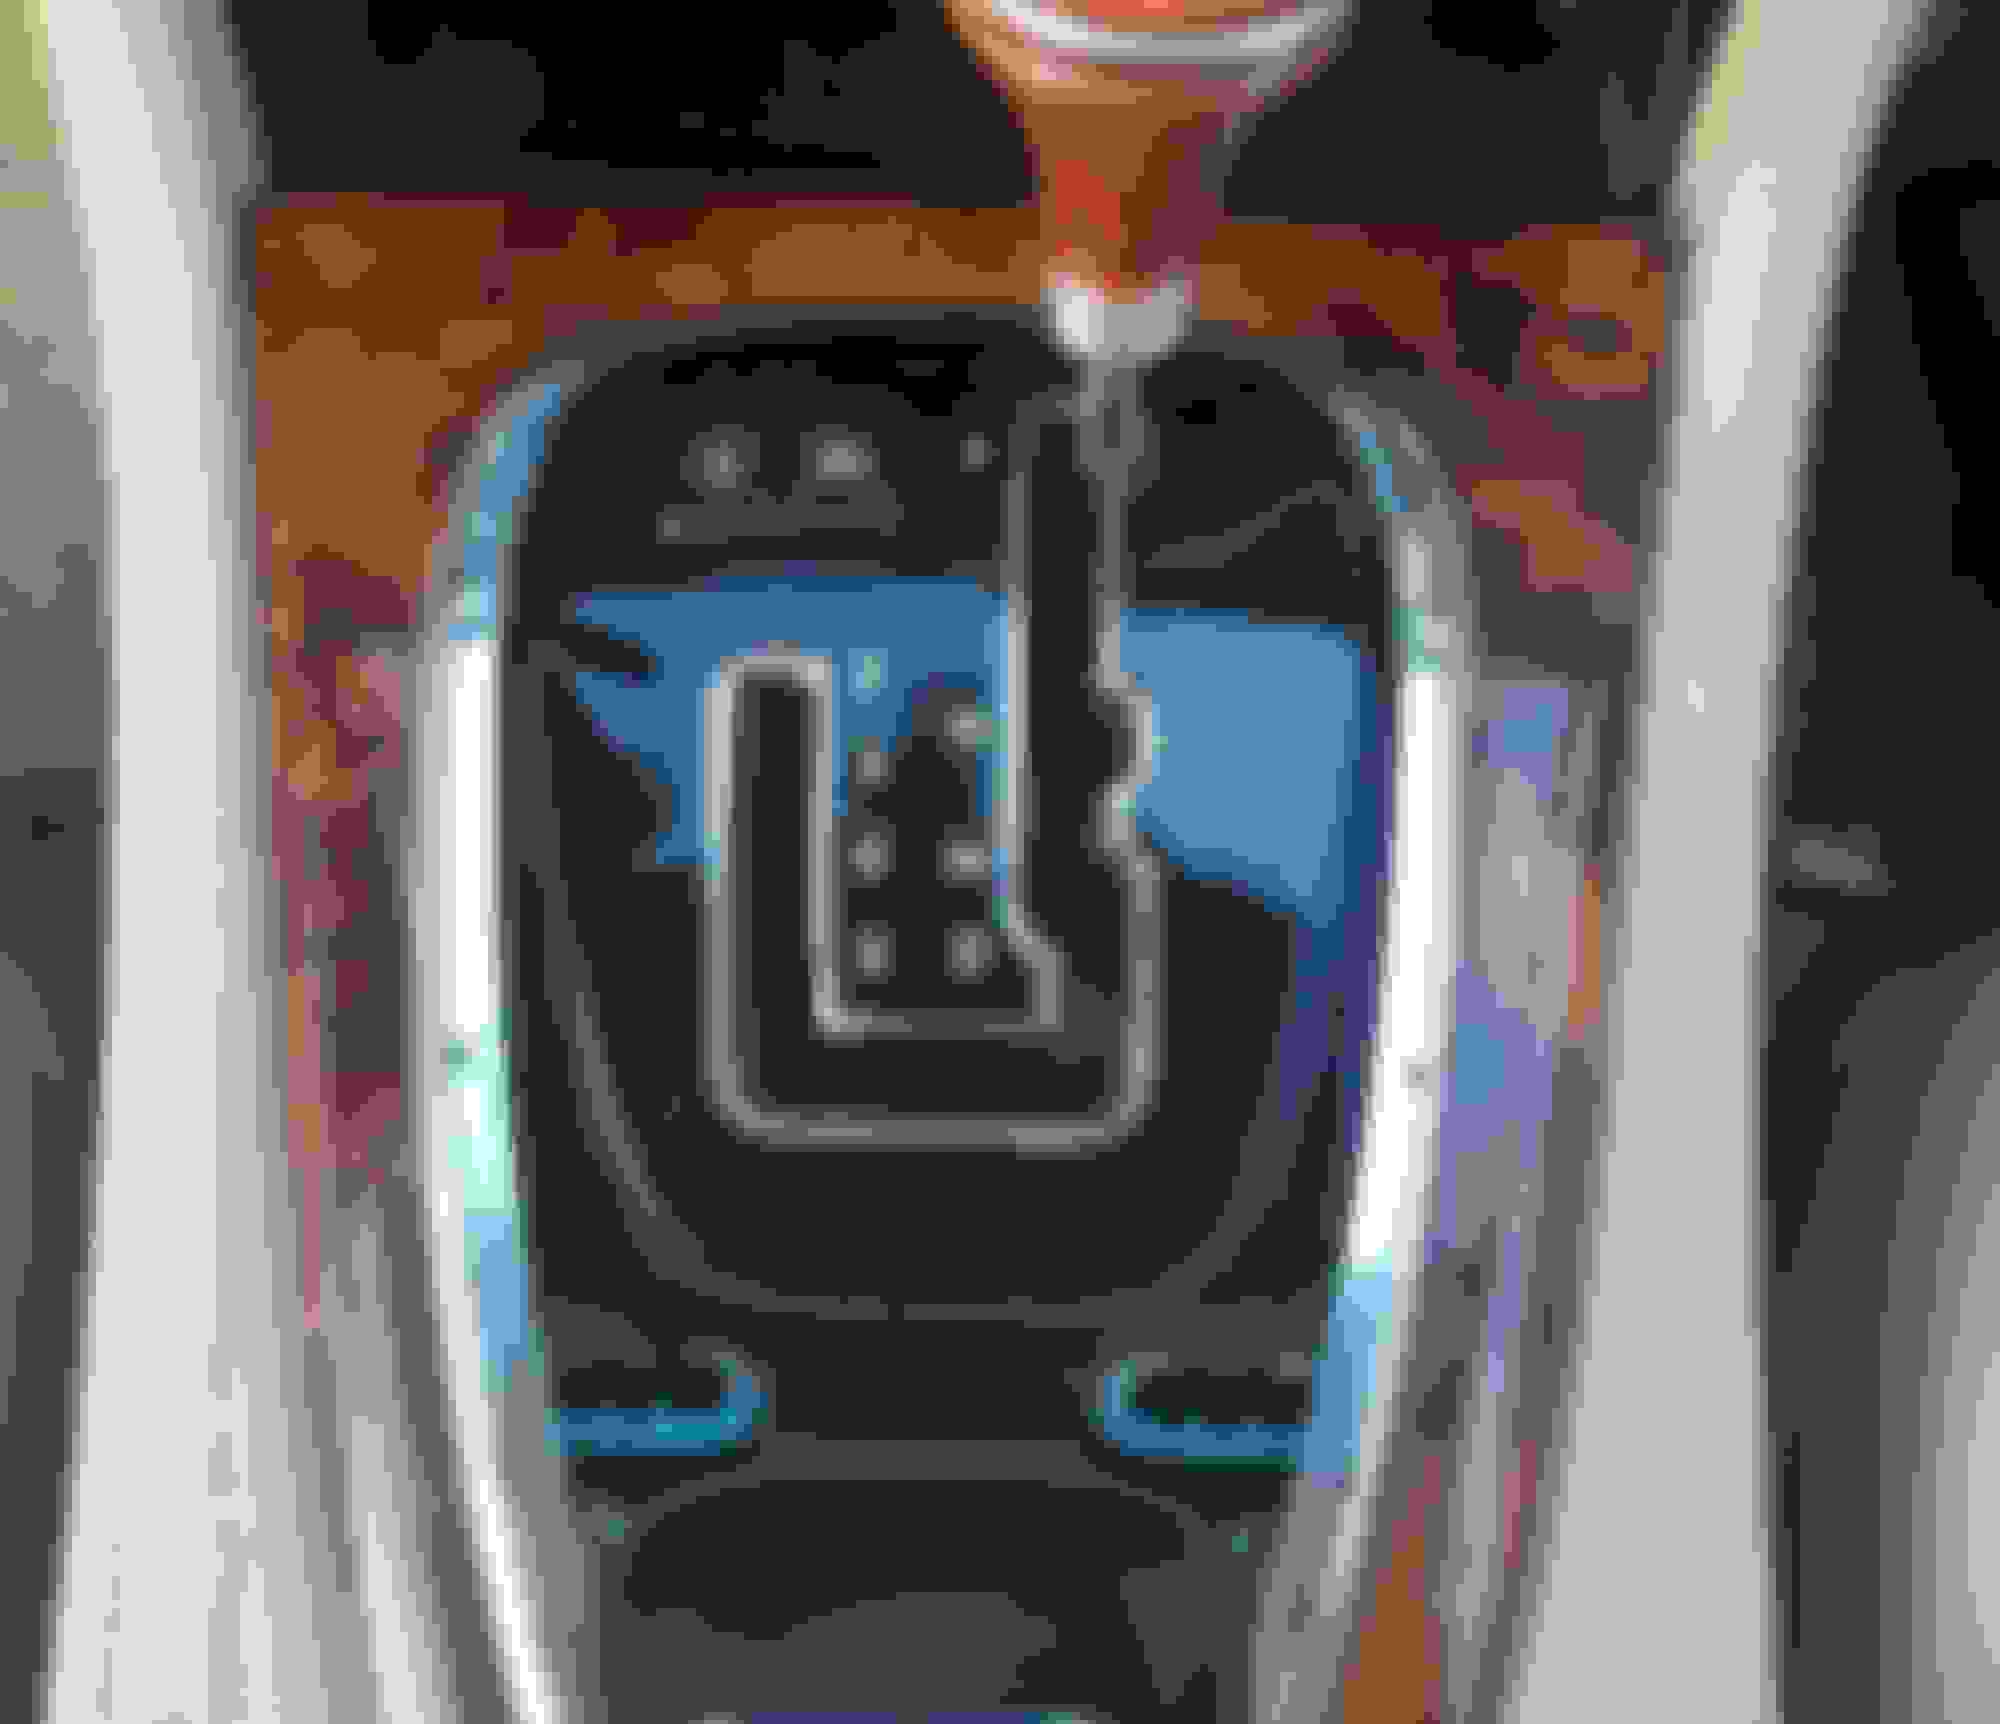
First to remove the center console remove the black trim from around the shifter bezel
Then the wooden Veener itself.
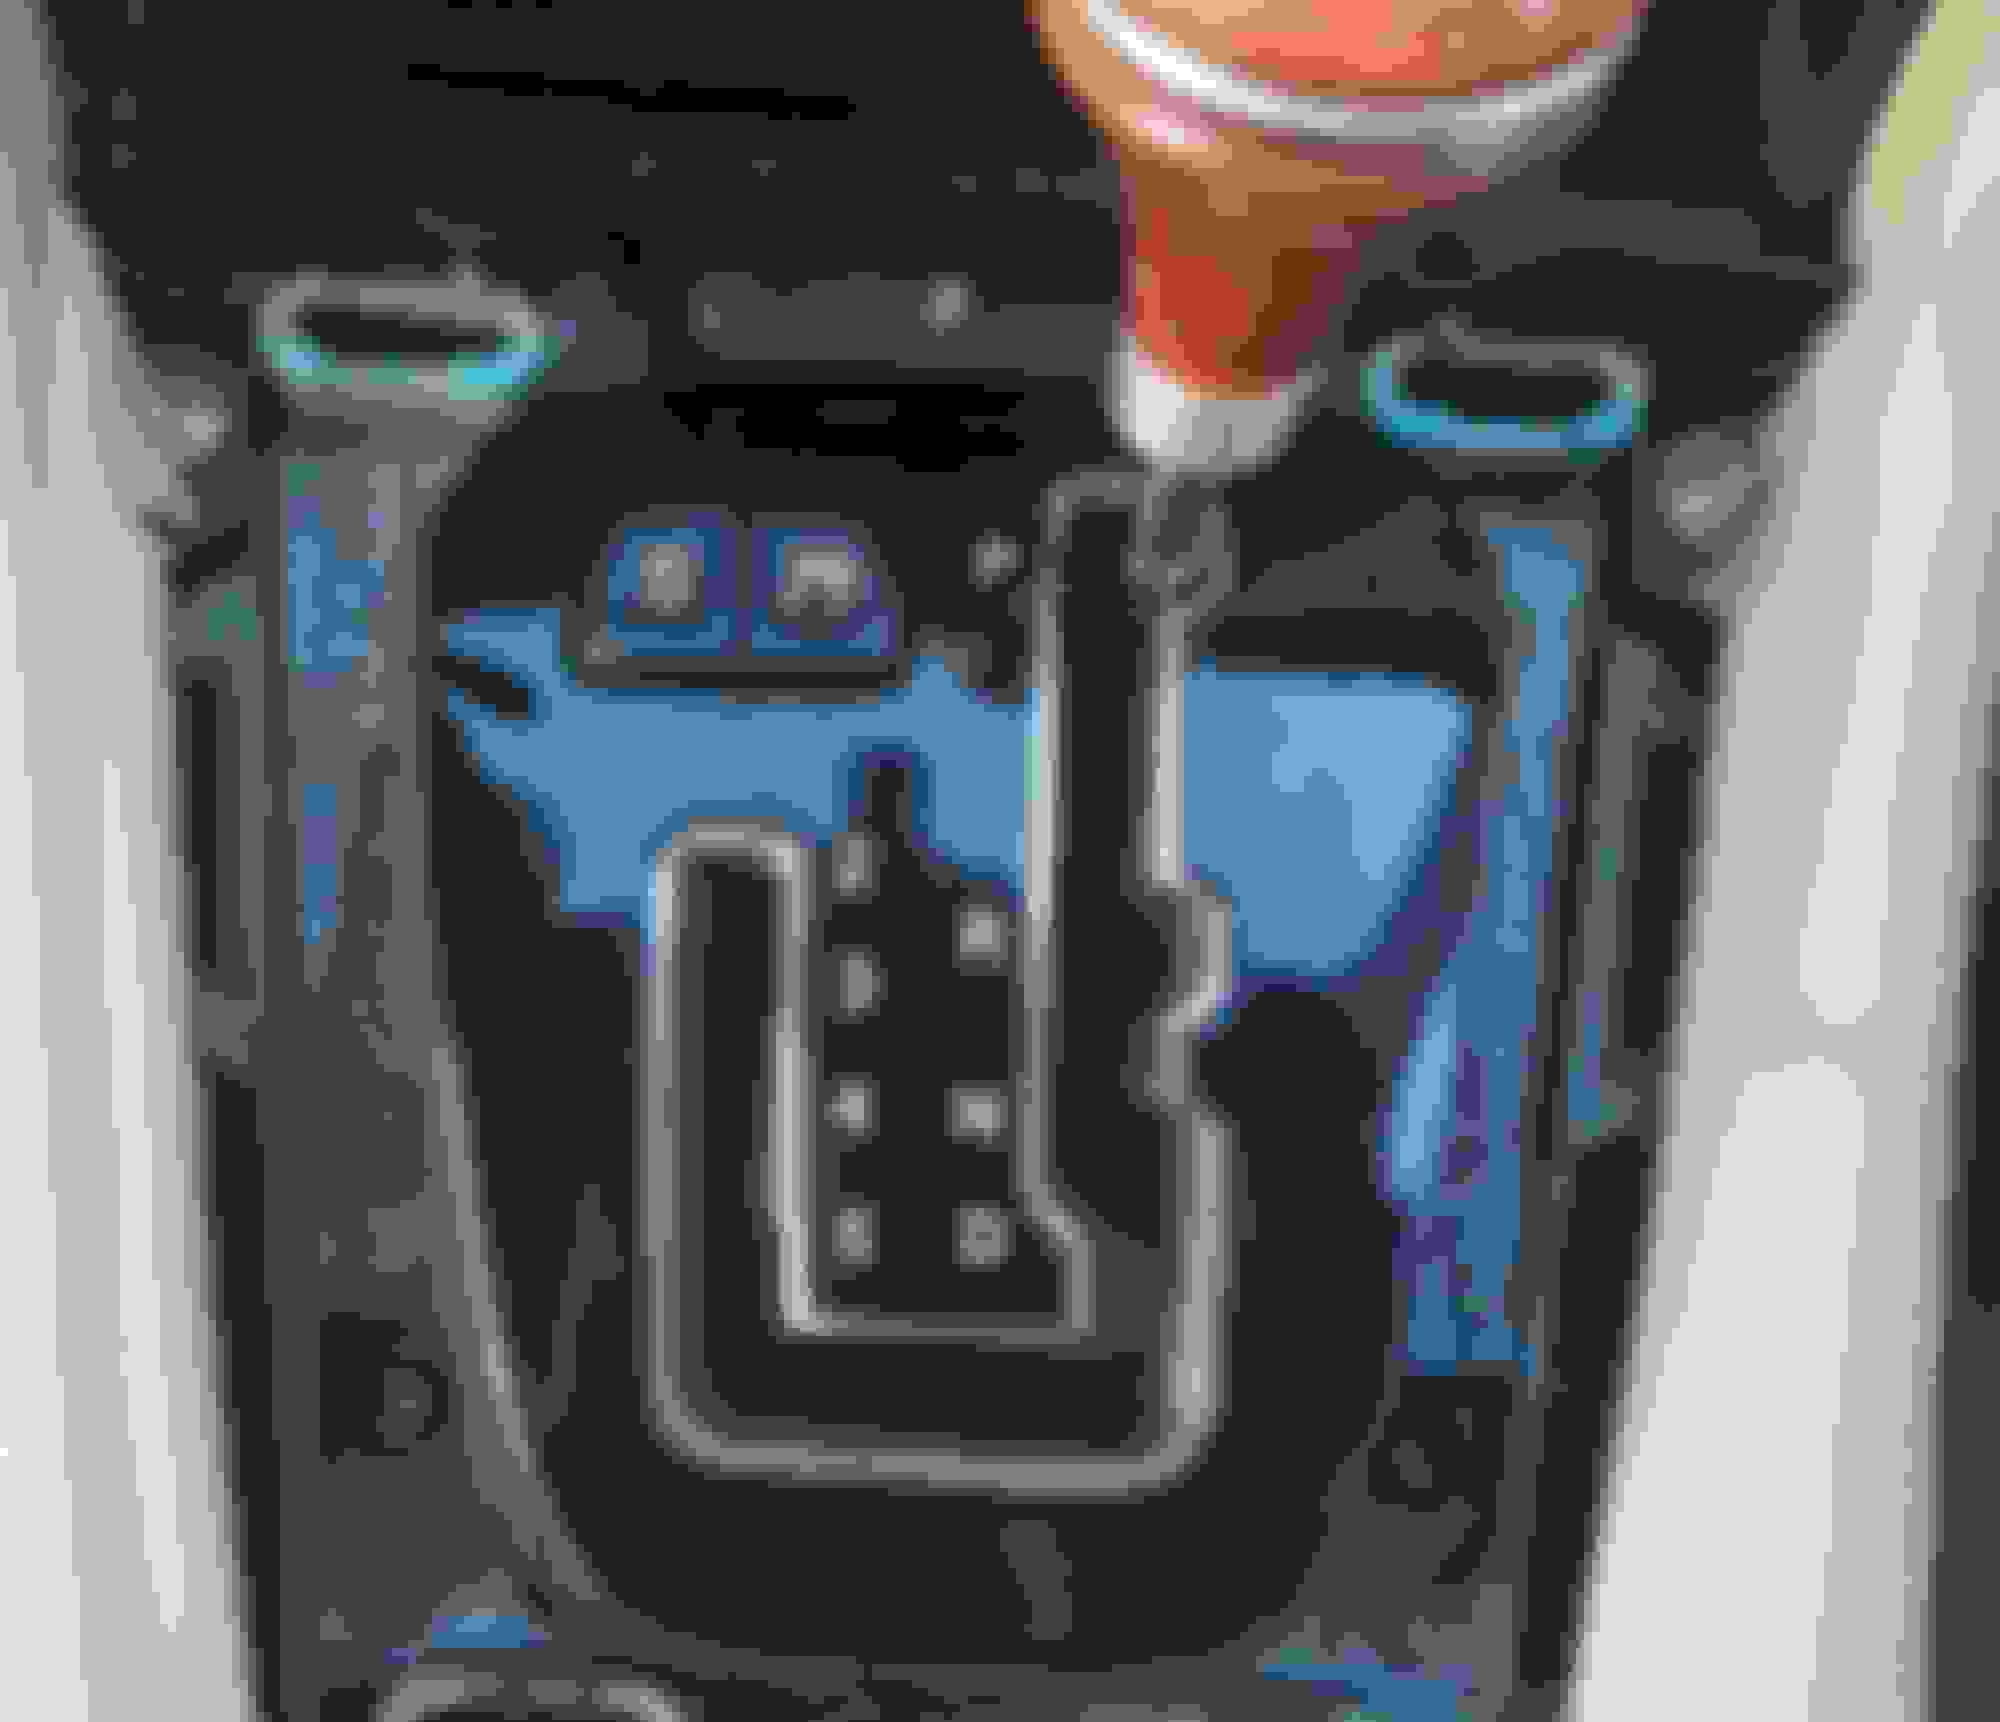
You'll find two torx screws in this area that hold the front of the console.
Head to the rear of the console and pry it out. Note the 4 plug ins connecting the module to the chassis, two are cigarette lighters, one is for the heated seat function, one that connects the module itself.
Here's a view of the inside, you'll find the remaining two torx screws that connect the console to the car in here. Once these two are removed the console will slide out with a small amount of force towards the rear of the car. (Bad example picture, I had already made my connection for the usb power port.)
The cigarette port on the right side is what we will tap into.
The smaller red wire is for the light, leave this alone.
Tap your usb port charger into the large wires on this outlet using tap ins or connectors.
The large white and red is your 12v (linked to ignition)
The black is your ground.
Don't tap in yet.
Now let's move to the rear. Remove the bezel around the media unit.
(Using a Dremel you can make a small notch in the bezel so we can hide our wires! See picture. Make sure to use aux 2)
Two smaller torx screws here hold the unit and the latch mechanism in place.
Remove the screws, then the media unit, the folding mechanism will come out when in the open position once the unit is removed. No need to unplug the unit.
Use the pry tool to remove the rear storage area. It pries up and out.
Run your wires beside the media unit on the aux 2 side into the pre-installed hole leading towards the storage area of the rear armrest, you'll need to push the foam down to run your wire.
To make this install extra clean we will remove the seat. It's not as bad as you'd think.
There are 4 latches with a triangular depression mechanism that hold the seat in.
Lift the seat up from the front and feel for them, when you feel a triangle, push it towards the rear of the car and lift the seat up.
Once you get one it's a breeze. Start on the drivers side of the car.
Here are the mechanisms. The seat just pushes back down to reinstall it.
Run the wires down the storage area and through the hole in the back seat, push and pull until you have the wire ran behind the seat. It is a tight fit. Make sure you have enough slack so you can use your armrest while having the wire completely hidden.
Run the aux cord down the passage side underneath the floor trim, I didn't need to pry mine up but I did anyhow.
Run underneath the plastic, then from pillar B to under the seat.
You will have two inches of aux cord exposed here in between your floor mat and the B pillar.. I can live with it. Maybe you cant, but I can.
Run this up the side over the floor vent neatly, them put the center console back but down screw it down, we'll need to be able to move it so you can run the AUX wire up the side, and the USB power ports to that cigarette lighter from earlier.
We are now going to situate our usb ports and bluetooth module in our center storage area.
It pulls up out of the console. You will need to drill a hole to run you AUX cord in, and your USB power cord out.
I set mine up like this, they are held in by velcro.
Run your aux cord up from under the seat, through the hole you made, and connect it to the bluetooth adapter.
Then run your usb power cord out of the storage area in the same hole and neatly feed it through the back so you can access it.
Once it is ran you can tap into the two large wires on the cigarette port, make sure not to block your floor vent with the wiring you just installed. It should be nice and neat and hidden.
Test your sytem now to ensure the usb charging port has power, and that your aux to RCA is working.
Button down the console with the four torx bolts, reinstall the rear module, front veneer and bezel, then your storage are with your connected usb ports and bluetooth adapter.
Switch to aux 2, connect to bluetooth and enjoy, you are good too go.
Here's is what was the initial problem, the cable on the right side came off of its tracks causing the console to become locked.
One point on the console removal, you don't need to remove the plastic around the J Gate separately. Just open the front ash tray, gently pry the front edge of the wood trim from there and work around to the back. It comes out as one piece.
Regarding the cigarette lighters/power ports: there are two relays to control the 4 points. All are switched with the ignition. In the rear fuse box, R8 is for the front and rear cigar lighters. R3 controls the front and rear power ports, and the two accessory power taps. You can bypass this R3 (and R8 if you desire) and have the power on all the time (jump pin 3-5). There's a thread on this somewhere.
Thank you for taking the time to share photos and descriptions of your work. I was most impressed to see in your post #8 that you did all this work by candlelight!
Thanks for this great tutorial, appreciate its a while ago. Did you ever come to a solution for allowing the rear audio console top hinge cover to be closed with aux plugs plugged in and the little flap open? I have done something similar to you and I would like to close it all up with the plugs in place as I sometimes have curious little fingers riding along in the back... Any ideas?
 12-05-2015, 08:35 PM