When you click on links to various merchants on this site and make a purchase, this can result in this site earning a commission. Affiliate programs and affiliations include, but are not limited to, the eBay Partner Network.
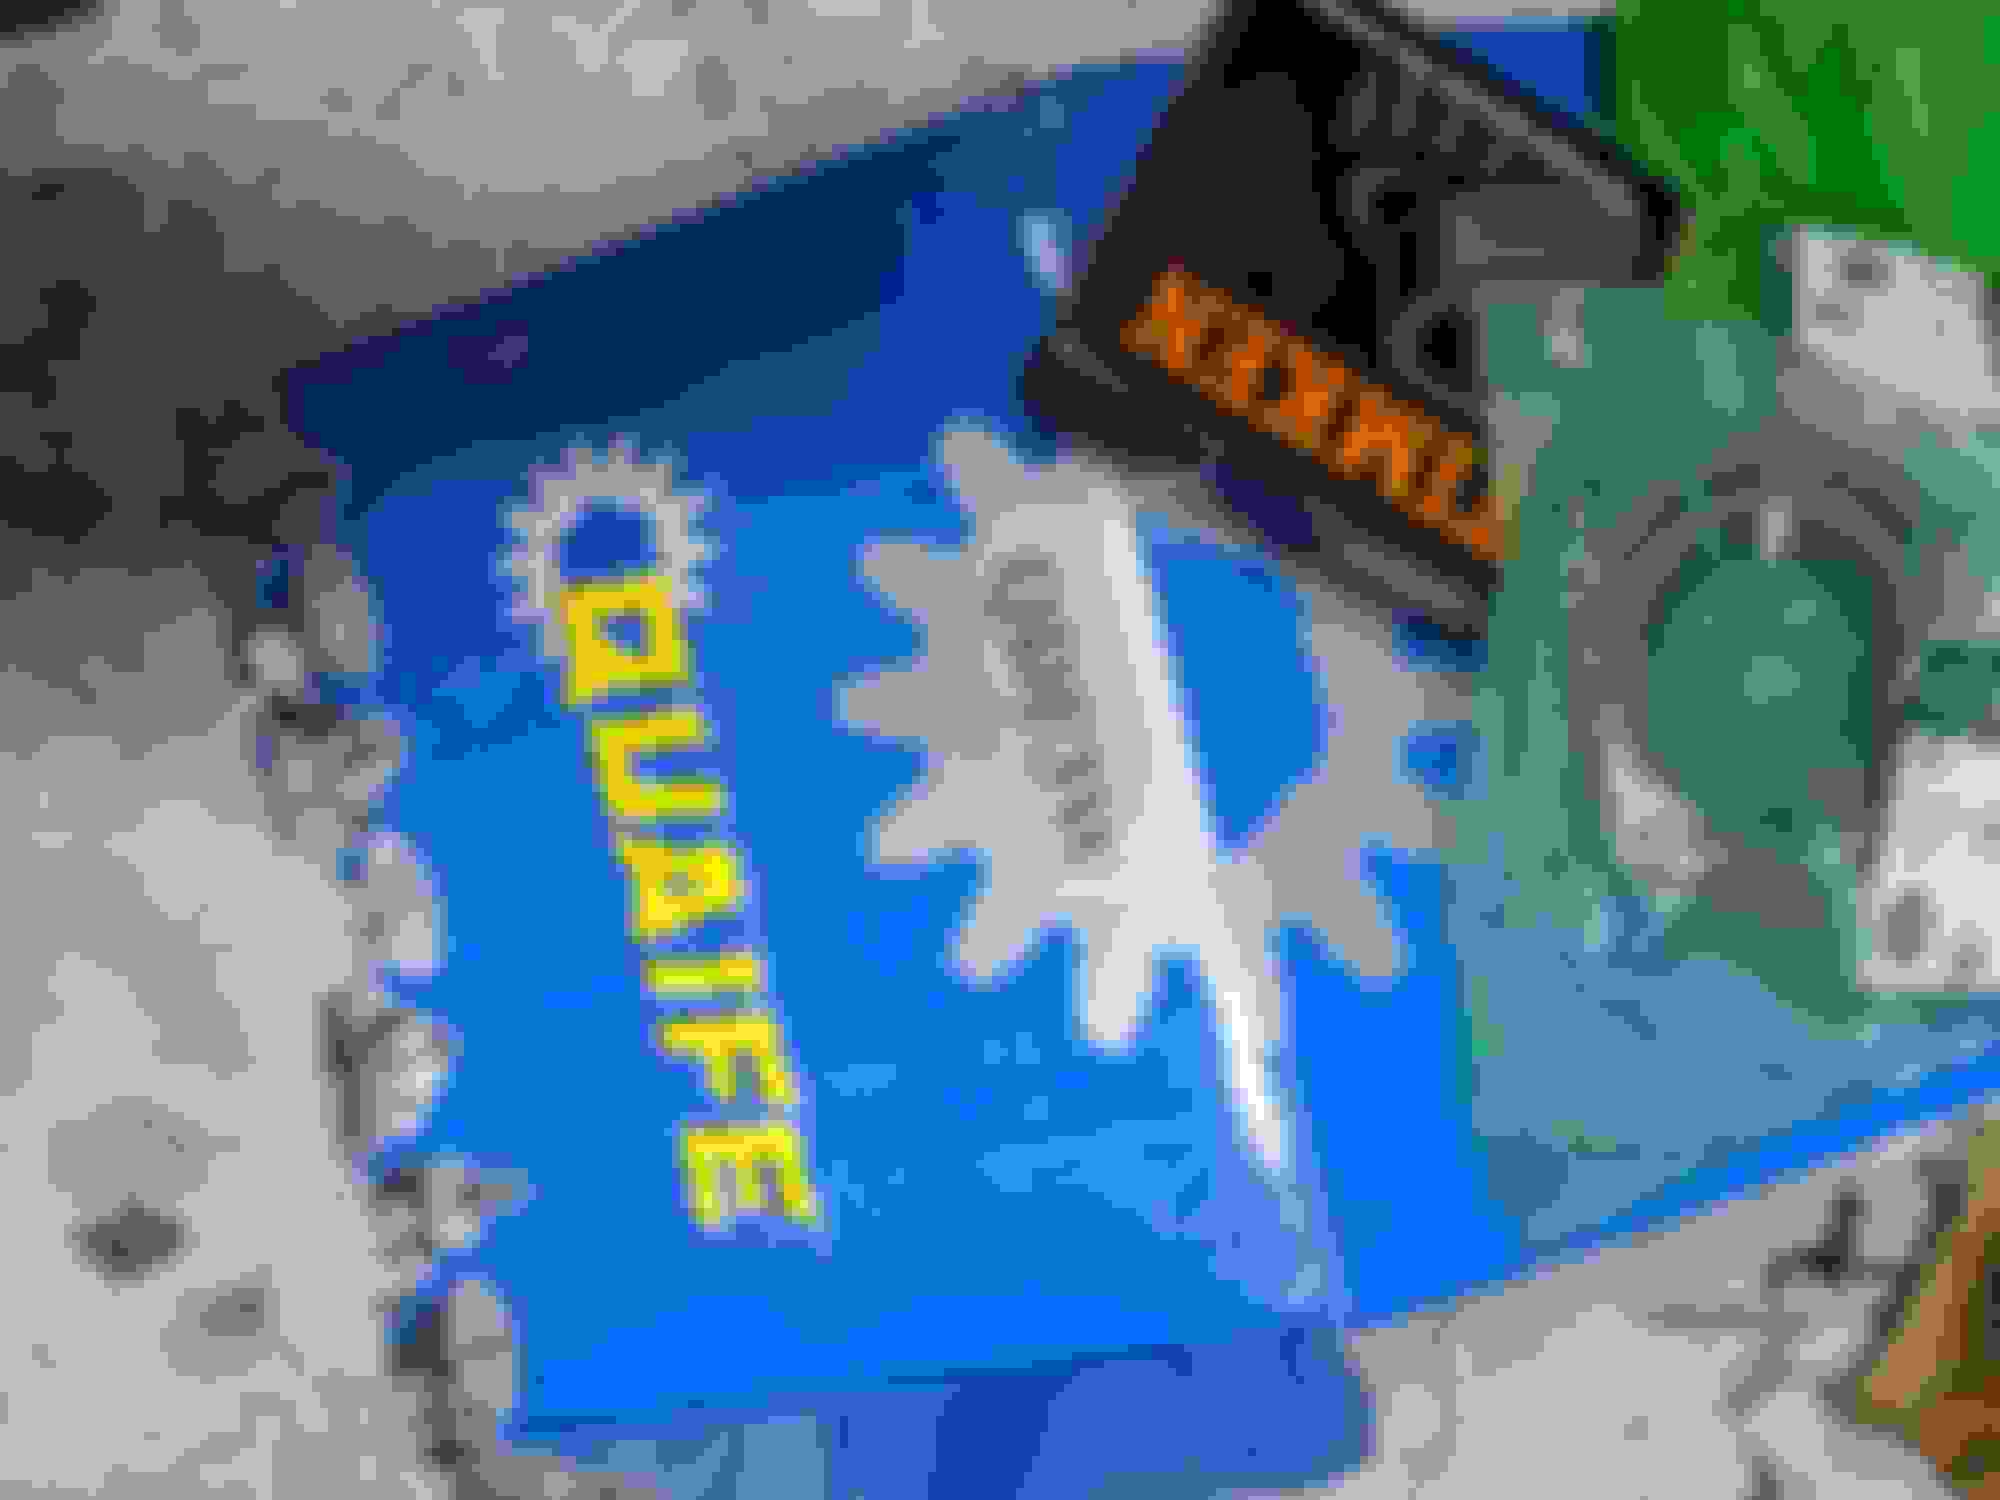
Adding a Quaife LSD has been part of my plans since before I found the right X350... with all the repairs done to the SV8 and the car dialed in nicely, it's time to address the rear open differential. I was able to pick up a Quaife LSD for what I consider a reasonable price from Tom Lenthall Jaguar in the UK. Shipping was reasonable, and the strength of the USD vs GBP helped ($1.33 / pound sterling versus ~10+ years ago when it was more like $2.00 / pound).
I sourced a donor open differential locally (low miles though I need to clean up some surface rust) so I'll have the installation of the differential into the carrier completed outside of the car and then just (ha, 'just') swap the differential assemblies. I did check the existing ring gear contact (looks good) as well as measured the backlash before disassembling the donor differential. I had read about how the snap ring is... beefy... and whoa, that thing is a bit of a monster. Definitely a job best addressed wile wearing a face shield. I sourced a set of extra large snap ring pliers and that made the work easier but I still needed to coax the ring out of the grooves; one side was quite 'sticky'.
Right now I have the open differential out of the case and the next step is to remove the ring gear. Once the ring gear is free, I'll clean it up and assemble it to the Quiafe. Then I'll clean the case and will go about assembling the differential into the case. Am debating powder coating the differential cover; given the amount of work I'd love to have a bright red differential cover to say "yes, this part is special" but... I might skip it.
Here's some pics. Thanks to everyone on this forum and the other forums of this site that have documented this install, there are some great resources to pull from here.
You will notice a big positive diffference in driving for sure.
Easily one of the best performance mods I made.
Without it one wastes so much power by not being able to put all of the power to use.
Many who claim to be able to put all of the power to use without an LSD are likely down on power because of bad tuning, including clogged charged coolers etc
Blissfull ignorance.
I did the same as you with a 2nd differential, new seals etc.
I lucked out on exchange rates like you and not having to pay VAT helps as well!
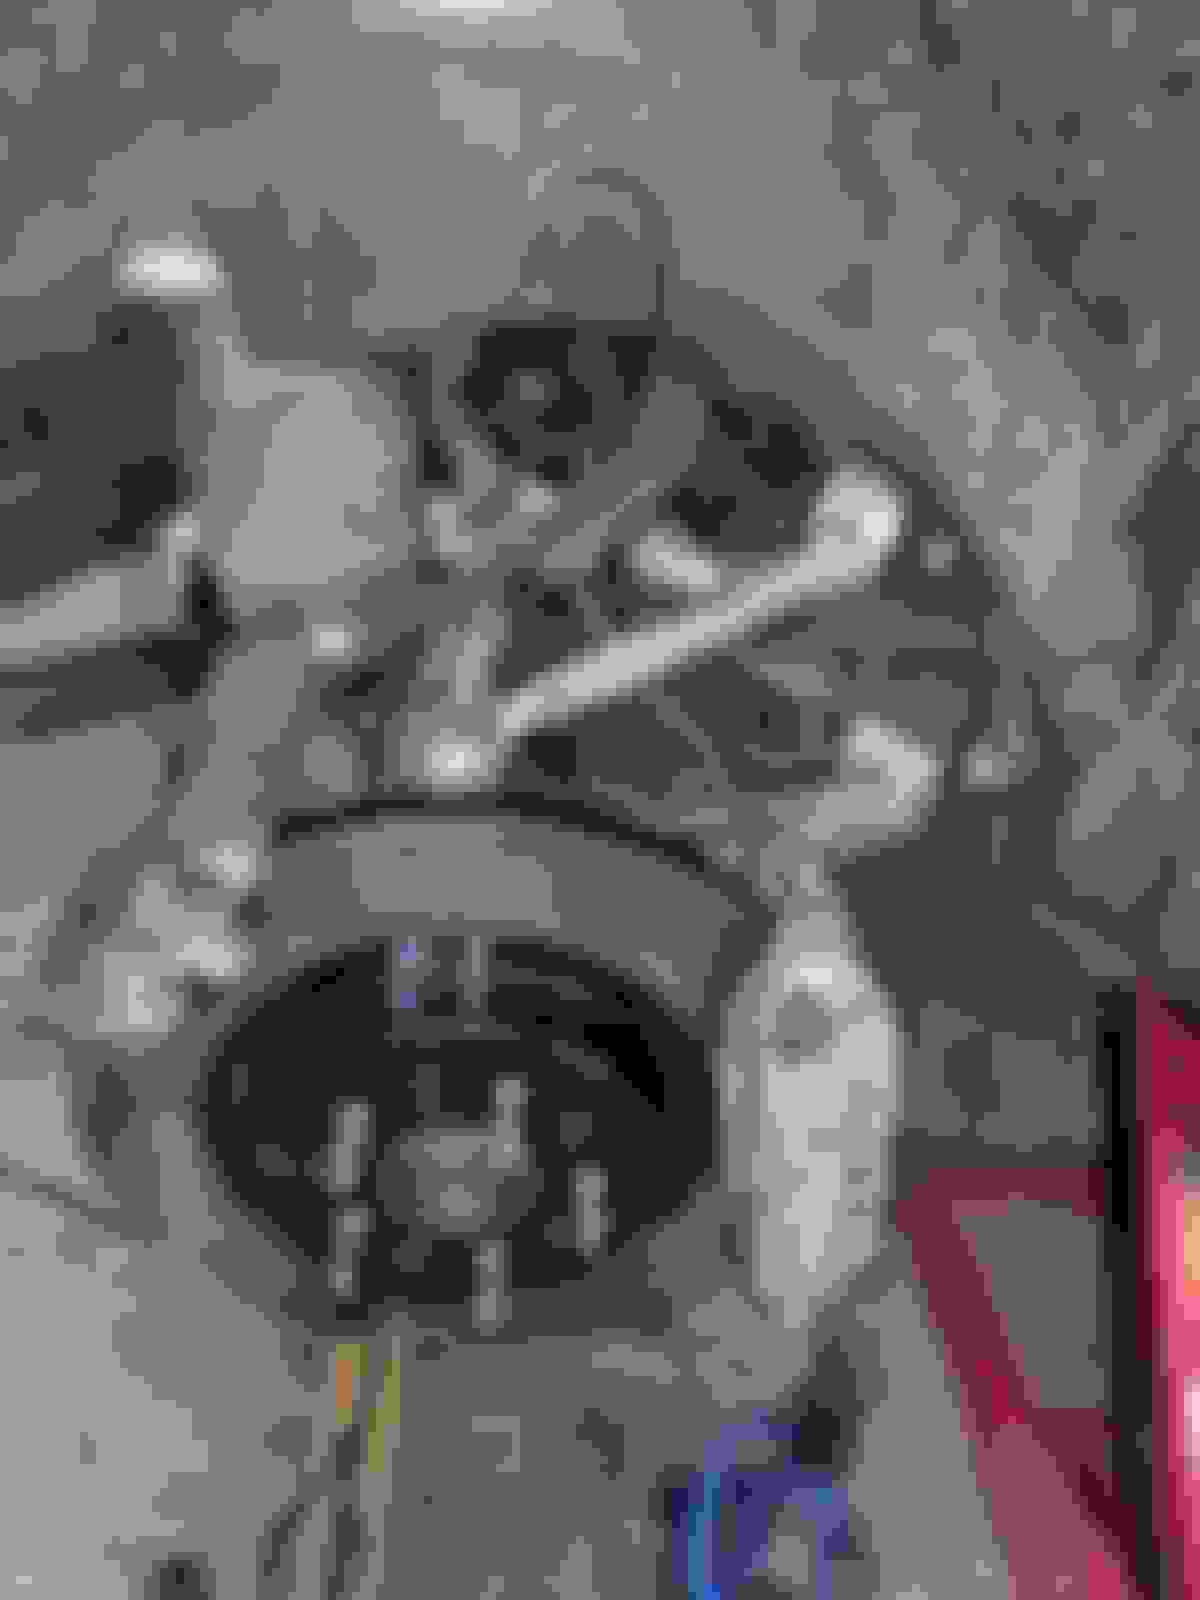
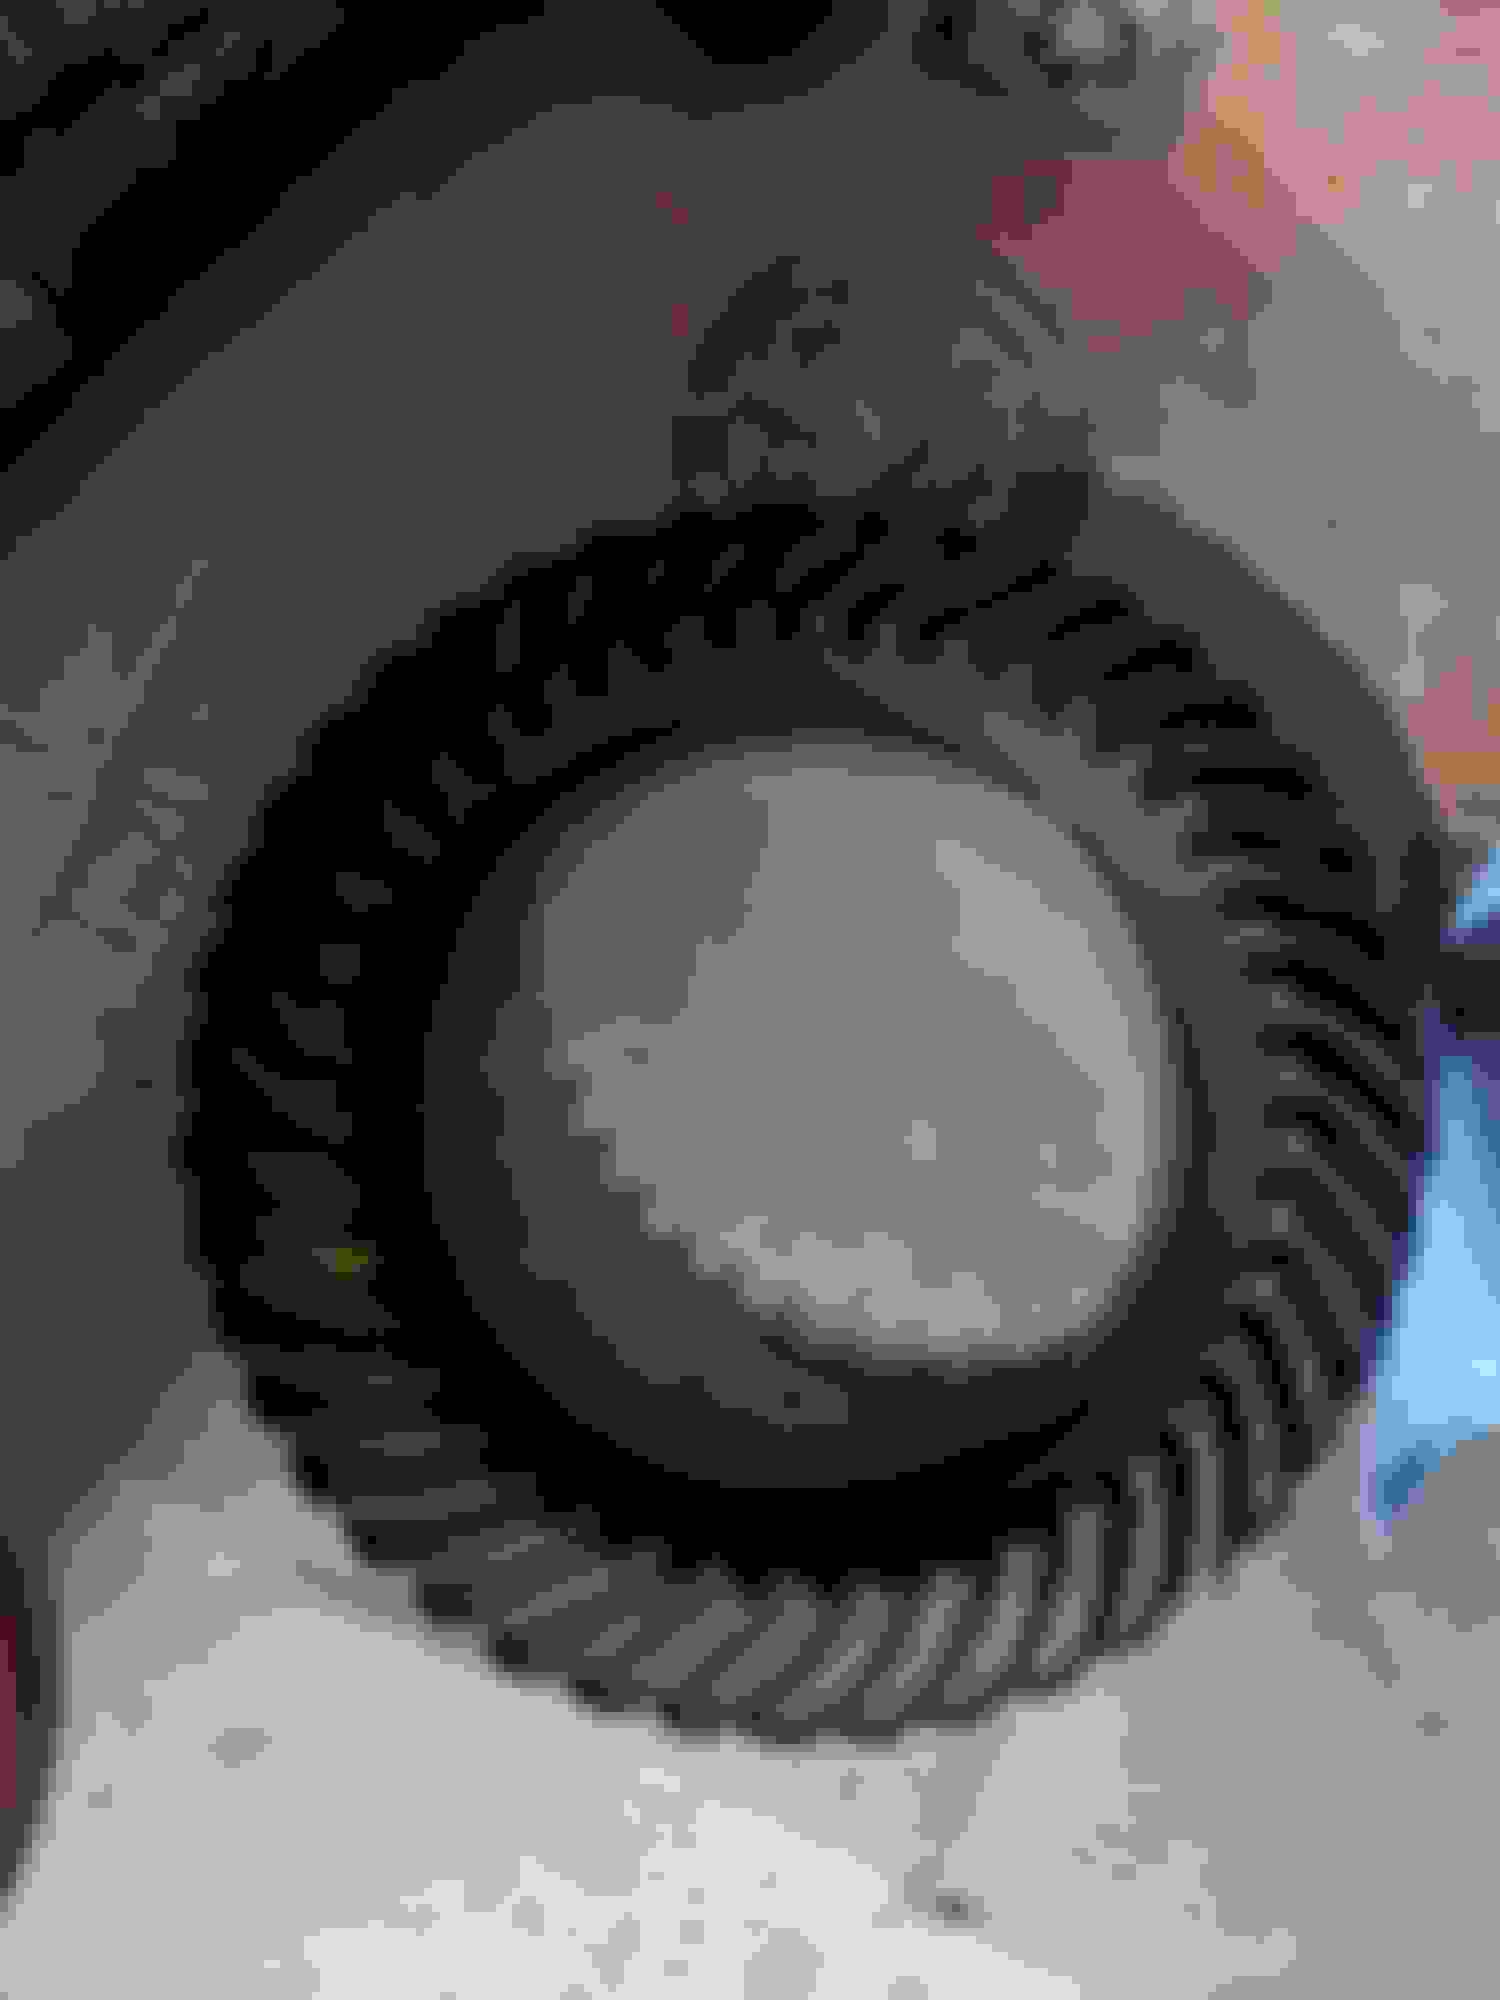
Ok, got the ring gear off the open differential. Wasn't too difficult, it required a rubberized mallet but a press was not needed. Tomorrow I'll put the ring gear on the Quaife and seat the new Timken bearings. I measured the bearings tonight and a 36mm socket looks perfectly sized for use as a "bearing installation" tool. The liberated ring gear is pictured below:
Well, after getting the differential assembled (I did need my machinist's 5 ton press for the bearings) I could not after numerous attempts get the snap ring to seat in the grove. I tried various approaches including heating the case to 120 F while cooling the LSD to 20 F, but just could not get it to seat. In place of putting pressure on the bearing cup which could damage the bearing, I dropped it off at a specialist differential shop. While I had planned to leave be the pinion and bearing of the donor case, I'm having the shop replace those so when it's done it'll be top notch. More $ than I anticipated but with $ already invested, it's not that bad of an additional cost setback. Anyway, now to wait for ~ 2 weeks for the shop to work its magic.
Got my quaife diff installed yesterday. Here in Norway it is winter and there is a lot of snow, the diff transformed the way the car handles for sure. The way the diff transfer power to the wheels is very smooth, very different from regular diff with clutches. It is a good match to the car
Looking forward to dry roads so I can give it a proper test
A pity about the circlip issue. Did you look at the following where the importance of getting the spacer and the circlip installed the same way around is discussed.?
Yeah, that's one of my go-to posts on this project. I marked everything with auto parts marking ink when I removed it. There's the spacer that goes between the diff and the cup on the left side and the snap ring that goes on the right side. The spacer does have a direction to it, in that one side and only one side is beveled, and I marked it. The beveled side should face out away from the diff internals. Re: the snap ring, while I maintained the same orientation, I didn't see any differences between the sides and suspect the snap ring could be flipped around without a problem (but I did keep the same side facing out). I had trouble removing the snap ring initially, so I suspect the donor case and spacer/ring I'm using had extremely close tolerances from the factory and with my 'at home' equipment I just can't replicate what's needed to make everything go.
Quattrofrank, thanks for the color from Norway, we don't have snow yet here (at least not that didn't quickly melt) in Massachusetts but it's coming and I can't wait to try out snow tires + the LSD.
Done!!!! I need to do the final suspension tightening now that the car is level, but even around the block I feel the difference.
Ok so this definitely took some time because 1. when I couldn't get the snap ring back into place I had the differential professional rebuilt, and 2. I fell into my usual rabbit-hole of "well, why we're at it, let's replace 3x more things....".
So, the summary of the work just done:
Quaife LSD installed in a fully and professionally rebuilt differential case with new bearings and seals;
New upper rear control arms
New lower rear control arms
New shock bushings
New sway bar drop links
New rear tie rods
Rear brakes bleed (b/c the brake hose goes through the rear upper arms
There are definitely some tricks to this job. Having an 18mm stubby socket in 3/8" with a base that was hex shaped and accepted a 17mm ratchet allowed for easy (well, easier) access to the rear differential bolts (there's barely any room in there, especially for the drivers' side). The driver's side tie rod was also challenging and required (for me at least) an 18mm suspension socket (half of the socket is open so you can get an 8mm wrench on the hold-down nut). The shock bushings were a fight and required multiple setups and some thin-walled 1.5" pipe form McMaster.com to press out the old bushings. I did it on the car, but if this car had spent more of its life in the rush belt, I suspect the job would have been much harder. And you have to either use spacers on the parking and rear brakes, or if you forget to disable the automatic parking brake (like me) once the calipers are off as you are rotating the prop shaft for access to the prop bolts (car needs to be in neutral for this), you'll have to reset the rear parking brakes which requires a caliper winding tool for the '05 SV8.
Some pictures!
First: knuckle out, old control arms. Bushings were shot!
Next picture: newly rebuilt differential installed. Drain plug is rusty in this picture, had not yet filled the case with oil.
New control arms, tie rod and shock bushing, and existing rotor was painted! After this picture I cleaned up the calipers.
Last edited by scooterforever; 02-05-2022 at 11:29 AM.

 12-02-2021, 10:14 PM


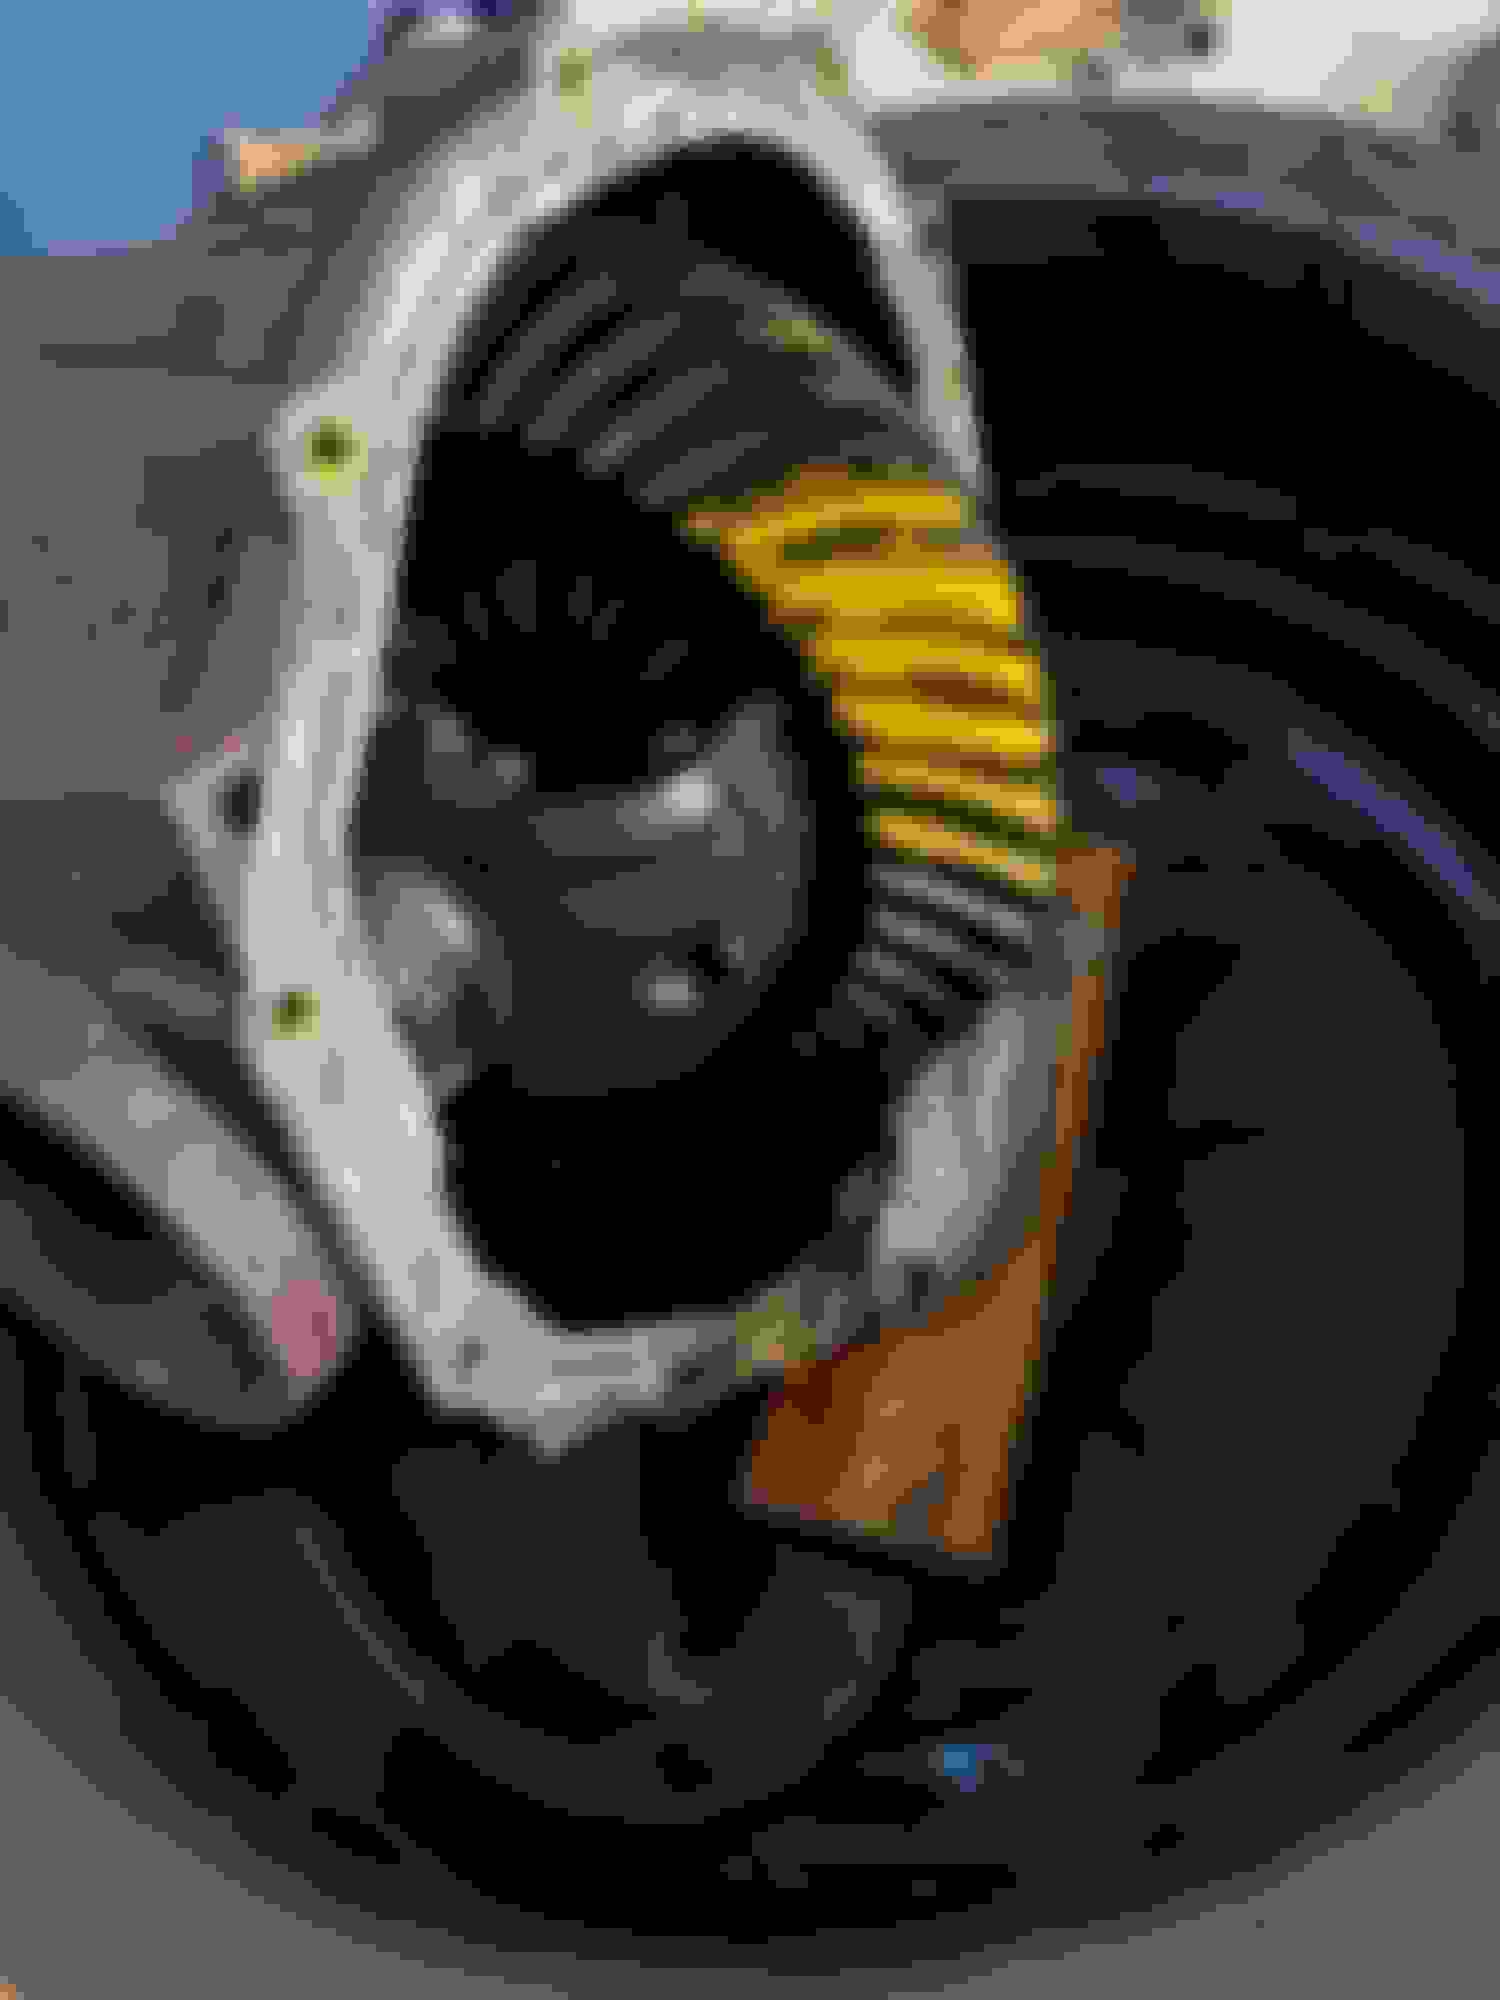


 I marked everything with auto parts marking ink when I removed it. There's the spacer that goes between the diff and the cup on the left side and the snap ring that goes on the right side. The spacer does have a direction to it, in that one side and only one side is beveled, and I marked it. The beveled side should face out away from the diff internals. Re: the snap ring, while I maintained the same orientation, I didn't see any differences between the sides and suspect the snap ring could be flipped around without a problem (but I did keep the same side facing out). I had trouble removing the snap ring initially, so I suspect the donor case and spacer/ring I'm using had extremely close tolerances from the factory and with my 'at home' equipment I just can't replicate what's needed to make everything go.