When you click on links to various merchants on this site and make a purchase, this can result in this site earning a commission. Affiliate programs and affiliations include, but are not limited to, the eBay Partner Network.
As I posted in another thread (or two) I had the dreaded leaking hose under the supercharger. Over the last month or so I've done the repair using a lot of advice and procedures I found here. It's finally mostly back together, but I'm waiting on a heater hose before I can get it running again. I thought I'd share a few tips.
First, you have to take the plastic firewall off. I don't know how you'd get to all the bolts around the throttle body and EGR valve with it in place. It's held on with a combination of the plastic "scrivets" and push fasteners. The tricky bit is that they often used more than one fastener on the same stud. They put the plastic firewall in place and used a fastener. Then they put a piece of insulation over the plastic and used another fastener. Therefore, you have to take the insulation off to make sure you get all the fasteners.
Once you get down to the throttle body, intake elbow and EGR valve the key is to use long extensions and come in from the side. There is a plastic wiring channel fastened to the intake elbow bracket and left (drivers US) head with 10mm nuts. If you remove those you can push the whole harness back about an inch and a half with gives you a lot more room. It's the black u-shaped piece at the top of this photo.
The trick with the EGR is to leave it attached to the EGR pipe. Remove the two 13mm nuts holding the pipe to the exhaust manifold and then remove the two 8mm bolts holding the EGR to the intake elbow. You can reach these EGR bolts by coming in from the right side of the motor with a long extension. With the nuts off the manifold end of the pipe you can lift it up and away from the intake elbow to allow you to get the elbow off. I don't know if you can get the EGR/pipe combination out of there without separating them; you probably can after the elbow is off.
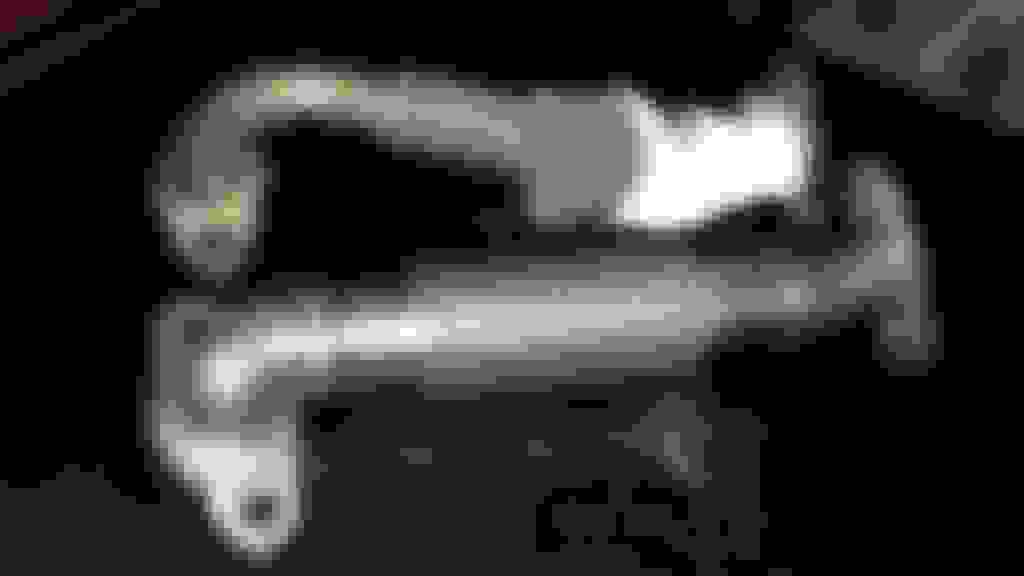
IMPORTANT: the EGR pipe was superseded in 2005 or 2006 with a different pipe. The newer one is a real bitch to work around compared to the old one, but the benefit is it doesn't break. Mine broke at the flange when I pushed it out of the way. The new one is MUCH stronger.
The original one is on top.
The intake elbow had two 10mm bolts in a bracket at the rear. Again, come in from the side with a long extension.
The shiny black plastic pipe is the vacuum line that runs to the brake booster. I replaced the plastic insert with a new part. I forget the part number offhand, but it's the brake kit listed in the thread titled: Into The Valley. My original one broke when I removed the pipe.
The intake elbow also has 4 10mm bolts attaching it to to the supercharger. You need to remove the two plastic pipes on the left side (driver's side in US) of the throttle body to get to them unless you have some unusual length socket/extension that isn't either too short or too long like all mine were. The small pipe appears to be very easy to break, although, for once, I didn't break it.
Next important tip: The MAF is located on the back of the intake elbow where you can't rally see it and the wire attached to it is very short. In other words, you unbolt the elbow, lift it off, and break the wire, the connector or the MAF. (Yes, I broke the MAF.) Just be aware it's back there.
When putting it back together, don't attach the plastic pipes until right before you put the throttle body on. With the pipes detached you can start the bolt for that side of the elbow bracket with your fingers. With the pipes in place you'll need fingers like Gollum.
Also, if you replaced the coolant hoses to the throttle body (the one under the supercharger is one,) you'll need hose clamps as they are originally held on with the permanent kind. The replacement hoses I got from Gaudin, both the one under the S/C to the water pump and the one from the EGR valve had the clamps already attached.
Moving on, there is a rubber-coated fuel line at the from of the valley that connects the left and right fuel rail. When I took the supercharger off I swung it up out of the way without paying any attention, then left it up and over the supercharger snout when I put it back together. I didn't notice what I'd done untill I was hooking up the intercooler hoses at the front of the engine, and had to pull the supercharger back off. The fuel line runs around the supercharger bracket under and behind the supercharger.
You need to attach the pieces that run from the plenum to the intercoolers to the plenum first, as they have studs. Once you slide the plenum into place you can insert the remaining bolts into the intercoolers.
On the front of the engine, the coolant hose to the intercoolers on the left side (driver's side US) runs behind the pipe with all the hose connections by the thermostat:
You cannot get it behind that part with it in place, so if you forget about it, like I did, you'll have to take it off again.
That's most of the wisdom () I have to impart from this adventure. I did replace all the hoses and gaskets involved except for a few on the front of the engine (which I'll do later) so I won't have to go back under the S/C again. I can't finish it up because I discovered one of the heater hoses is bulging and going to fail. Gaudin, for some reason, doesn't even list this part so I'll run down to my local dealer tomorrow and see if they have it. I predict $$$.
Mileage is 103k, and the intercoolers were filthy. I soaked them in the parts washer for a week and used a couple of cans of throttle body cleaner on each one. When I first started cleaning them the pump on the parts washer rapidly filled each intercooler, and when I finished the fluid would run out the other port before the pump could fill it, so it obviously helped the flow.
Awesome! It will probably be just a matter of time before I do mine. Its nice to have such nice gems nicely tucked away in this forum to be consulted upon when the time does come.
I agree with Lagonia. This forum has helped me a lot.
My mileage is around 105,000 now and I would bet my intercoolers are filthy and not working nearly as efficiently as they could.
I am too busy in the processing of selling the house to do anything now but towards the end of the year I will likely tackle this job.
I realize this is an older post but it came up when I was looking for where to mount engine lifting brackets, particularly the left side. Looking at the last photo I still can't see where they would go. Did you see the places where they would mount when you had things apart?
There is a flange and a bolt hole just above each of the connections where the pipe with all the coolant hoses attaches to the heads. I was wondering what would go there since I didn't remove anything. That's probably what they are for, at least in the front.
Well, it's back together and it runs! Now if I can just figure out how the $$#@!!%& firewall goes back in.
Thanks AGAIN for the photos here and in the "engine lifting point left side" thread. You and the other folks on this forum are a huge help with info the manuals don't provide.
In driving the car for the last few days all I can say is Holy Crap! I don't know how much of the power increase is due to the supercharger pulley and how much is from cleaning the intercoolers, but it will break traction in the first two gears with about half throttle, and it will do it in third unless I roll into it. I think I really need stickier tires or an LSD to make use of the increased power.
I also notice a big increase in the supercharger whine, Again, I don;t know how much is the pulley and how much is from leaving out most of the (rotting) insulation from the plastic firewall. I suspect the latter.
If I was going to upgrade the pulley again I'd probably stick with the one pound unit that doesn't require modifying the snout. The extra power doesn't do any good if you can't get it to the ground.
 01-10-2016, 09:43 PM


 The fuel line runs around the supercharger bracket under and behind the supercharger.

 ) I have to impart from this adventure. I did replace all the hoses and gaskets involved except for a few on the front of the engine (which I'll do later) so I won't have to go back under the S/C again. I can't finish it up because I discovered one of the heater hoses is bulging and going to fail. Gaudin, for some reason, doesn't even list this part so I'll run down to my local dealer tomorrow and see if they have it. I predict $$$.