When you click on links to various merchants on this site and make a purchase, this can result in this site earning a commission. Affiliate programs and affiliations include, but are not limited to, the eBay Partner Network.
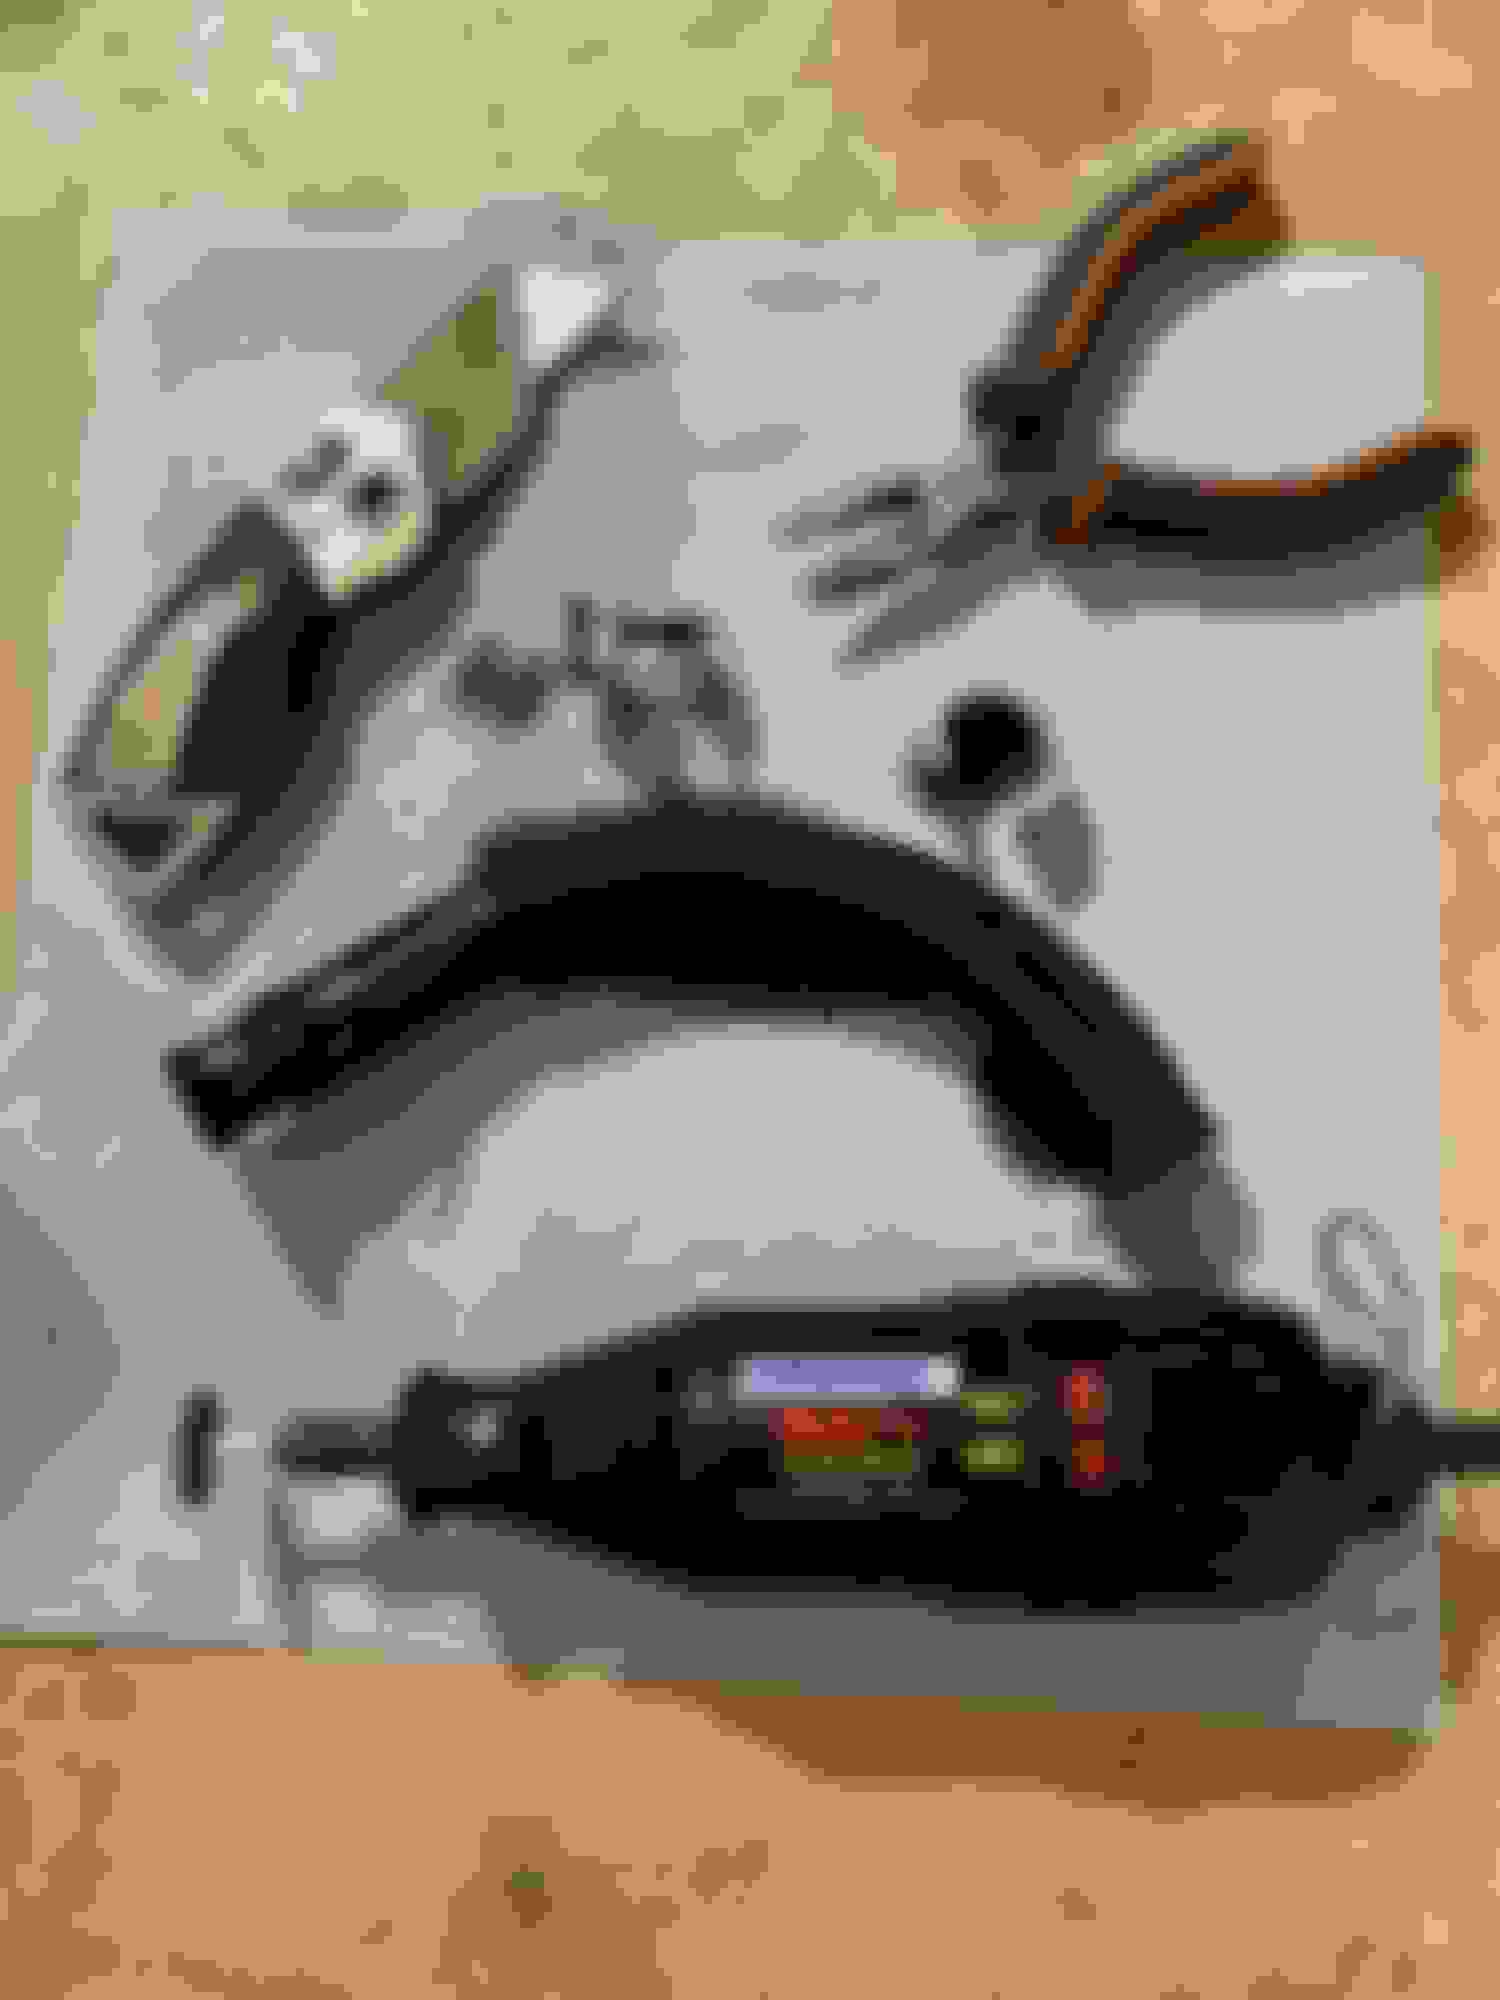
Wingrider is correct, a dremel and a steady hand so not to cut too deep or cut anything else in there. I thought I took photos during various stages of getting these off but I guess I didn't. I have, however, thrown together a quick photo of all the players in that removal. There might have been a flathead screwdriver that should be in this pic as well...
Oh, also, safety glasses of course. I did the bottom half from underneath and the oil filter was off so that made it much easier.
Last edited by jkent405; 03-21-2023 at 10:03 AM.
Reason: need to add something,
Hey, guys. I had a transmission cooler line leaking at the rubber to metal crimp on my 2004 Jaguar XJ8 (NA), so I had an independent shop replace the original lines with a brand new set. However, now I see that there is a new leak at the lower fitting where the transmission cooler line screws into the radiator. This is right above the front driver side control arm near the outward side of the radiator. I would like to try to screw it back in more tightly as it doesn't look all the way screwed in to me, but I would like some guidance as to the best way to do this without a lift. I can see the wet fitting with my flexible camera, but I cannot touch the fitting with my hand from underneath laying on the ground. I would like to know if I take out the air box on the driver side would I be able to reach down and tighten it with a wrench, or will there still be things in the way that are not easily removed? My guess is that the last mechanic was not sure what he was doing and I'd rather not take it back there.
Are you sure its the bottom hose leaking, or could it be toe top line driping onto it?
The top one is the return line, it has a lot more pressure, than the bottom one back to the trans does.
Replacing the rubber hose portion, of the top line, cured my fluid leak, all dry now,
Removing the air box & hose, will open things up a good bit, maybe enough to reach.
Seems i tighten mine from underneath, as the plastic covers were already. removed.
The bottom radiator hose was in my way, so underneath was easier.
Removing that hose would make access much easier.
Also there is an o-ring on each line, that is real easy to loose track of.
Hope this helps best of luck to you
First question - did you have OEM hoses installed? The reason I ask is for fitment.
I concur with Winrider the o-ring may be the culprit if you are using OEM lines. Start by comparing the fitment of the other line to gauge whether said side is flush. You may have two o-rings on the offending side, hence the inability to sit fully flush. Otherwise the installer may have cross screwed the threads. (only other explanations would be the fitment is incorrect, tip too long, or the securing bracket is bent.
Yes, these were OEM hoses. Unfortunately, I can't tell from the flexible camera and angle if it's being dripped from above, but it looks like it's a very slow drip that flows from the fitment. The video I have is too large to upload, but here is a link to AWS. I can upload a picture of the fitting.
.
If it's on a lift, can the fittings be reached without anything being uninstalled? What do you think is the best way to reach without a lift?
Did mine with a floor jack, & safety stands,
The plastic was already removed, to replace the radiator
Taking the radiator hose off would give you lots of room.
But you should be able to squeeze your hand in.
 03-21-2023, 09:59 AM